
Estimated Time
~15 minutes
What You'll Accomplish
- This tutorial guides you through launching multi-channel campaigns.
|
Before you begin — open your account This is a hands-on, learning-by-doing session. Open app.structured.ai in your browser and log in to your Account so you can follow along and apply each step in real time. |
 Follow Our Step-By-Step Training
1. Introduction
Mastering the four steps of campaign execution gives you the competitive edge to launch professional, high-impact marketing campaigns directly from the platform.
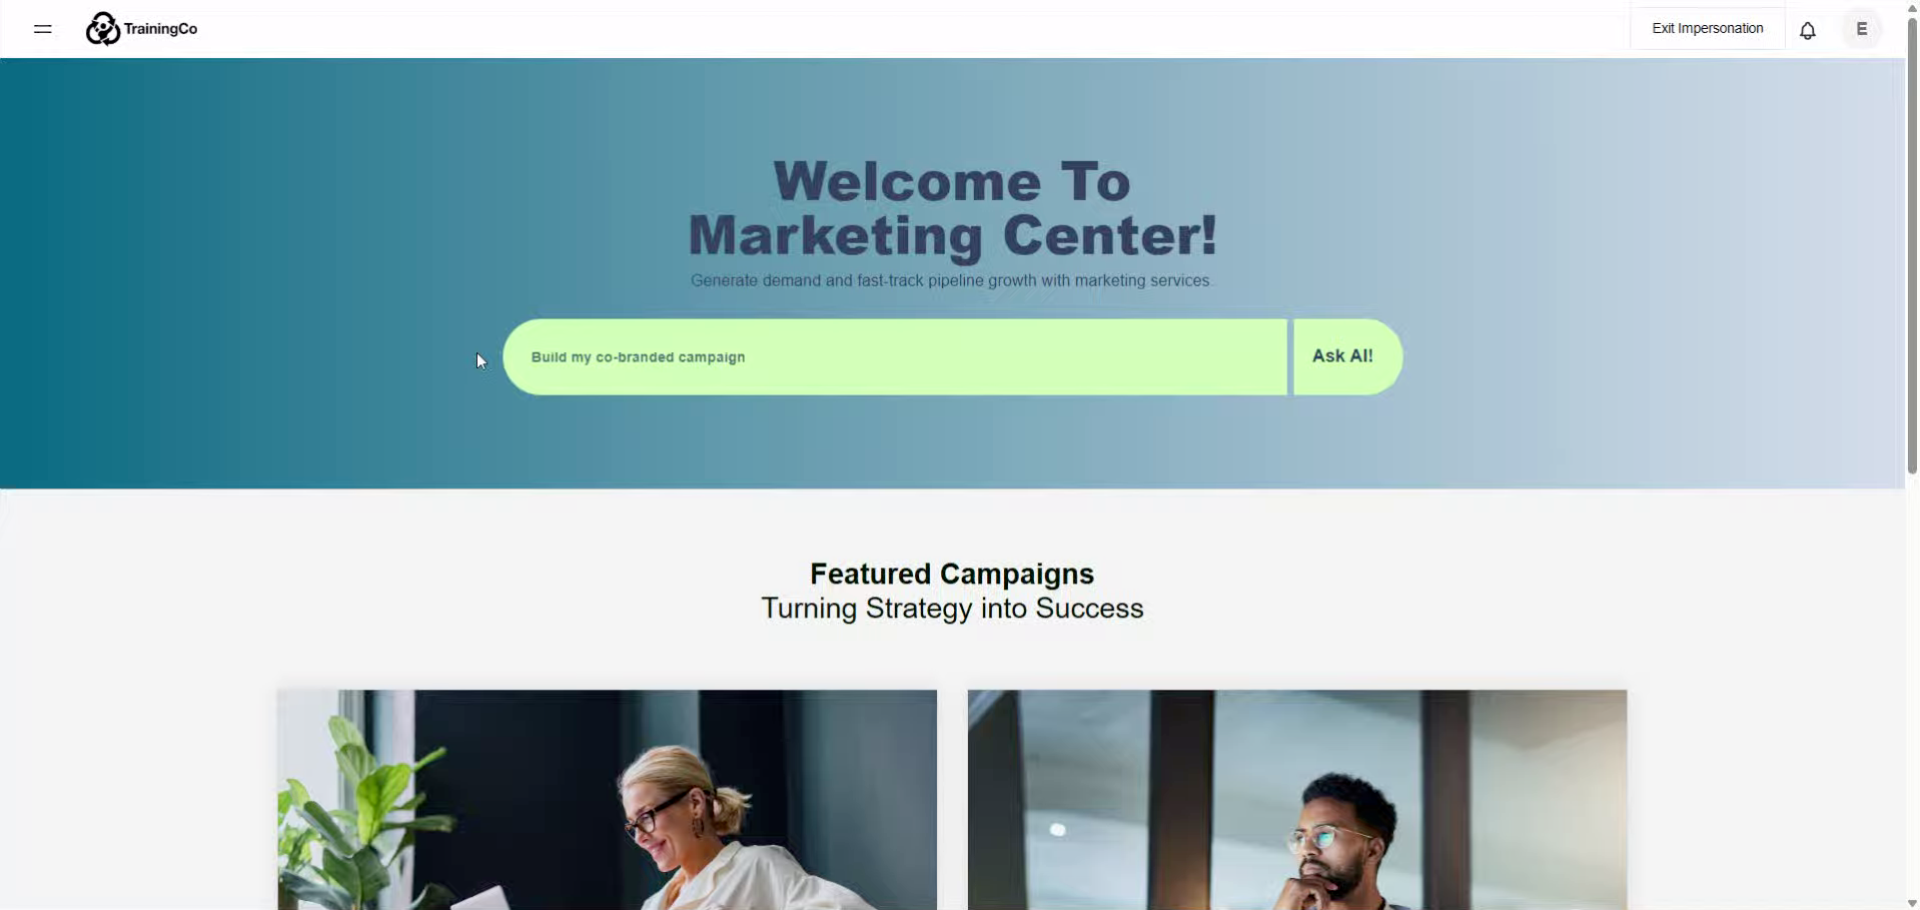
2. Find a Campaign
To begin, find your desired campaign using the AI Agent or the Content Library.
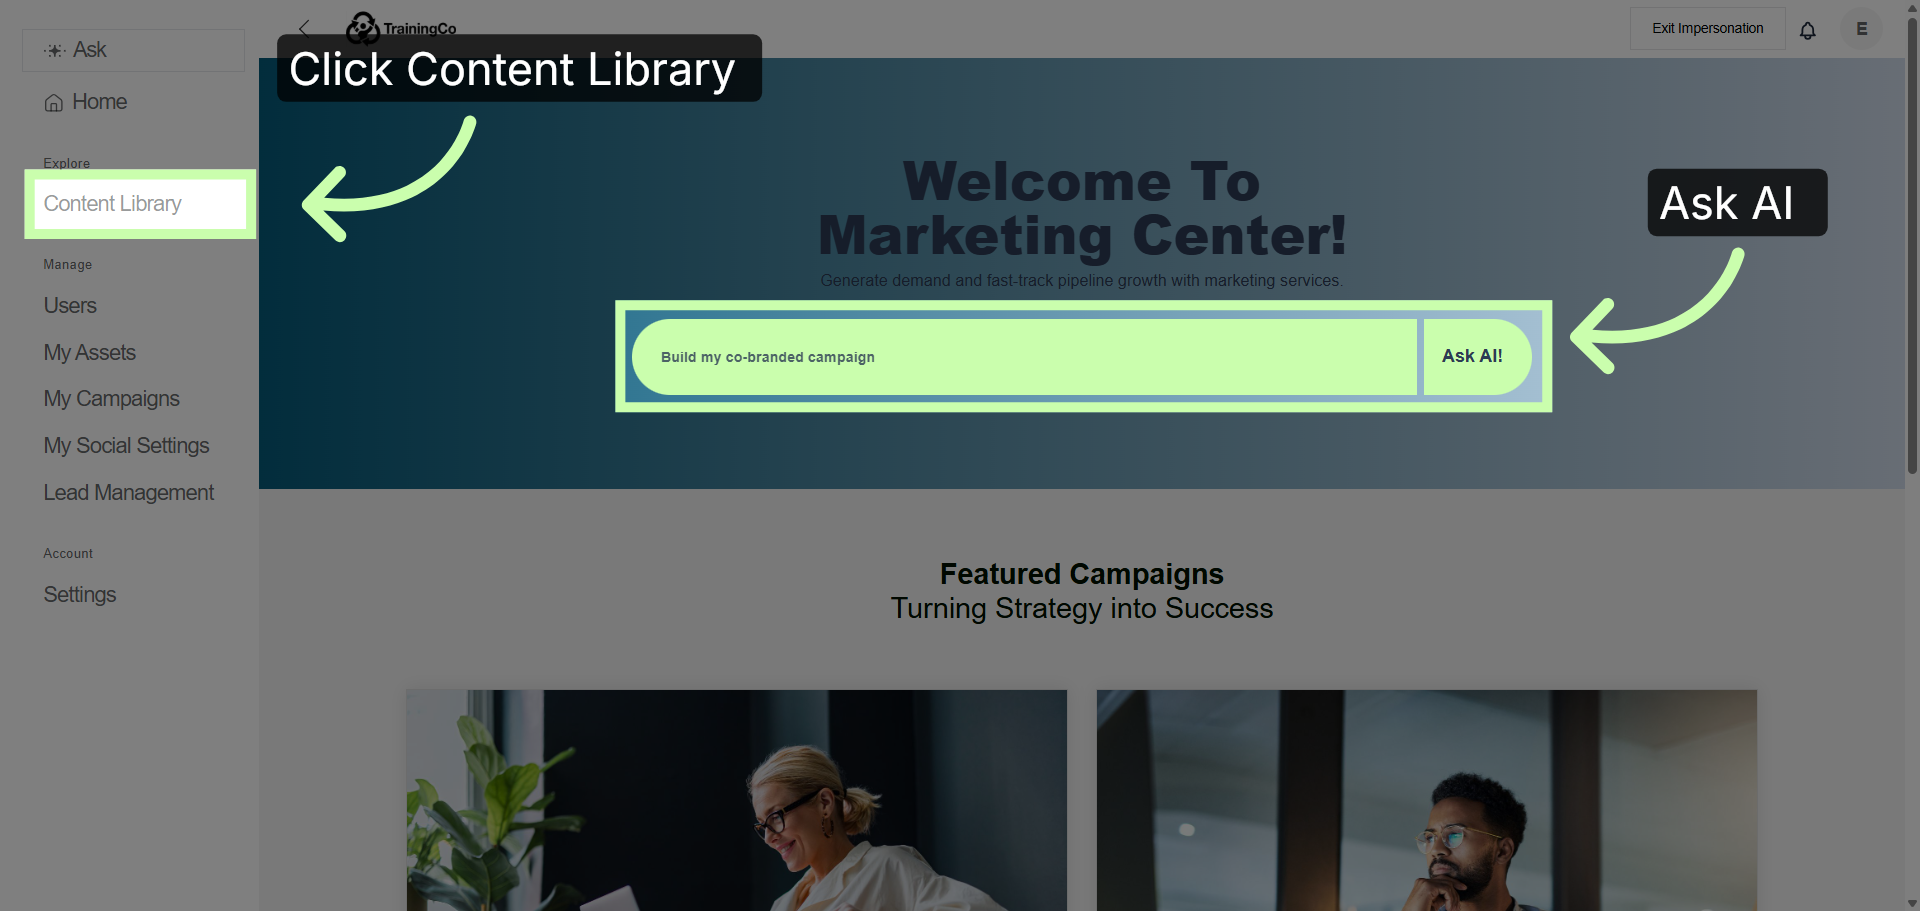
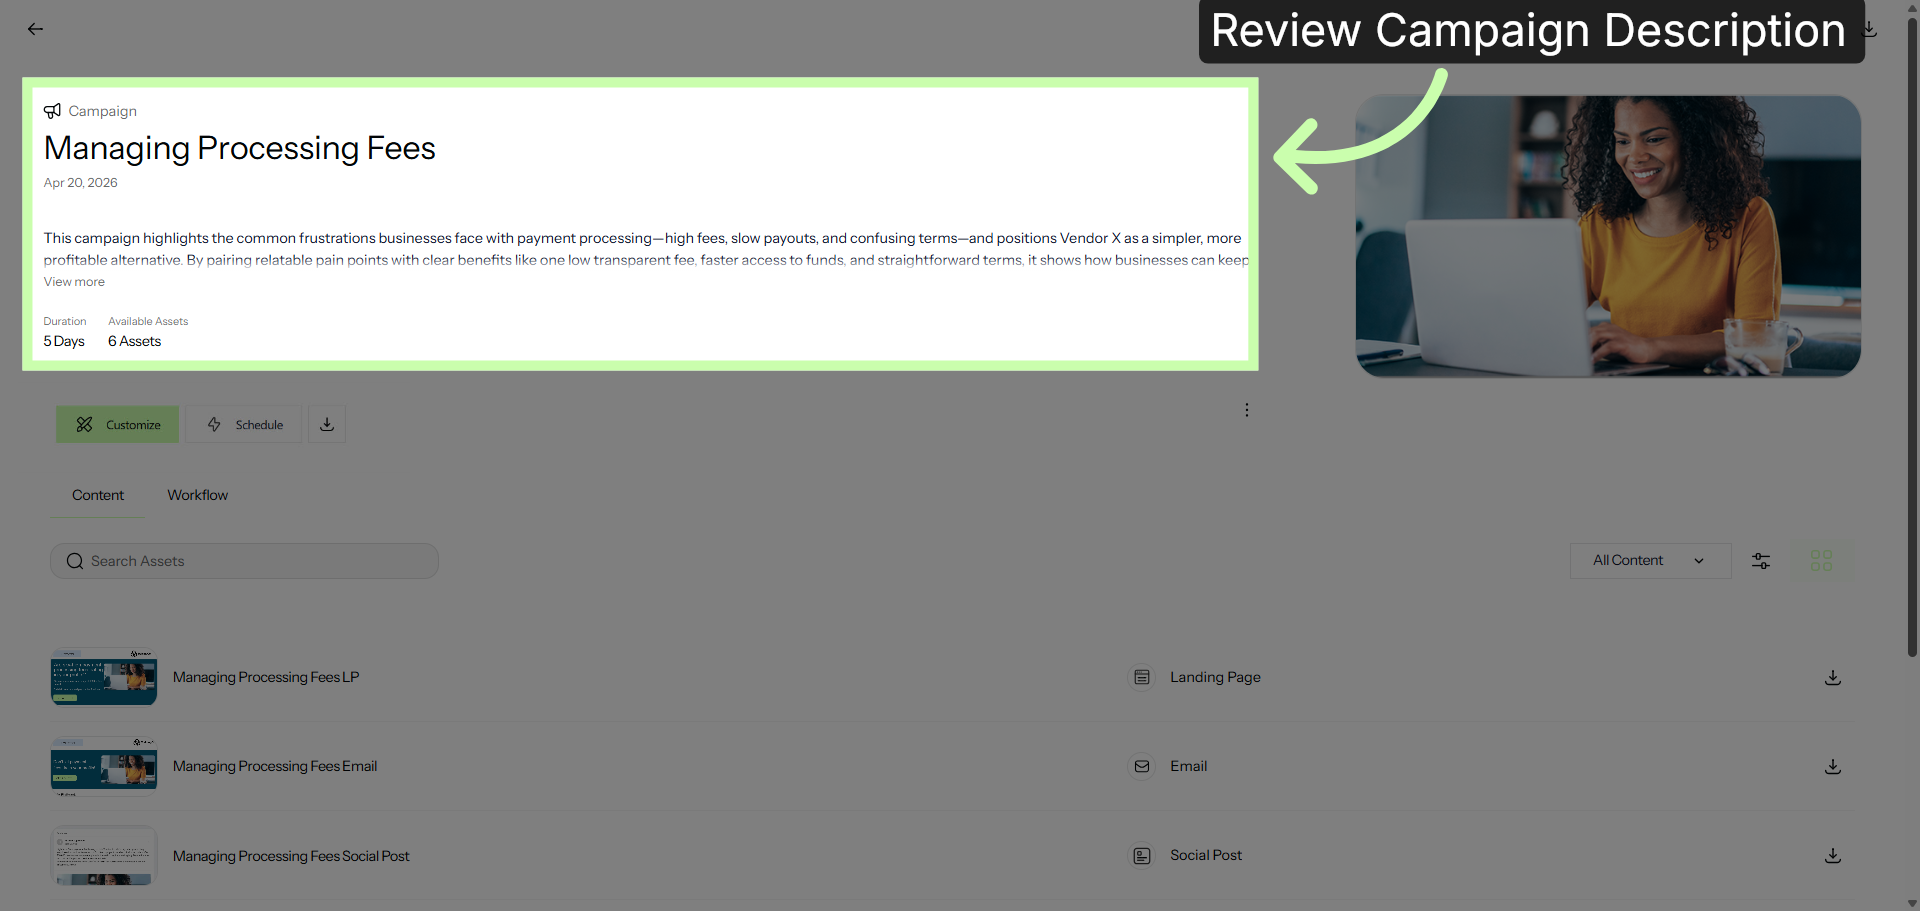
3. Review the Campaign Description
Once you're on the Campaign Overview Page. First, review the campaign description.
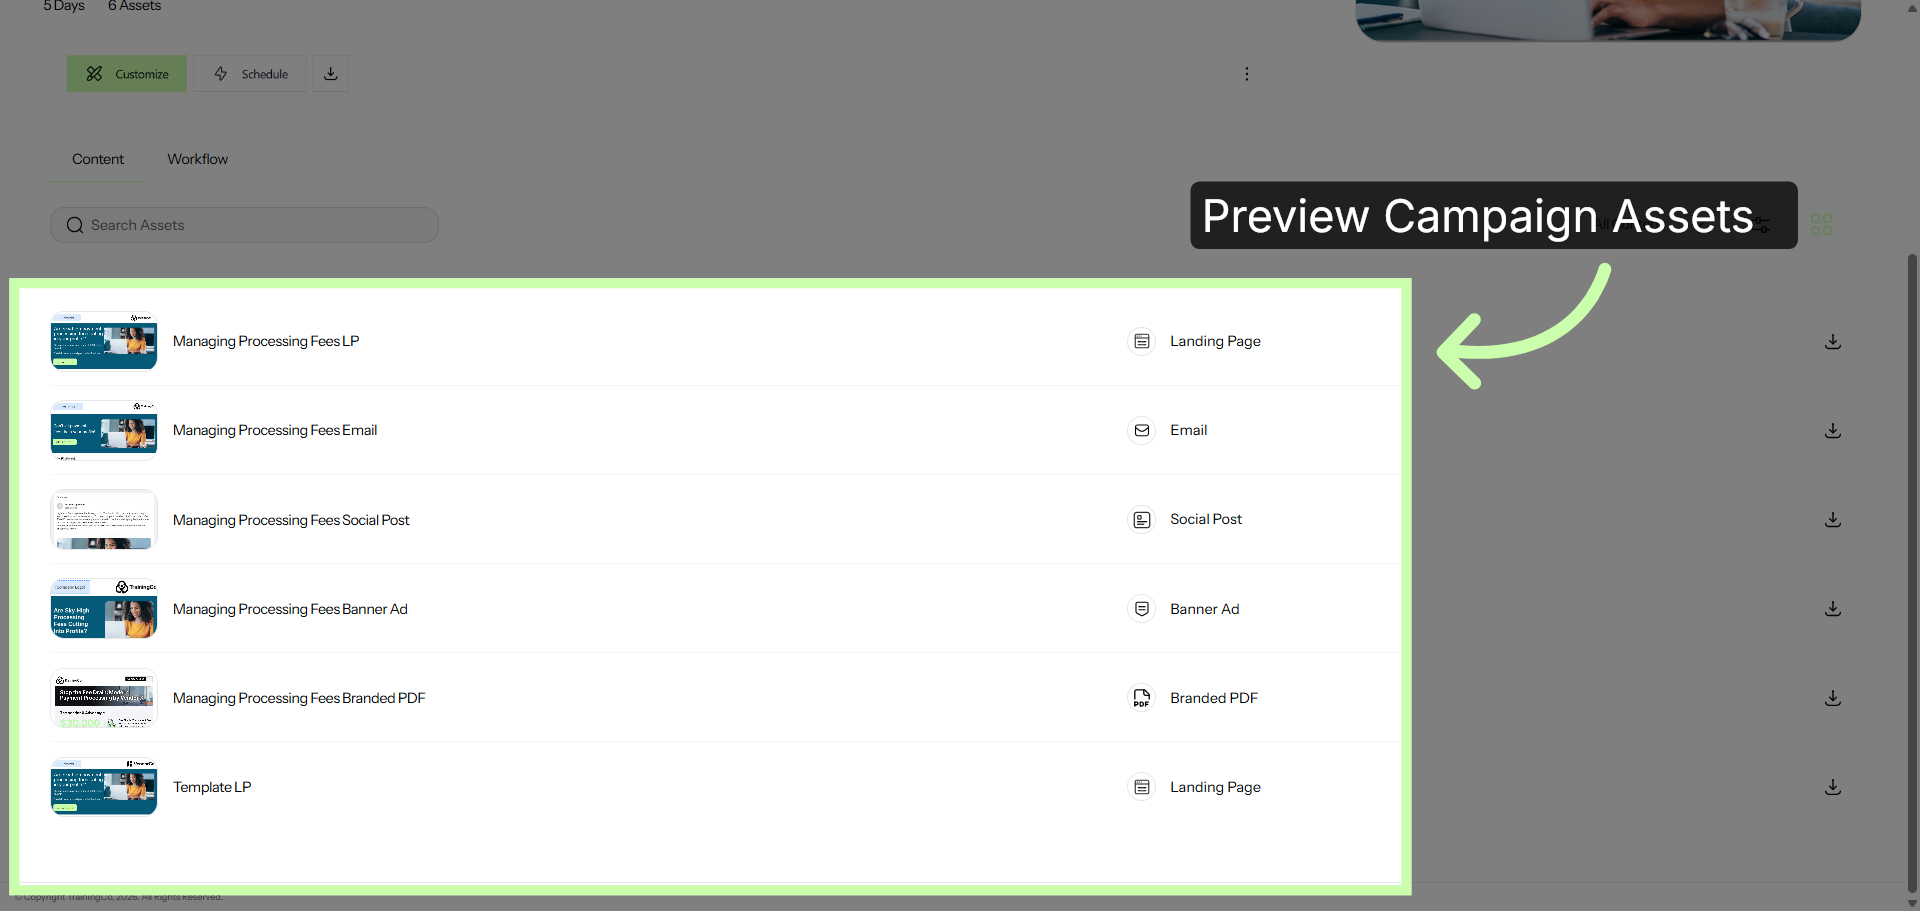
4. Preview Campaign Assets
Next, preview the assets included in the campaign.
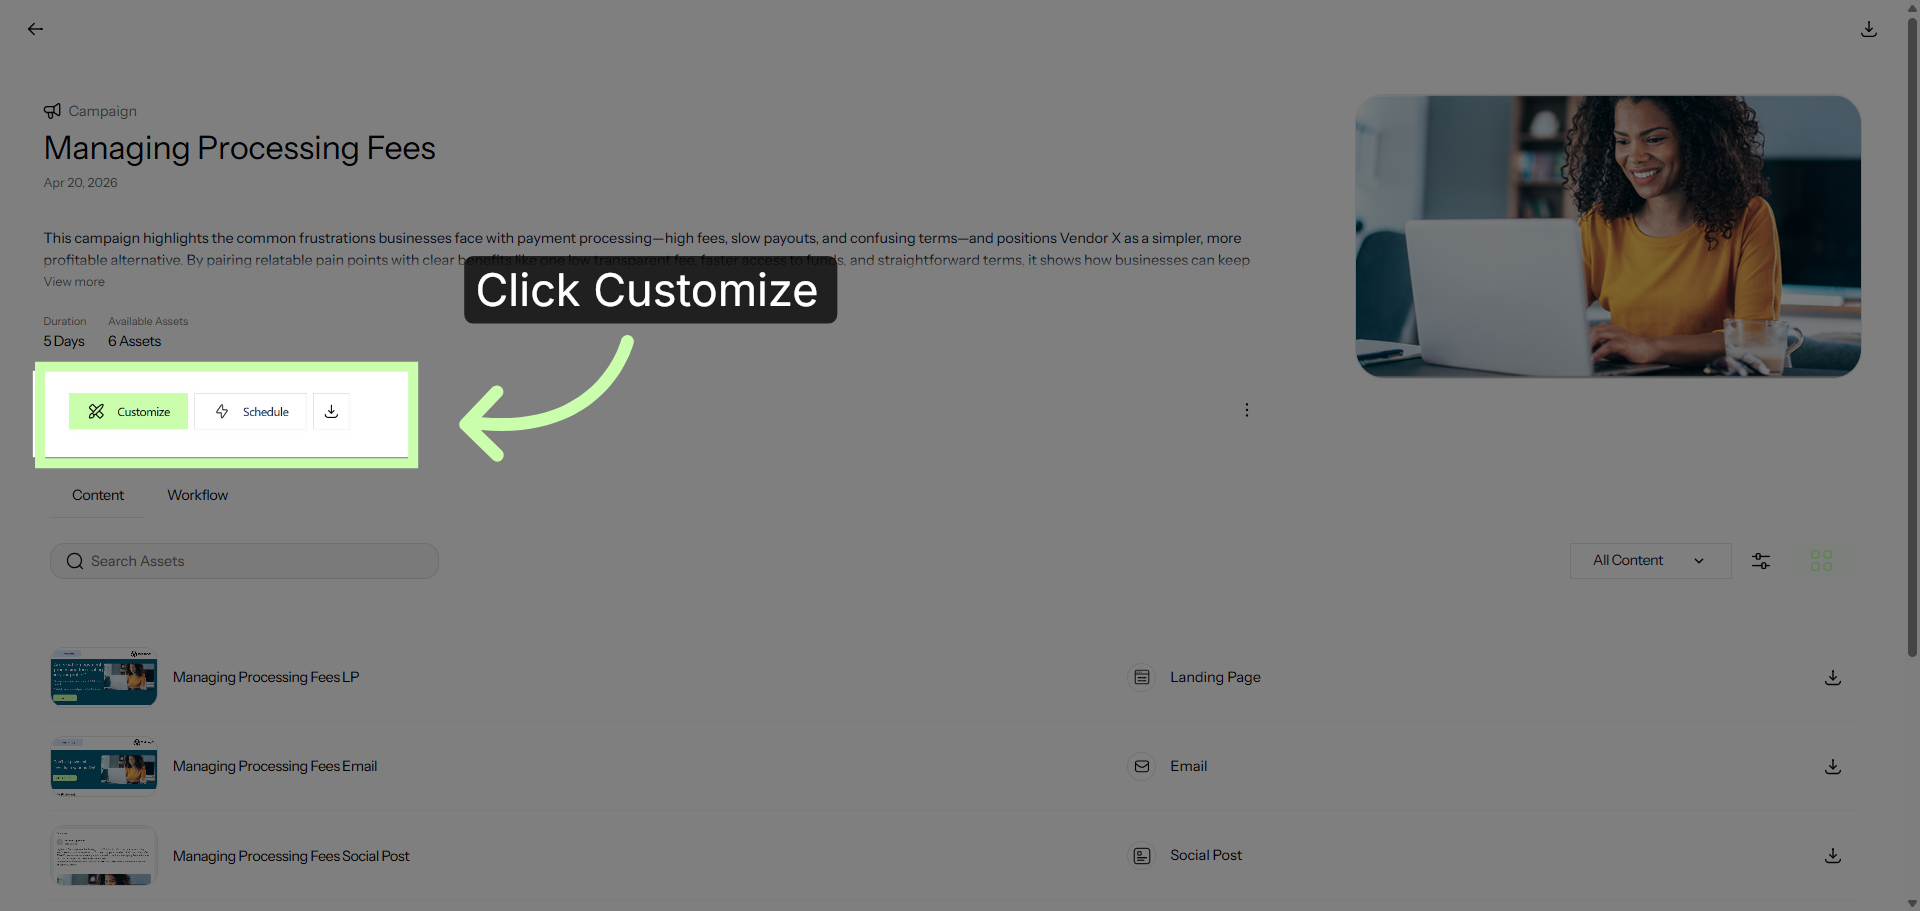
5. Click Schedule
When you are ready to execute the campaign, click Schedule. This launches the four step execution workflow.
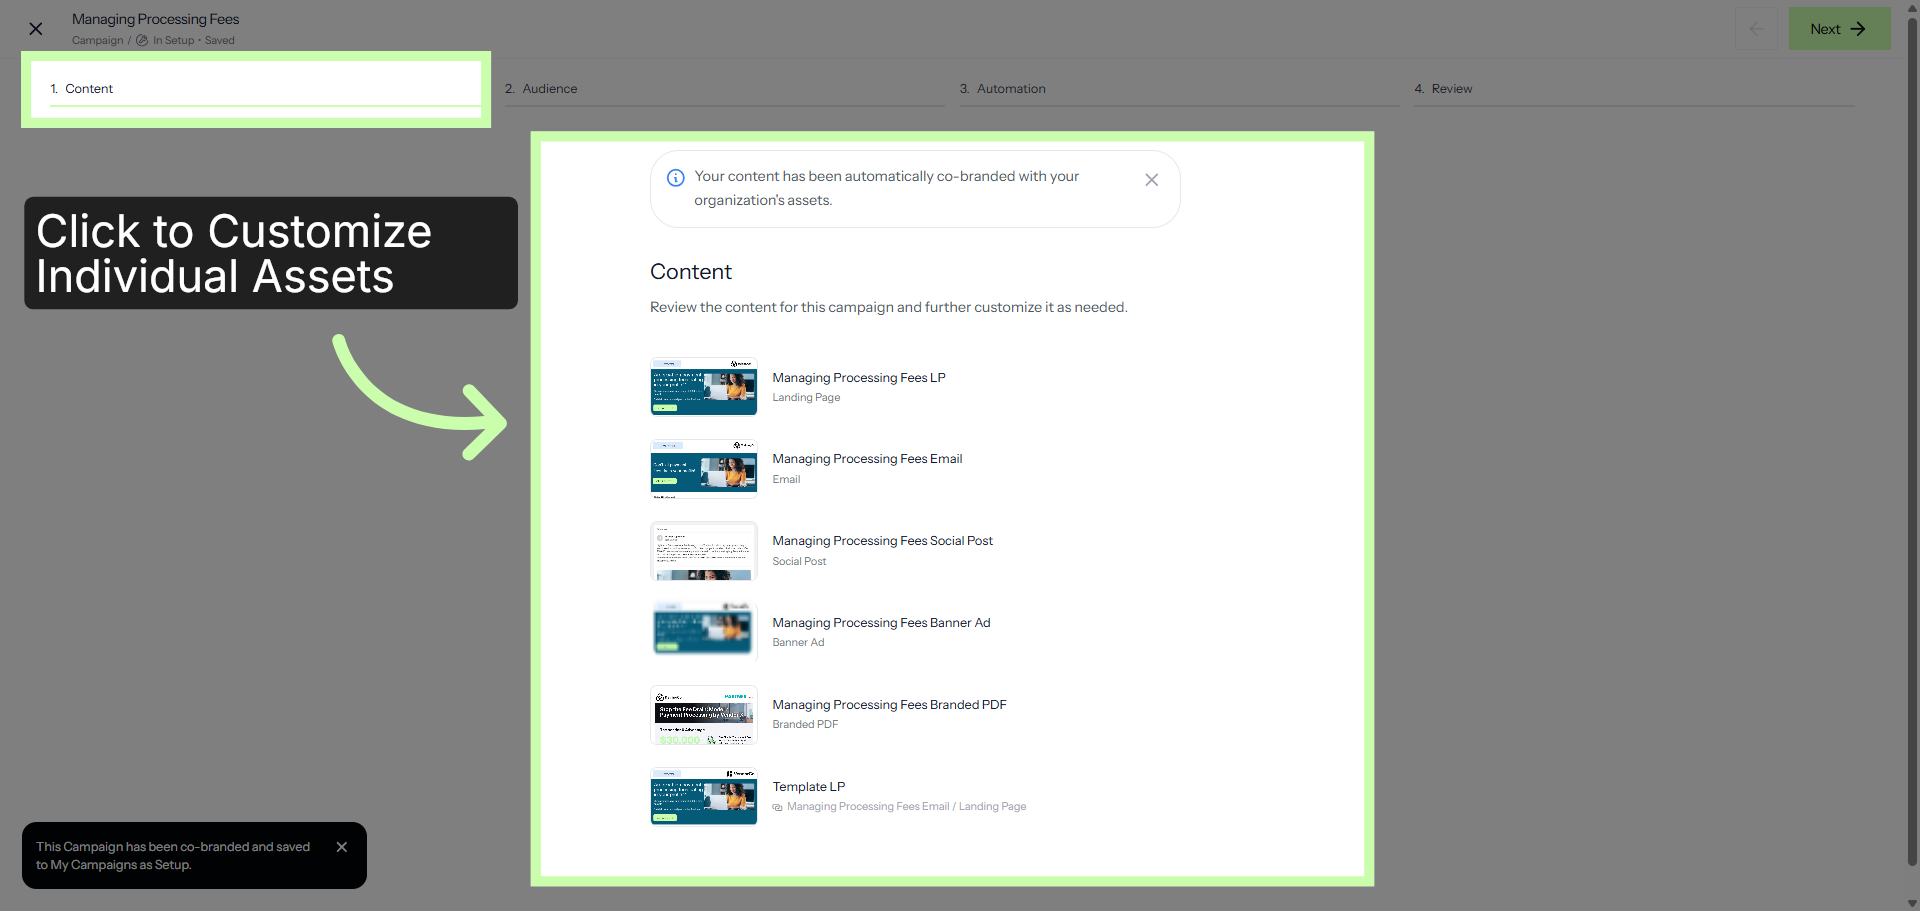
6. Customize Cobranded Content
The first stop is the Content Tab. This is where you review the expertly crafted assets in your campaign, including emails, social posts, and landing pages. Click on any individual asset and select Edit to open the editor. Here, you personalize your asset using AI or customize assets manually, to add your own local value statements or brand styling. For additional guidance, watch the Customizing Content Video series.
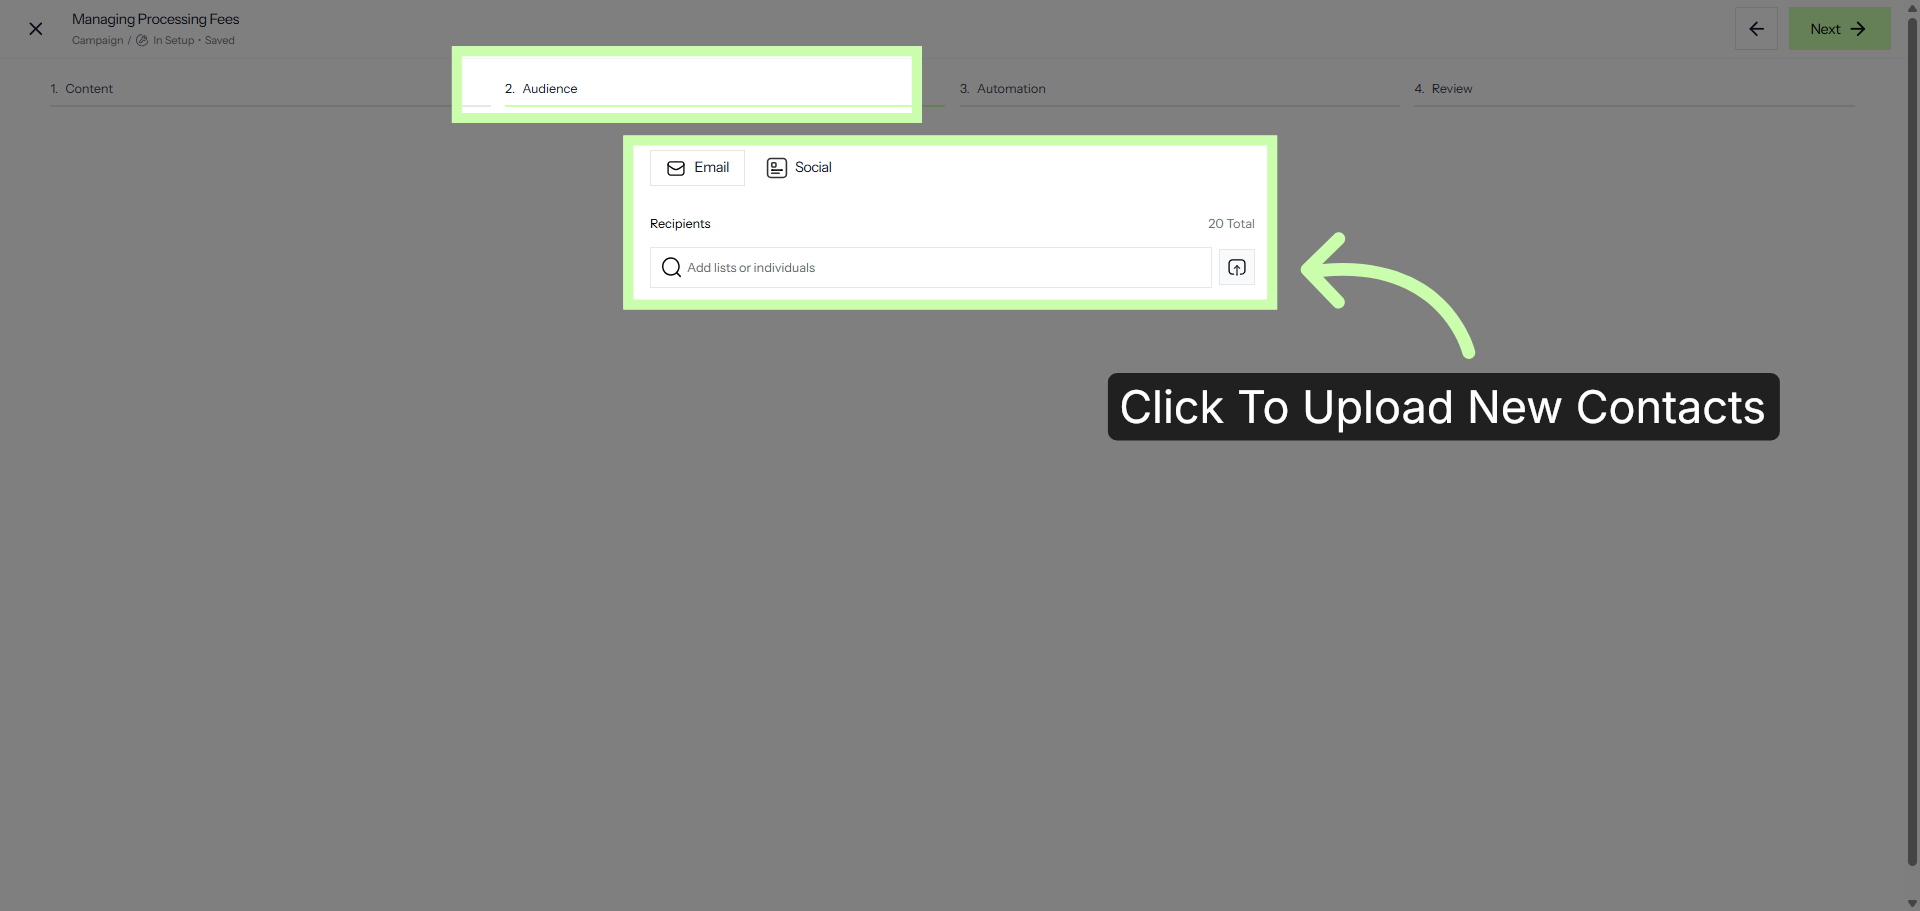
7. Upload New Contacts
In the Audience Tab, you control exactly where your assets go. For your email assets, click this button to upload new contacts individually or in bulk.
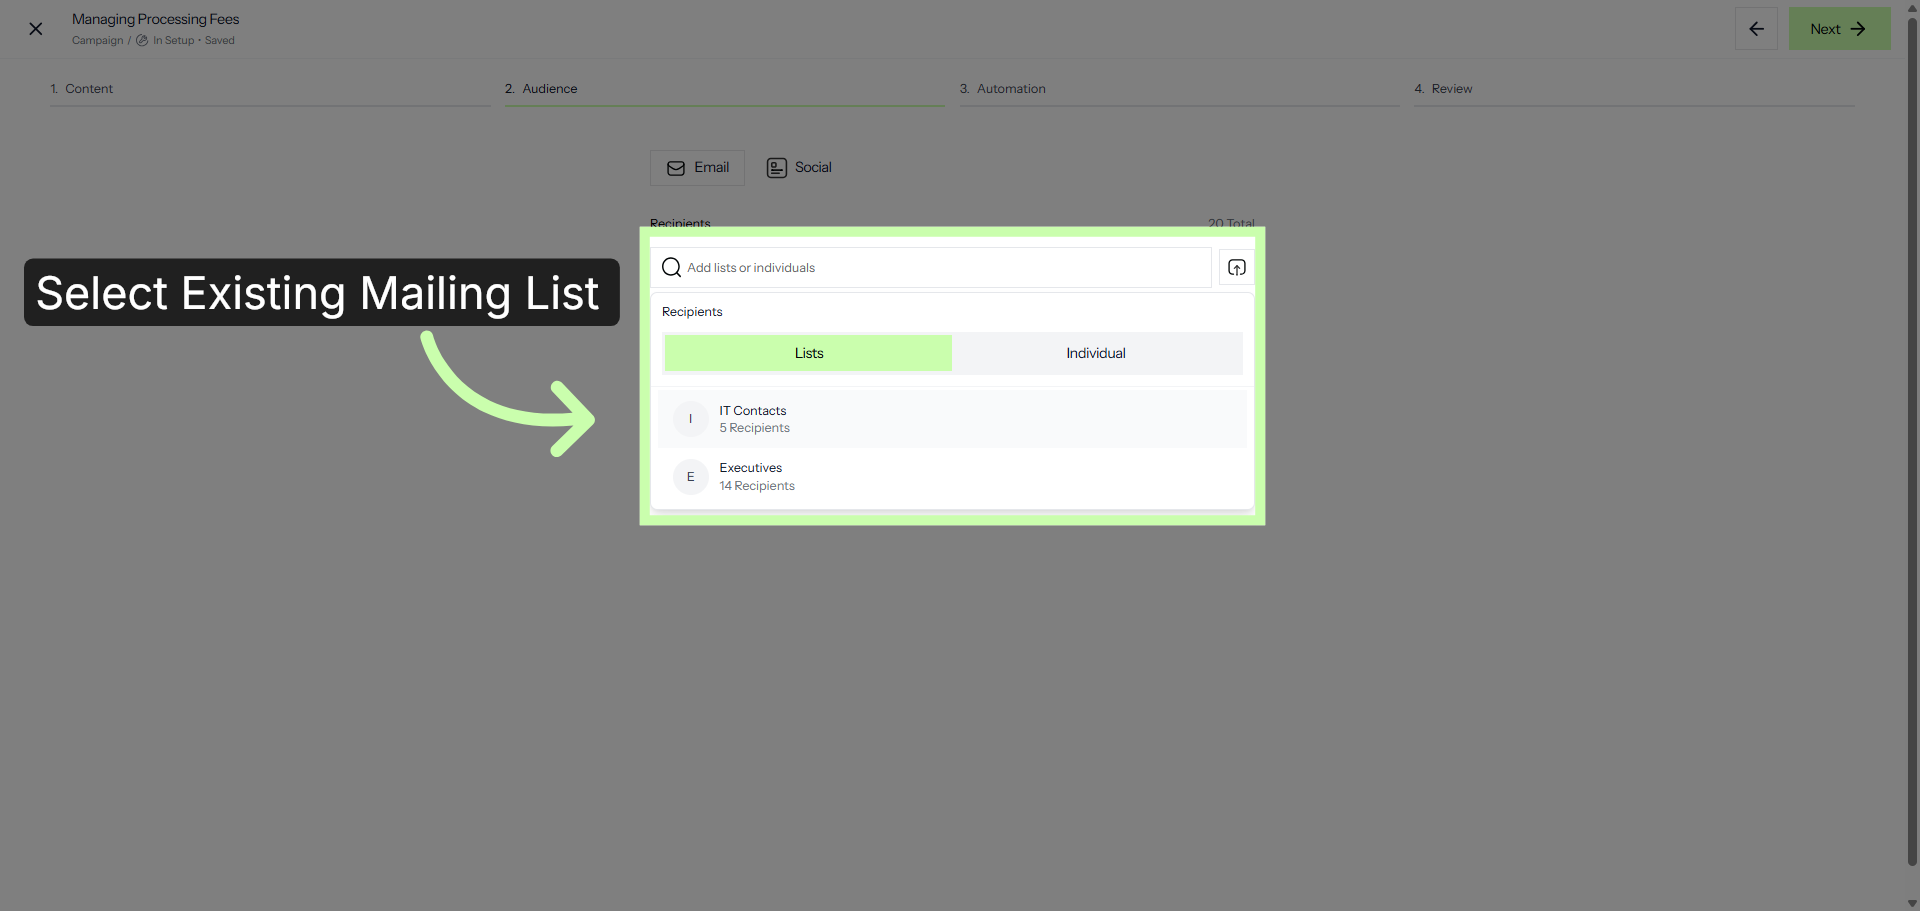
8. Choose Existing Contacts
Or, choose from an existing mailing list or individual contacts.
9. Select Social Media Accounts
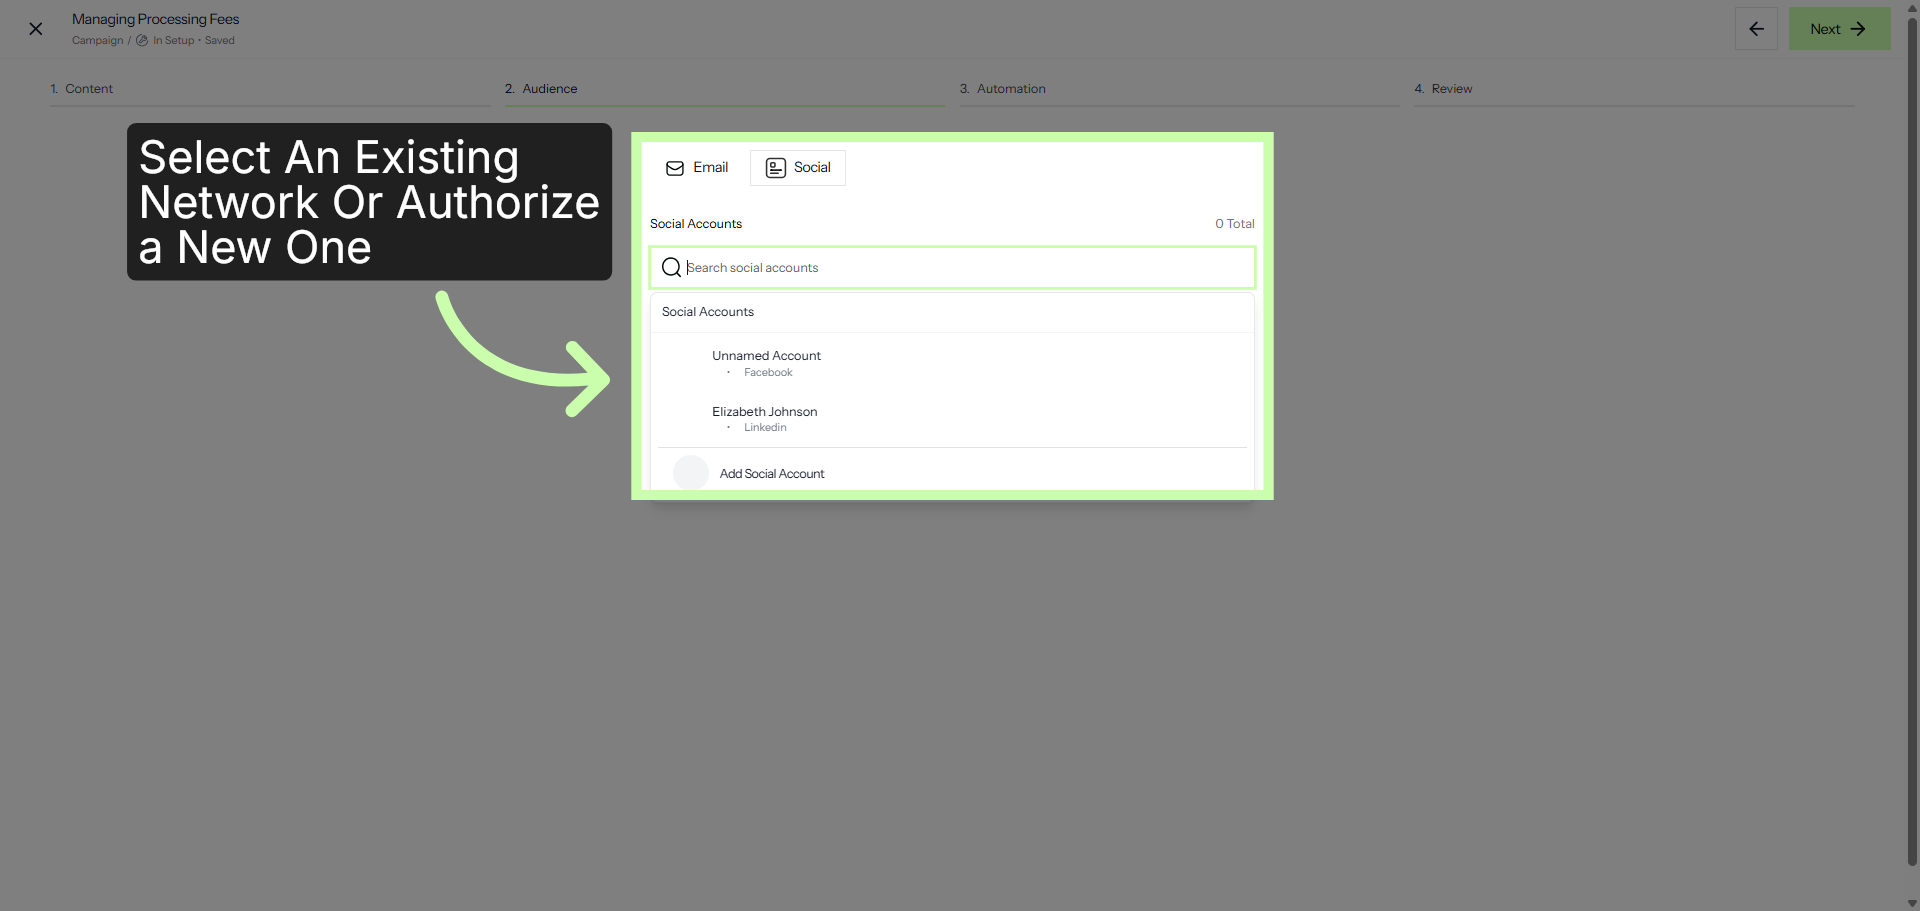
For social media assets, click the social tab, and choose existing accounts or authorize a brand new social account.
10. Select Campaign Start Date
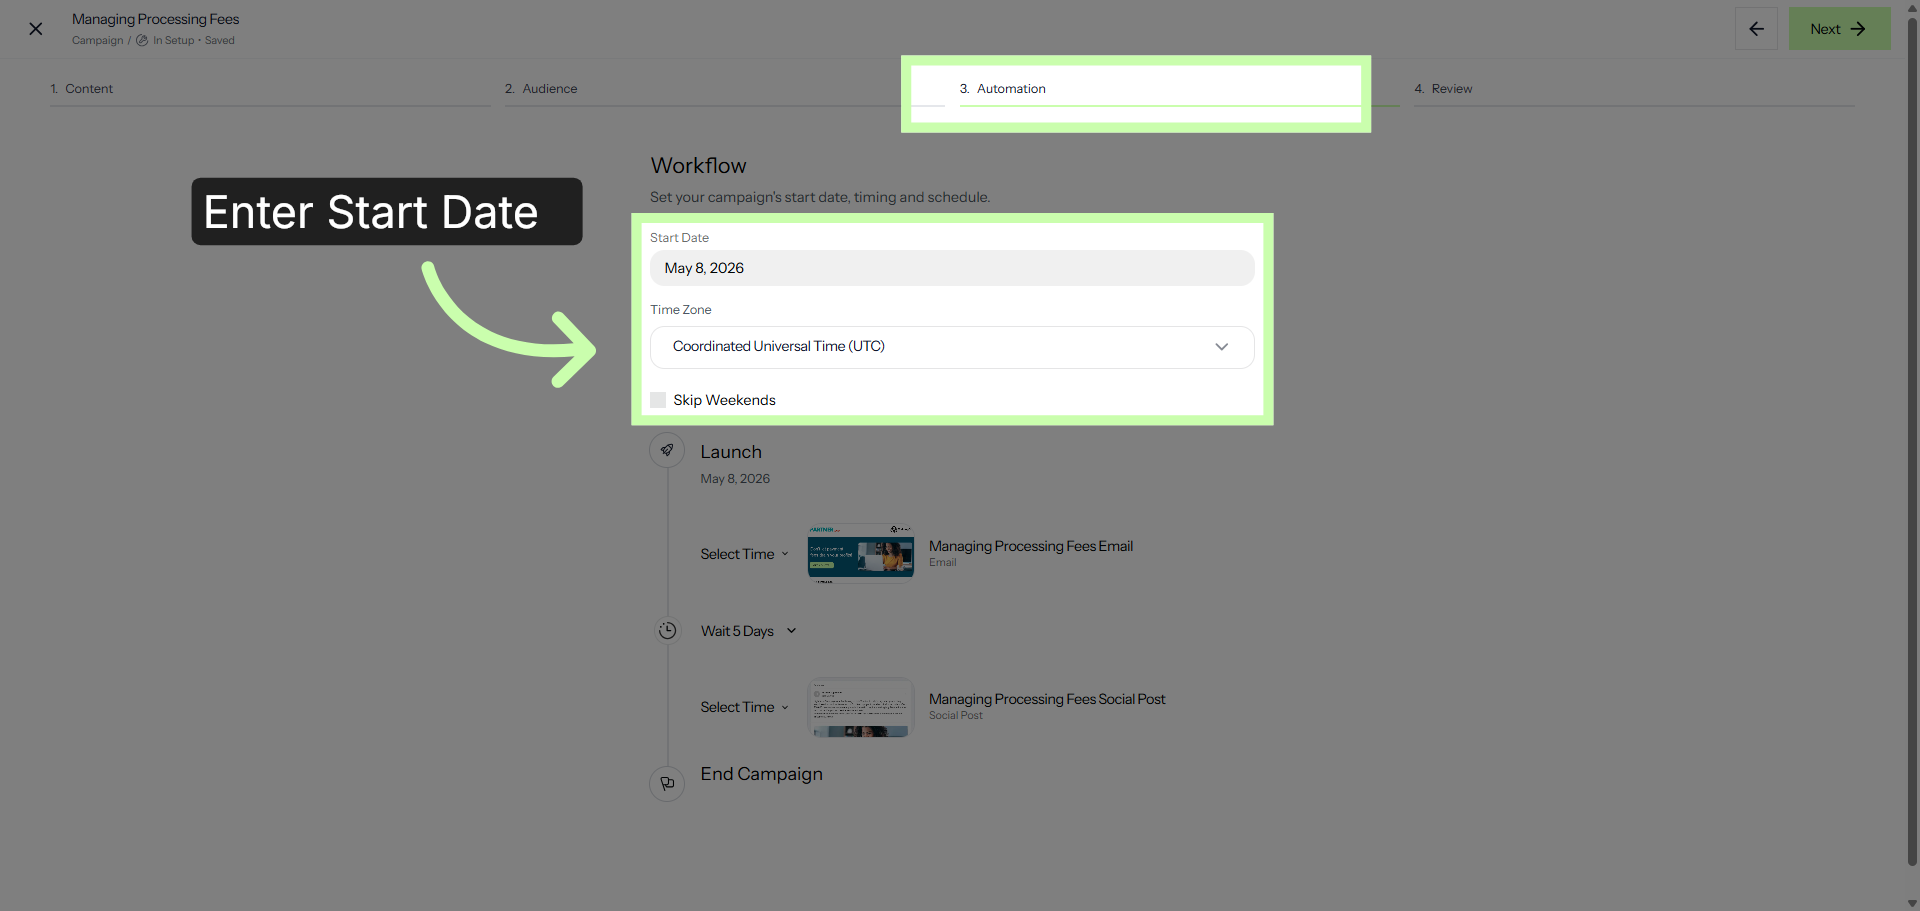
Now, use the Automation Tab to set the pace of your campaign. Enter your start date and time zone, and choose whether to enable the Skip Weekends option to keep your professional outreach timed perfectly.
11. Choose Asset Deployment Times
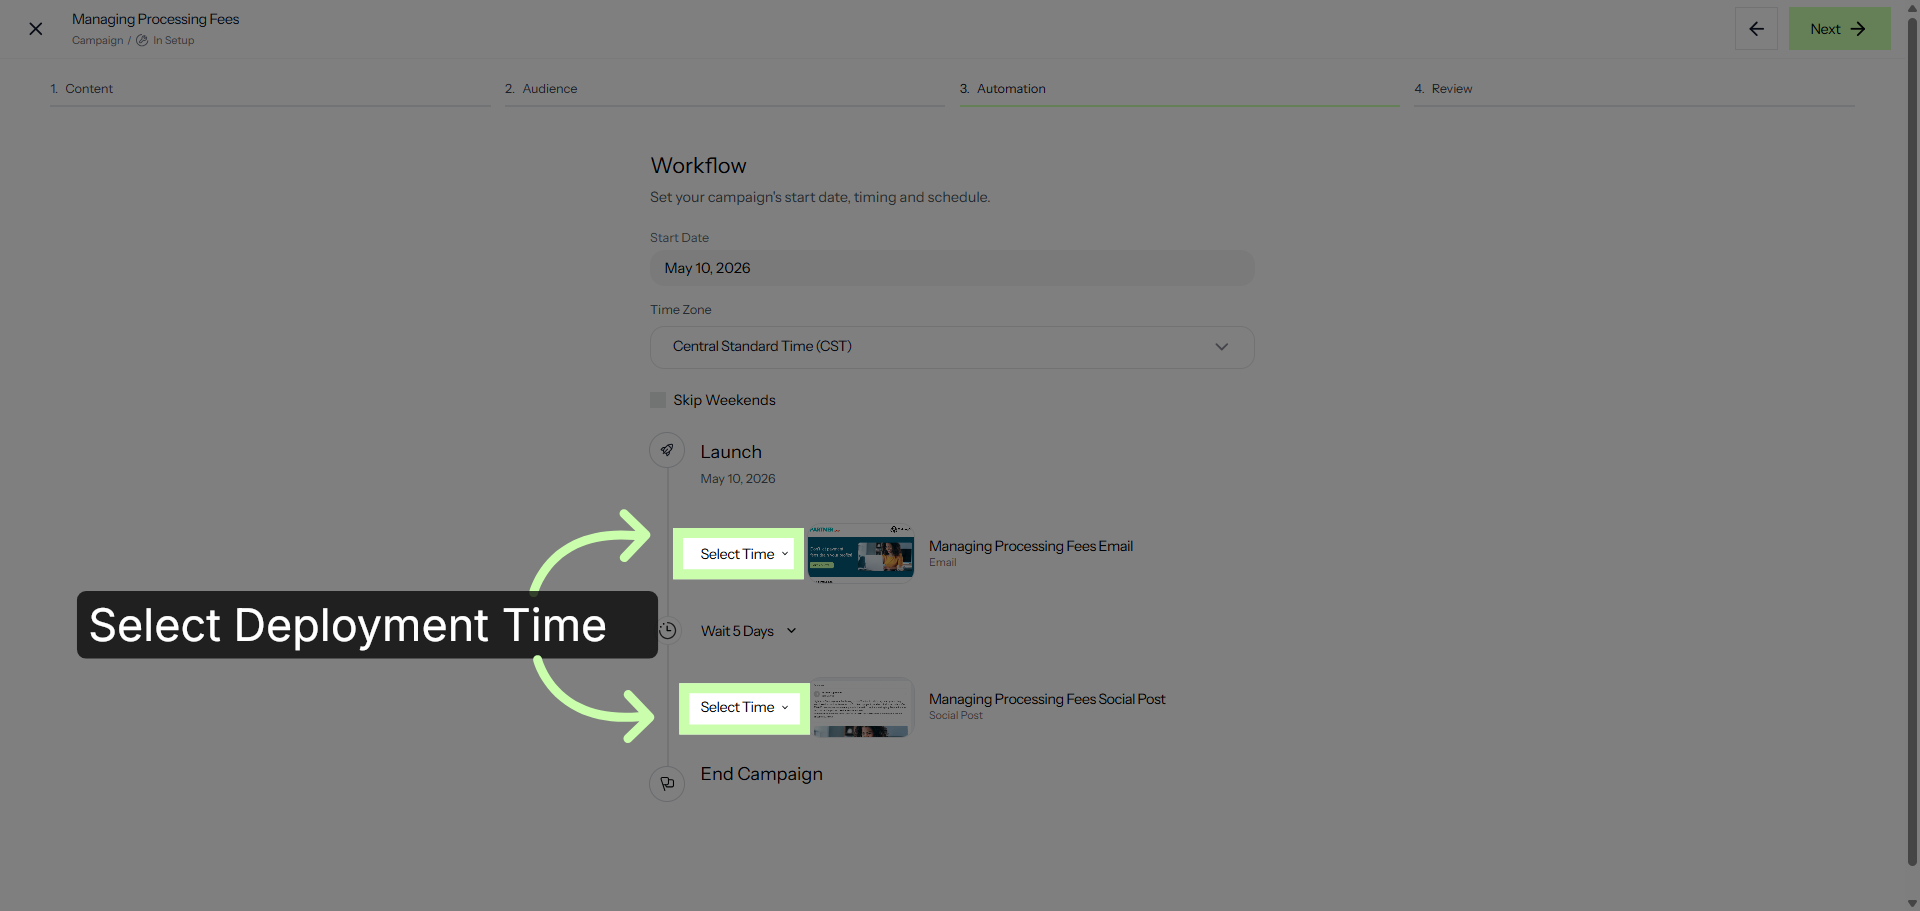
Then, for each asset, select your Deployment time.
12. Update or Remove Wait Period
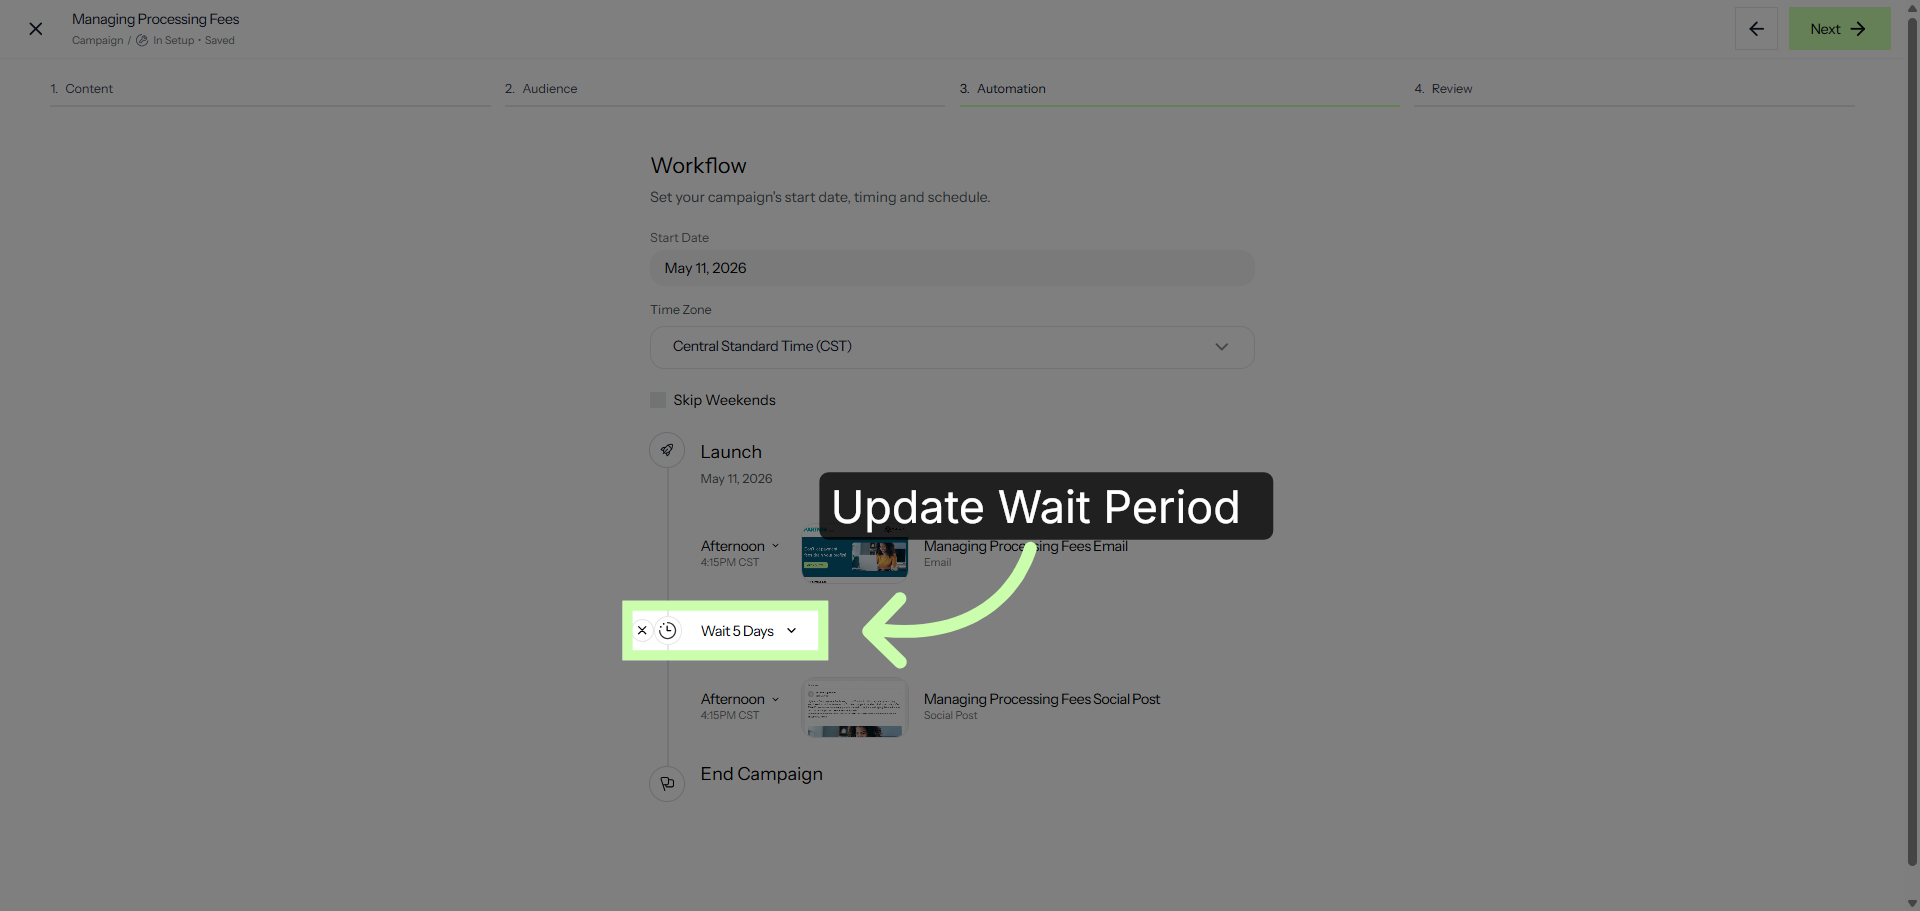
And select the desired wait period between each touchpoint to create a seamless journey for your prospects. You can also remove the delay completely by clicking on this x.
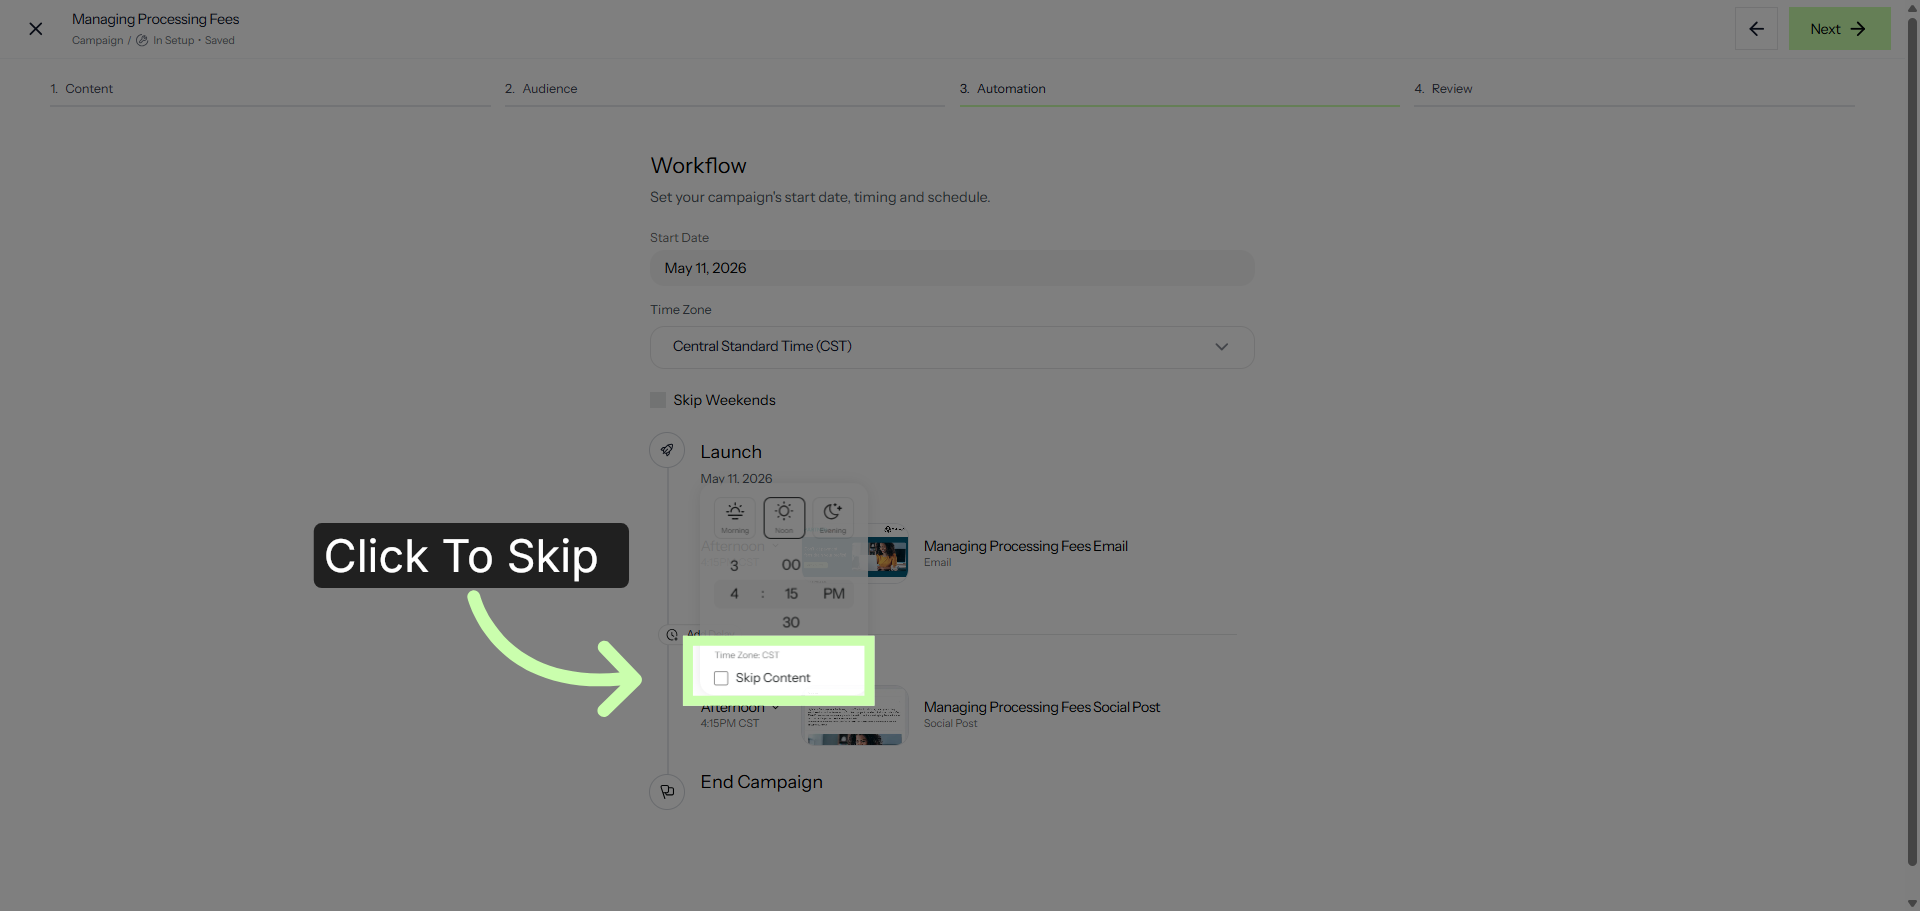
13. Skip Individual Assets
Or skip an asset altogether.
14. Review Campaign Details
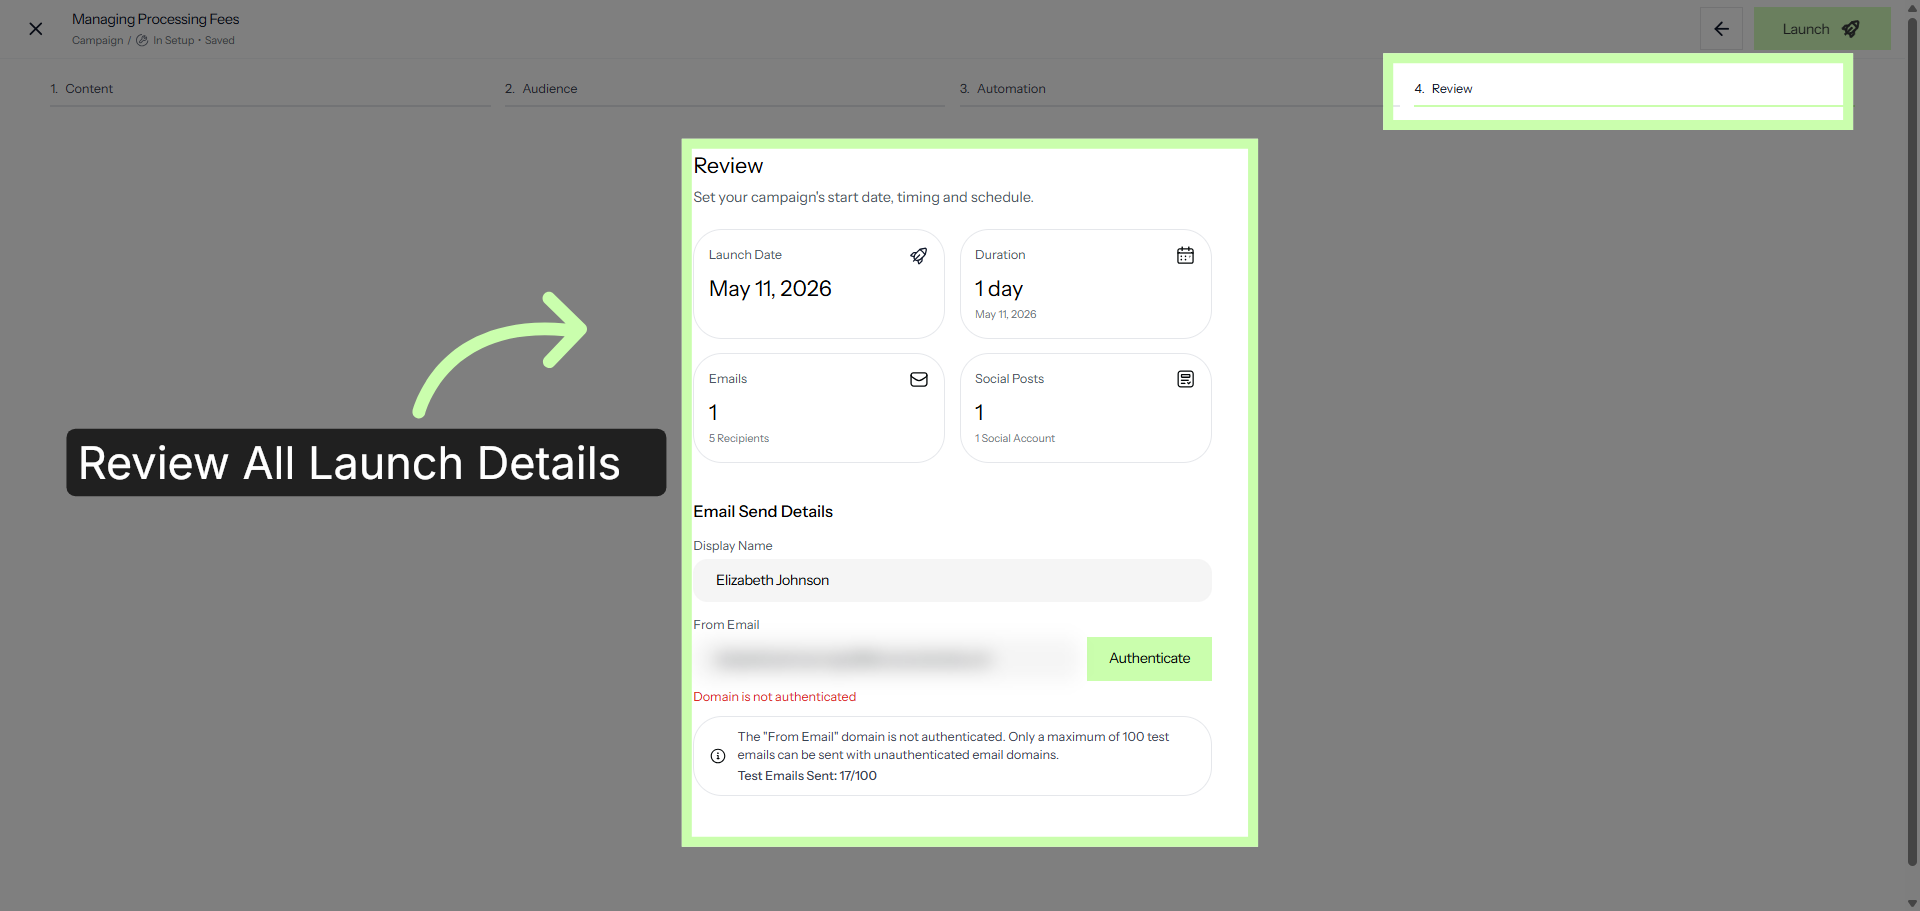
The final step is the Review Tab. This is your dashboard to double-check the launch date, duration, and the total number of assets being deployed. Enter your sender display name and authenticated email address to ensure high deliverability.
15. Launch Campaign
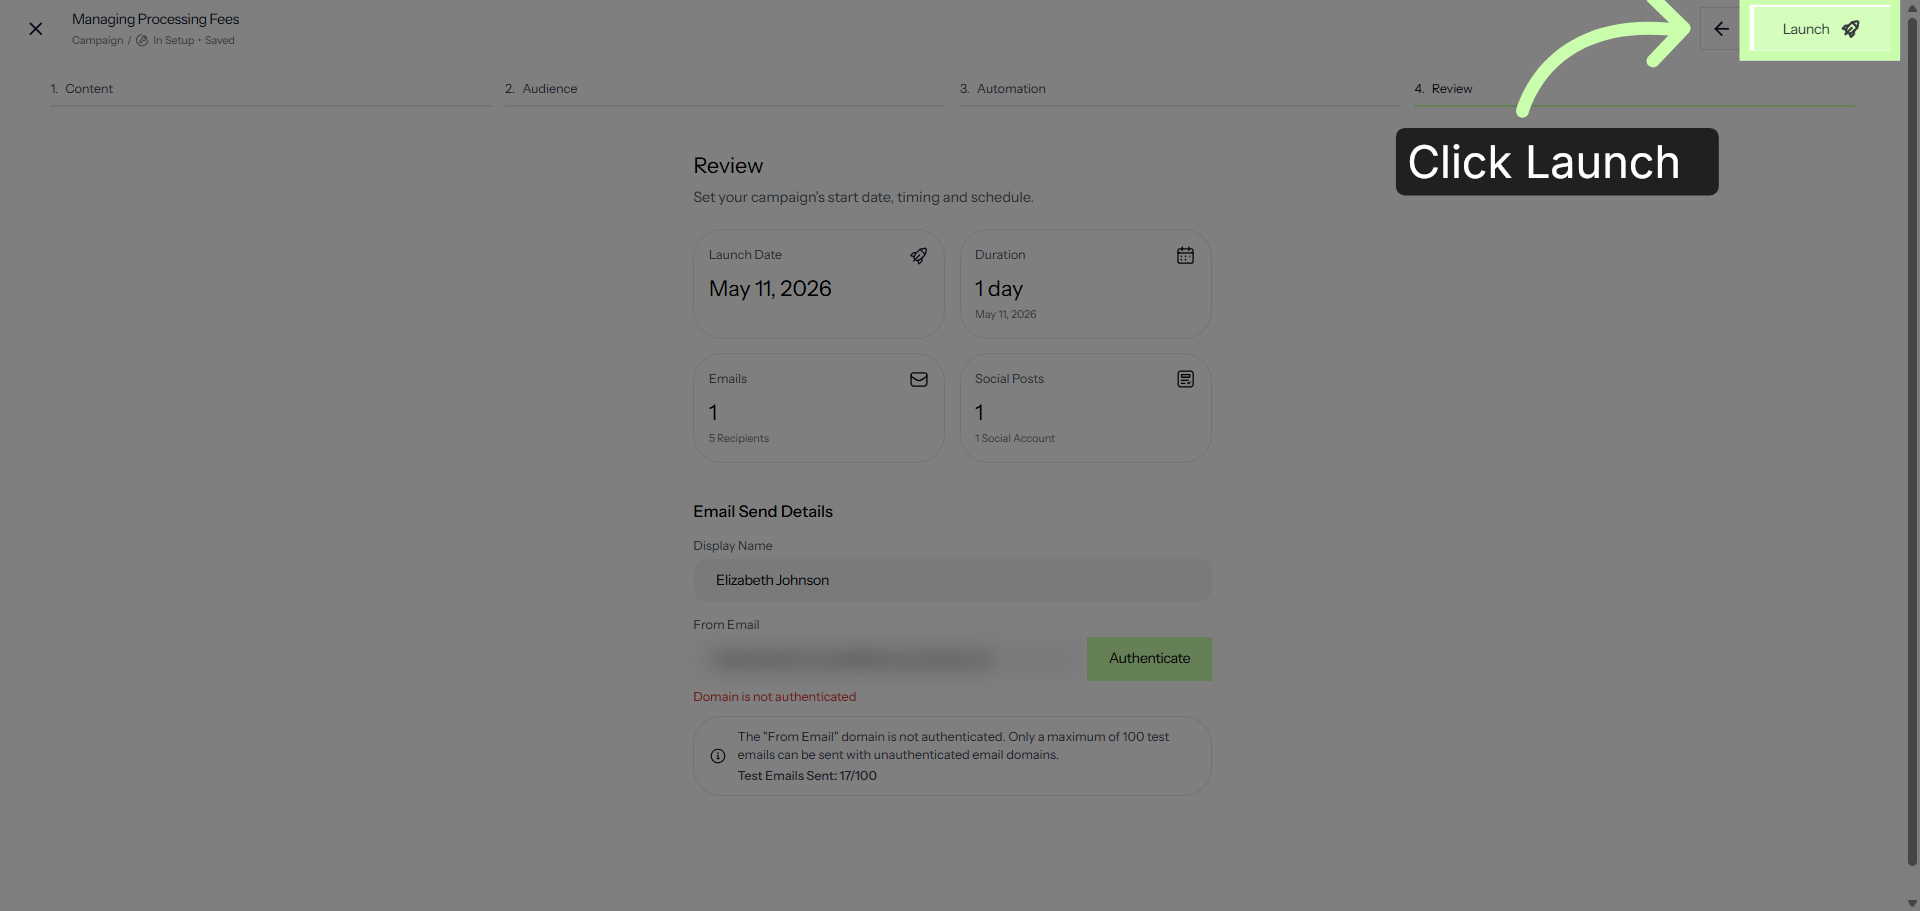
When everything is aligned, click Launch in the top right corner to officially launch your campaign.
16. View Scheduled Campaign
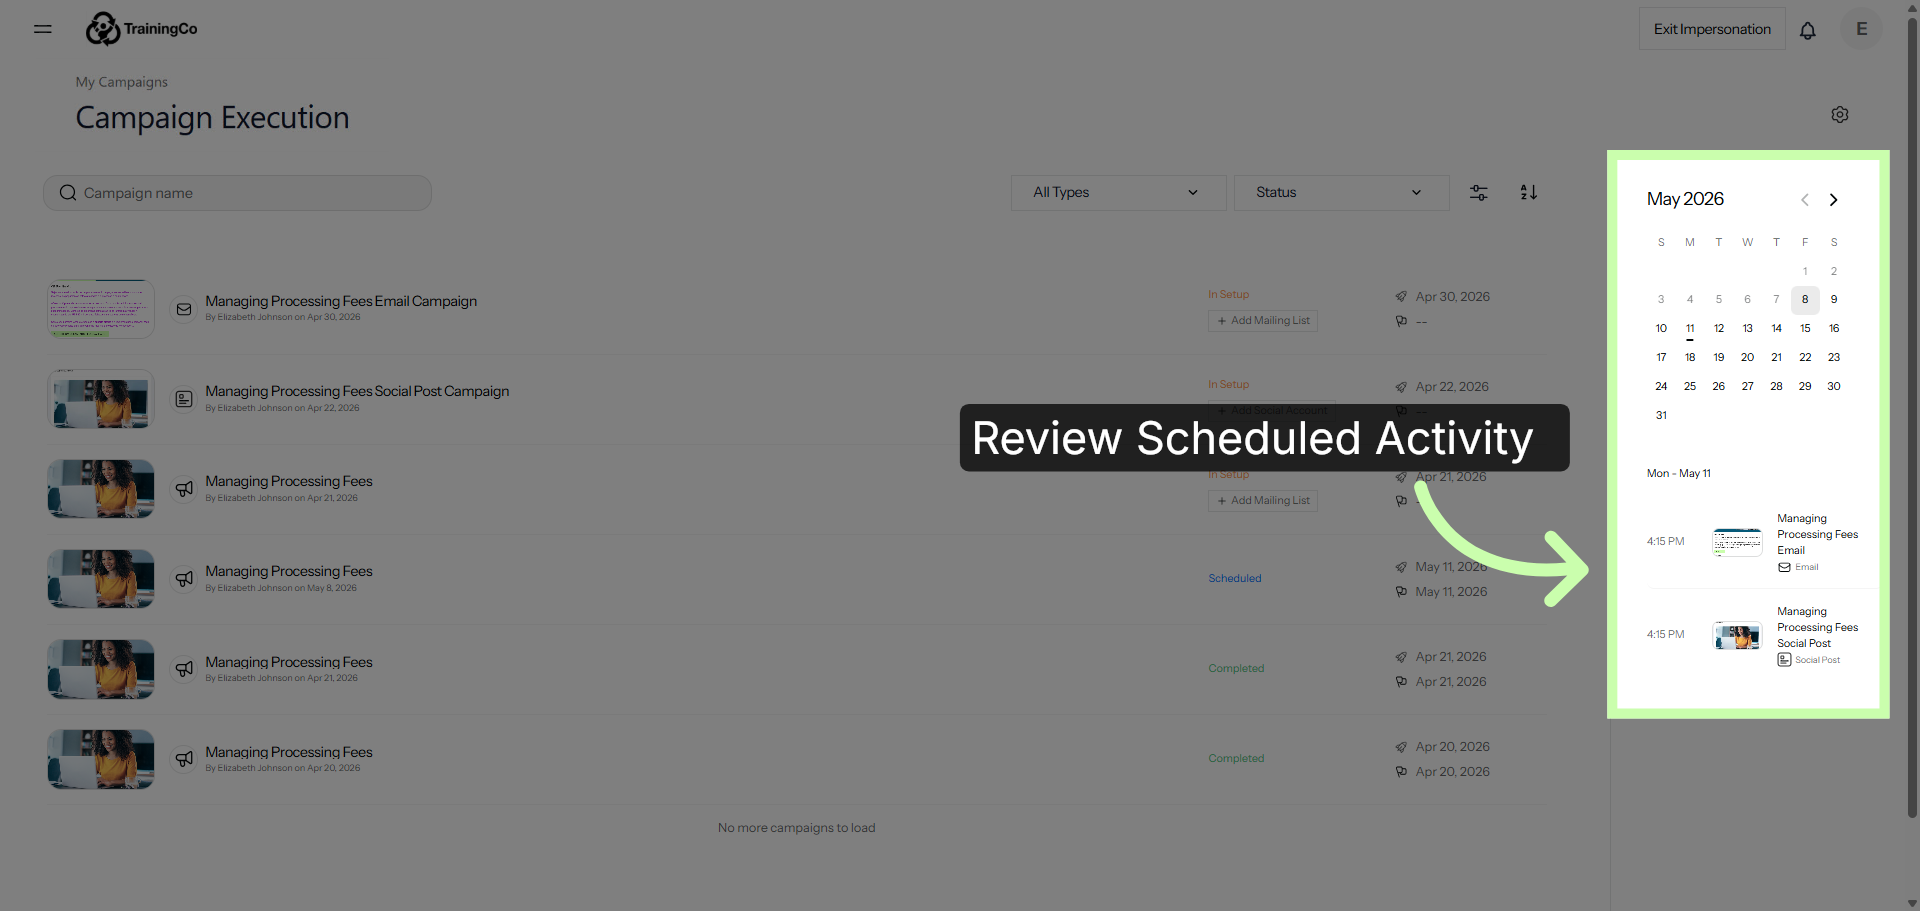
This automatically brings you to the My Campaigns dashboard, where you can view all your scheduled activity at a glance.
17. Filter Scheduled Campaigns
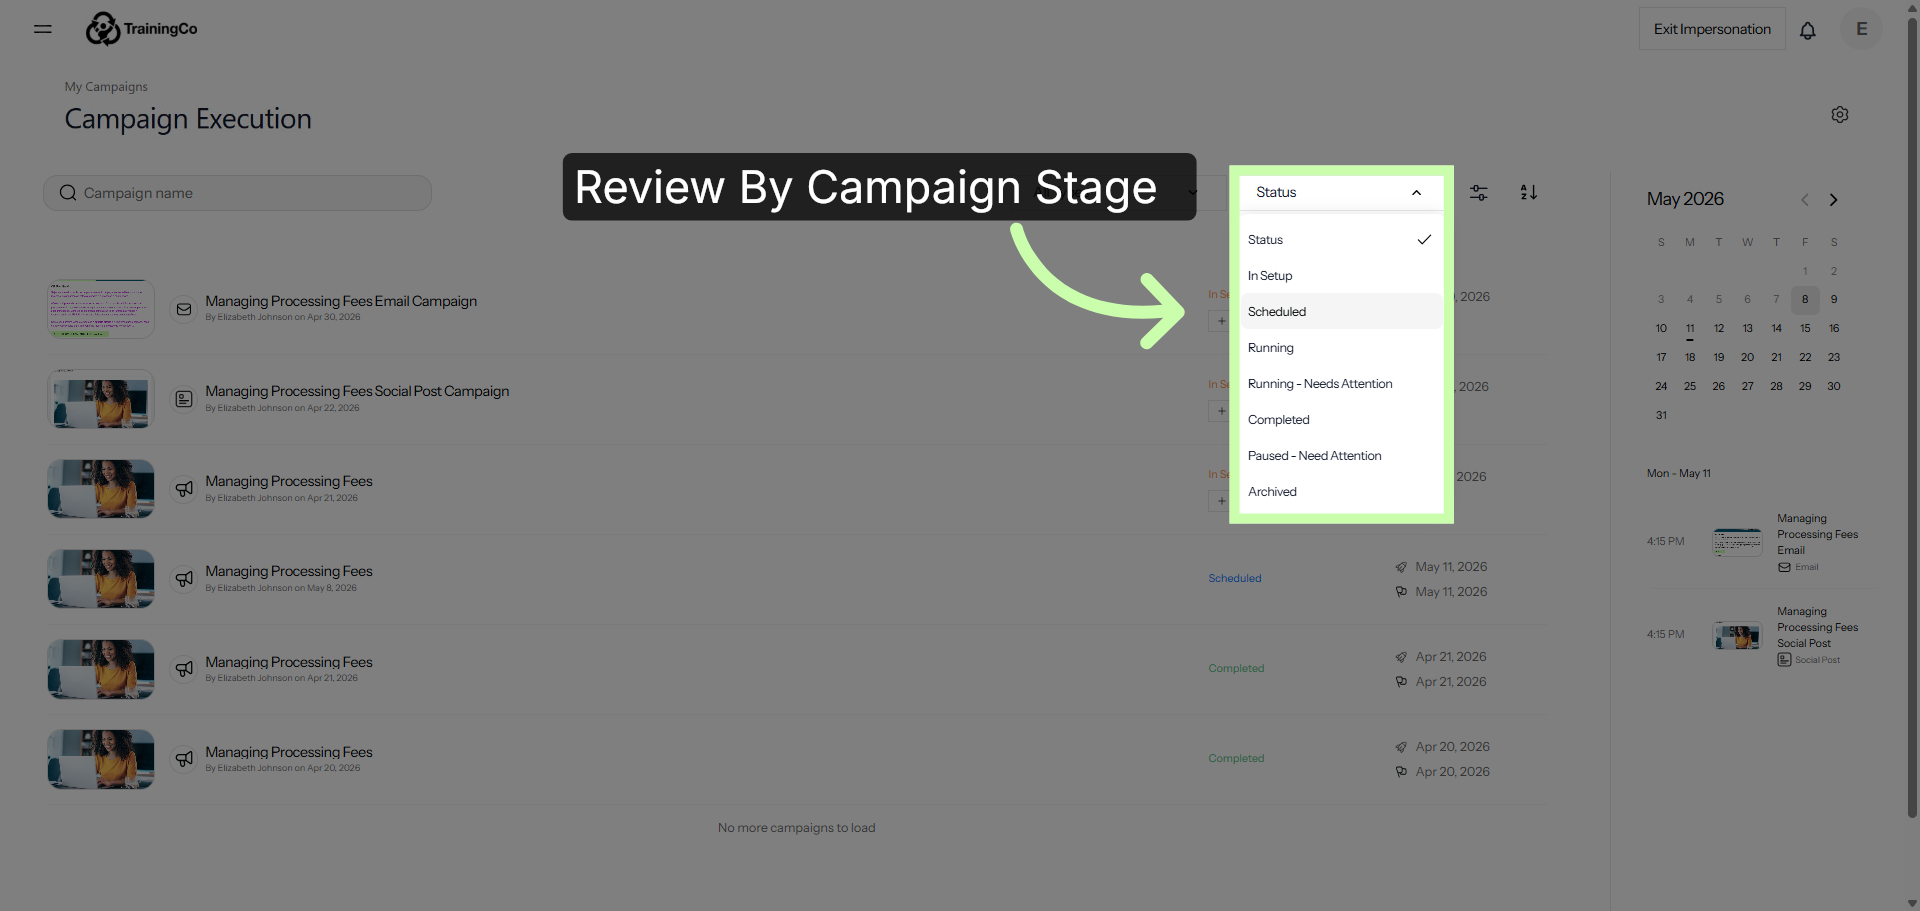
Use this drop-down menu to review all your campaigns at any stage of execution
Once launched, your campaign is officially in motion, ready to engage your audience and deliver measurable impact.