
 Structured AI Introduction to the Portal Page Editor
Estimated Time
~1 Hour
Current Phase
Phase 1
What You'll Accomplish
- How to use the Portal Builder to create, customize, and manage portal pages tailored to your specific needs.
- How portal page layouts directly shape the partner experience, including navigation, usability, and visual design.
- How the default Home page functions as a built-in starting point to support quick access to key portal features.
- How to leverage self-service tools to independently build additional pages and customize templates without external support.
|
Before you begin — open your account This is a hands-on, learning-by-doing session. Open app.structured.ai in your browser and log in to your Tenant Account so you can follow along and apply each step in real time. |
Follow Our Step-By-Step Training
1. Introduction
This tutorial introduces you to the Portal Page Editor, allowing you complete control over your home page experience. You will learn the essentials of Portal Home Page editing, from basic navigation and adding sections to updating content and using built-in AI to speed up your workflow.
2. Expand Sidebar Navigation
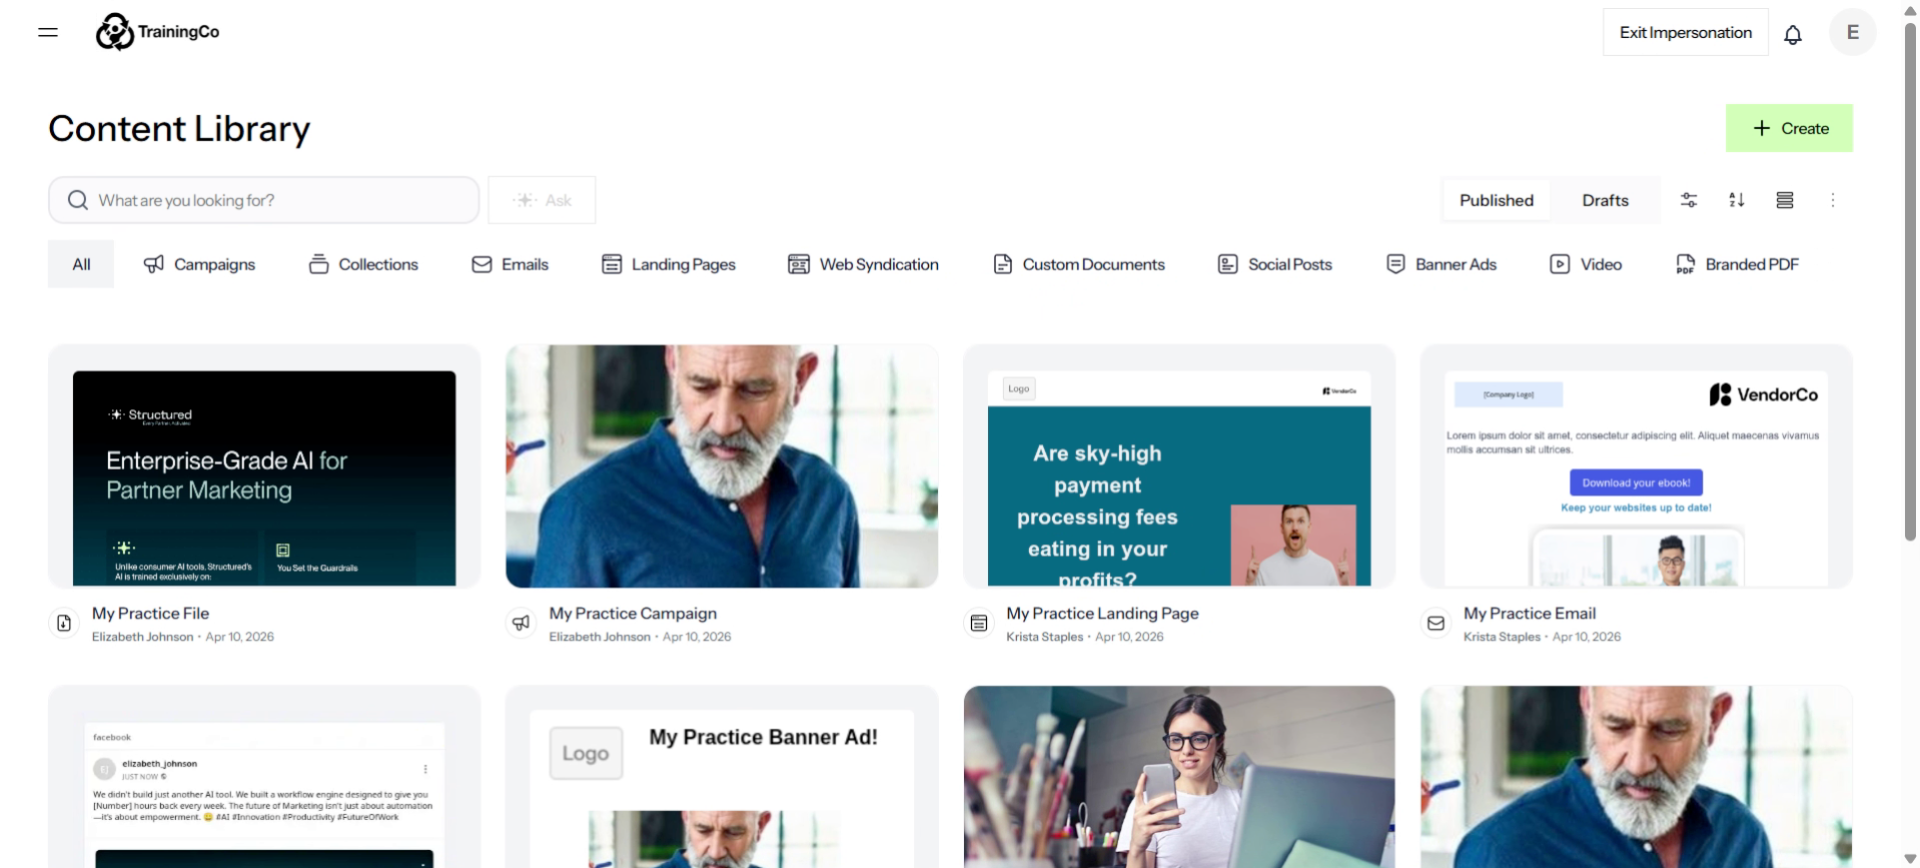
To get started, expand the main menu.
3. Access Portal Section
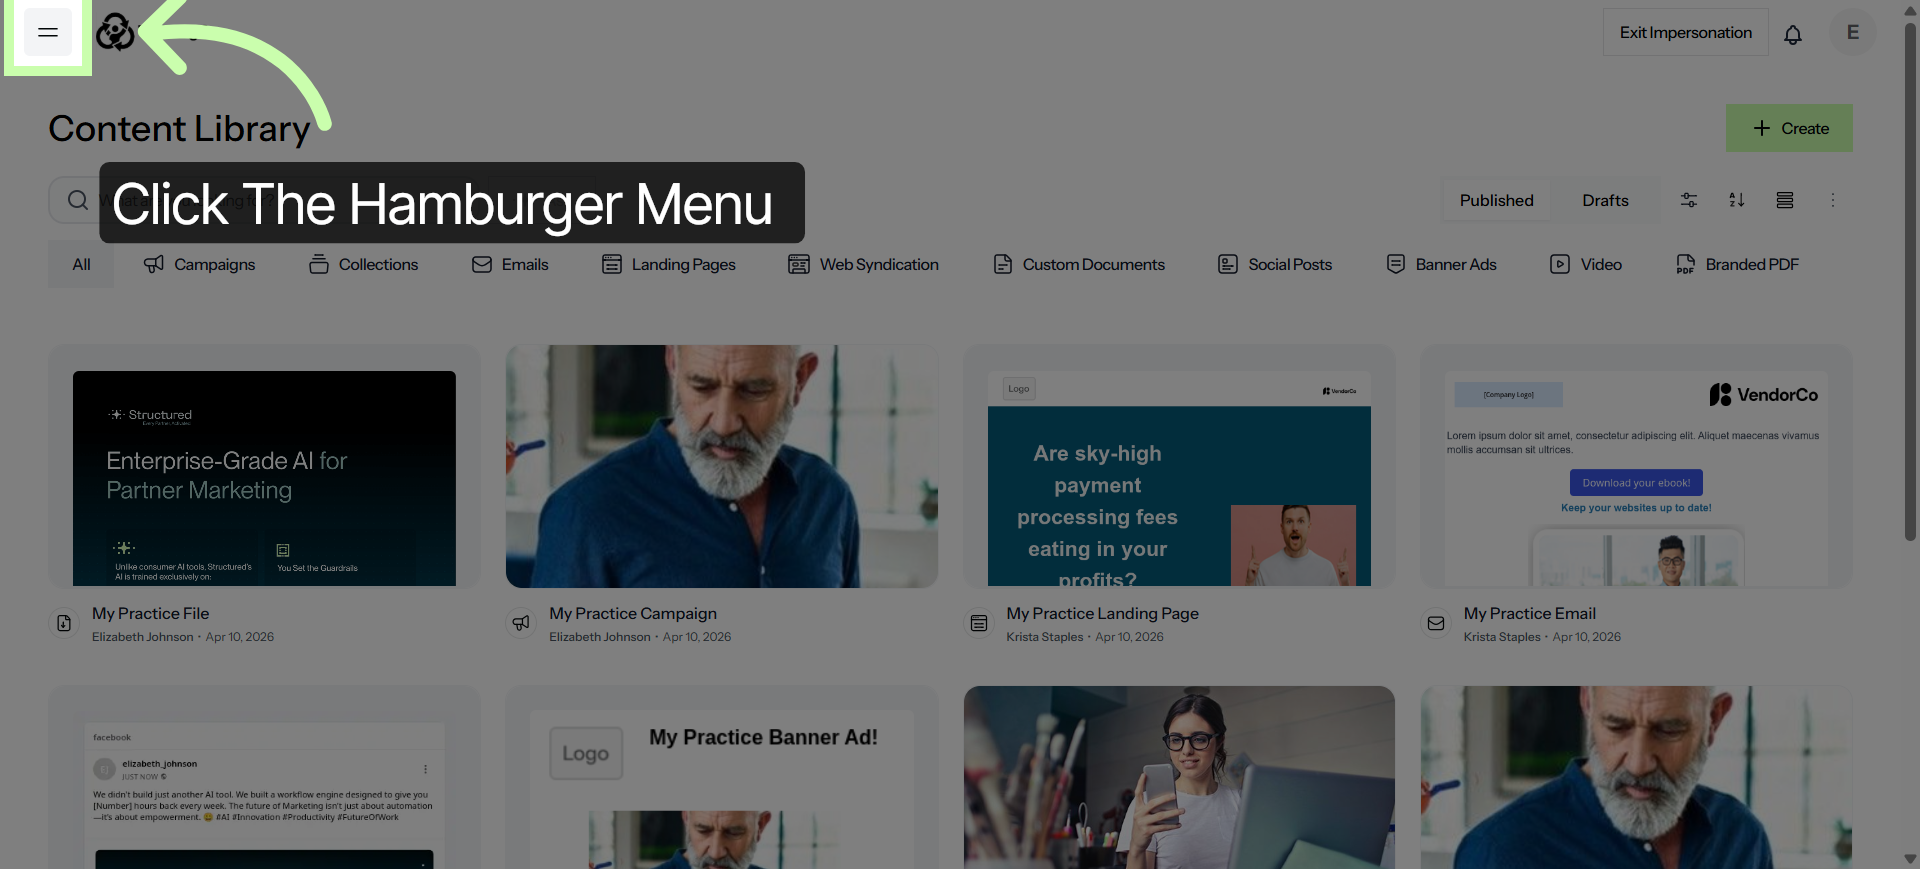
Click the Portal menu option to open the Portal Management area.
4. Open Portal Editor
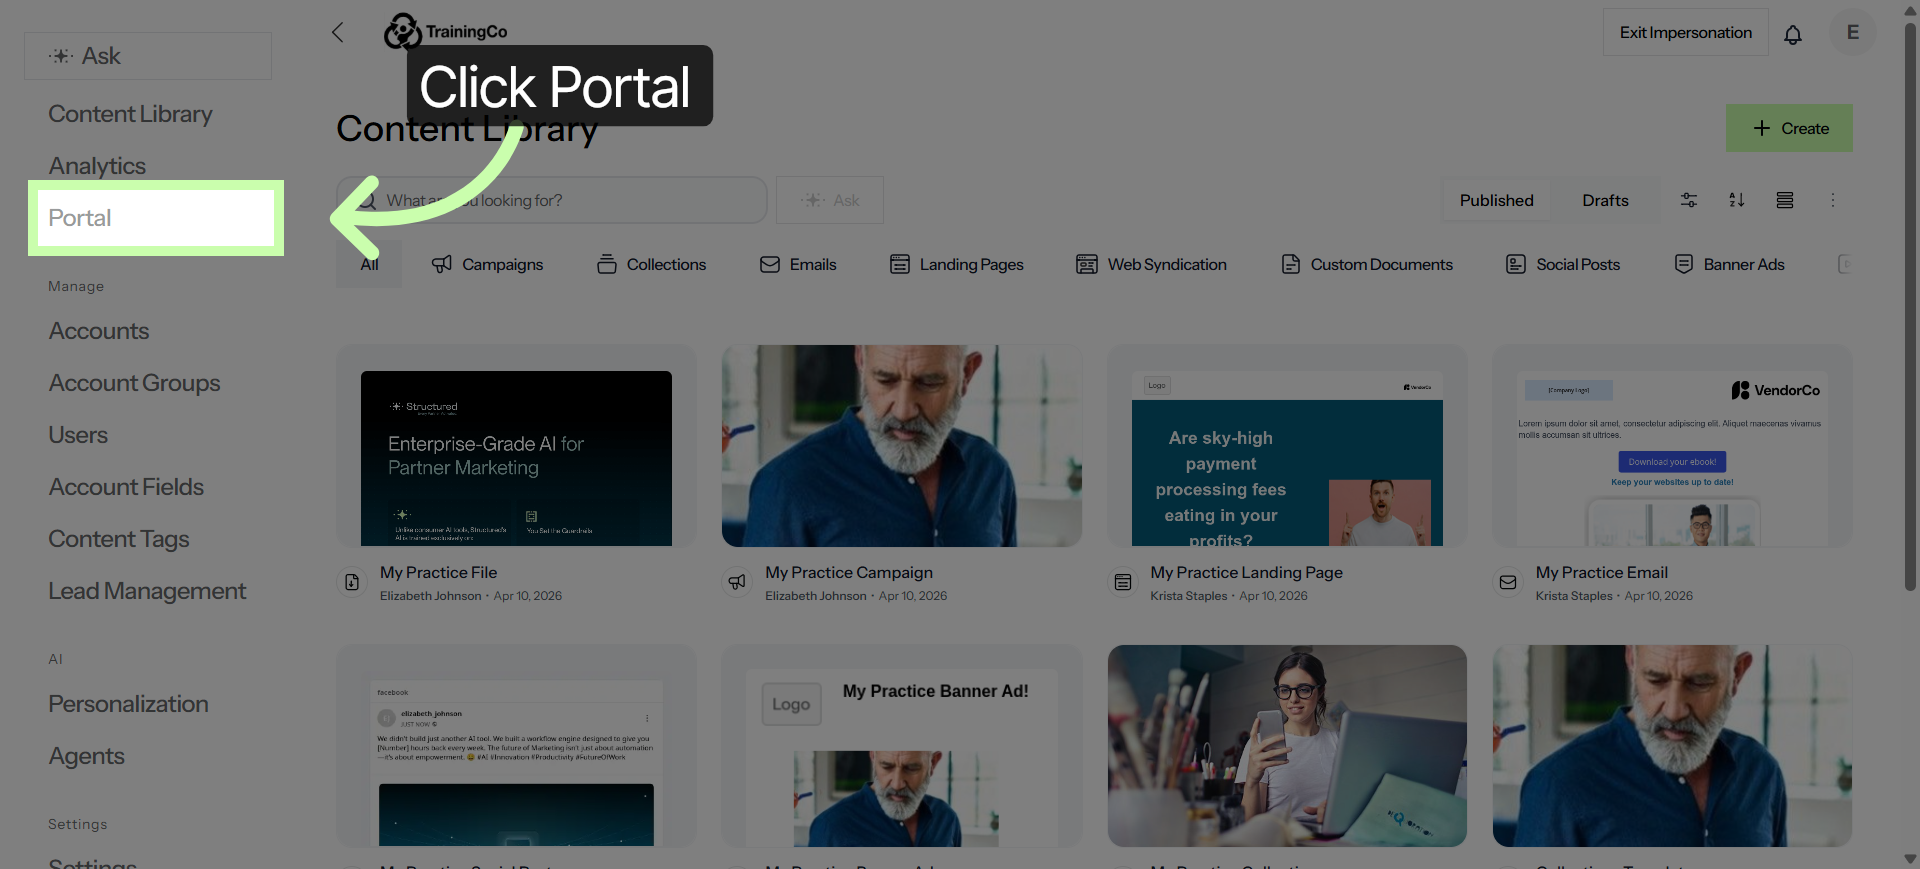
In order to begin building, click on the home page card to open the Portal editor.
5. Add New Page
Once you are in the Portal Editor, on the left you'll see a Pages section. Click the + plus sign to add a New Page.
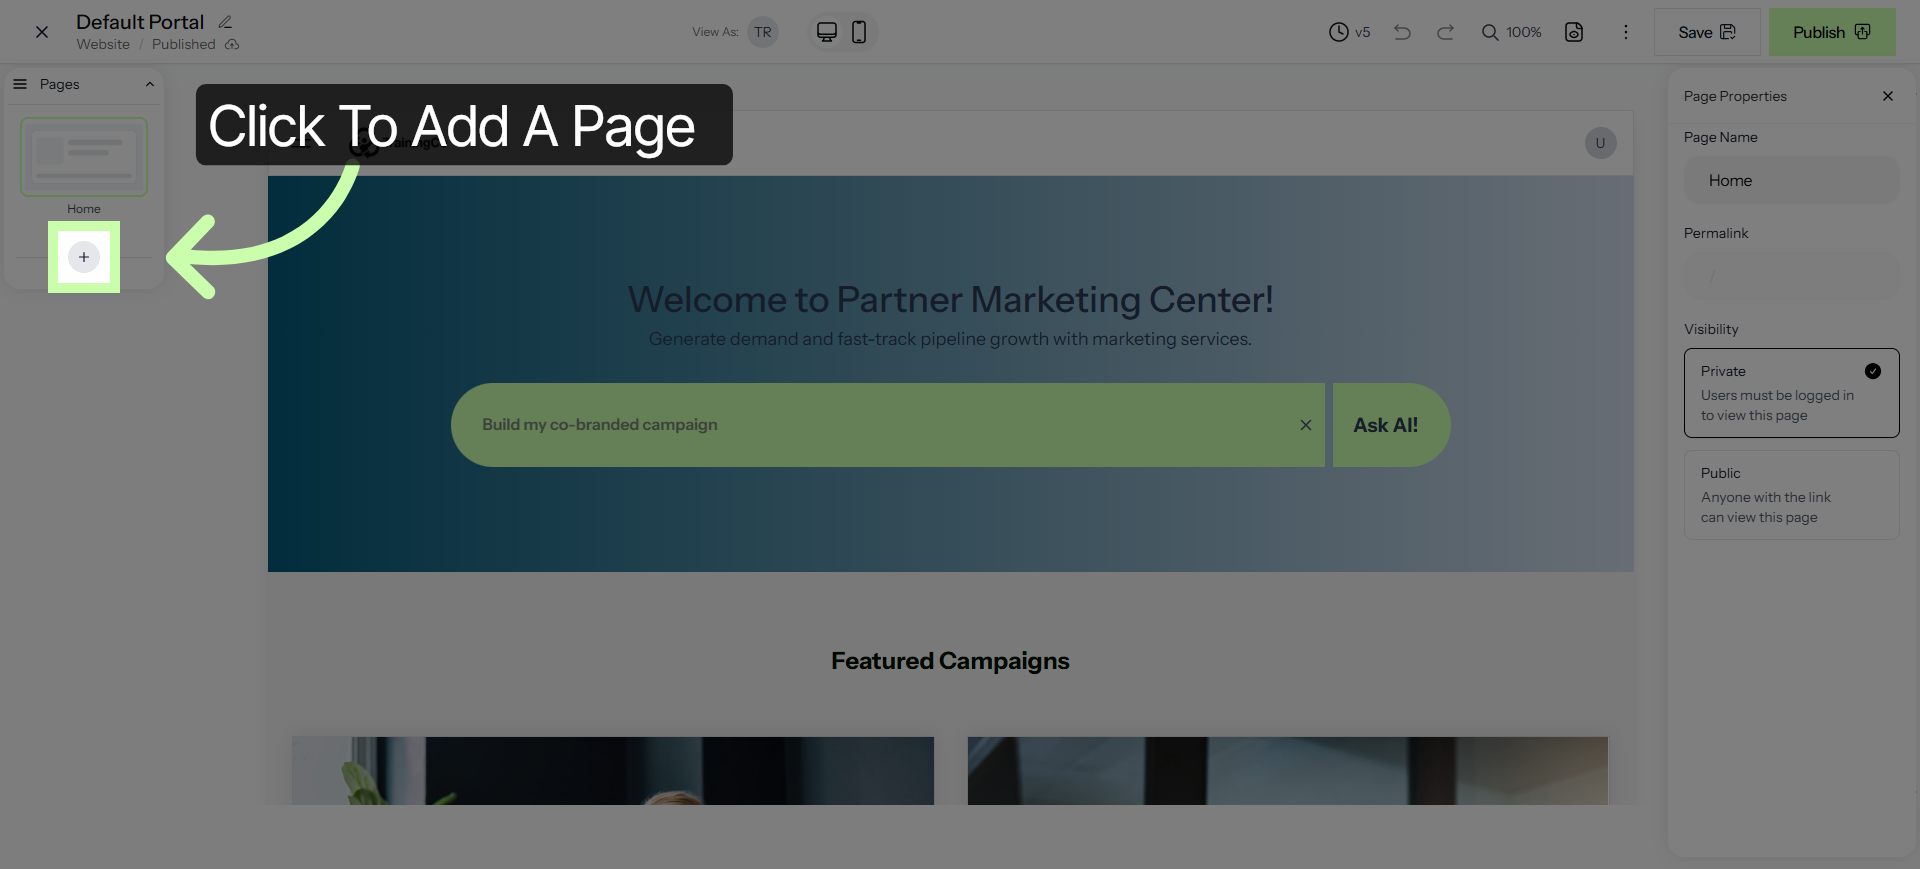
6. Name Your Page
On the right, you will have the Pages Properties Panel giving you the power to rename your page.
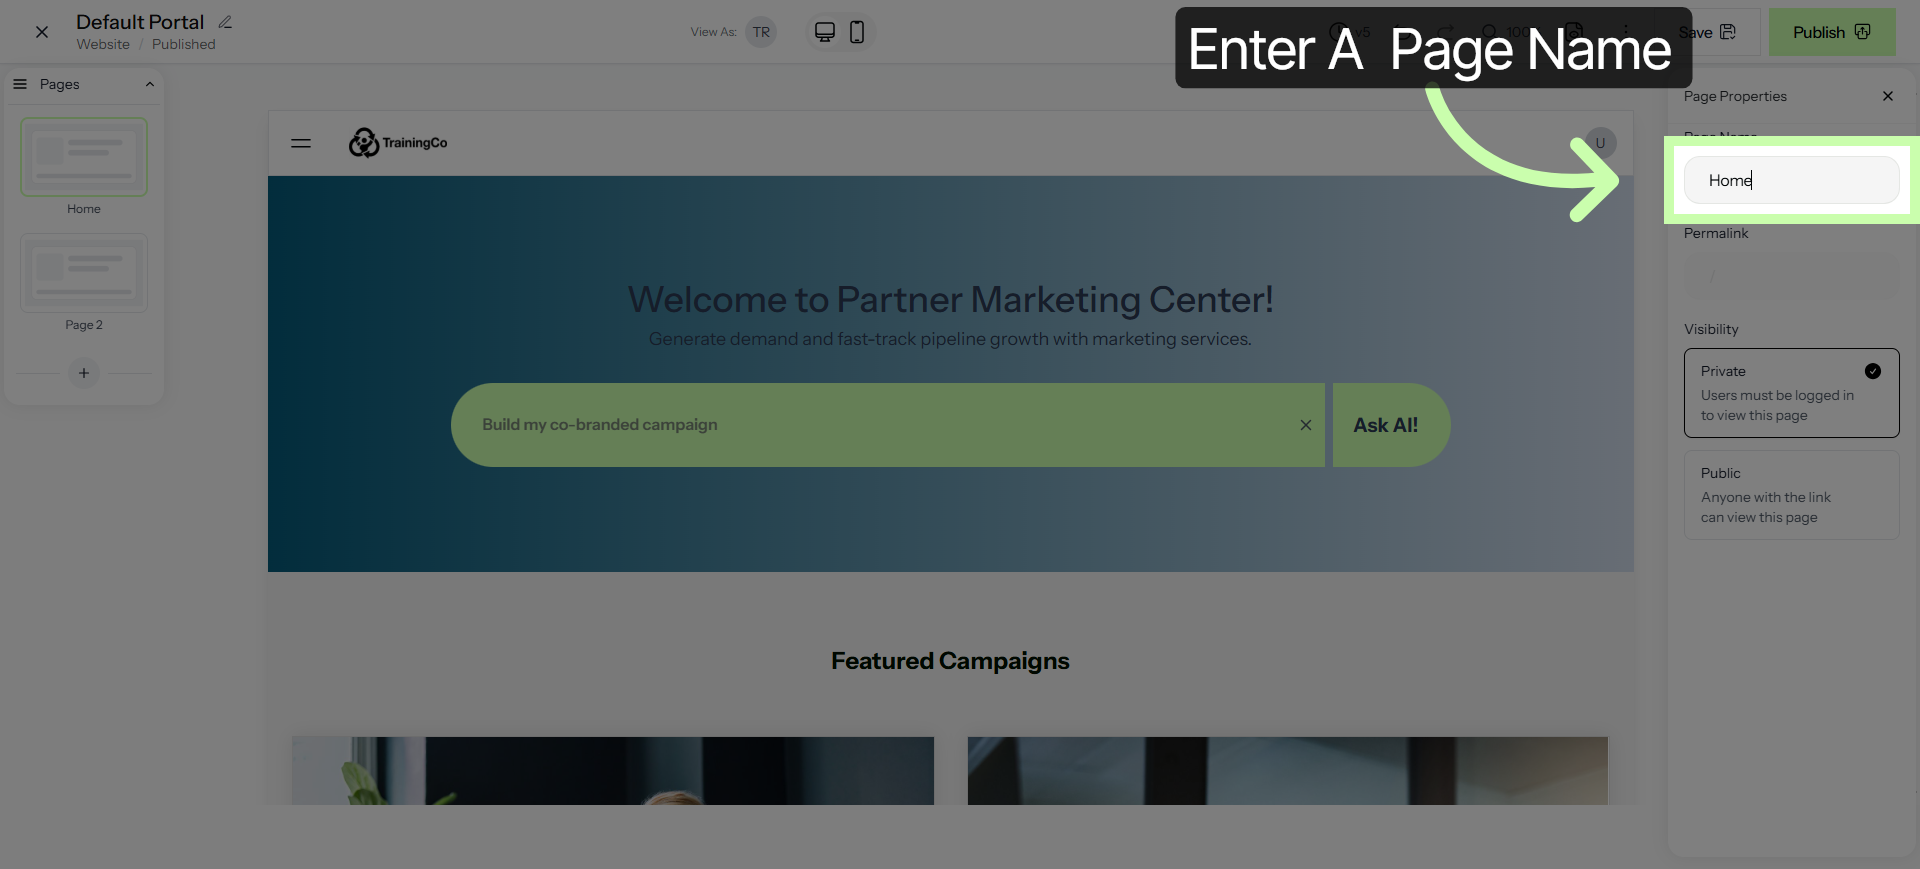
7. Set Page Visibility
While there, you can toggle it's visibility to control whether the page is public or private.
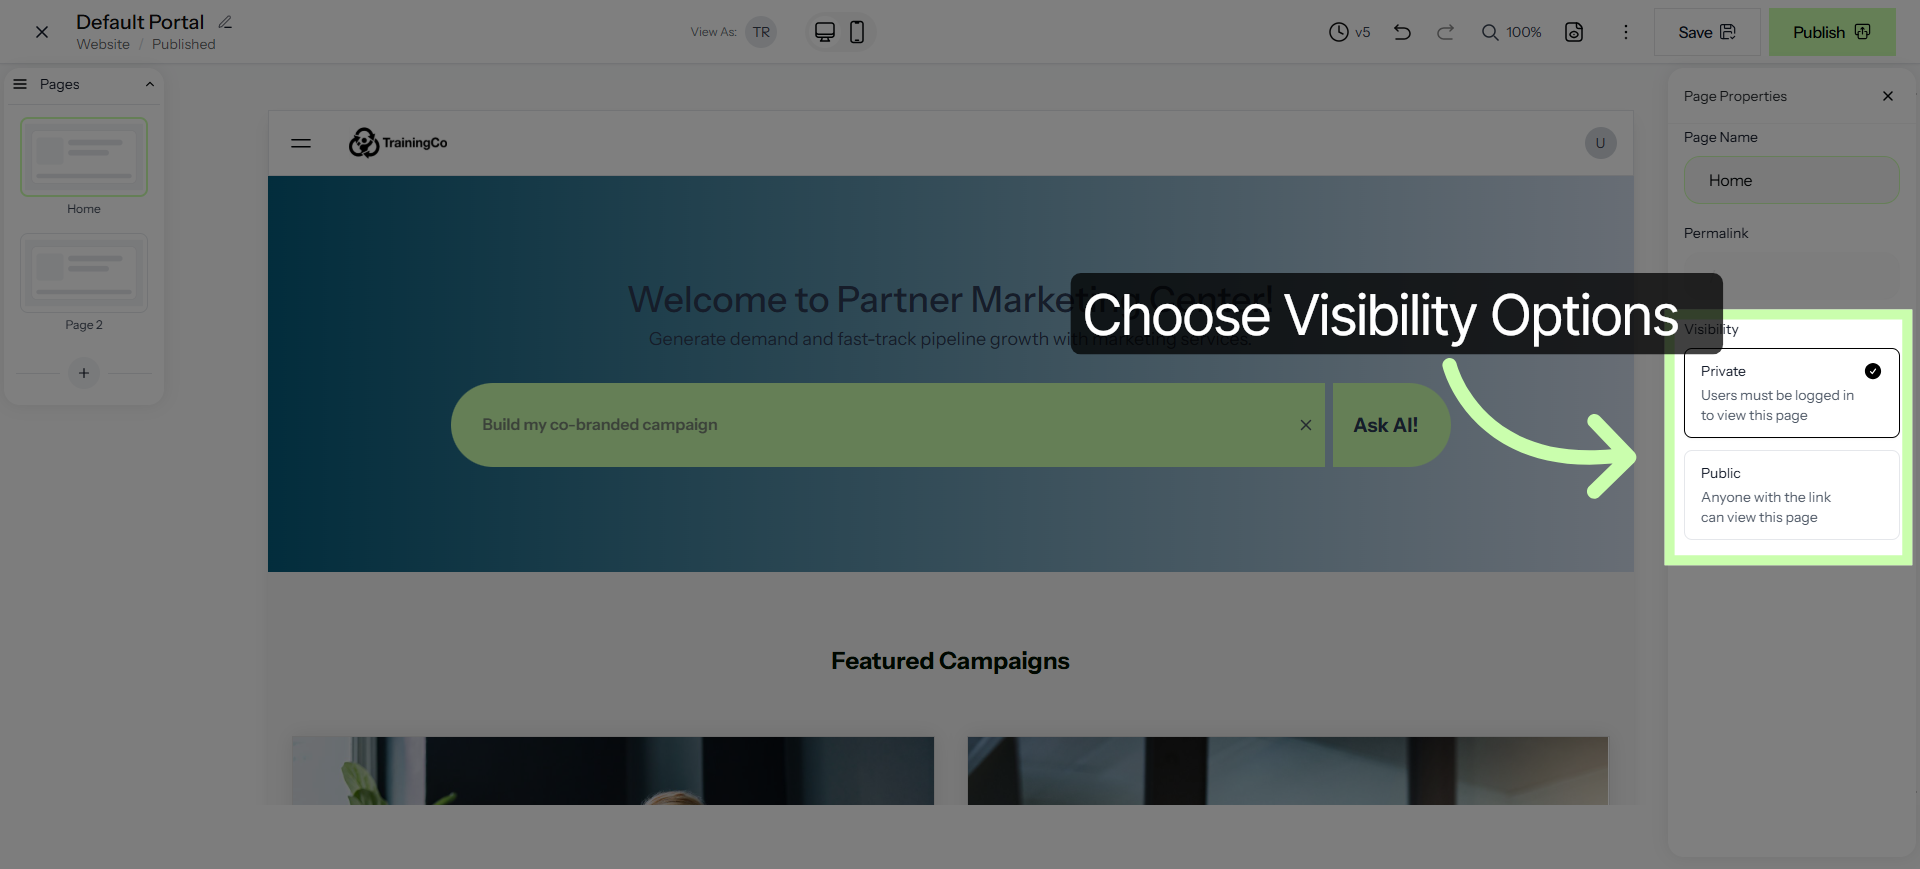
8. Edit Welcome Message
Adding content is intuitive. When you click inside any existing section, you’ll see two plus signs appear. Click inside any section to activate. This allows you to drop in new content exactly where you want it, either above or below the current section.
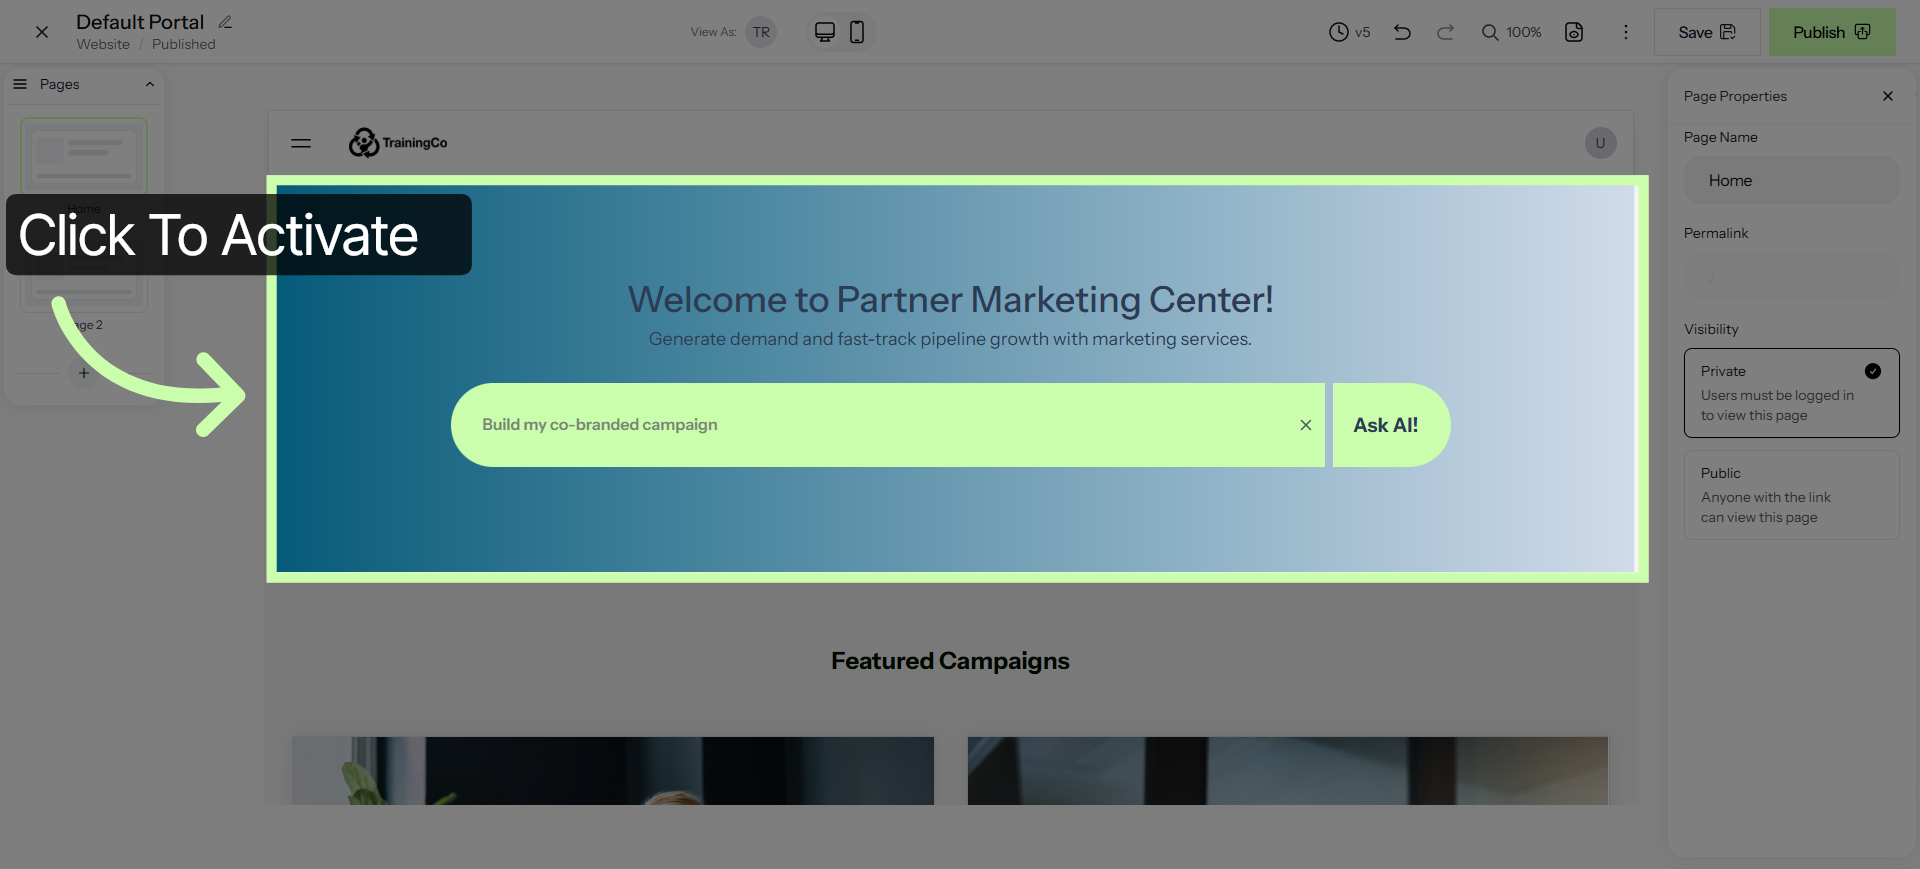
9. Open Content Library
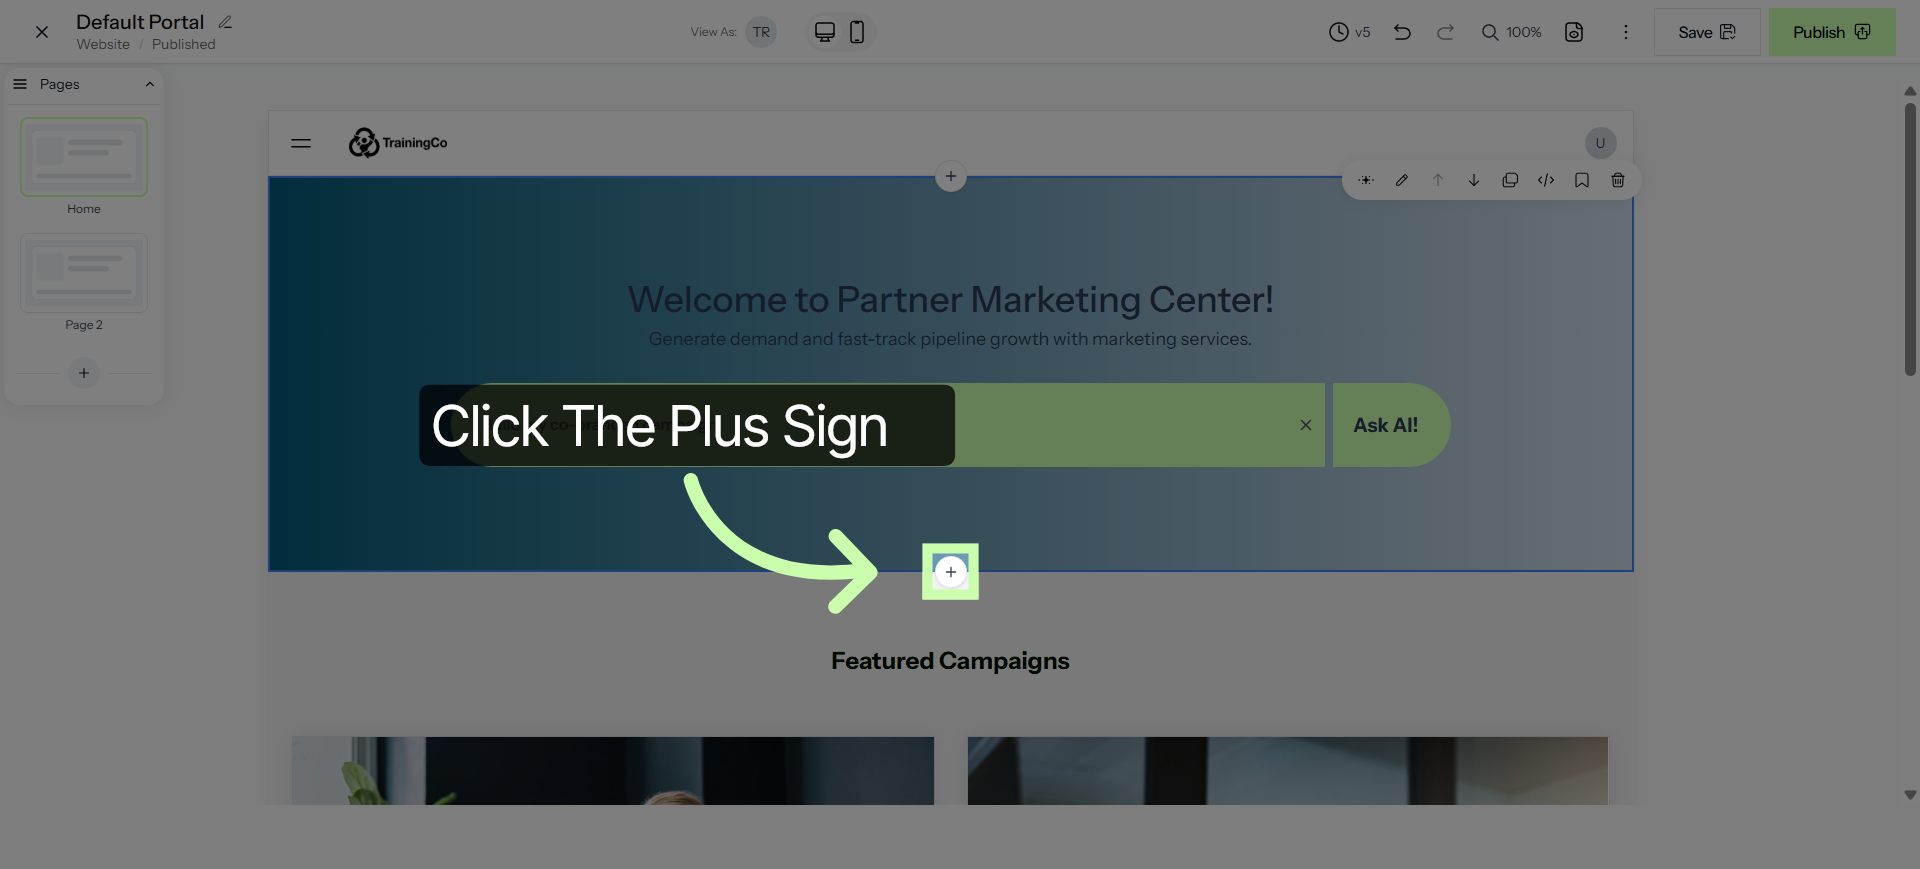
In this example, I'll add a new section below my hero section. Click the + Plus Sign to add a new section.
10. Navigate to Library Tab
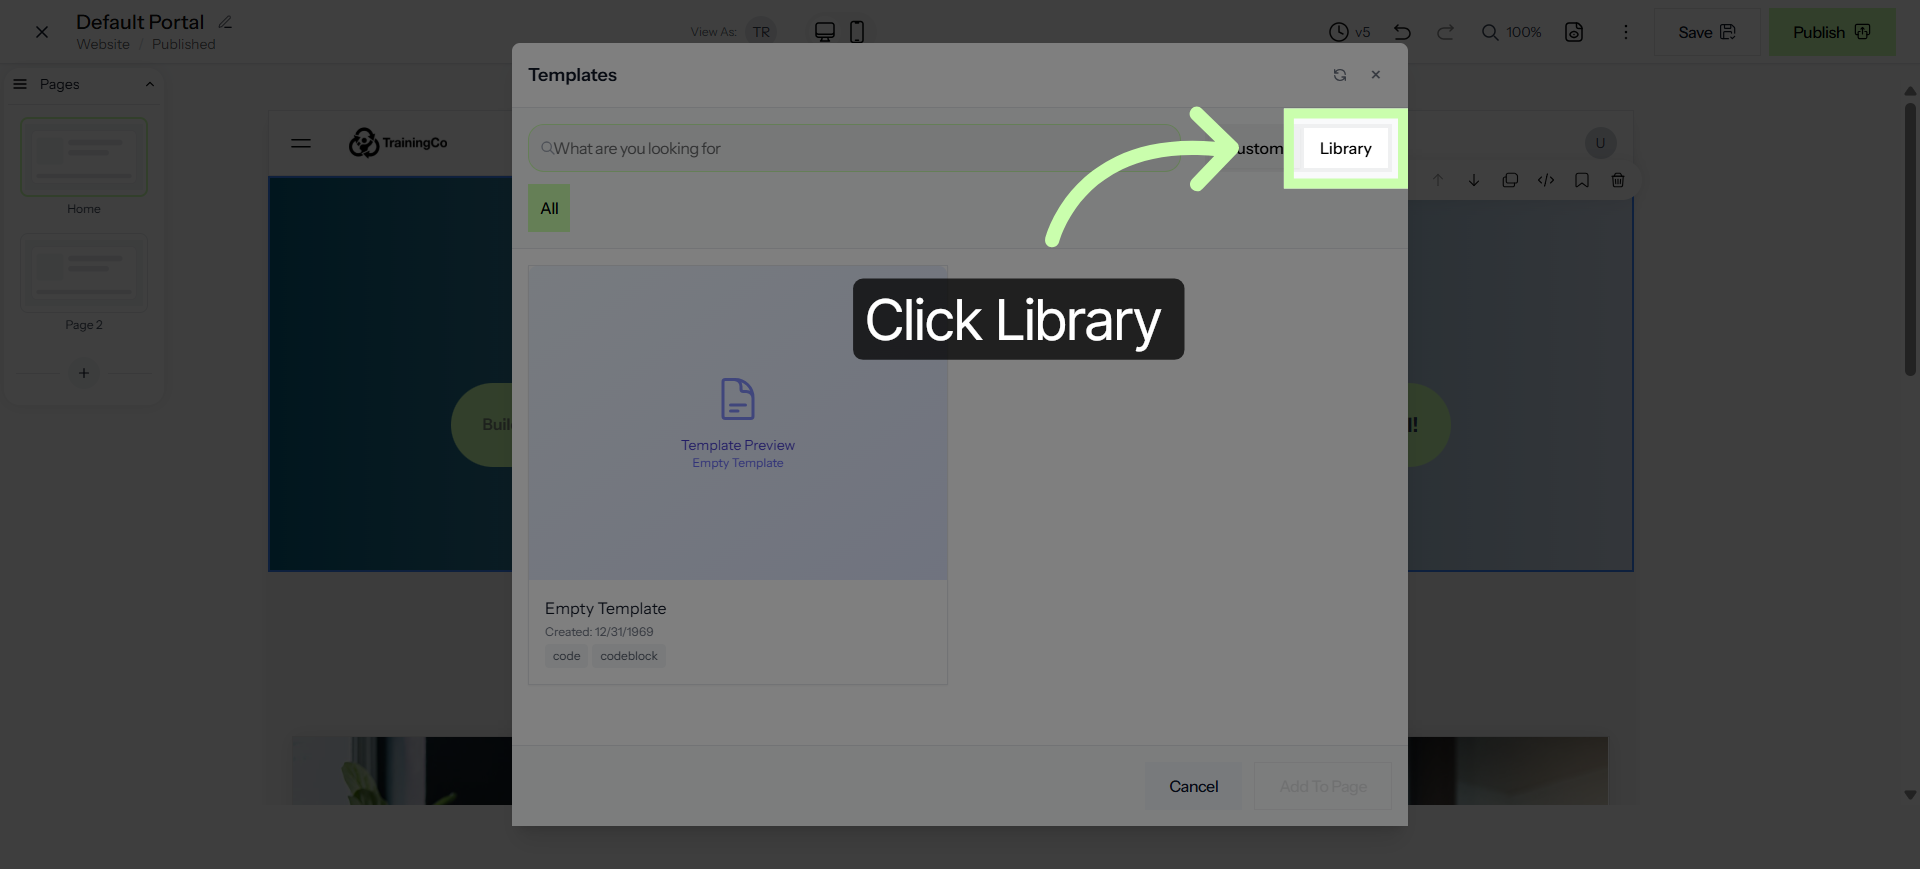
This opens your template box, where you can browse a variety of pre-built layouts. Head over to the Library tab and select from any category. From the templates box, choose Library.
11. View All Content Categories
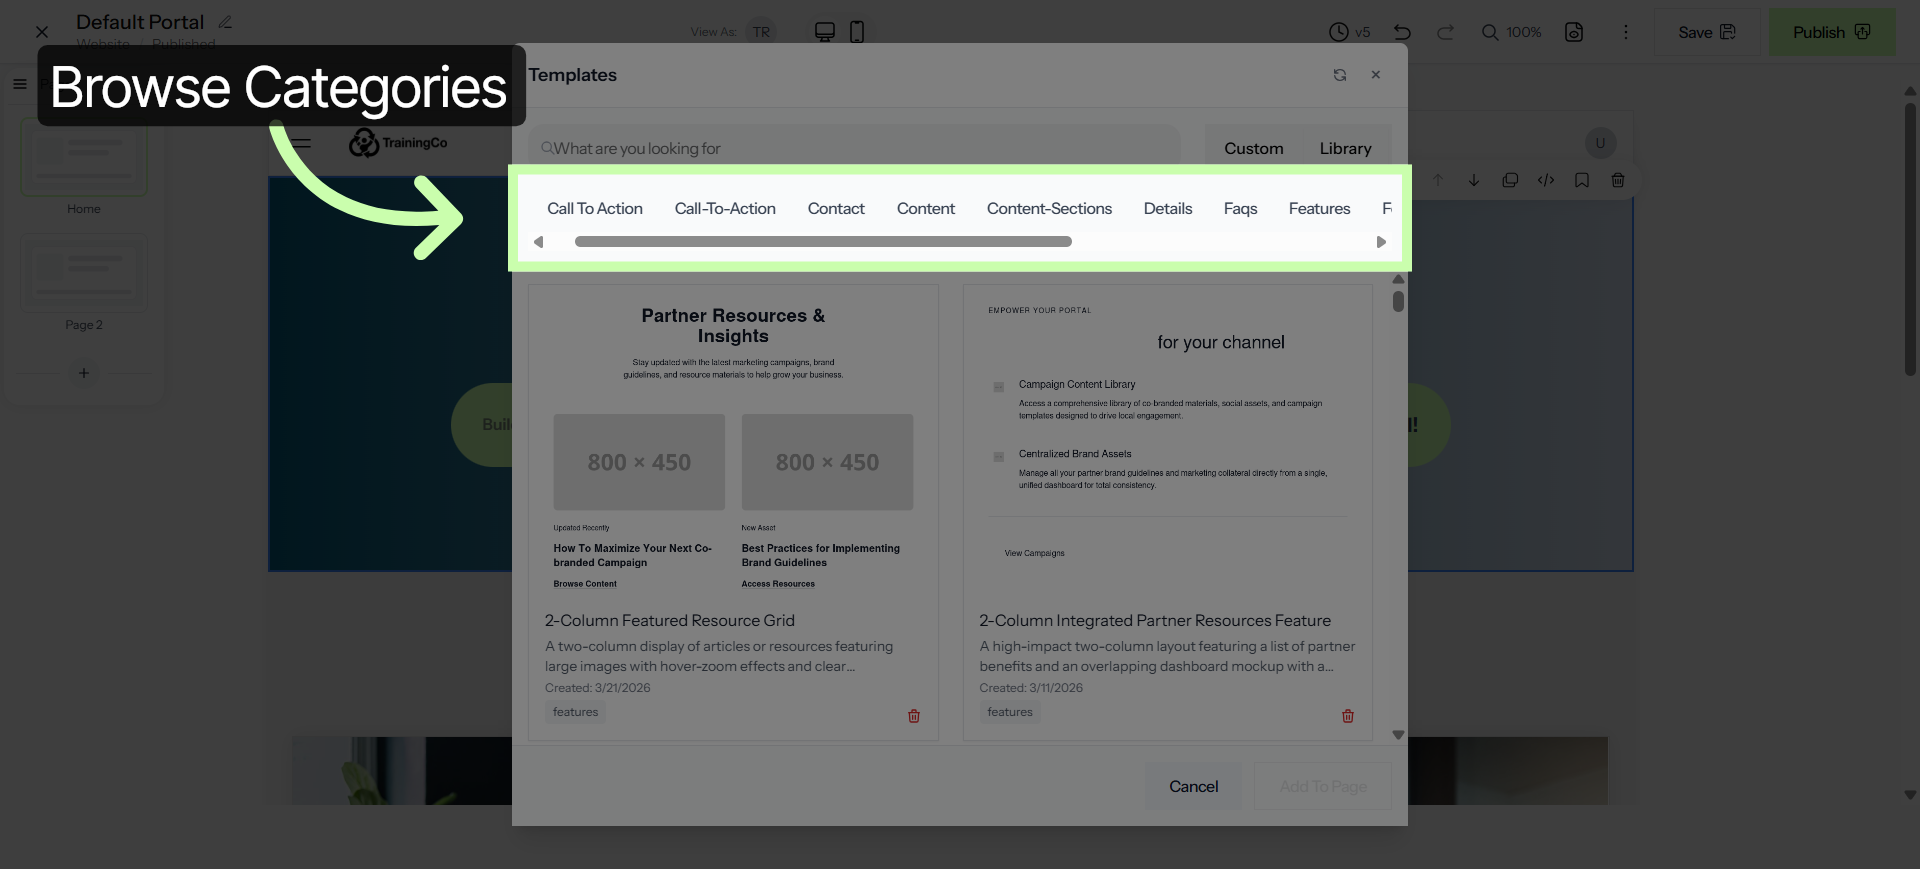
Browse through the different categories to find the section that best fits your needs.
Your options are:
|
Call To Action
Contact
Content
Content-Sections
Details
Faqs
Features
|
Footers Headers Heroes Pricing Resources Slider Team Testimonials |
12. Select Call To Action
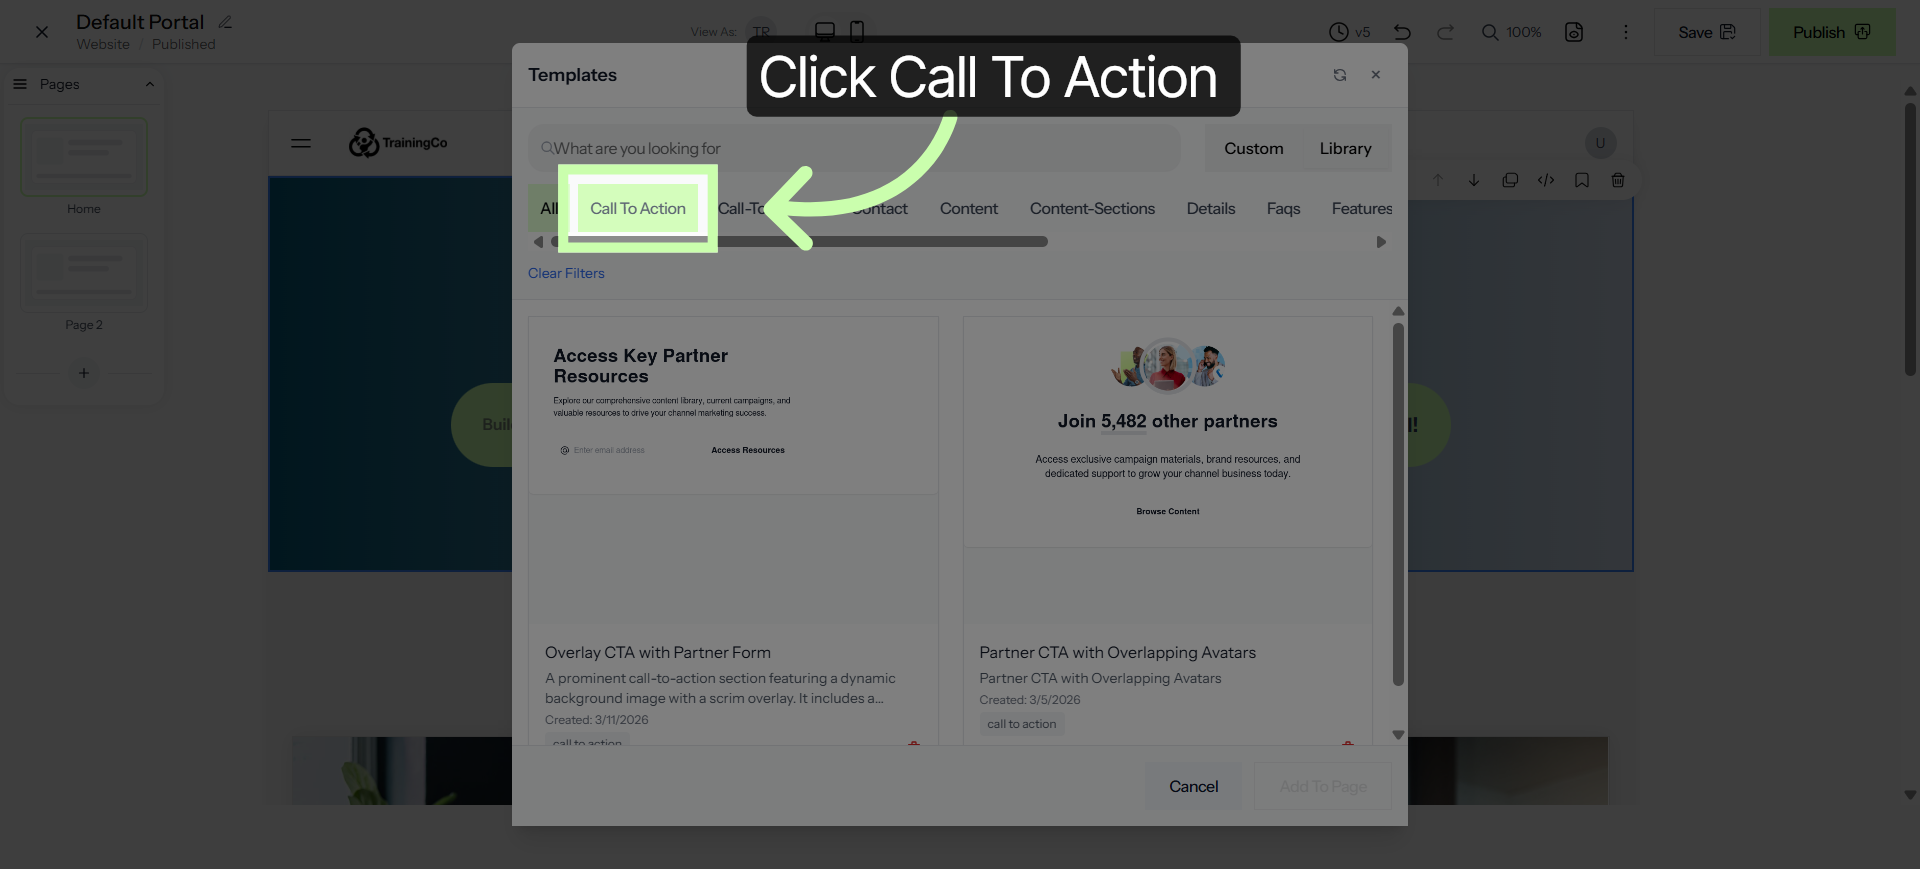
In this example, I'll browse through to: "Call To Action".
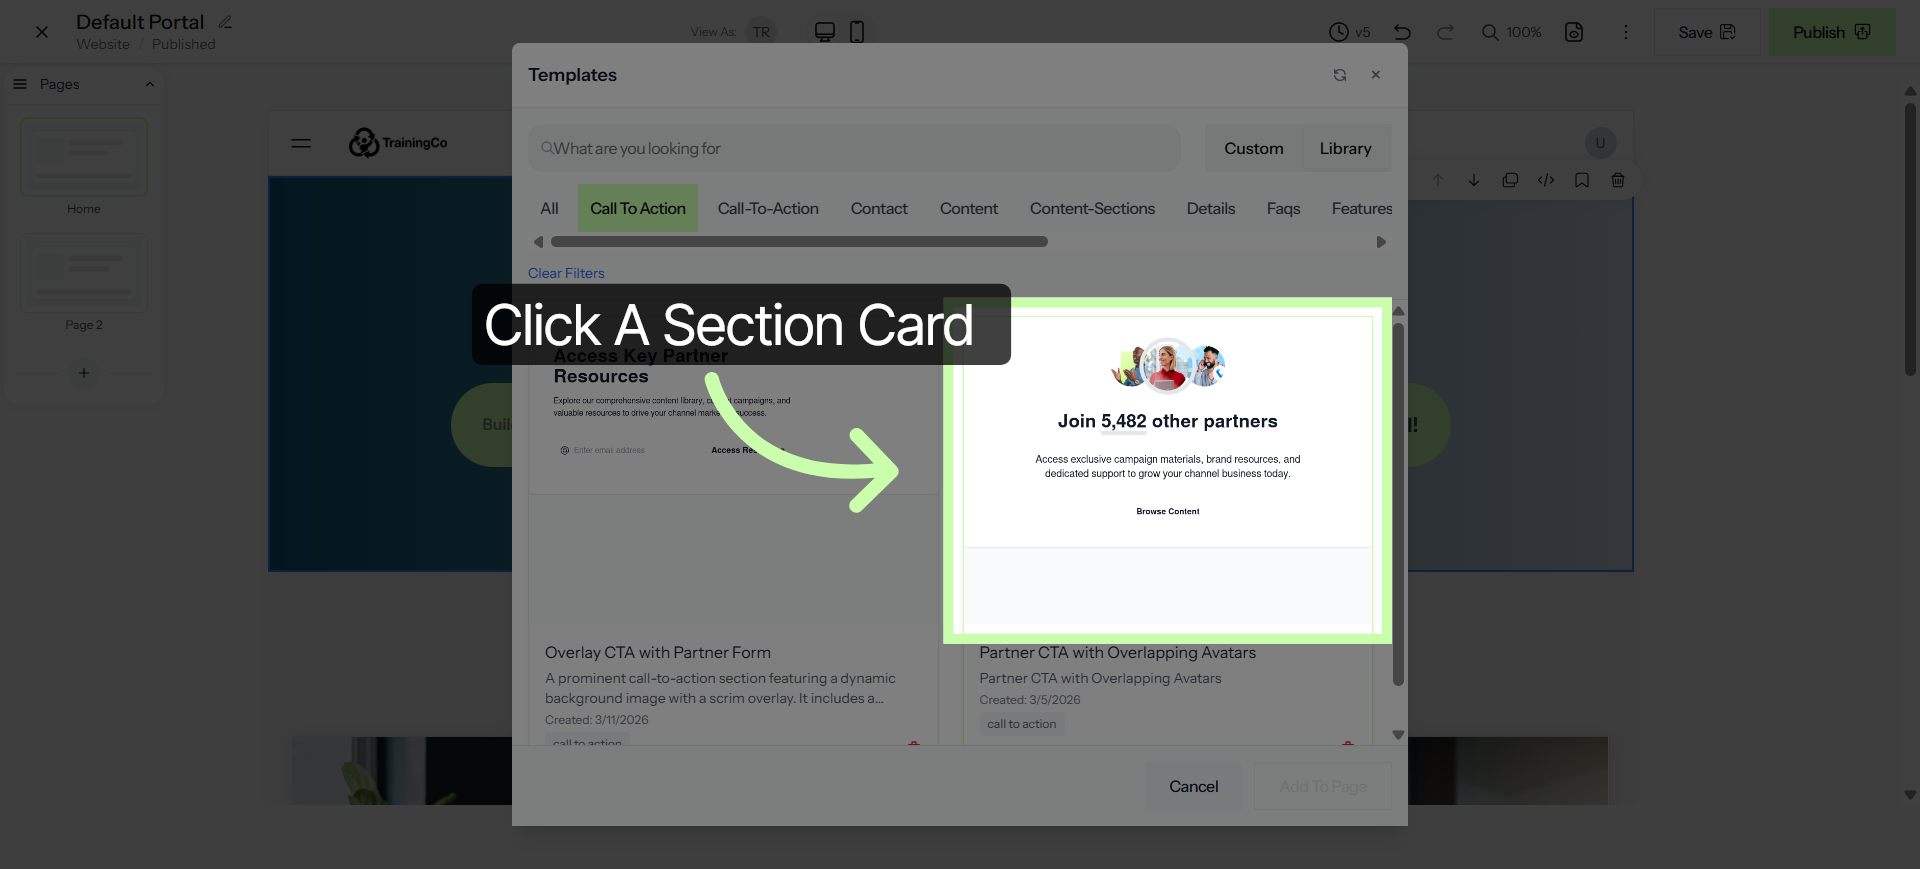
13. Choose Component
Within the Call To Action category, choose this section.
14. Add Component To Page
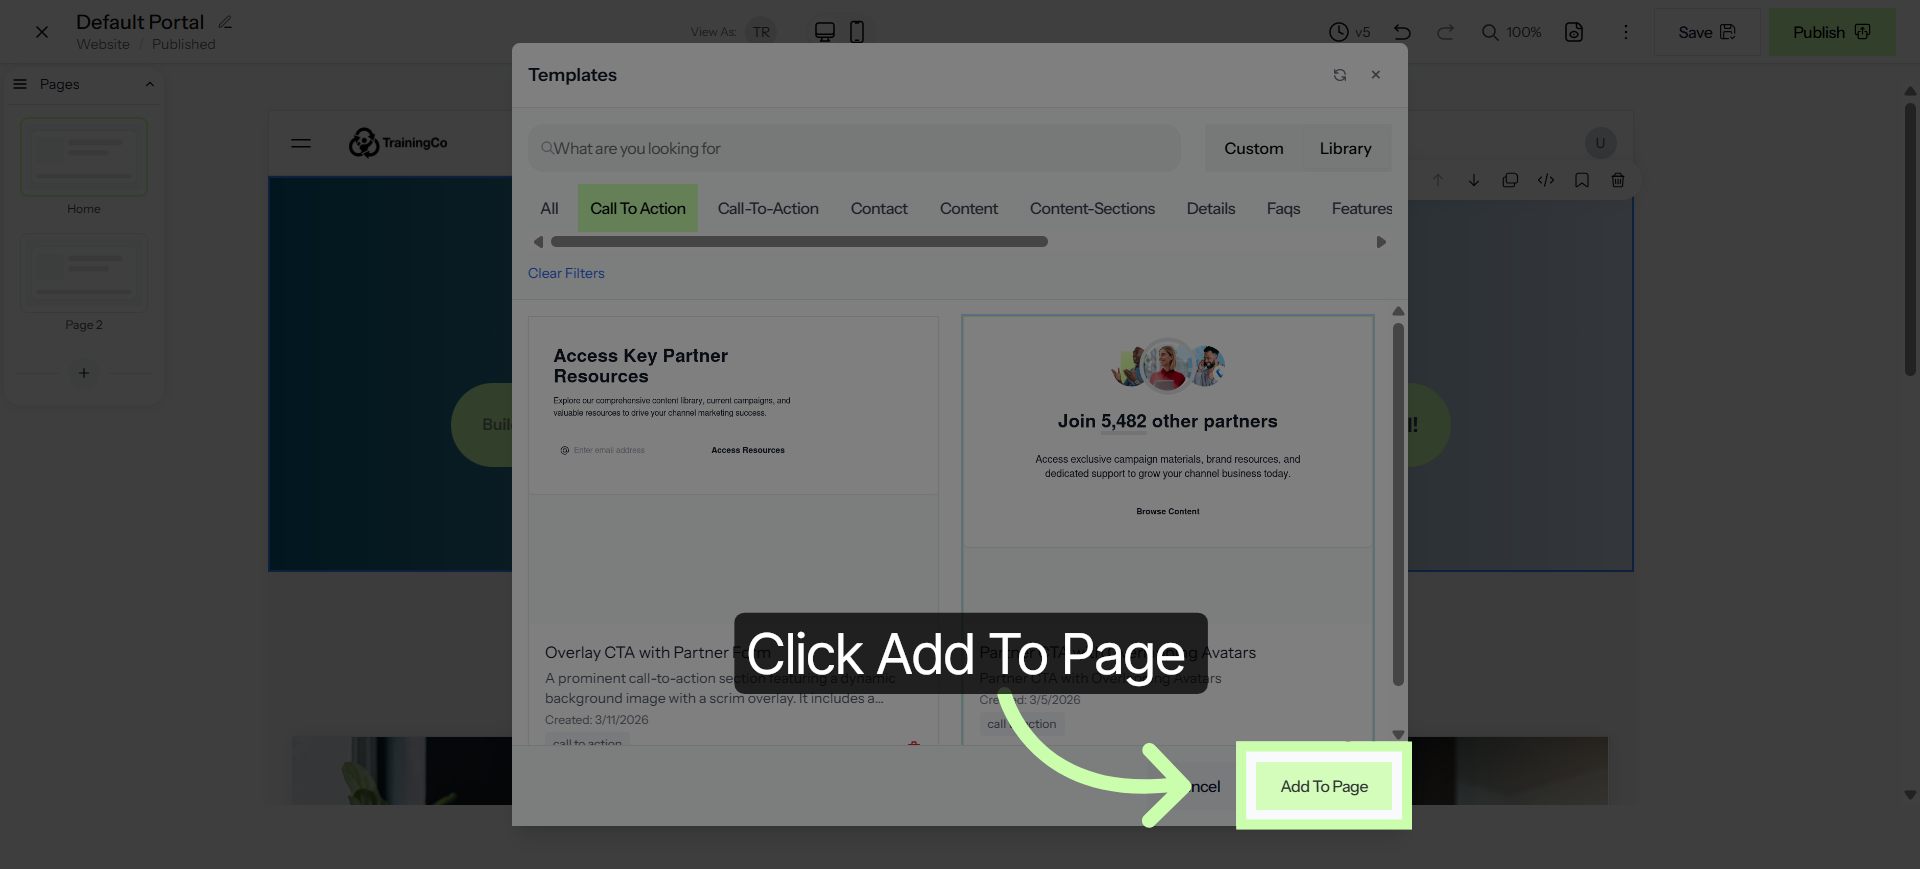
Click Add To Page to insert the selected section.
15. Edit CSS Variables
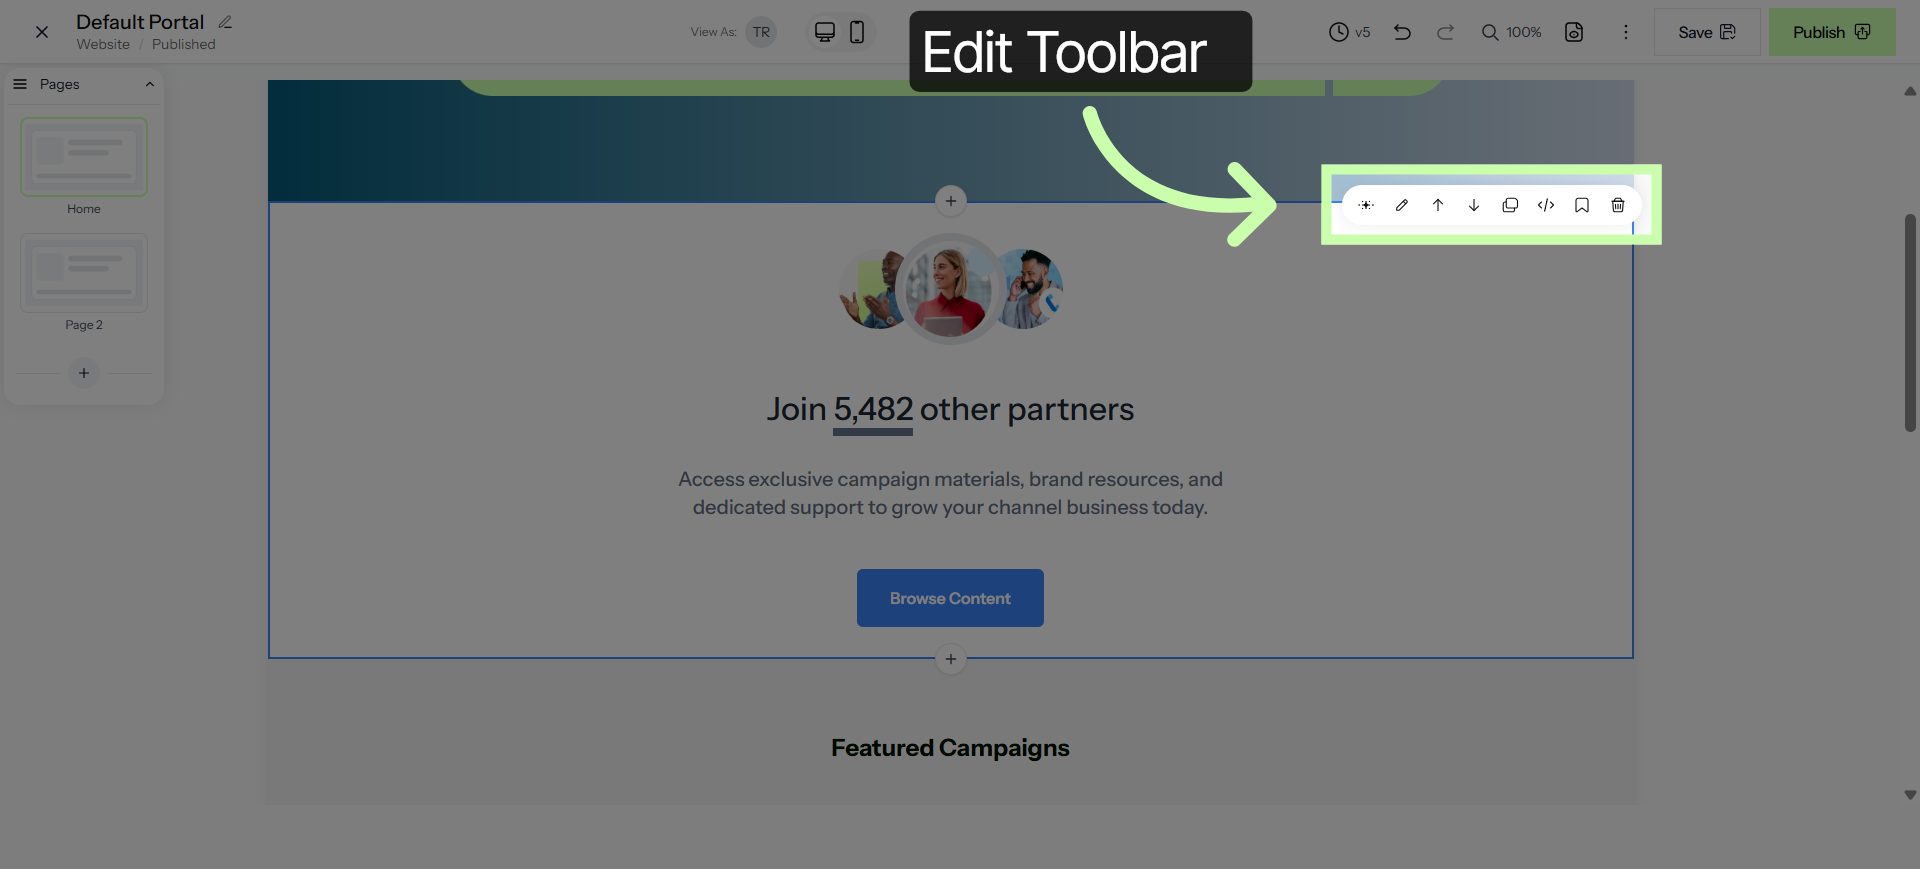
When you select a section, a toolbar appears in the corner. You’ll see options to move the section, use AI, or, most importantly, the pencil icon.
16. Edit CSS Variables
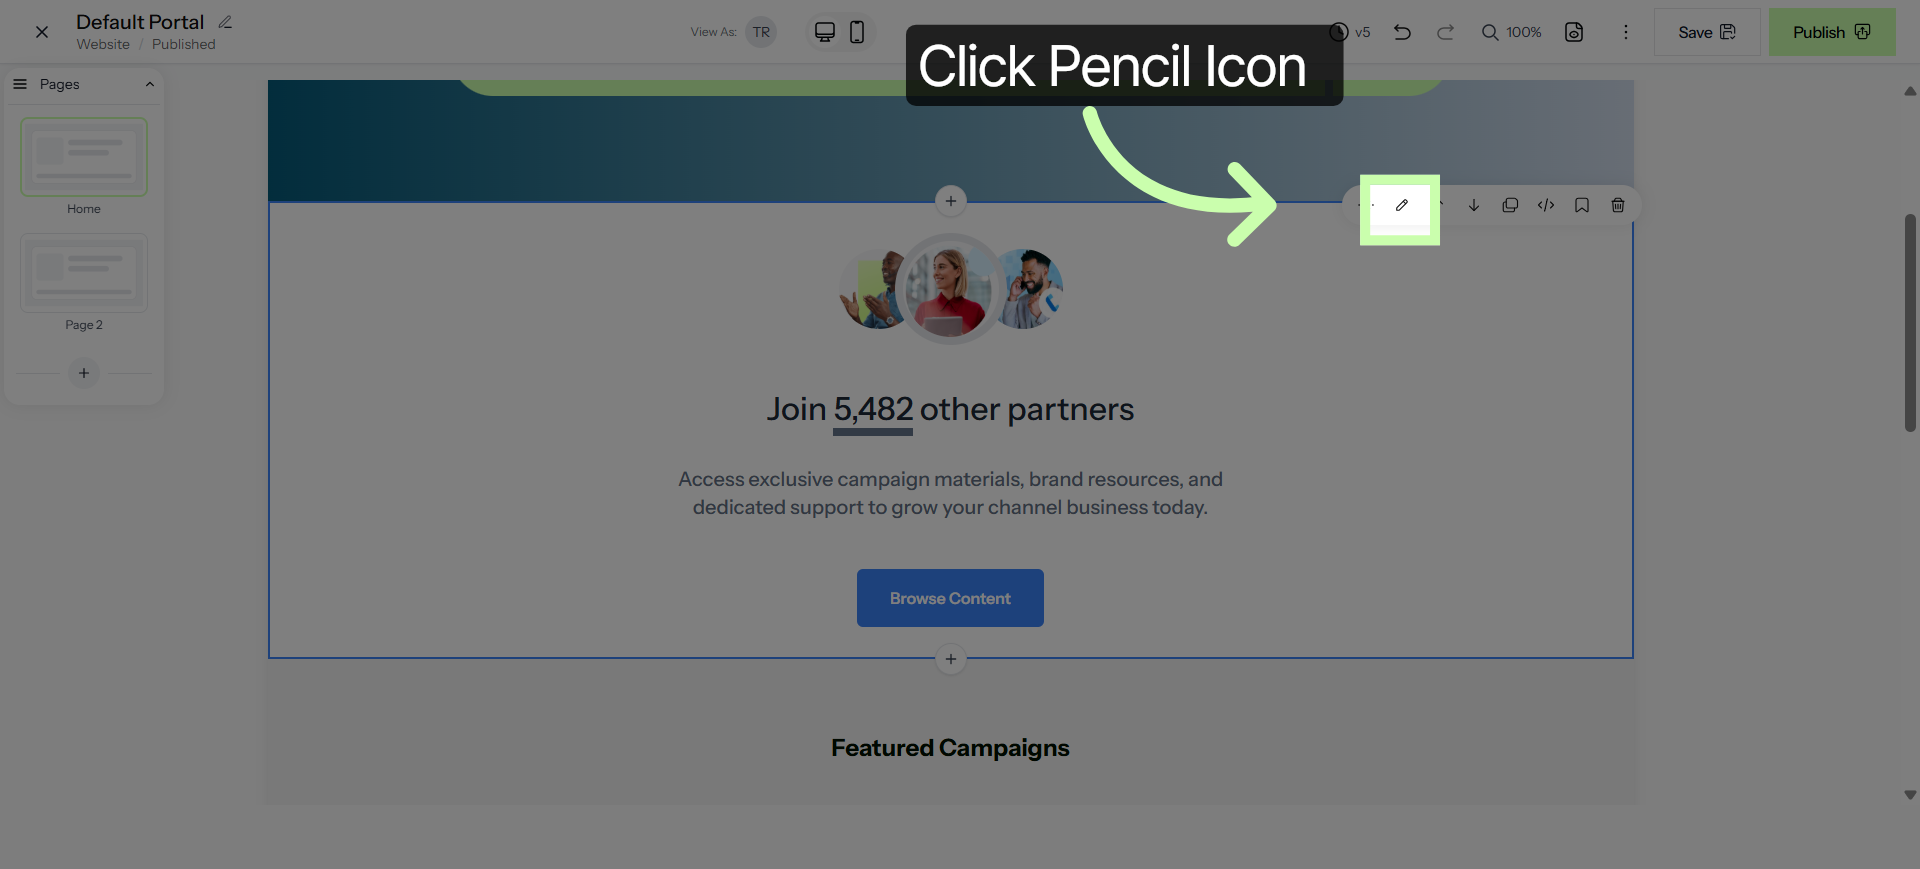
Now, let’s make it yours. When you select a section, a toolbar appears in the corner. You’ll see options to move the section, use AI, or, most importantly, the pencil icon. Click the pencil button to enter Edit Mode.
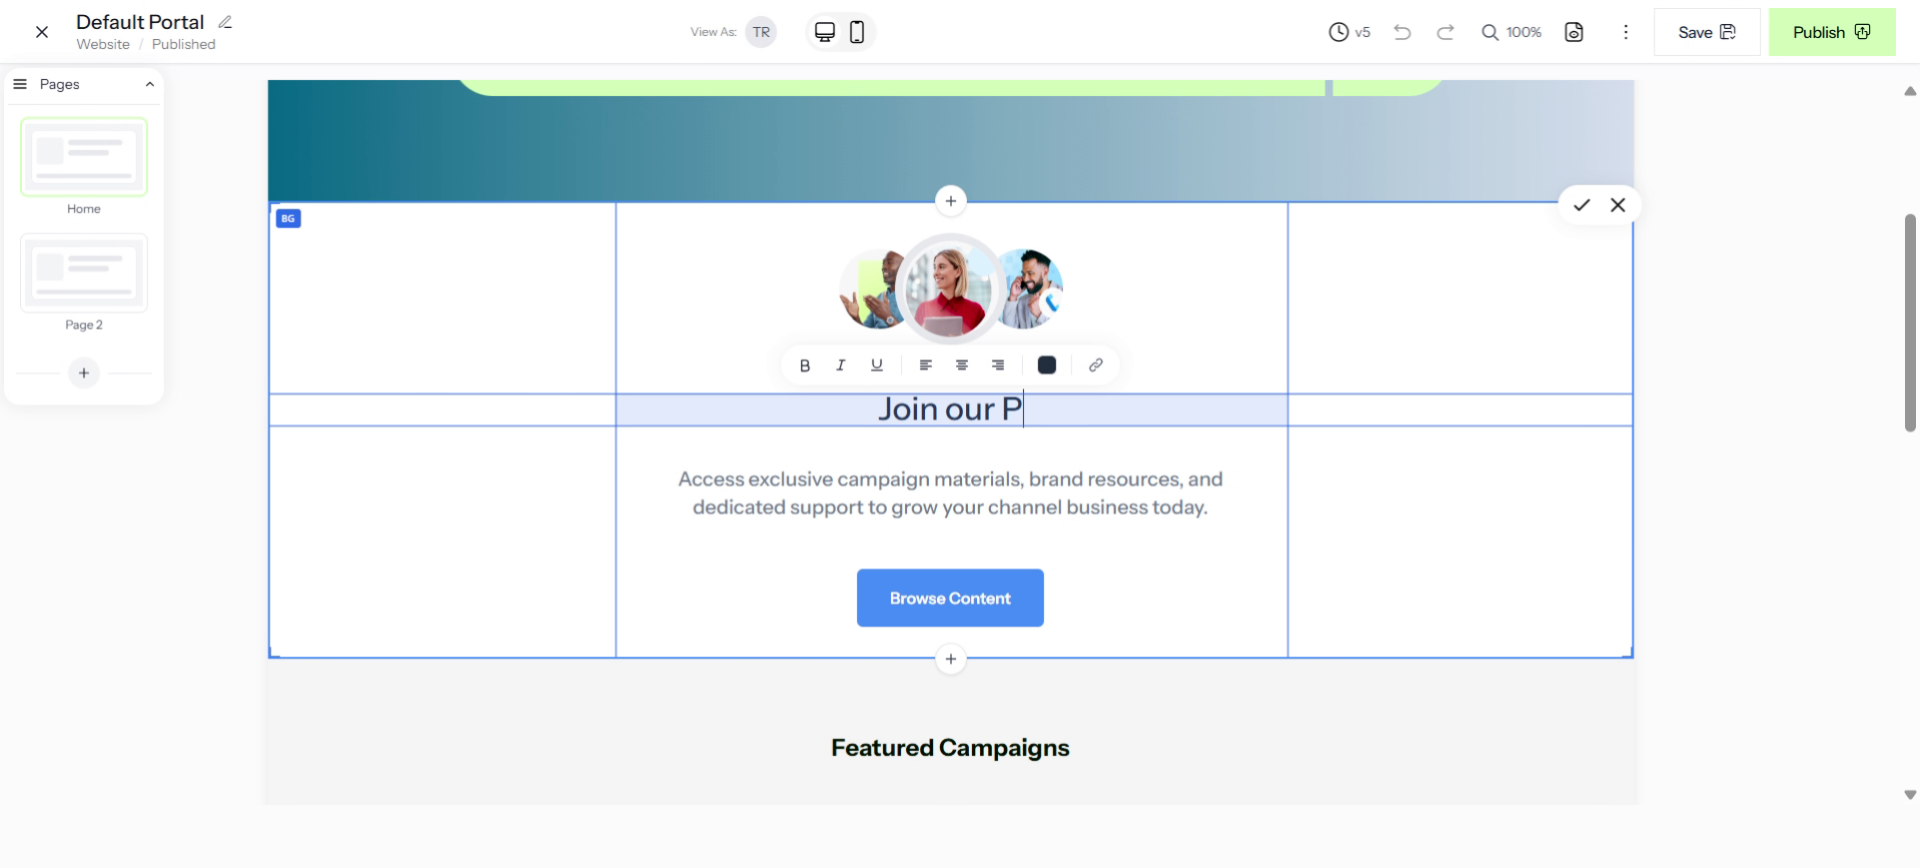
17. Enter Community Title
To edit the text, click inside a text area, and enter new text.
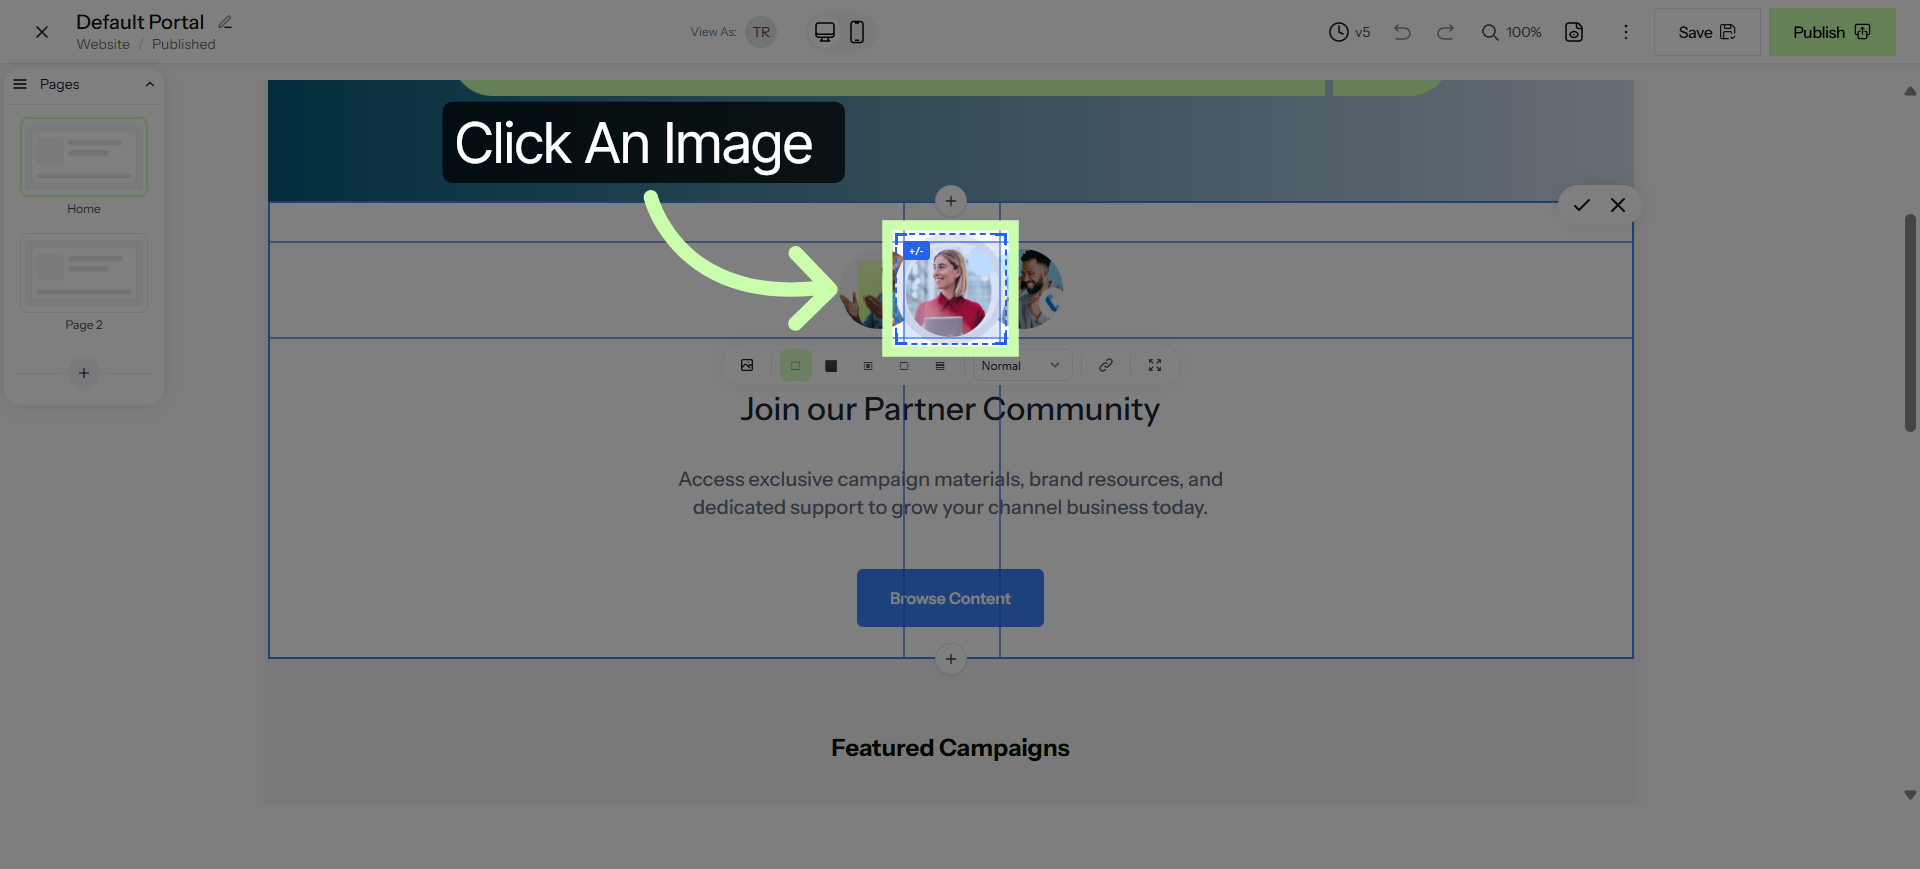
18. Choose Content Element
To select a new image, click directly on an image.
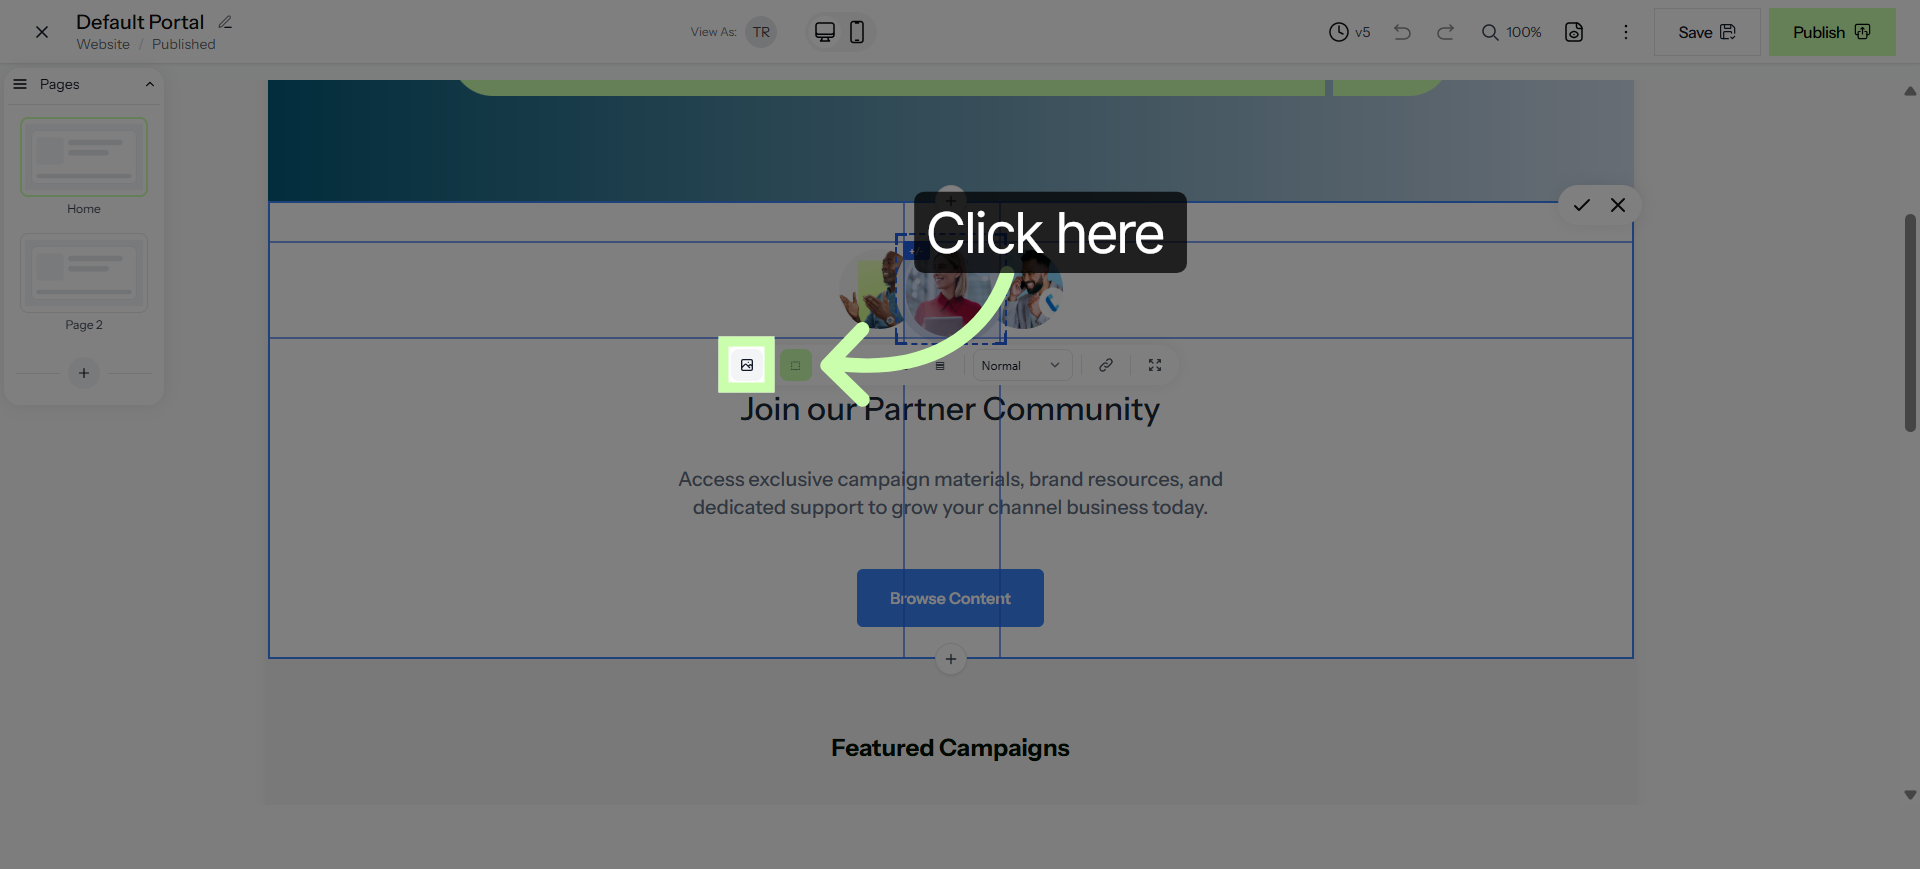
19. Access Content Settings
Then, on the tool bar, click the image button to add a new image.
20. Review Content Selection
Select a new image from the image library.
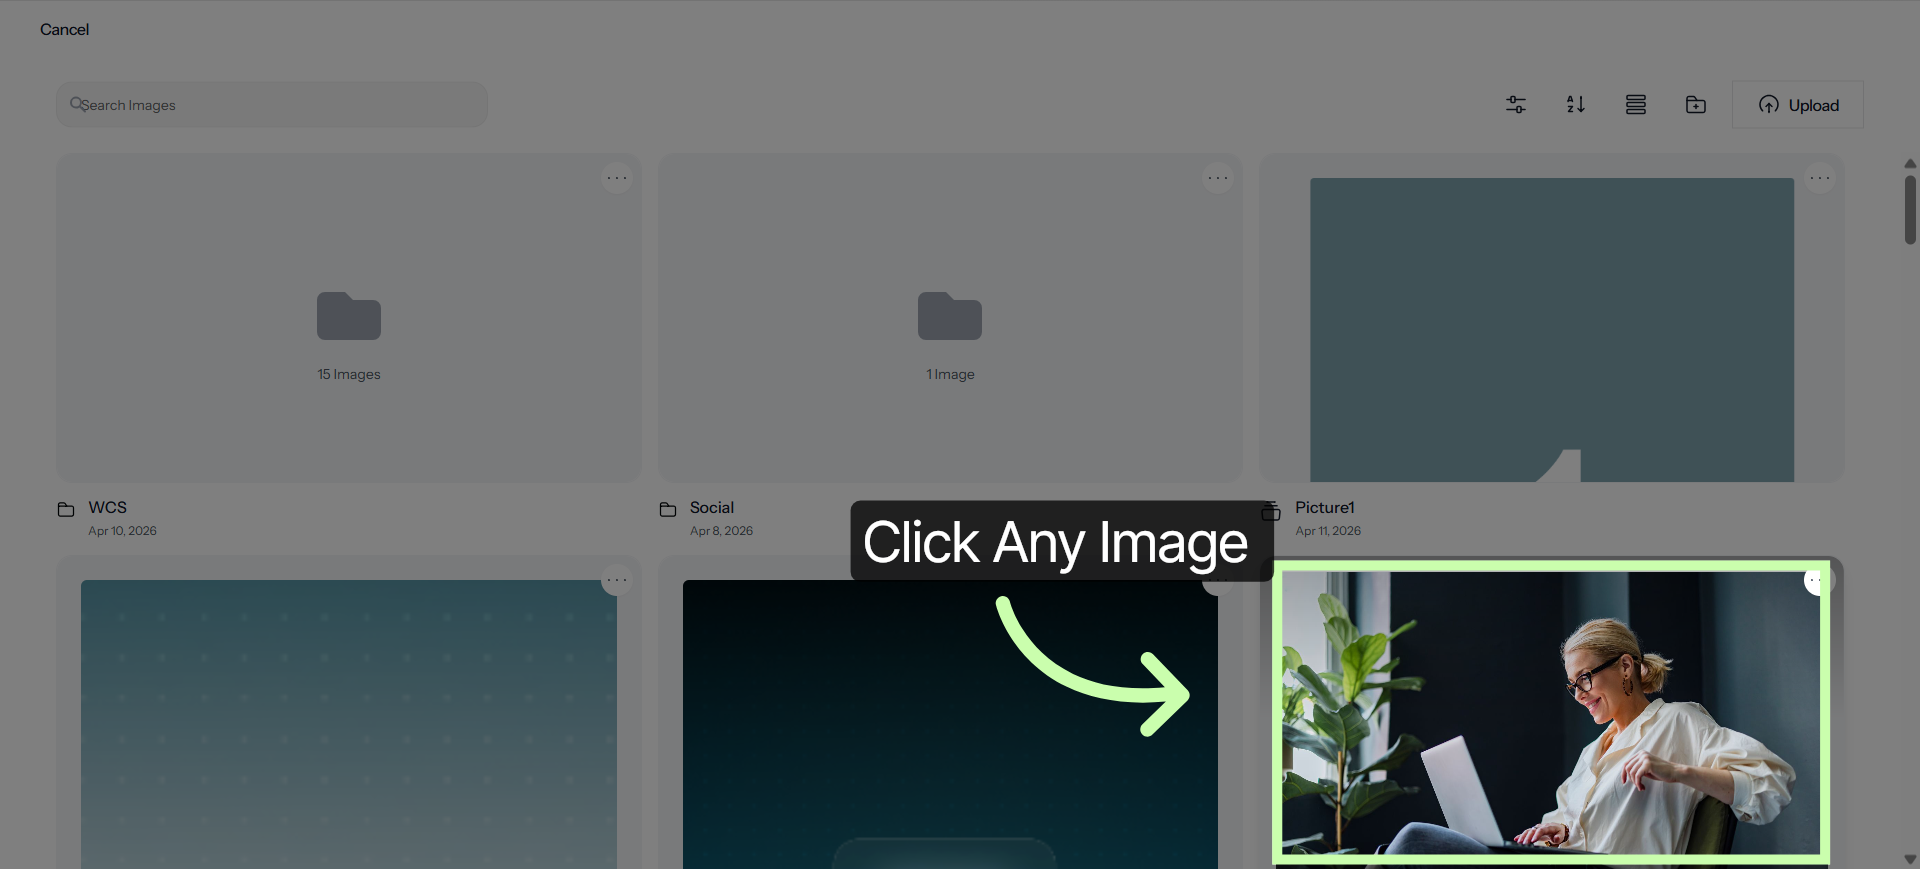
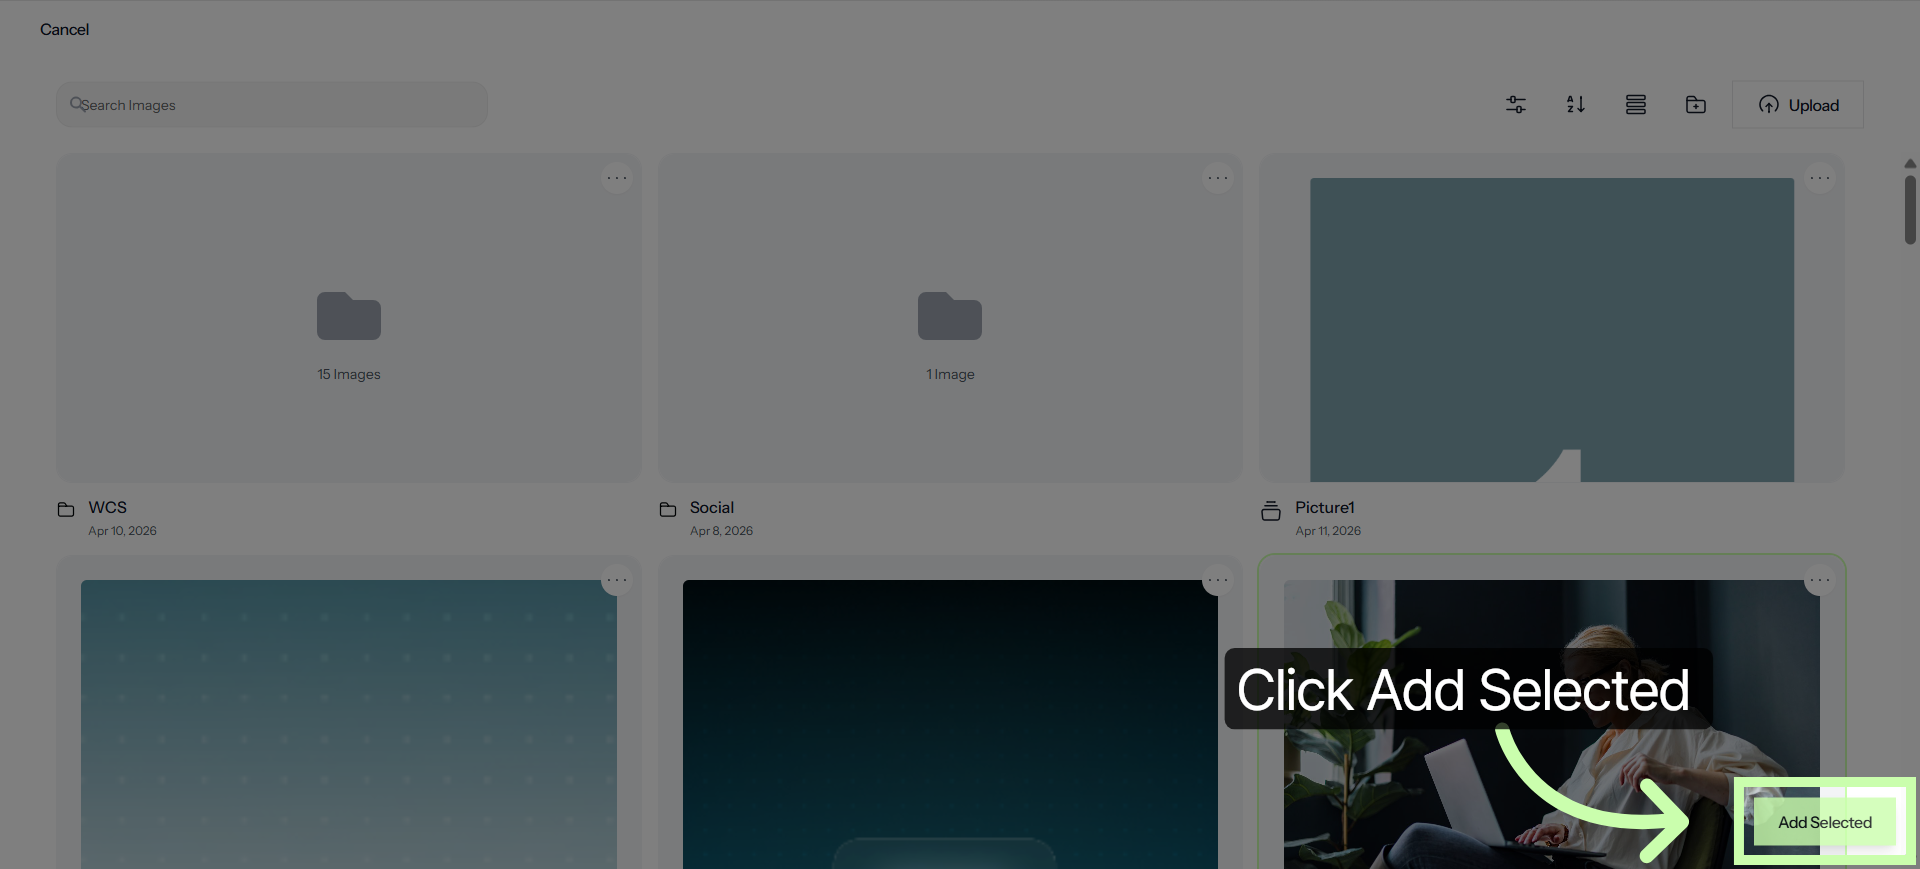
21. Add Selected Content
Click the Add Selected button to insert the chosen image.
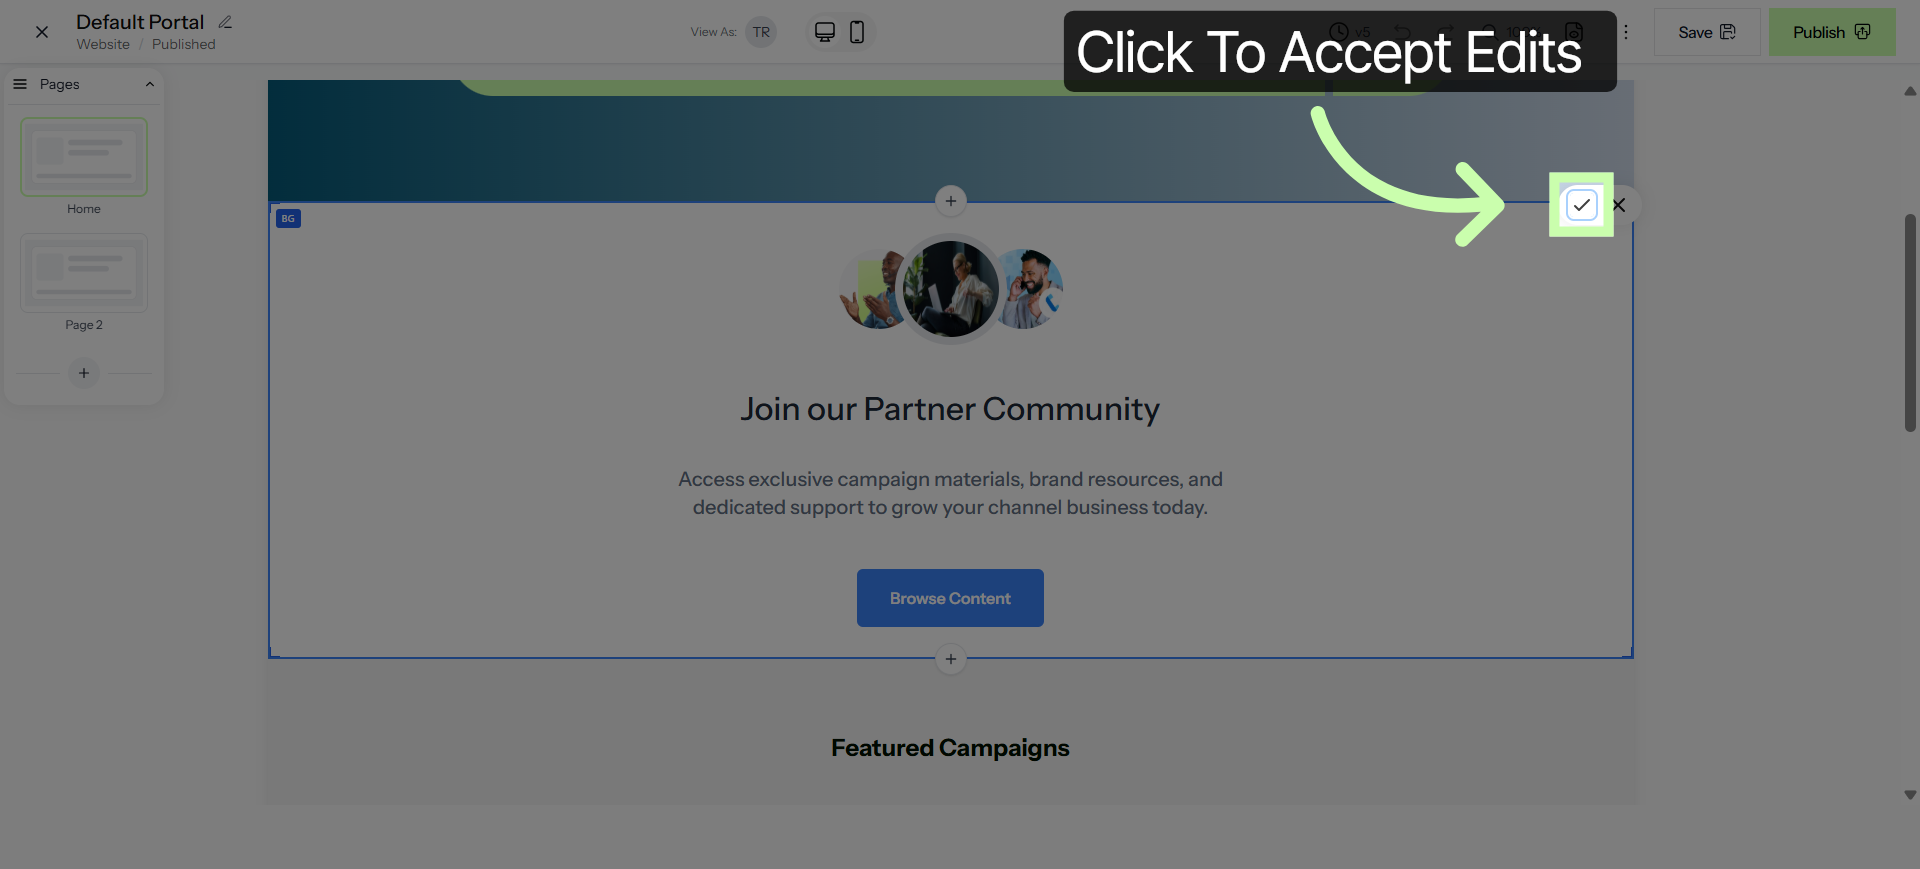
22. Open Section Details
Then, click the checkmark to accept the edits.
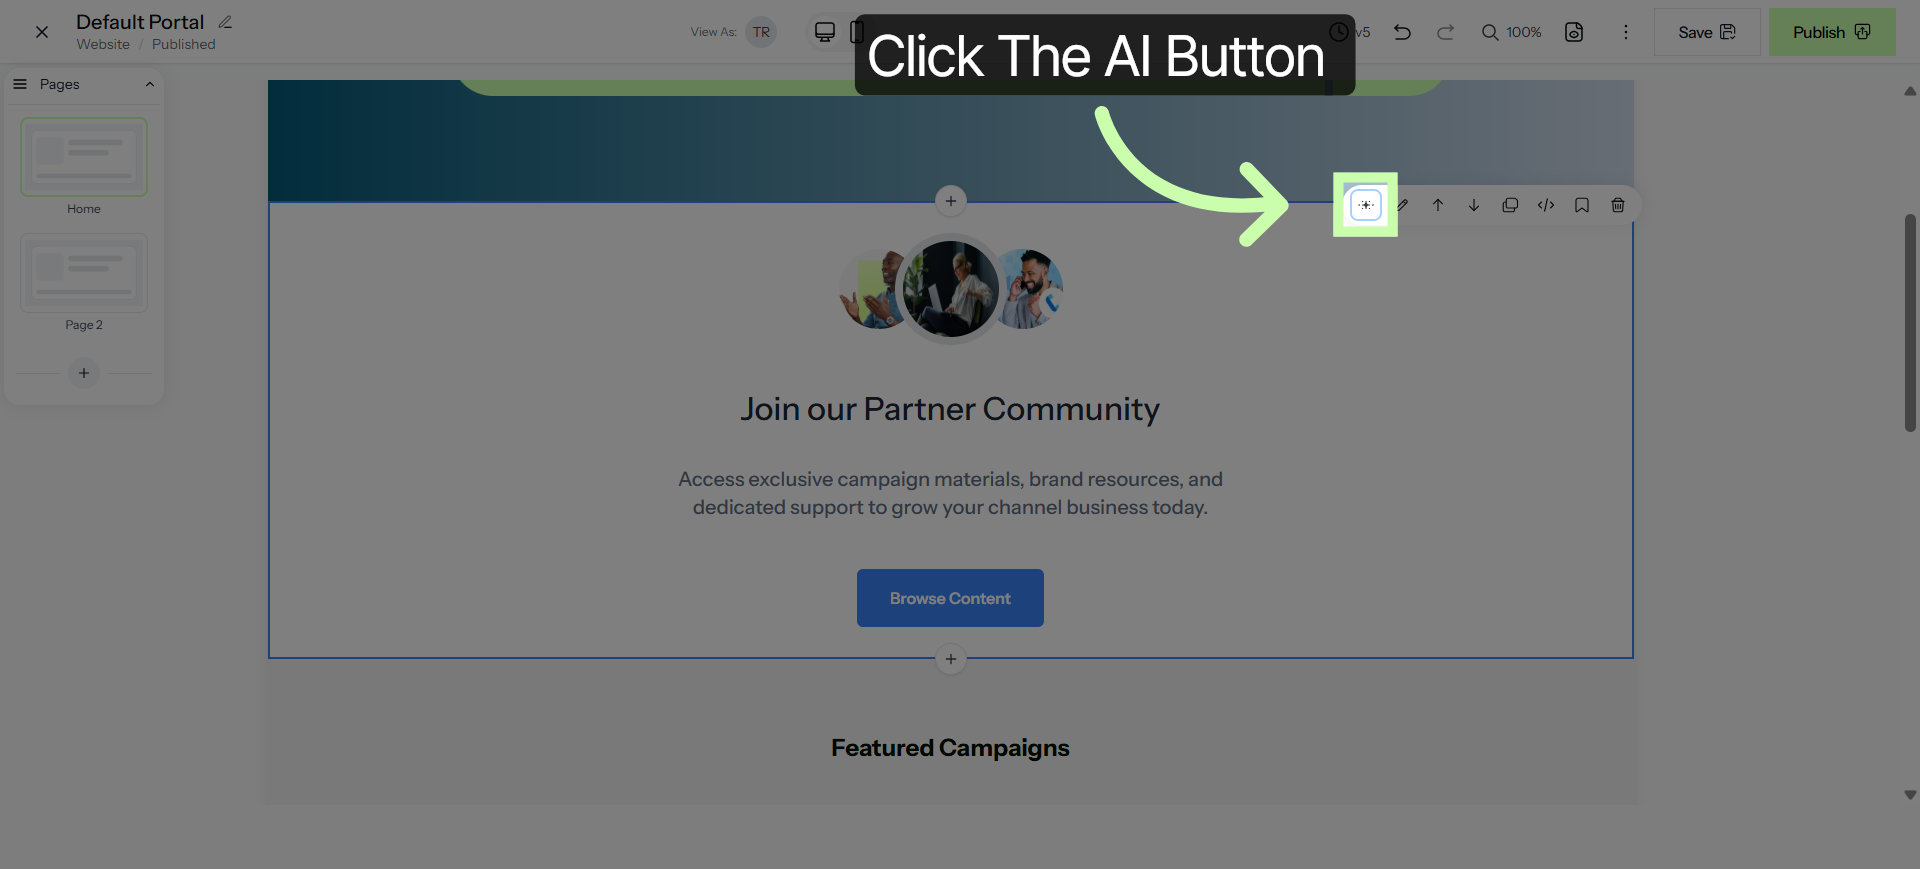
23. Edit Section Content
The editor also uses AI to make additional changes! Let's give that a try.
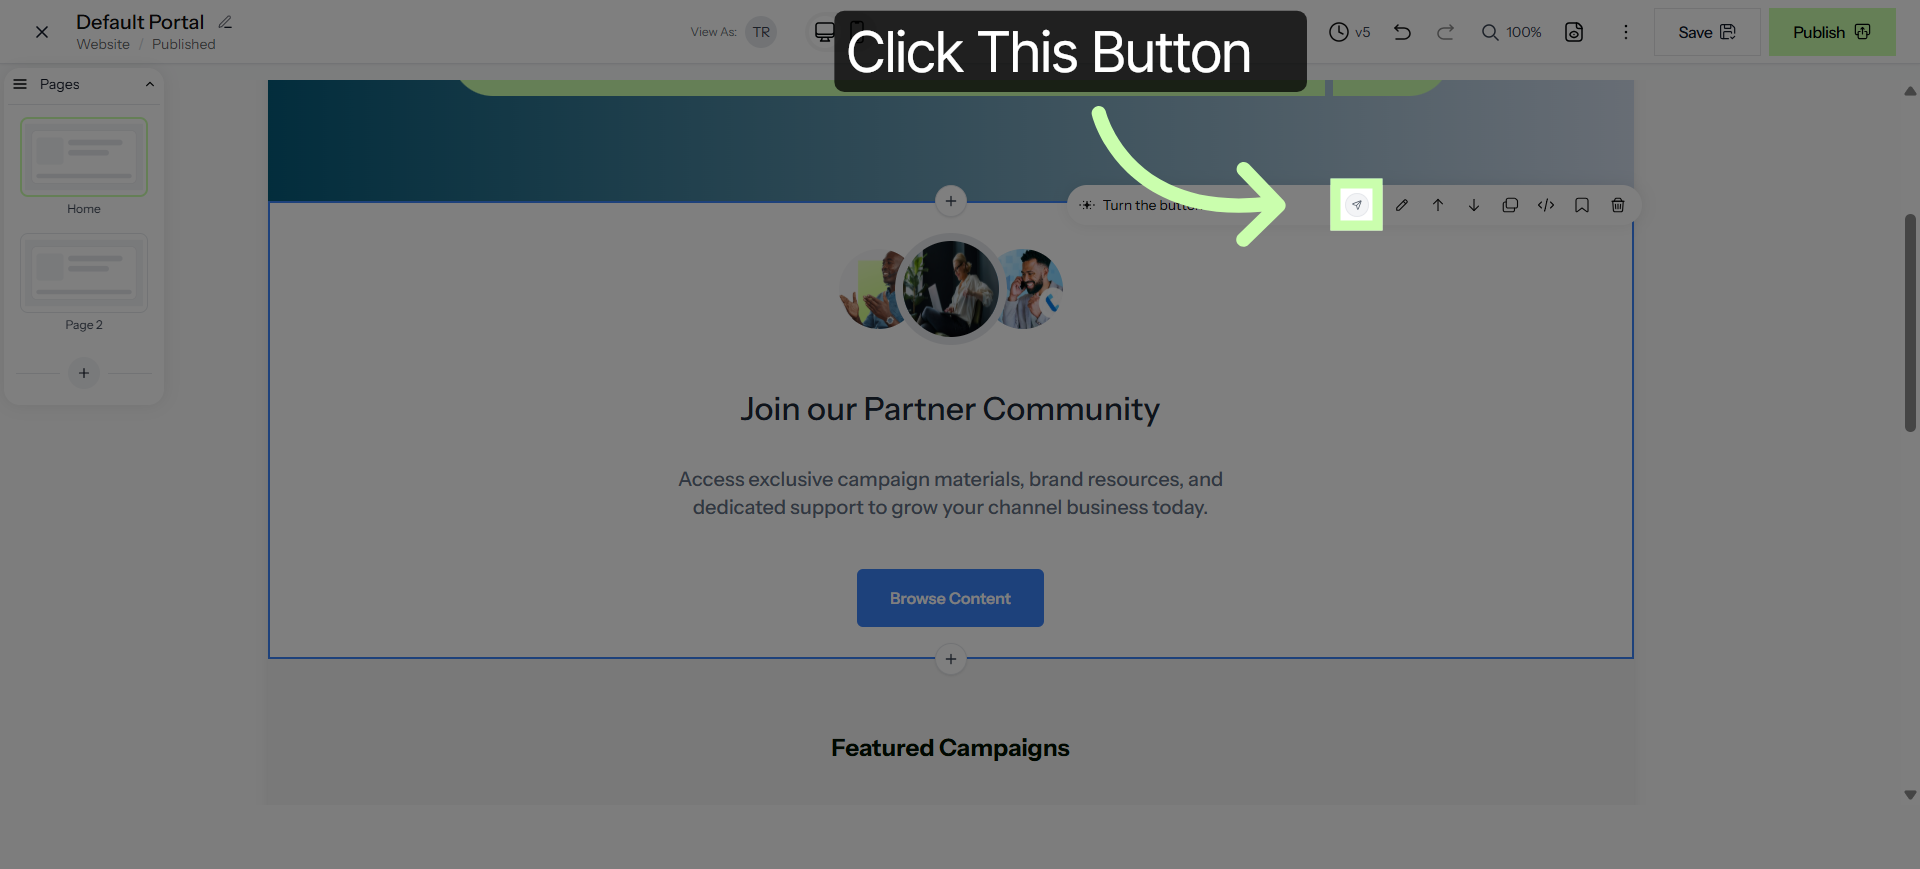
24. Customize Button Color
In this example, I'll enter "Turn the button red" to change the button color to red.
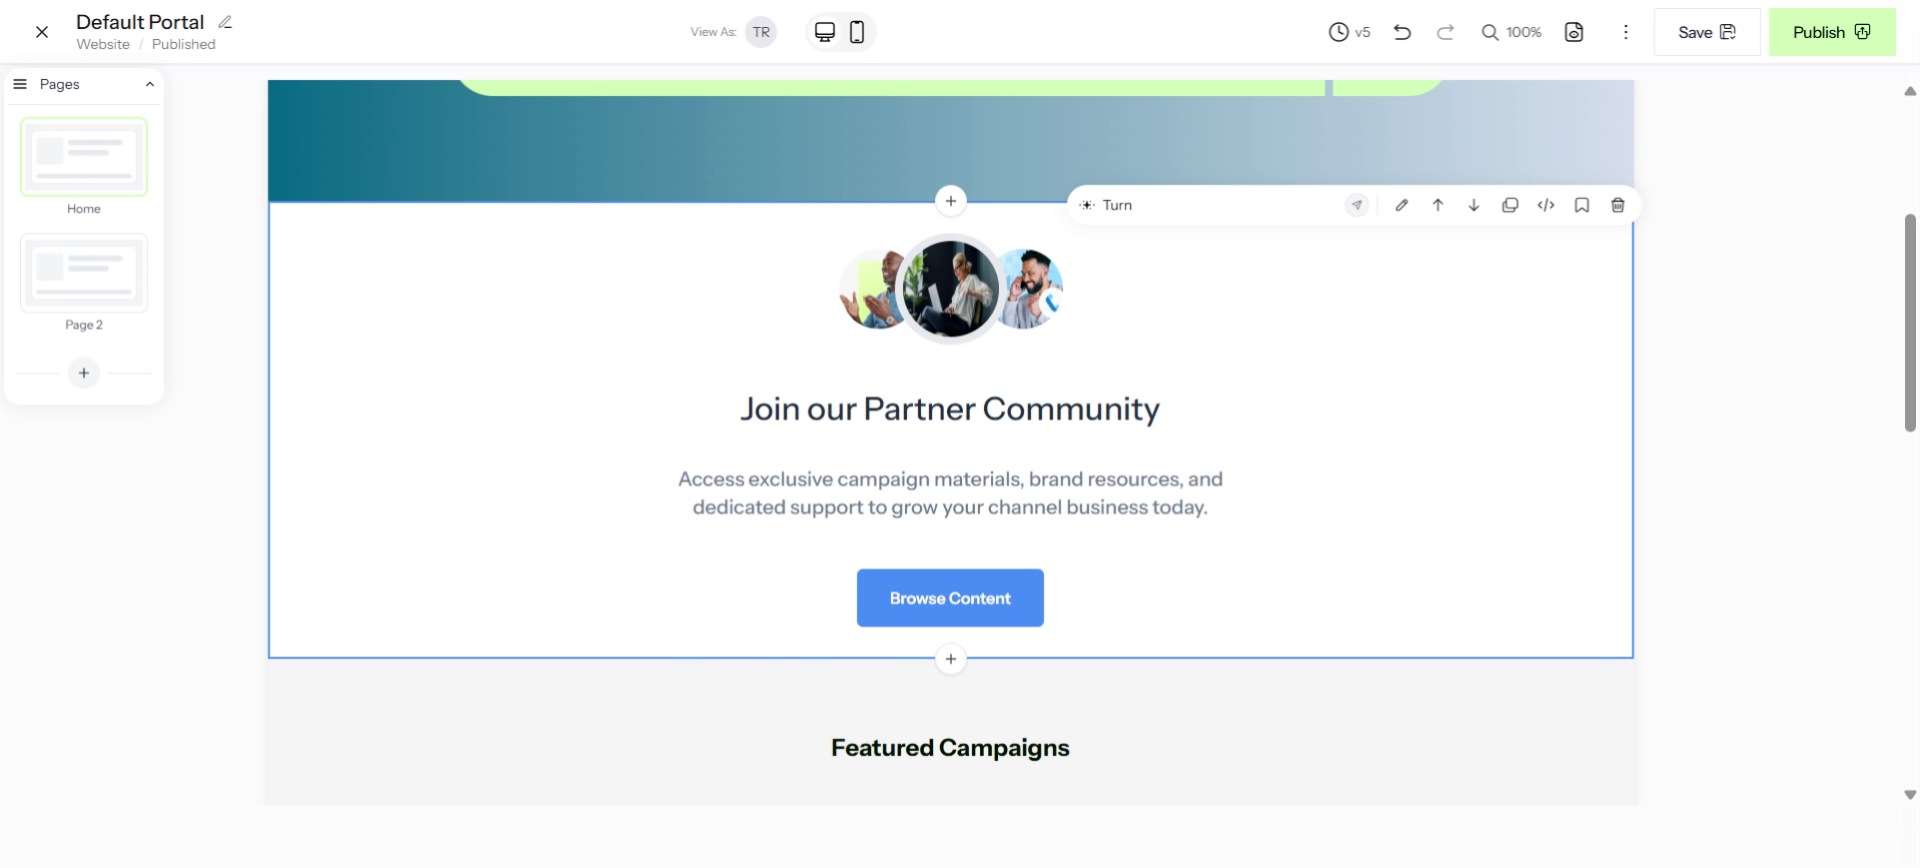
25. Apply Color Change
Click the AI Creator button to apply the color customization to the button.
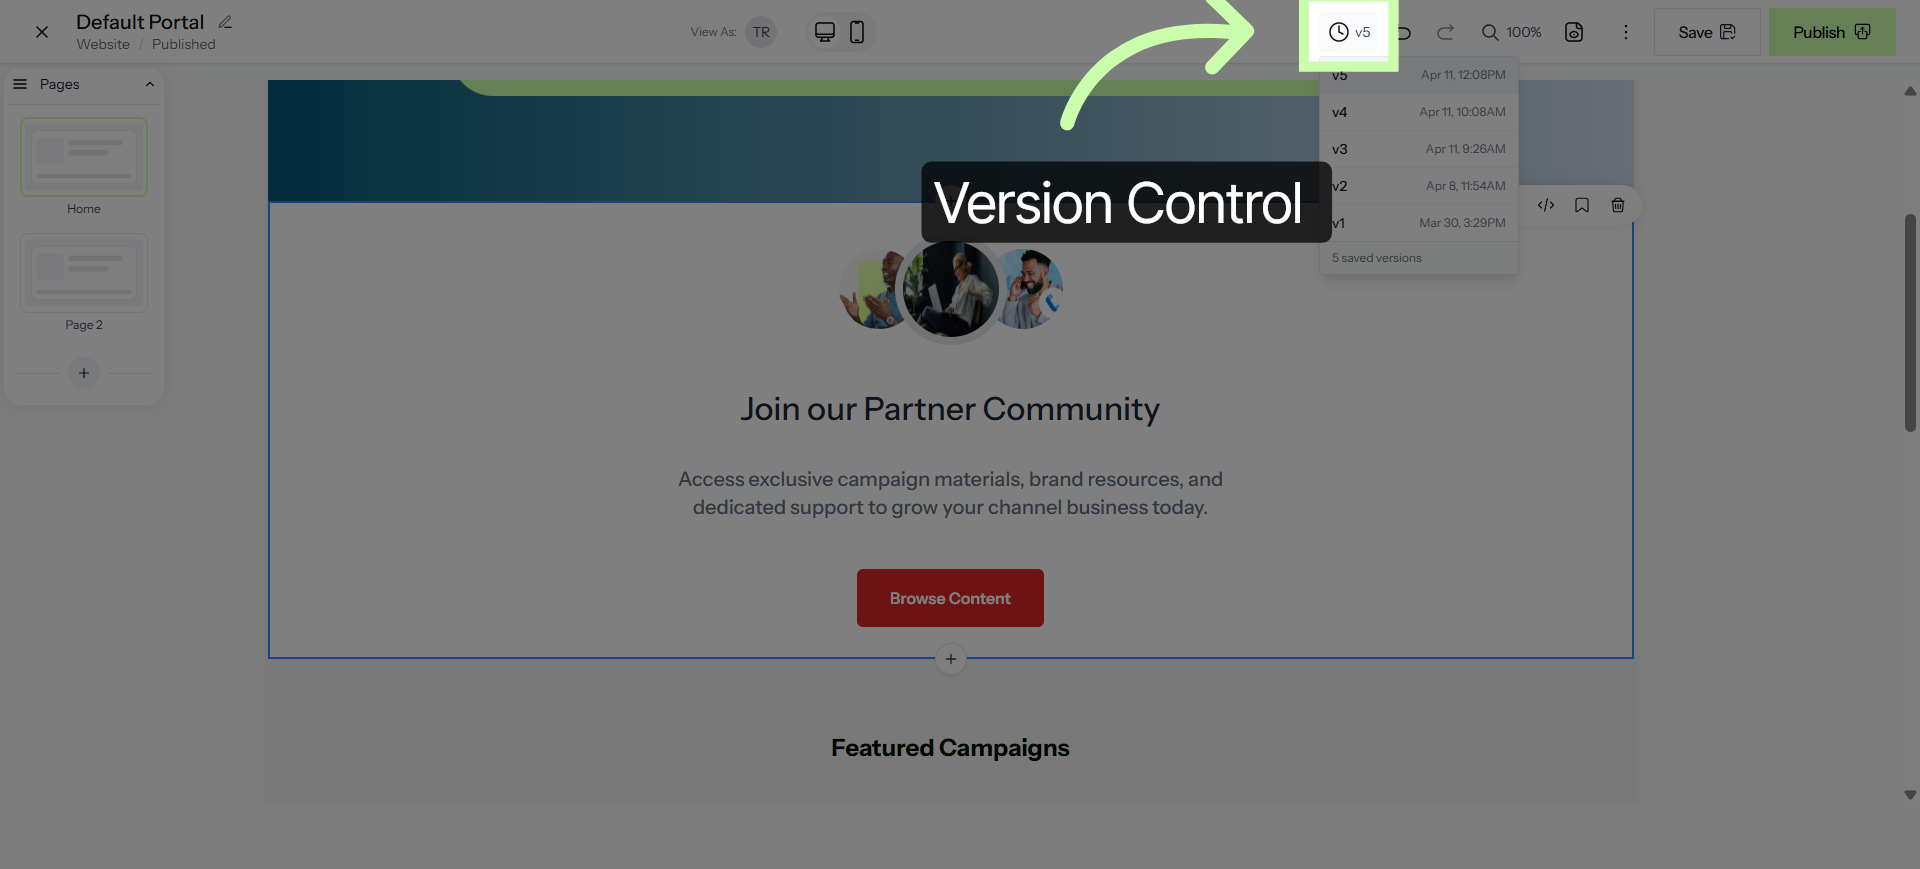
26. Select Version v5
To return to any previous version of your Portal home page, click the Version History button.
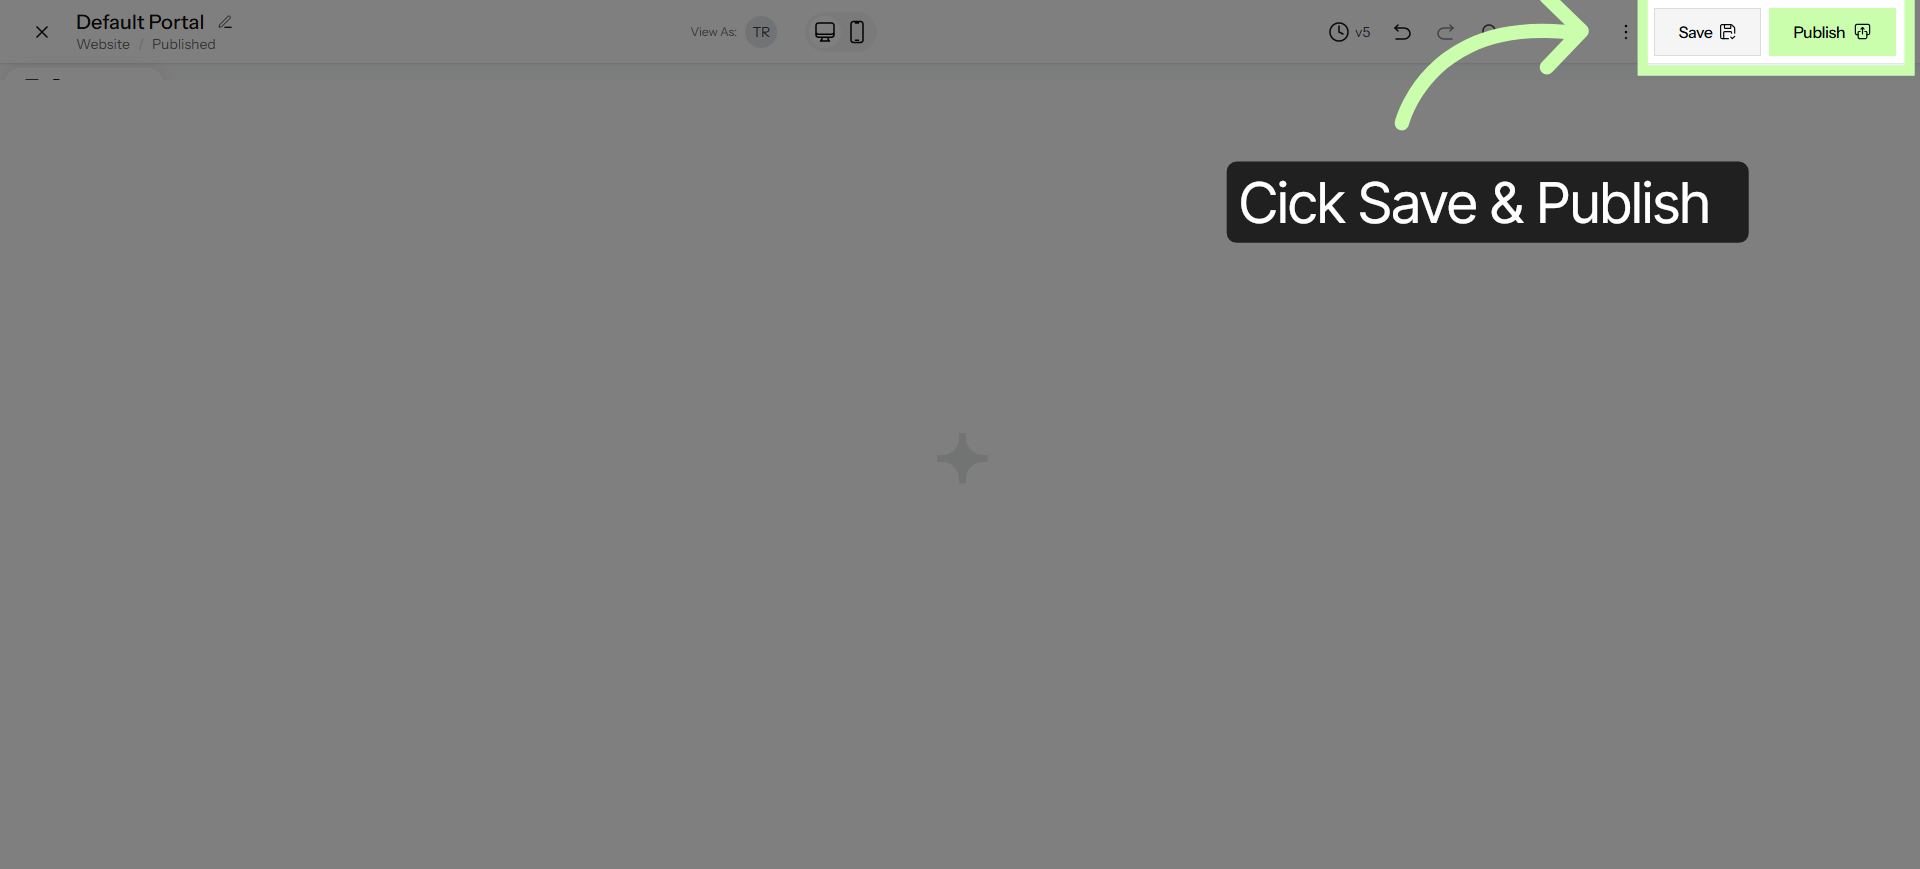
27. Save Portal Page
Click Save to save all your changes and publish the updated portal page.
You now know the basics of portal page editing! With these tools at your fingertips, from the flexible content library to the intuitive AI Creator, you have everything you need to build a professional, engaging space for your community.
Don't be afraid to experiment with different layouts or use the Version History to explore new ideas safely. Happy building!