Navigate the publishing workflow within the platform.
Publish content files efficiently and accurately.
Before you begin — open your account This is a hands-on, learning-by-doing session. Open app.structured.ai in your browser and log in to your Tenant Account so you can follow along and apply each step in real time.
Direct Links to the Next Phases in this Training Series
This module is part of a 3-part series. Each session builds on the
last, and reviewing them in order ensures you don't miss any critical
steps and get a complete understanding of the workflow.
You will gain comprehensive knowledge on how to upload files efficiently, ensuring that each file is properly added to the platform. Additionally, you will learn how to customize metadata, which involves editing and managing the information associated with your files to improve organization, searchability, and relevance.
Furthermore, you will explore how to manage publishing settings effectively, allowing you to control when and how your content is made available to your audience, including options for scheduling, privacy, and access permissions.
2. Initiate New File Creation
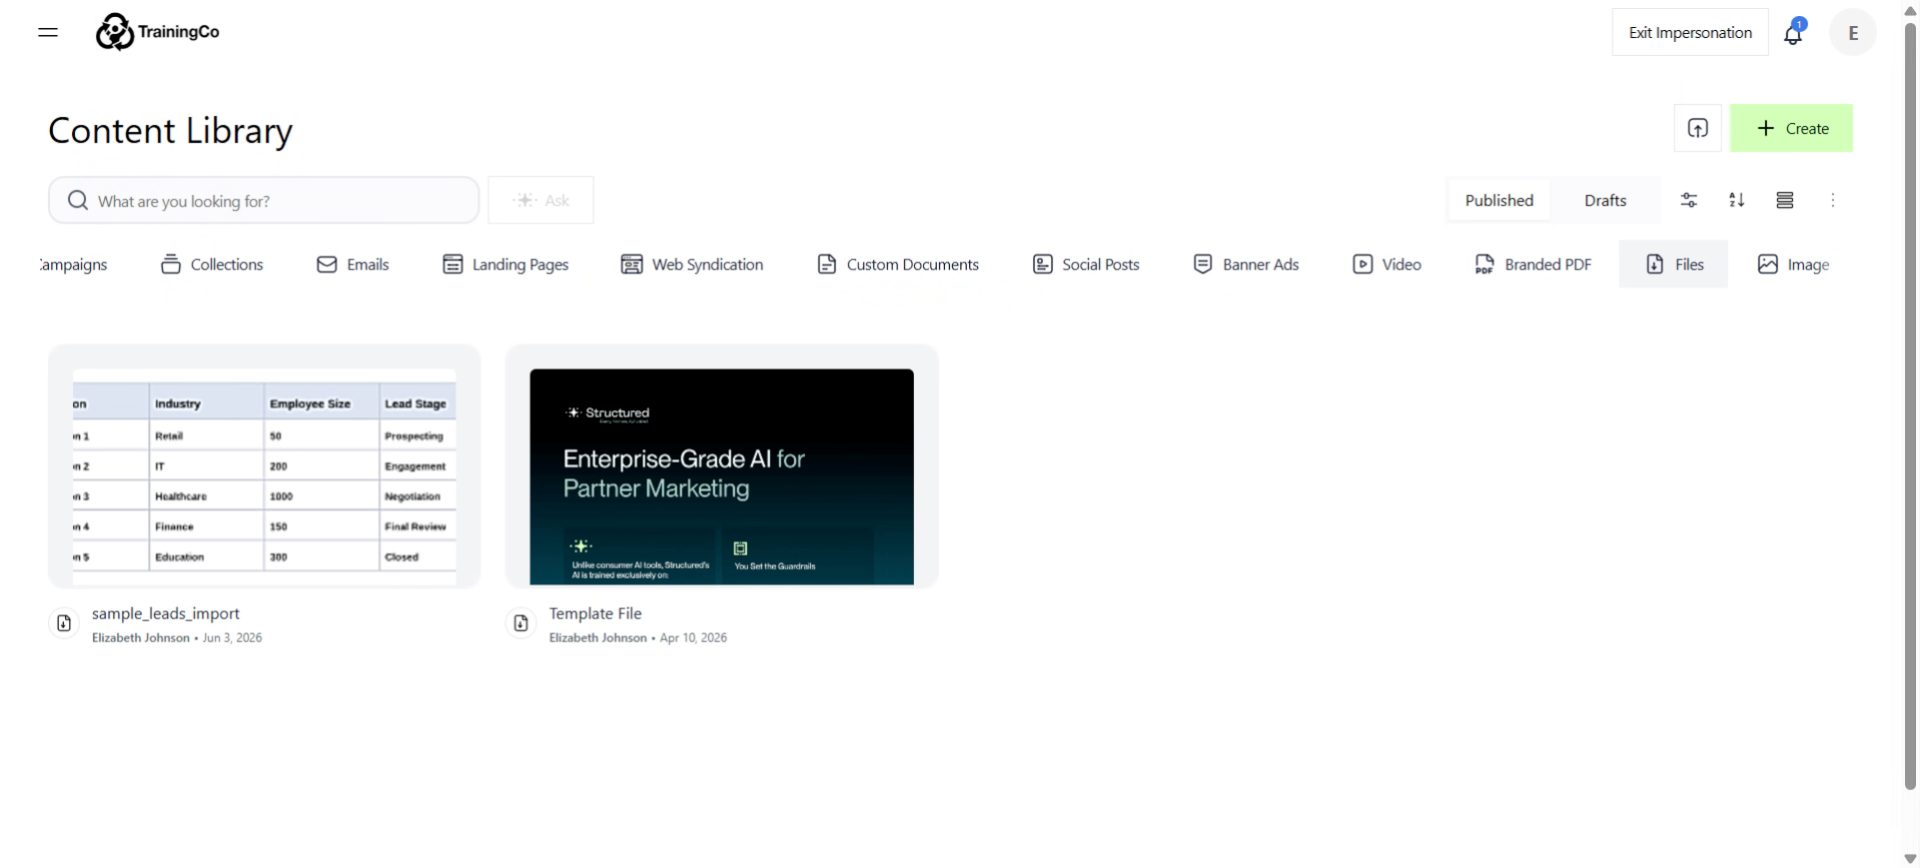
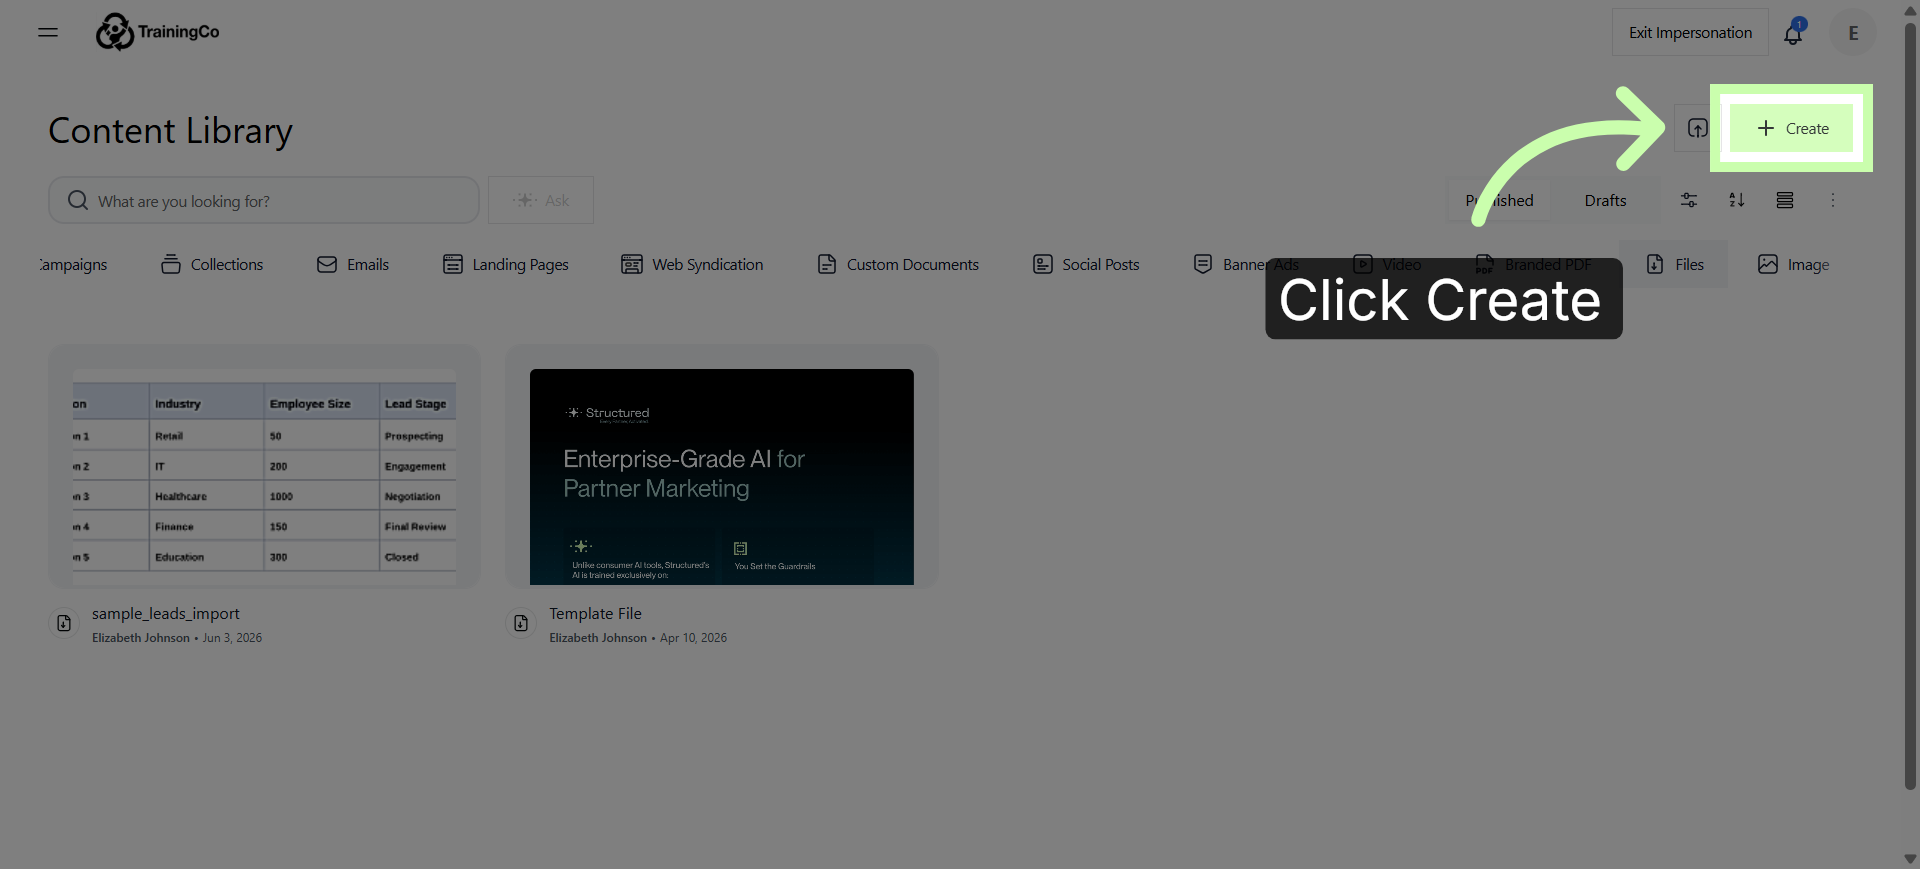
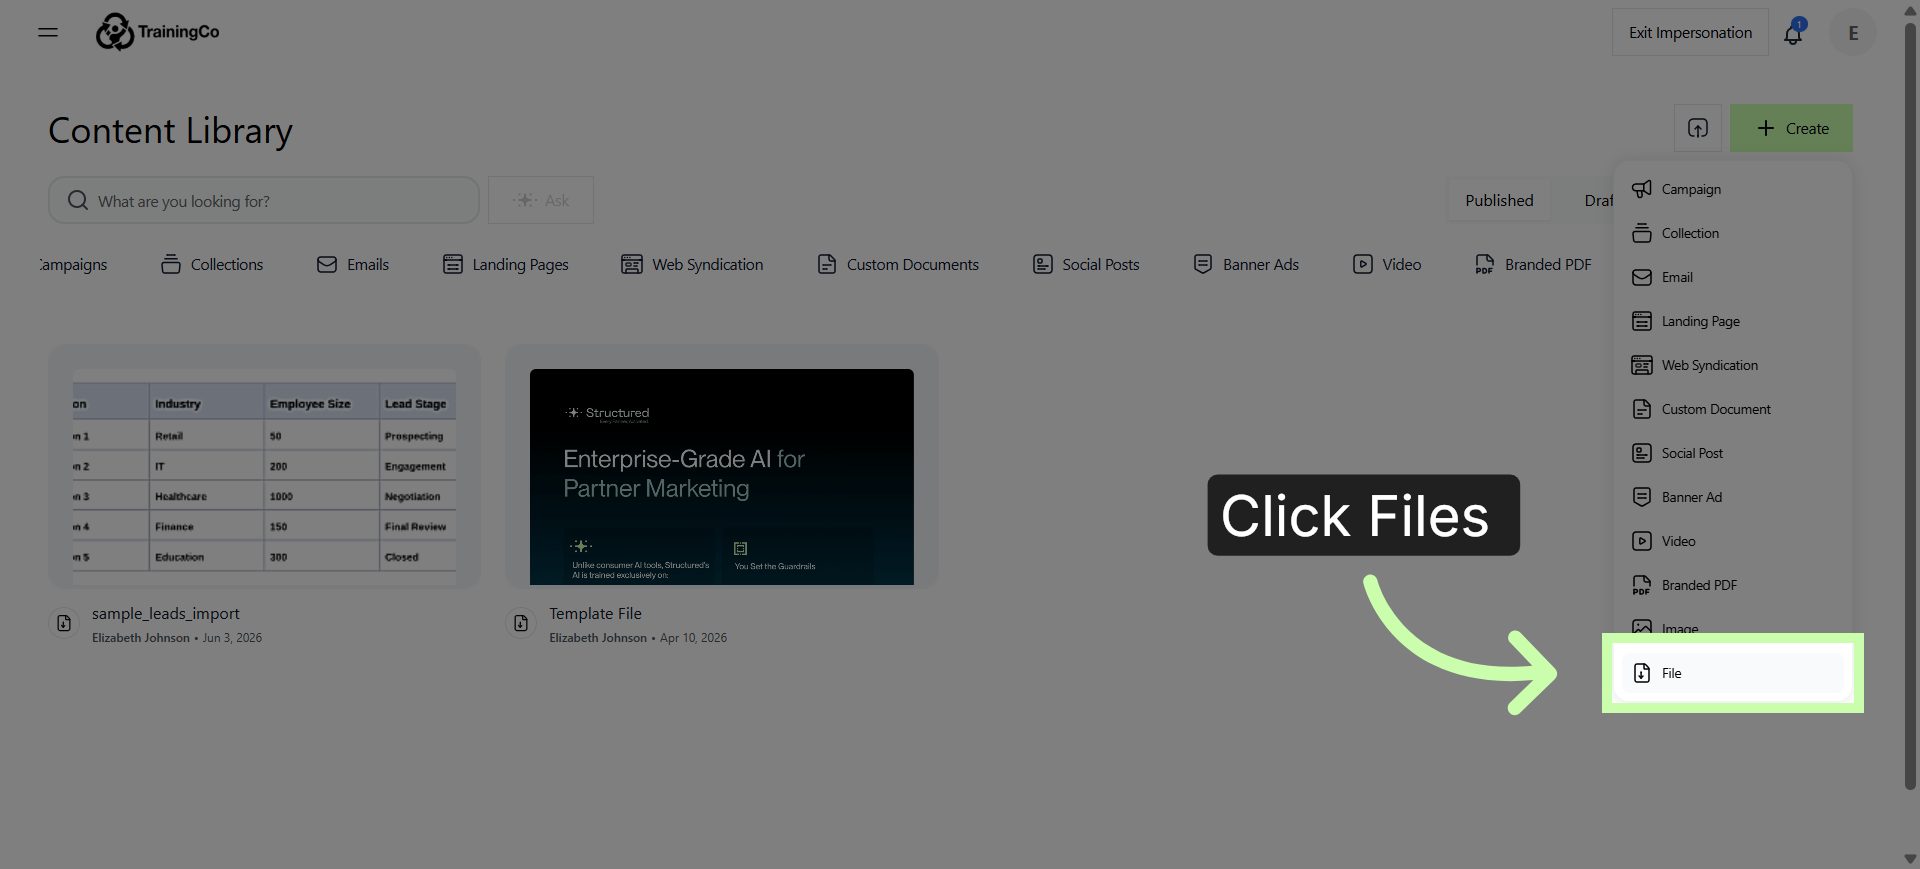
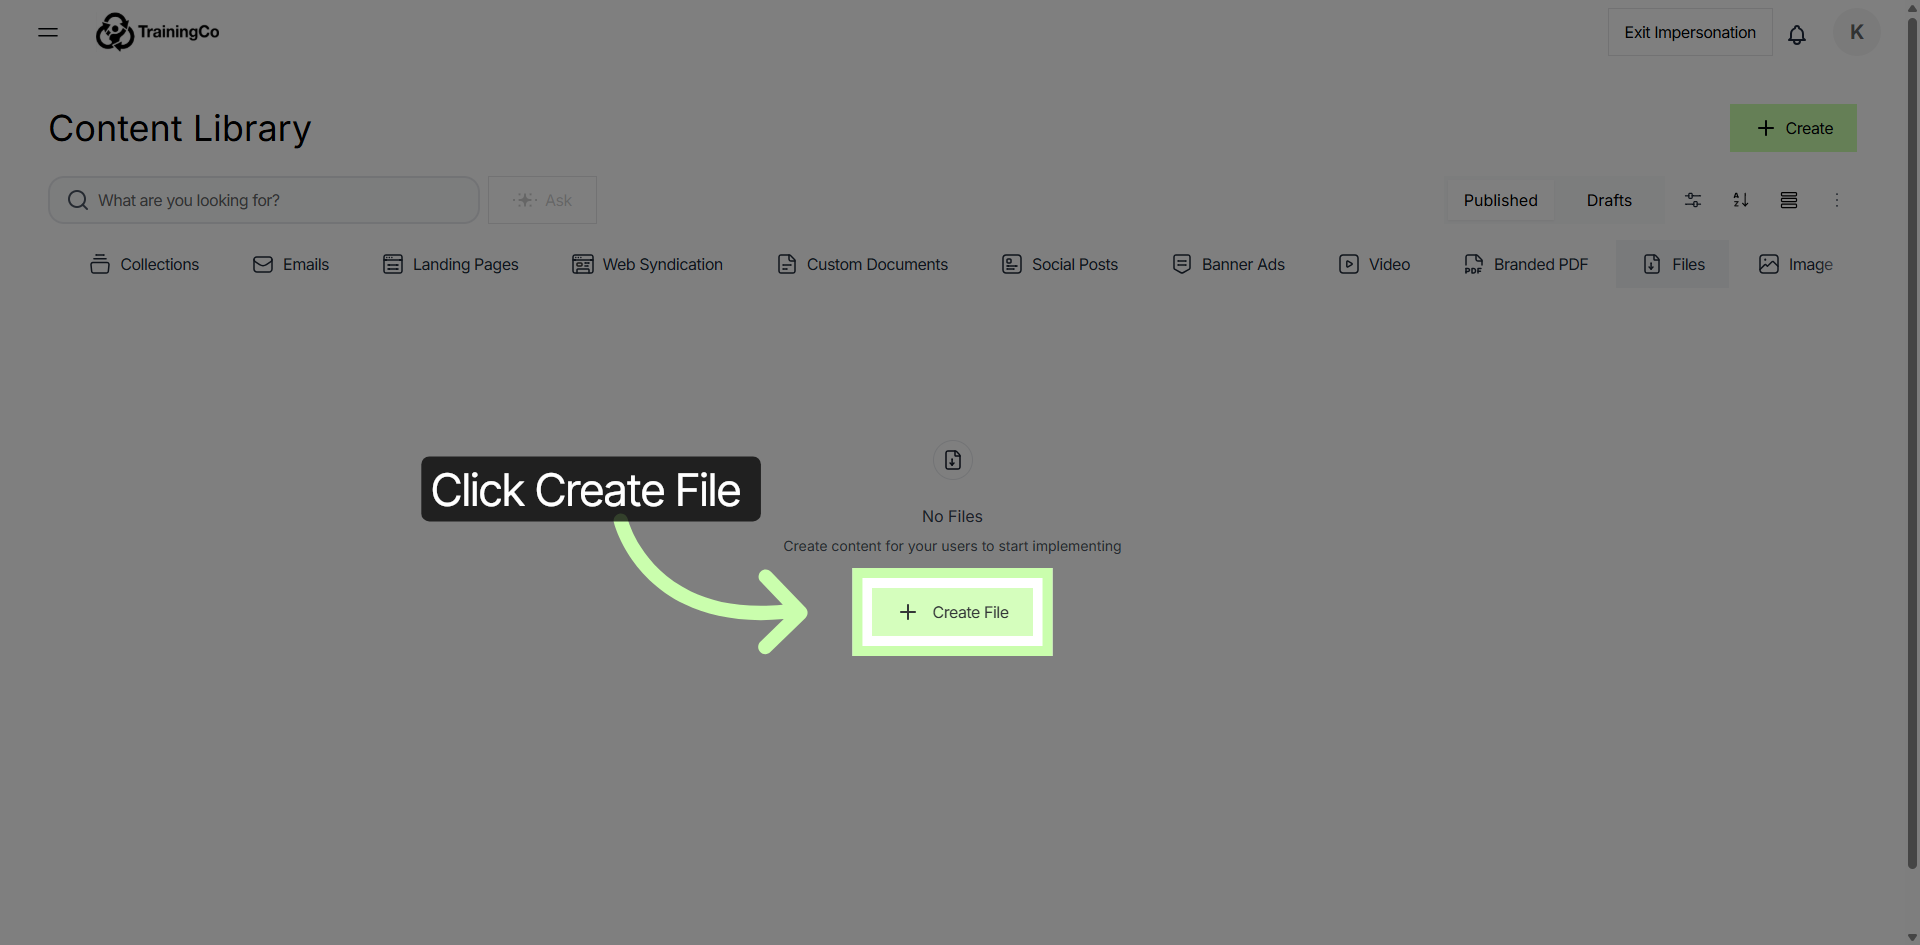
Click Create → File → Create File to start a new content file in Structured AI. If you already have a File in your library, click on the + Create button in the upper right corner and then, select File.
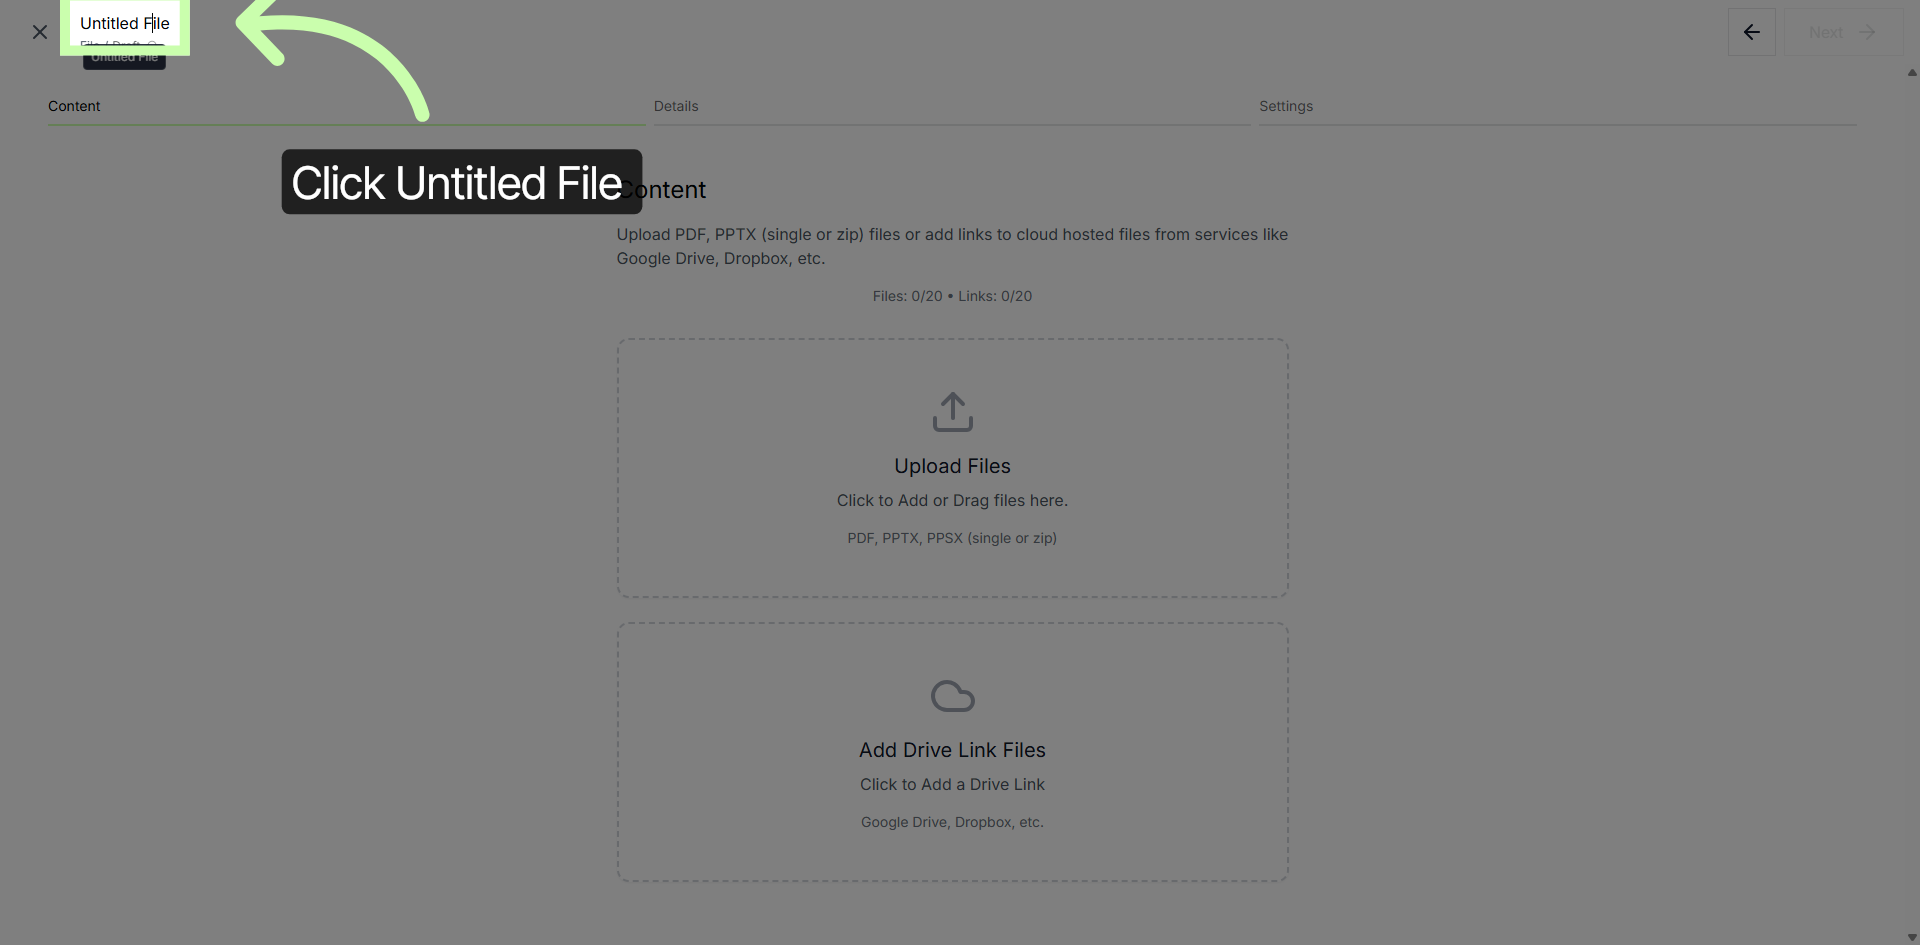
3. Naming Your File
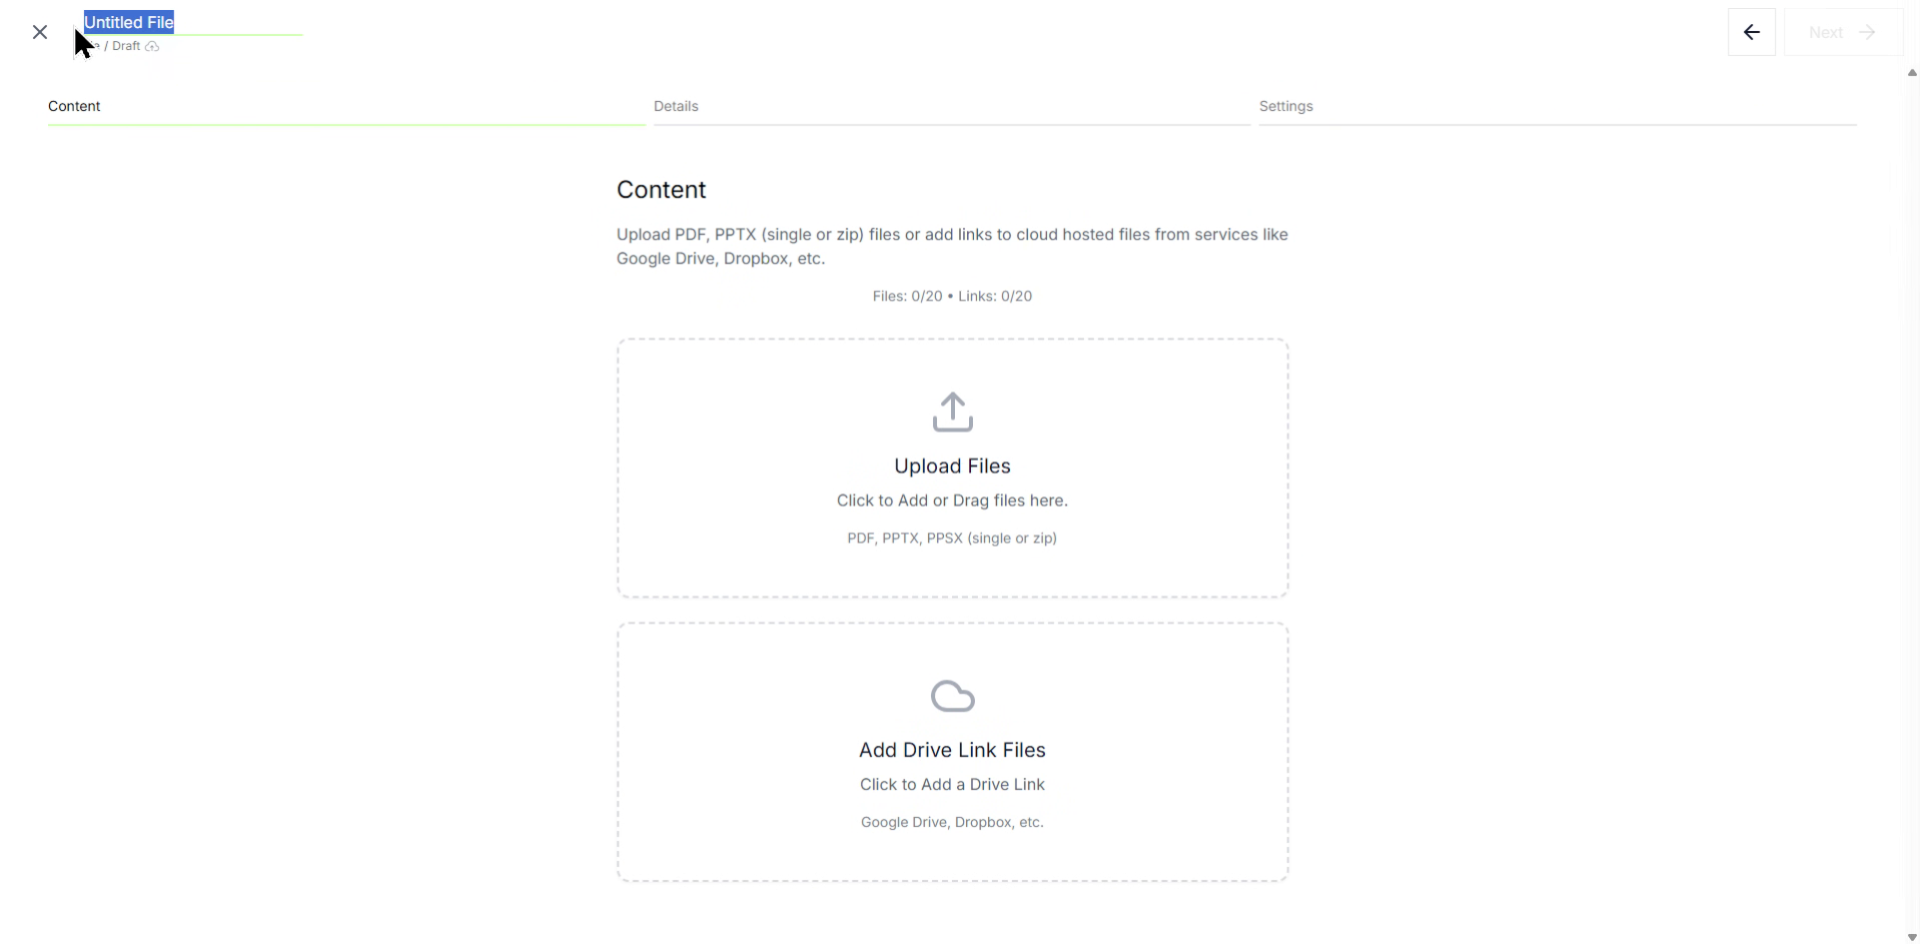
Click into the name entry field to customize the name of your file.
4. My Practice File
For this Training, let's enter "My Practice File".
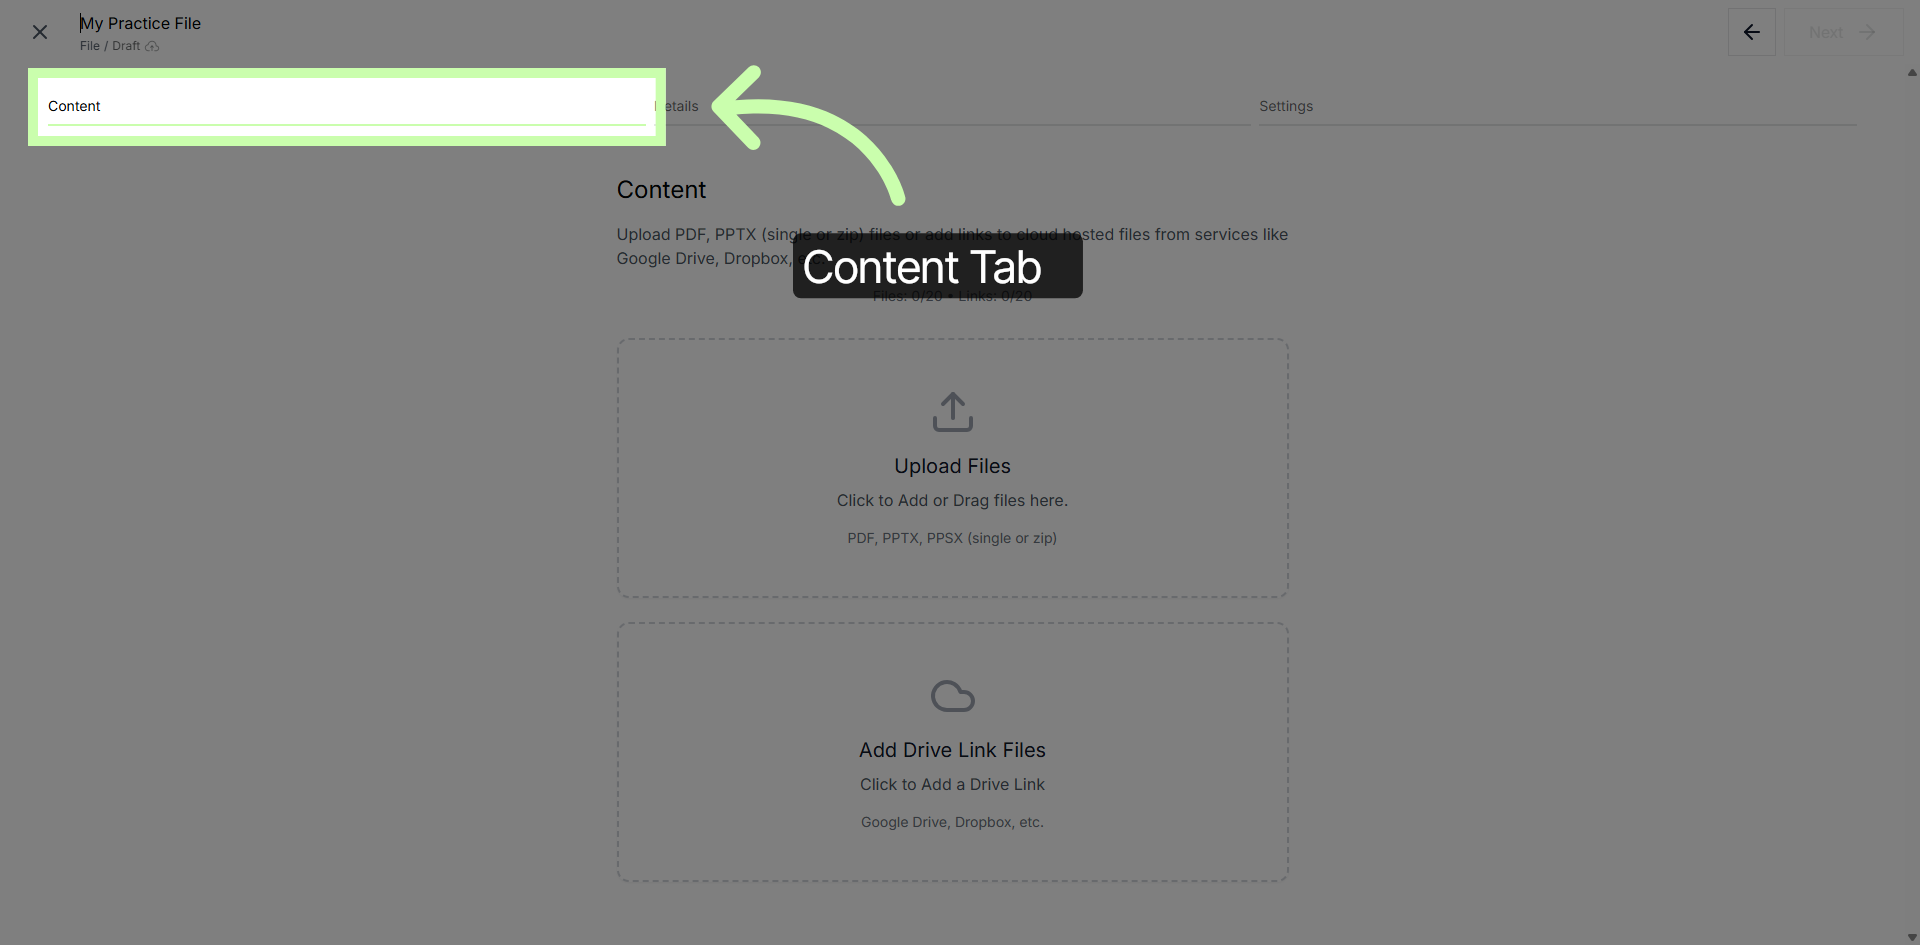
5. Access Content Tab
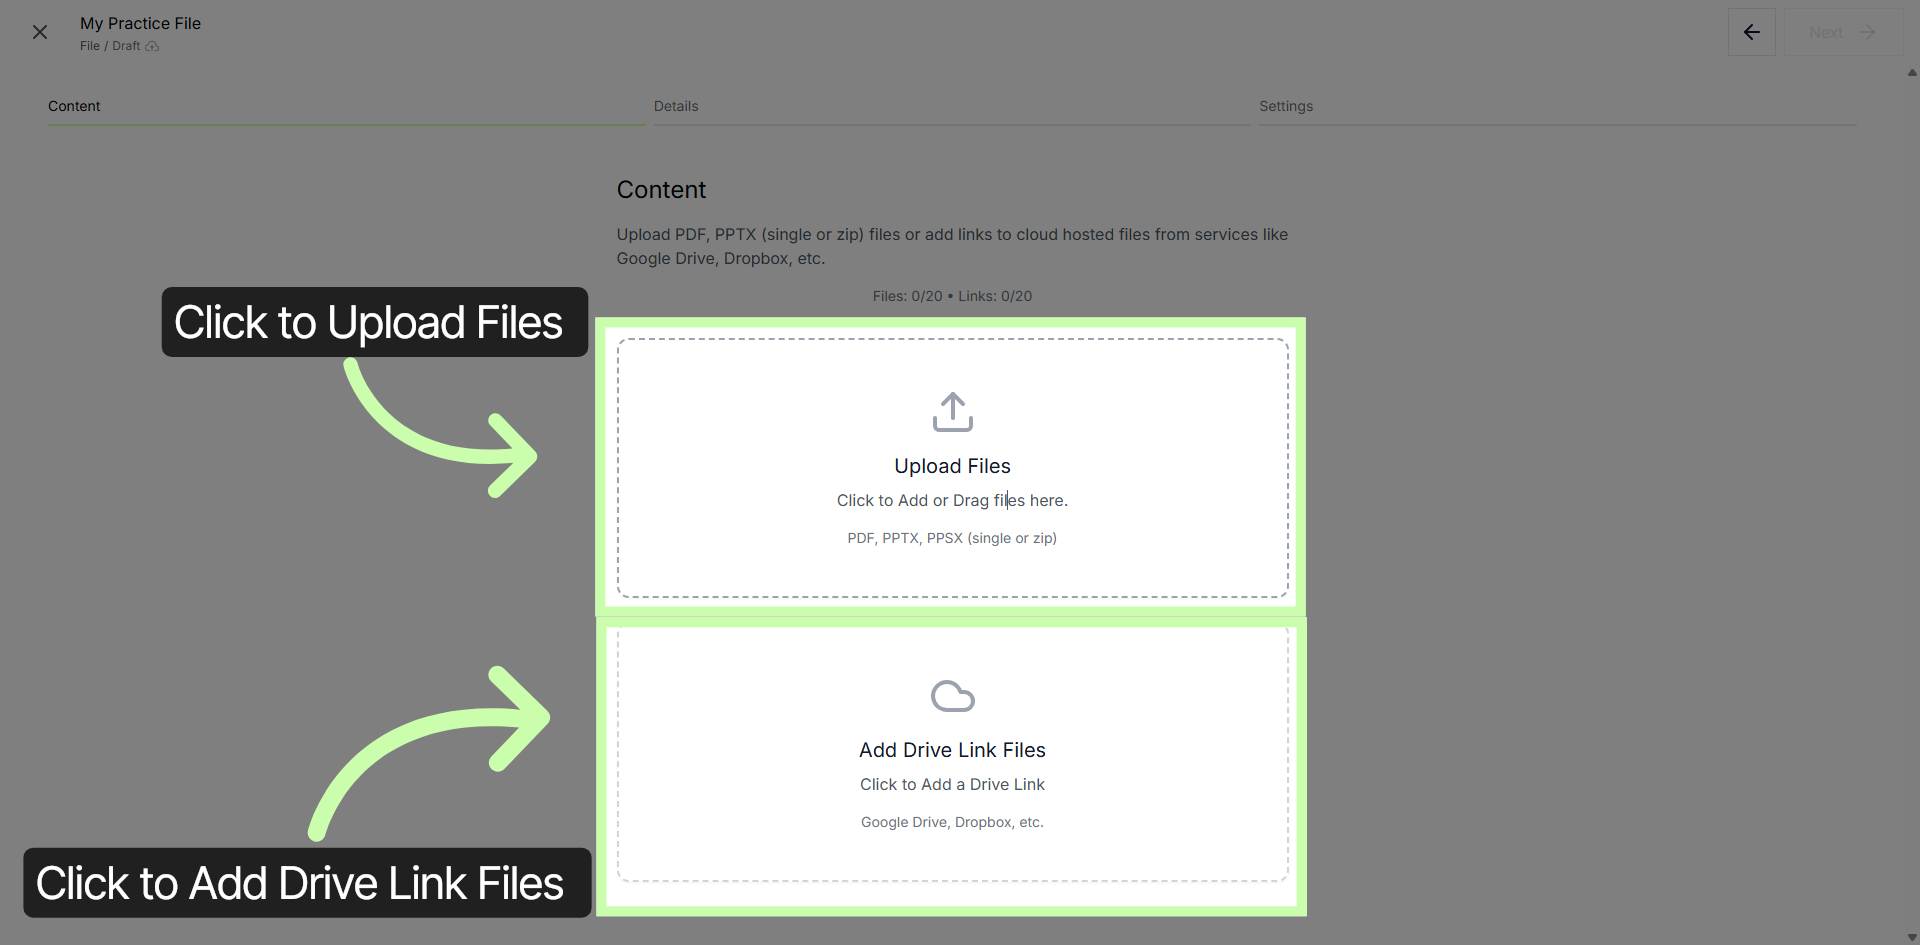
Within the Content Tab, you will have the option to Upload your Files and/or Add Drive Link Files.
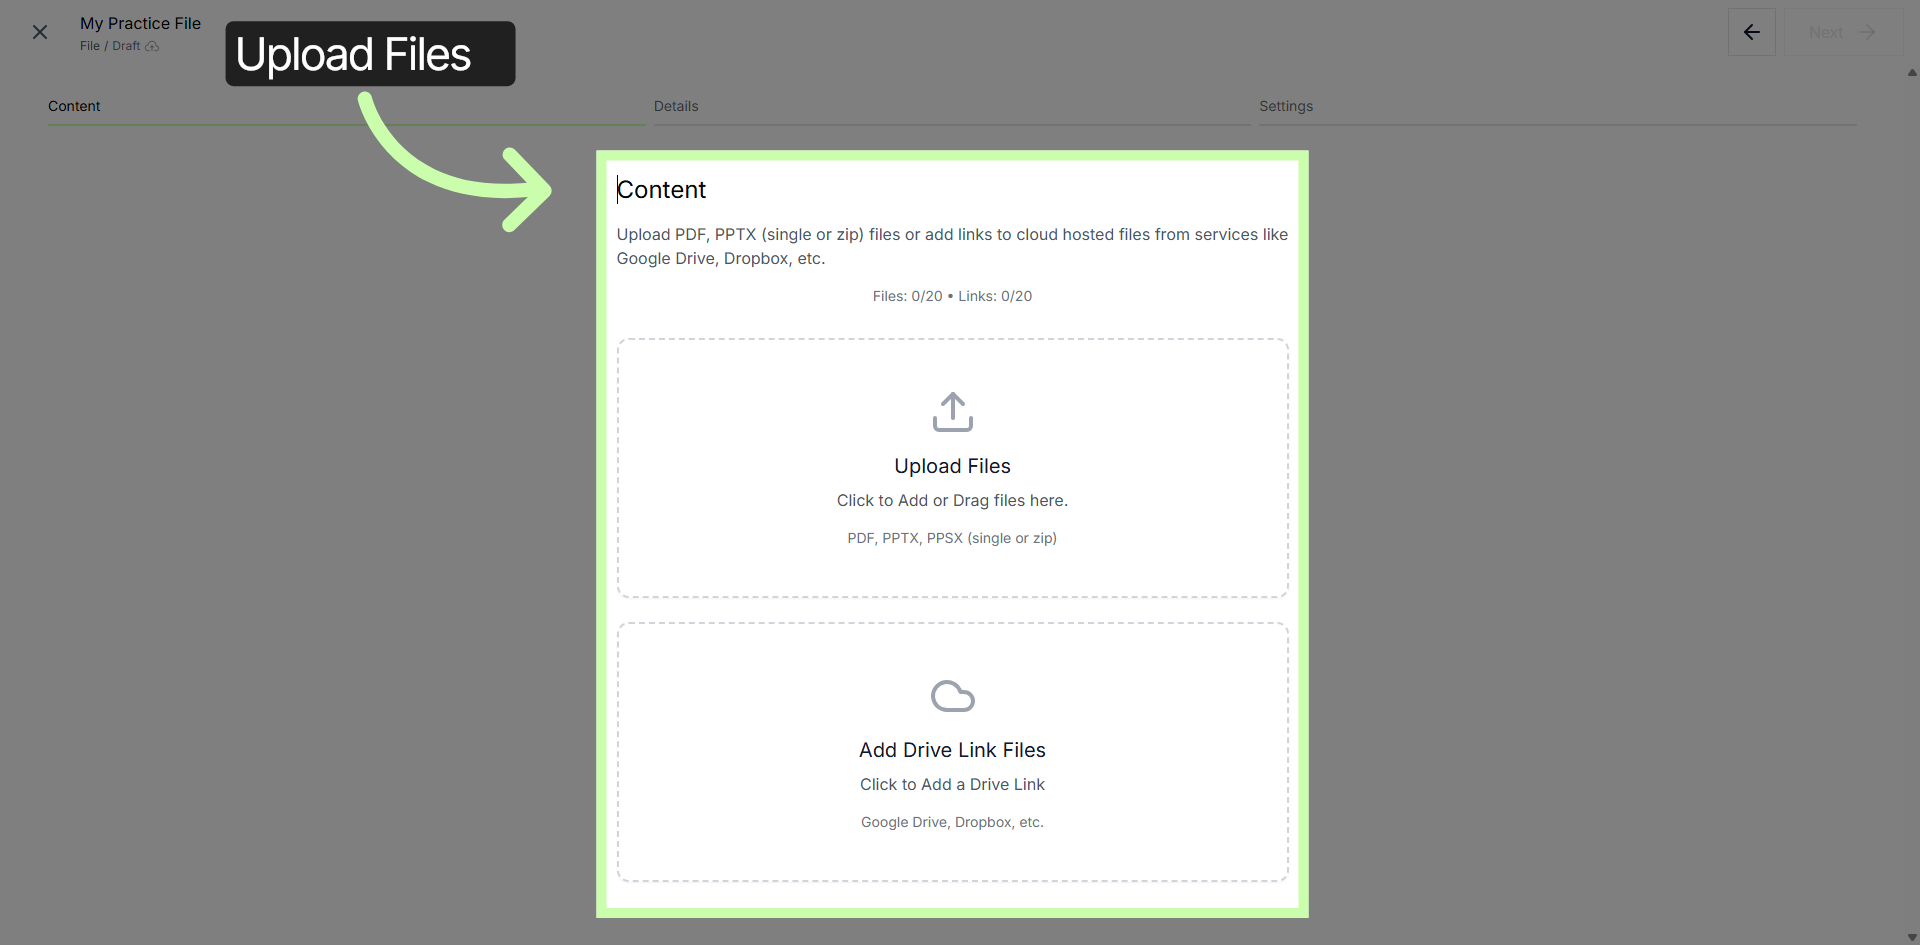
6. Uploading Files and/or Link Files
Within the Content Tab section, you can upload PDF's, PPT (single or zip) files, Word documents or add links to cloud hosted files from services like Google Drive, Dropbox, etc.
7. Add Or Drag Files
Click to Add or Drag files to upload your content files. You can also Click to Add a Drive Link here as well.
8. Adding Multiple Files
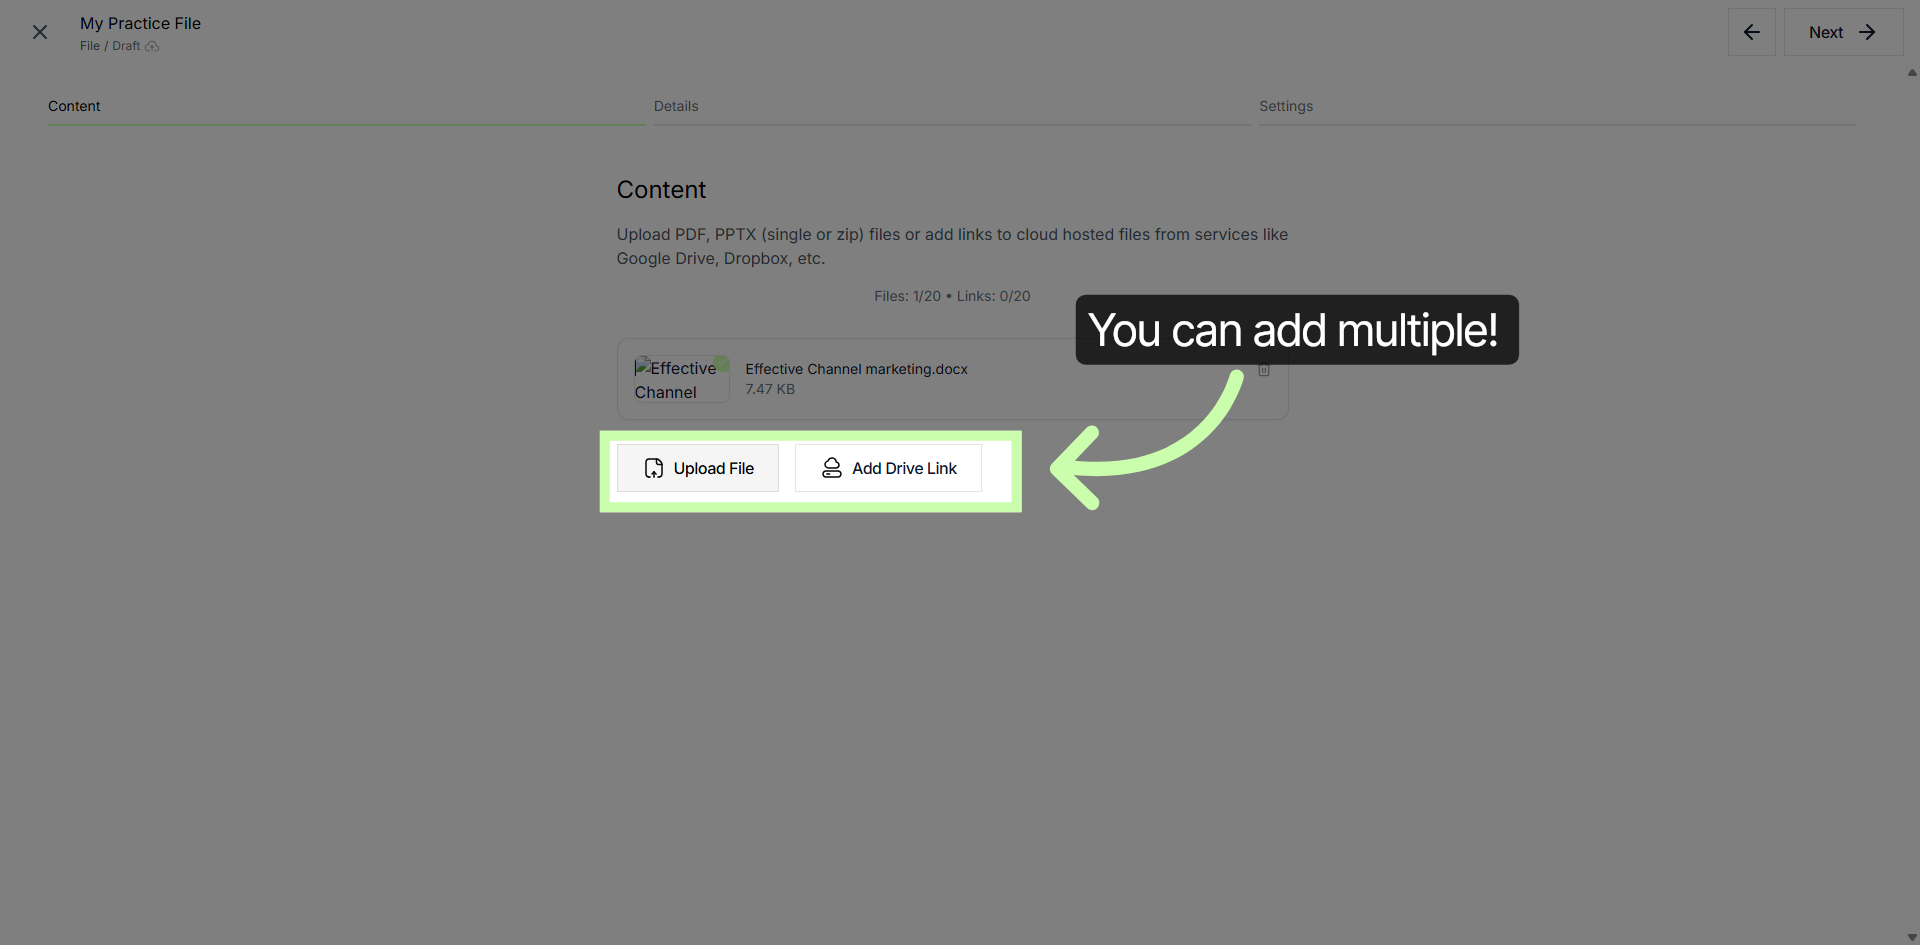
Note that you can add multiple items at once and mix and match file types. If your resource is hosted elsewhere, Add Drive Link files. Enter the URL and give your link a clear, recognizable name.
9. Proceed To Next Step
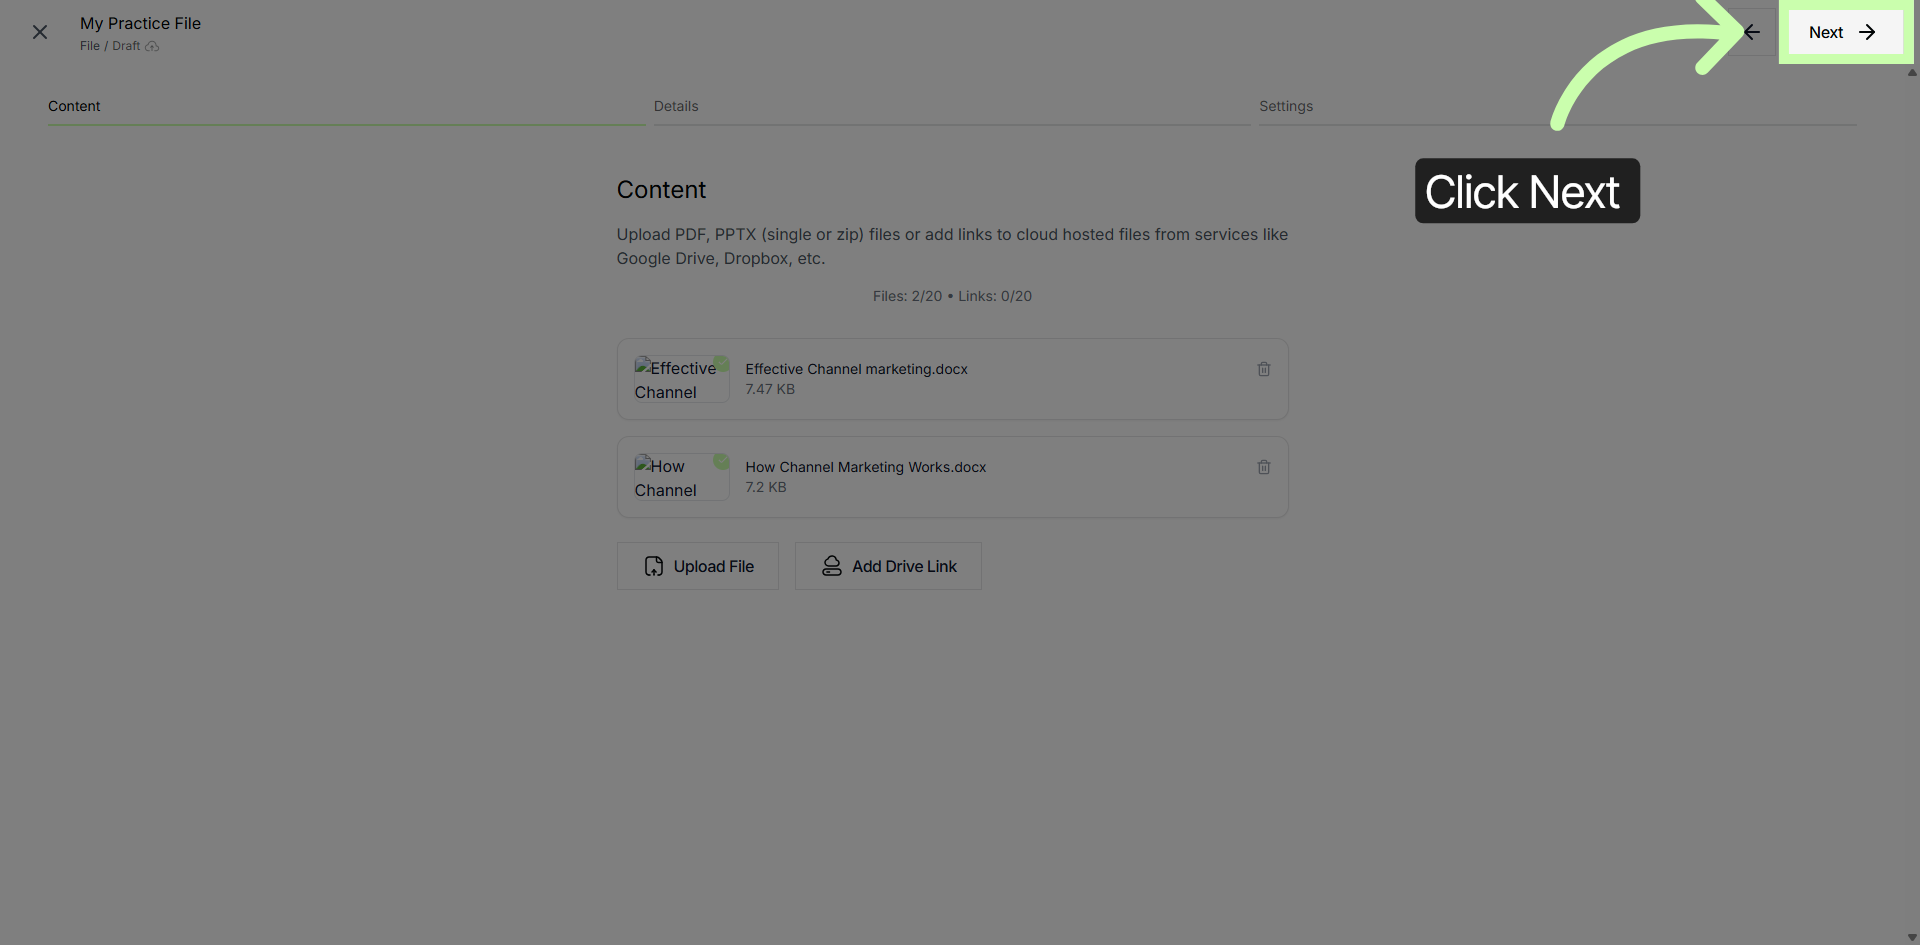
Once you have added all necessary Files, click Next to continue to the next stage of content setup. The next step is the Details Tab.
10. Custom Thumbnail Options
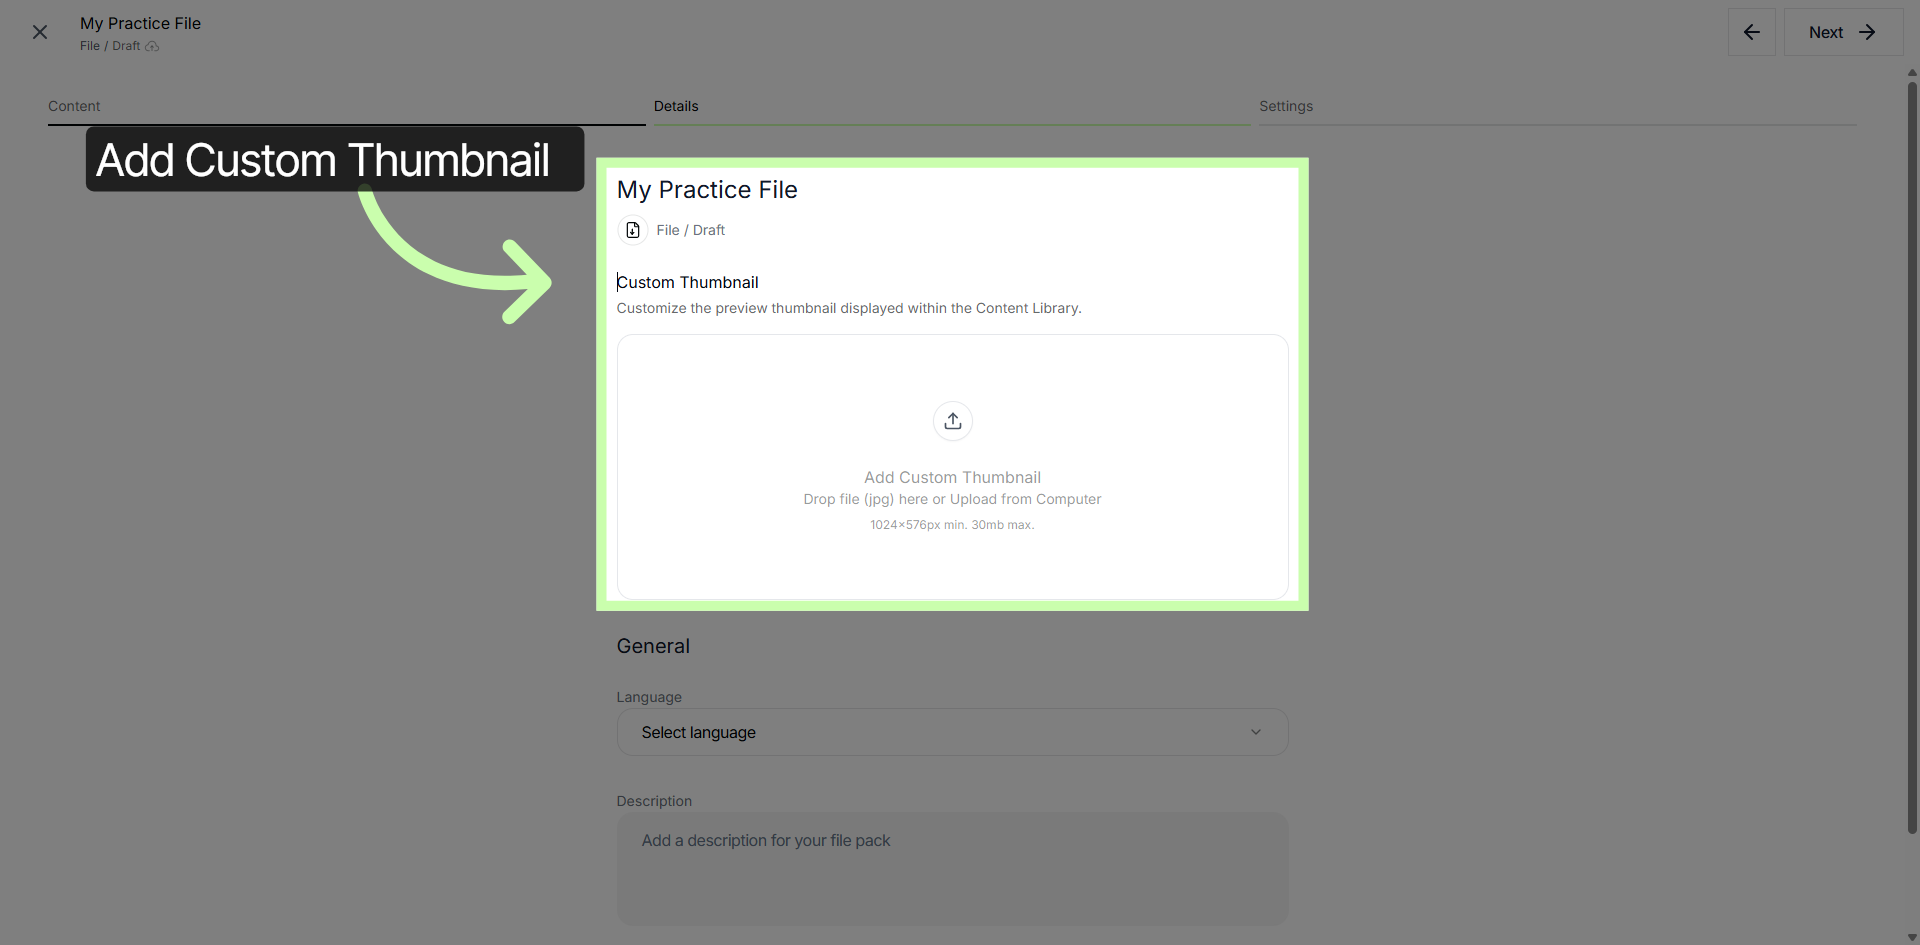
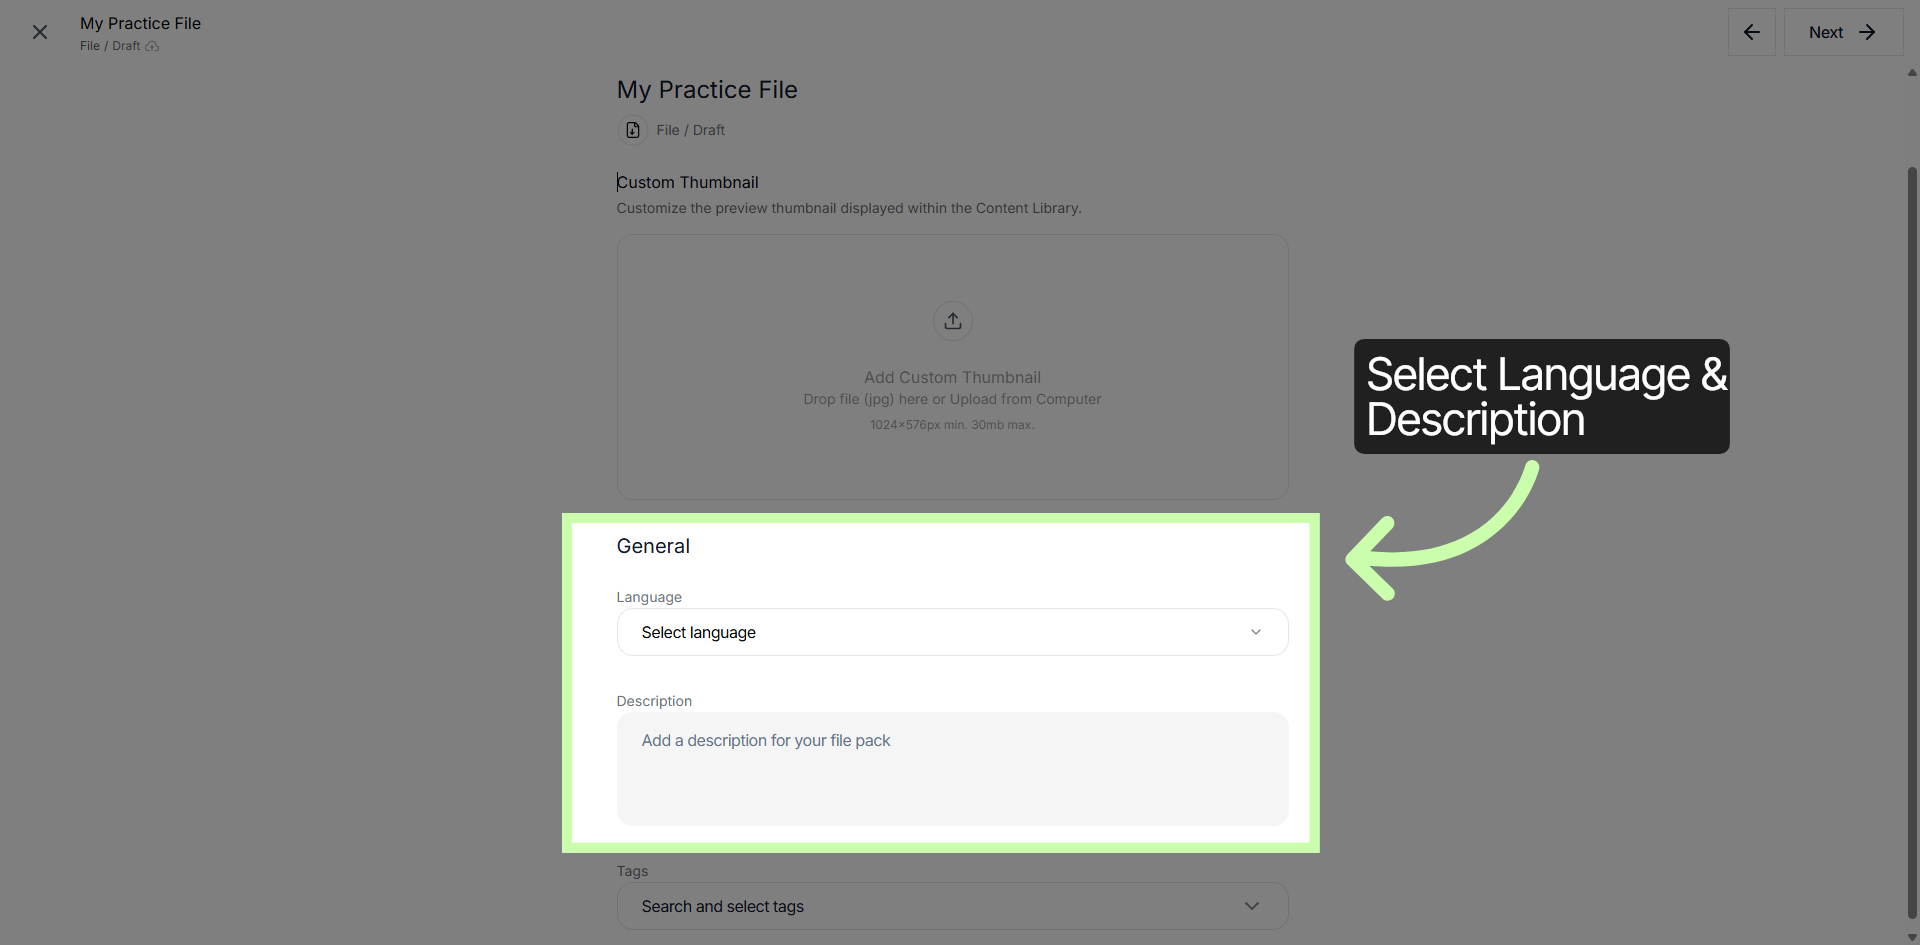
Within the Structured AI platform, you have the option to add a Custom Thumbnail to customize the preview image for your content file.
11. Set Language & Description
You can also set the language and description.
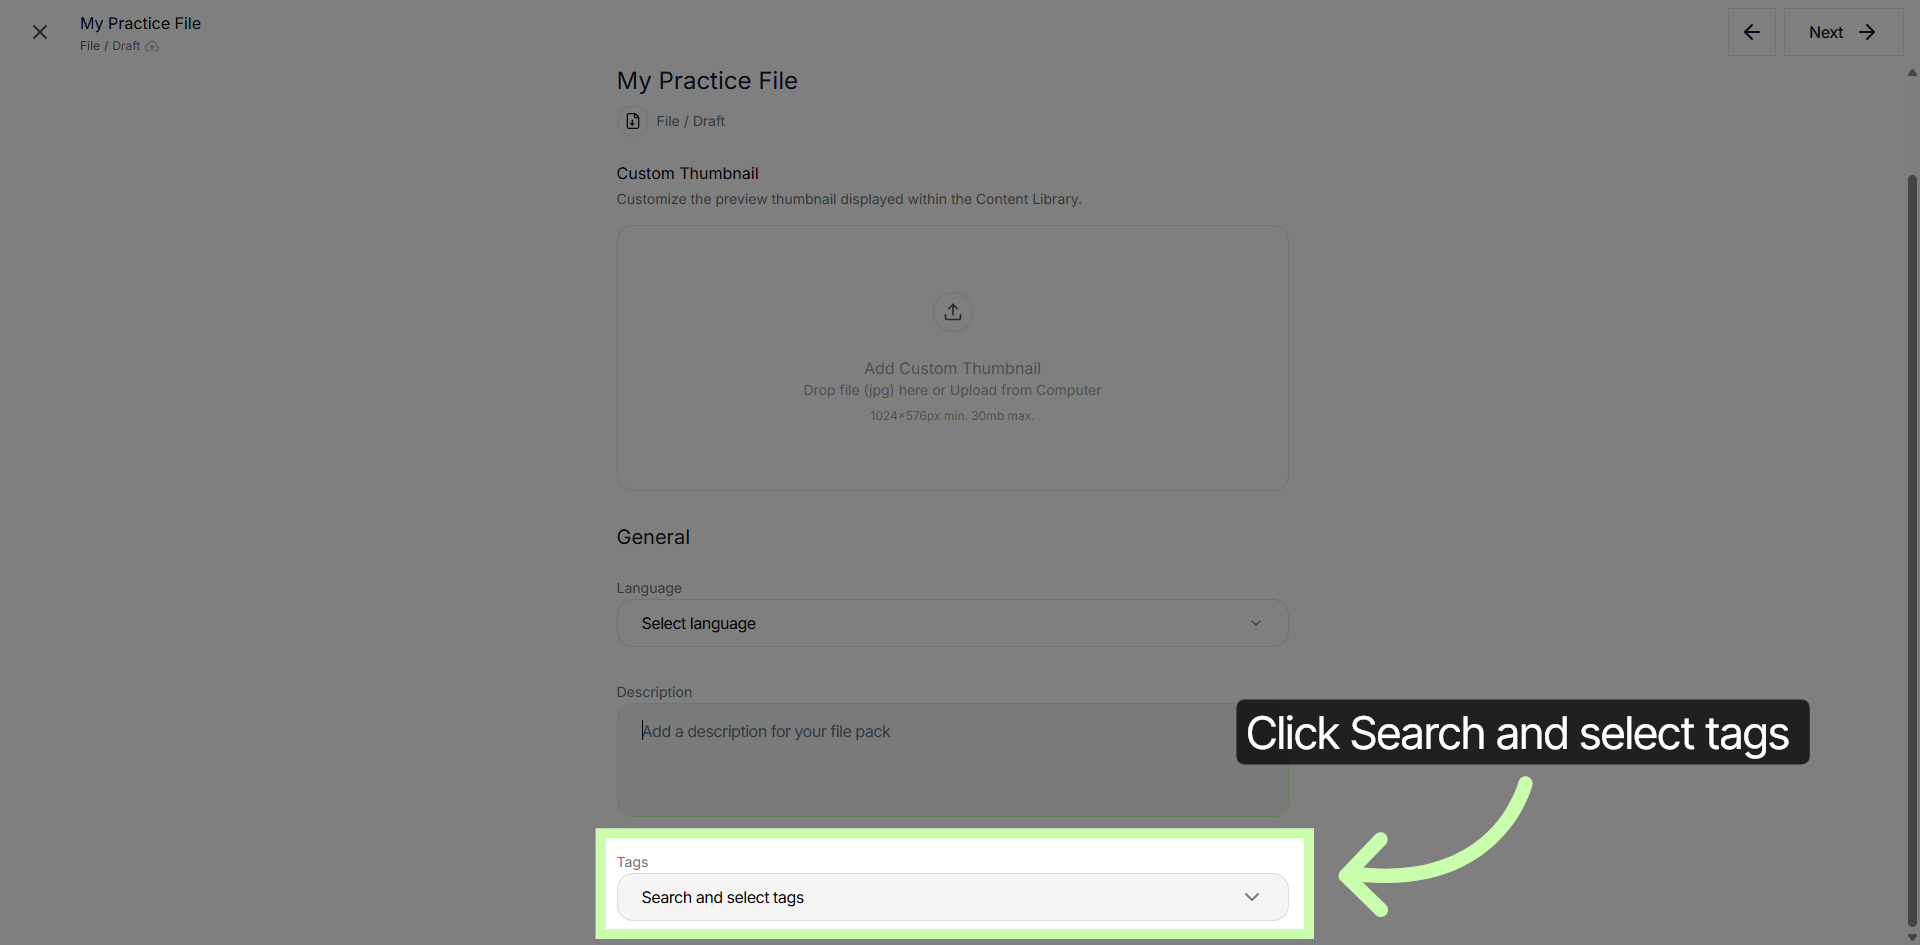
12. Open Tag Selection
Click within the Tags section to add relevant tags to your content file.
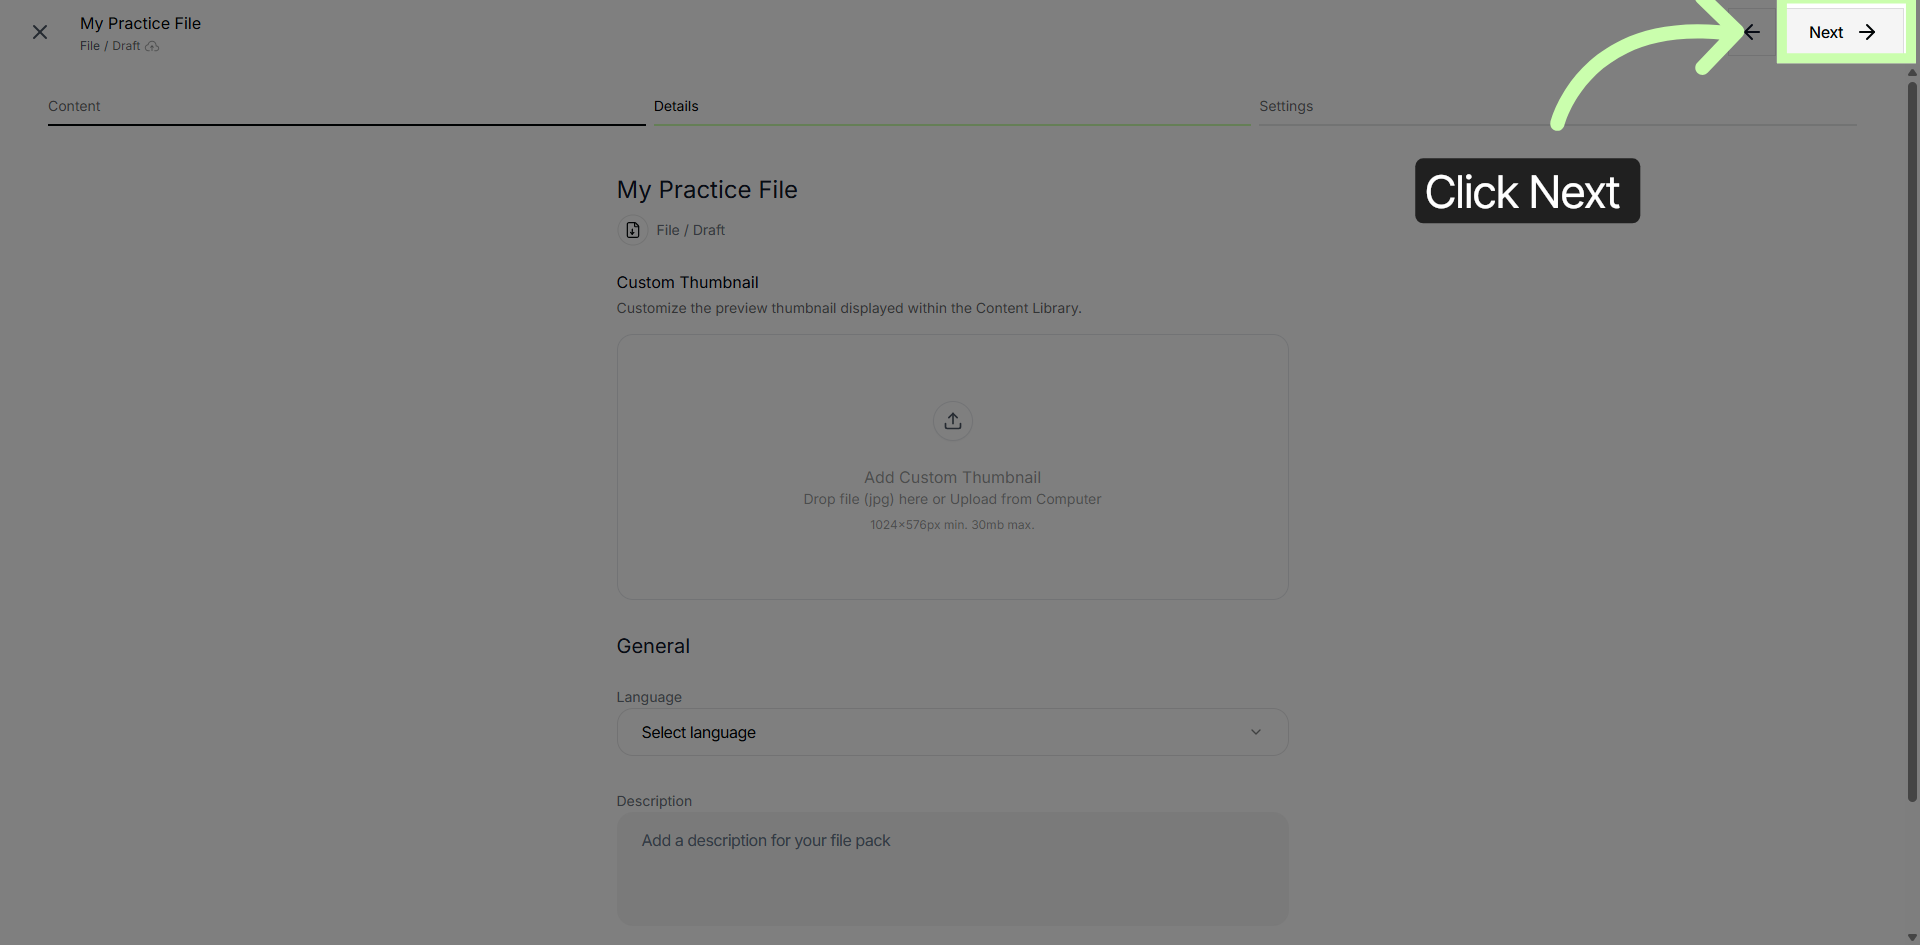
13. Continue To Next Step
Click Next to proceed with the content publishing setup.
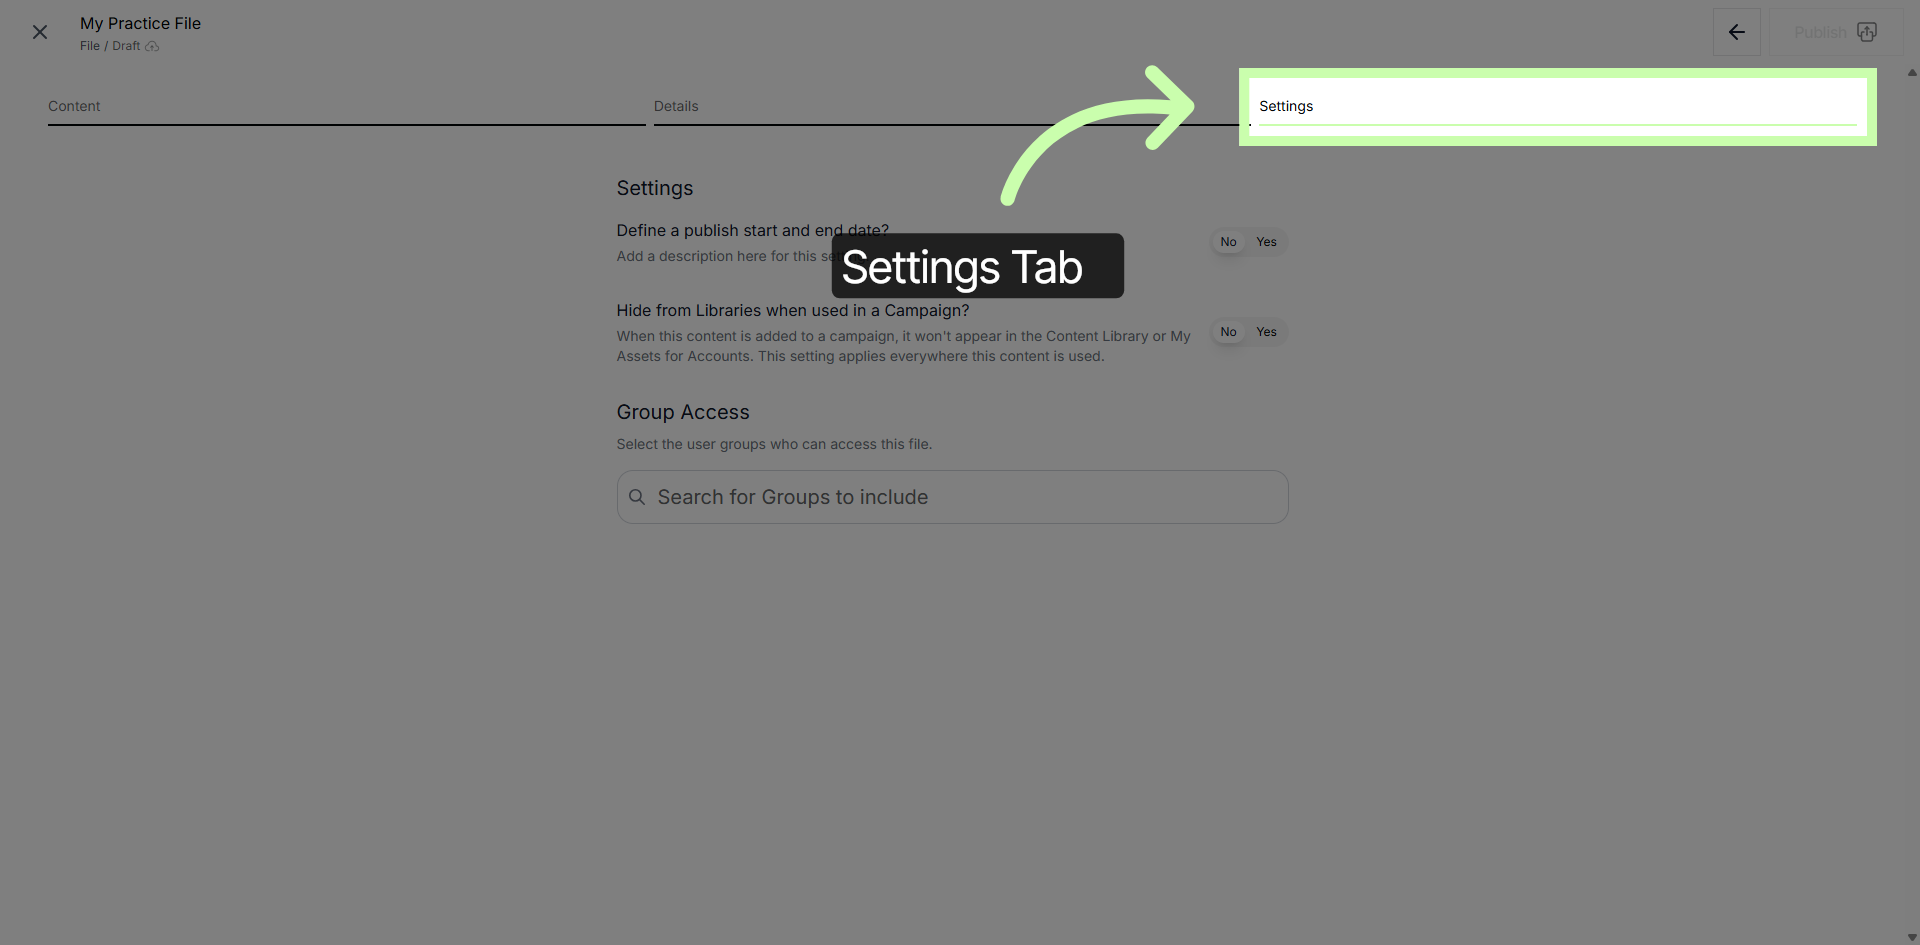
14. Access Settings Tab
The final step is the Settings Tab. Here, you have the ability to configure publishing and visibility options for your content file.
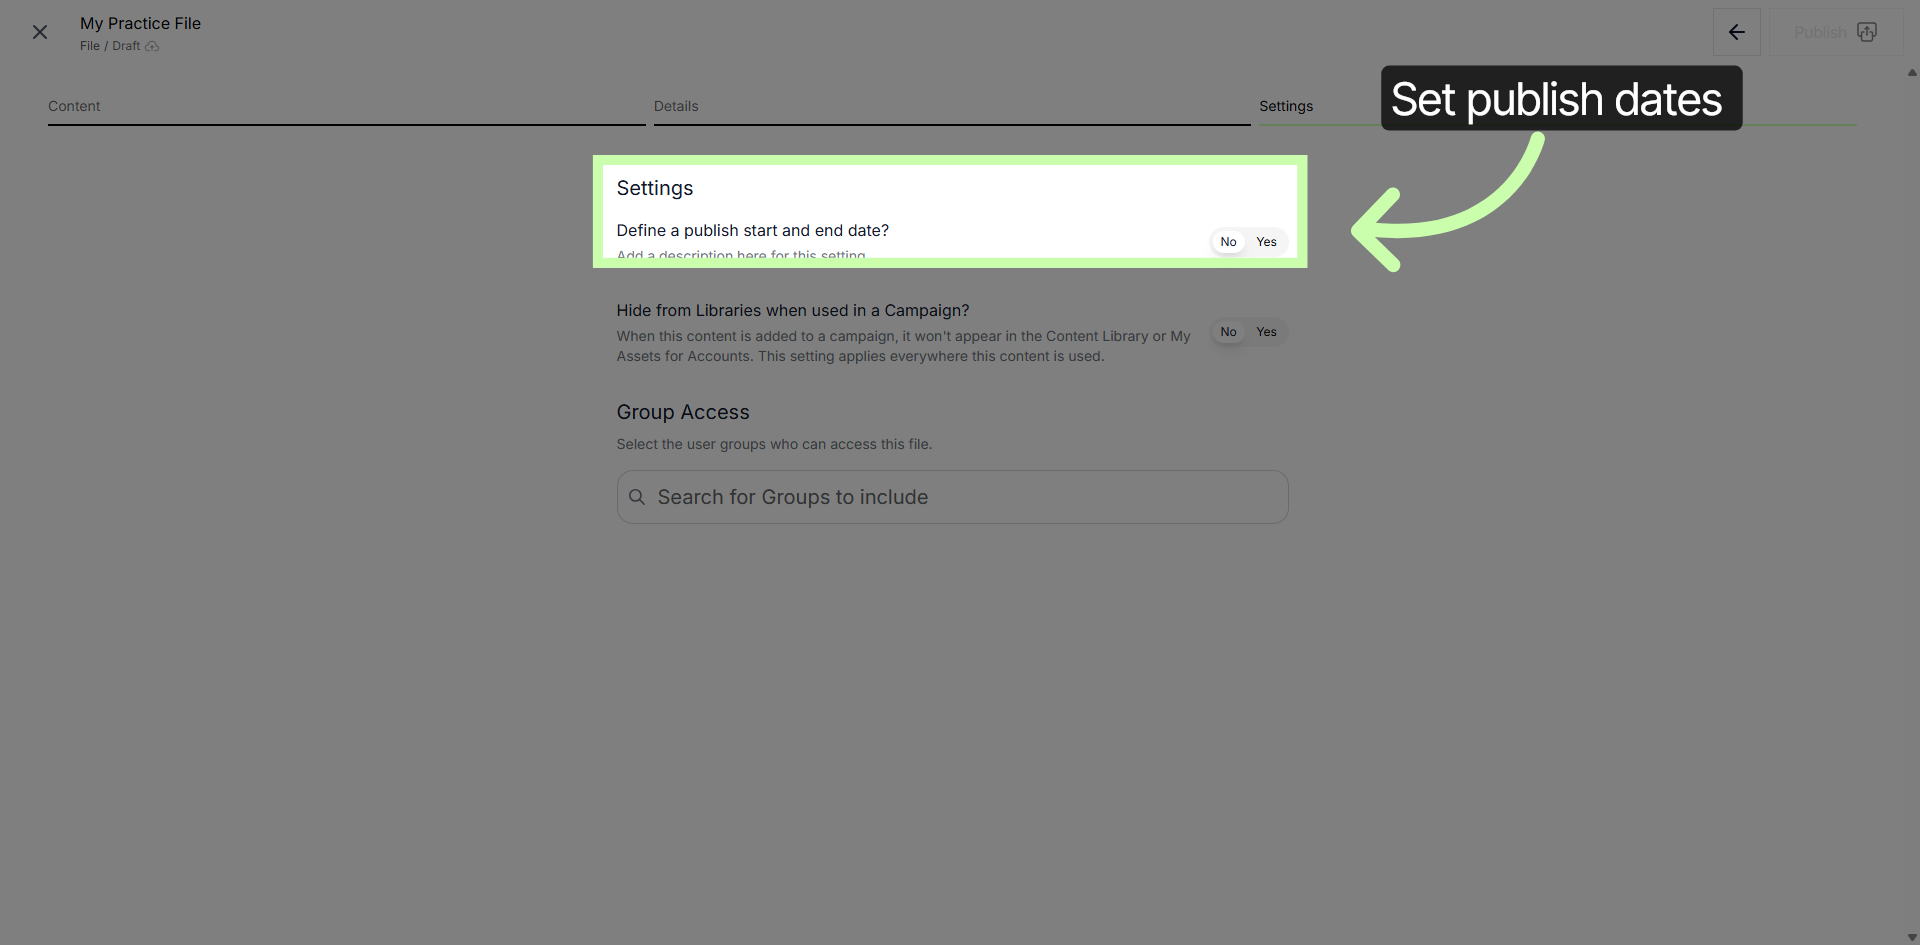
15. Set Publish Dates
On the final settings tab, you can Define a publish start and end date to schedule when your content will be published. If the content is time sensitive, toggle Yes, then choose a start and end date.
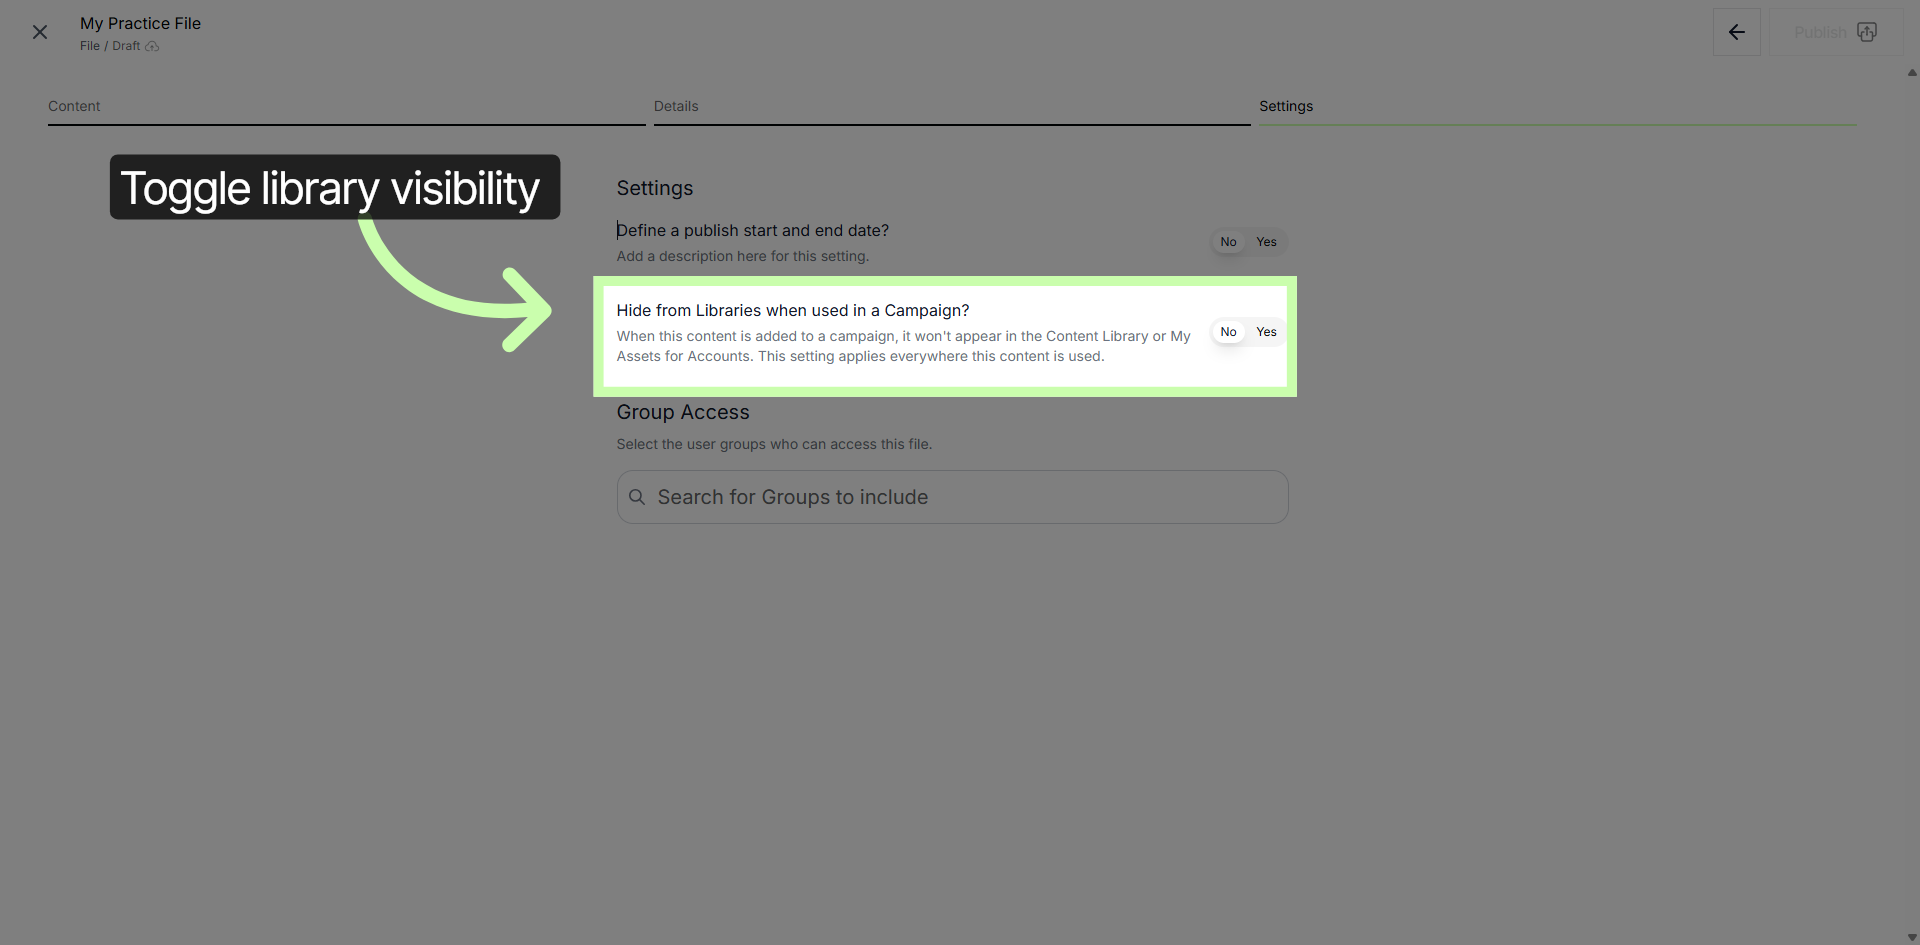
16. Toggle Library Visibility
You also have the ability to Hide from Libraries. When this content is added to a campaign, it won't appear in the Content Library or My Assets for Accounts. This setting applies everywhere this content is used.
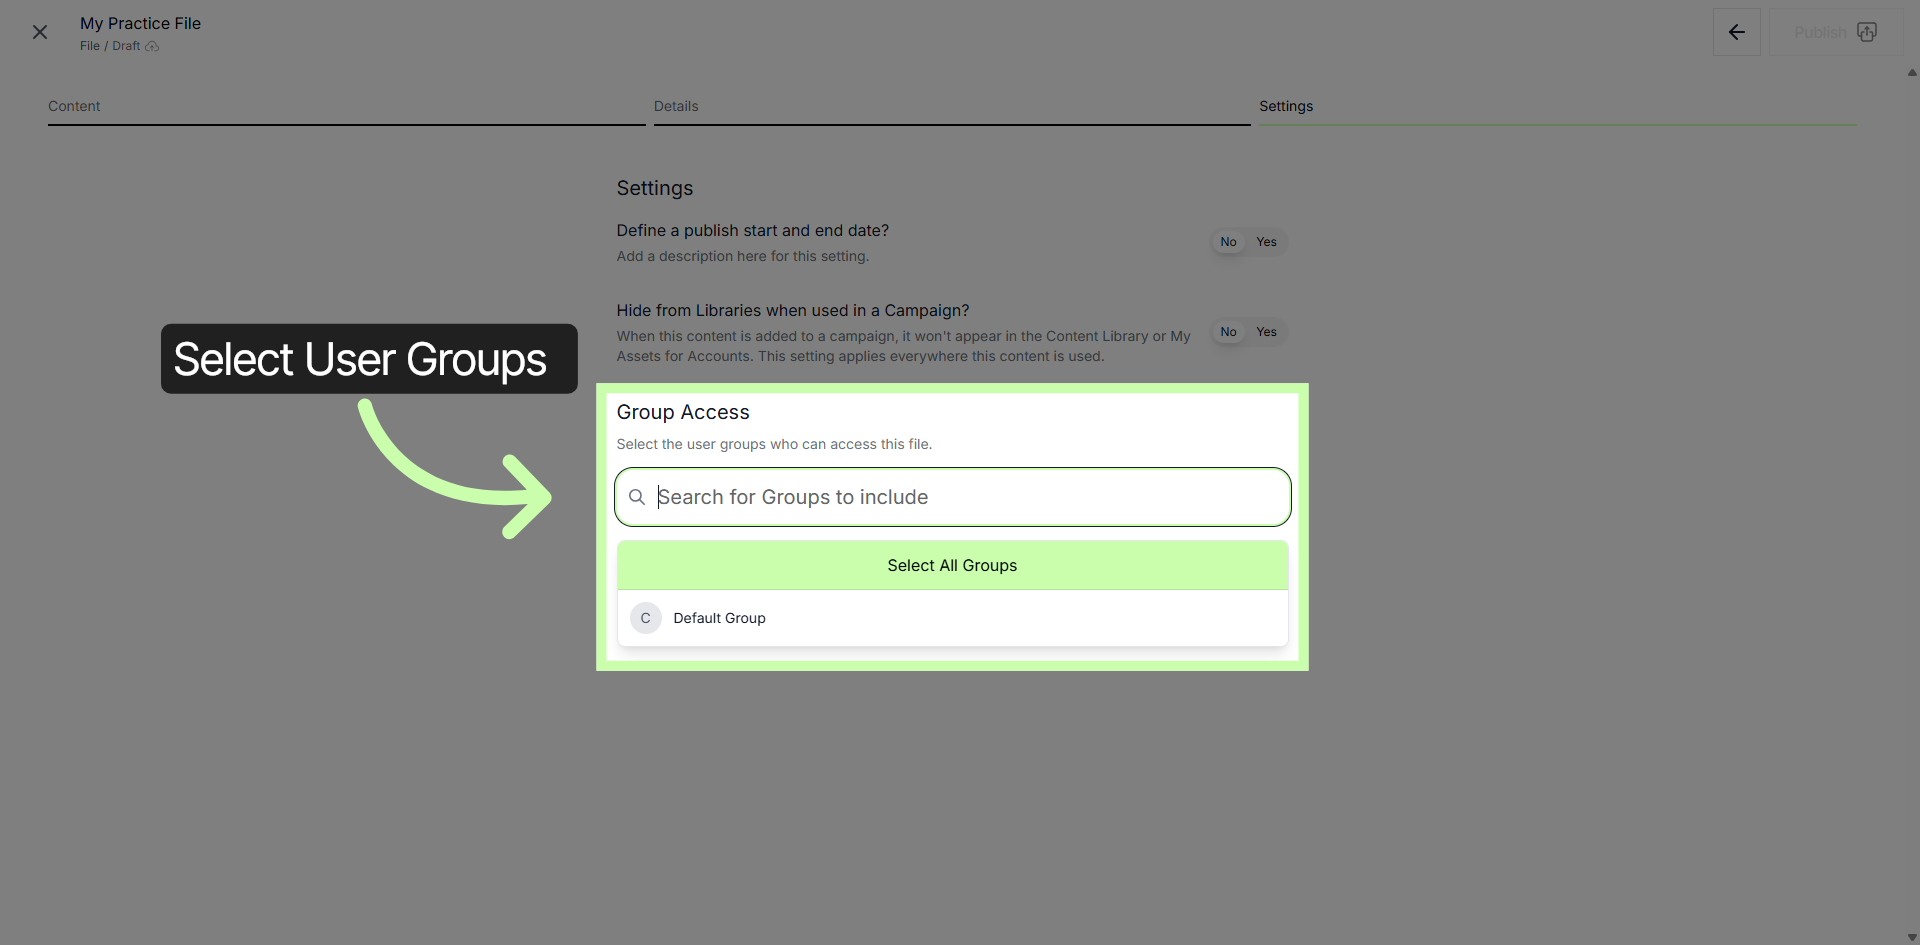
17. Search Group Accessibility
Click the select the Account Groups search input to find and assign groups with access to the content.
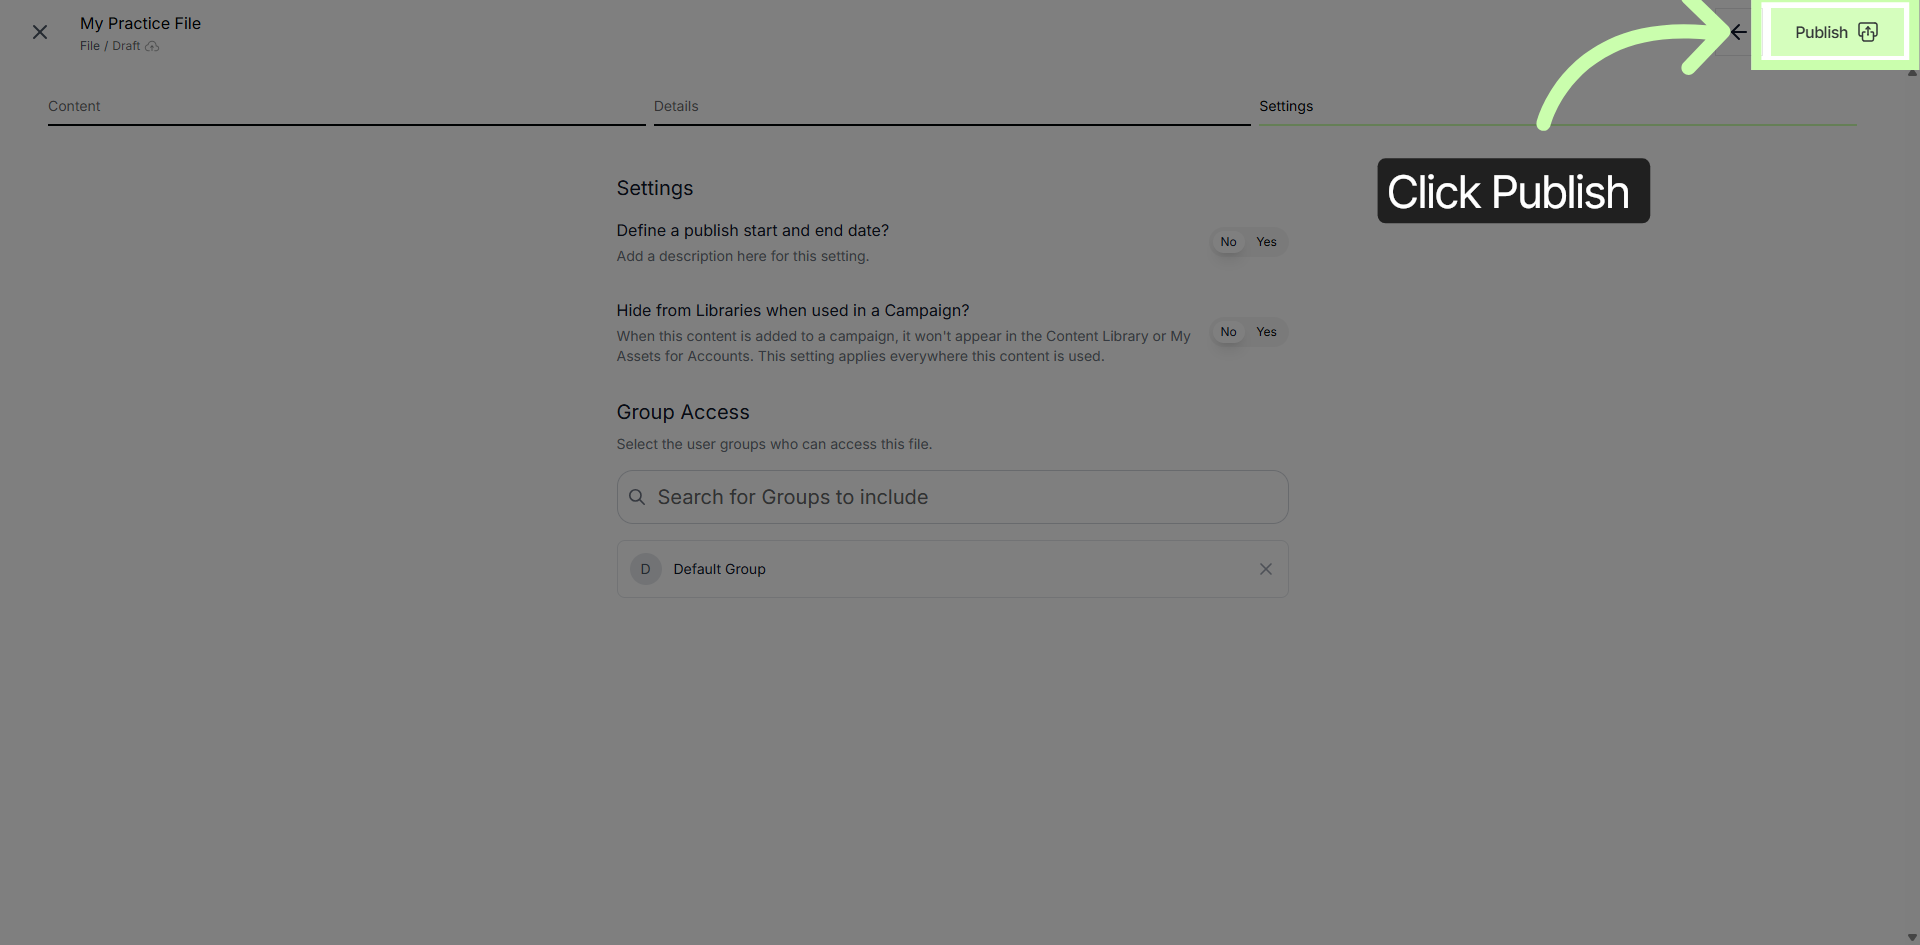
18. Publish Content File
And that's it! You are all set and ready to publish your Files! Click Publish to make your content file available in the library.
You have successfully created, customized, and published content files in Structured AI. Review your published and draft files to manage your content library effectively.
The next video demonstrates how to upload images.
Phase 2 Part 2 - Uploading Images
Follow Our Step-By-Step Training
1. Introduction
This tutorial guides you through uploading and customizing images. Adding approved visuals gives your partners a competitive edge in their marketing.
2. Click Create
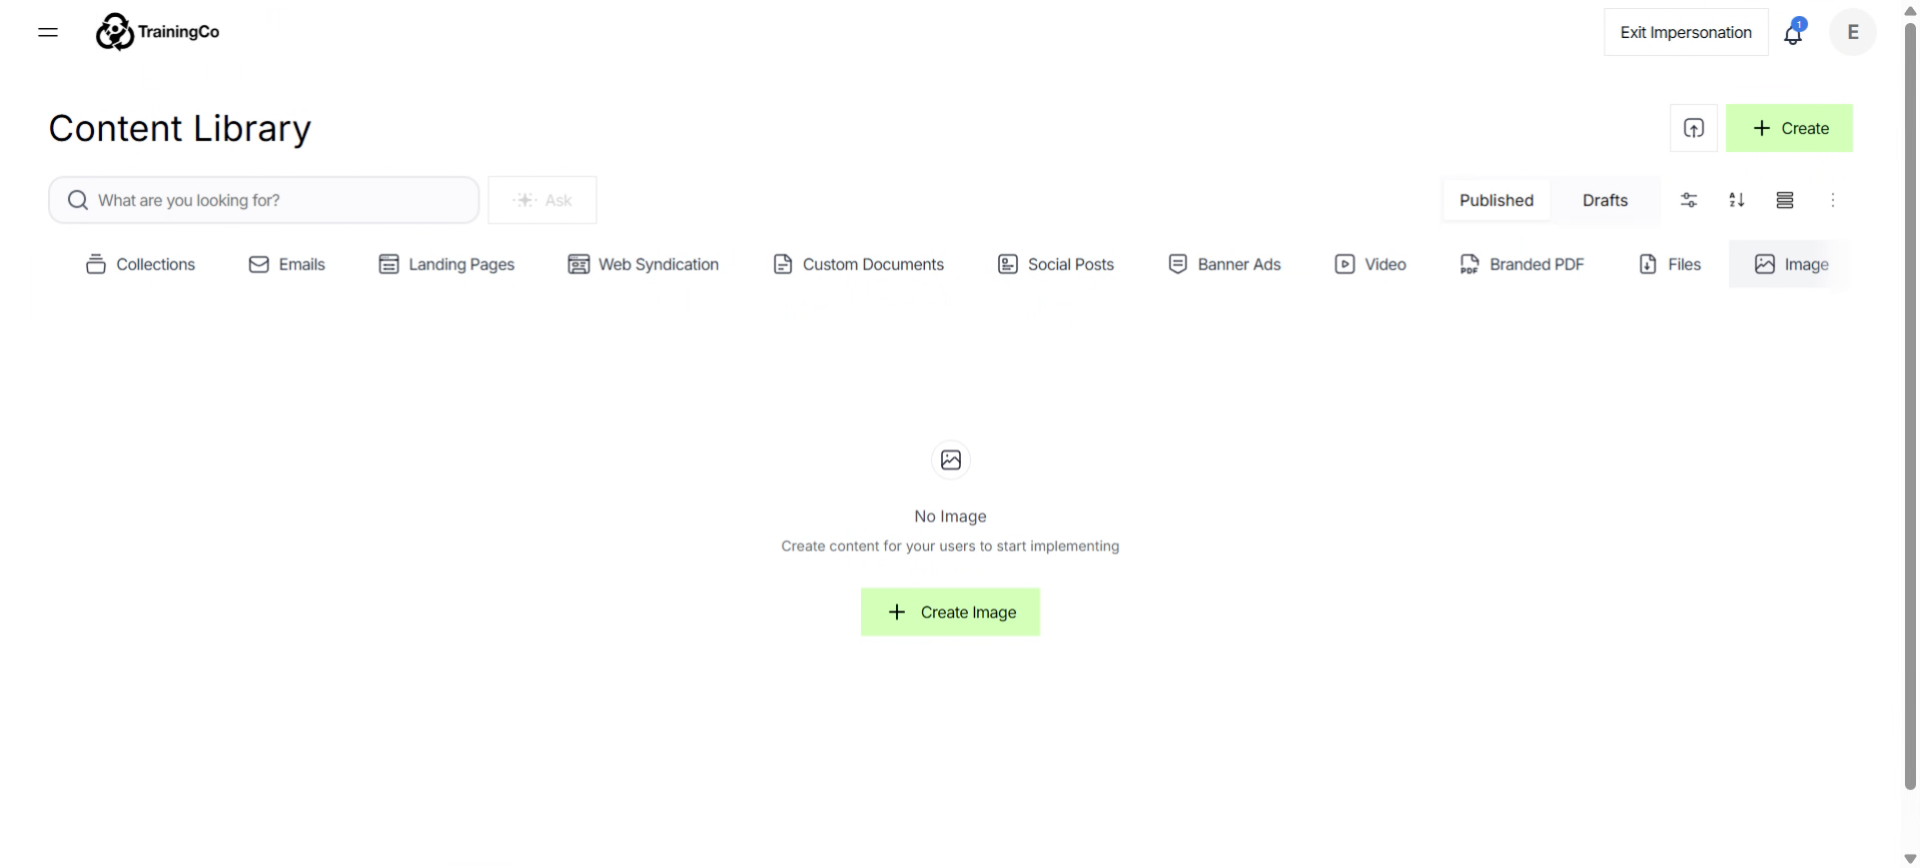
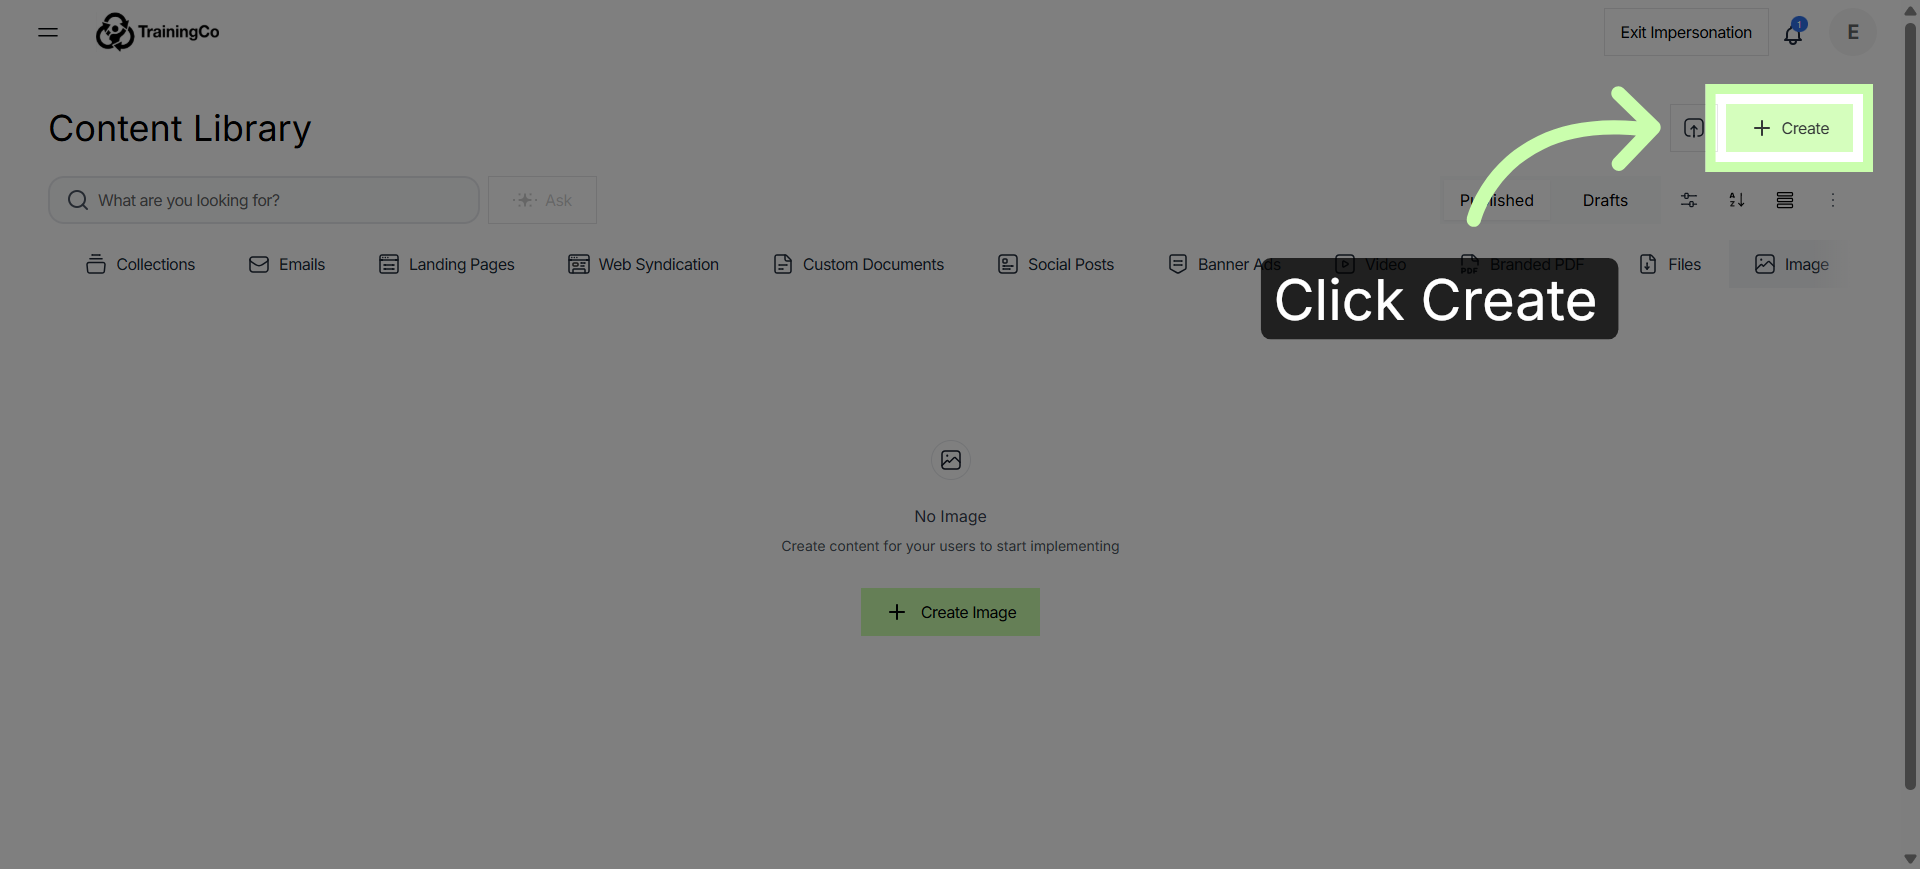
To upload images to the Content Library, start by clicking Create.
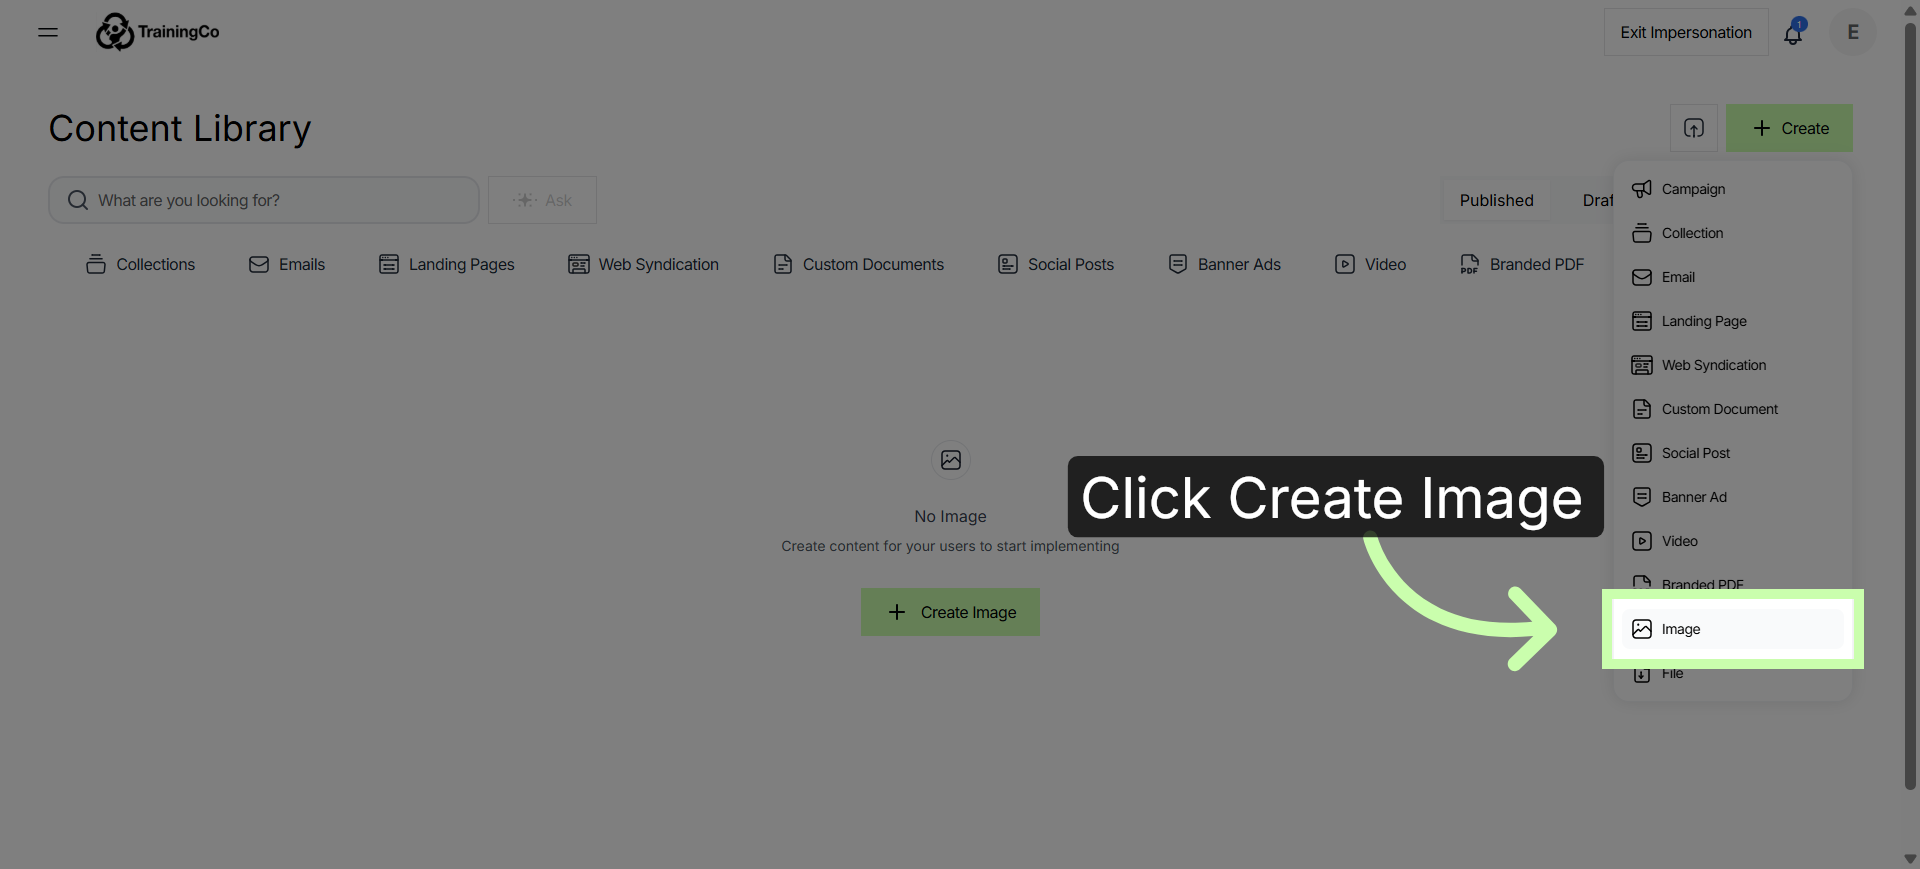
3. Click Image
Then, from the dropdown menu, choose Image.
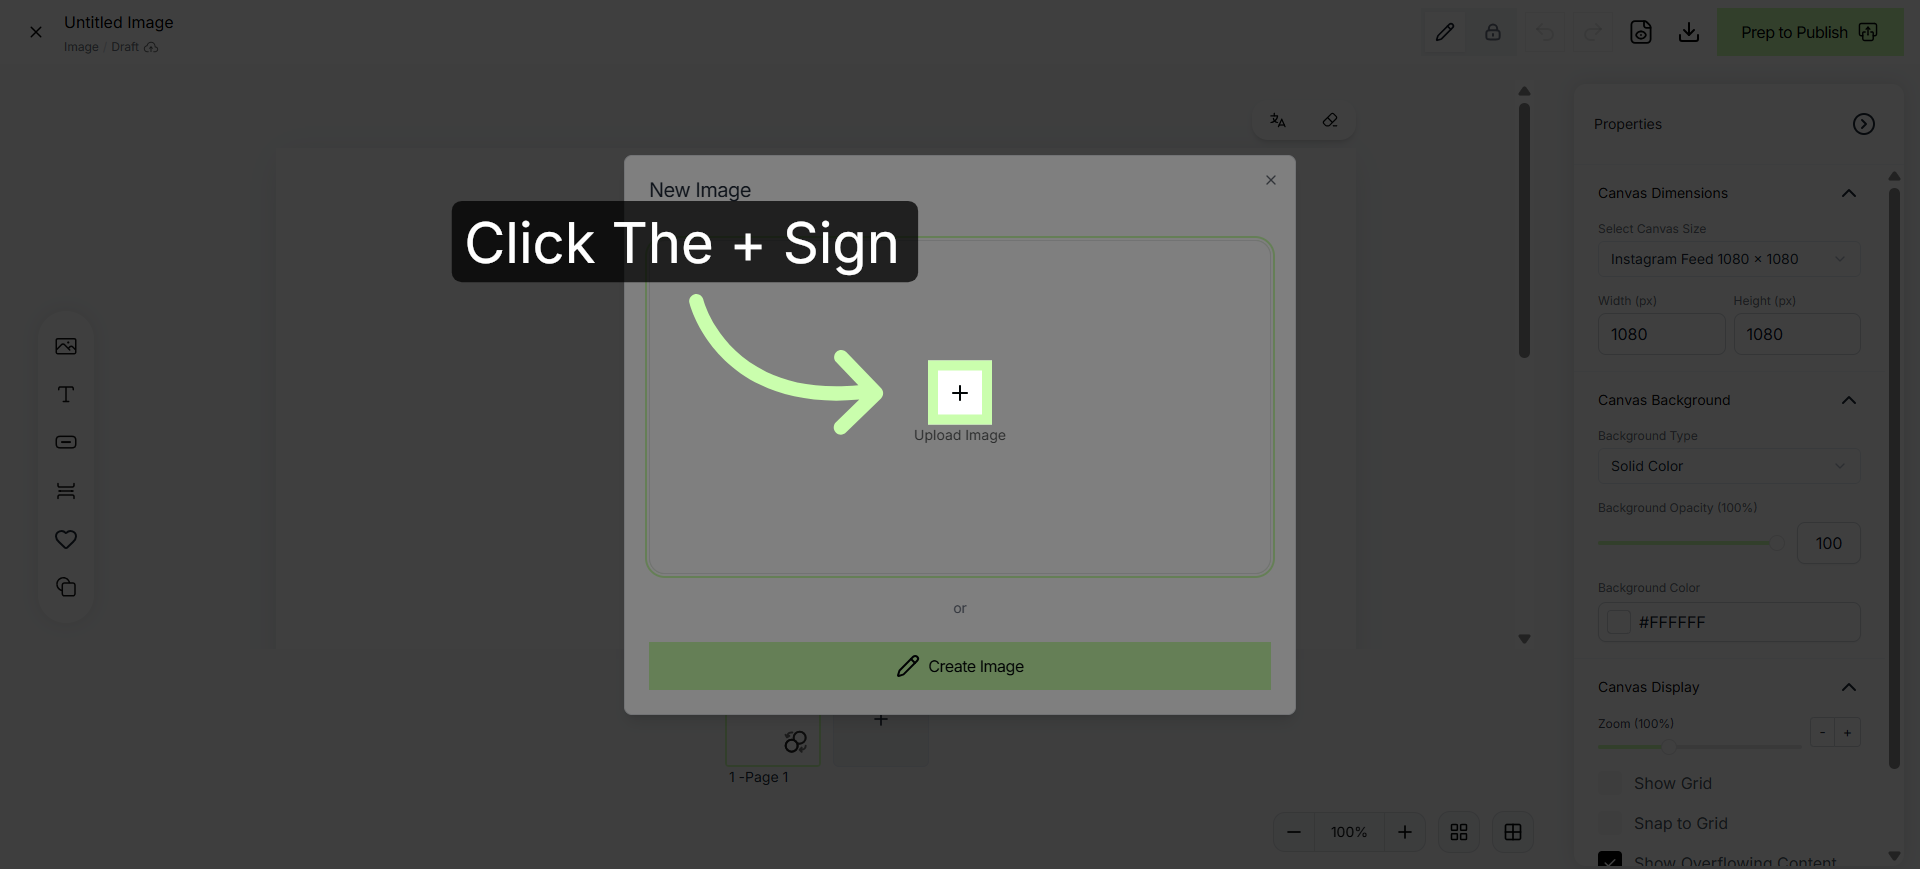
4. Click the + sign to add an image
Click the plus sign to upload a new image.
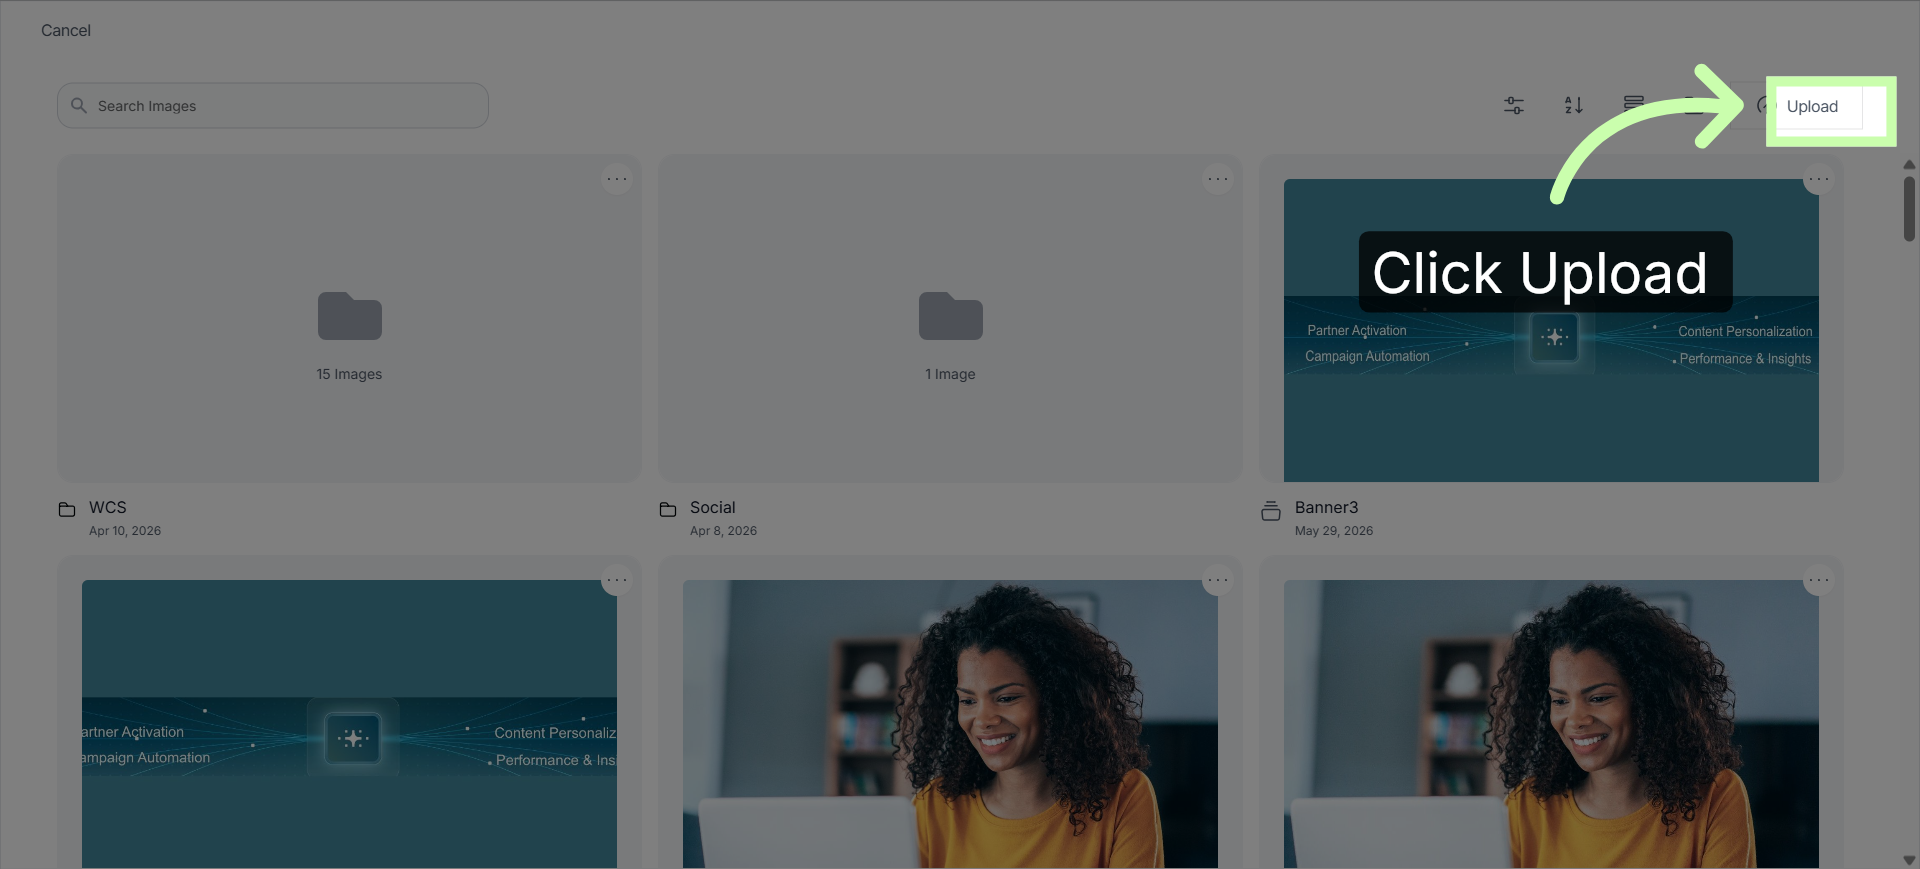
5. Upload an Image to the Library
Click the Upload button to add a new image from your hard drive.
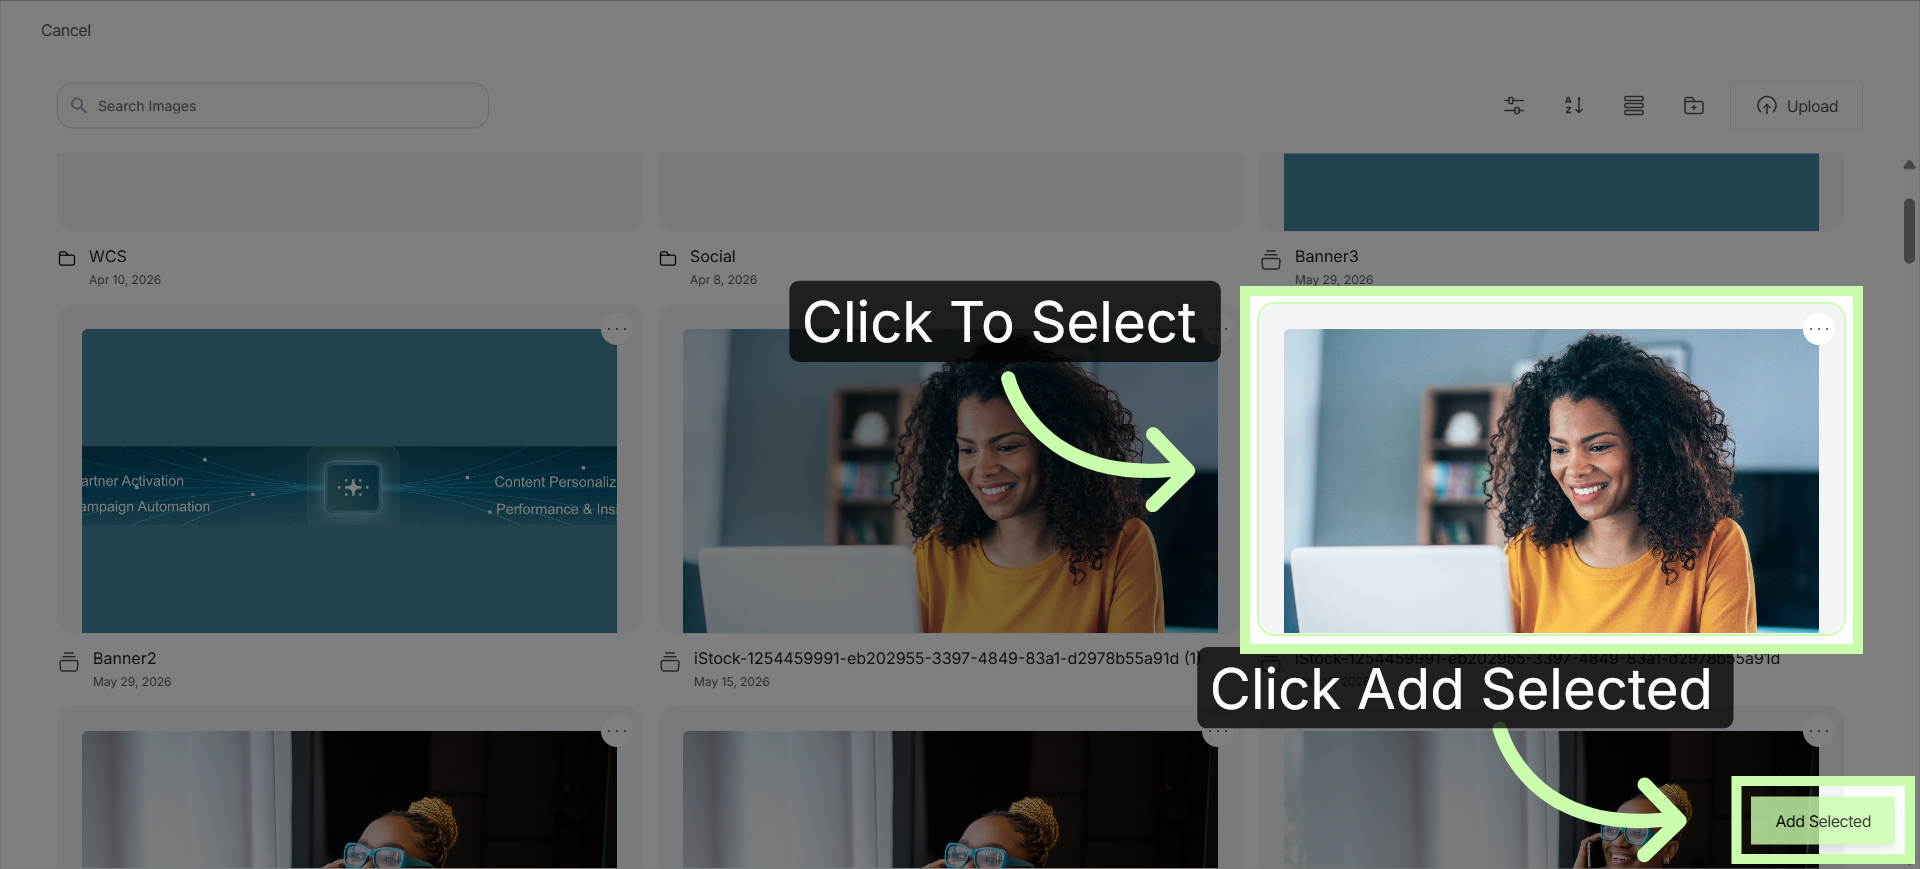
6. Add Selected Images
Once uploaded into your image library, click to select, then click + Add Selected.
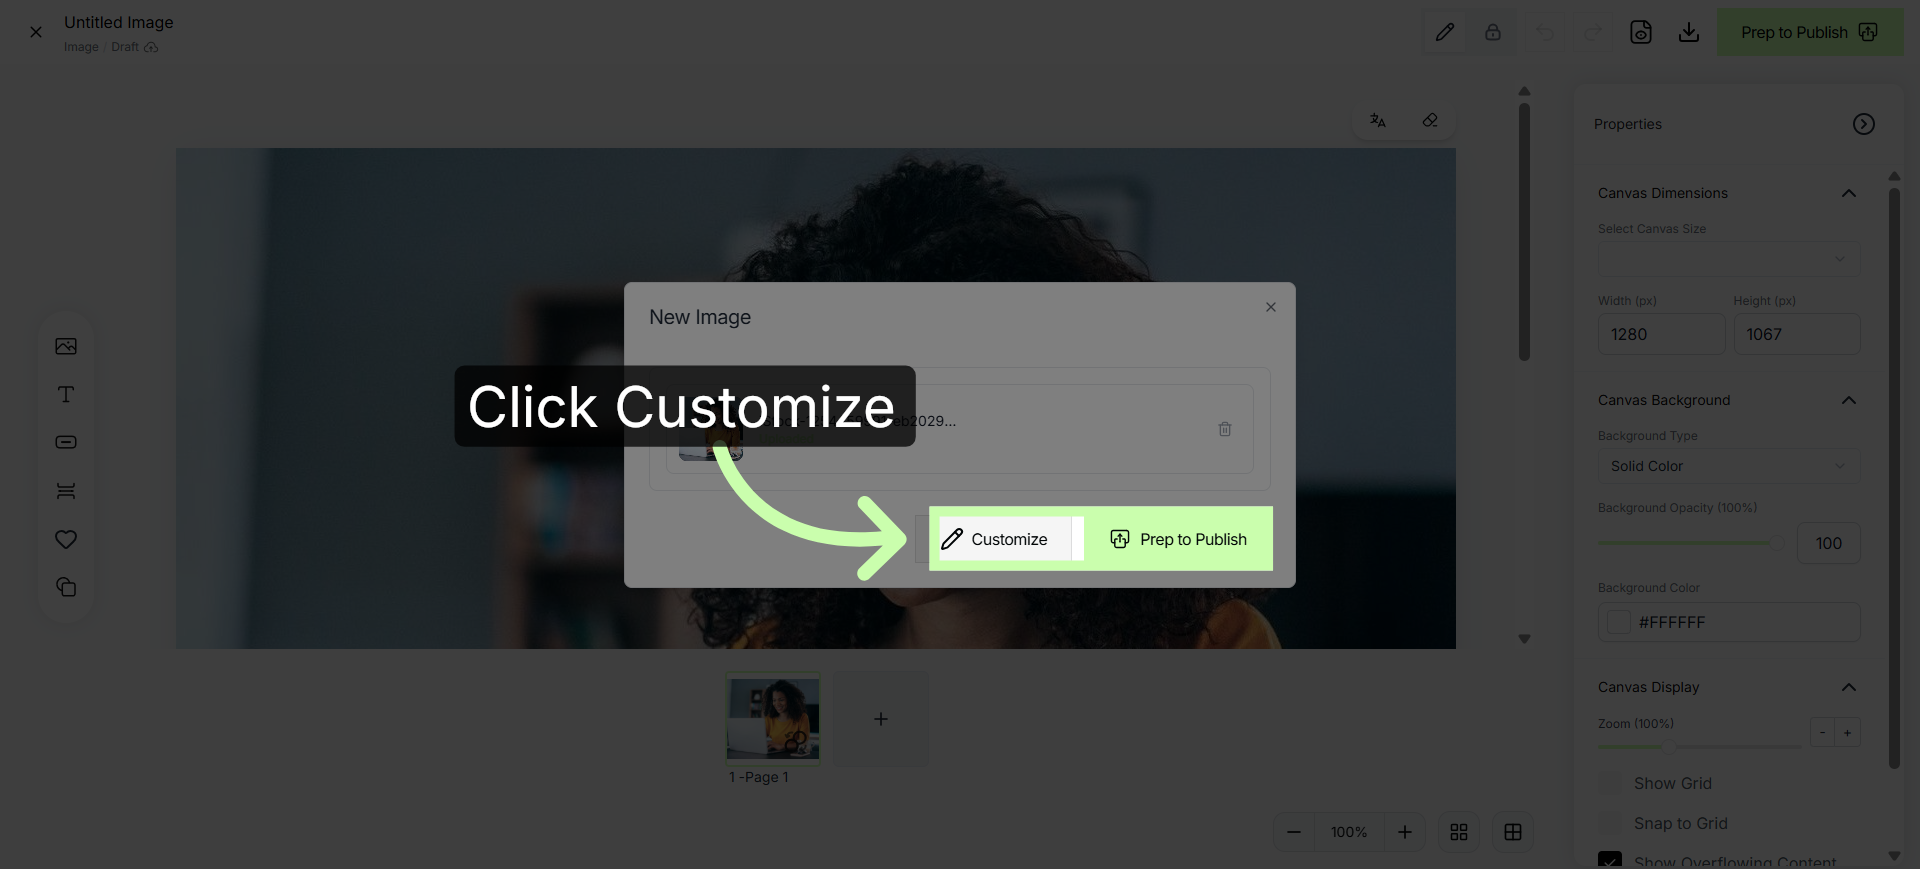
7. Open Customization Options
Click Customize to customize your image. Note: You can also move directly to publishing by clicking Prep to Publish.
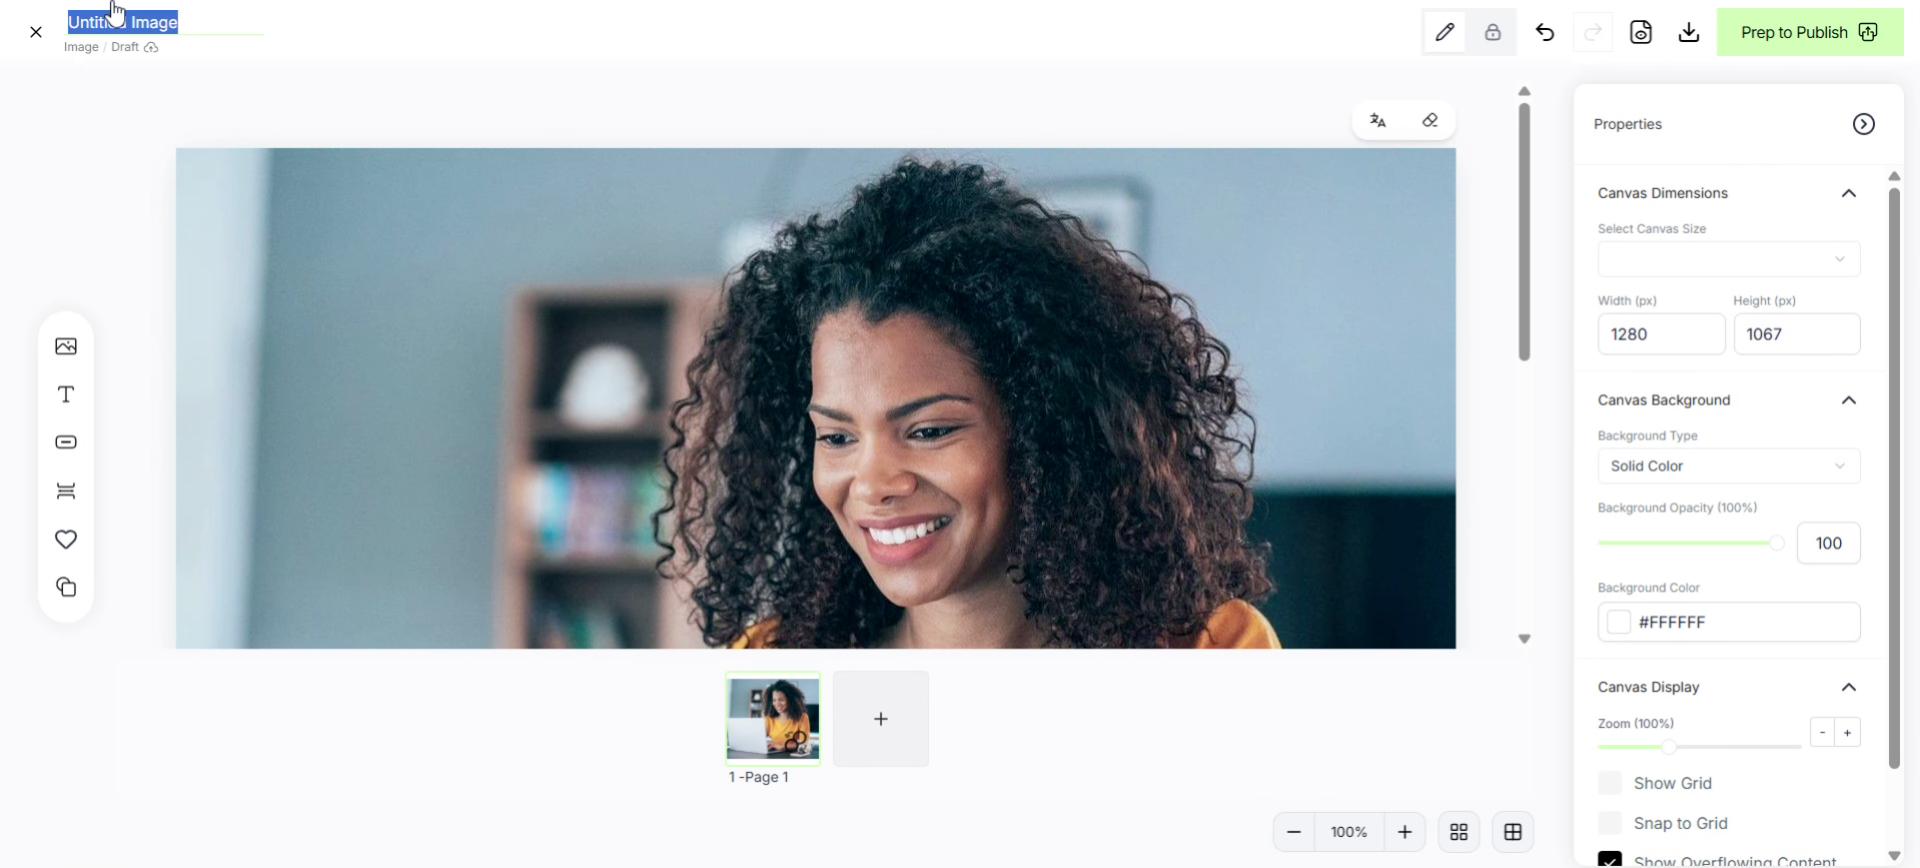
8. Enter Image Name
When customizing, you'll land on the image editor. Start by entering a name for your image. In this example, I'll use "My Practice Image".
9. Drag & Drop Elements
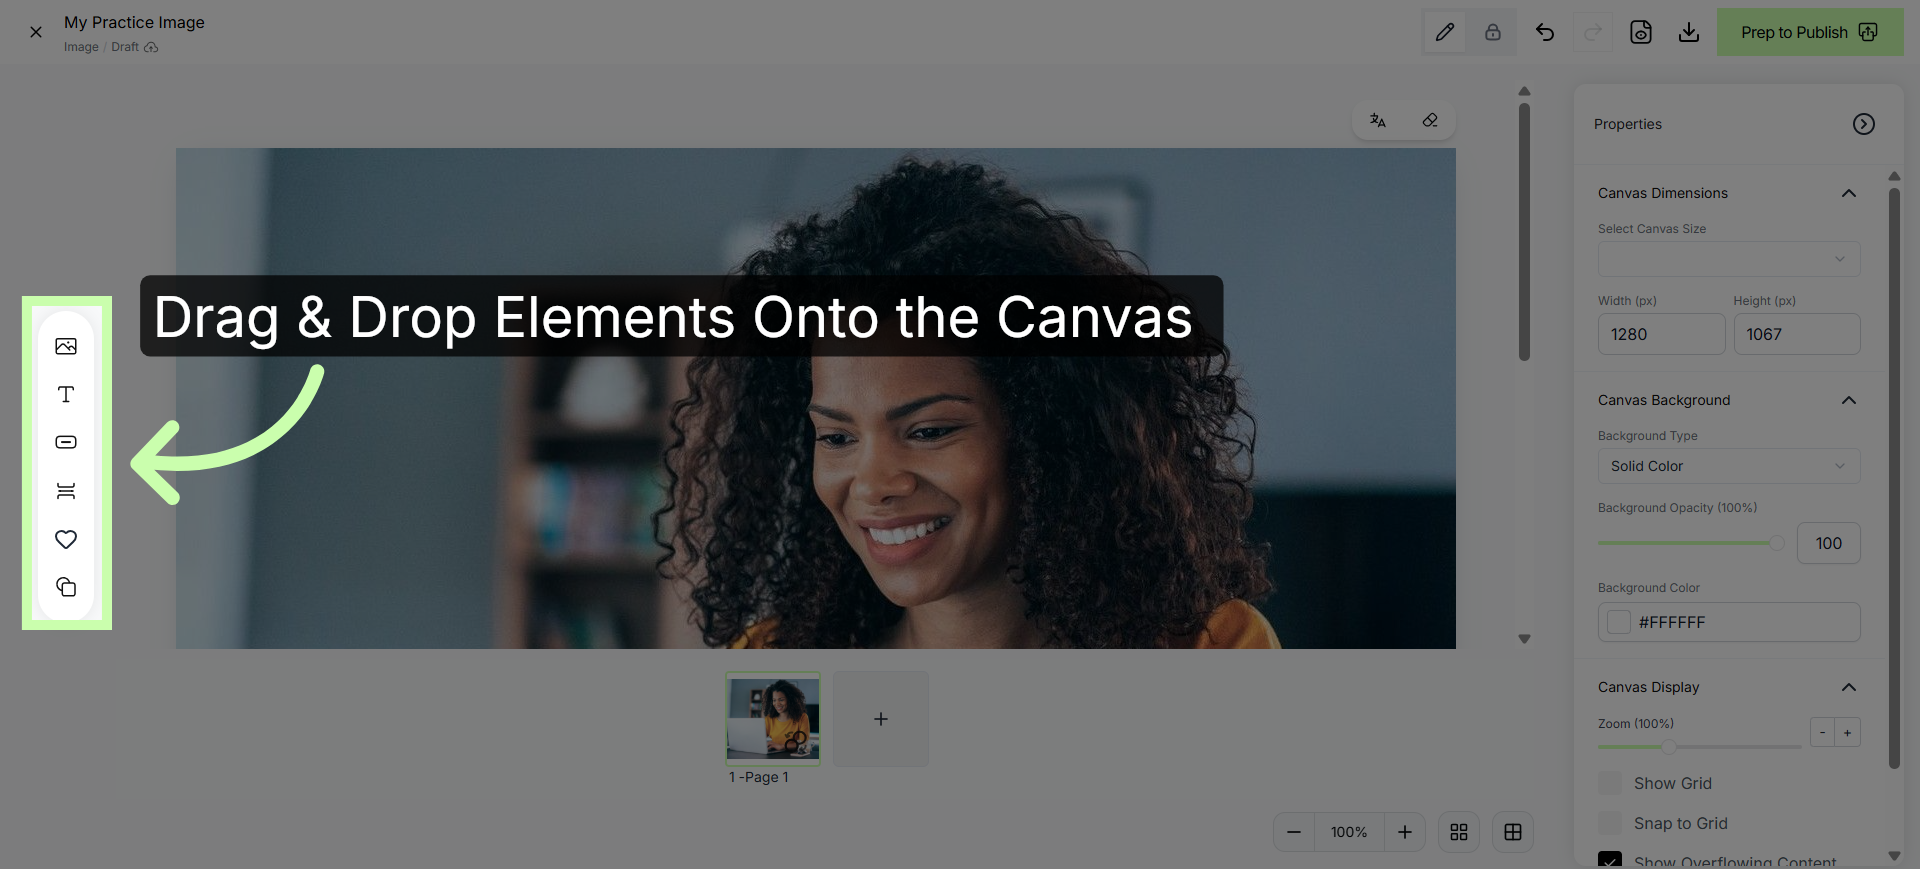
Use the Elements Panel to drag and drop images, text boxes, buttons, shapes and more onto the canvas.
10. Adjust Element Properties
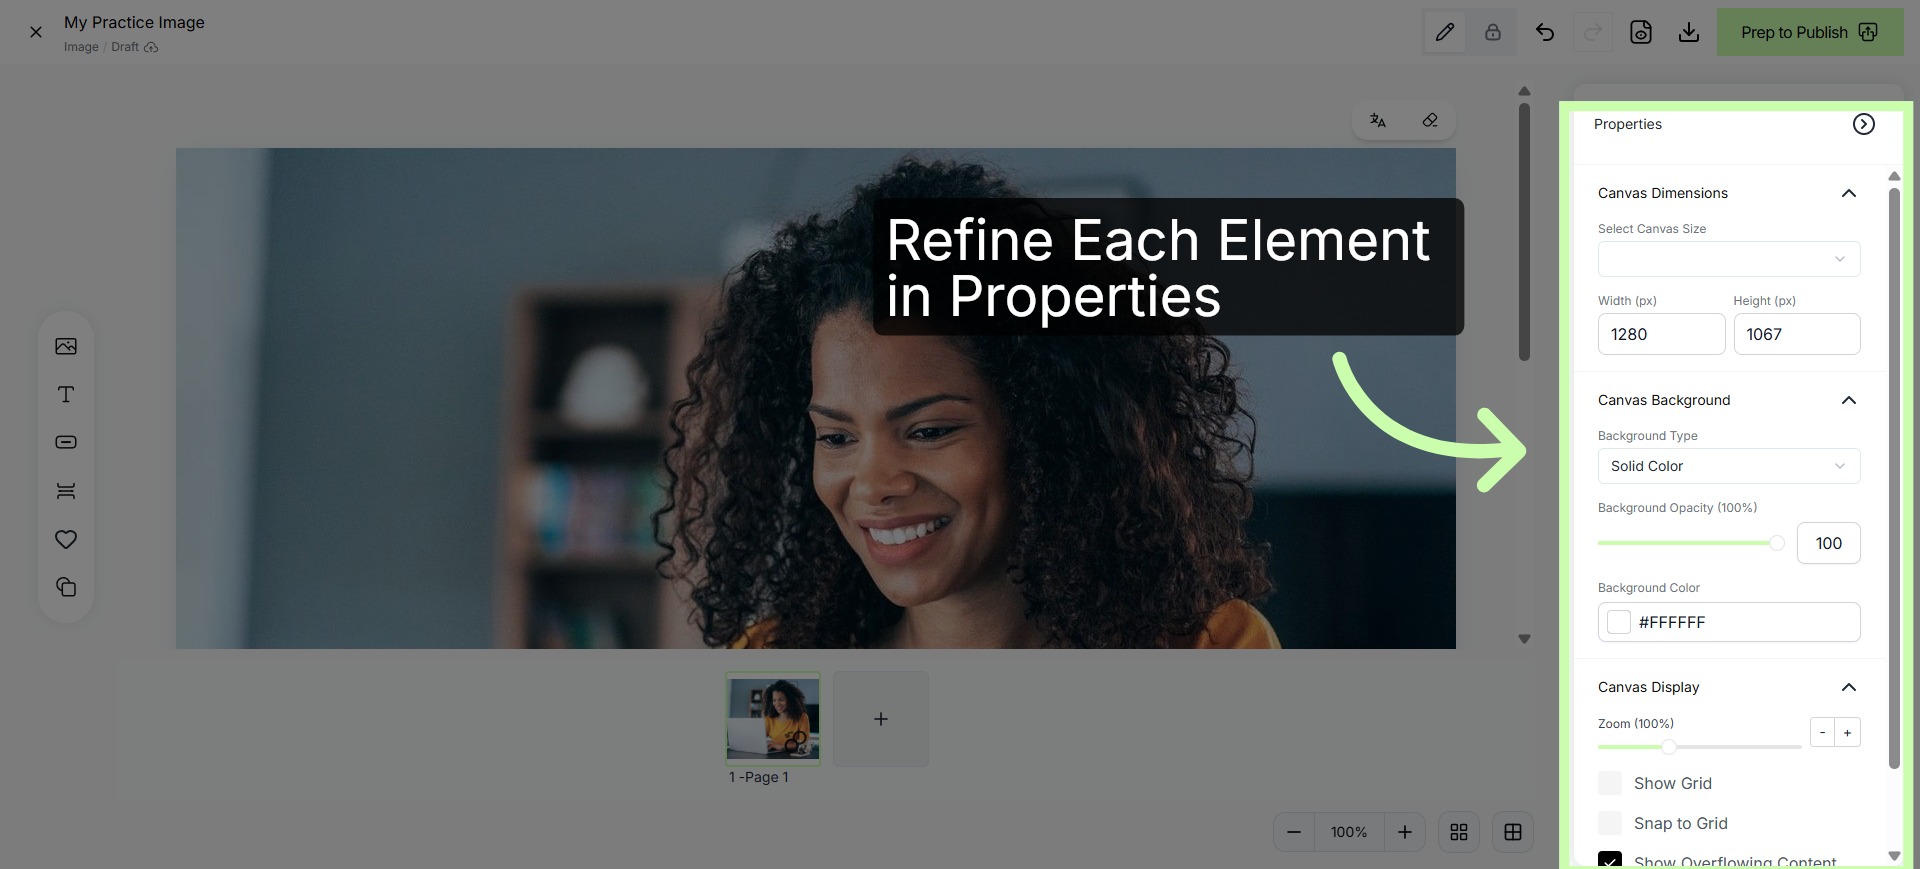
Then, refine your elements using the properties panel.
11. Prepare Image For Publishing
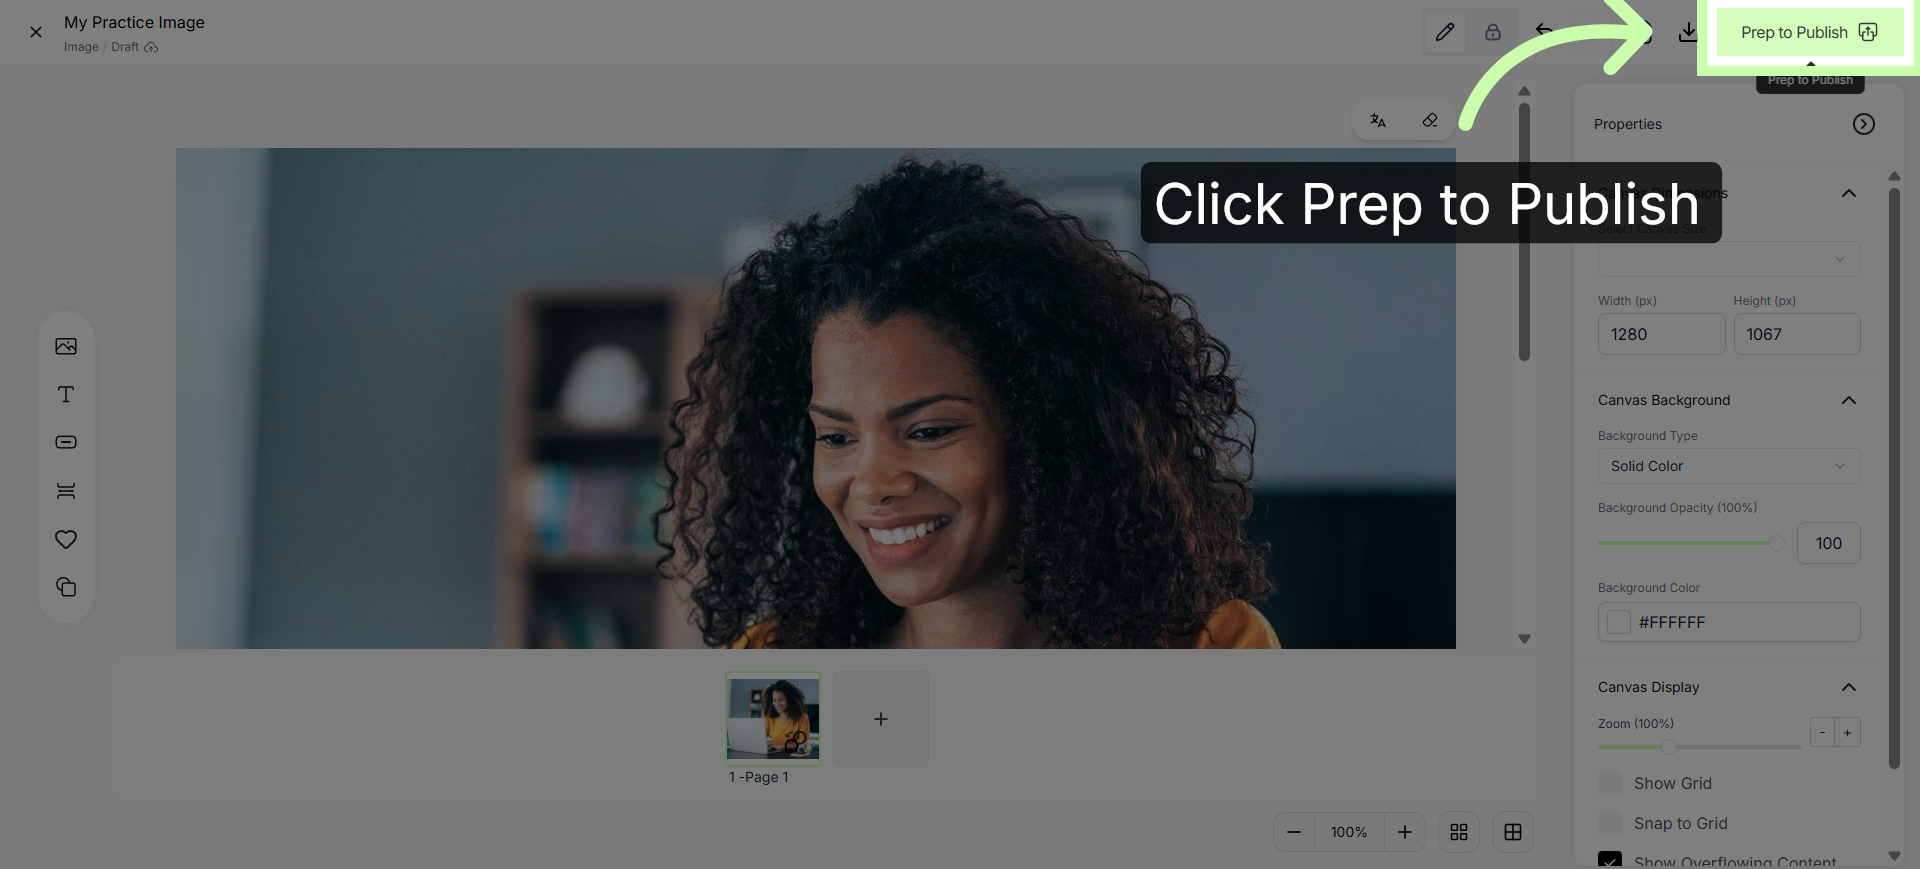
When you are ready, click Prep to Publish.
12. If Desired, Add a Thumbnail
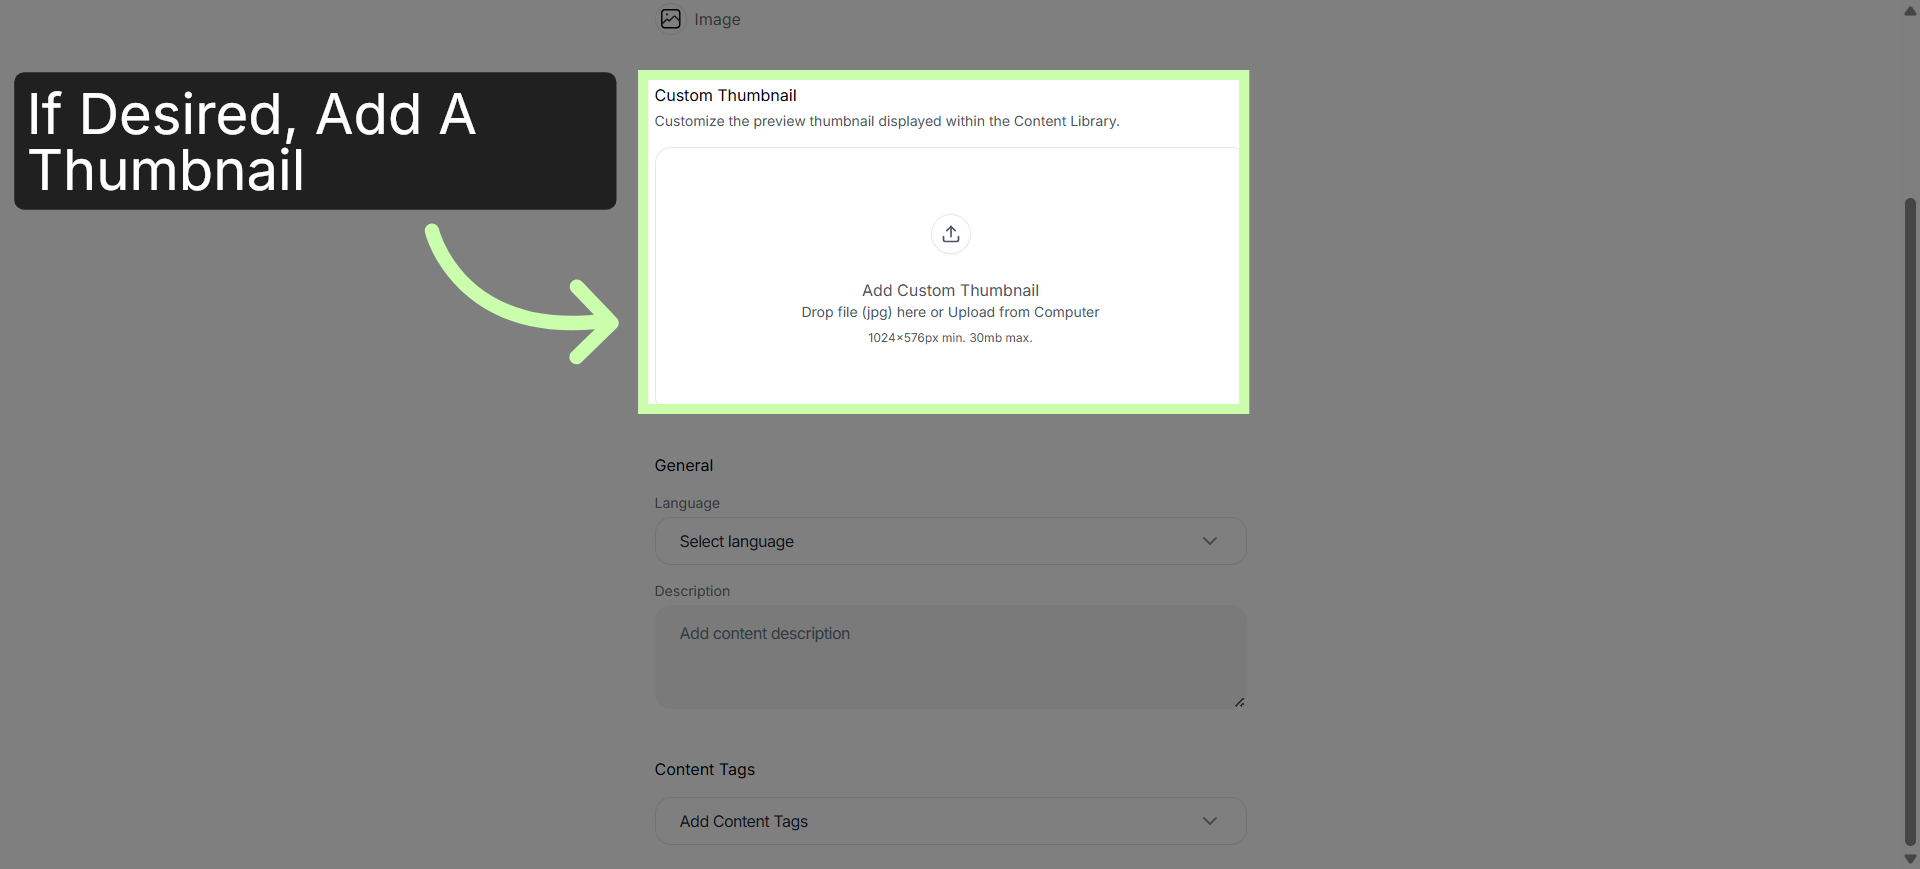
The platform auto-generates a thumbnail in the library, however you have the option to upload your own custom thumbnail here.
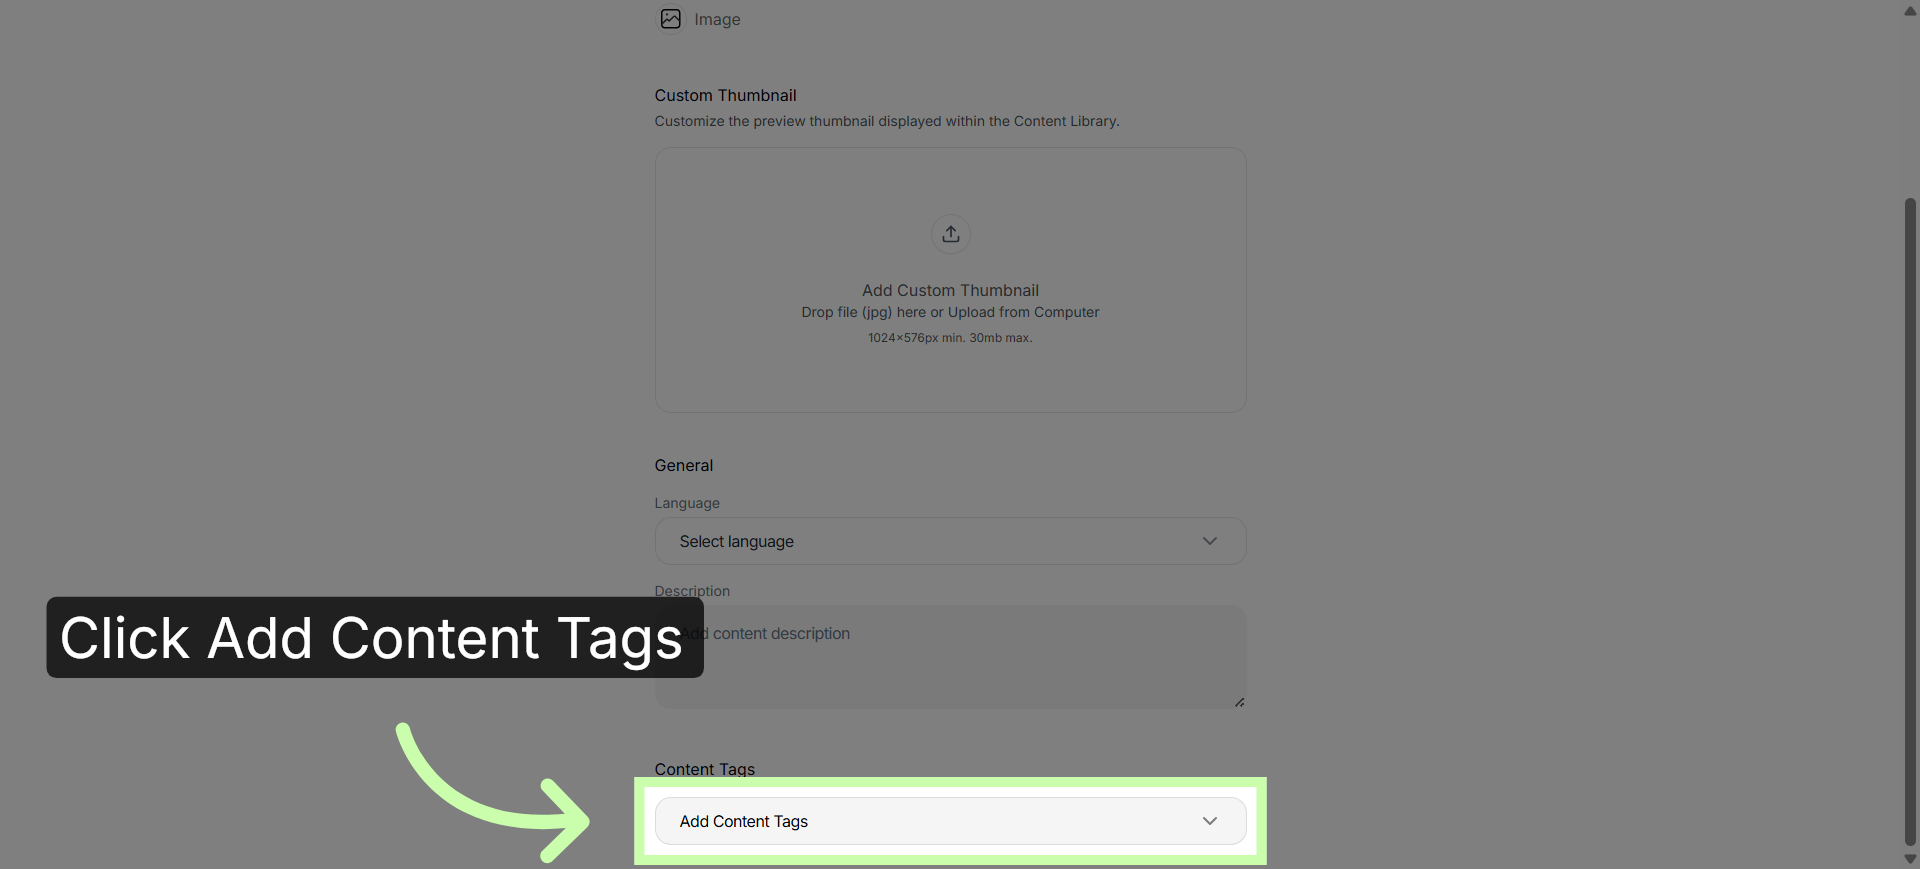
13. Add Content Tags
Choose content tags to help partners find your image using the library filters.
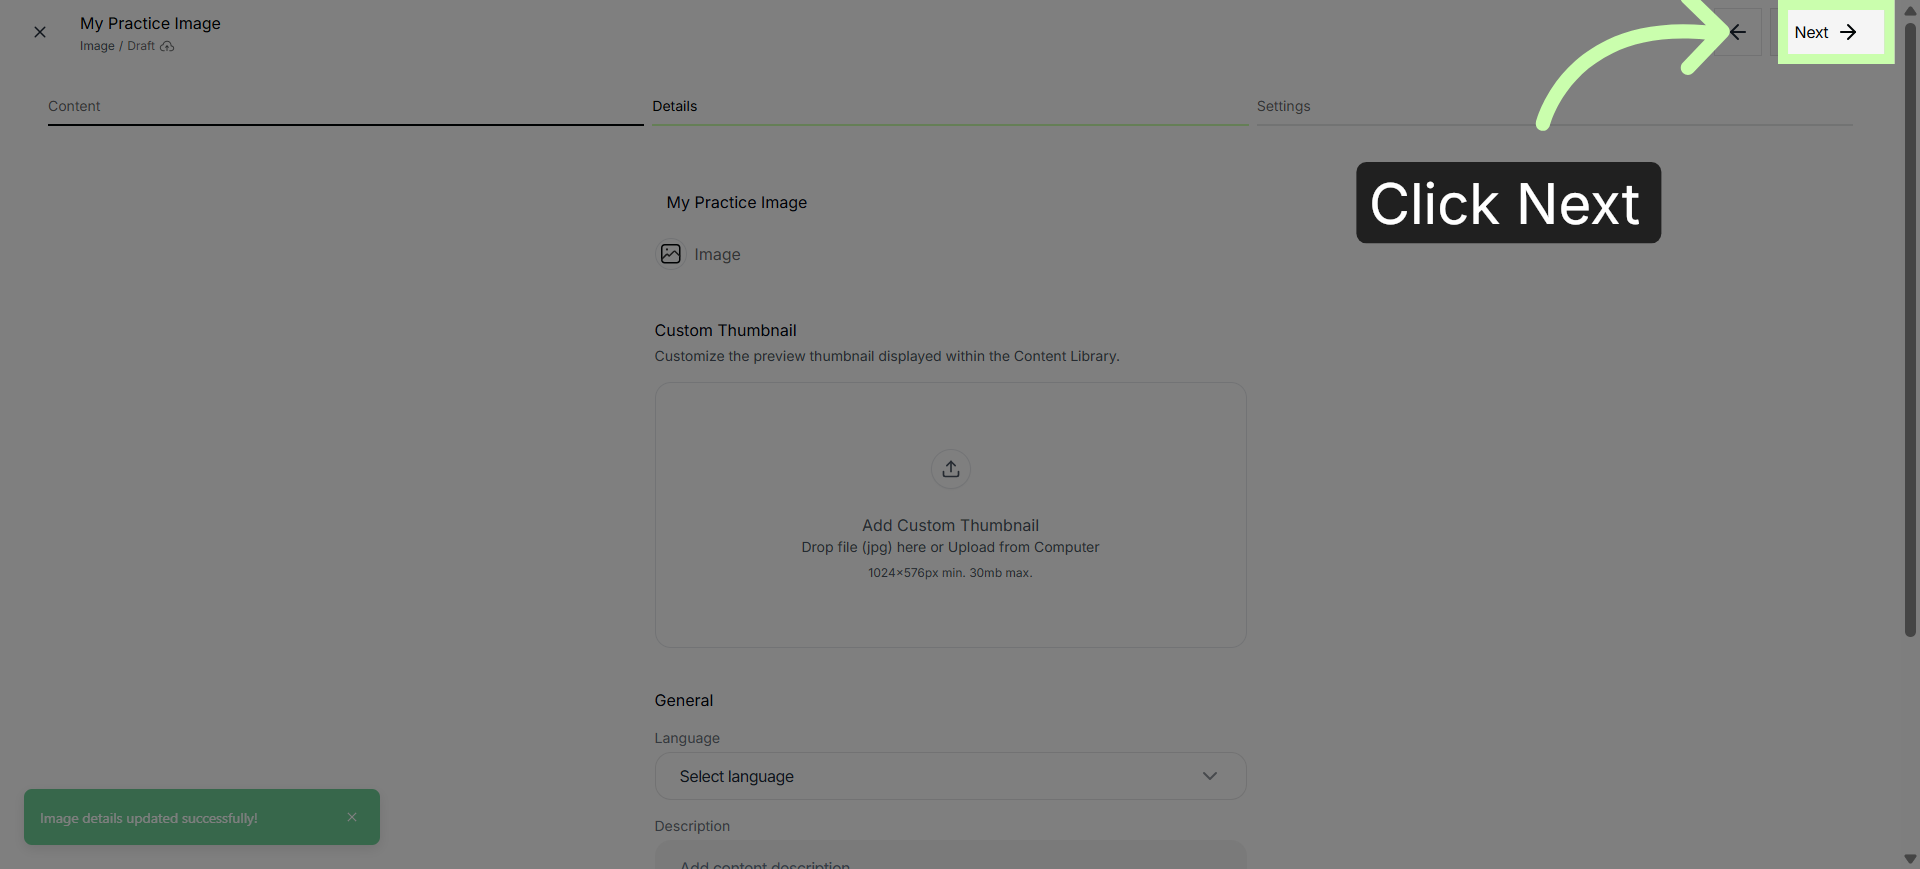
14. Click Next
Click Next.
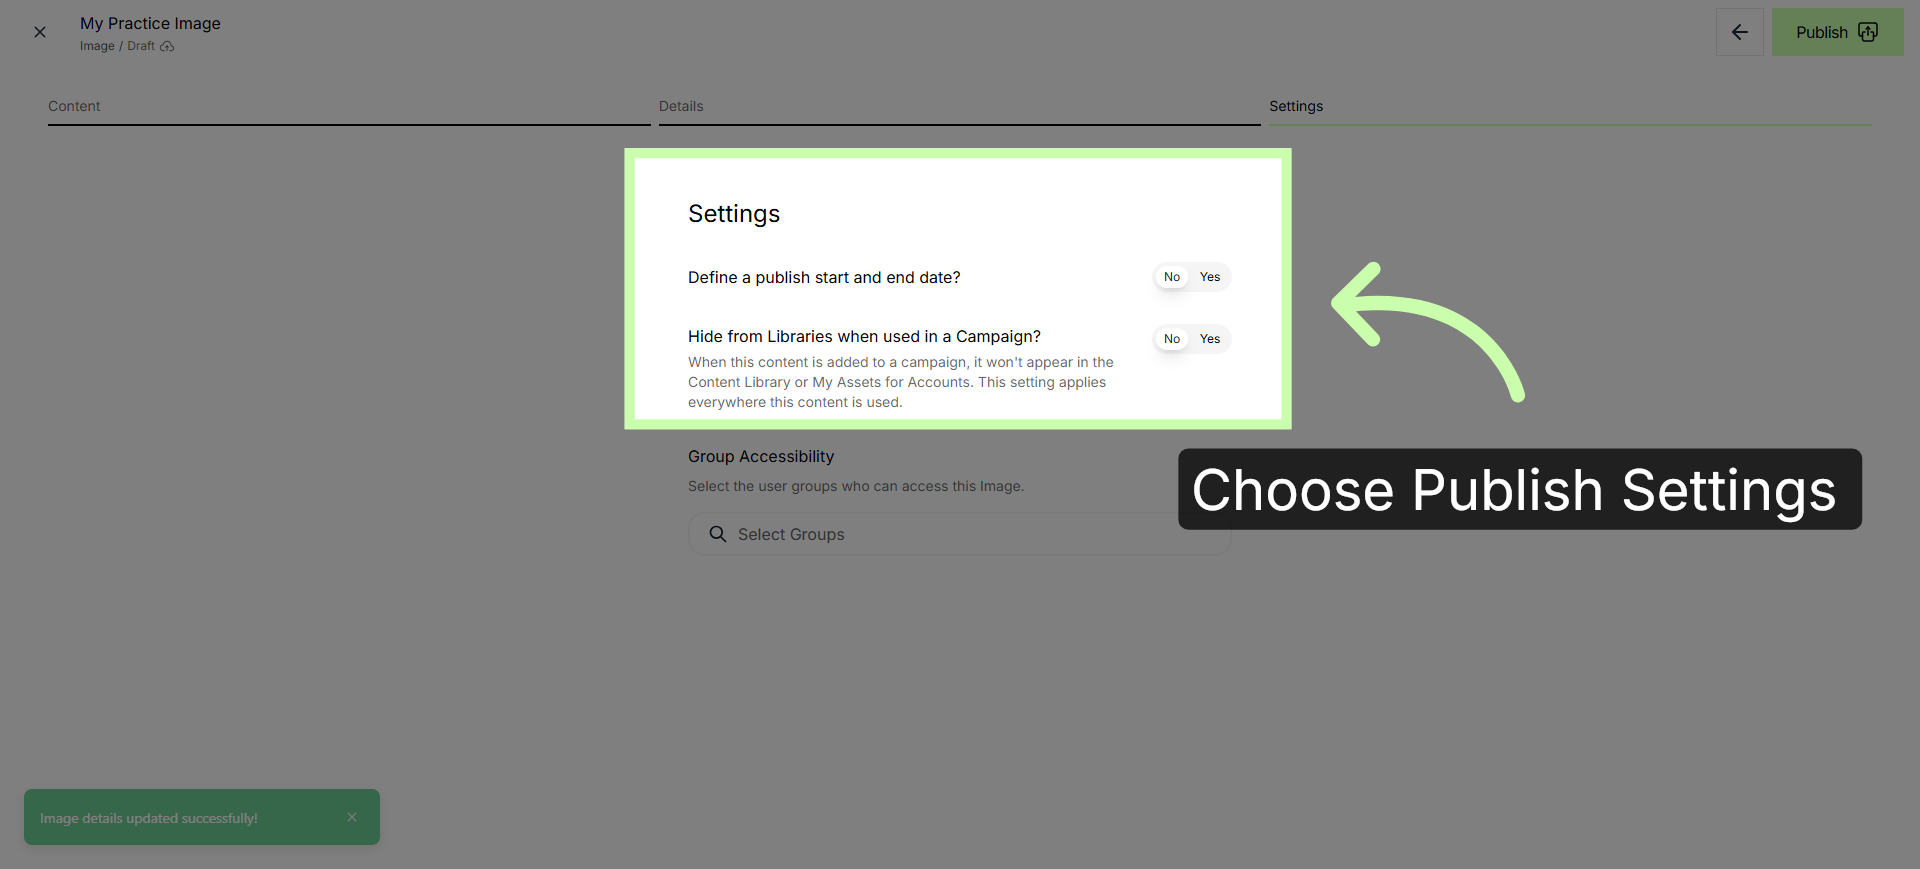
15. Open Publishing Settings
If the content is time sensitive, toggle Yes, then choose a start and end date. You can also hide the content in the library when added to campaigns, if you choose.
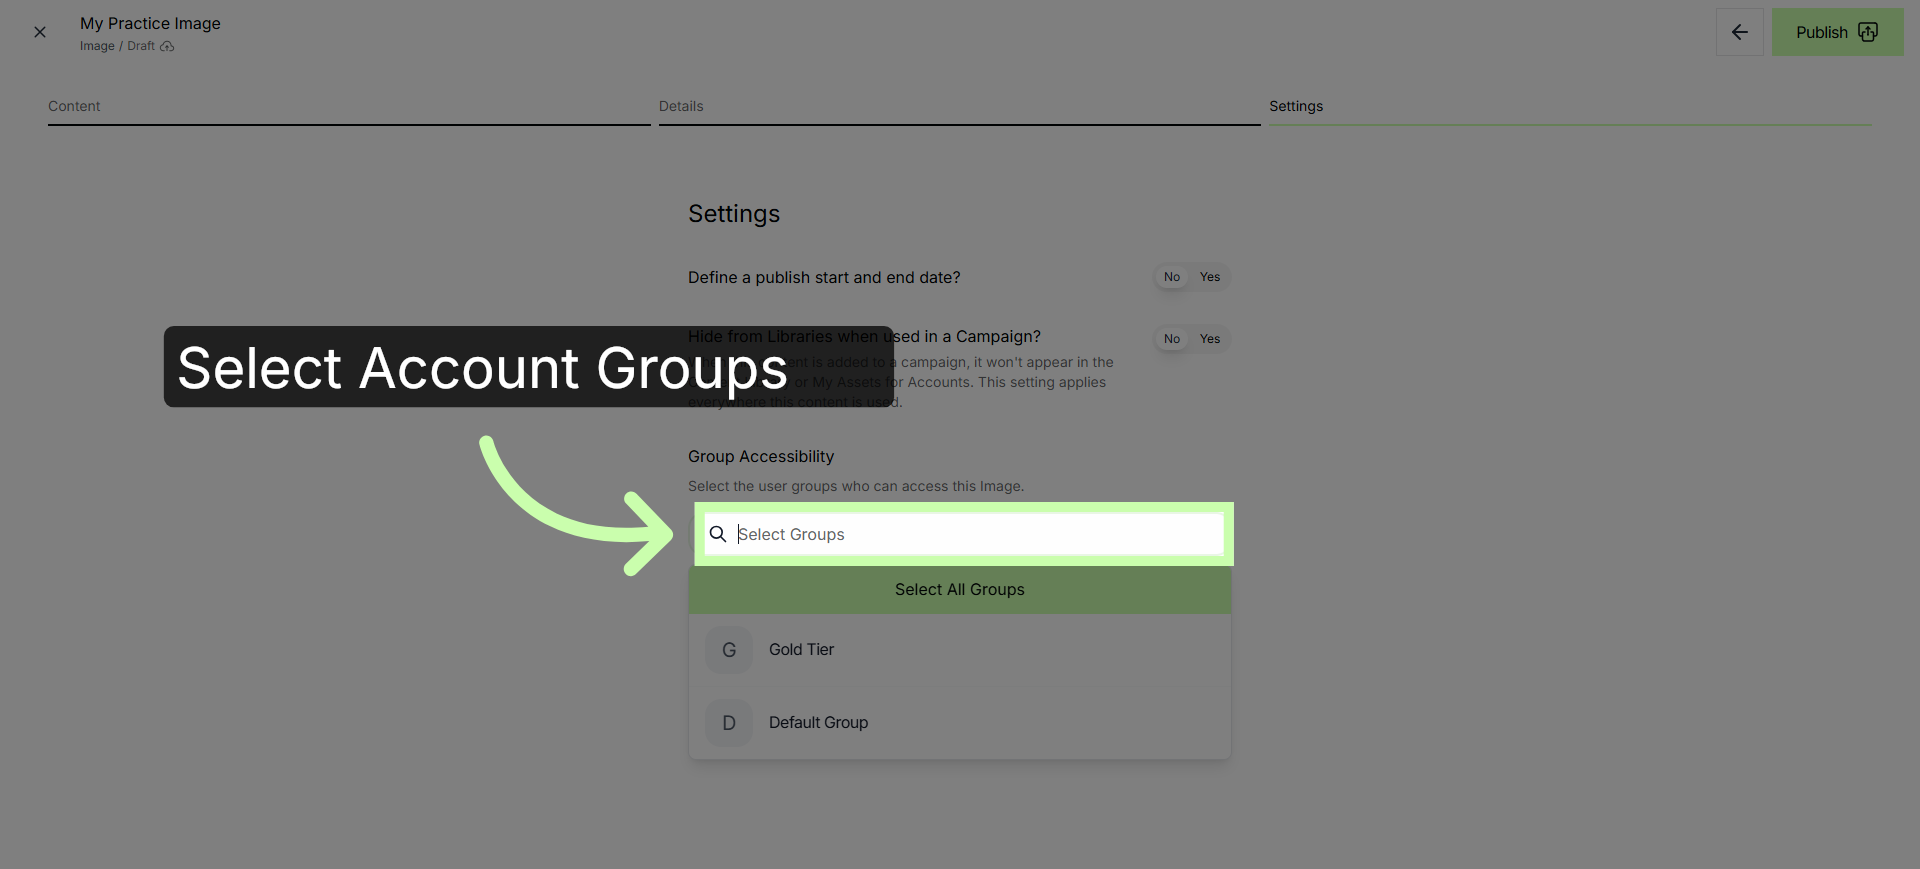
16. Select Account Groups
Select the Account Groups you want to publish your content in.
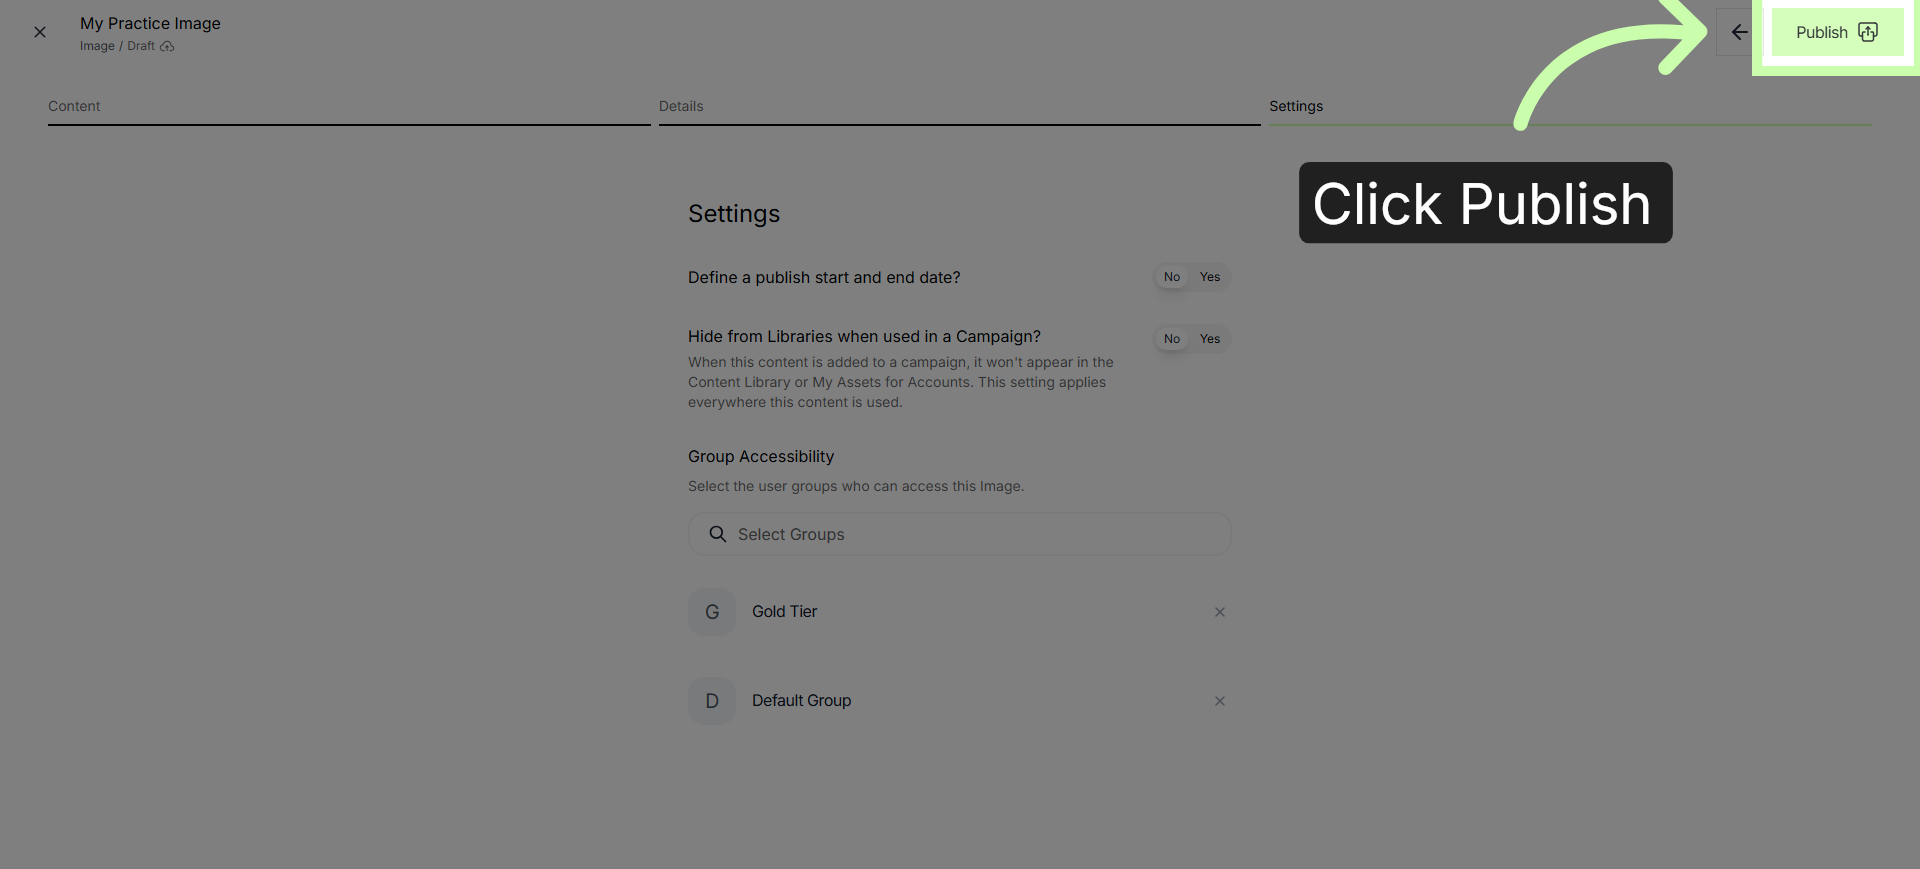
17. Publish The Image
Click the Publish button to finalize and make your image available in the Content Library and campaigns.
The next video demonstrates how to upload files, videos and images in bulk.

 Uploading Files, Videos & Images - Phase 2: Uploading Files & Images