
 Uploading Files, Videos & Images Phase 3: Bulk Import
Estimated Time
~15 minutes
Current Phase
Phase 3 of 3
What You'll Accomplish
- Upload multiple assets to the Content Library in a single action.
- Organize and manage bulk uploads efficiently within Structured AI.
- Ensure assets are correctly processed and stored for future use.
- Improve workflow speed by streamlining content ingestion.
|
Before you begin — open your account This is a hands-on, learning-by-doing session. Open app.structured.ai in your browser and log in to your Tenant Account so you can follow along and apply each step in real time. |
Direct Links to the Next Phases in this Training Series
This module is part of a 3-part series. Each session builds on the
last, and reviewing them in order ensures you don't miss any critical
steps and get a complete understanding of the workflow.
|
Phase 1
Purpose & Framework
|
Start Training ➡ |
|
Phase 2
Uploading Files & Images
|
Start Training ➡ |
|
Phase 3
Bulk Import
|
Current Phase ✔ |
Follow Our Step-By-Step Training
This tutorial guides you through uploading multiple assets at once into the Content Library.
1. Introduction
Maximize your productivity by using bulk import to instantly add multiple assets, saving you time and effort on every campaign build.
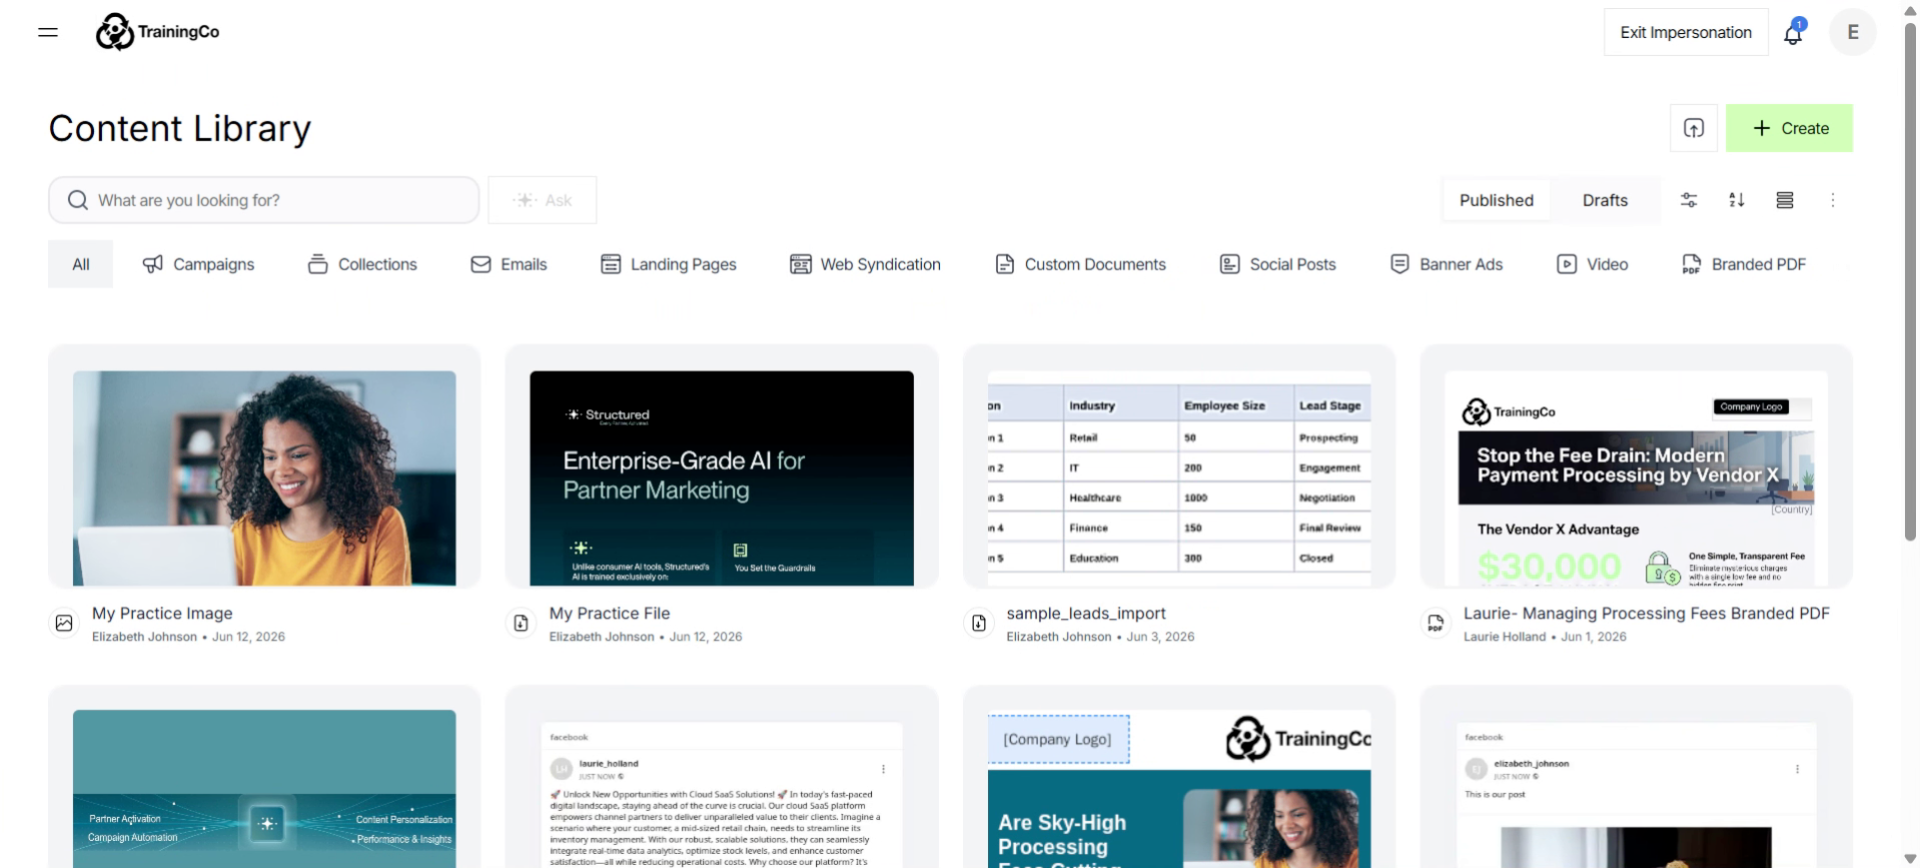
2. Open Bulk Import Section
Click the Import button to start the process of adding multiple files to your content library.
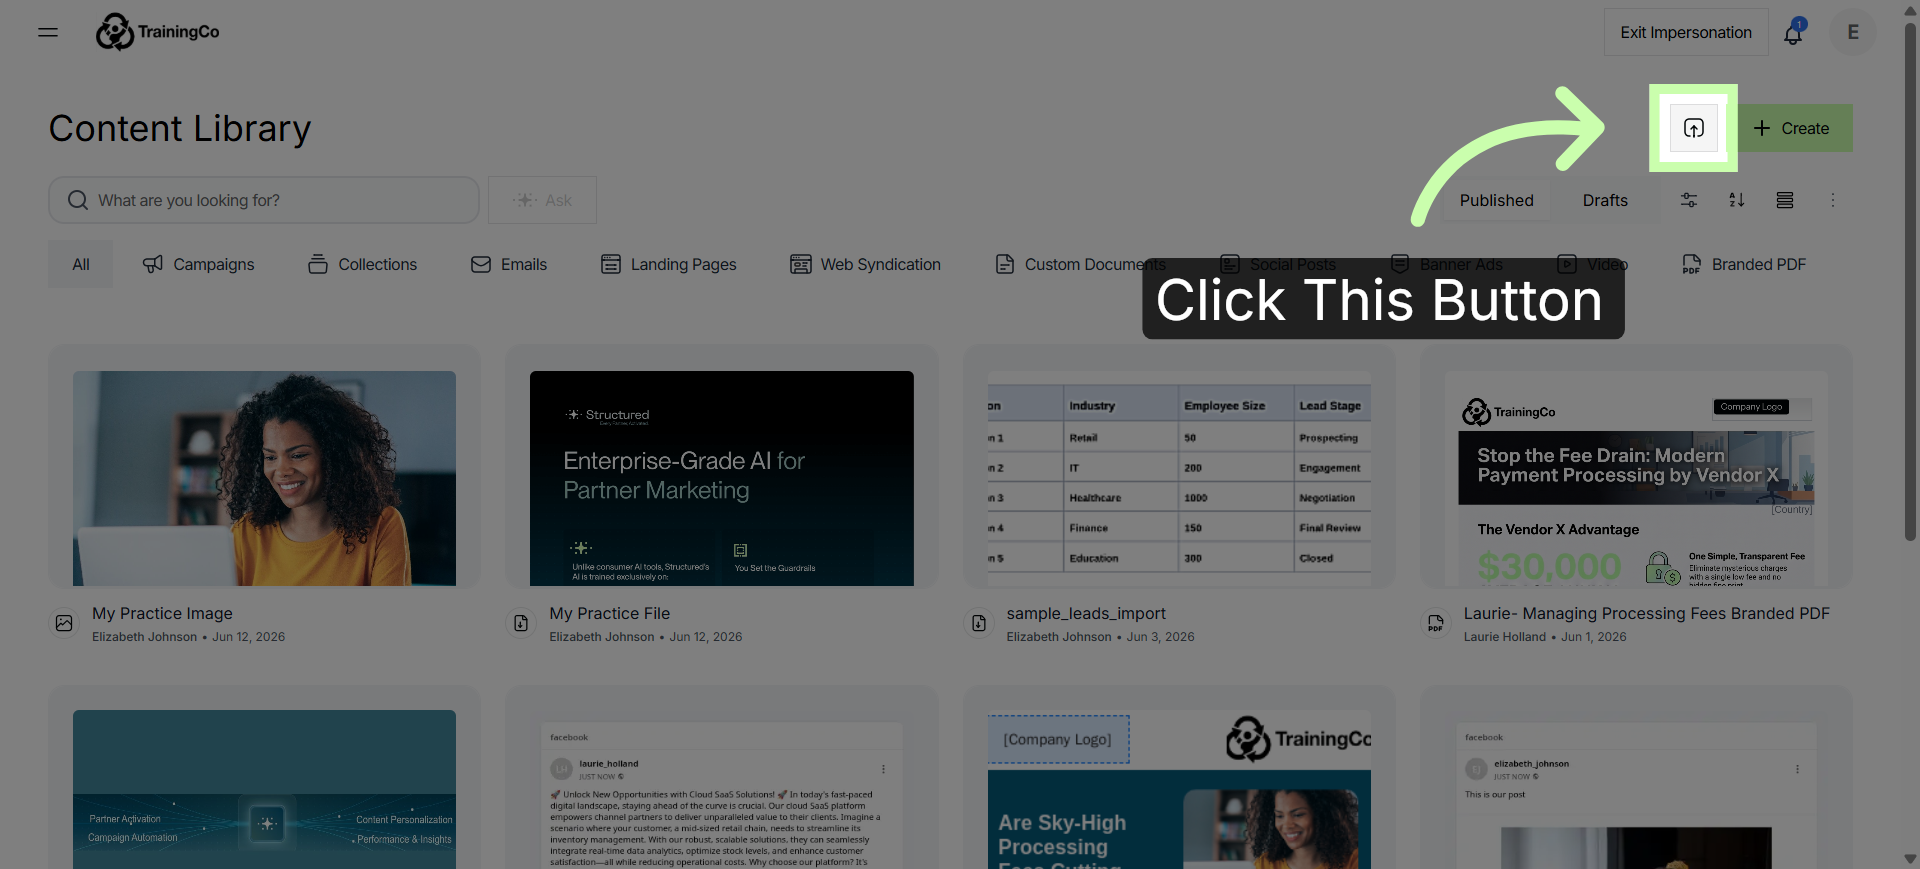
3. Access Import Files Option
Then, choose Import Files.
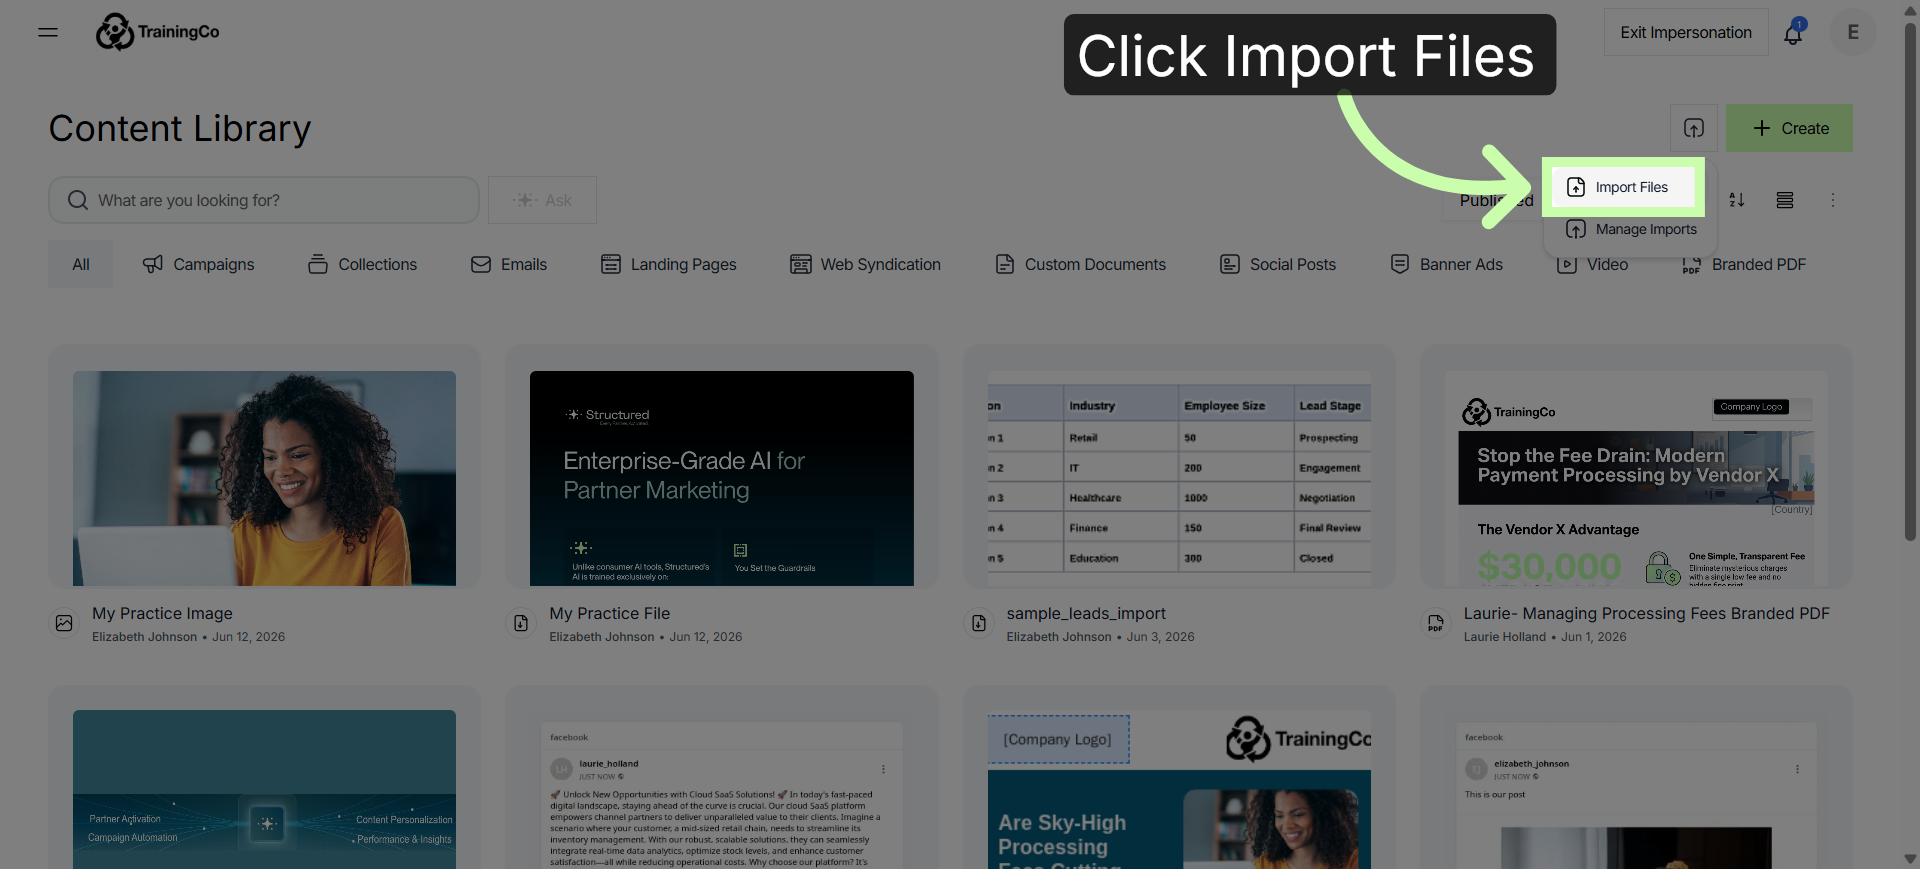
4. Name Import Job
Next, give your Import job a name. In this example, I'll use My Practice Import.
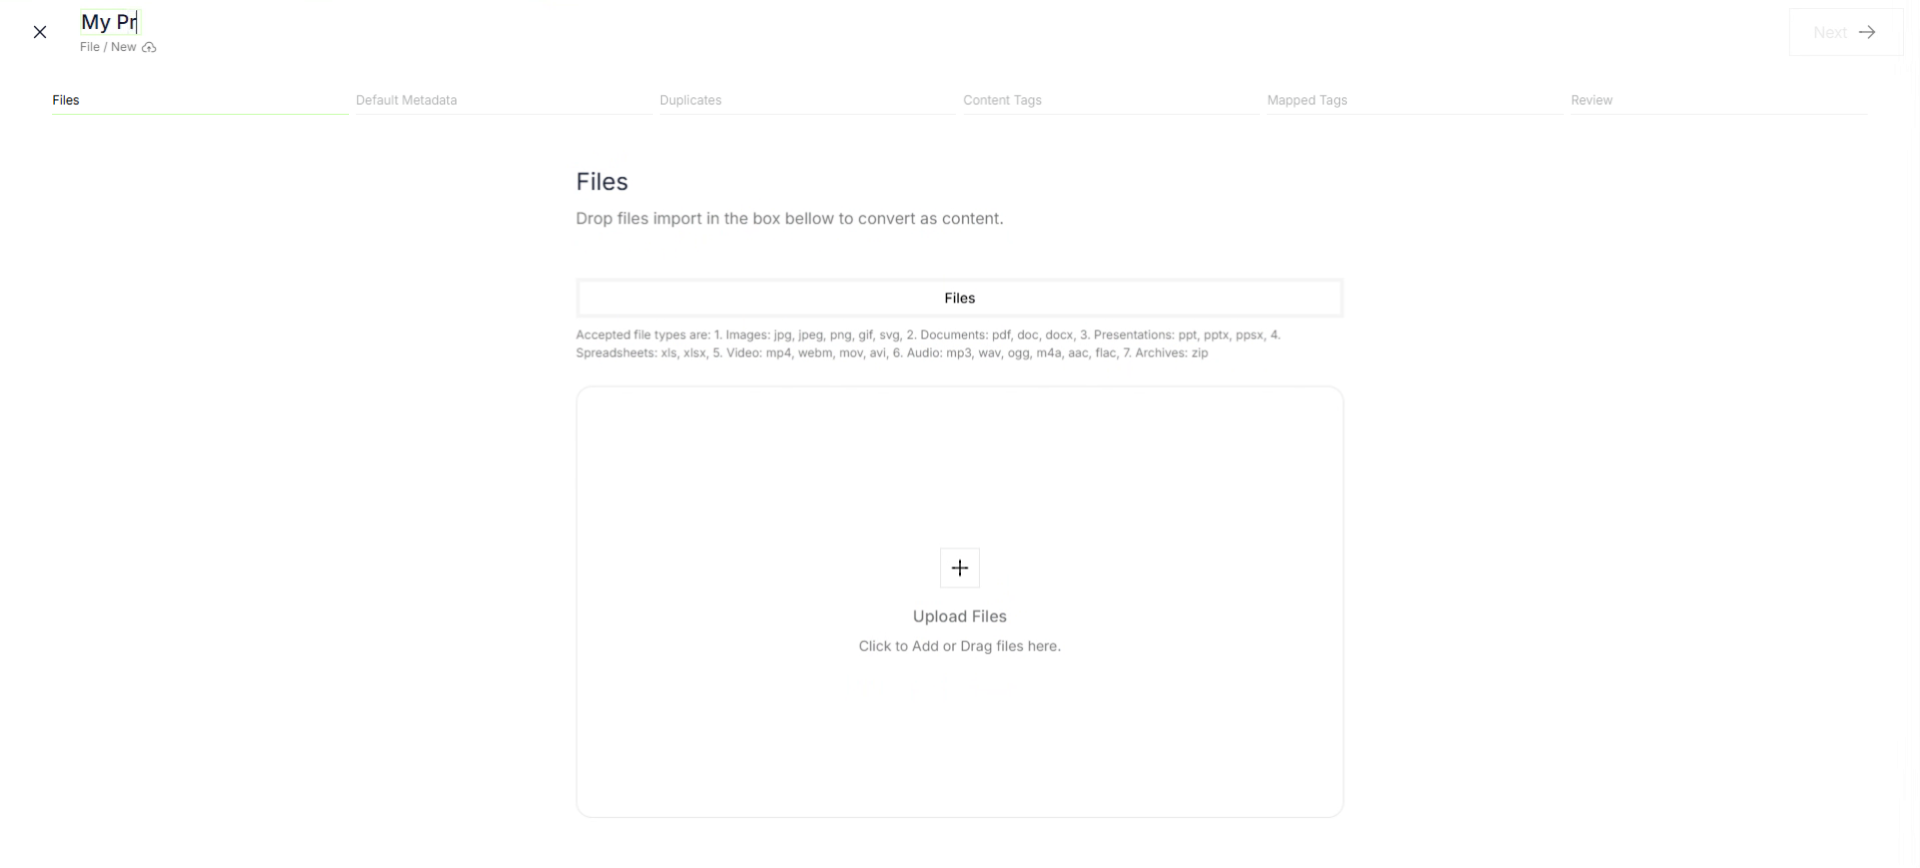
5. Open File Selection Dialog
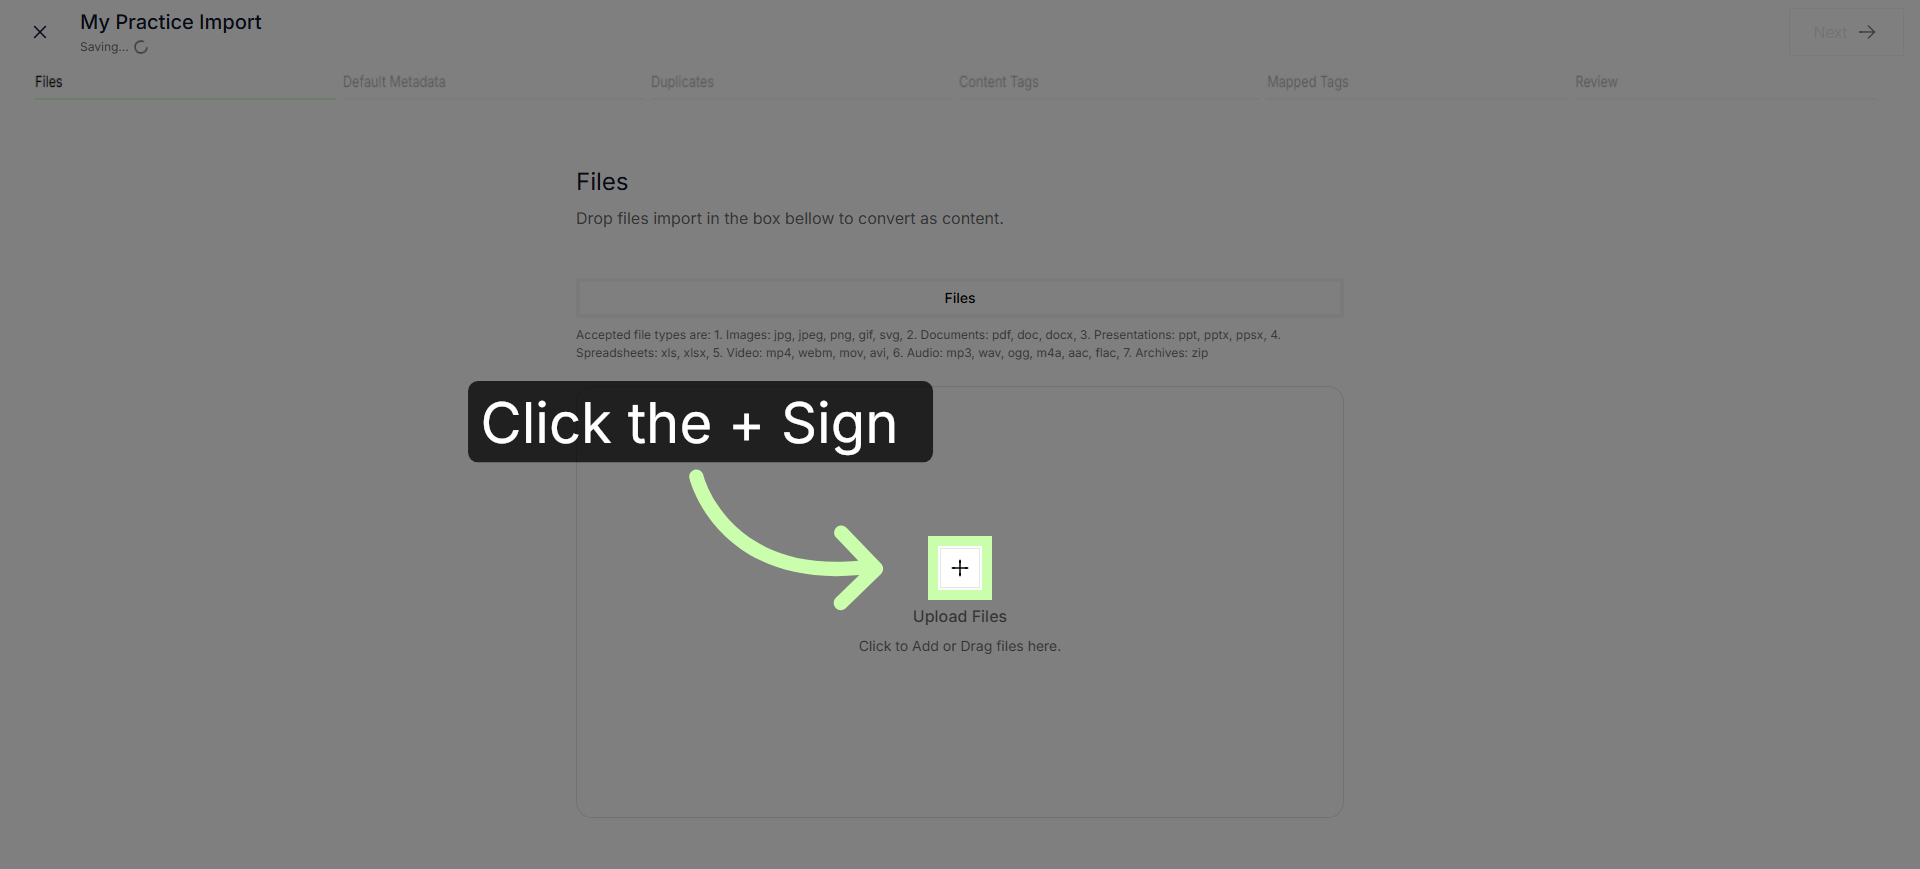
Click the plus sign to start adding your assets. You can mix and match the types of assets you include.
6. Access Groups Settings
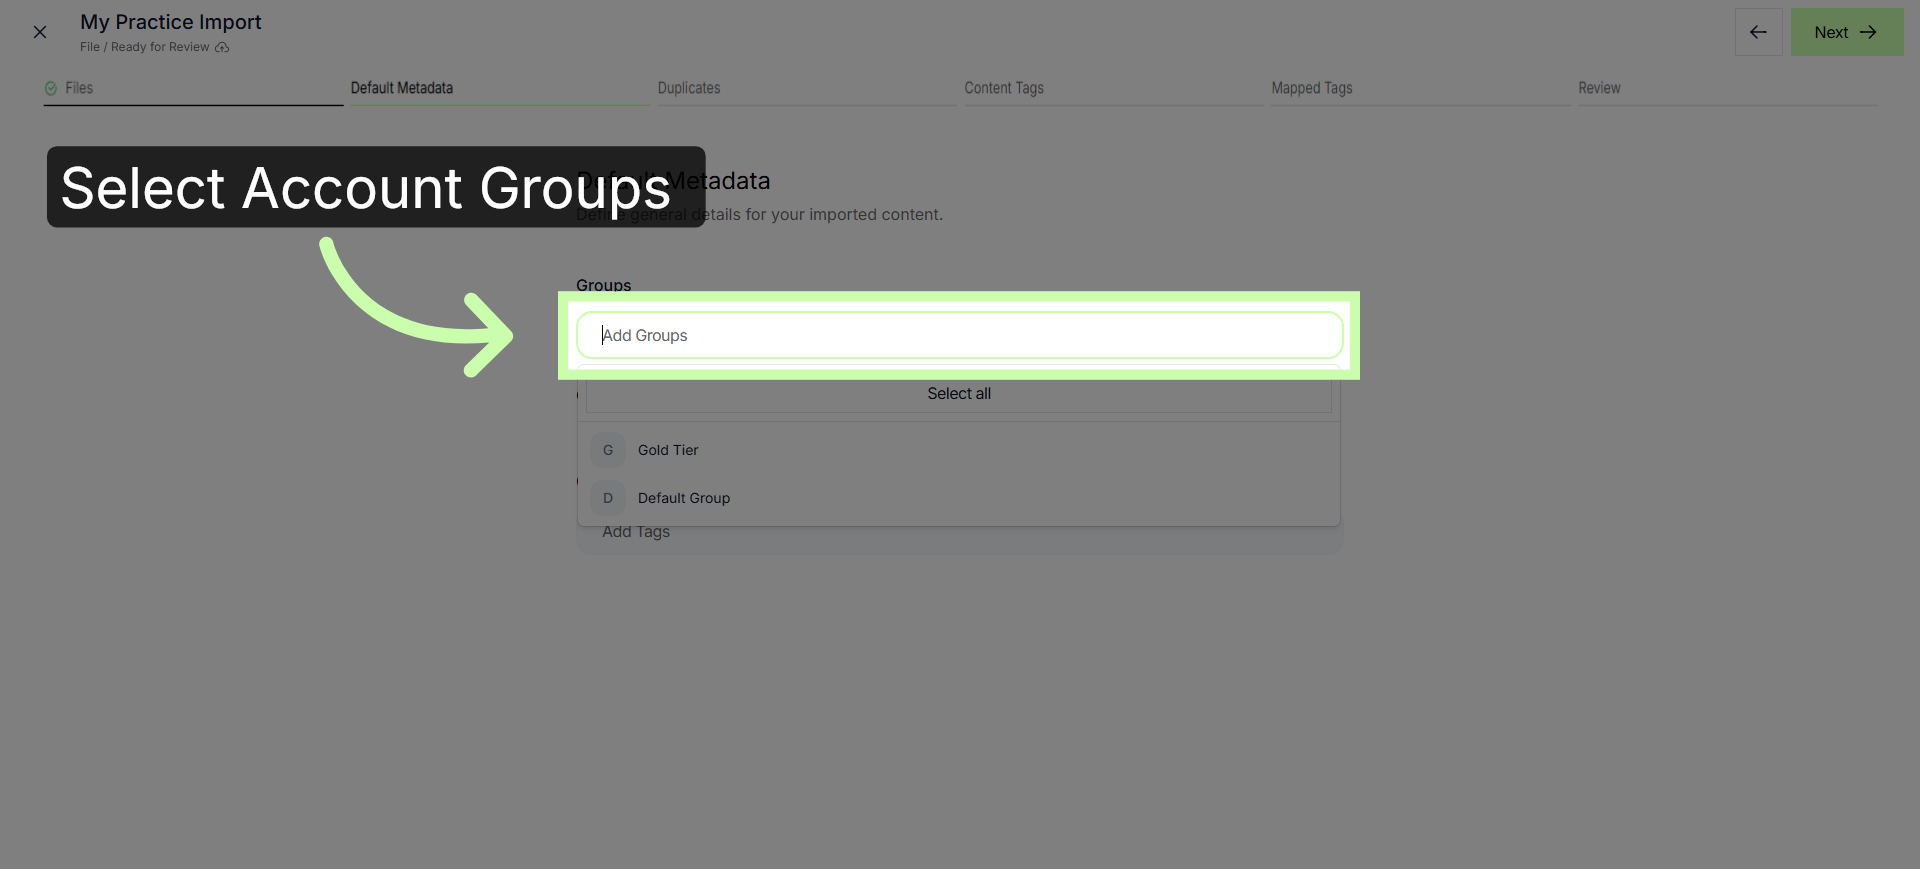
Once all your assets are added, select the groups you want to publish the bulk upload for.
7. Select Content Status
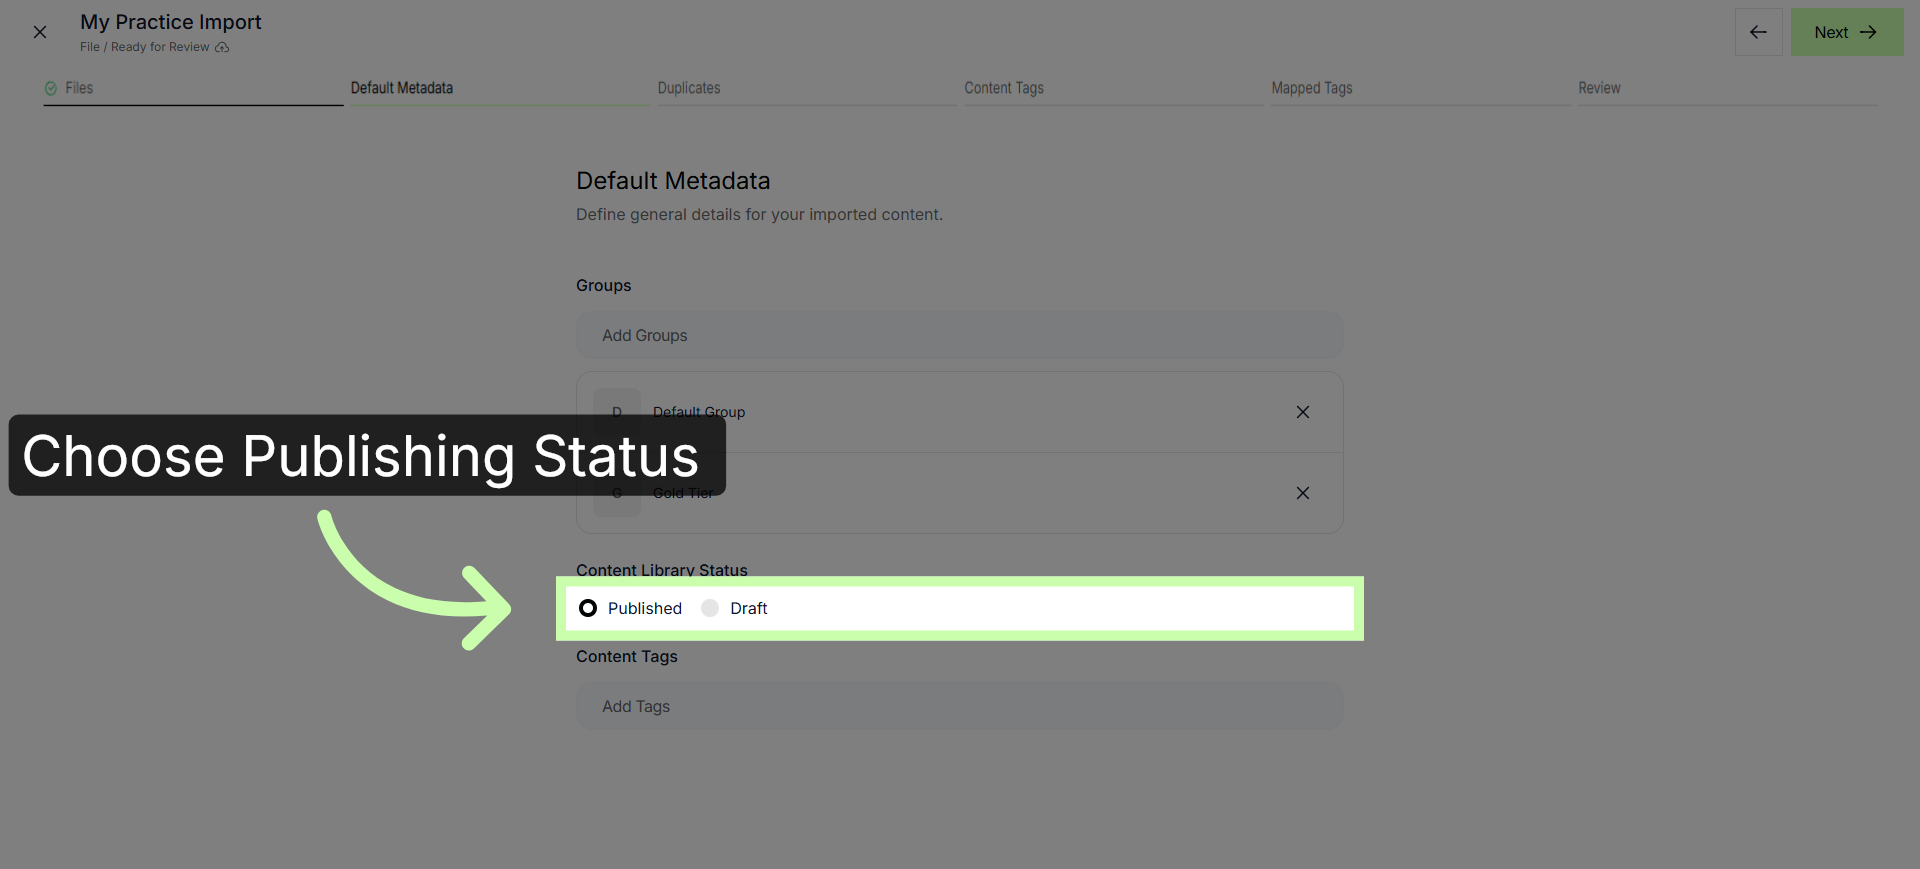
Next choose whether you want your assets to upload to drafts, or to publish live immediately.
8. Open Content Tags
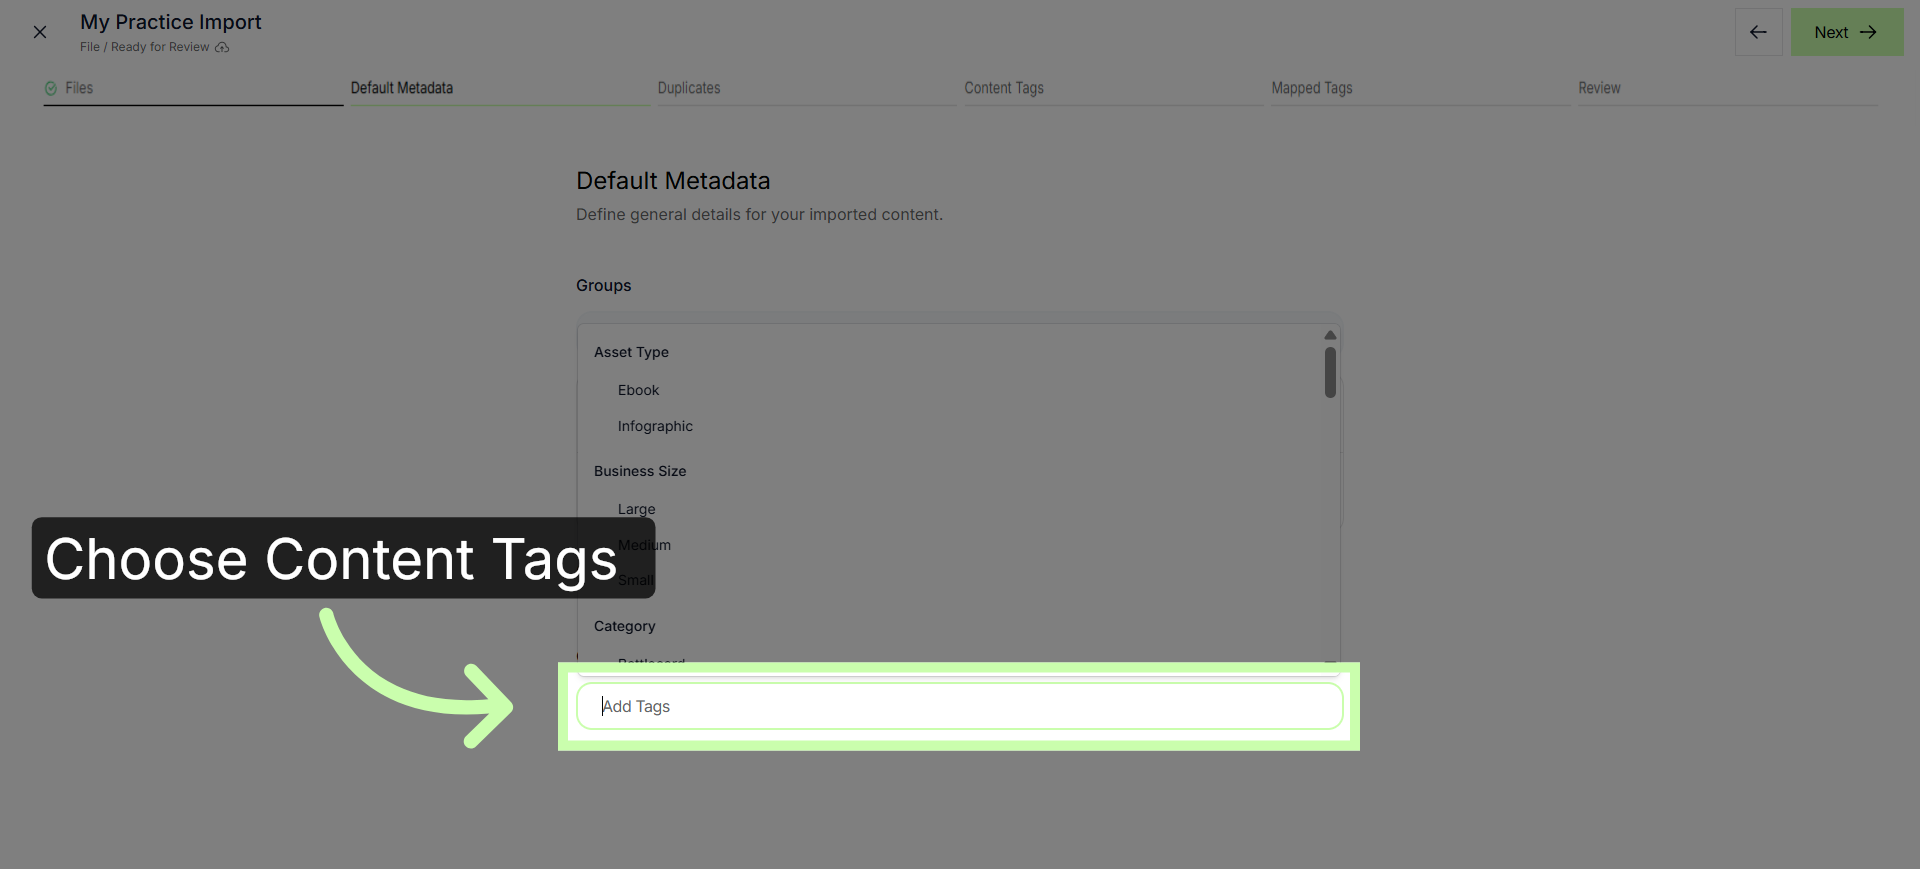
Then, choose content tags to help partners find your assets using the library filters.
9. Proceed to Next Step
Click Next.
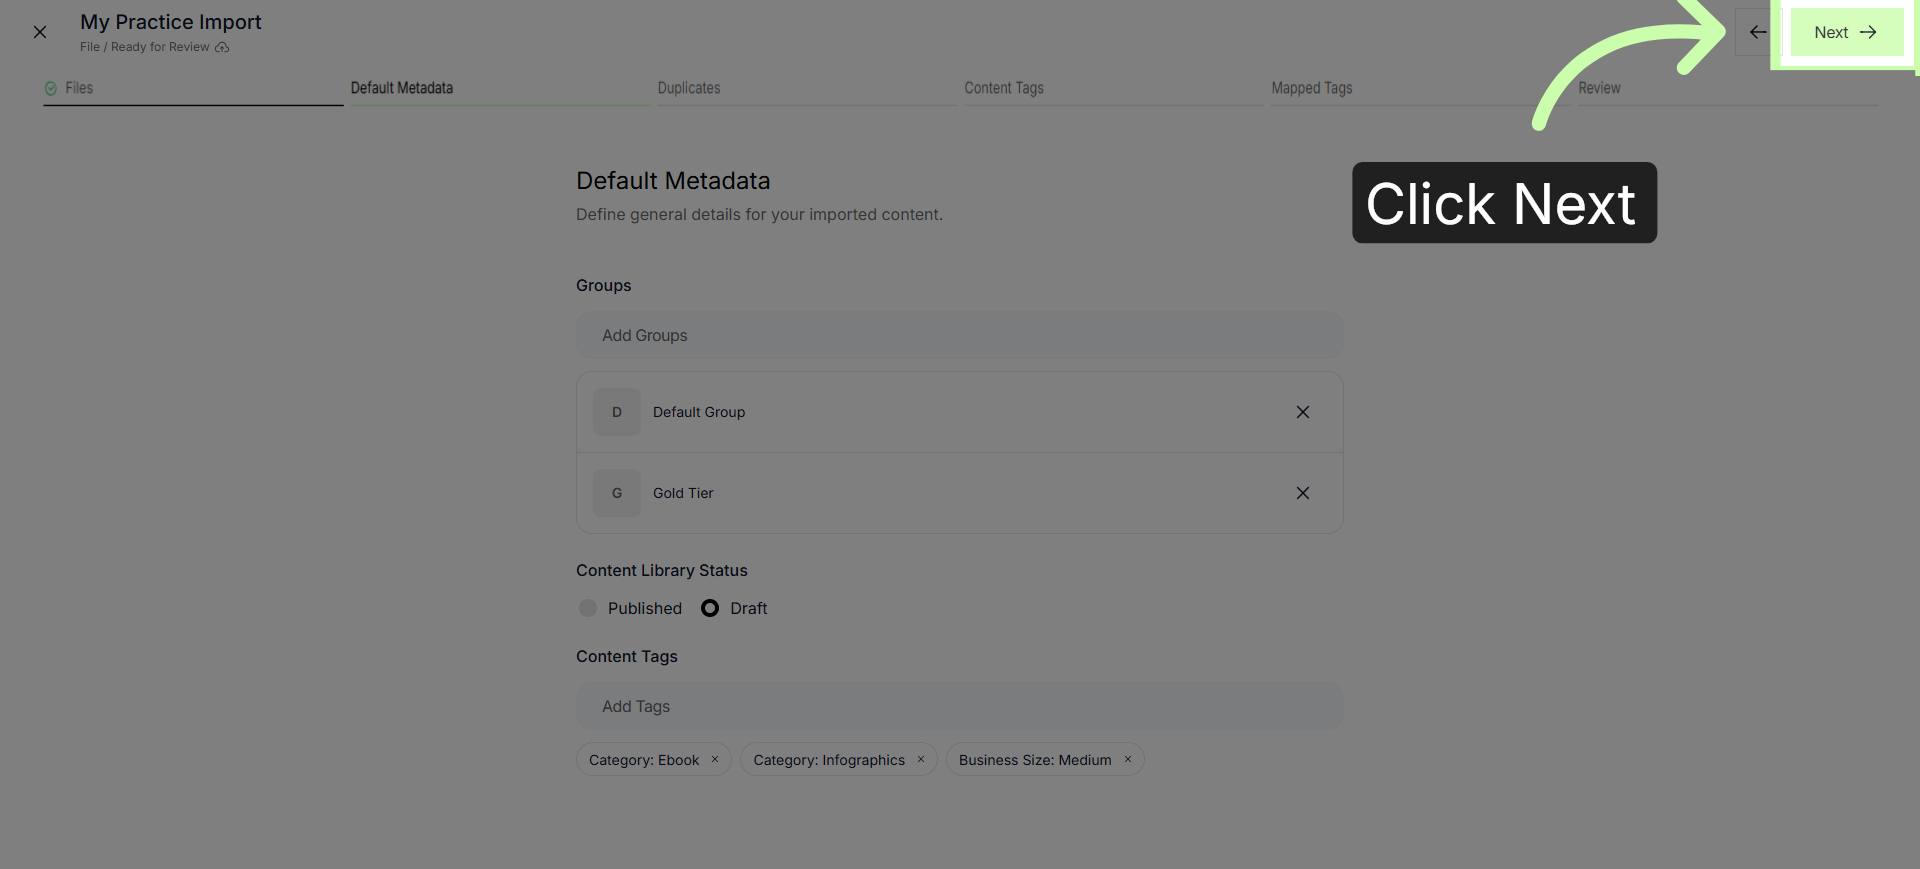
10. Resolve Duplicate Files
If you uploaded any duplicate assets, choose whether you want to skip, or upload both versions.
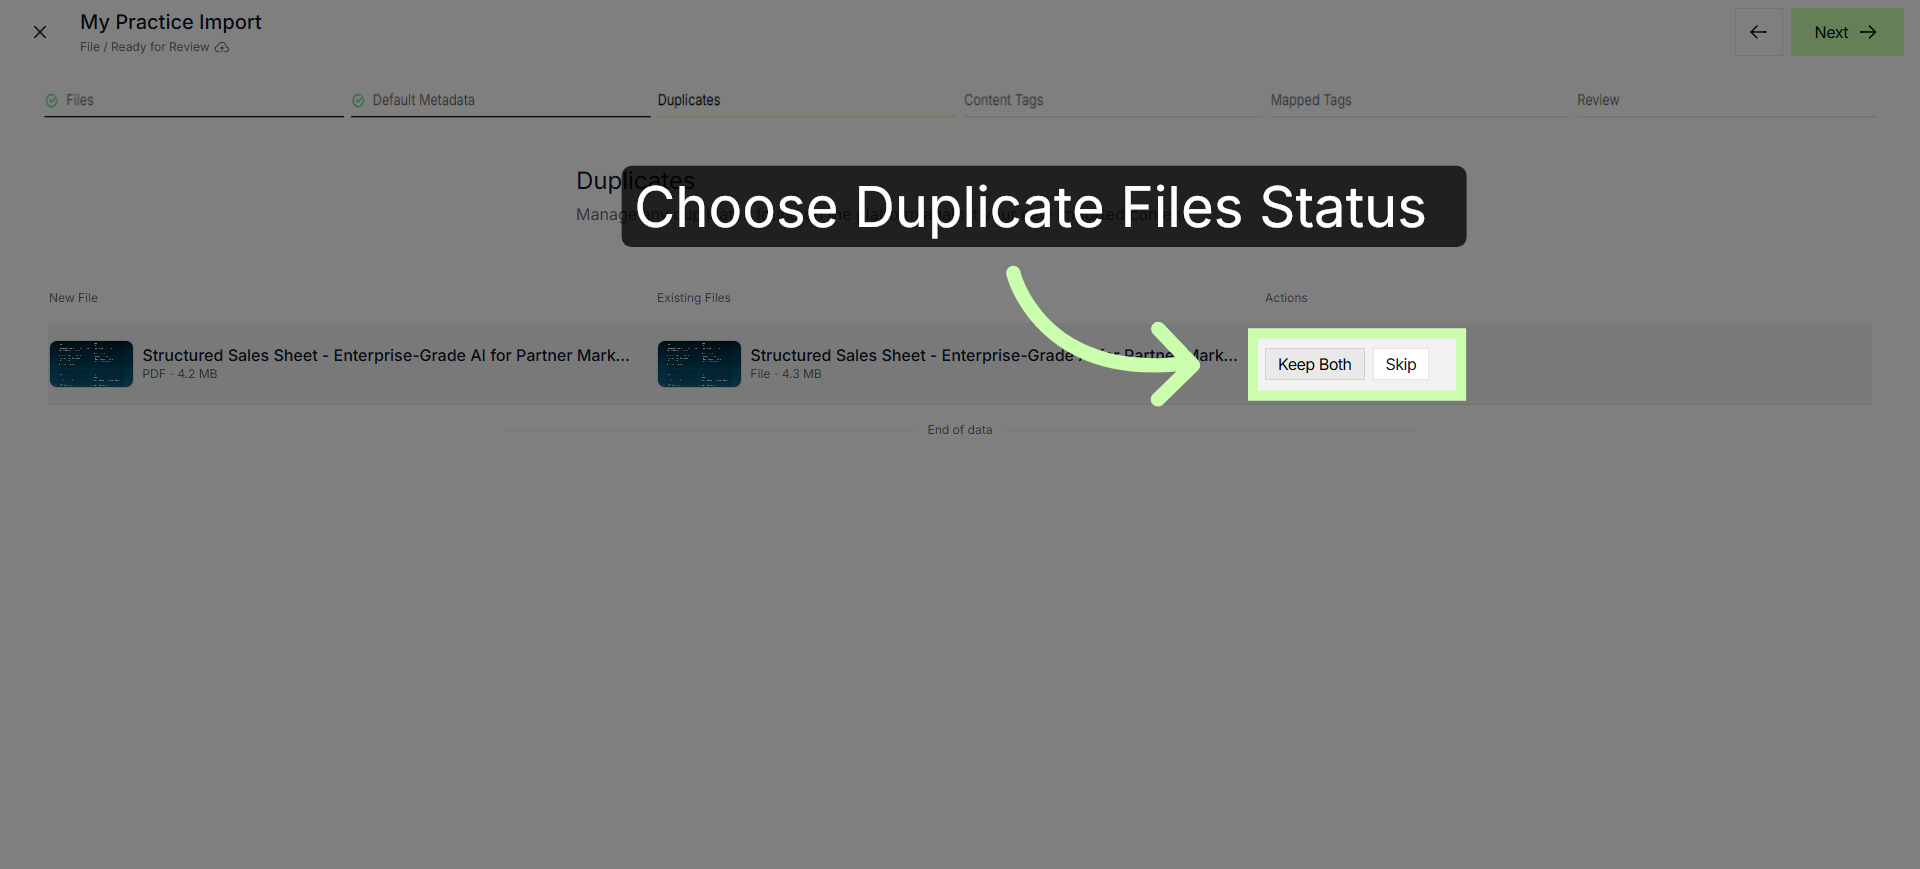
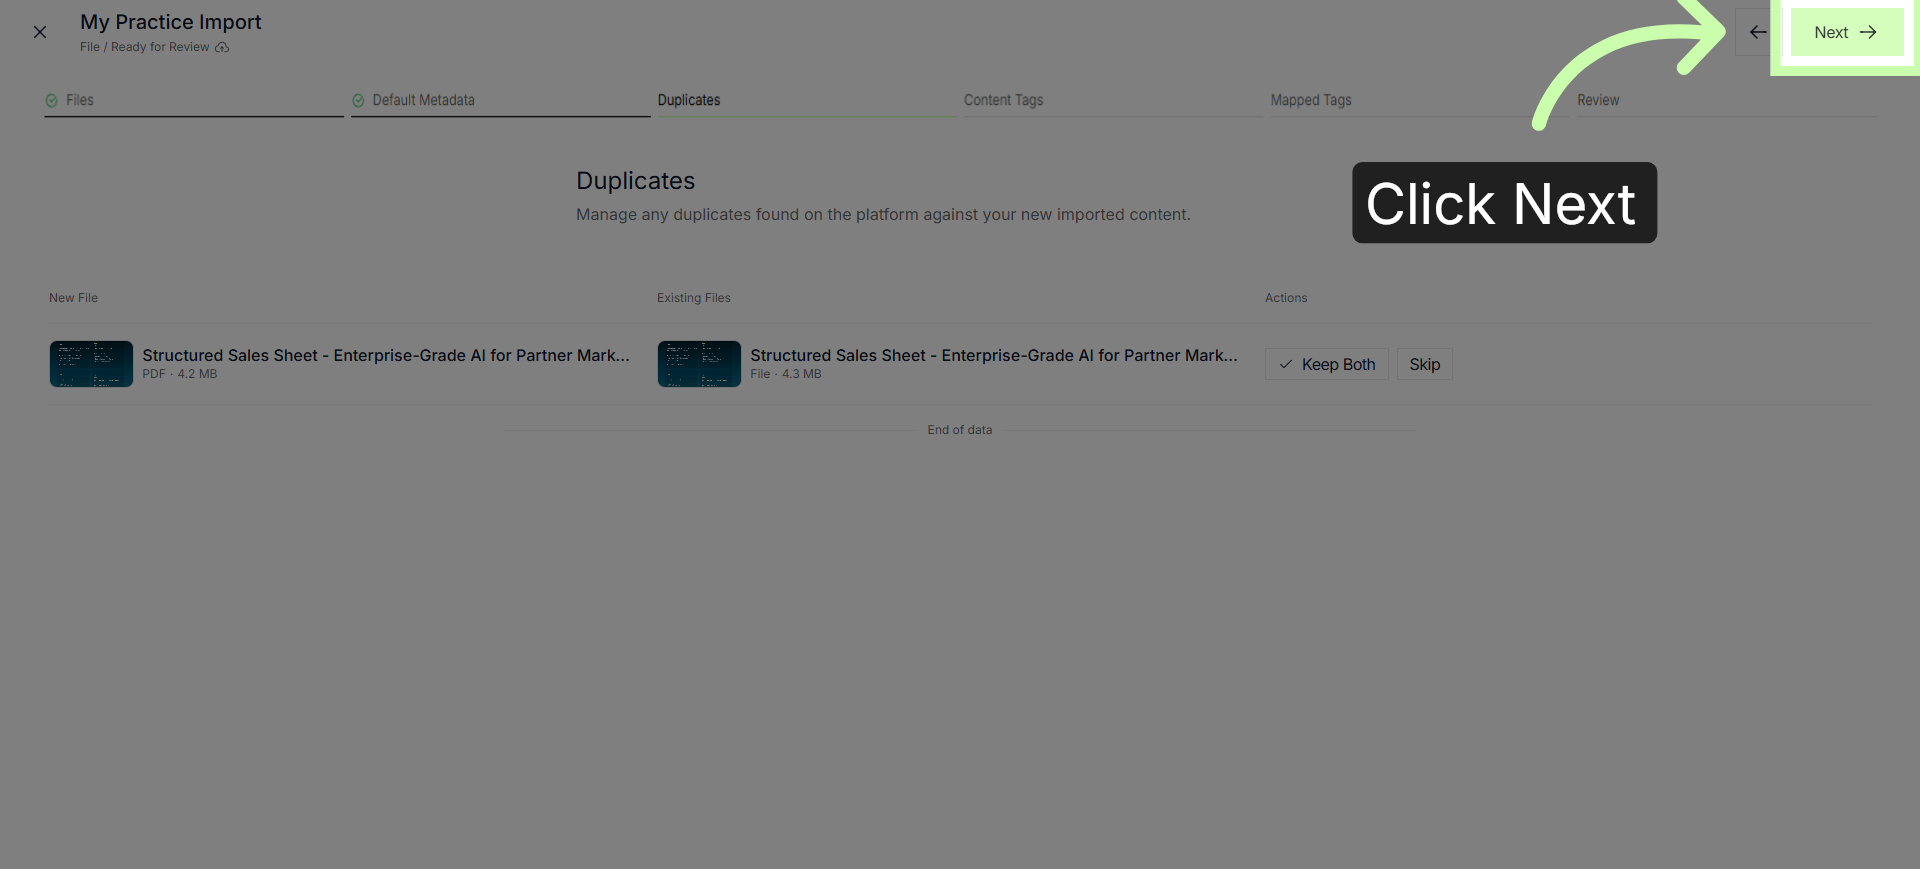
11. Continue Import Process
Click Next.
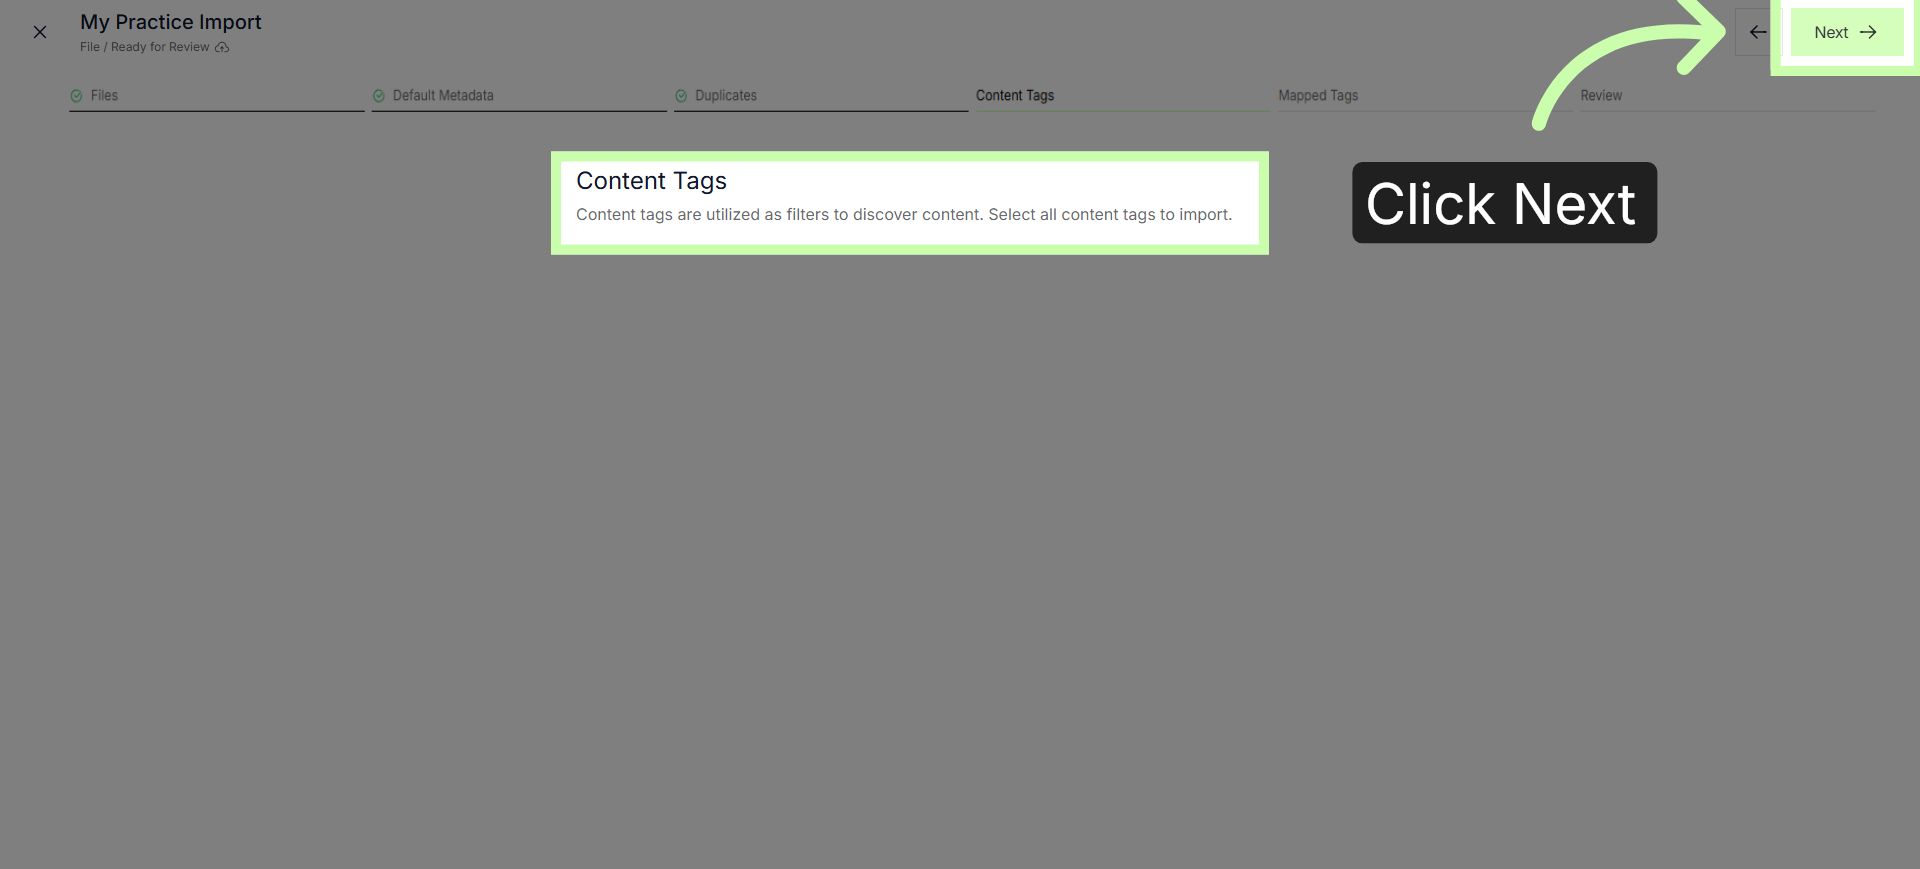
12. Advance to Next Step
If any content tags exist within your original content, map them here, or click Next again.
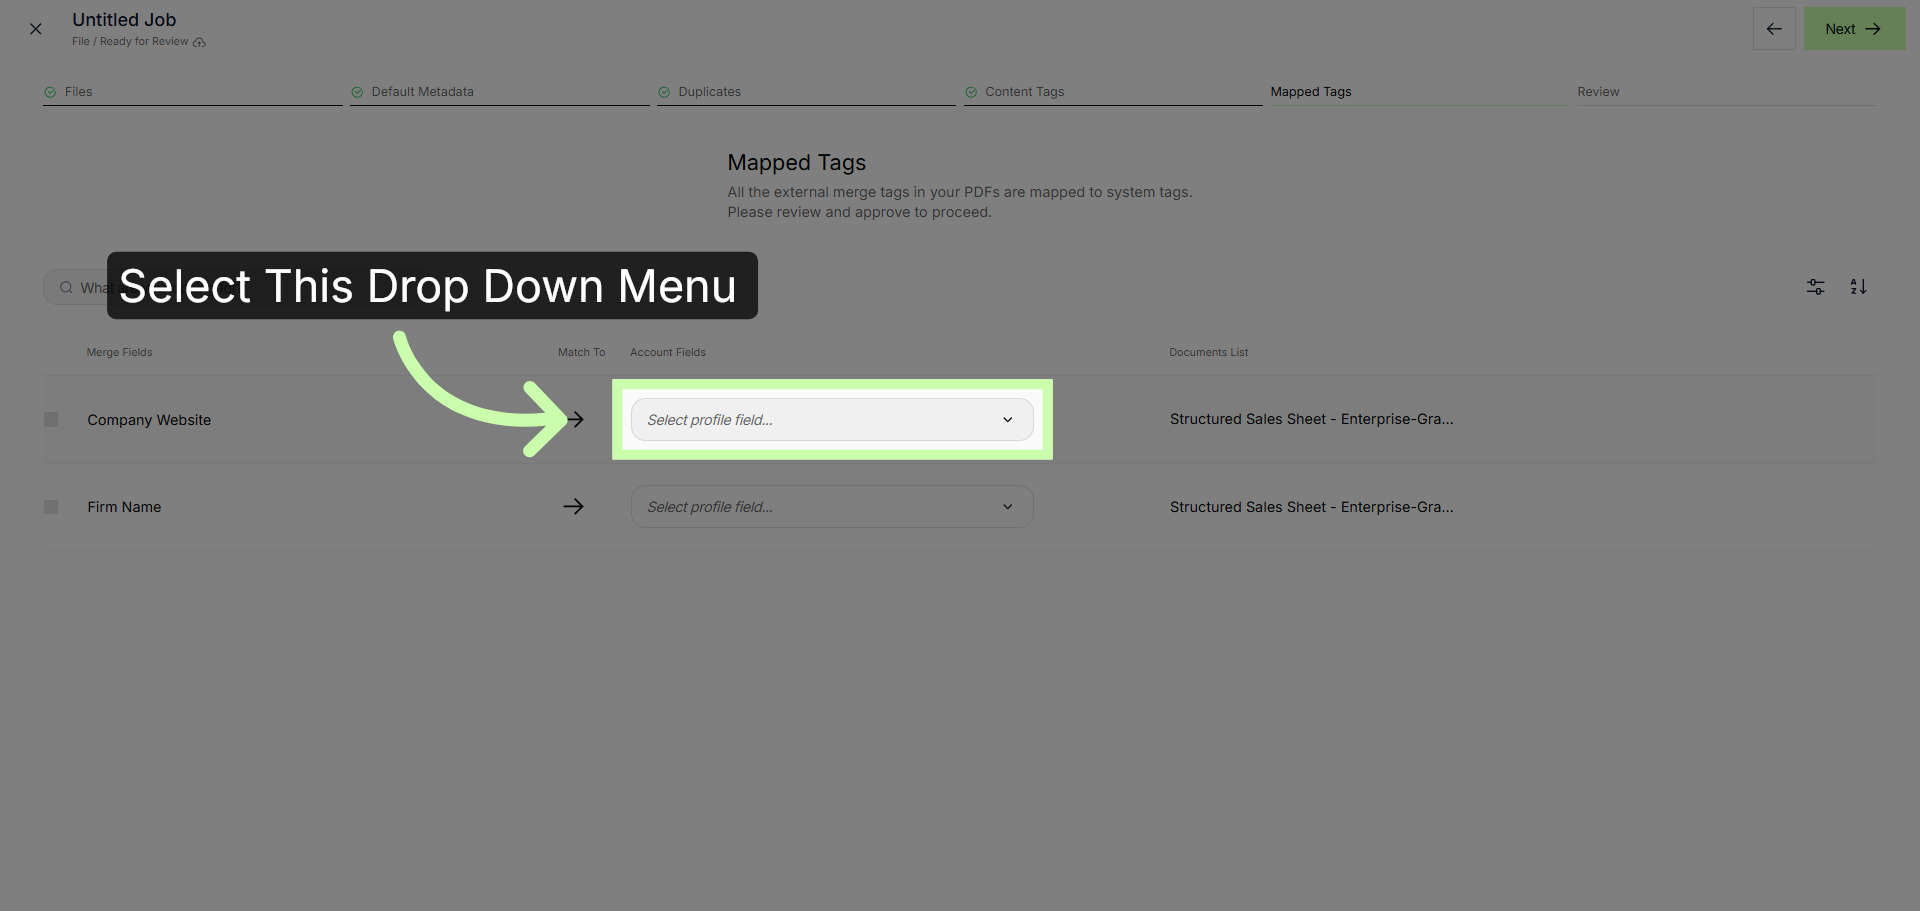
13. Map Fields to Account Tags
If a branded PDF already includes account tags, use this drop down menu to select the appropriate account tag.
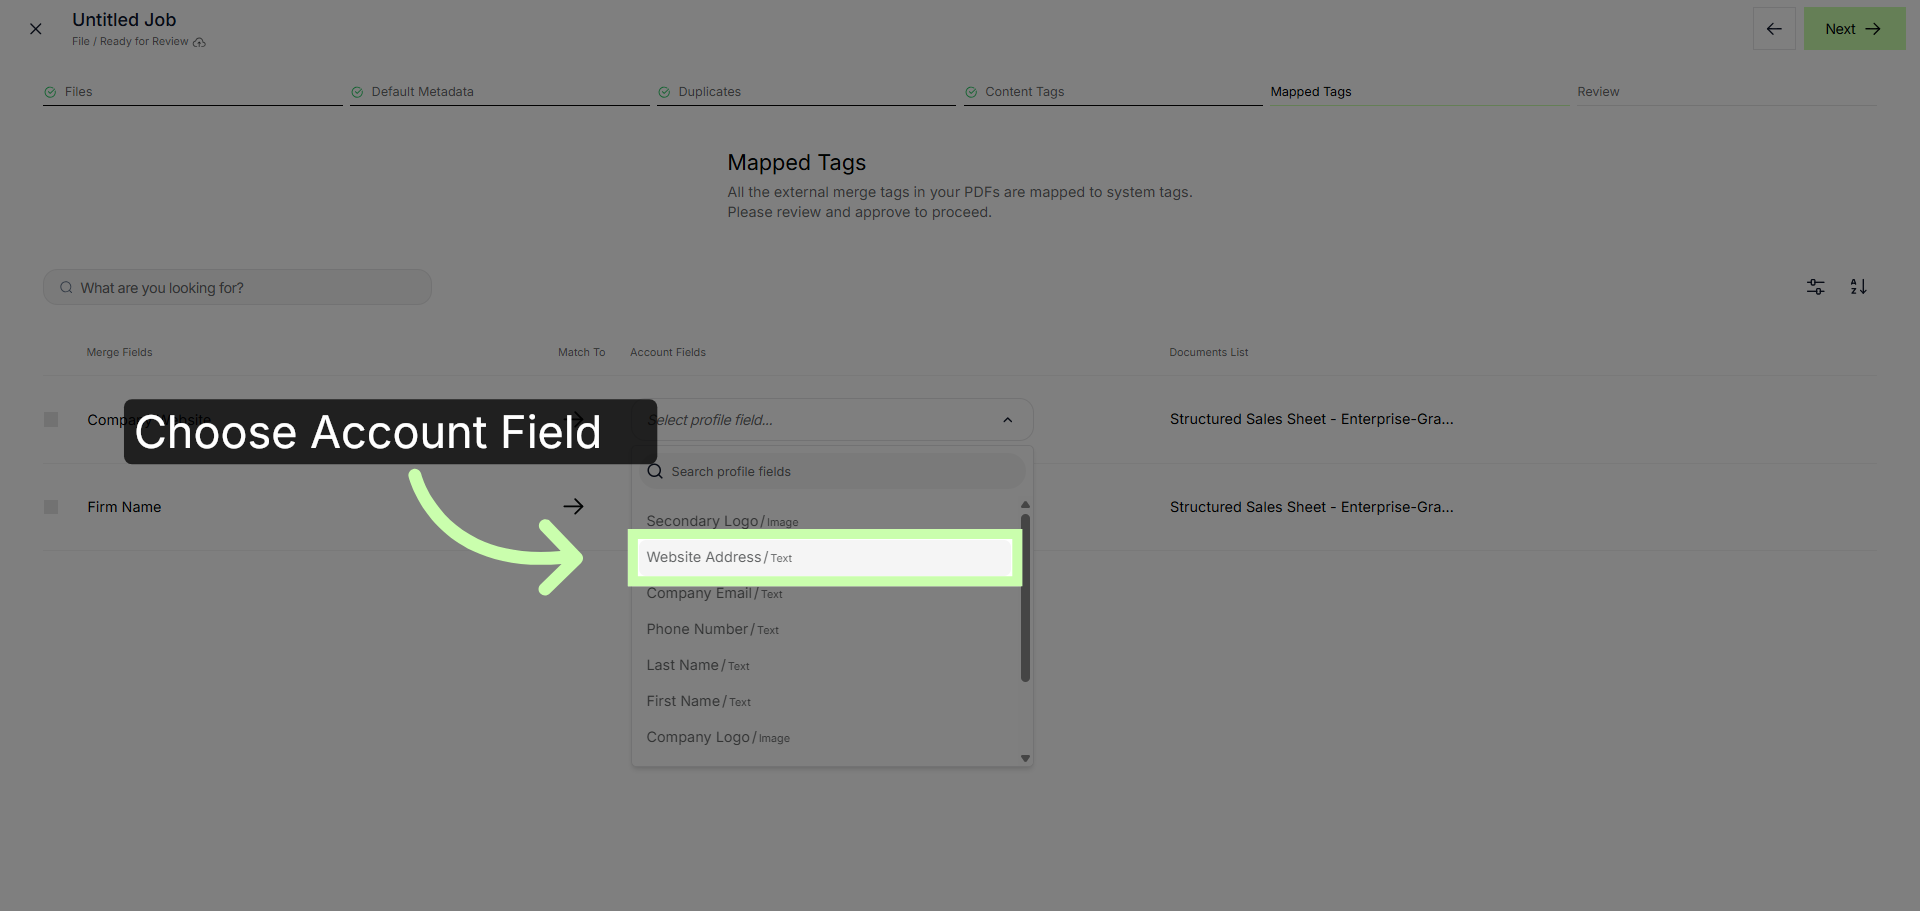
14. Choose Website Address Field
In this example I'll map Company Website to Website Address. Repeat this step for all Merge Fields
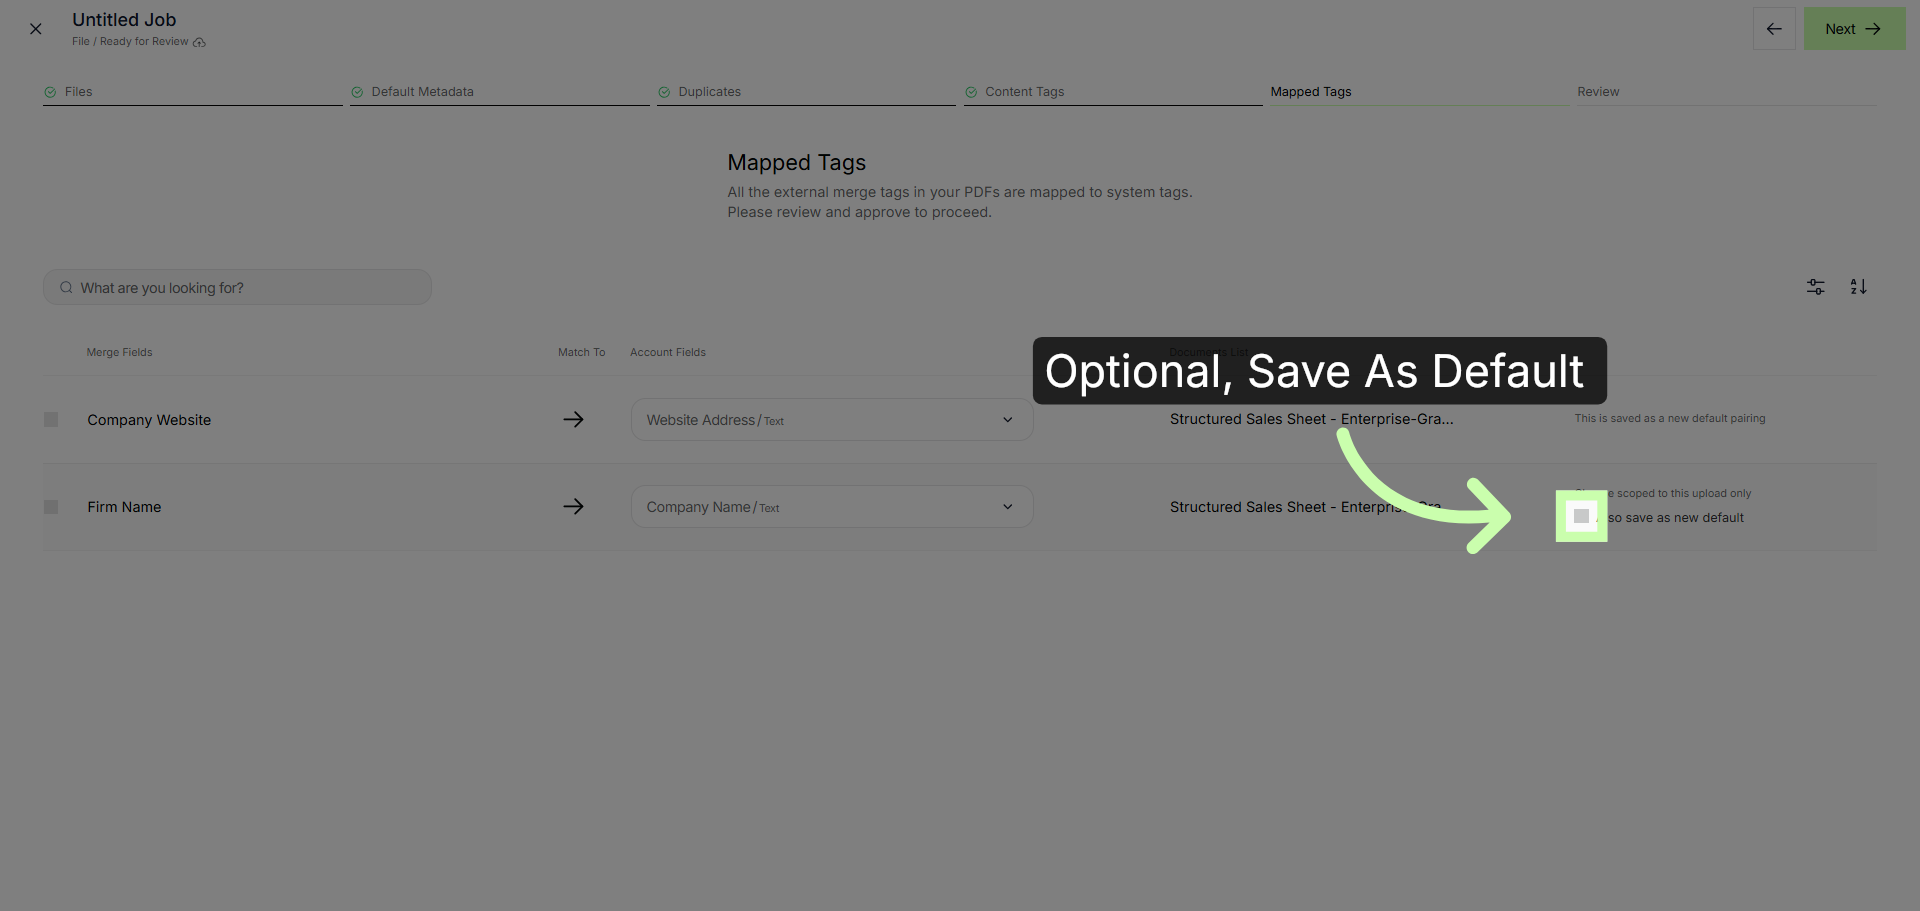
15. Optional, Save the Mapped Field as a New Default
If desired, click this box to save the merge field as a new default field.
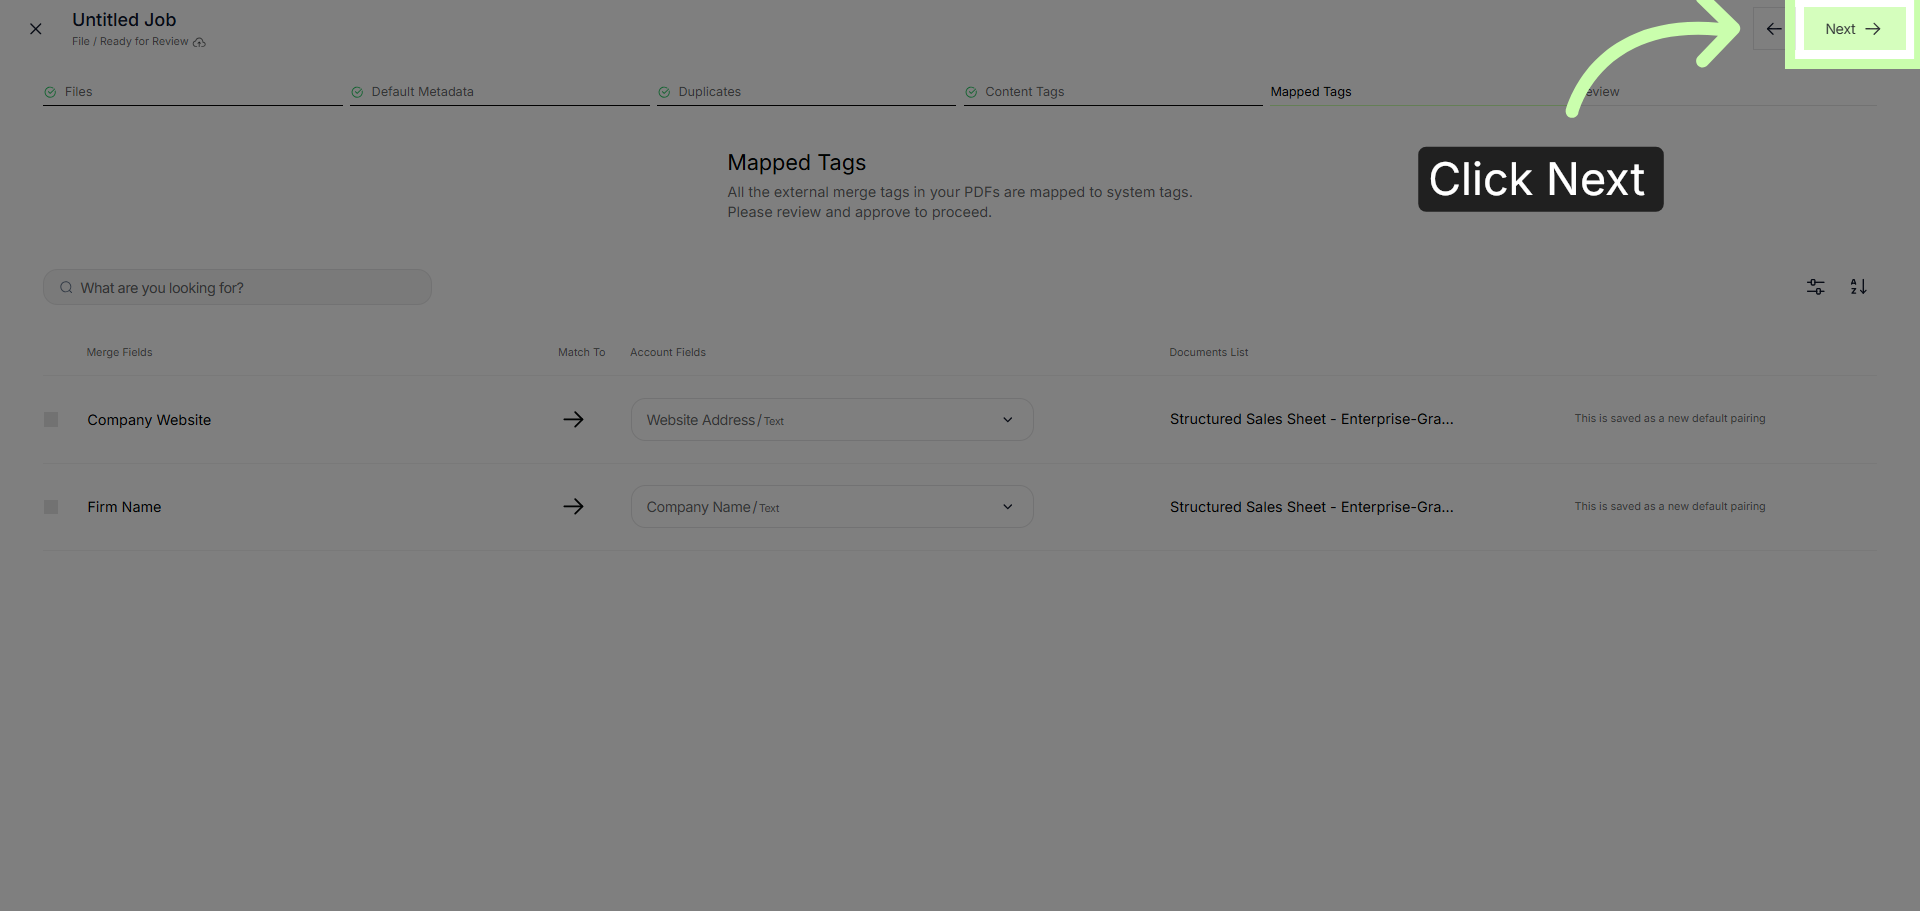
16. Click Next
Click Next
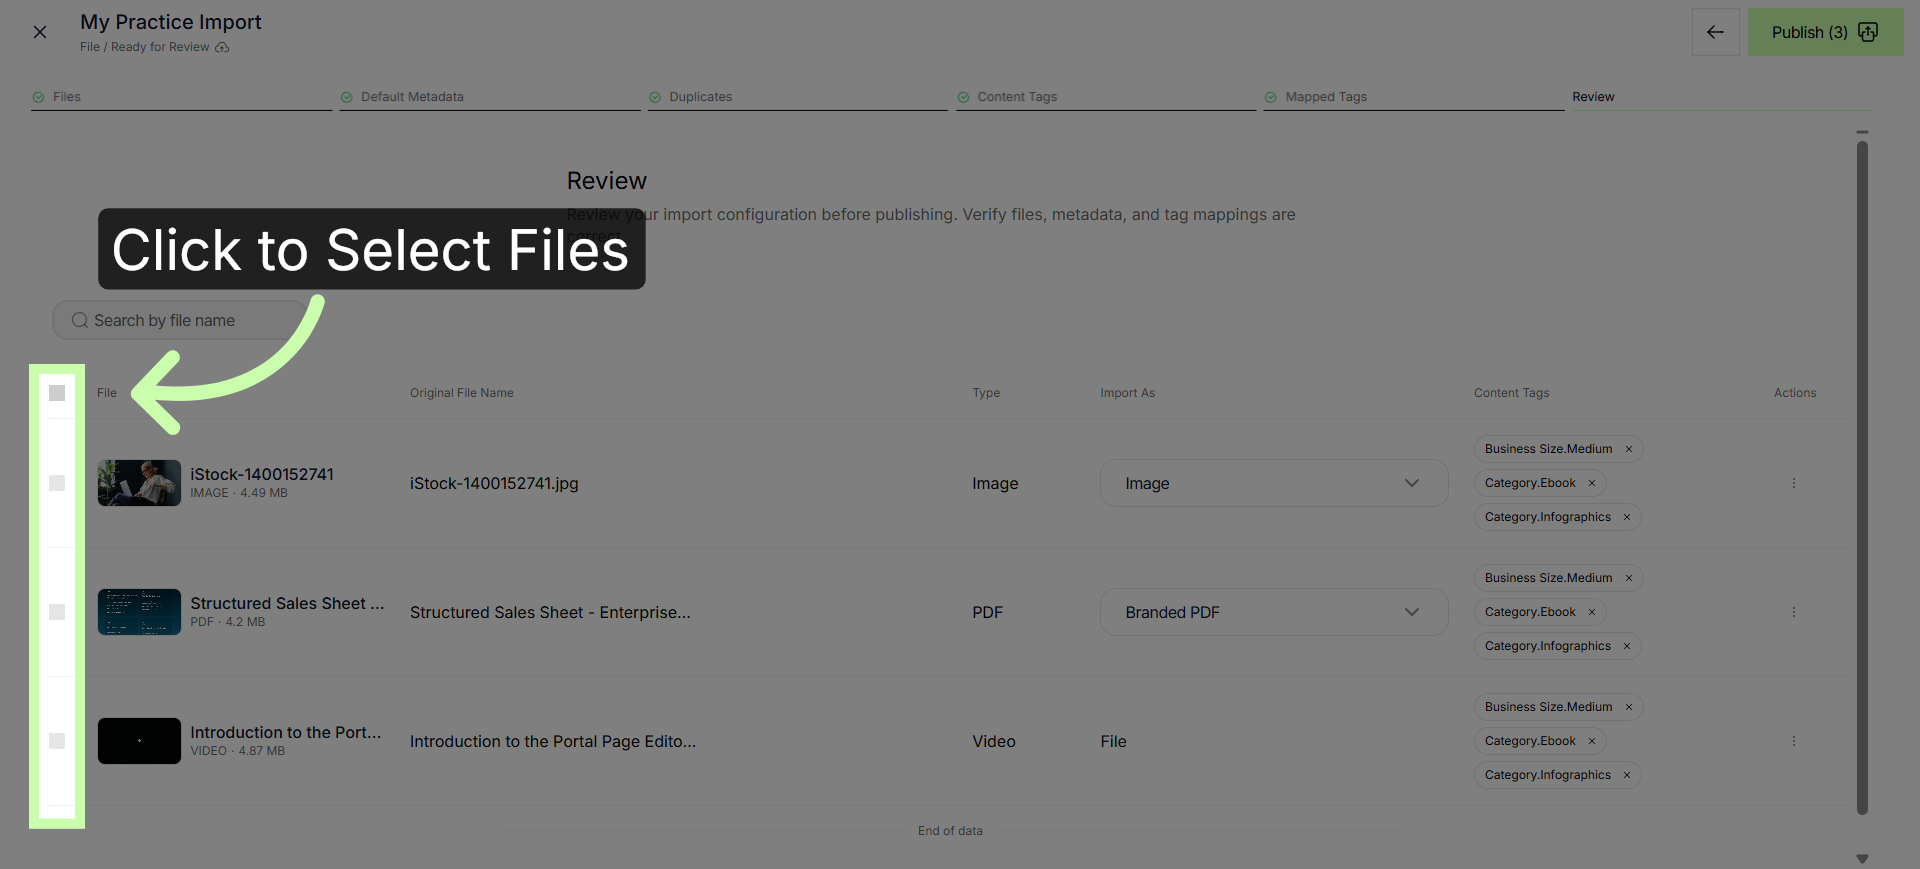
17. Select All Files
For further edits, click the box to select one or multiple files.
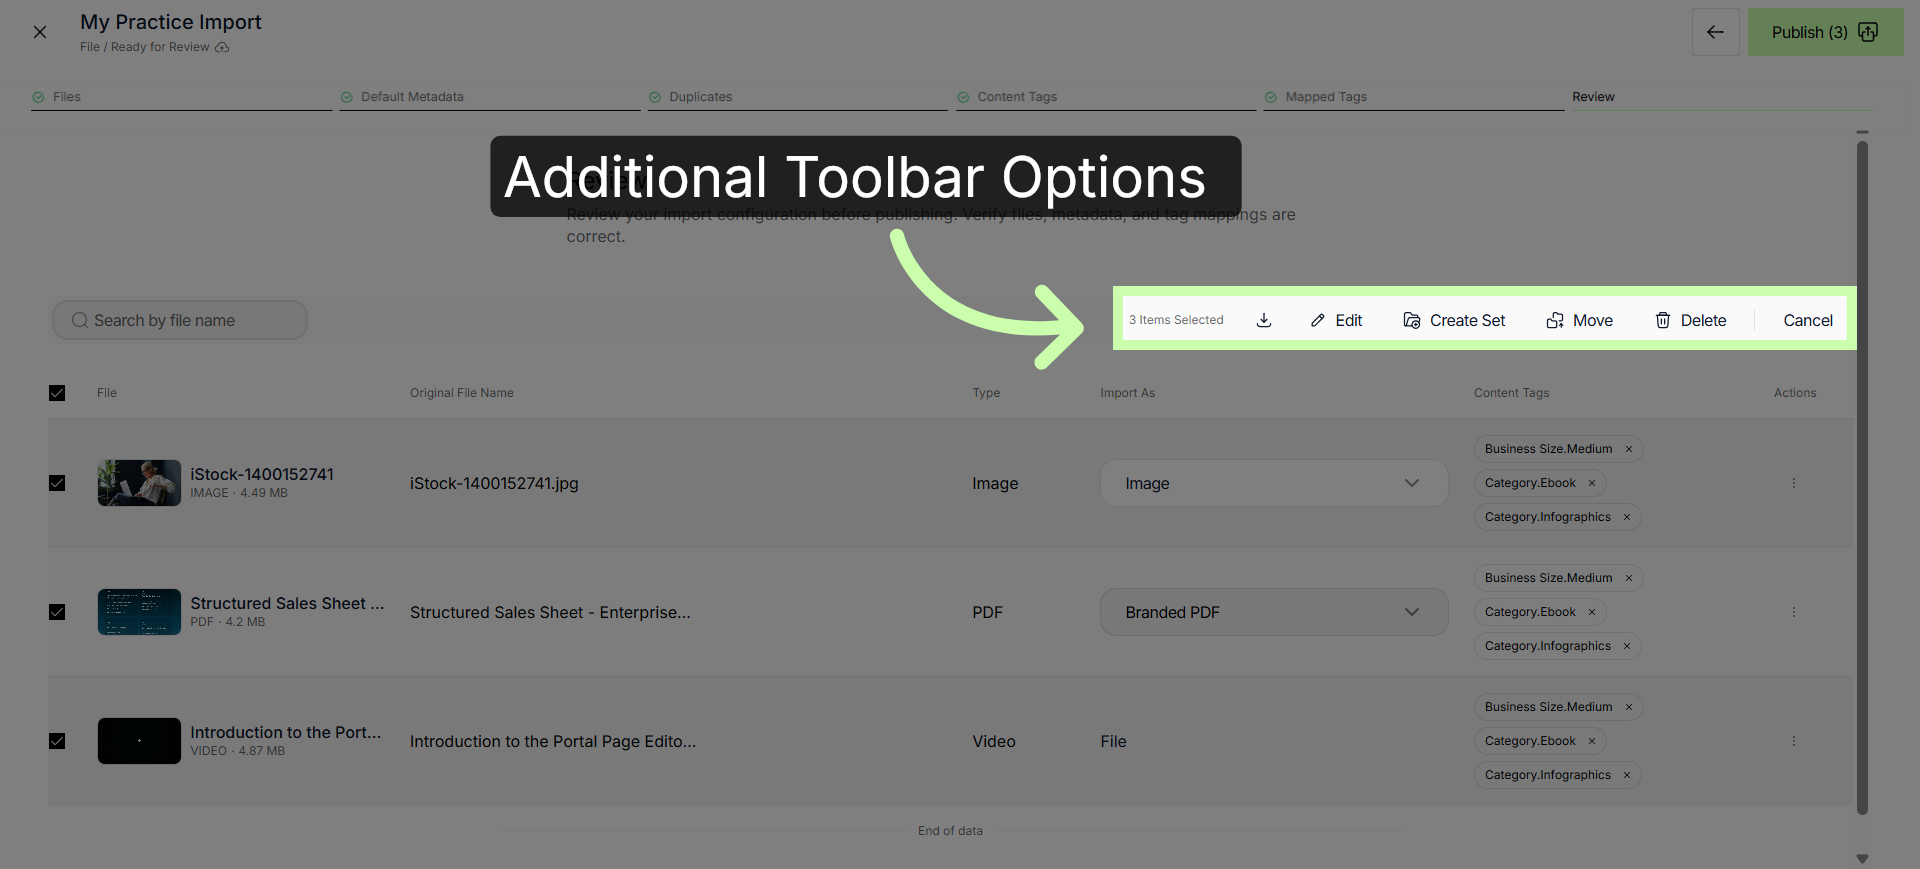
18. Choose Branded PDF Tag
A new toolbar appears. Here, you can edit an existing file, create a file pack, move an asset into a file pack, and more.
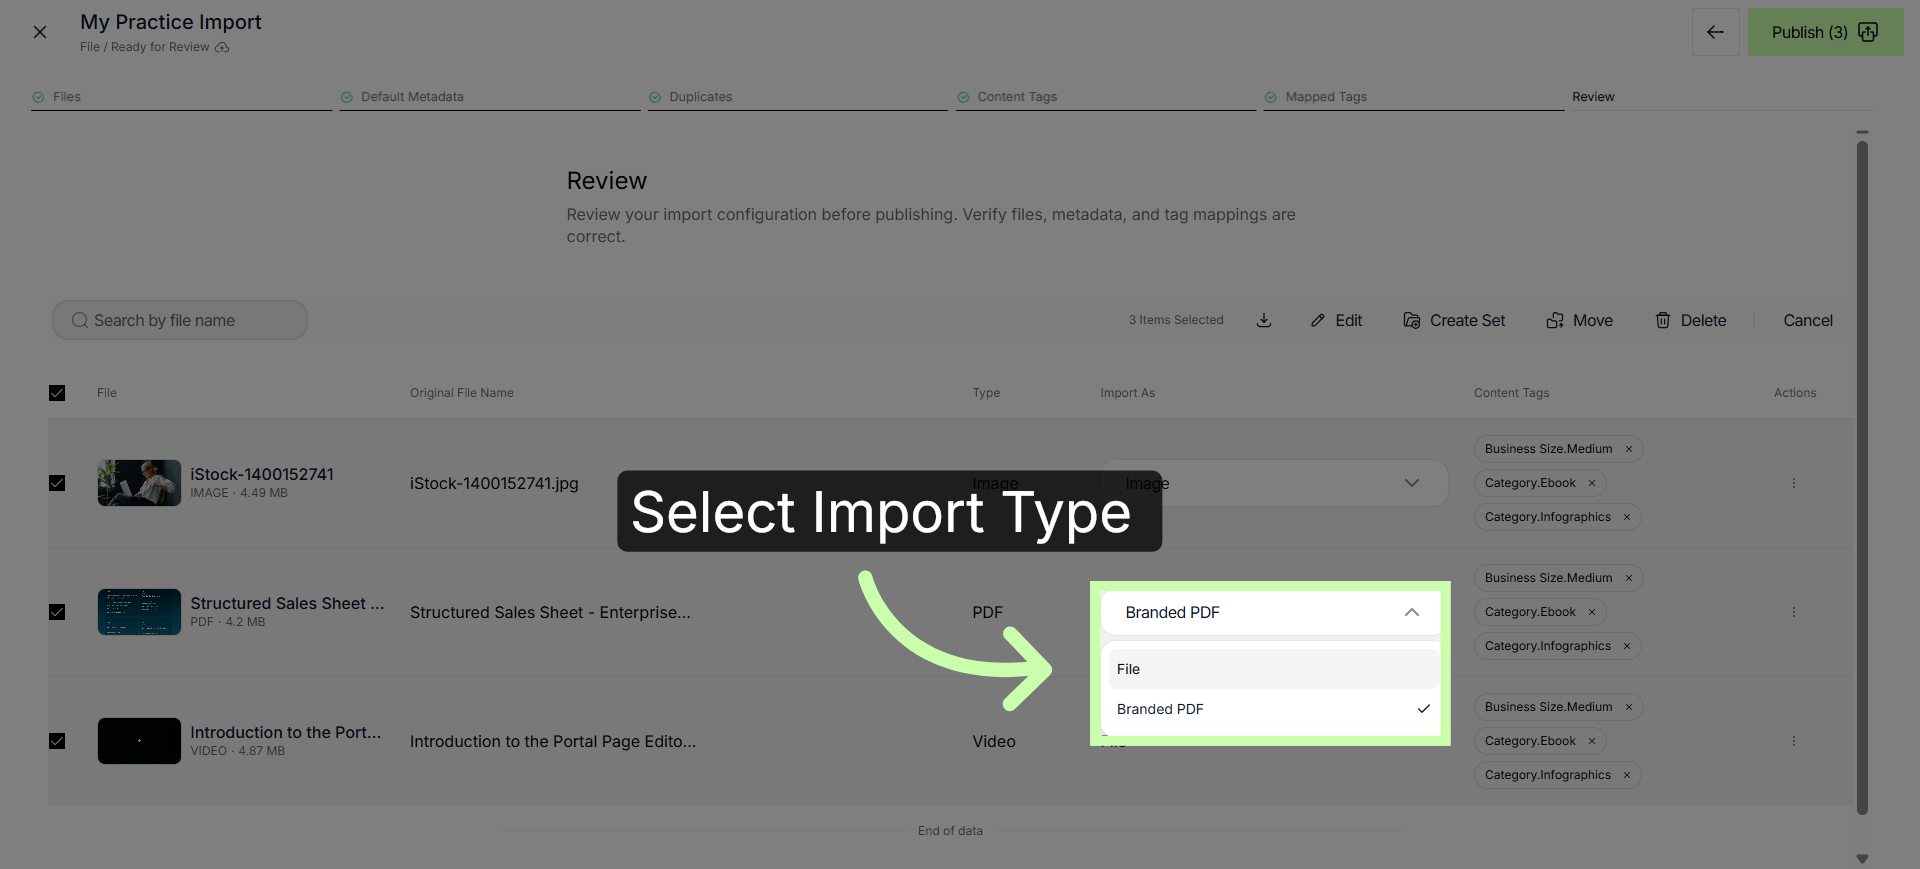
19. Access File Menu
You can also change the import type by selecting from this drop down menu.
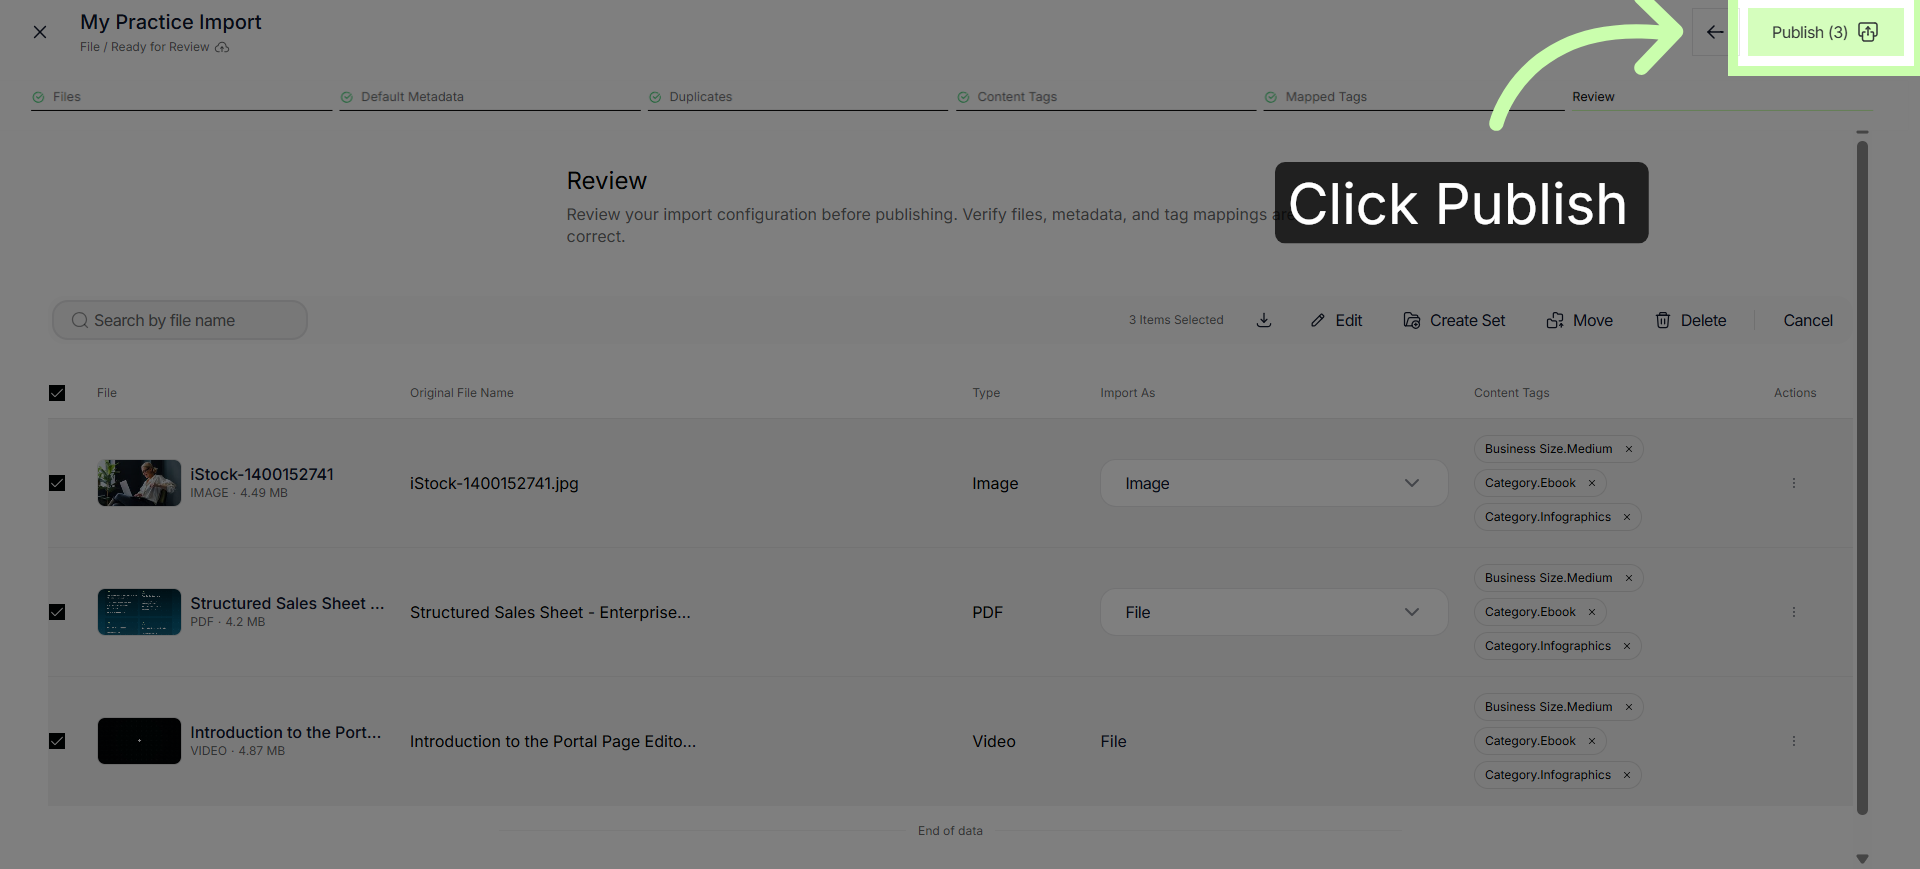
20. Publish Selected Files
Click Publish to make the selected files available in the Content Library.
21. Filter Import Status
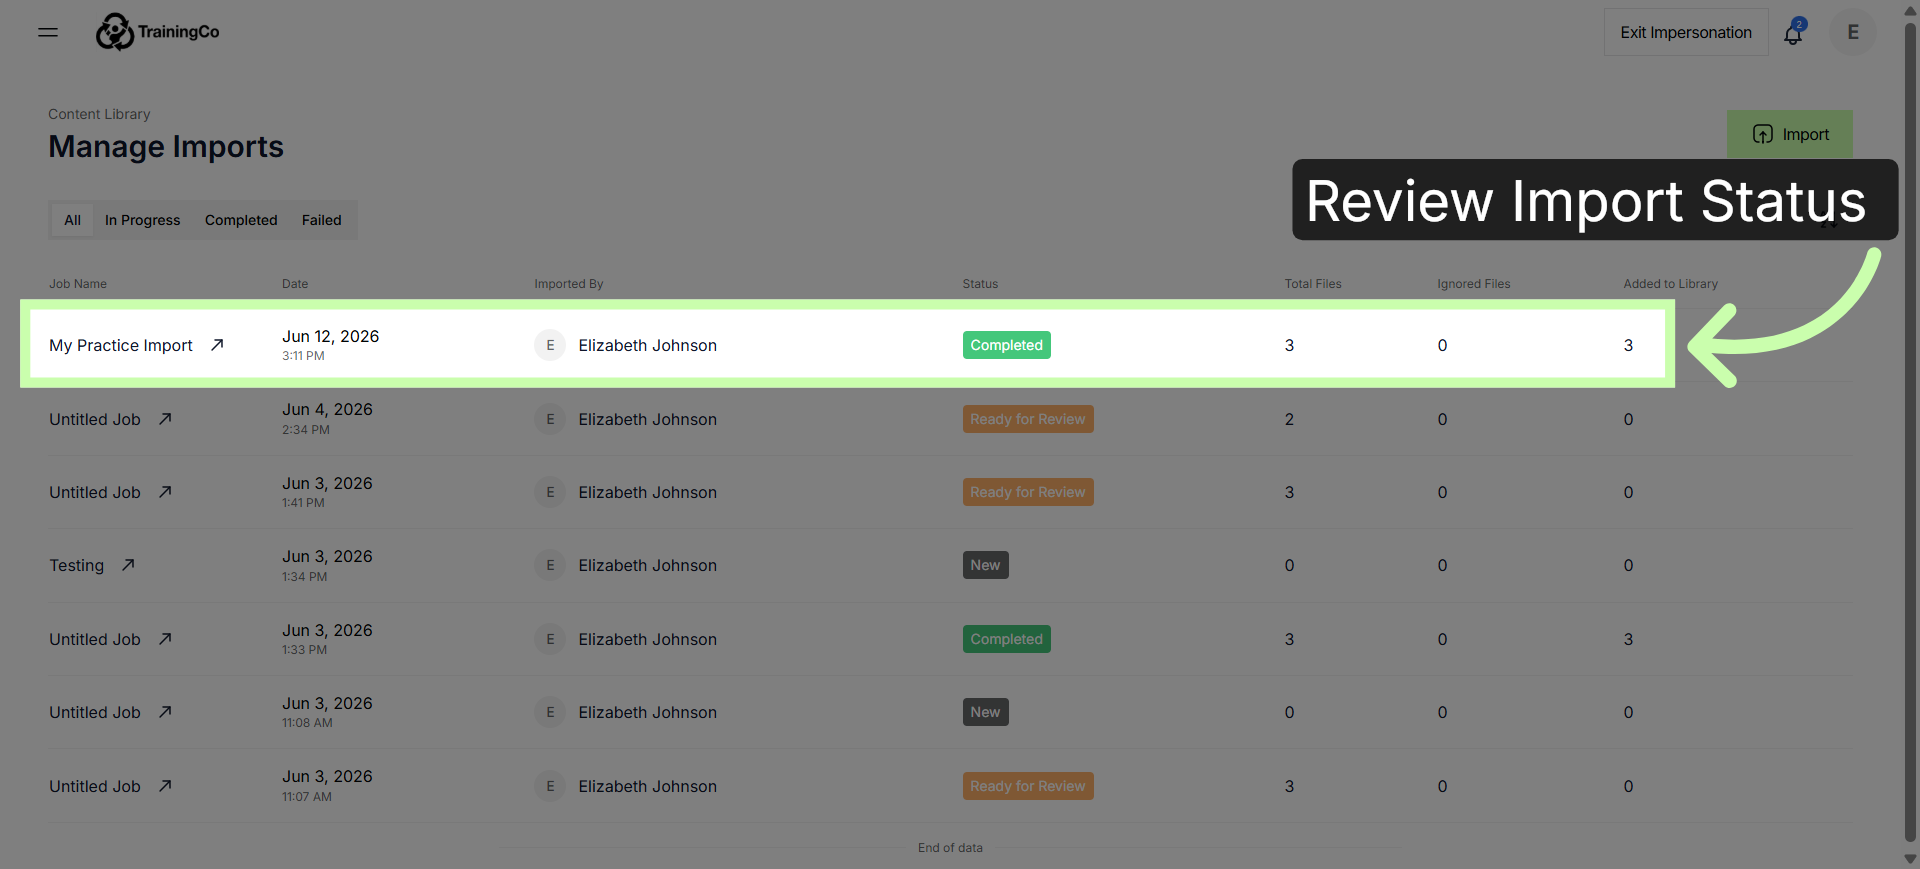
You are automatically directed to the Manage Import page where your completed import is labeled.
22. Access Manage Imports
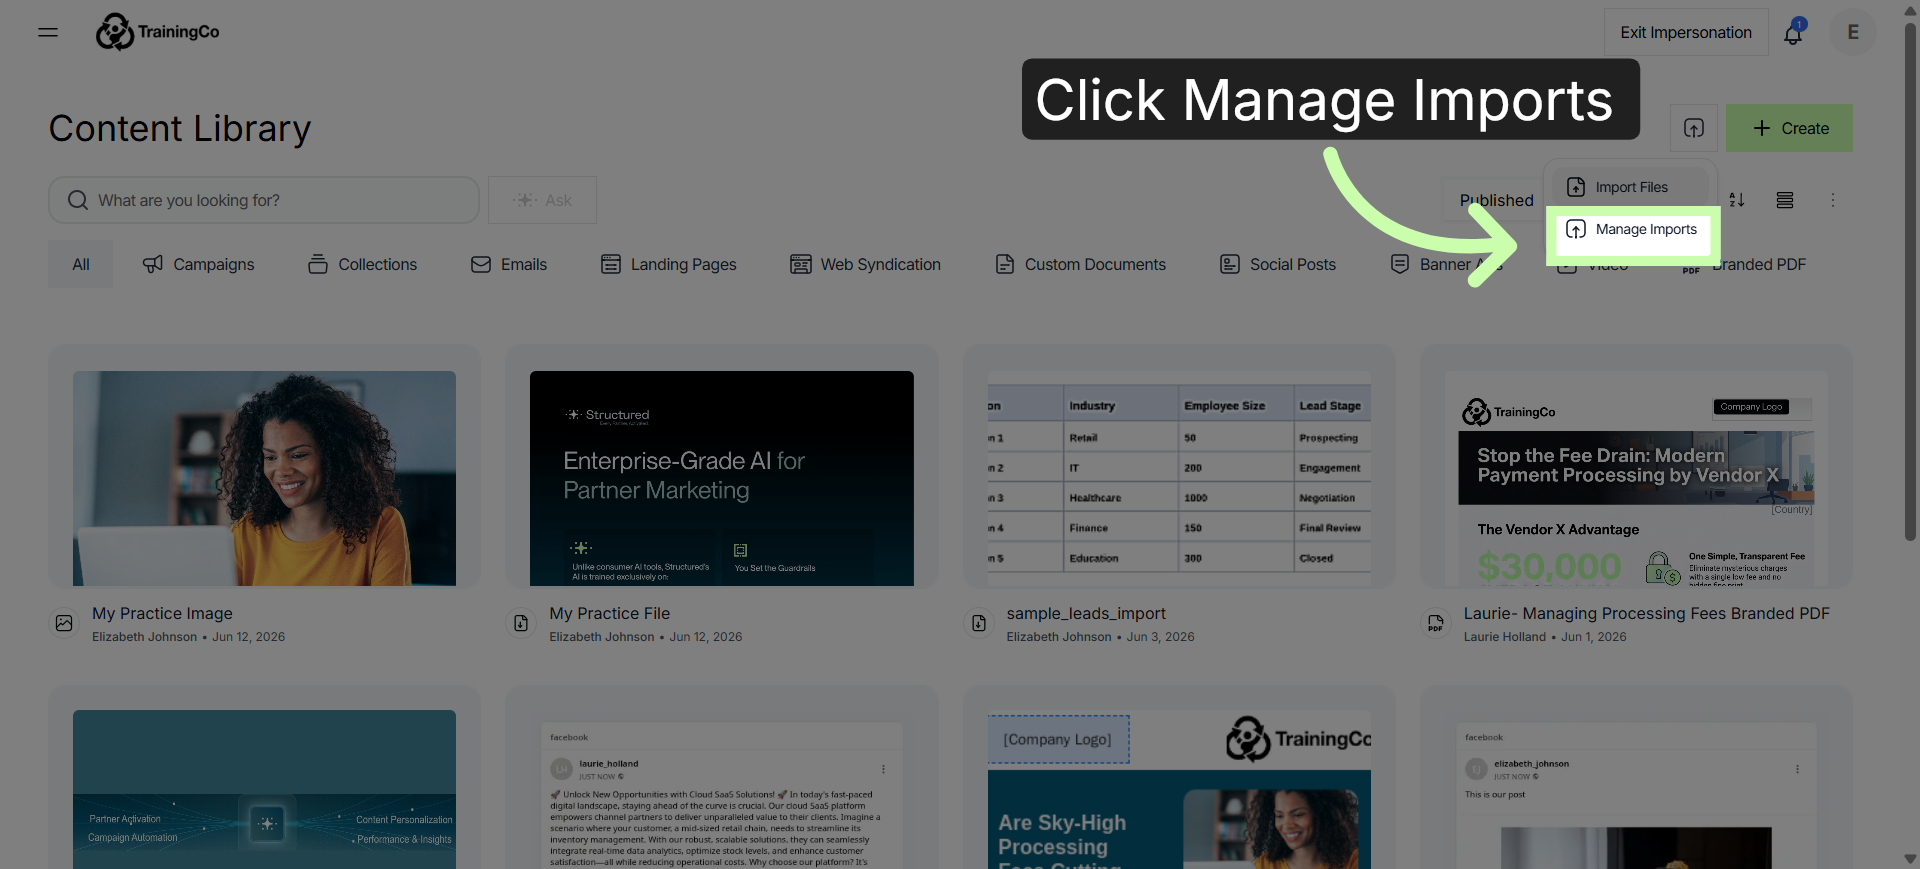
To access the Manage Import page directly, click the Import button, then click Manage Imports.
23. Review All Import Statuses
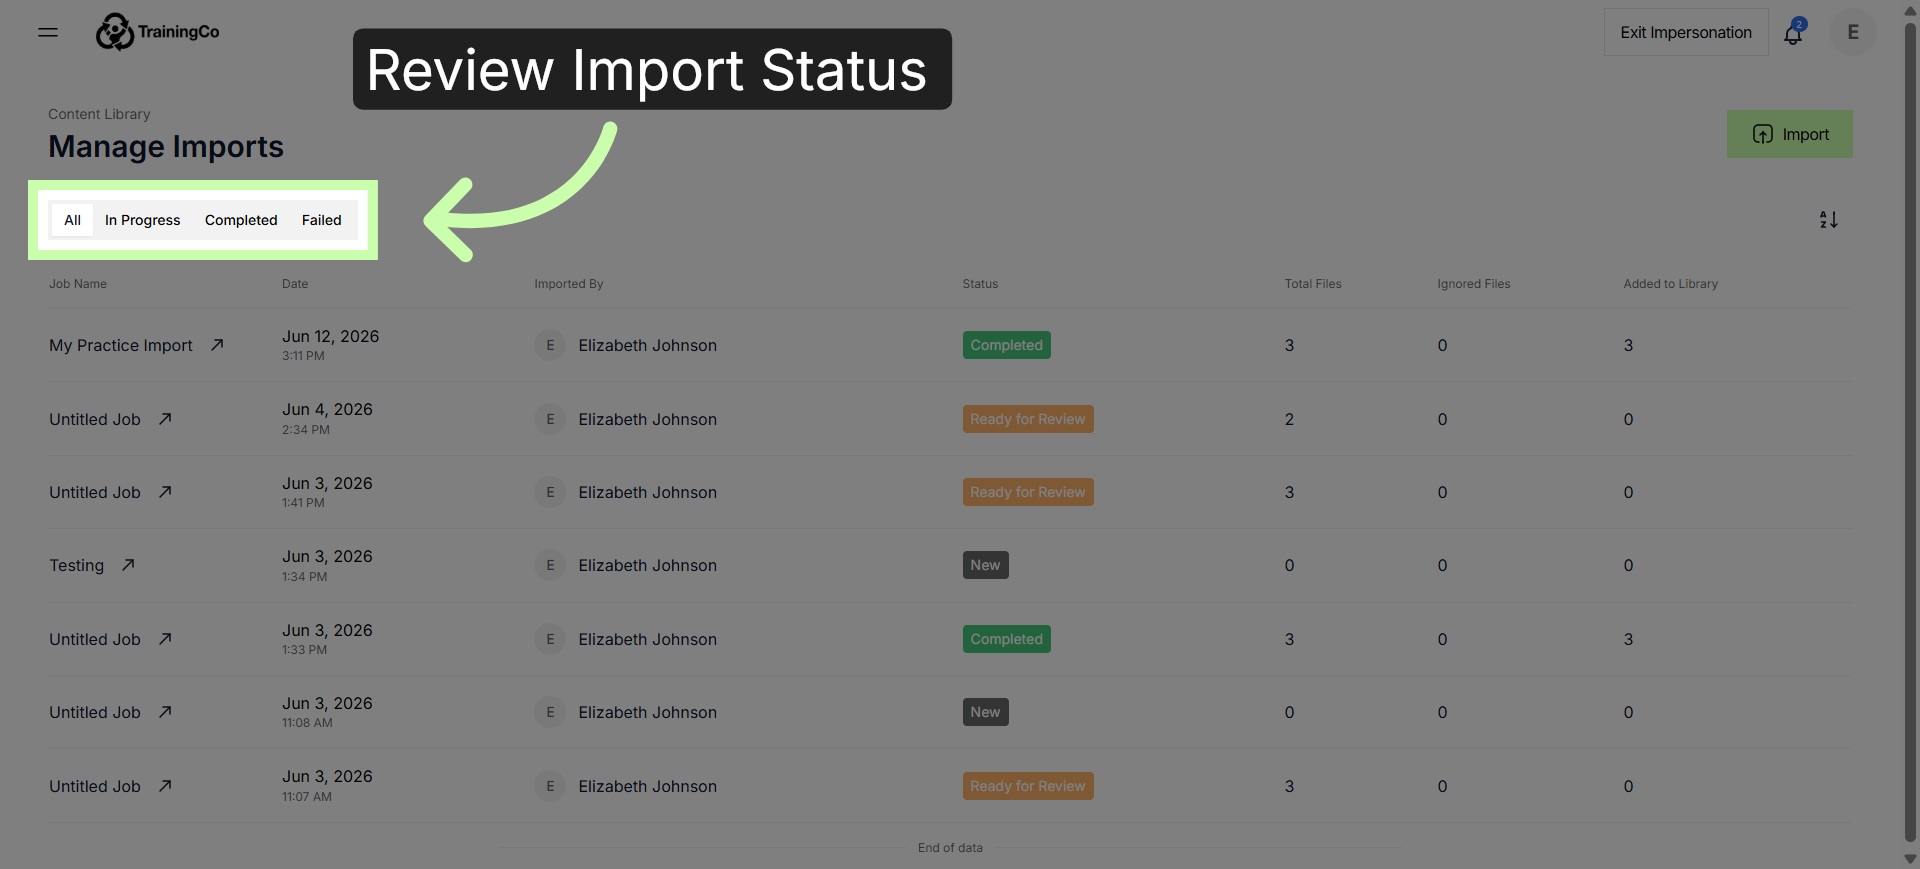
Here you can review the status of all imports, complete those in progress, or investigate a failed import within these tabs.
You've successfully completed the Uploading Files, Videos and Images series.
Finished? Move Back to Main List of All Tenant Trainings →