
 Building Custom Video Templates - Phase 2: Upload & Configure Videos
Estimated Time
~15 minutes
Current Phase
Phase 2 of 3
What You'll Accomplish
- This tutorial demonstrates how to upload and customize your custom video template.
|
Before you begin — open your account This is a hands-on, learning-by-doing session. Open app.structured.ai in your browser and log in to your Tenant Account so you can follow along and apply each step in real time. |
Direct Links to the Next Phases in this Training Series
This module is part of a 3-part series. Each session builds on the
last, and reviewing them in order ensures you don't miss any critical
steps and get a complete understanding of the workflow.
|
Phase 1
Purpose & Framework
|
Start Training ➡ |
|
Phase 2
Upload & Configure Videos
|
Current Phase ✔ |
|
Phase 3
Render & Publish
|
Start Training ➡ |
Follow Our Step-By-Step Training
1. Introduction
Video templates provide the framework your partners need to personalize the videos you provide.
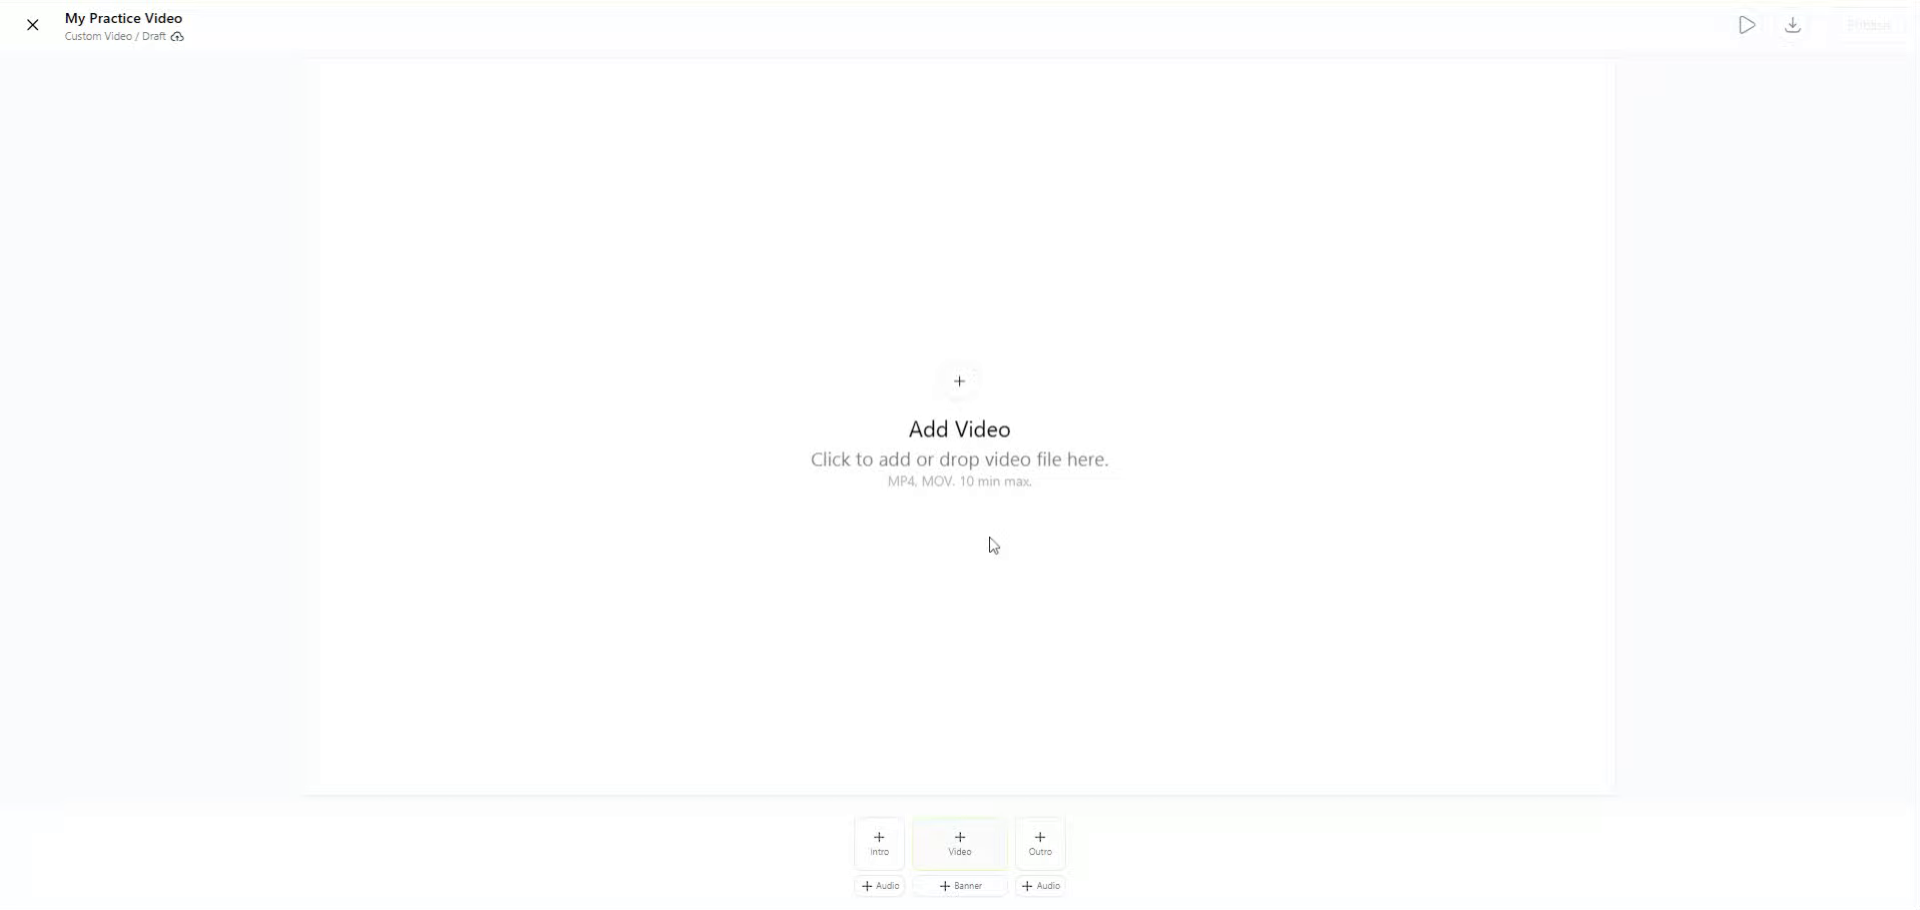
2. Add Video
To start, from the Custom Video asset, click the plus sign to upload your video. The platform supports common formats such as Mp4, MOV and AVI.
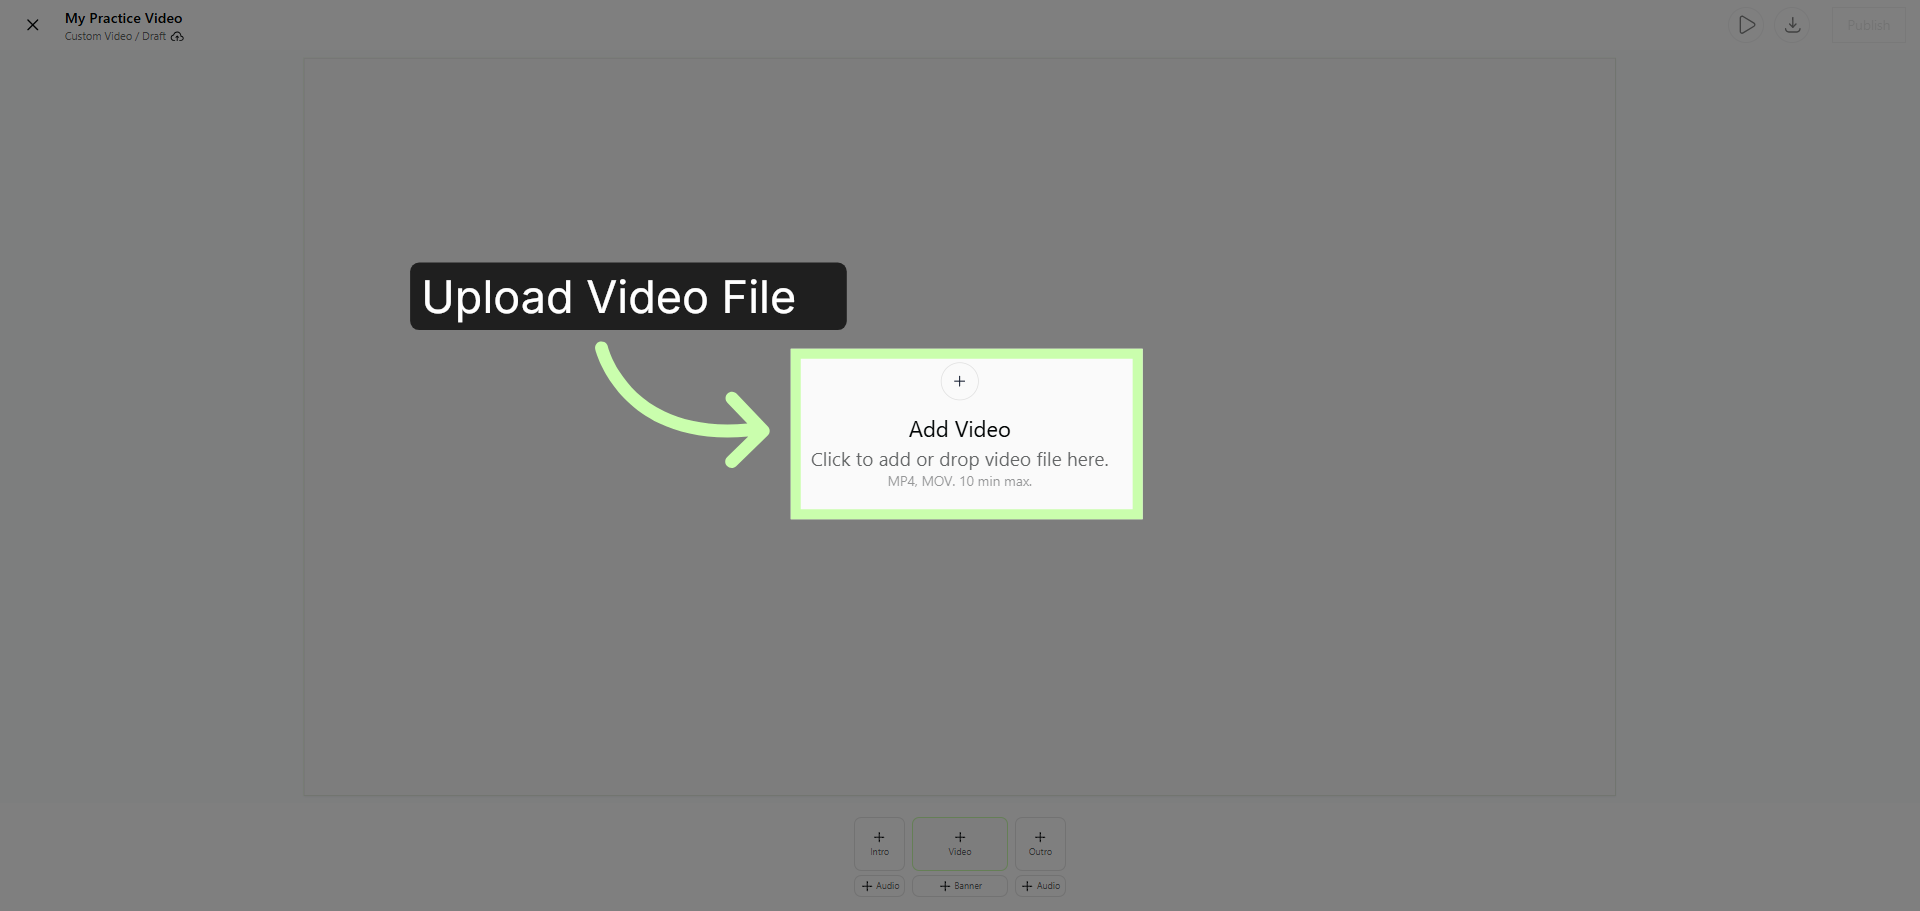
3. Navigate the Builder
The template includes three customization options. An intro,
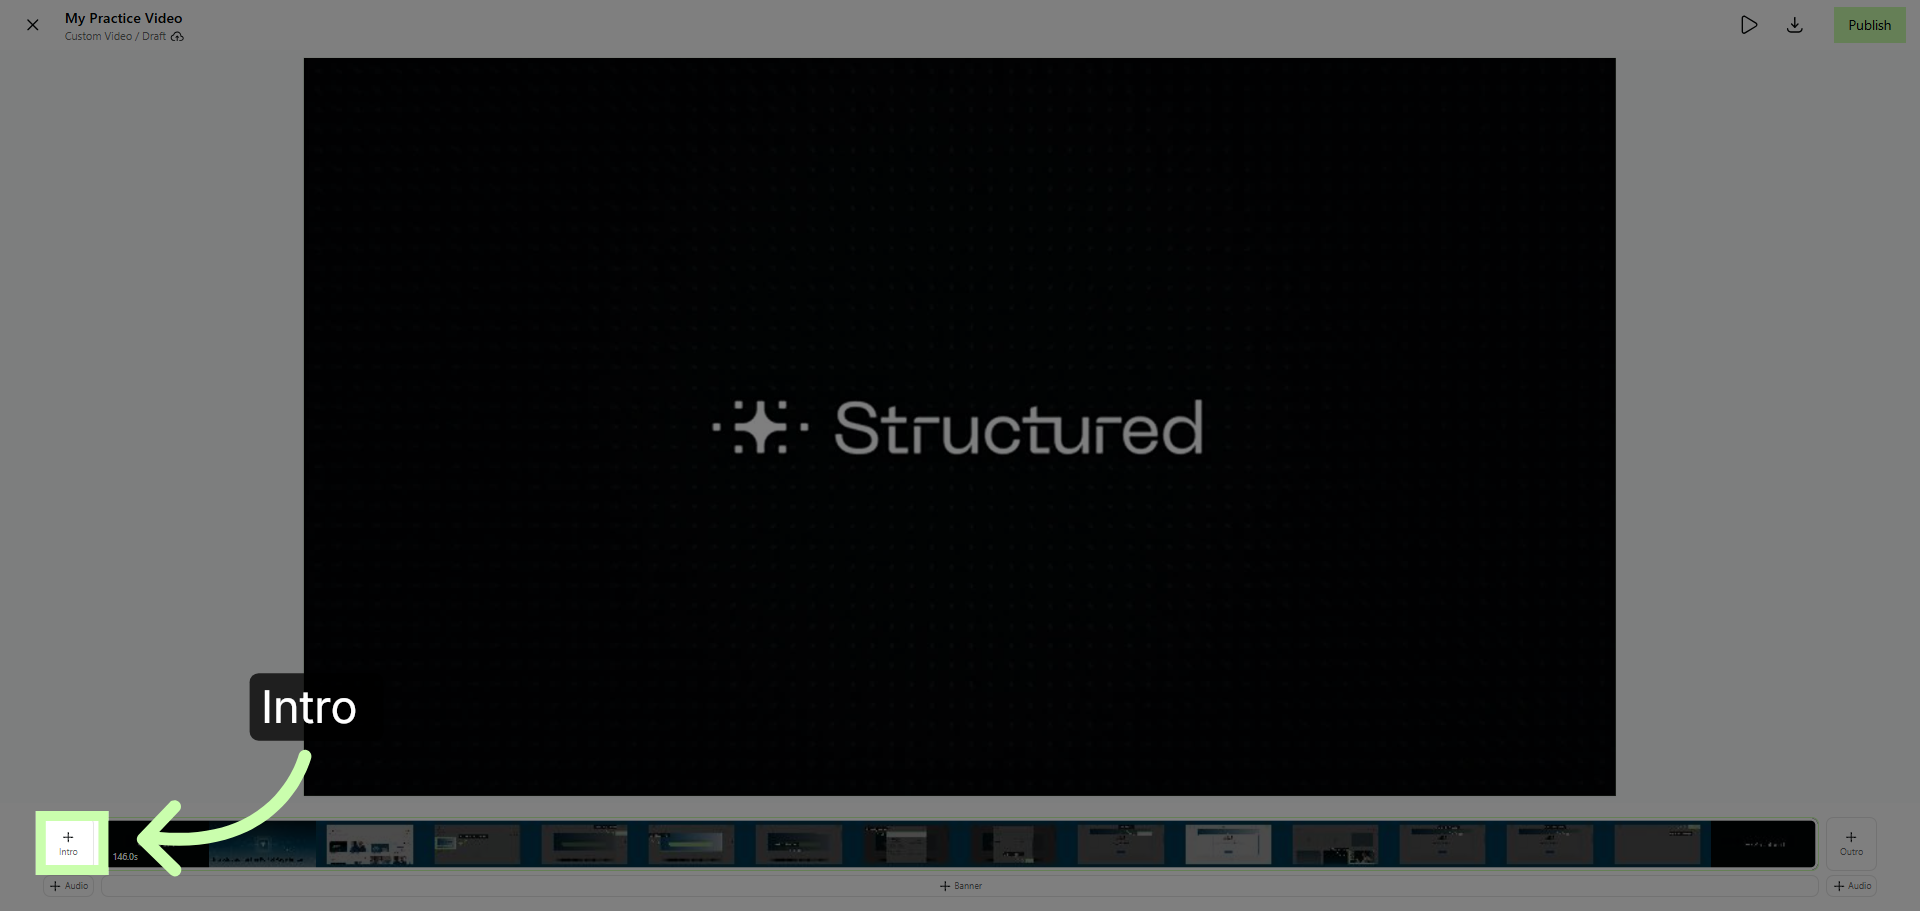
4. Navigate the Builder
A banner,
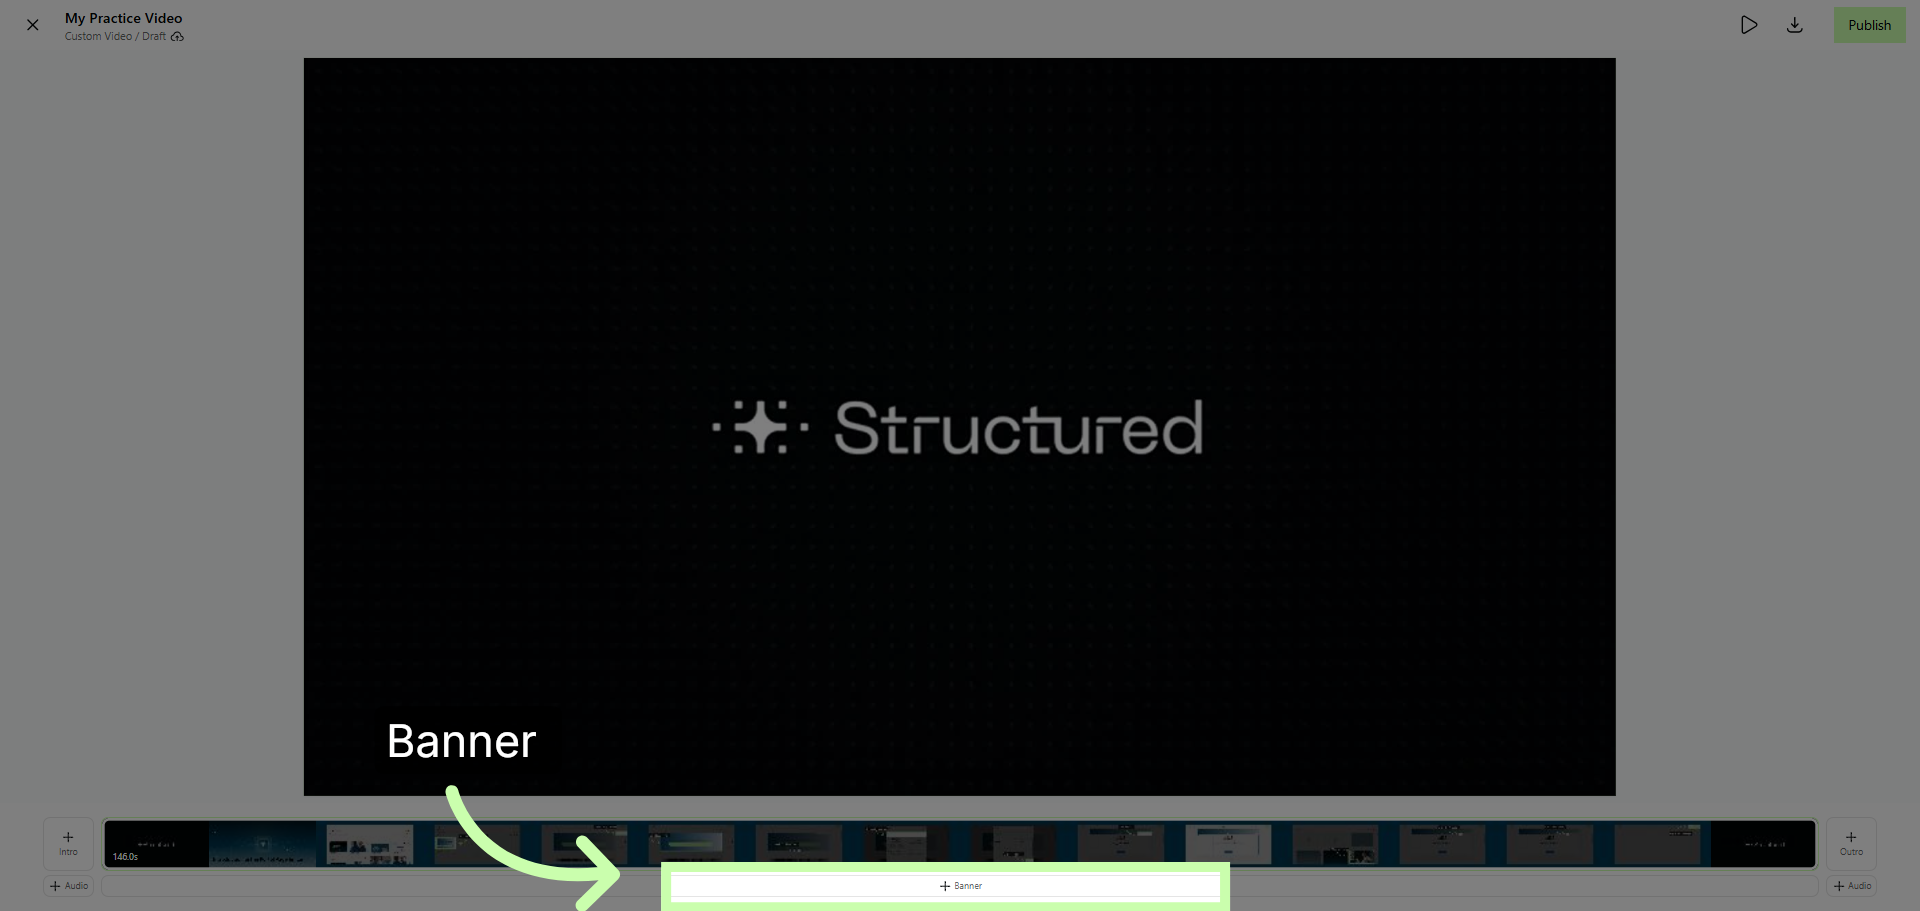
5. Navigate the Builder
and, an outro.
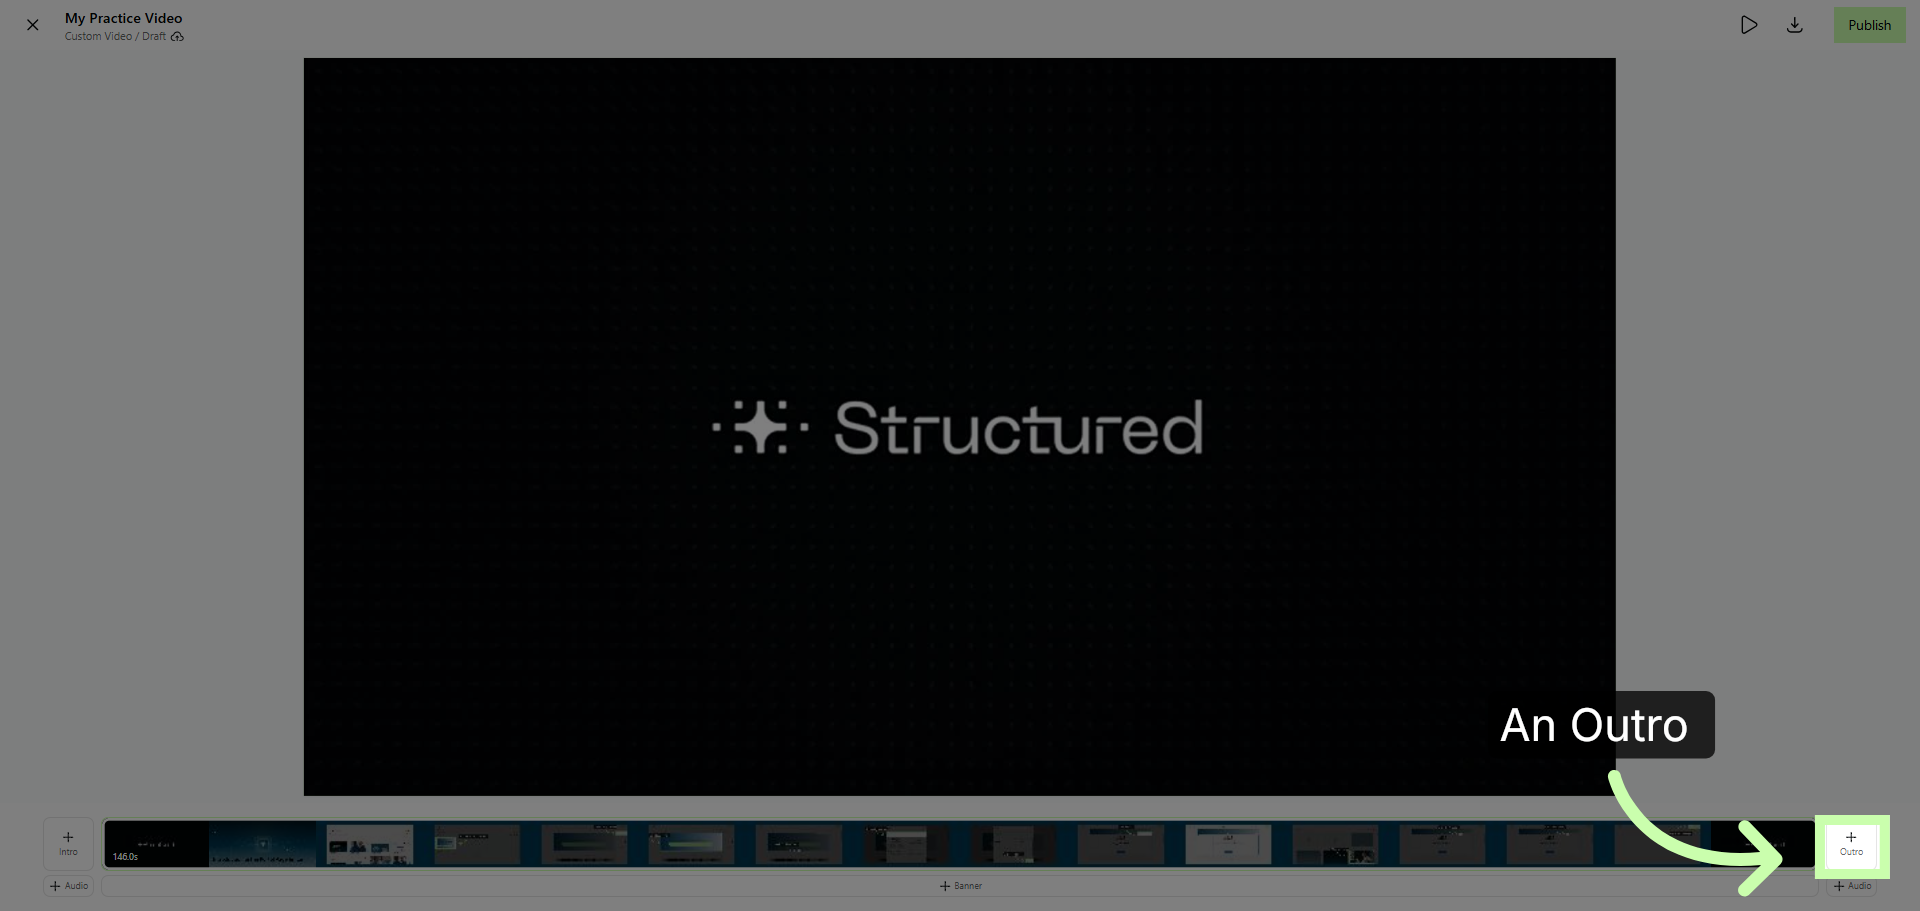
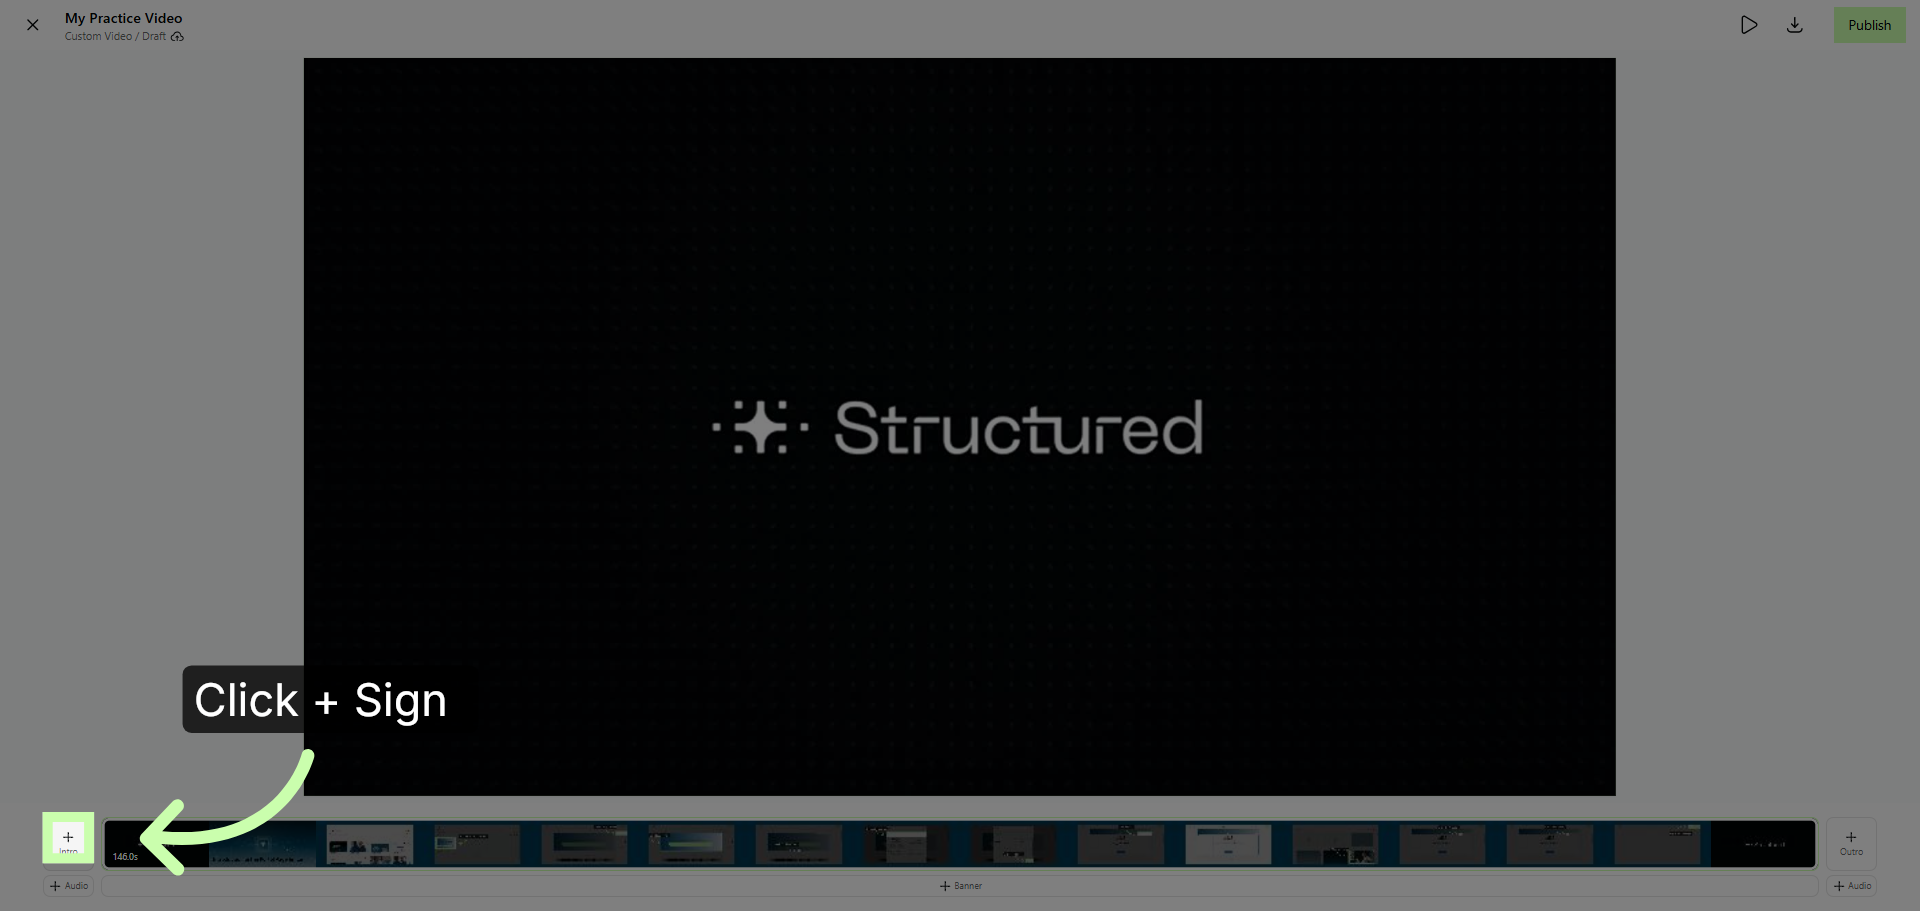
6. Create Video Intro
Let's begin configuring the intro. First, click the plus sign.
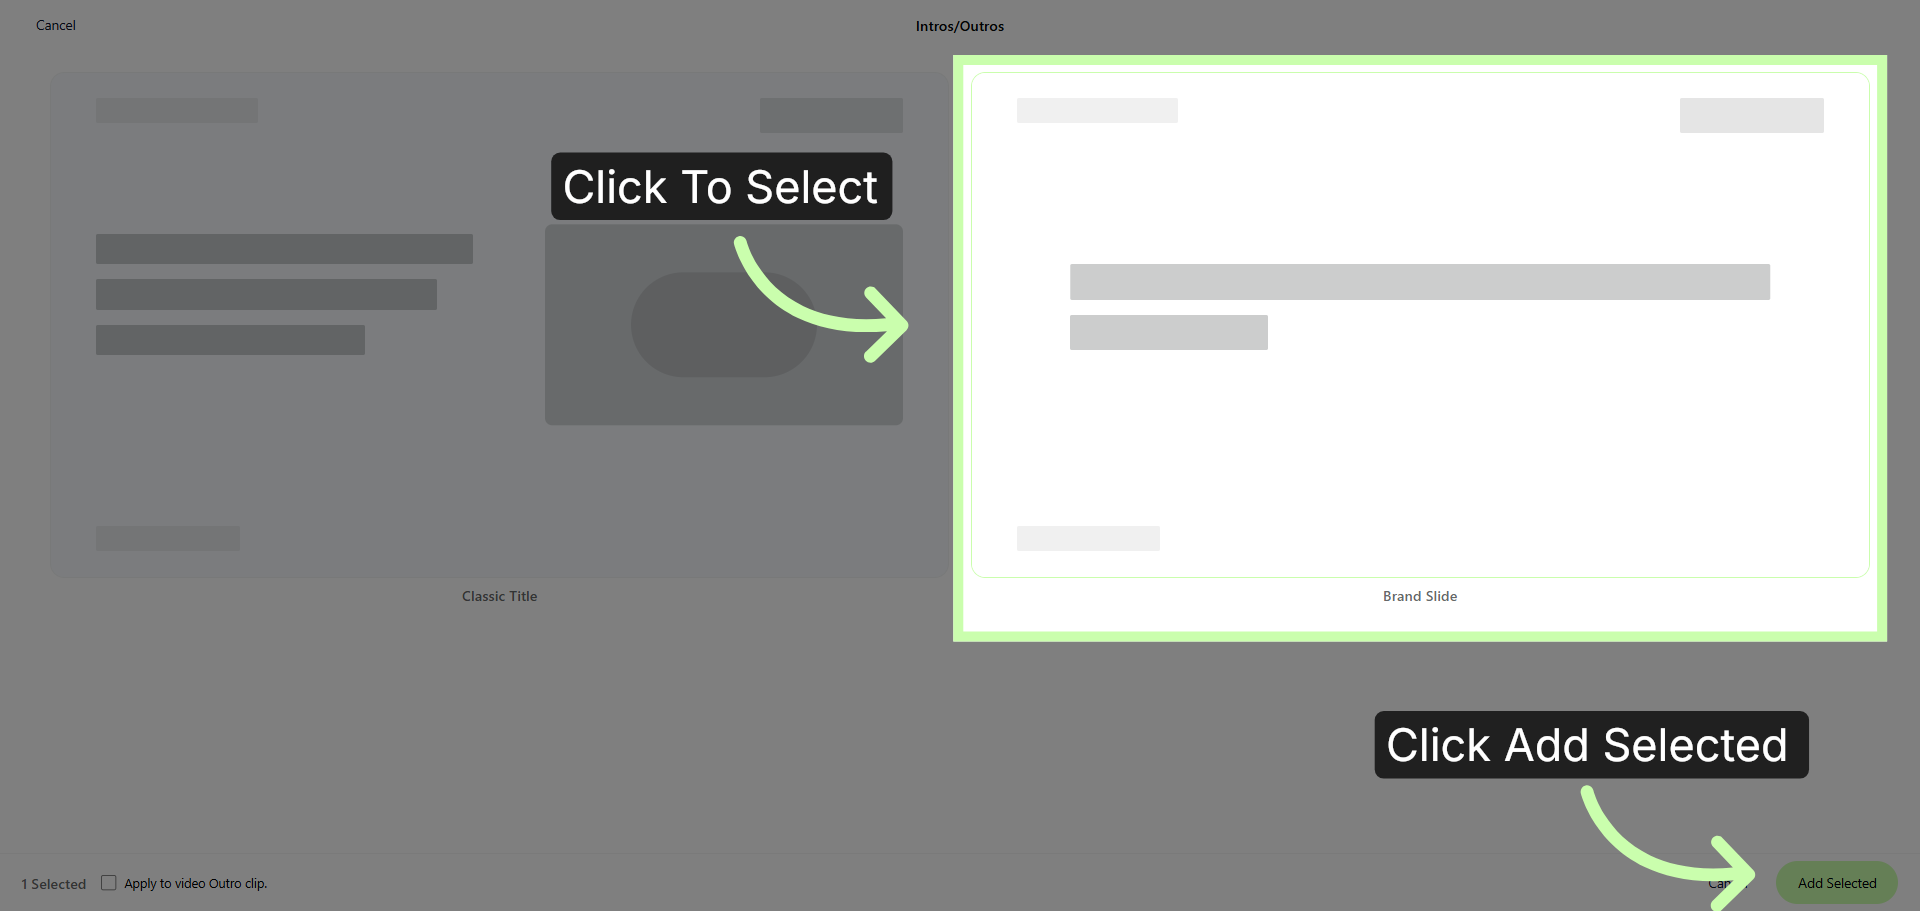
7. Choose your Preferred Templagte
Select your preferred template, and click Add Selected.
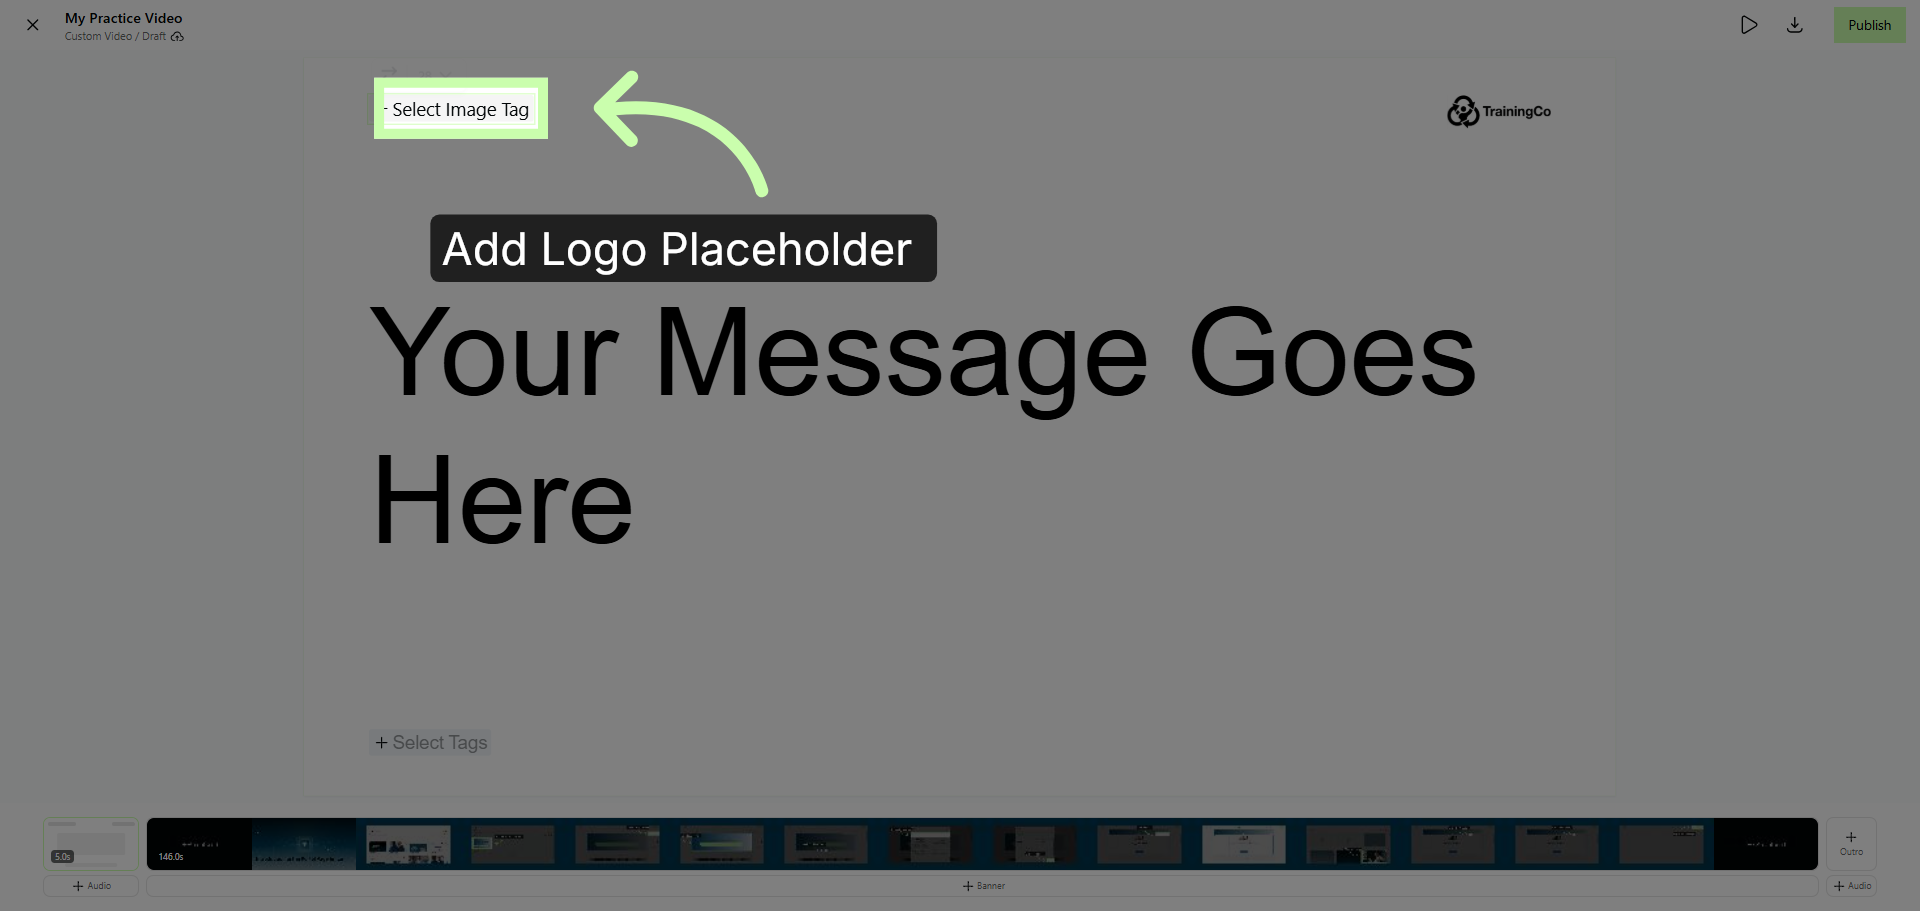
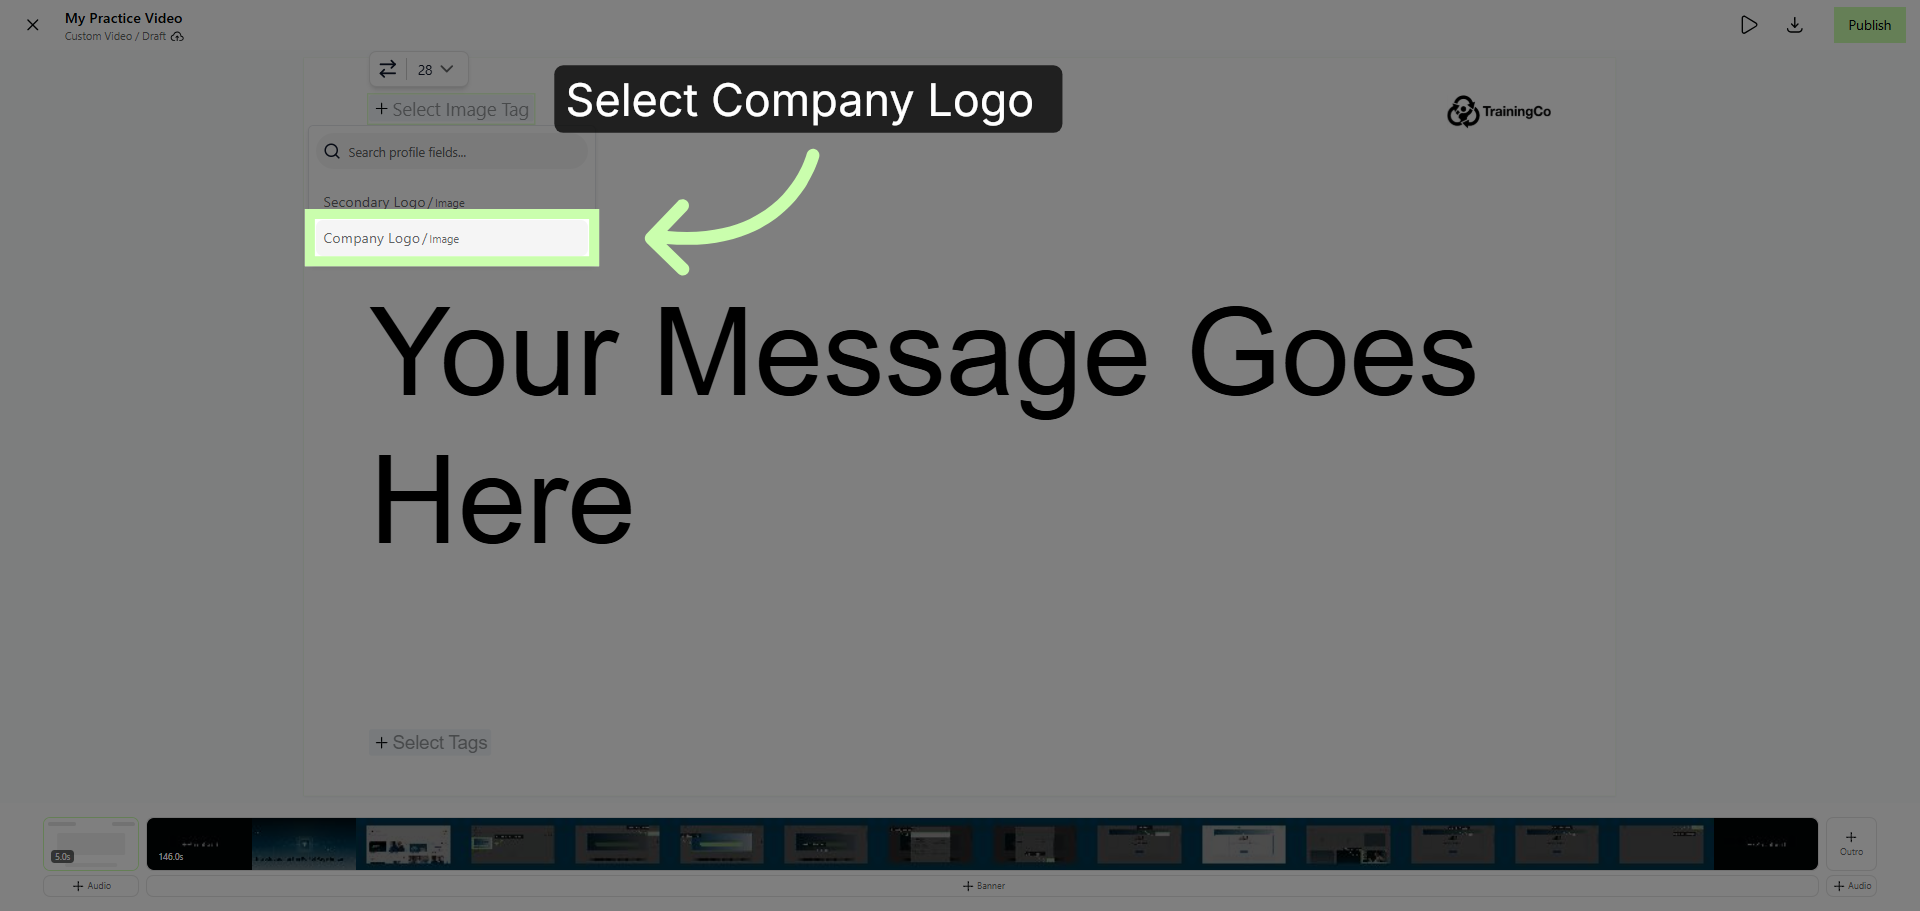
8. Add Logo Placeholder
To add a logo placeholder, click here,
9. Choose Company Logo/Image
and select Company Logo.
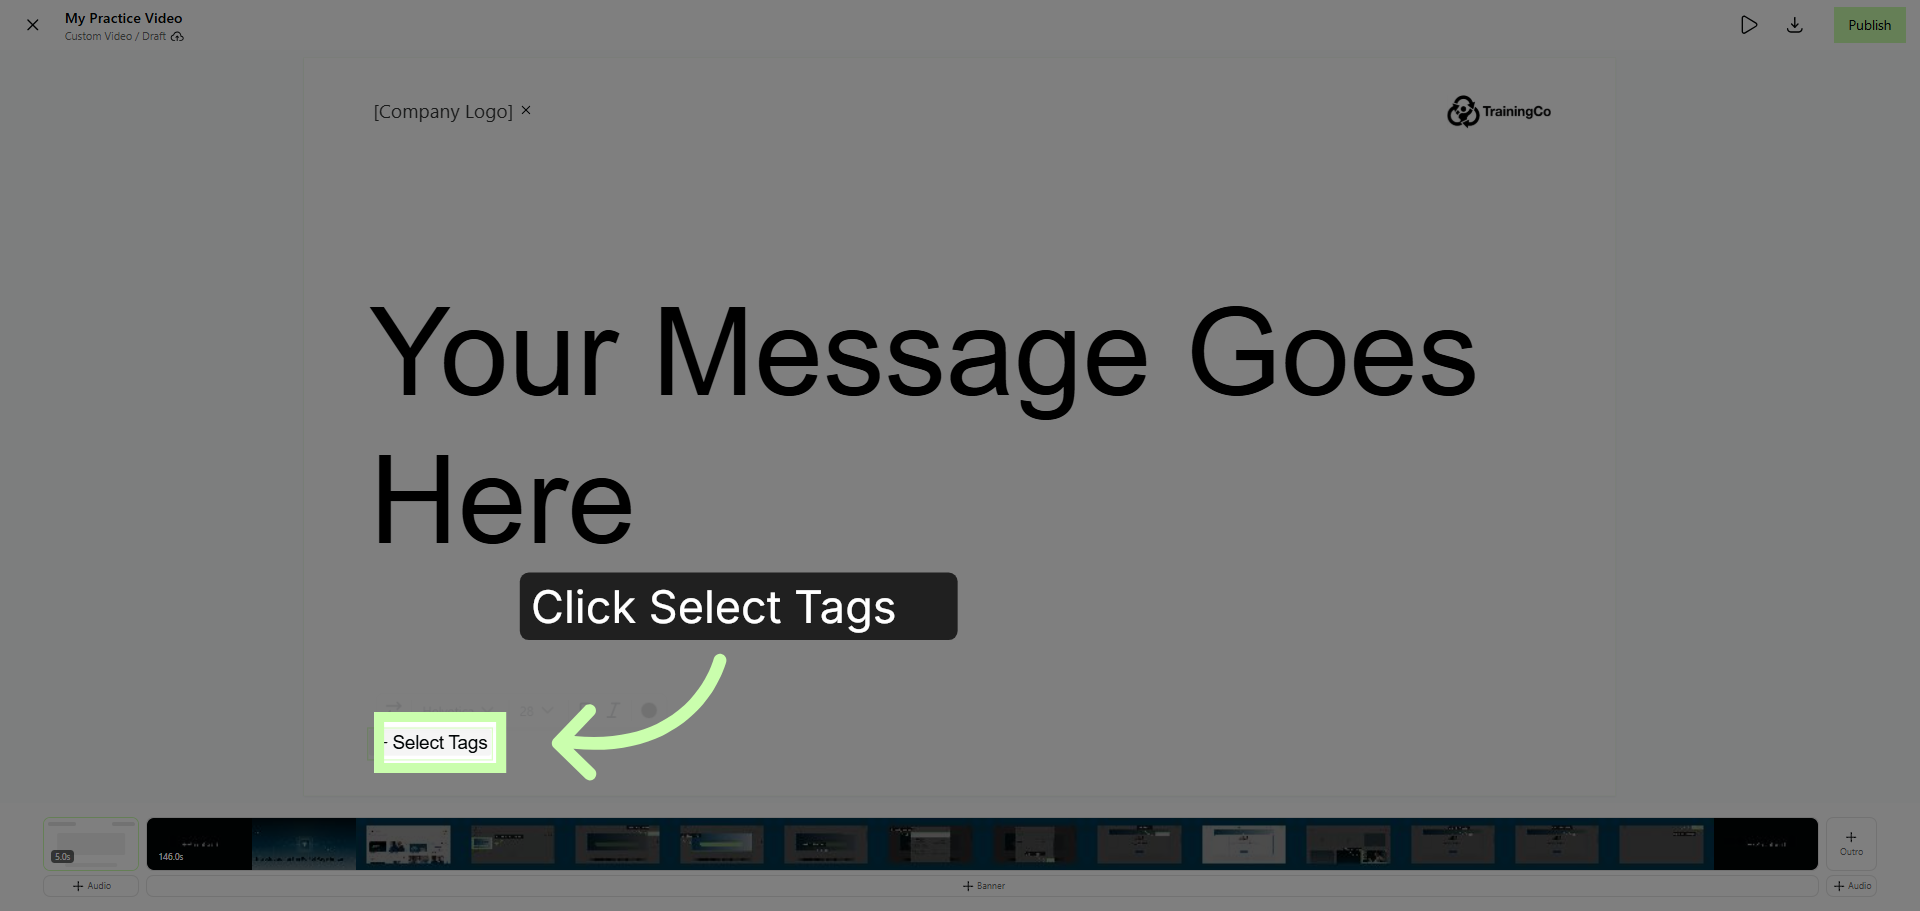
10. Open Tag Selection Menu
To add additional account tags, such as company name or website address, click select tags.
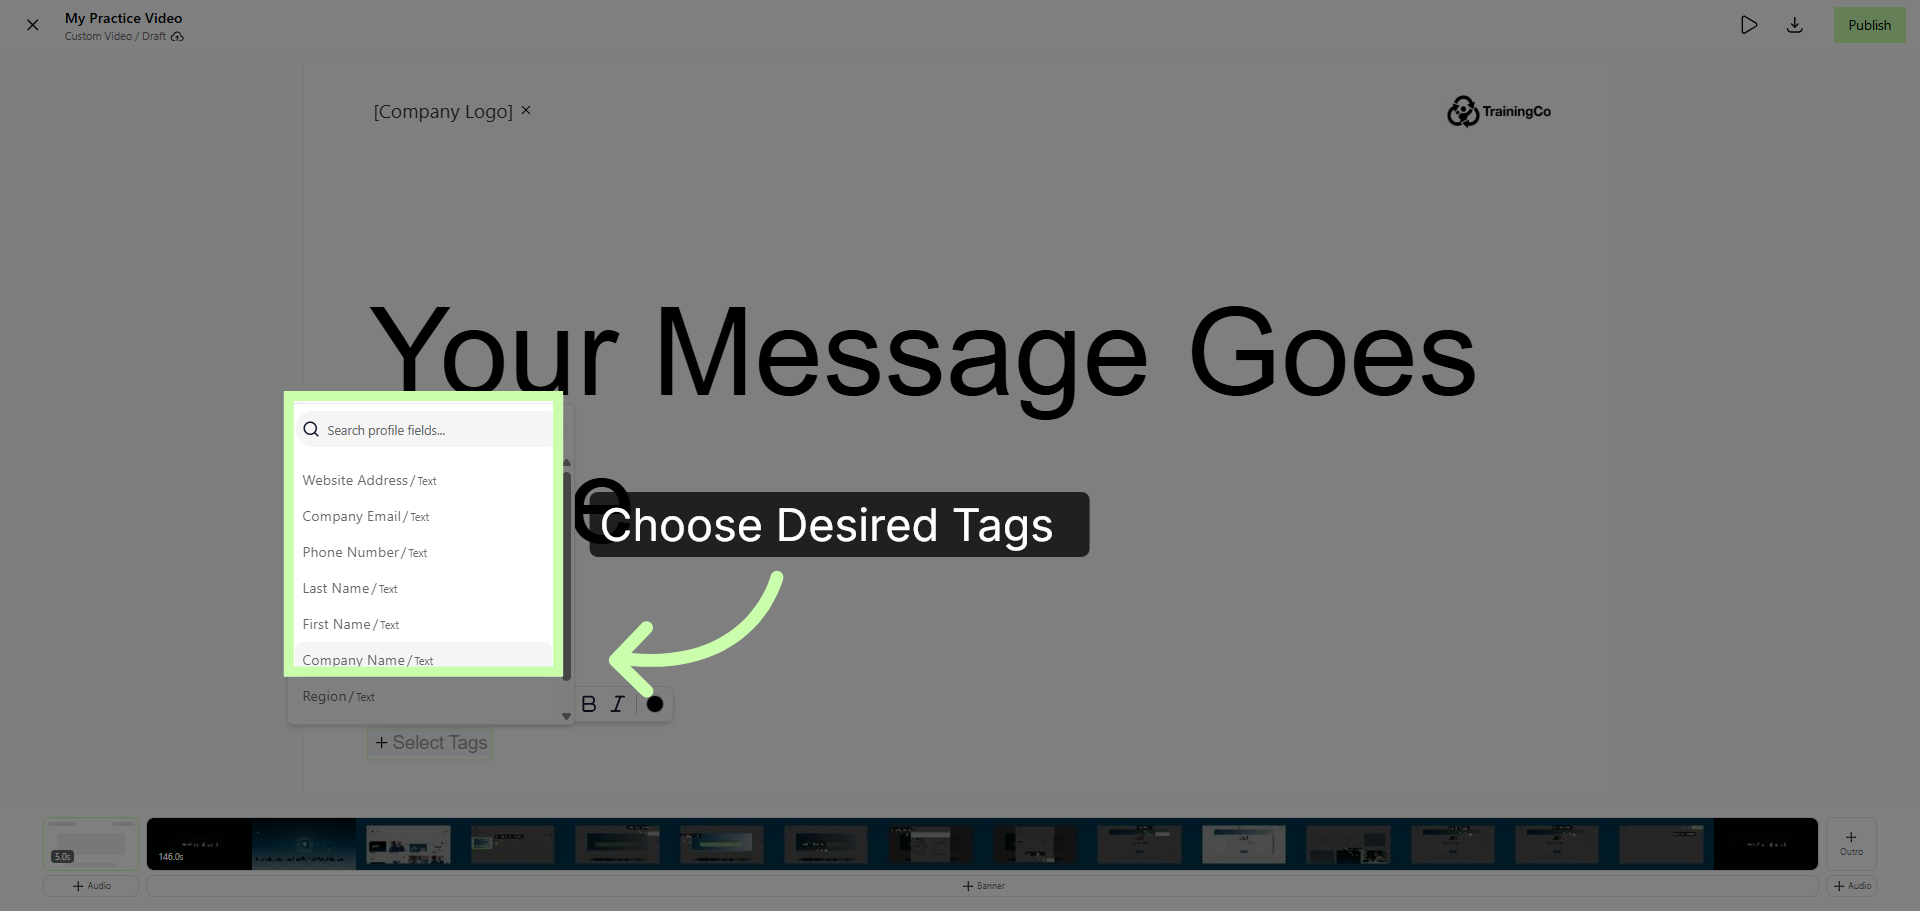
11. Choose your Desired Tags
and choose your desired tags.
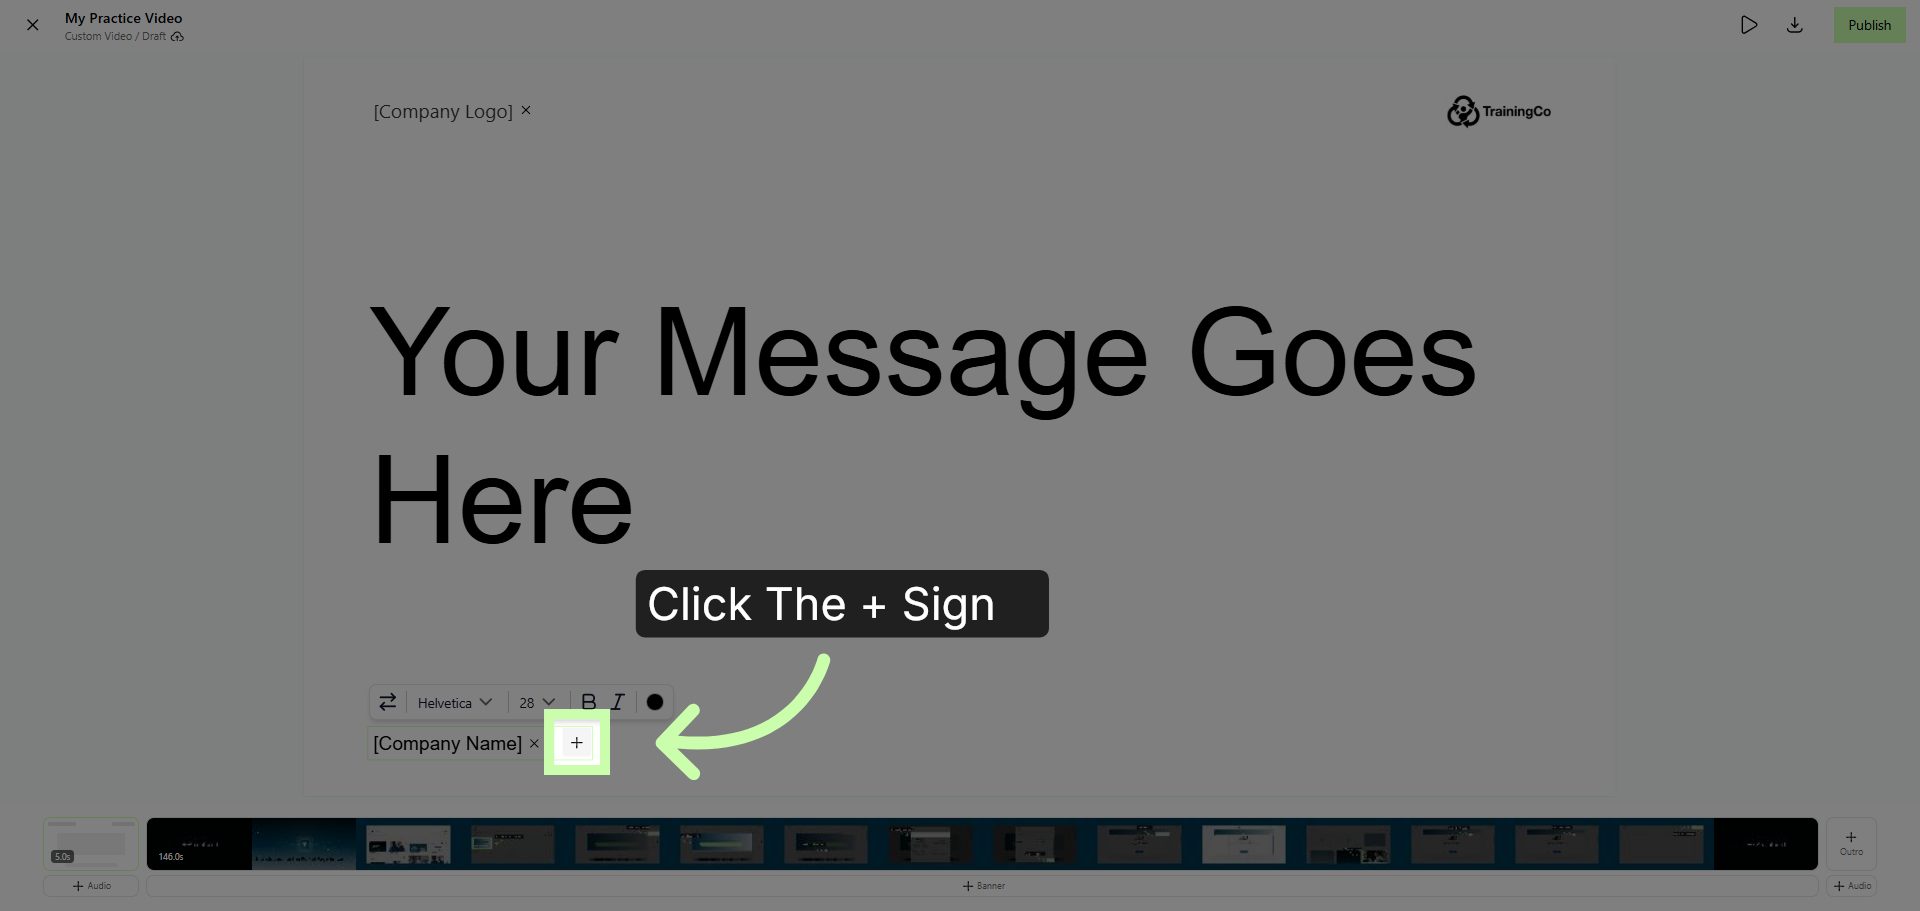
12. Add Additional Account Tags
Click the plus sign to add additional tags.
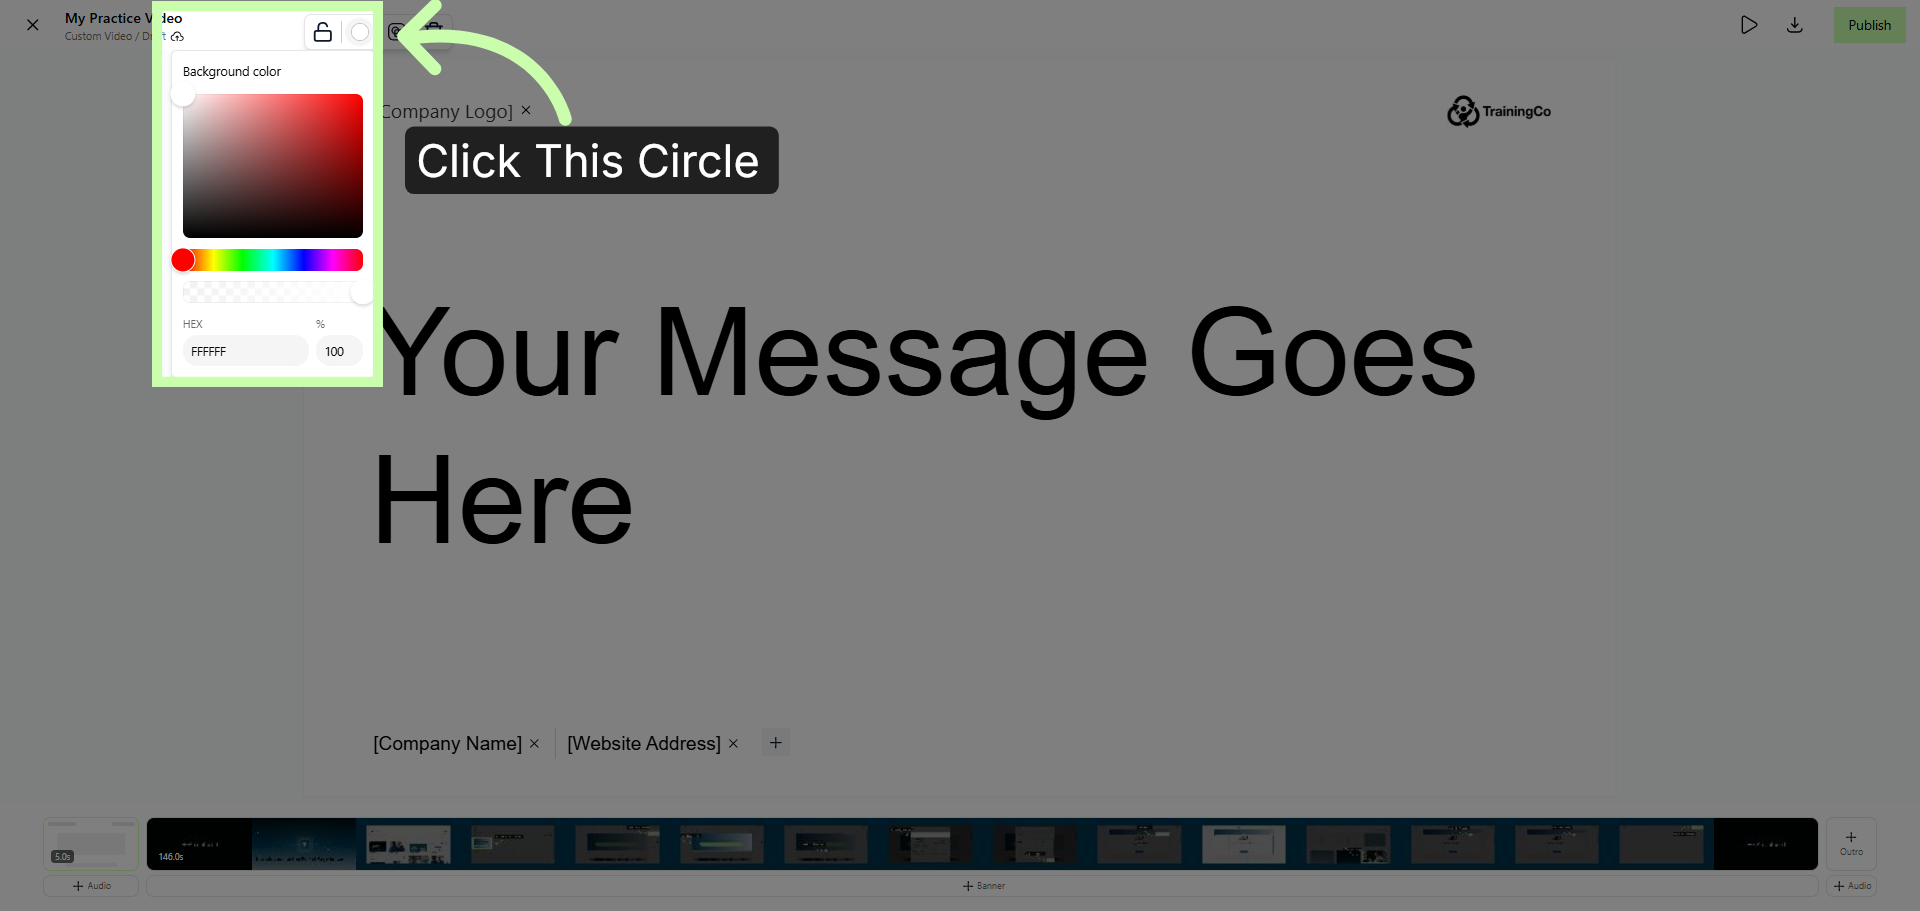
13. Change Background Color
To change the background color, click inside the banner and click this option on the toolbar
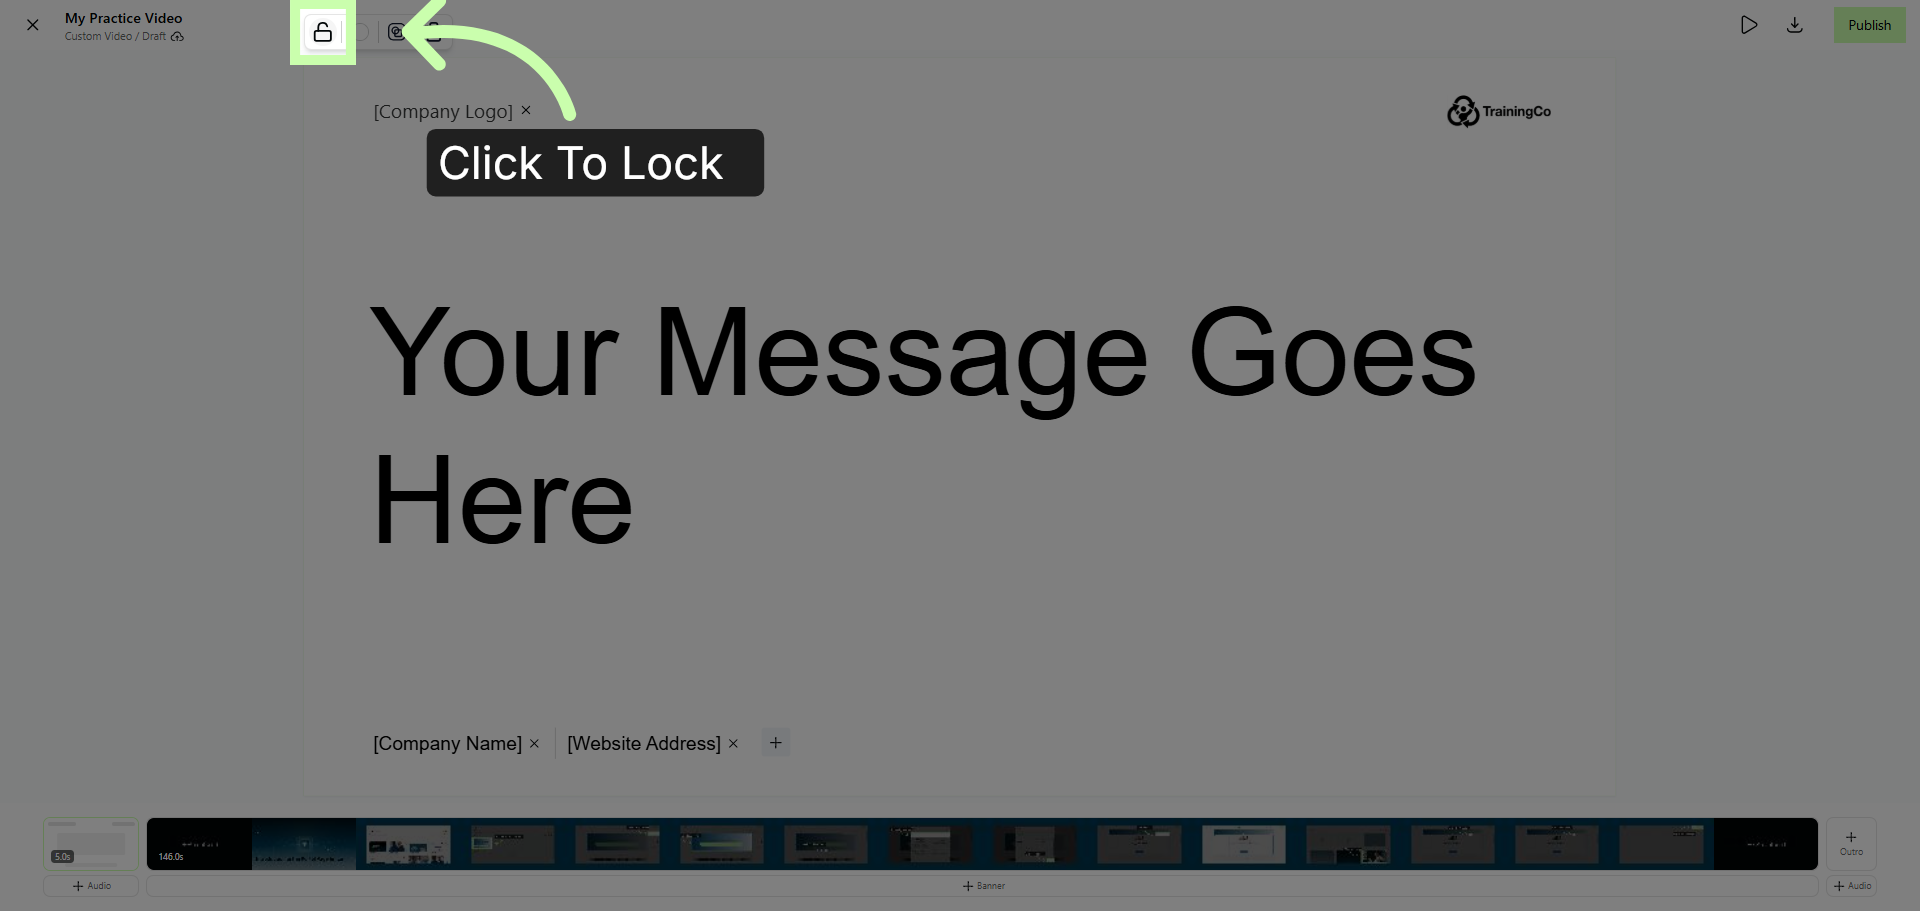
14. Lock Canvas Position
To retain branding, click the lock icon.
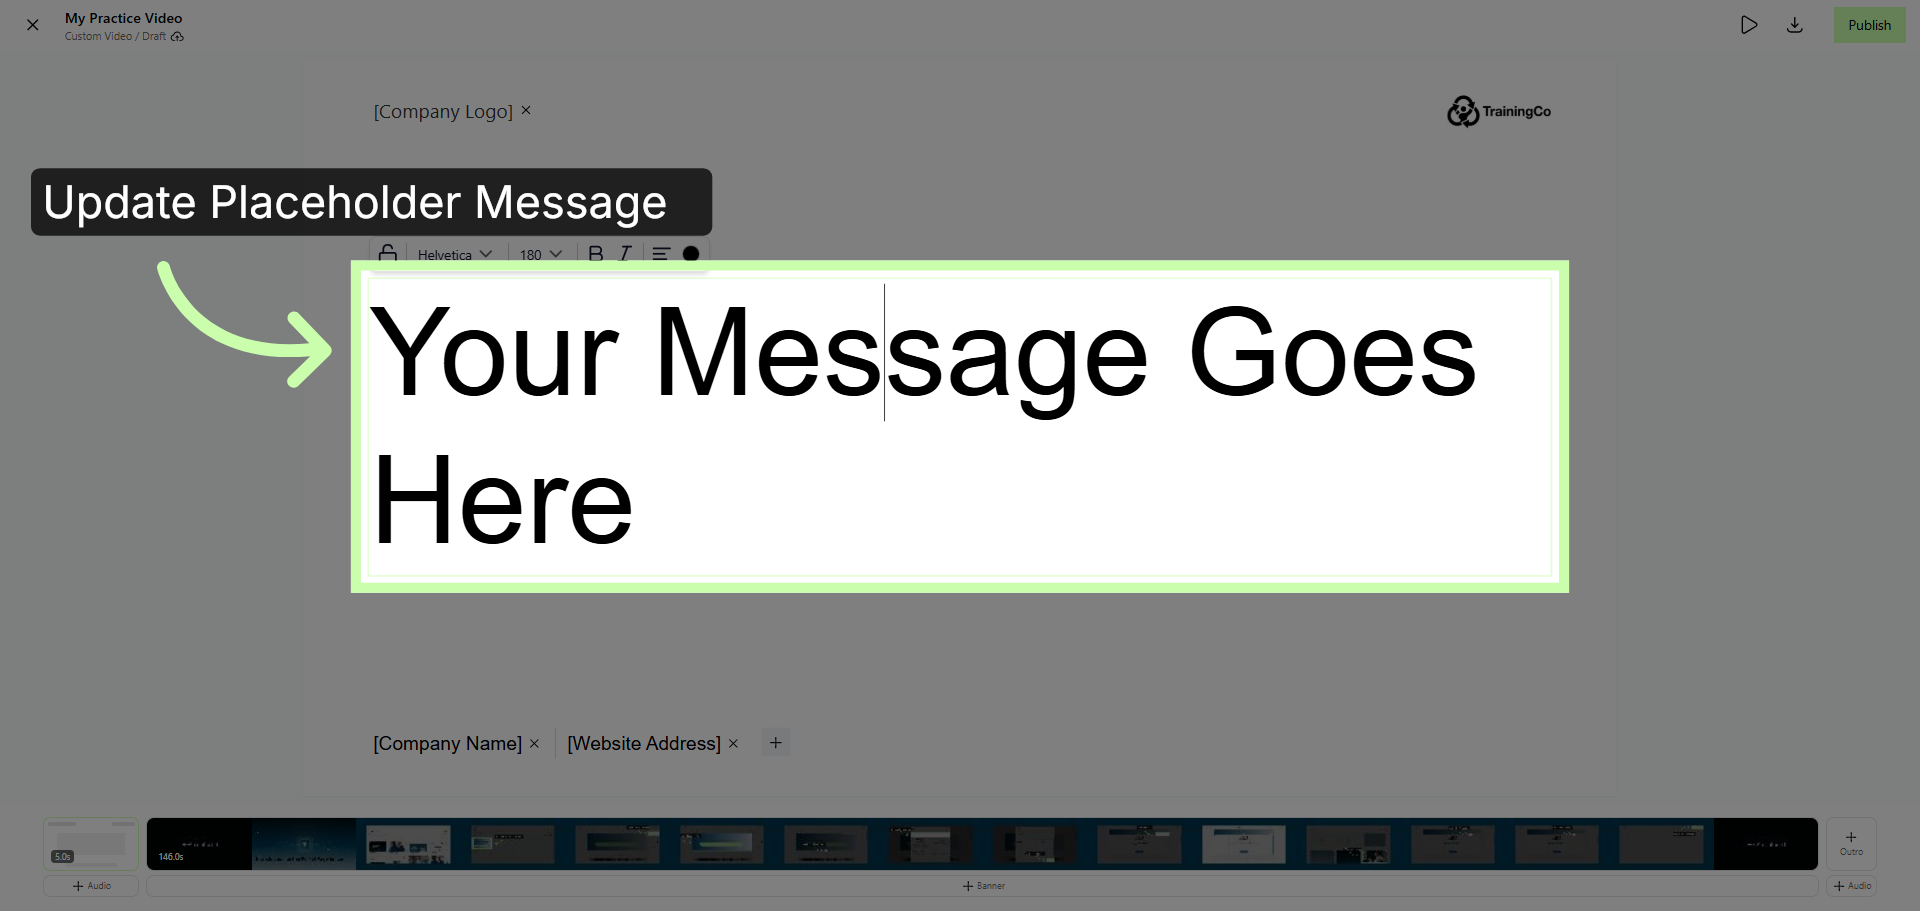
15. Update Placeholder Message
To update the placeholder message, select the canvas, and enter a new message.
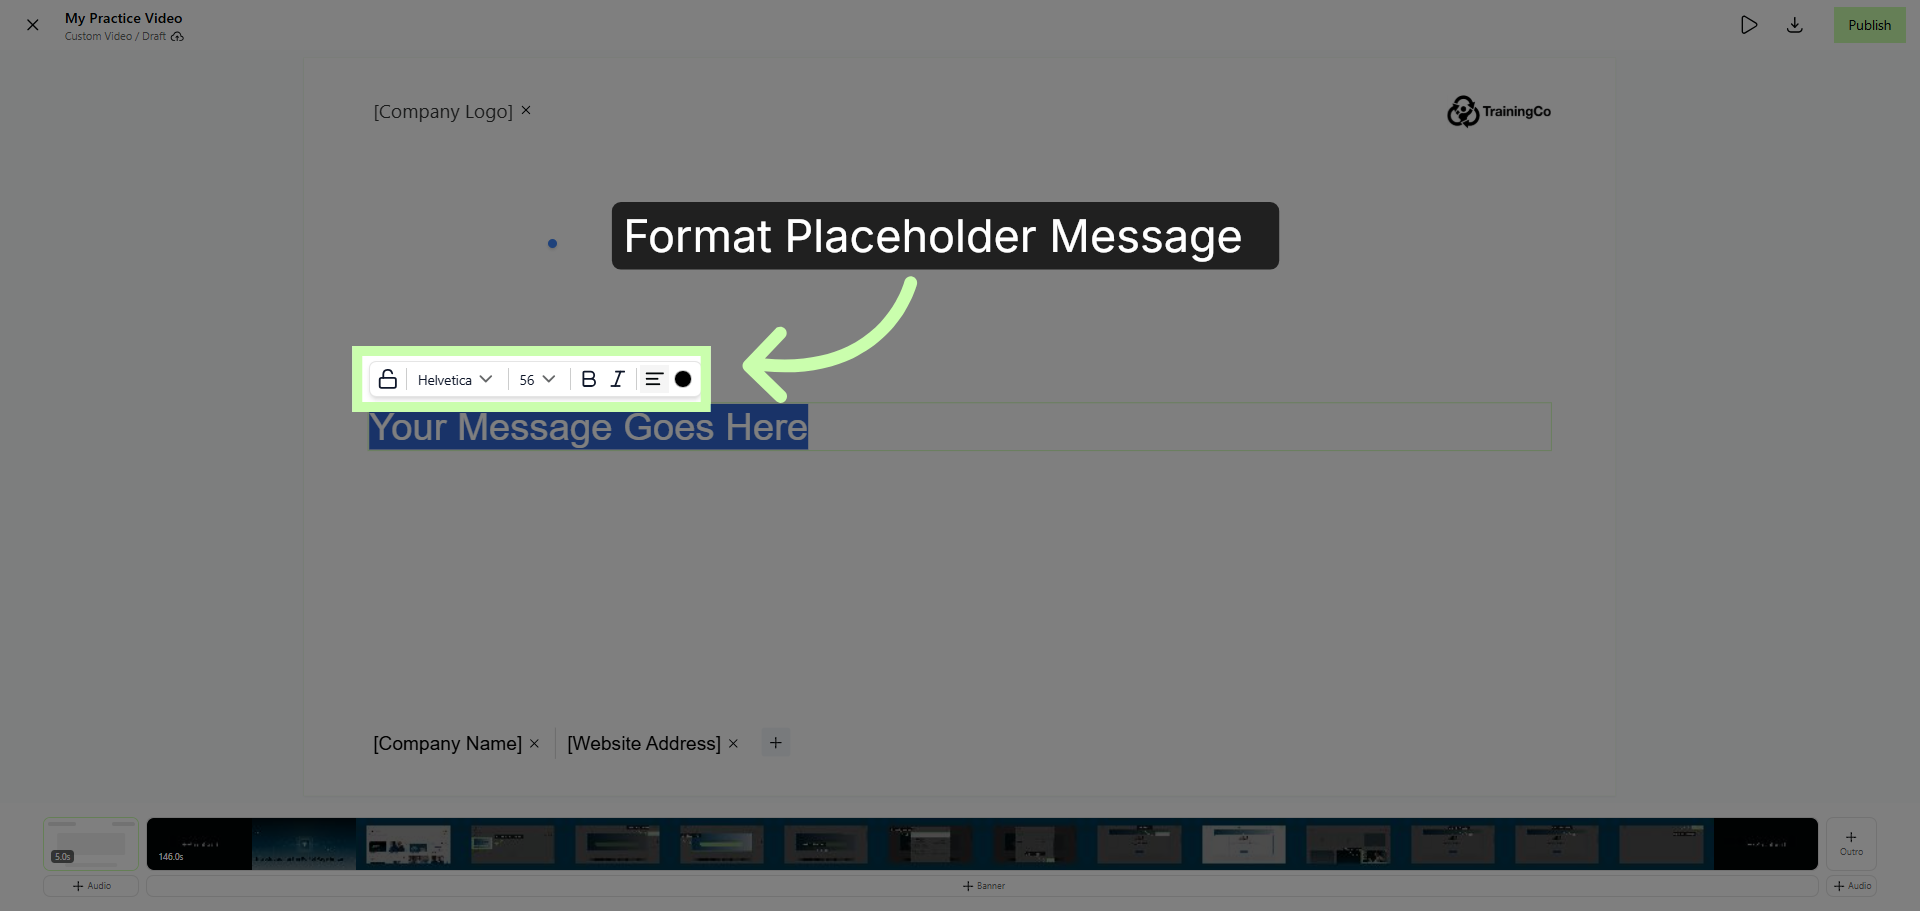
16. Format text
Then use the toolbar to adjust the size, color, alignment and more.
17. Repeat Steps to Create Outro
Repeat these steps to configure the outro.
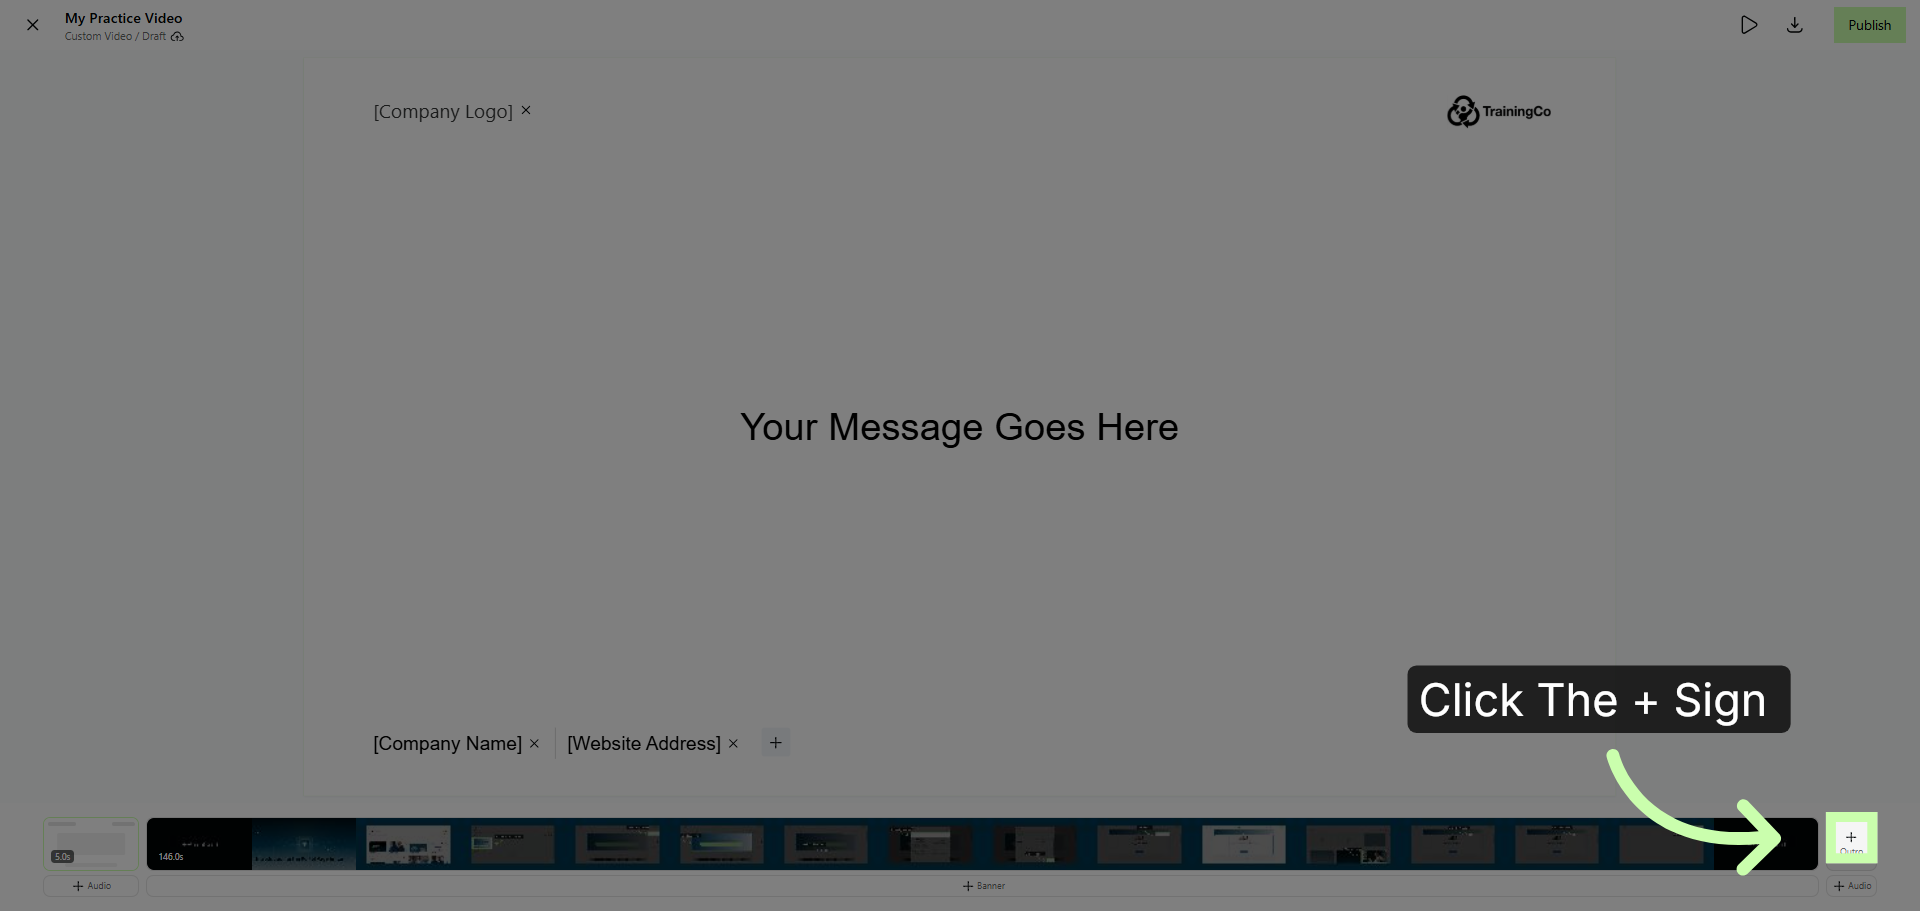
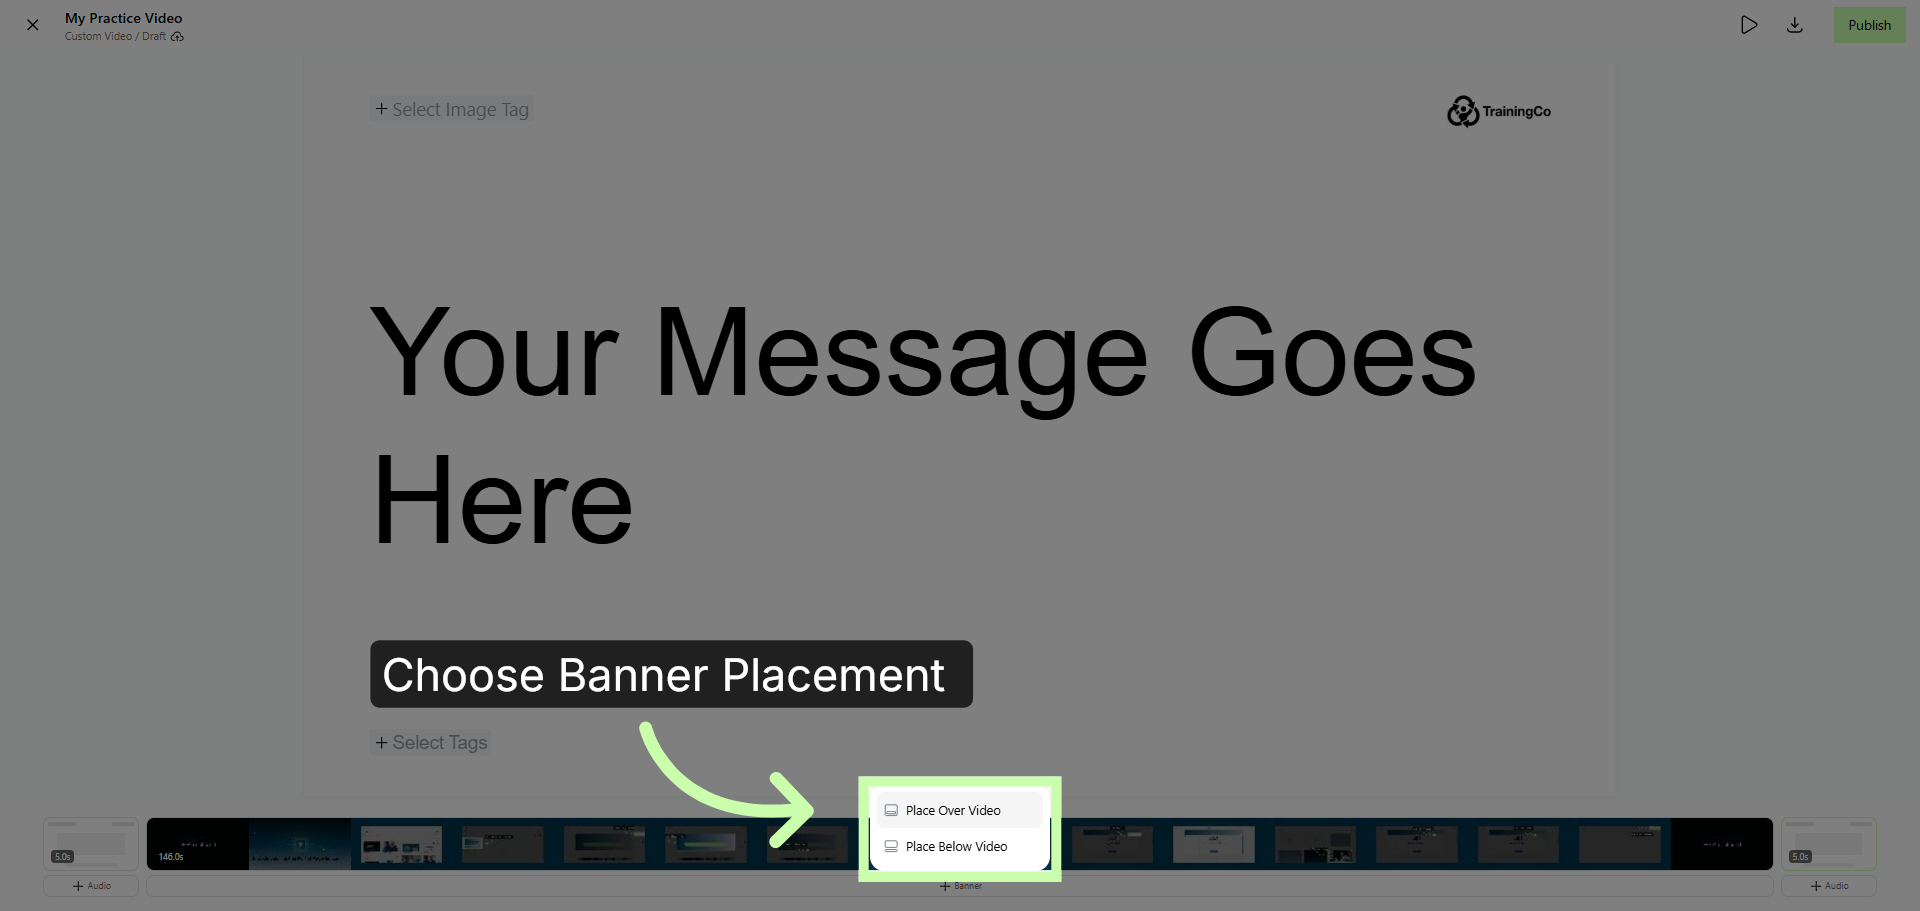
18. Choose Banner Placement
Next, get to work on your banner. Start by choosing the banner's placement.
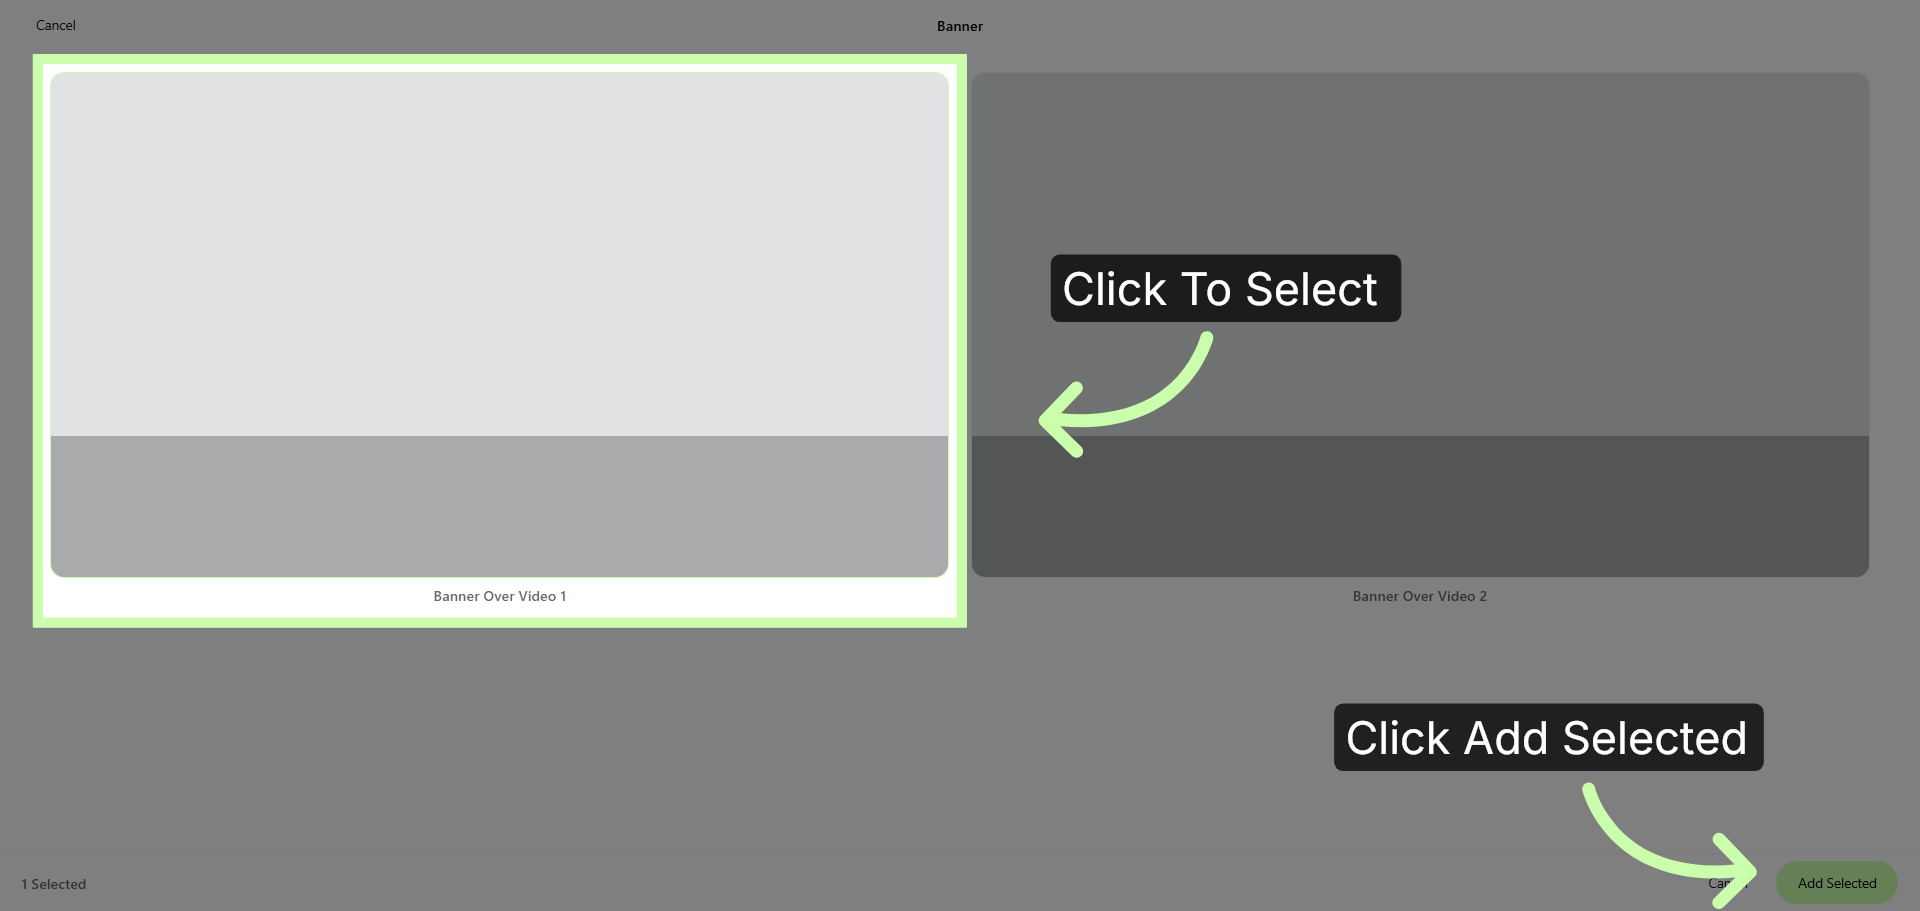
19. Choose Banner Templage
Select your preferred template, and click Add Selected.
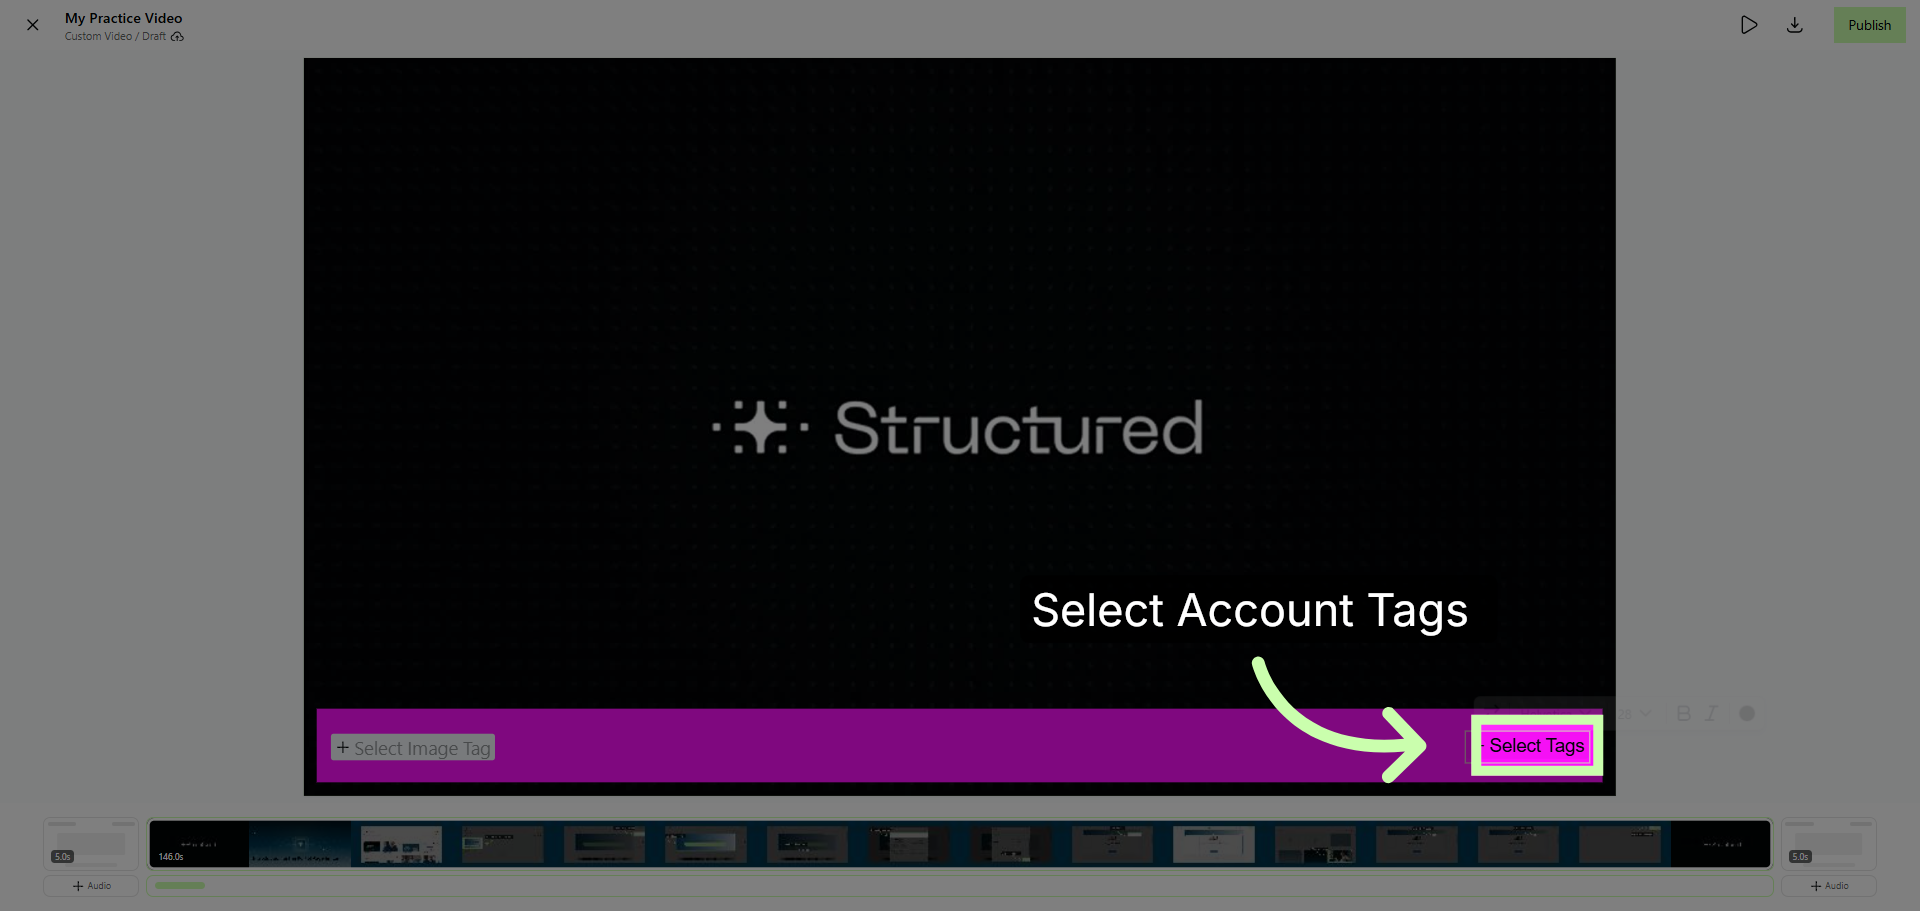
20. Add Account Tags
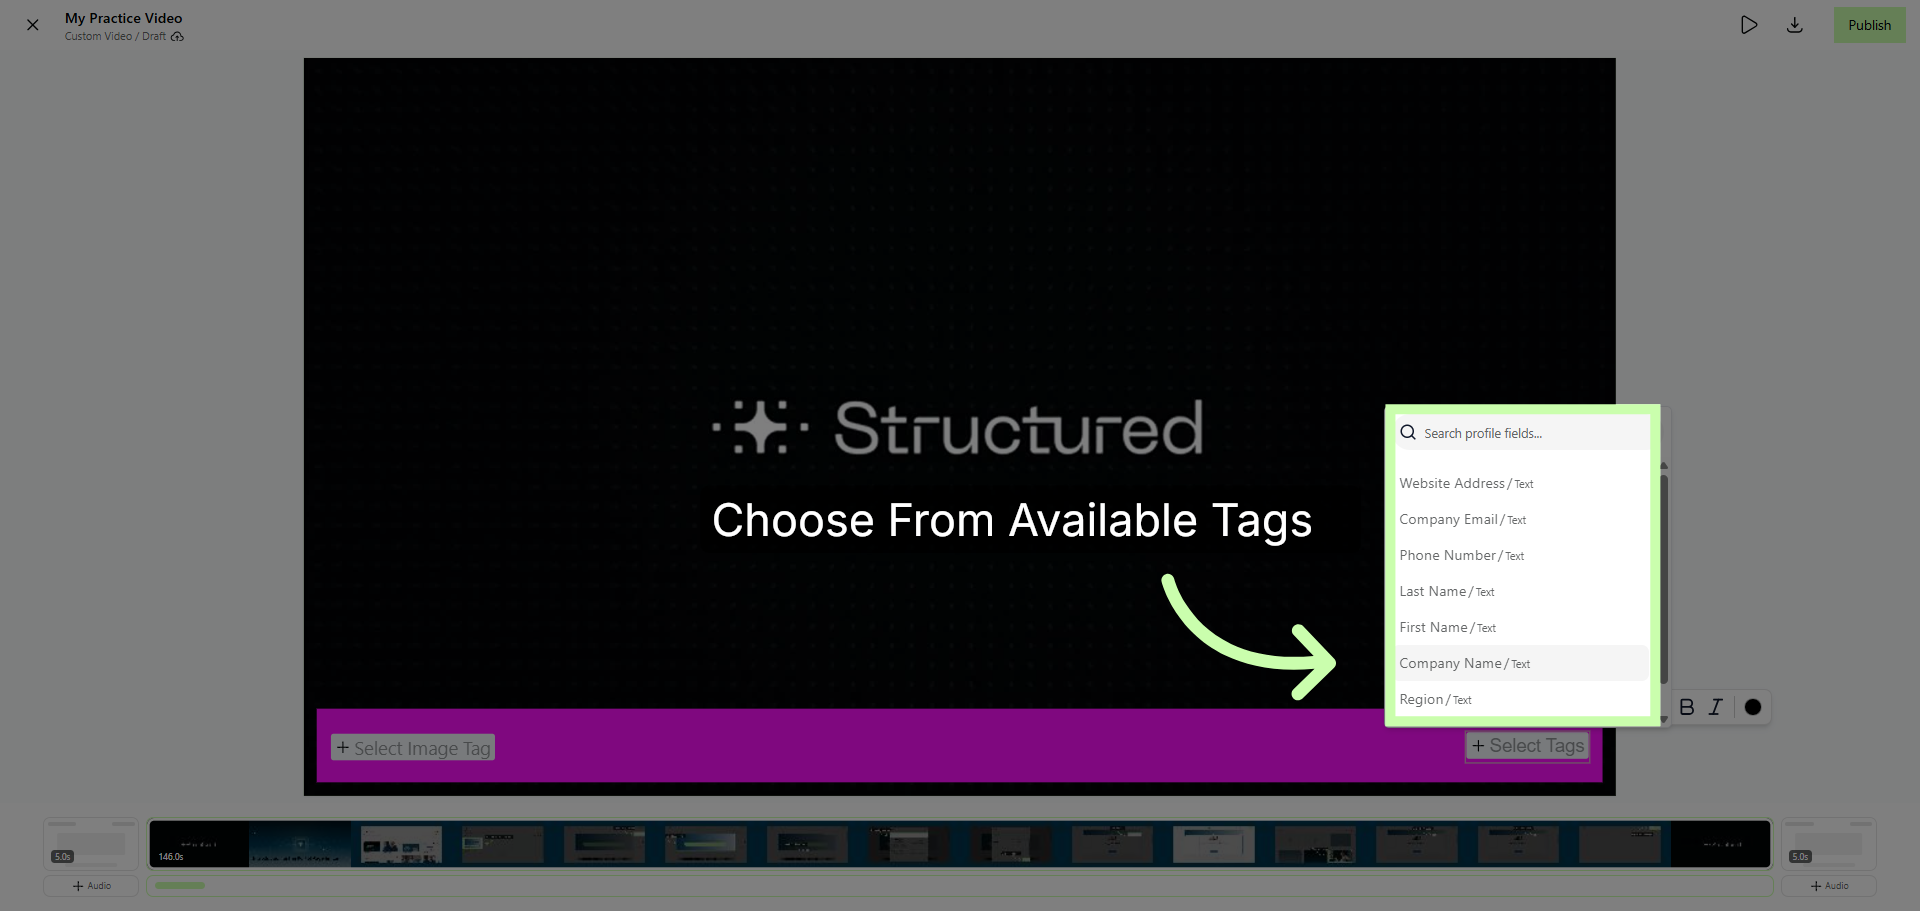
Next, select account tags.
21. Choose your Desired Tags
In this example, I'll select Company Name.
22. Add Additional Tags
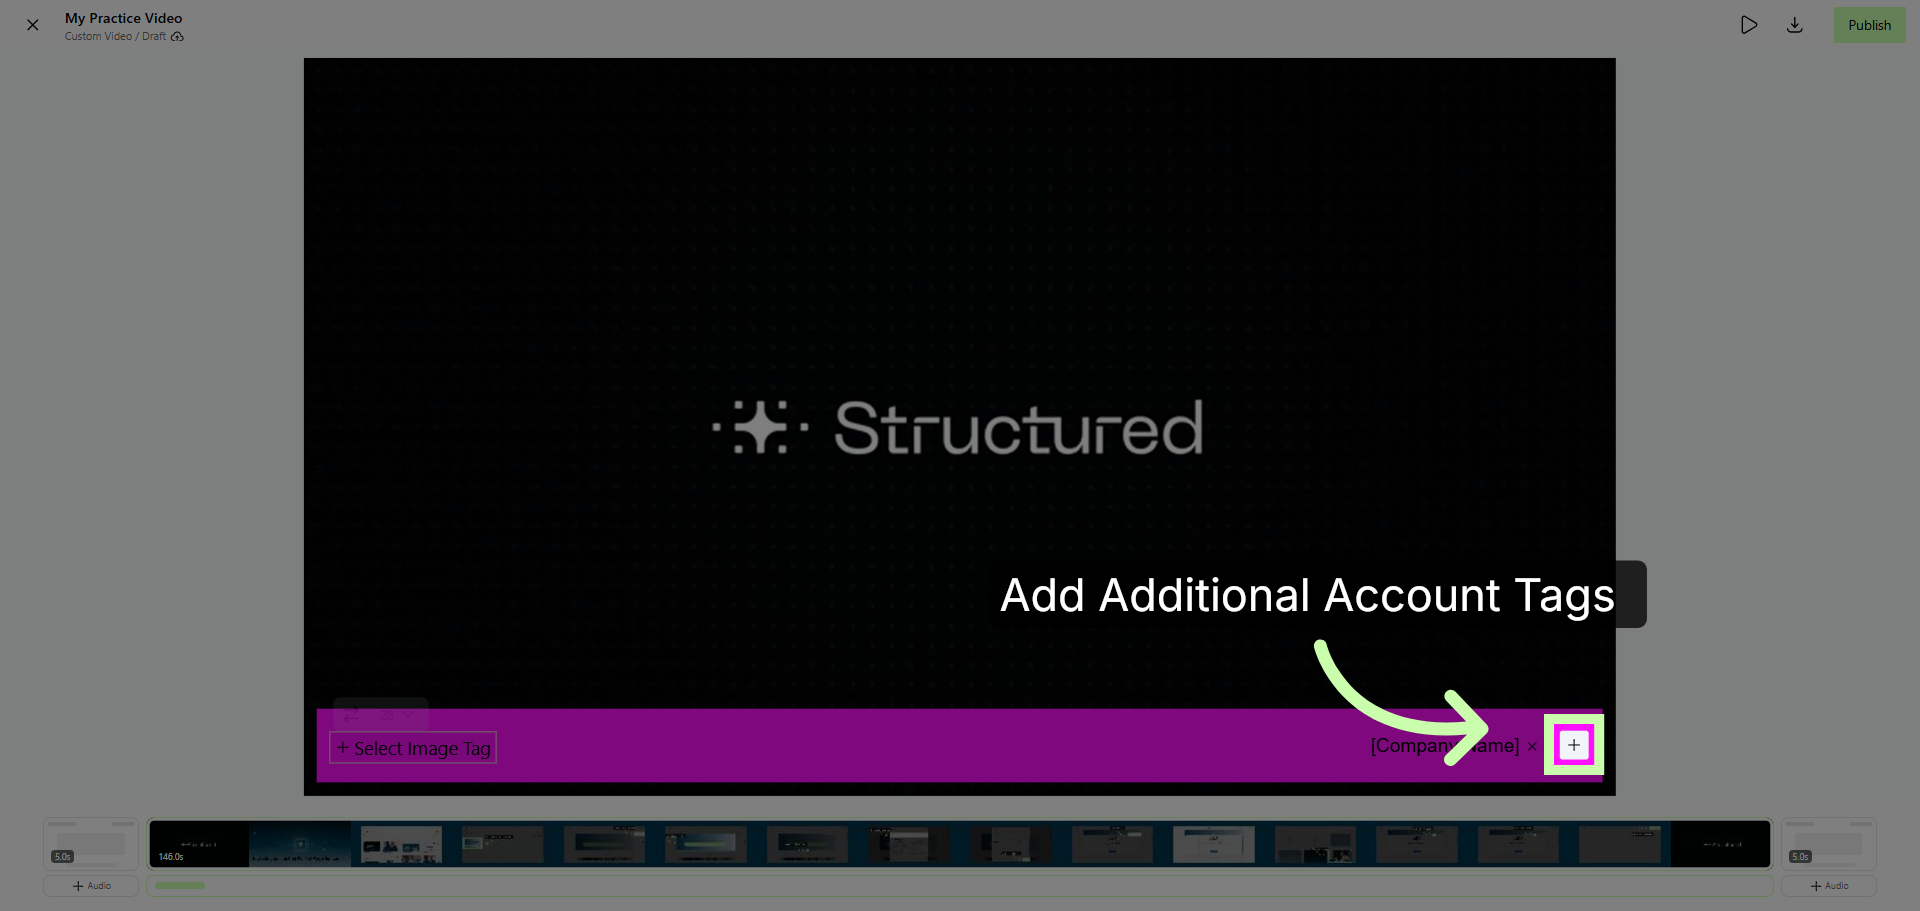
Click the plus sign to add additional tags.
23. Add Logo Placeholder
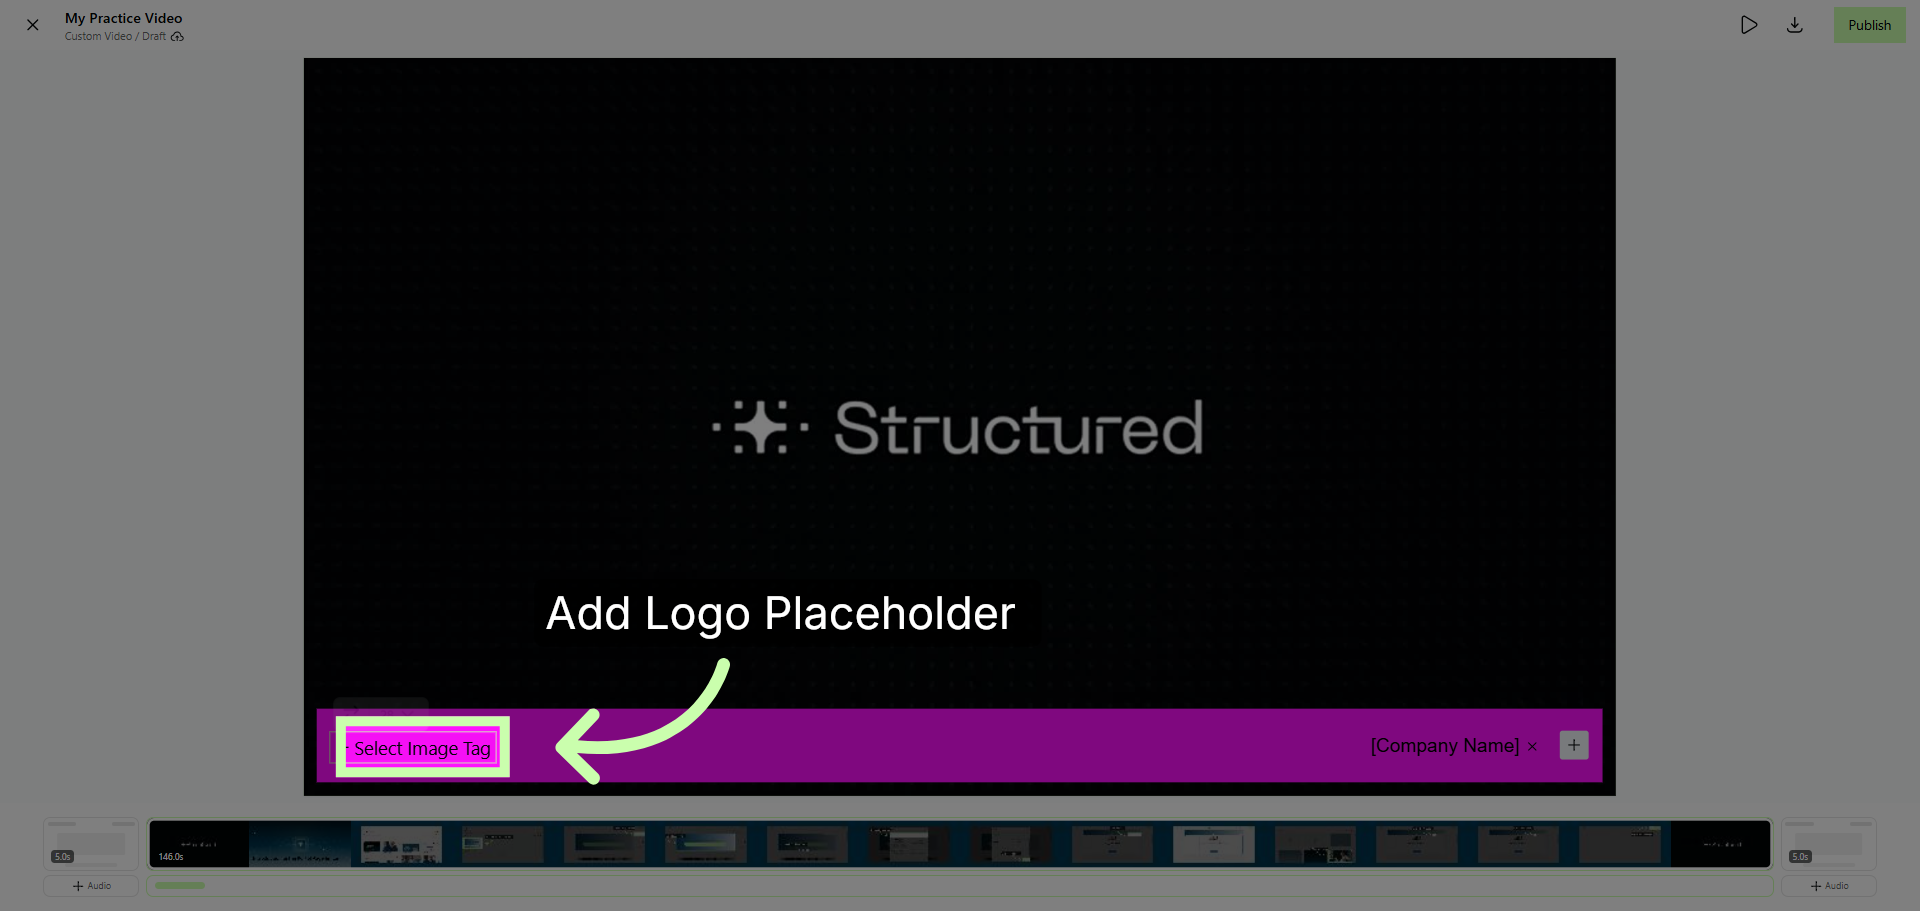
Now, click here to add a logo placeholder.
24. Access Banner Settings
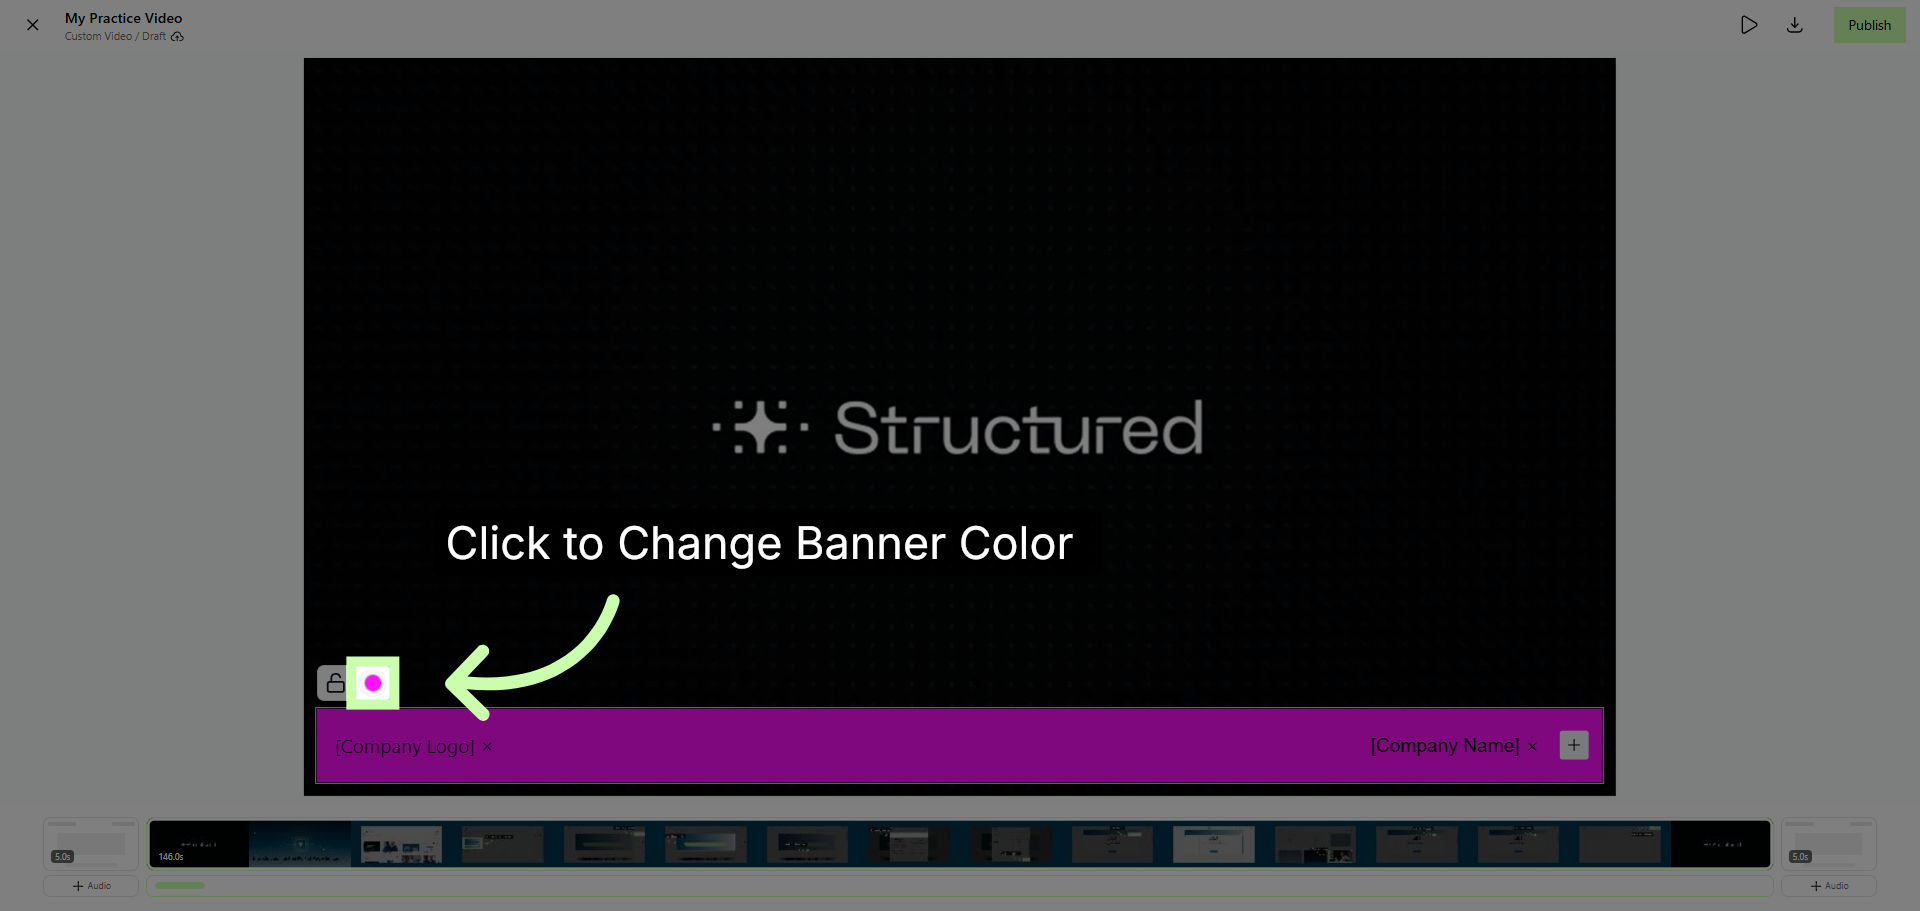
To change the color of the banner click directly on the banner and then click this option.
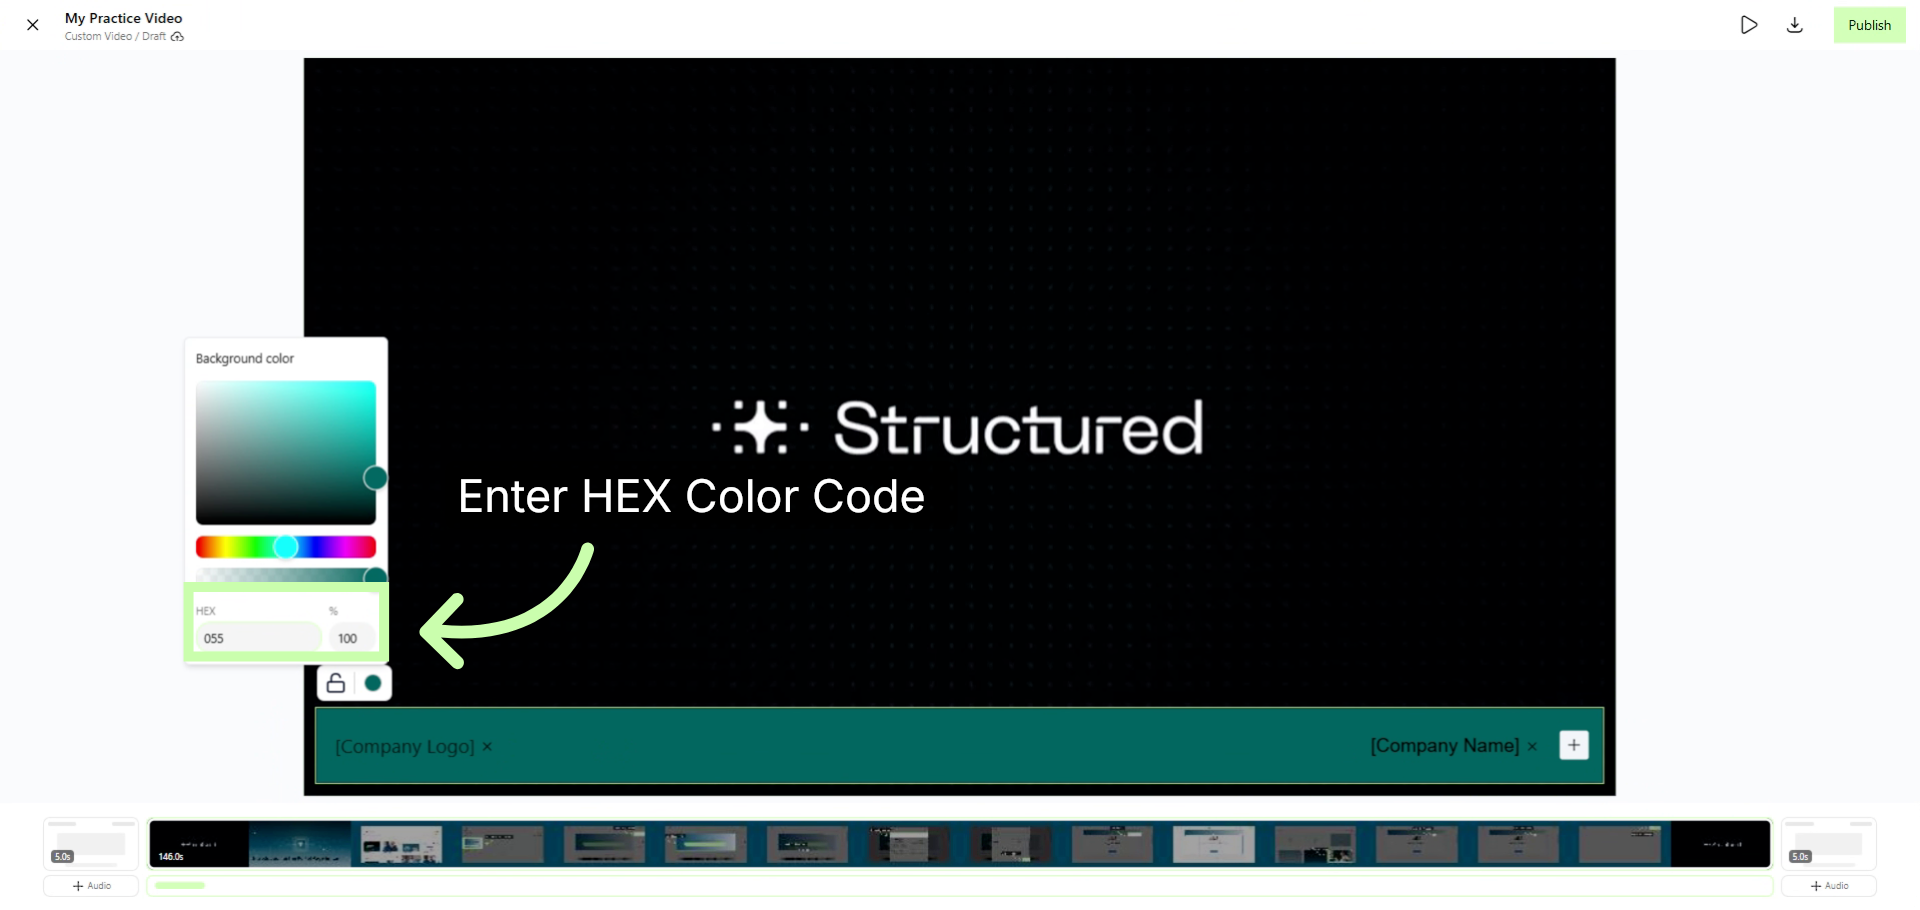
25. Enter Full HEX Color Code
Enter your exact HEX color code into the box.
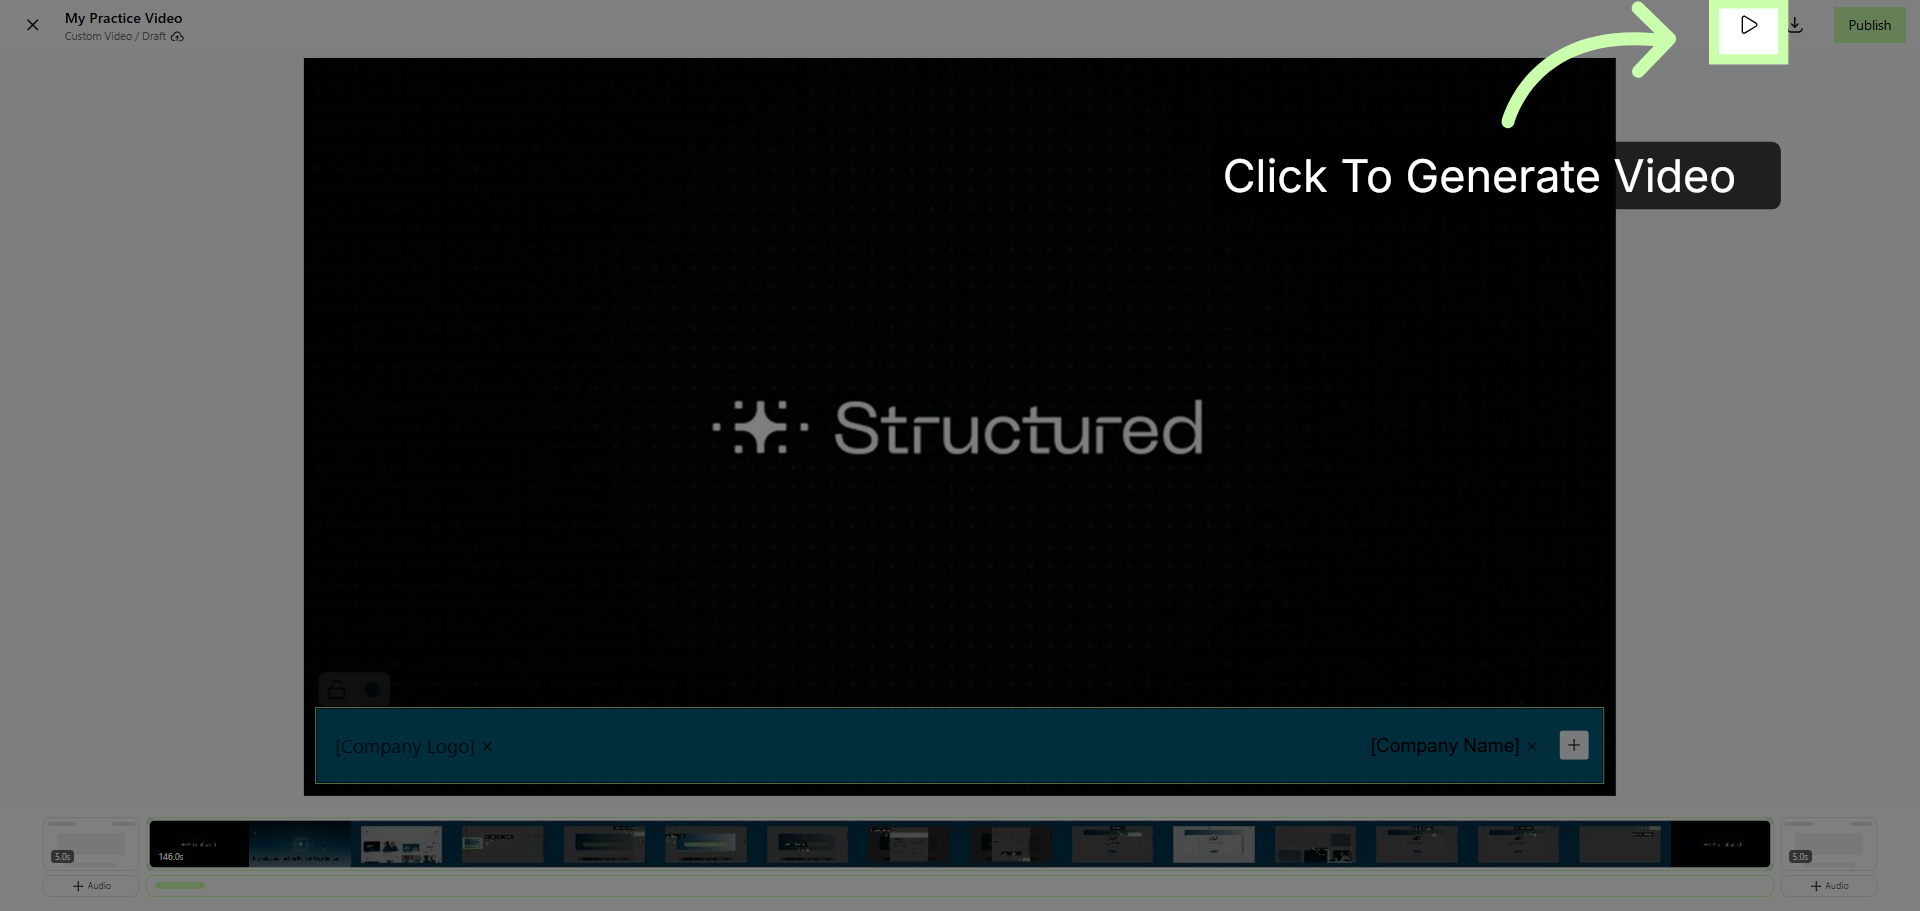
26. Generate Video
When you're ready to view the results, click this button to generate the video template.
The next video demonstrates how to render and publish your video template.