 Creating your Email Campaign - Phase 2: Drag & Drop Editor
- Learn how to set up email content and properties using Structured AI
- Customize email messages to fit your needs
- Adjust key email settings for better formatting and targeting
- Use Structured AI to streamline email creation
|
Before you begin — open your account This is a hands-on, learning-by-doing session. Open app.structured.ai in your browser and log in to your Tenant Account so you can follow along and apply each step in real time. |
|
Phase 1
Setup & Framework
|
Start Training ➡ |
|
Phase 2
Drag & Drop Editor
|
Current Phase ✔ |
|
Phase 3
Conversion & Testing
|
Start Training ➡ |
Follow Our Step-By-Step Training
1. Introduction
In this phase of the training, you will gain the skills needed to personalize various components of your emails, allowing you to tailor each message to better suit your audience's preferences and needs.
Additionally, you will learn how to efficiently organize and control the content within your emails, ensuring that your messages are clear, engaging, and impactful.
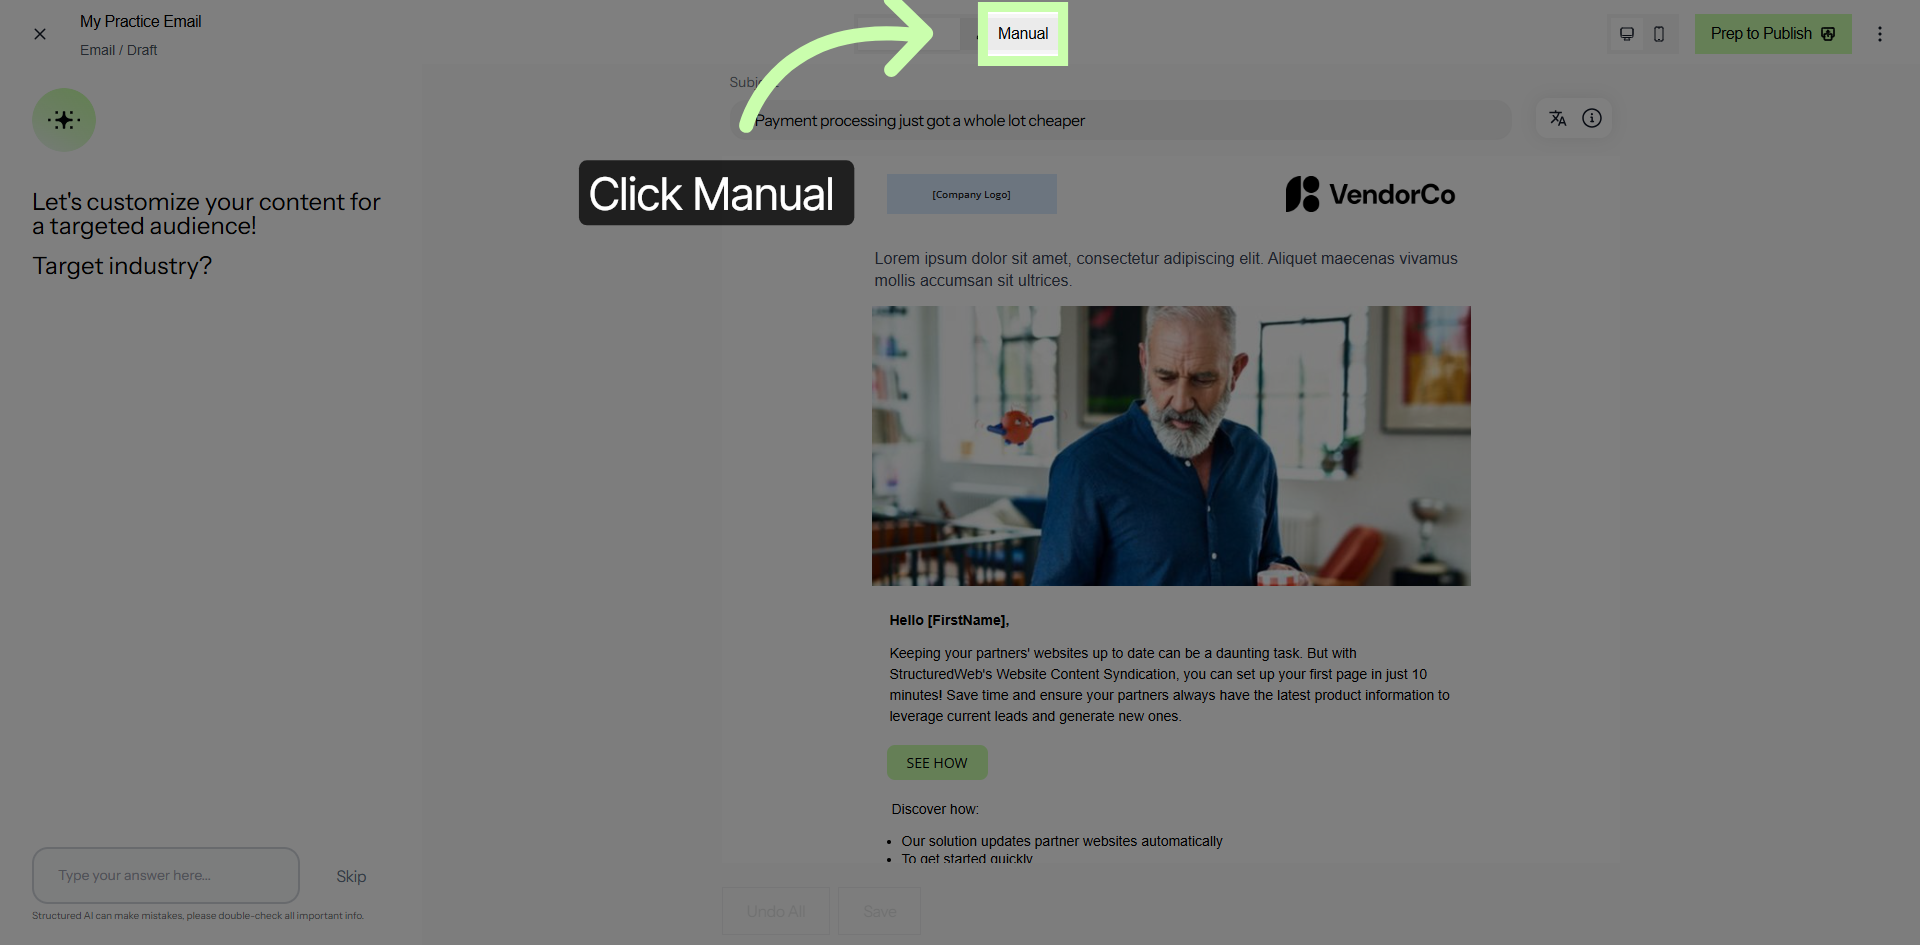
2. Select Manual Editing Mode
Before we get started with creating, click on the Manual editing option to change the email editor from AI to Manual Mode. This allows you to customize the editing process according to your specific preferences and requirements.
3. Email Editor Tour
A quick tour is necessary before we dive in to creating!
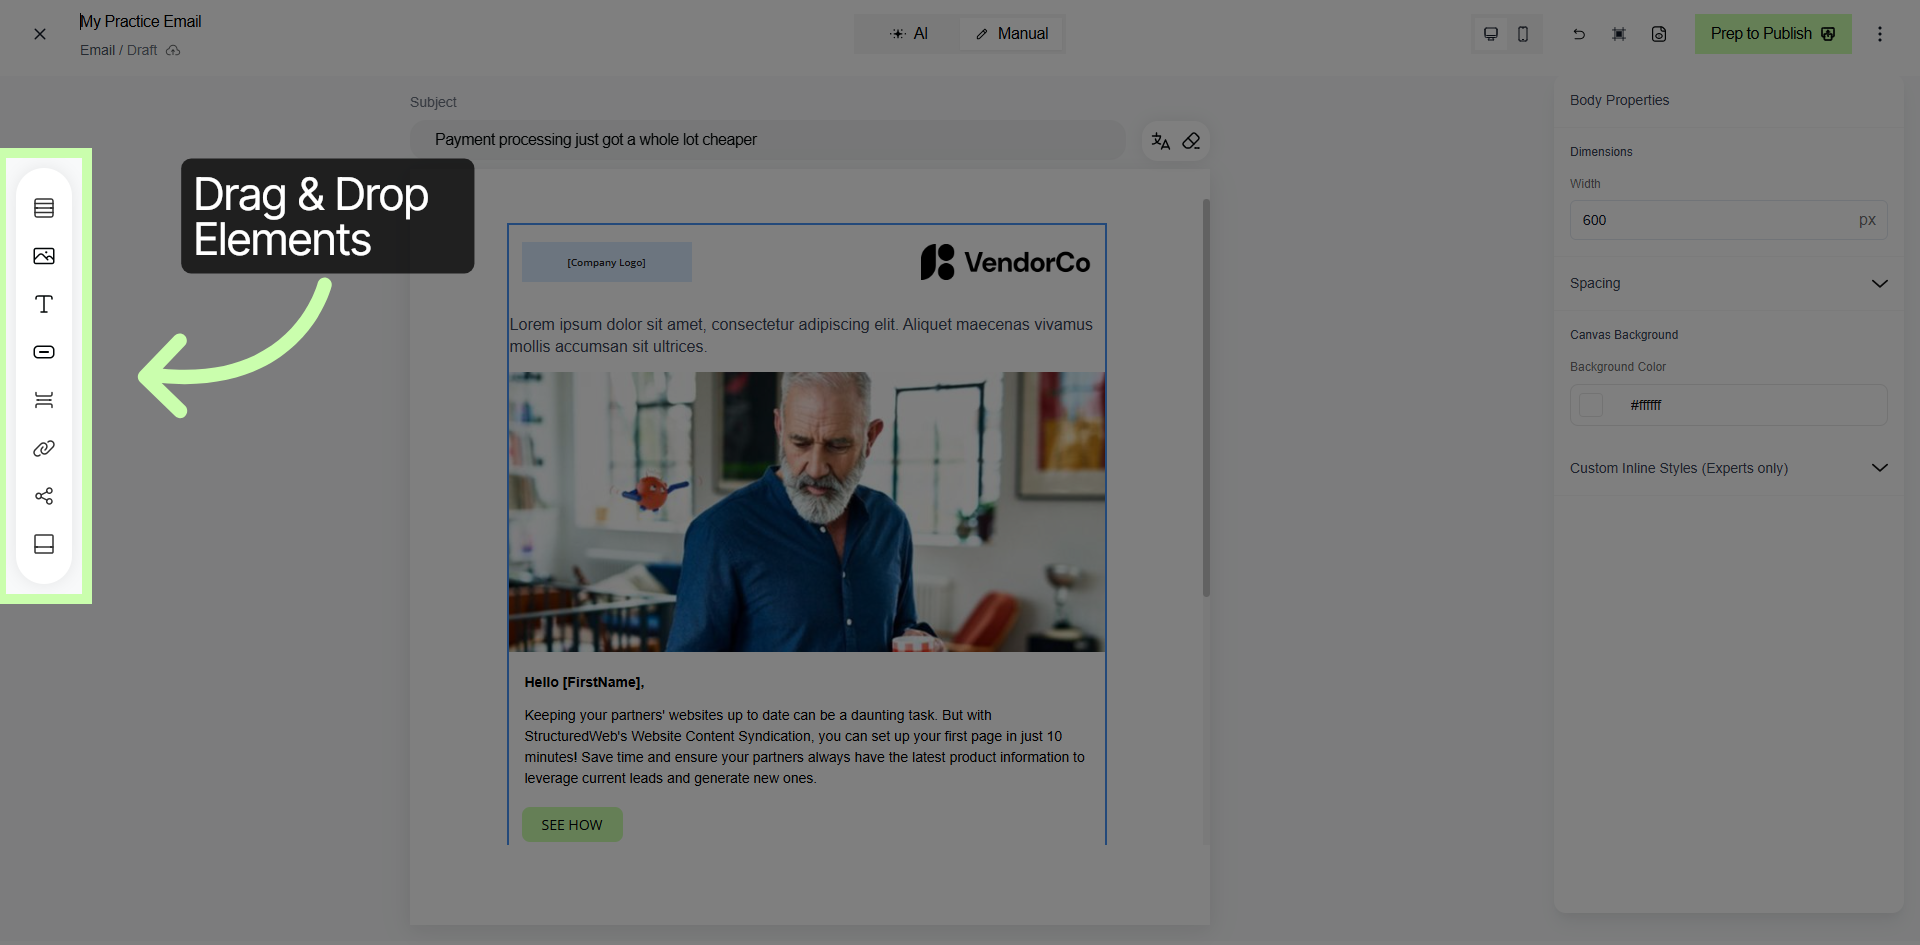
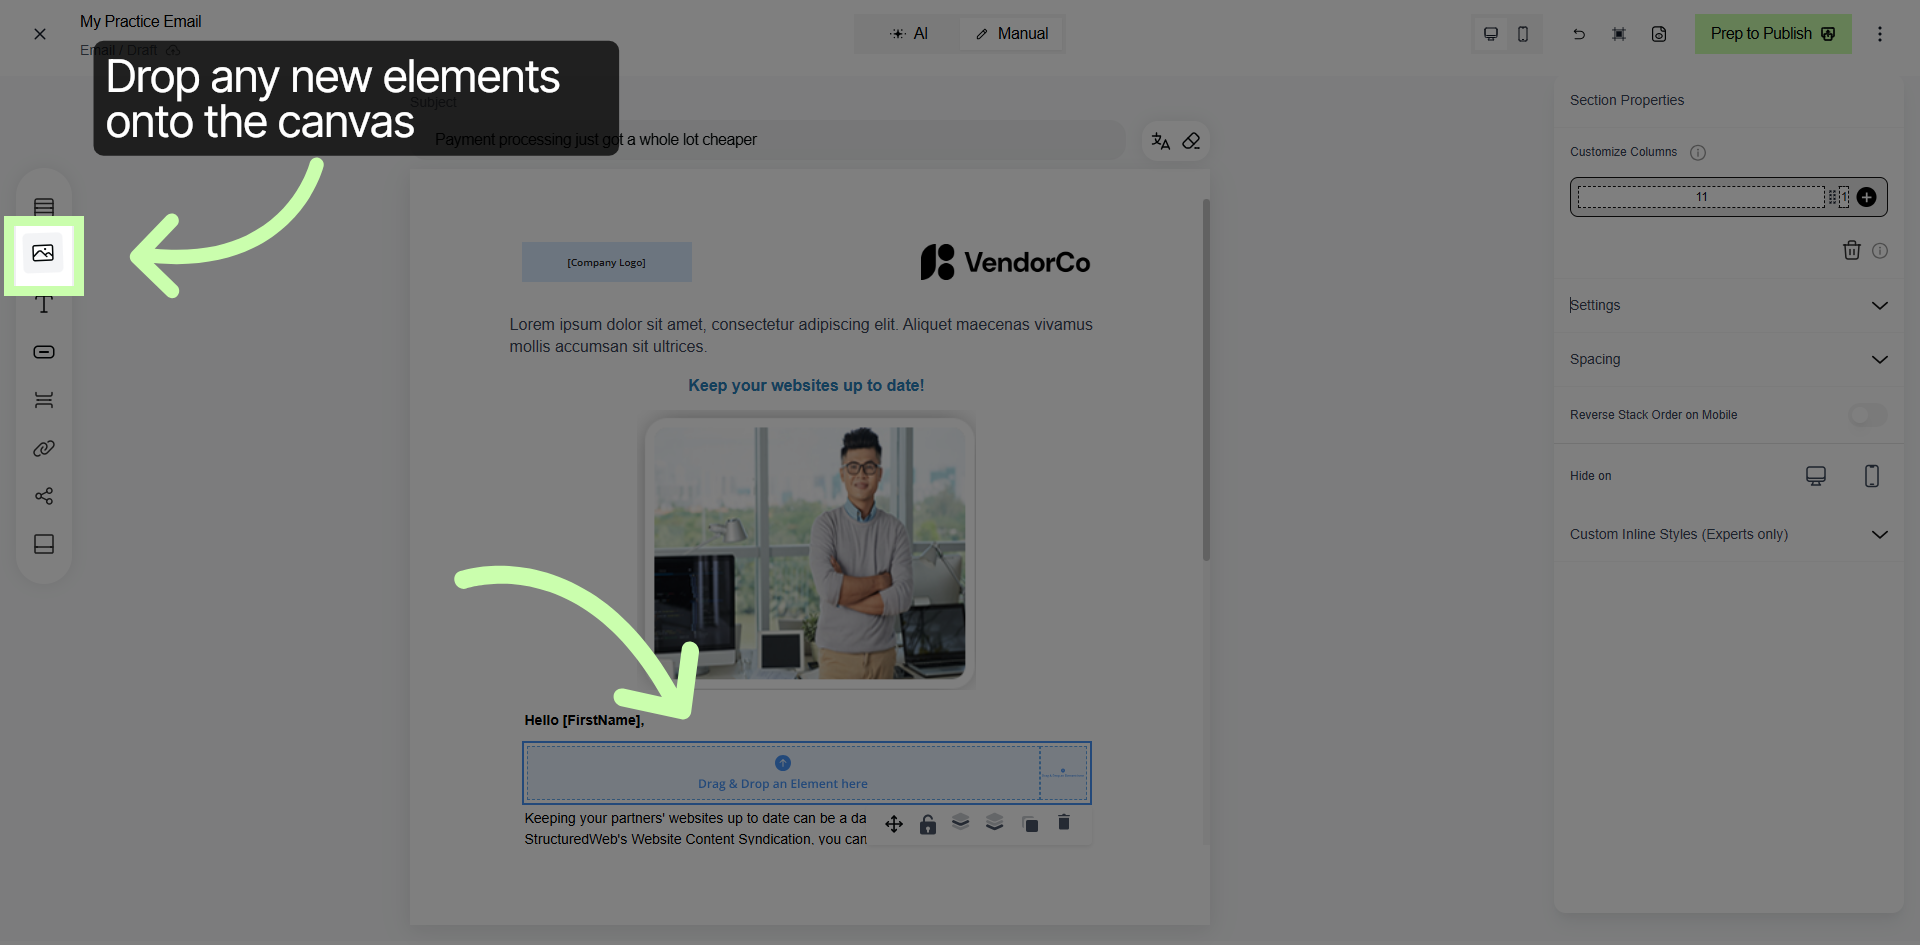
In the left panel of the interface, you will find a comprehensive collection of Drag & Drop elements. These elements are designed to be easily selected and pulled into your email layout, allowing you to customize your email content with great flexibility.
By simply dragging these components from the panel and dropping them into your email template, you can tailor the design and structure to suit your specific needs and preferences.
4. Open Body Properties Panel
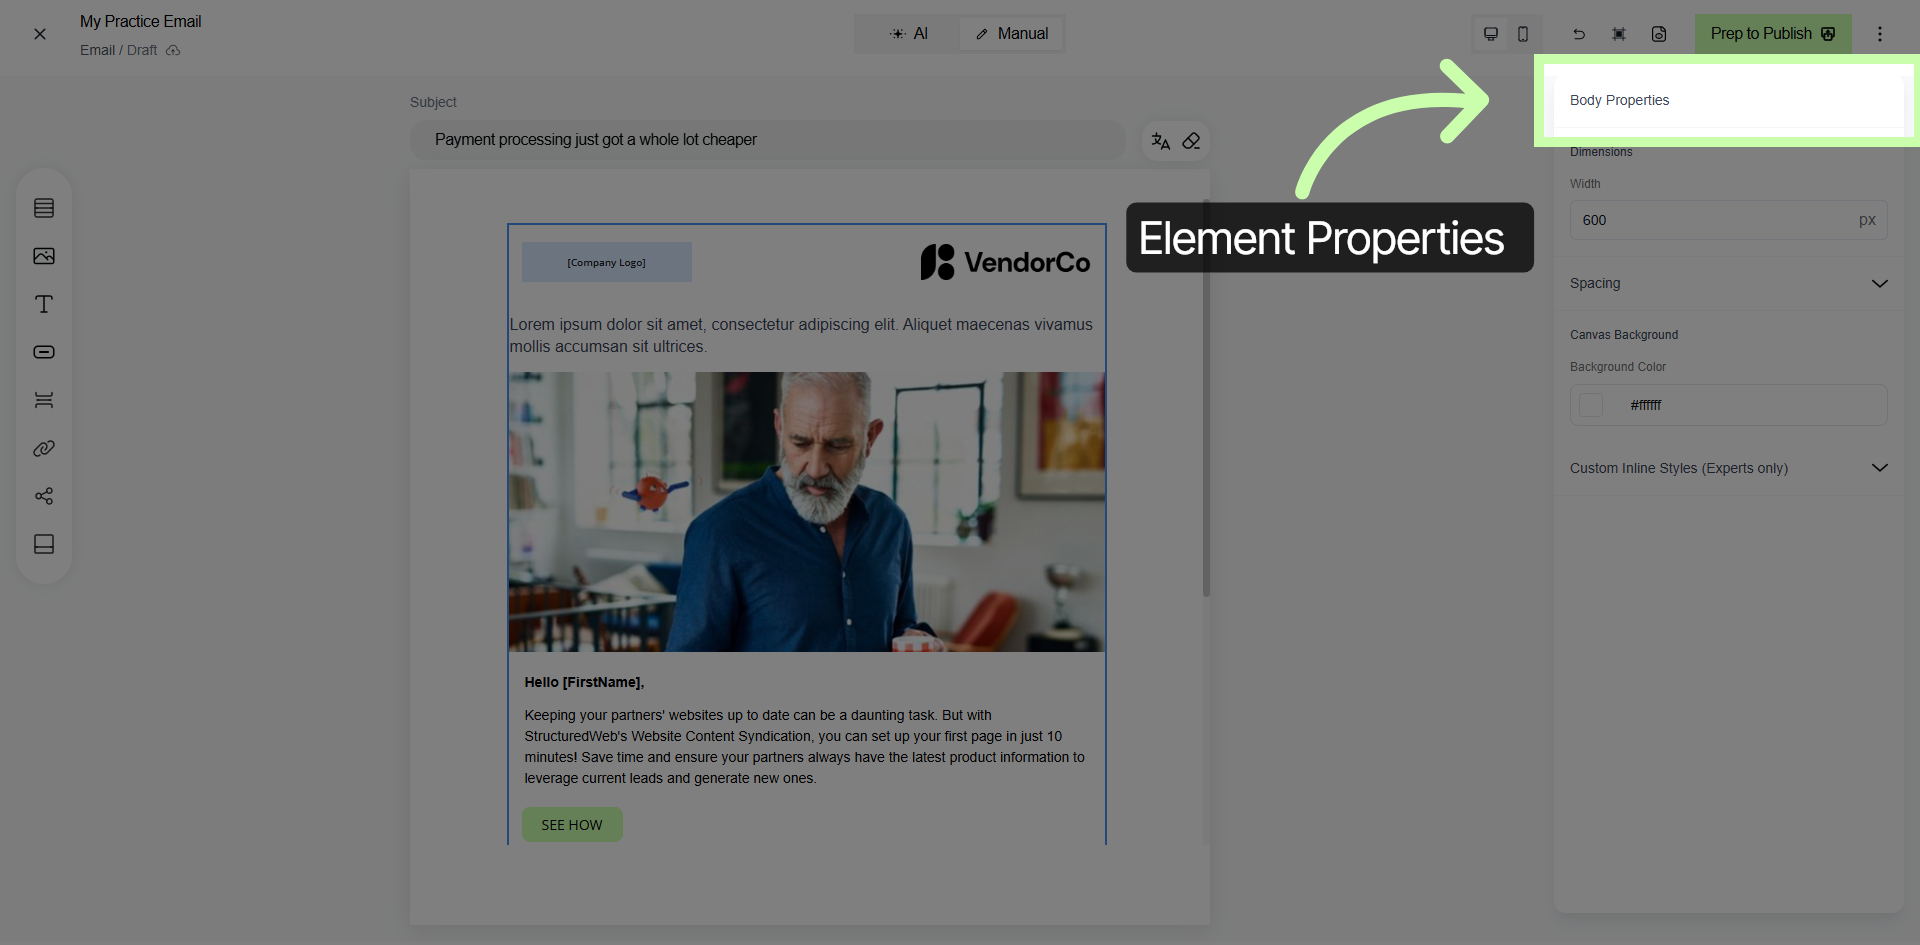
5. Open Content Editing Tools
Let's begin editing this email.
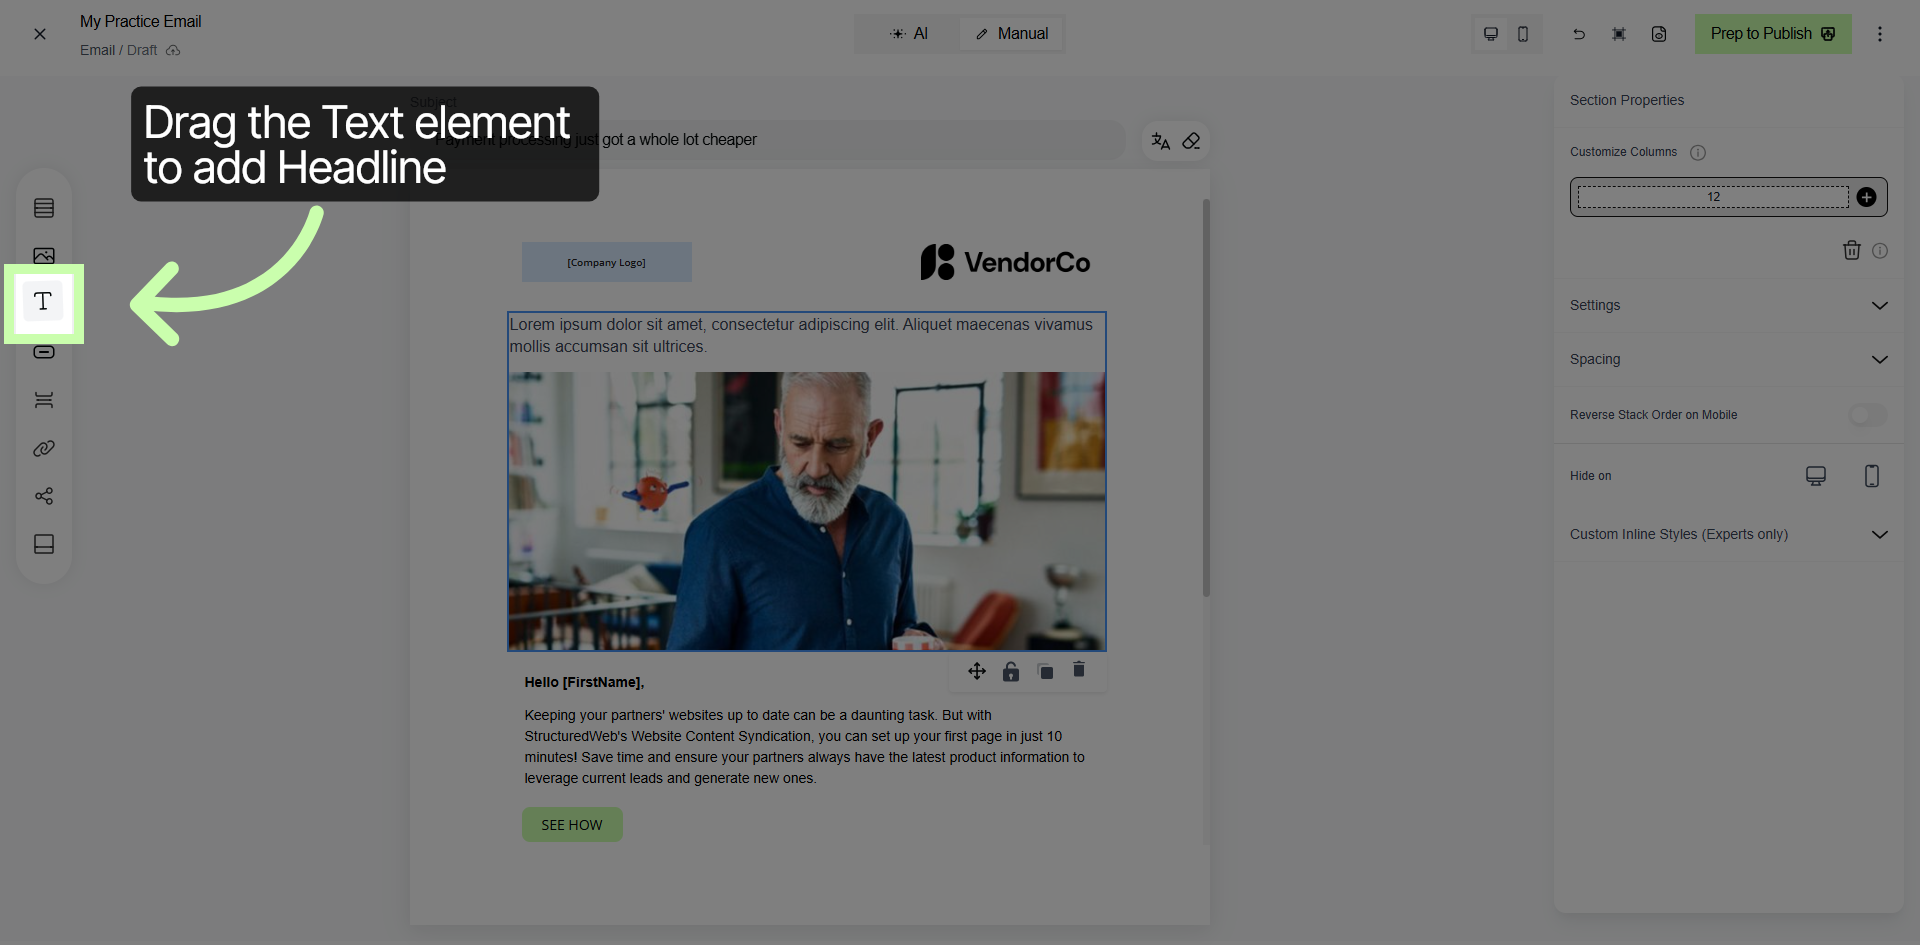
Using the Drag & Drop editor, add a headline to your test email. Begin by locating the Text element within the Drag & Drop elements.
To implement, click on the Text element, hold and drag it to the desired position within your email layout. Once you drop the Text element into place, you can click inside it to type and customize your headline, adjusting the font size, style, and color to suit your design preferences. We will go over how to do that in the upcoming steps.
6. Adding a New Headline
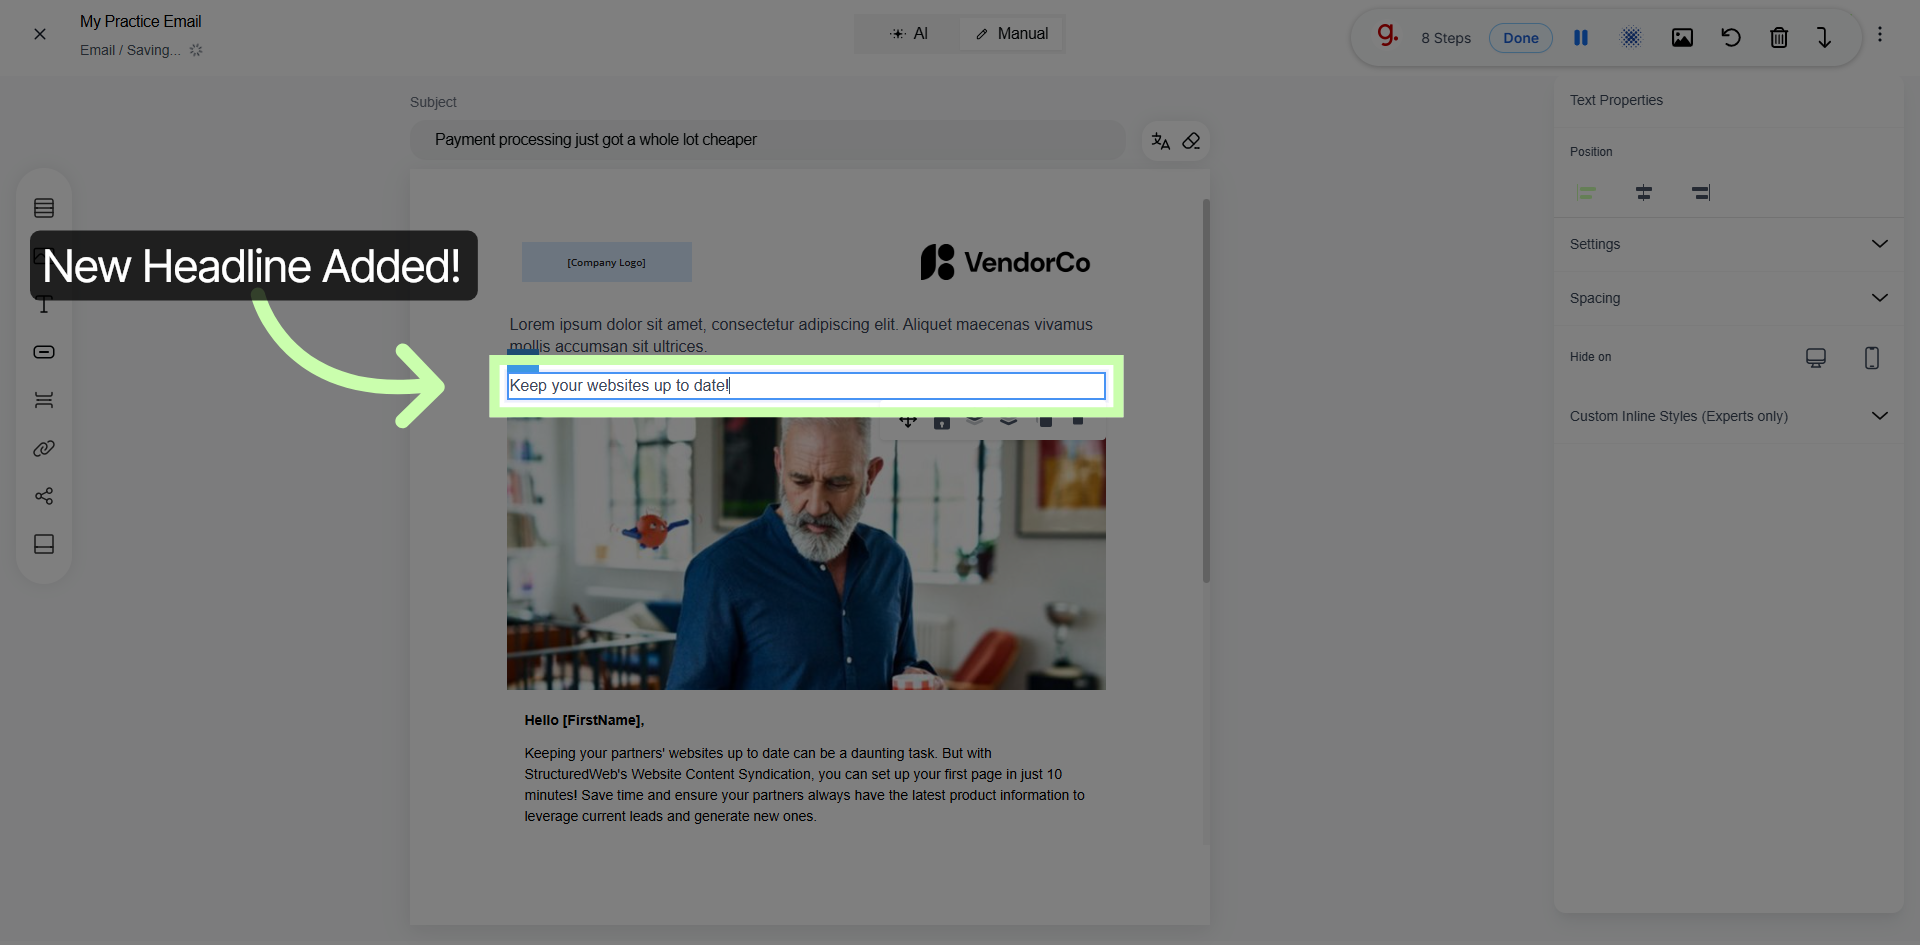
7. Access Content Editing Toolbar
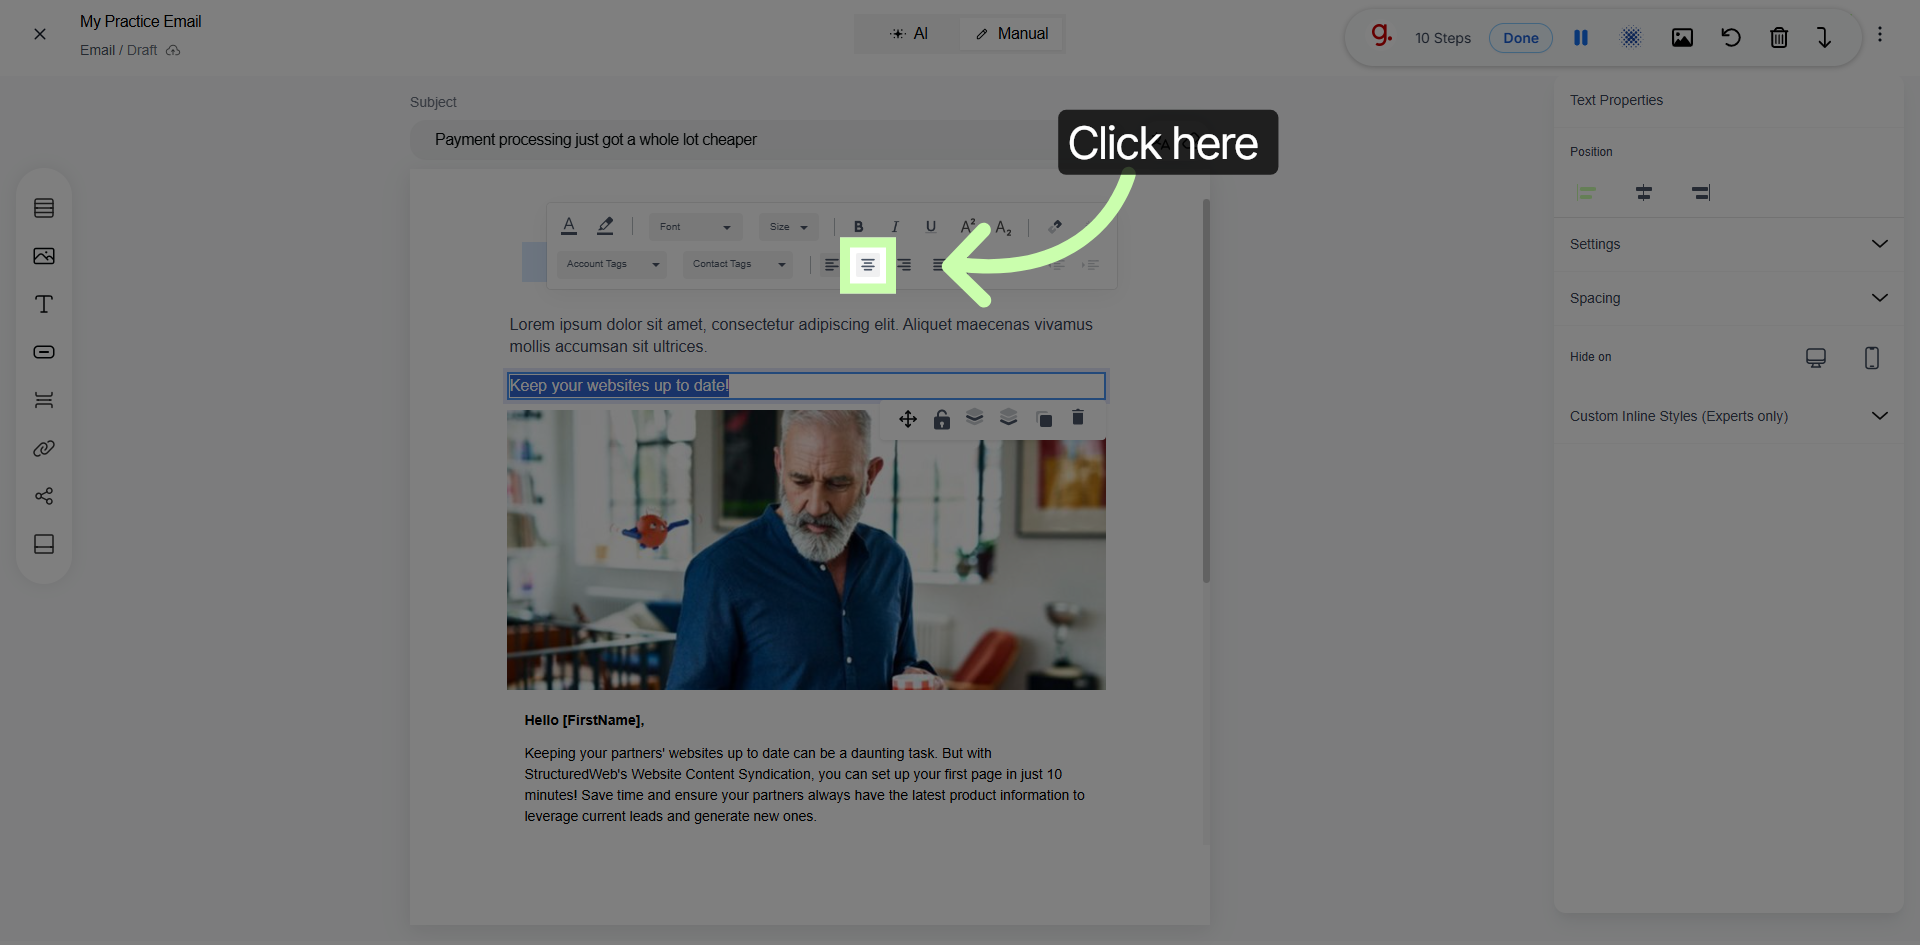
8. Open Text Formatting Options
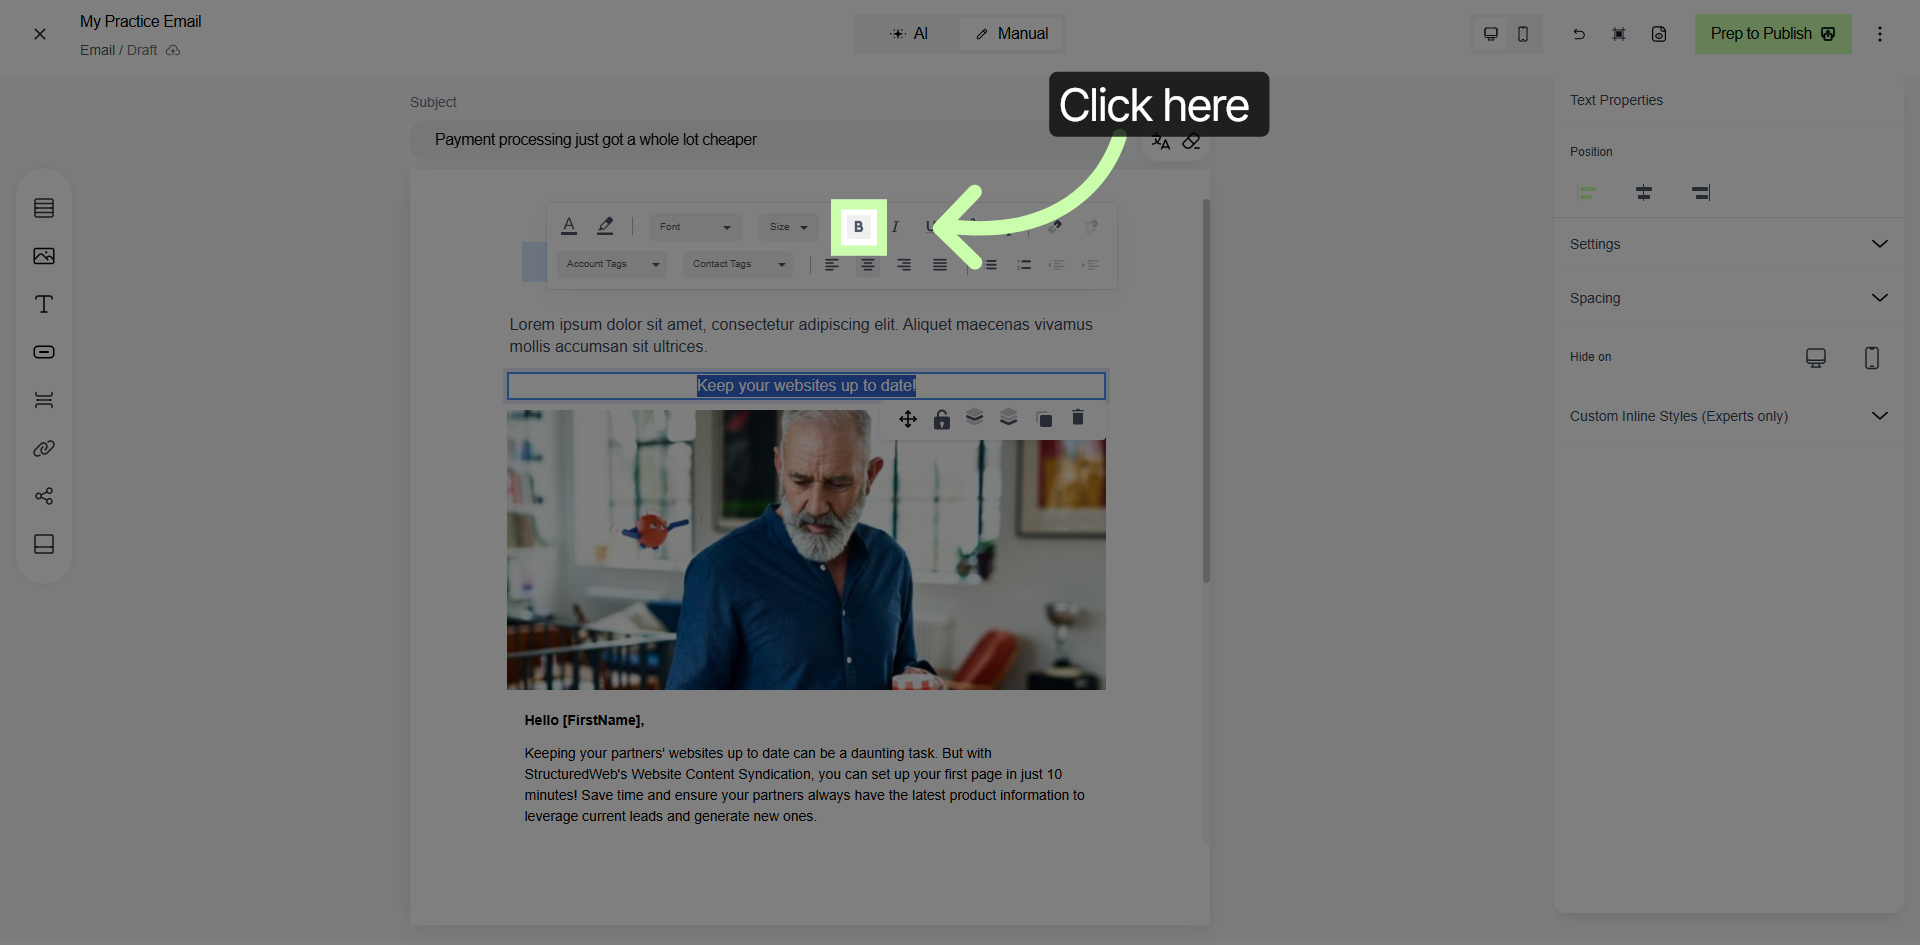
9. Set Branding Colors
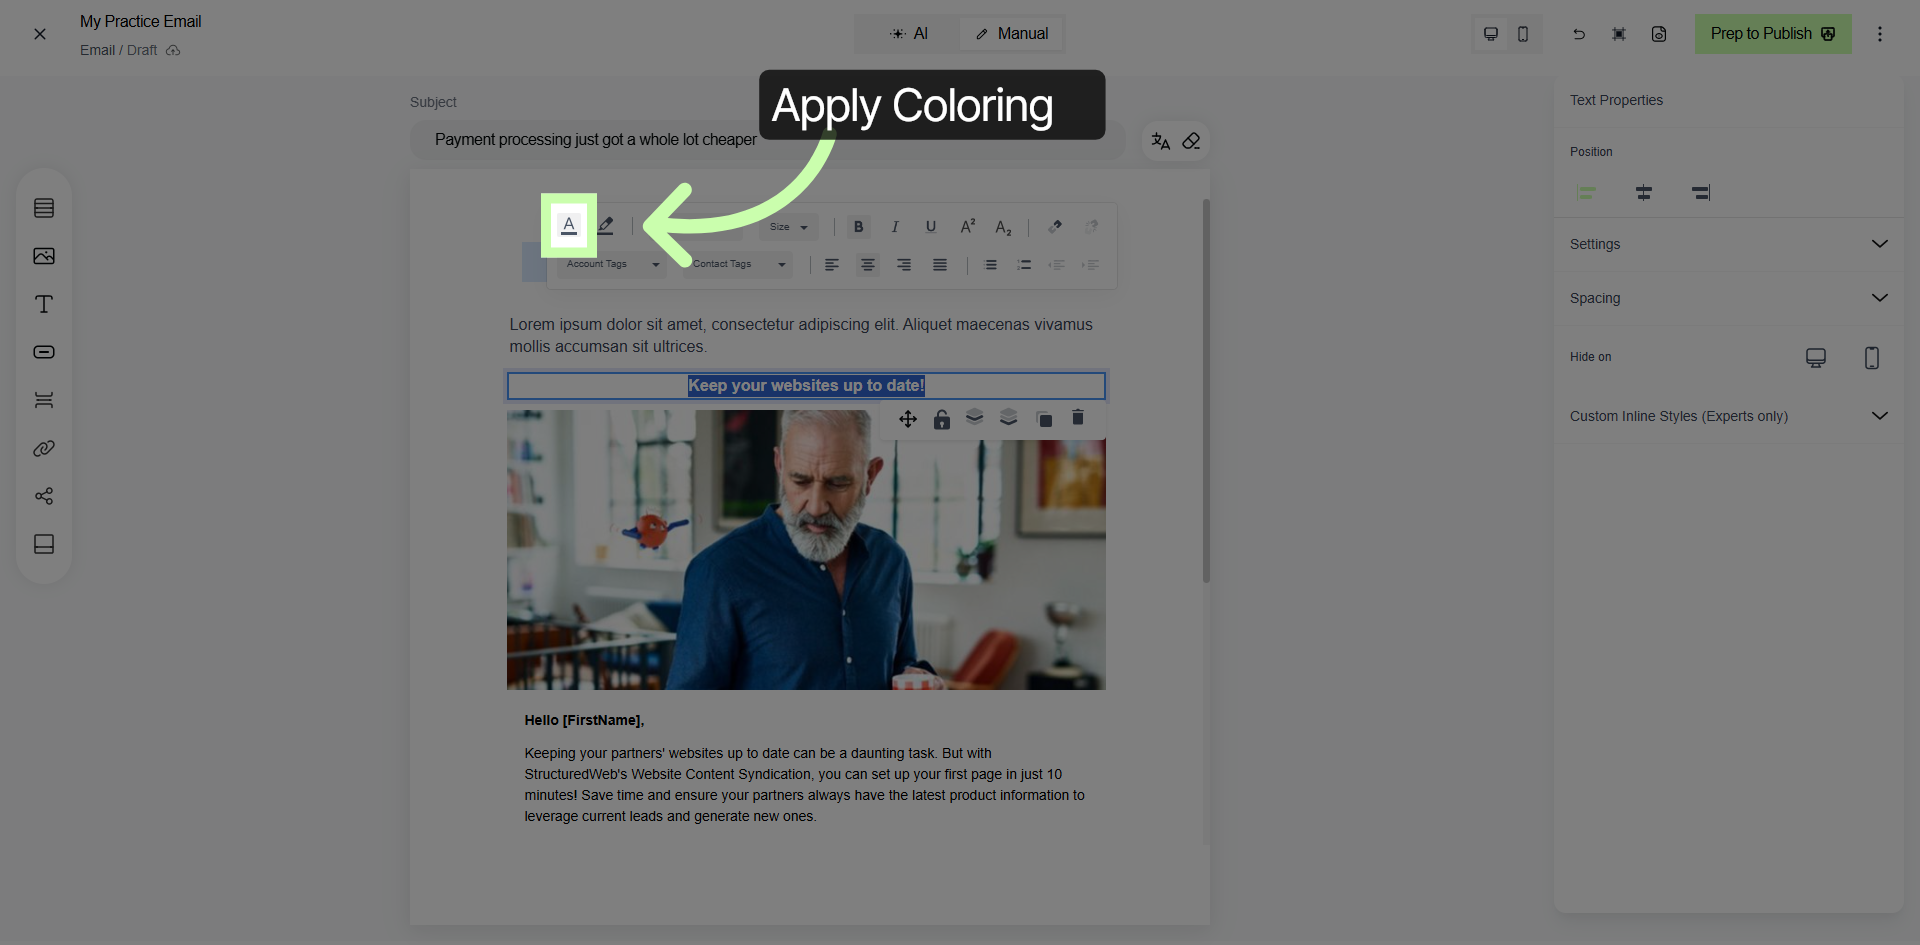
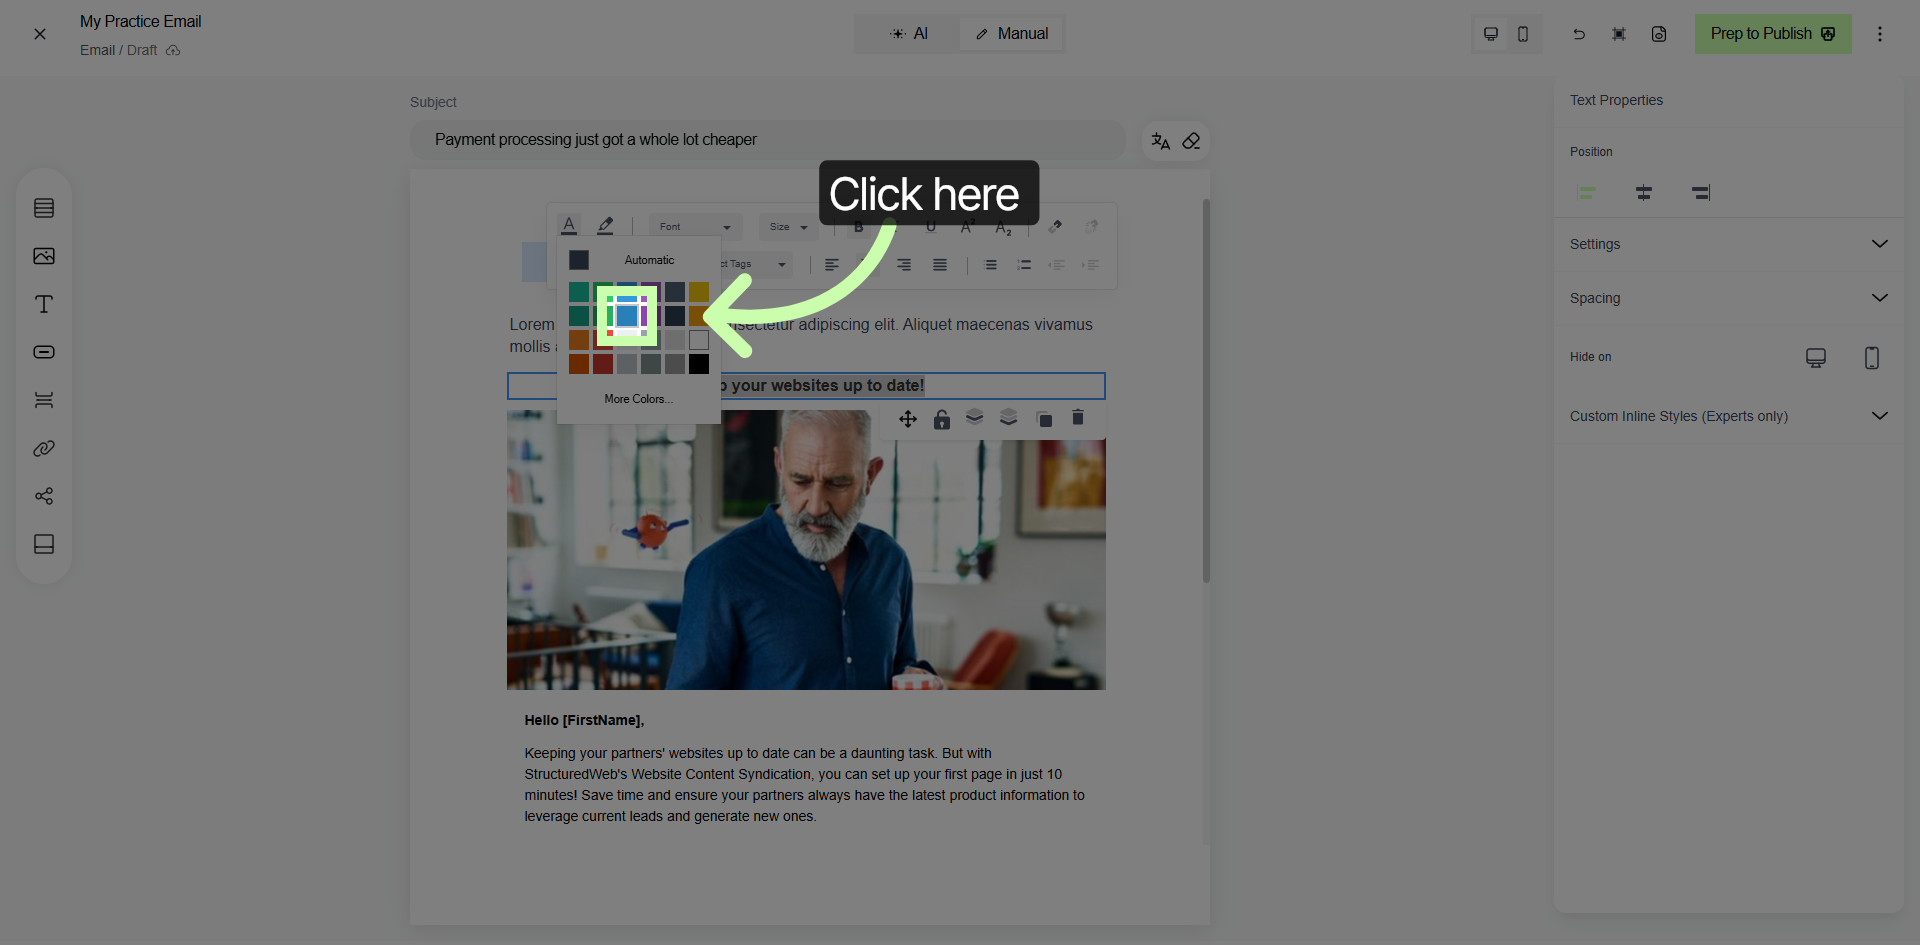
10. Update Image
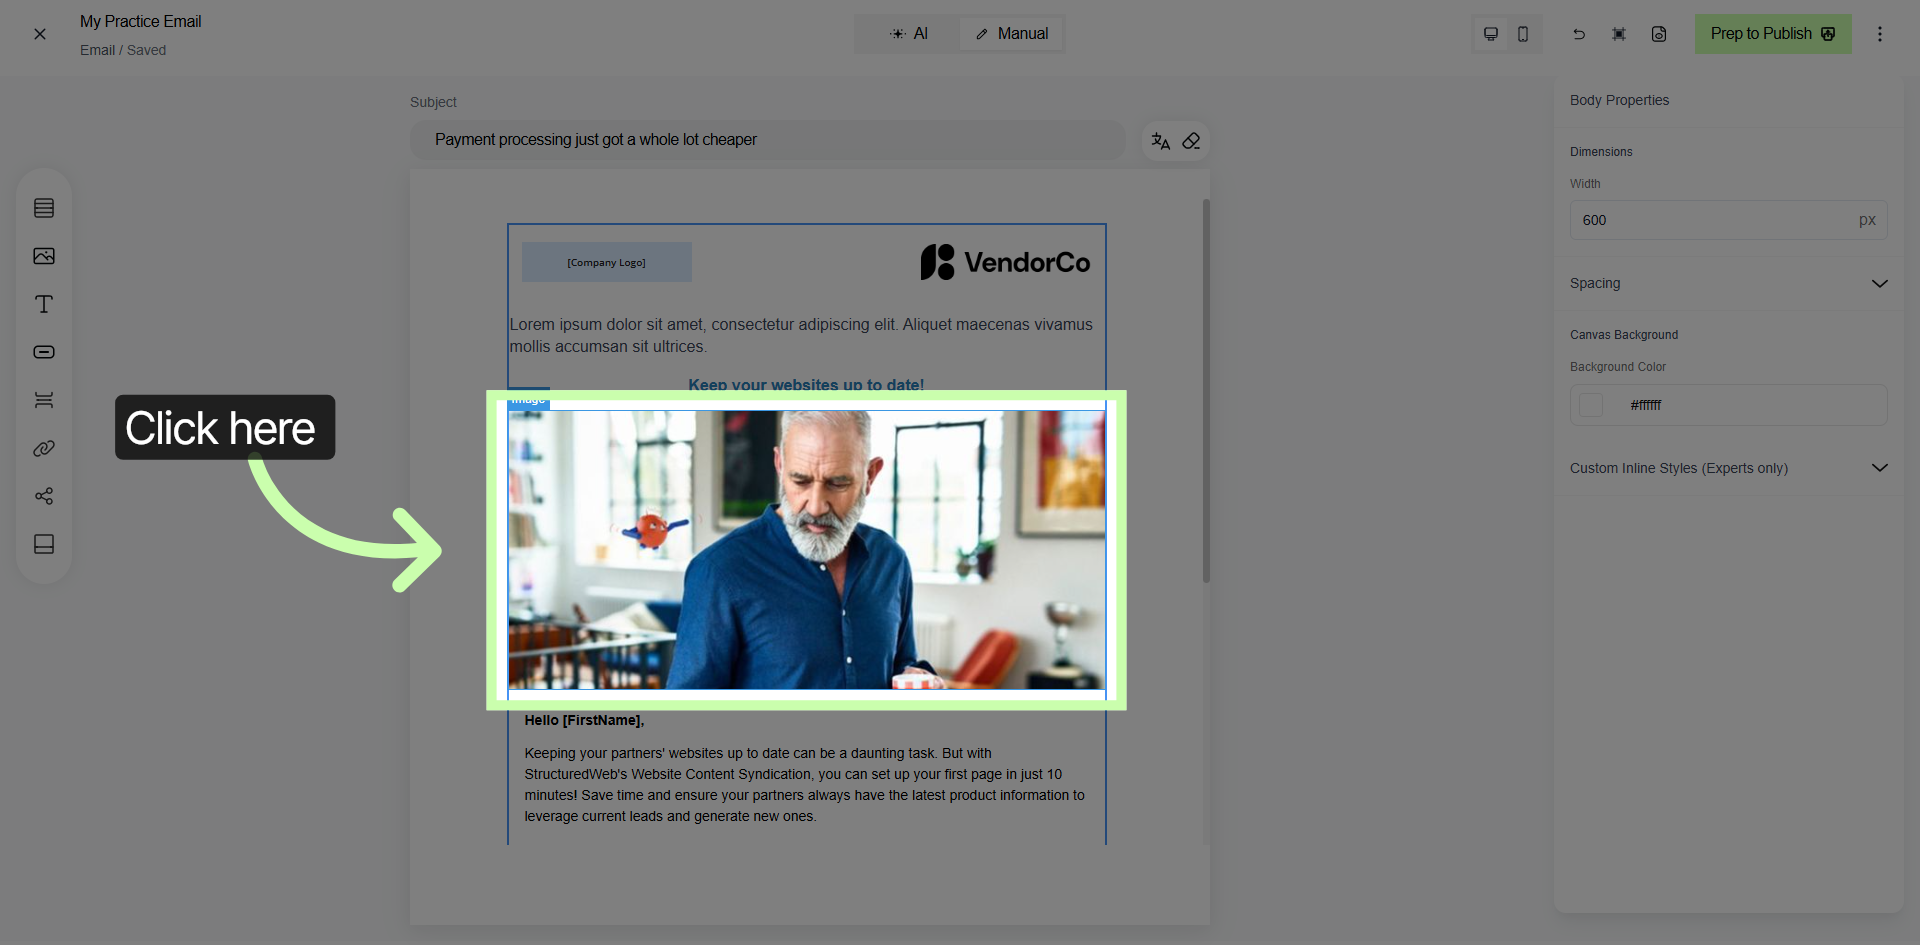
11. Add New Image
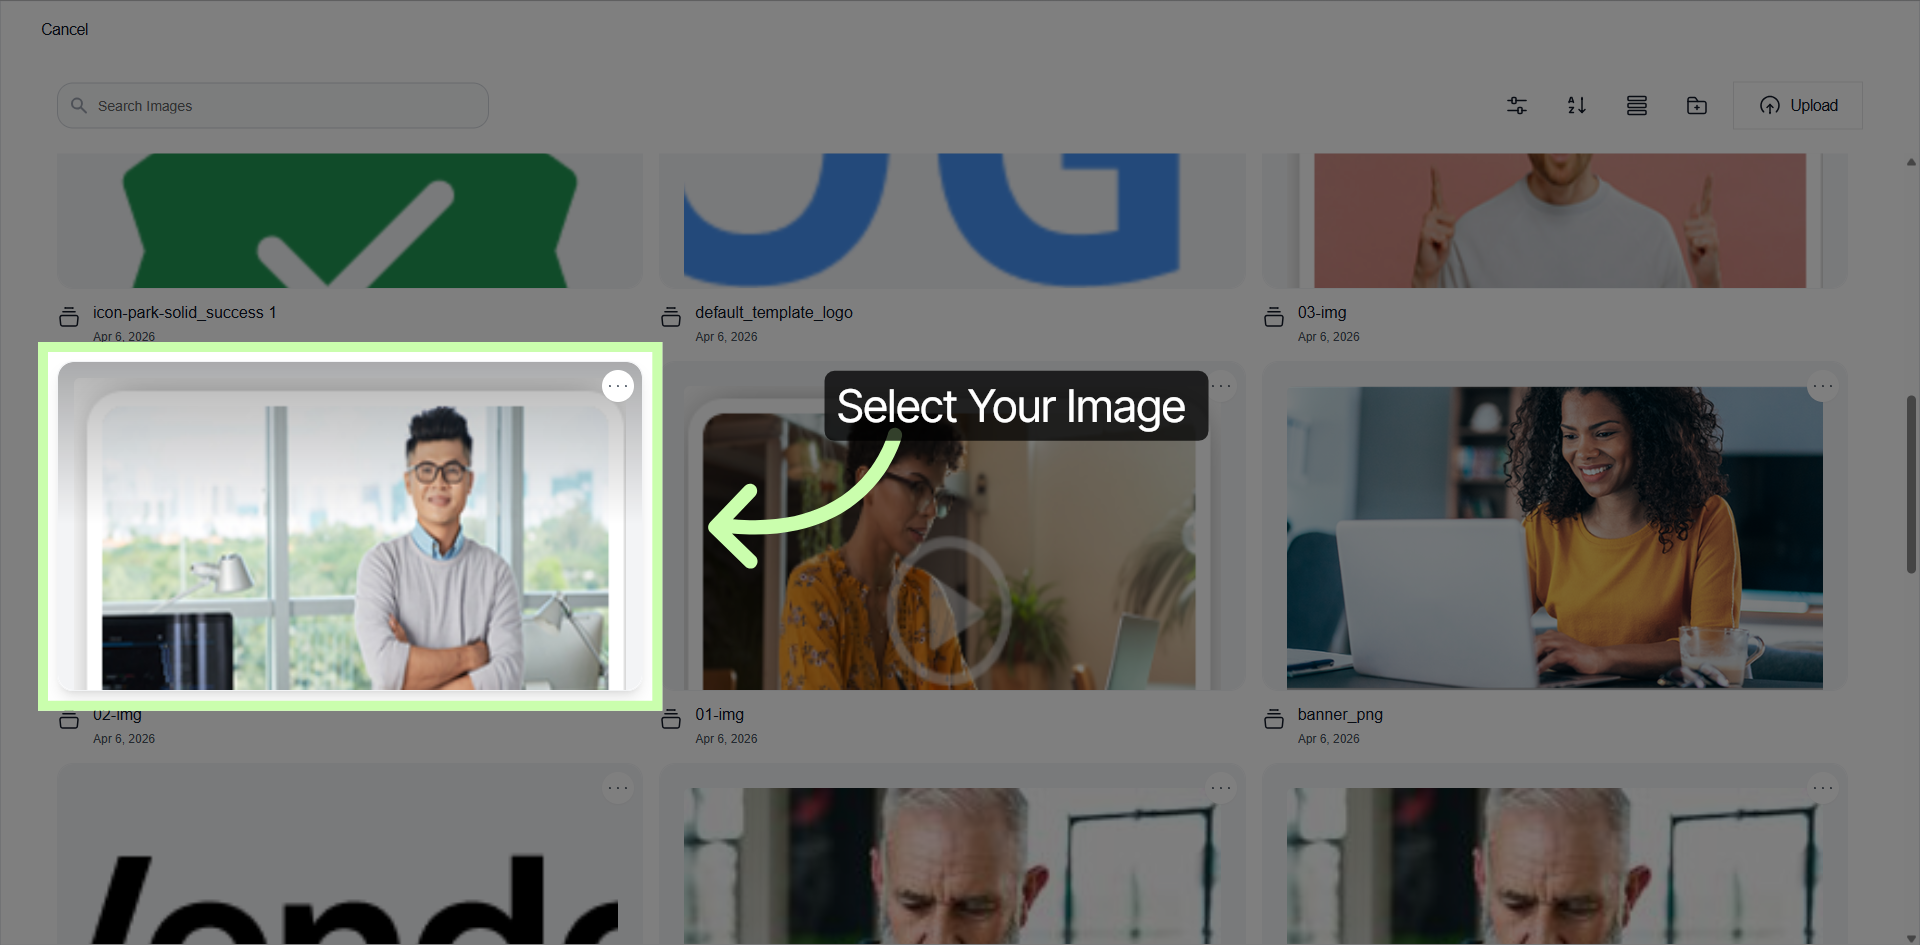
12. Add Selected Image
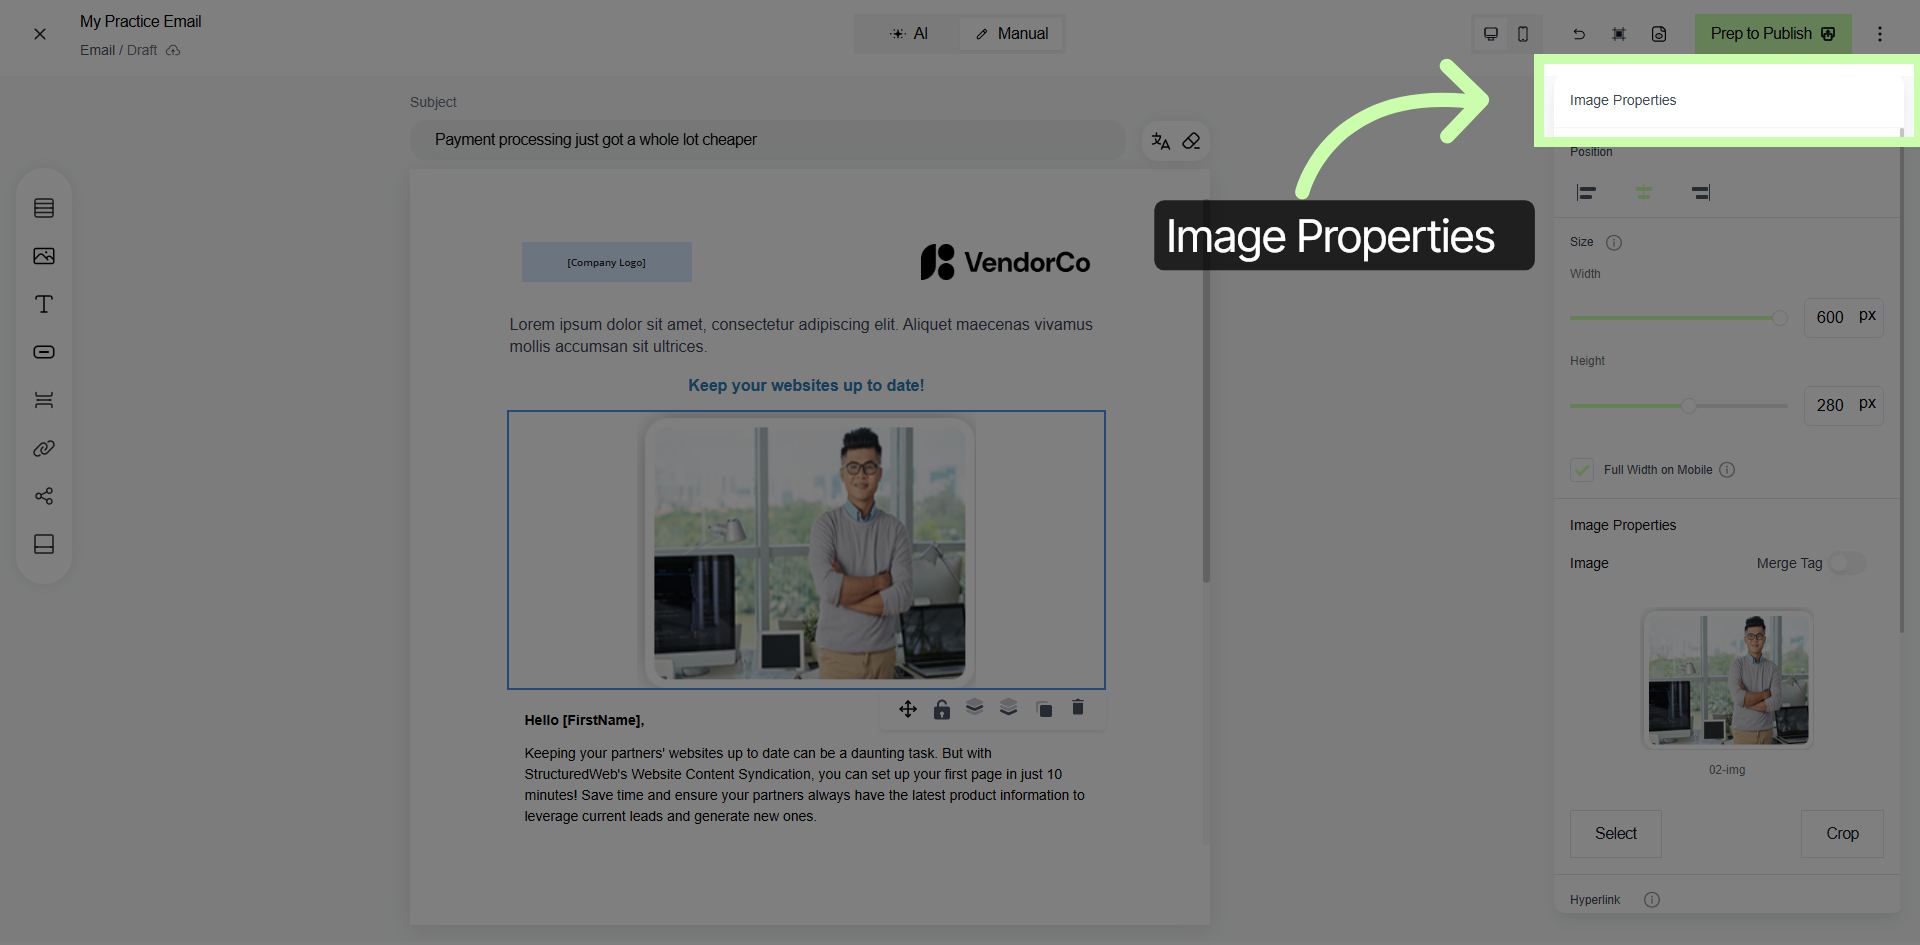
13. Open Image Properties Panel
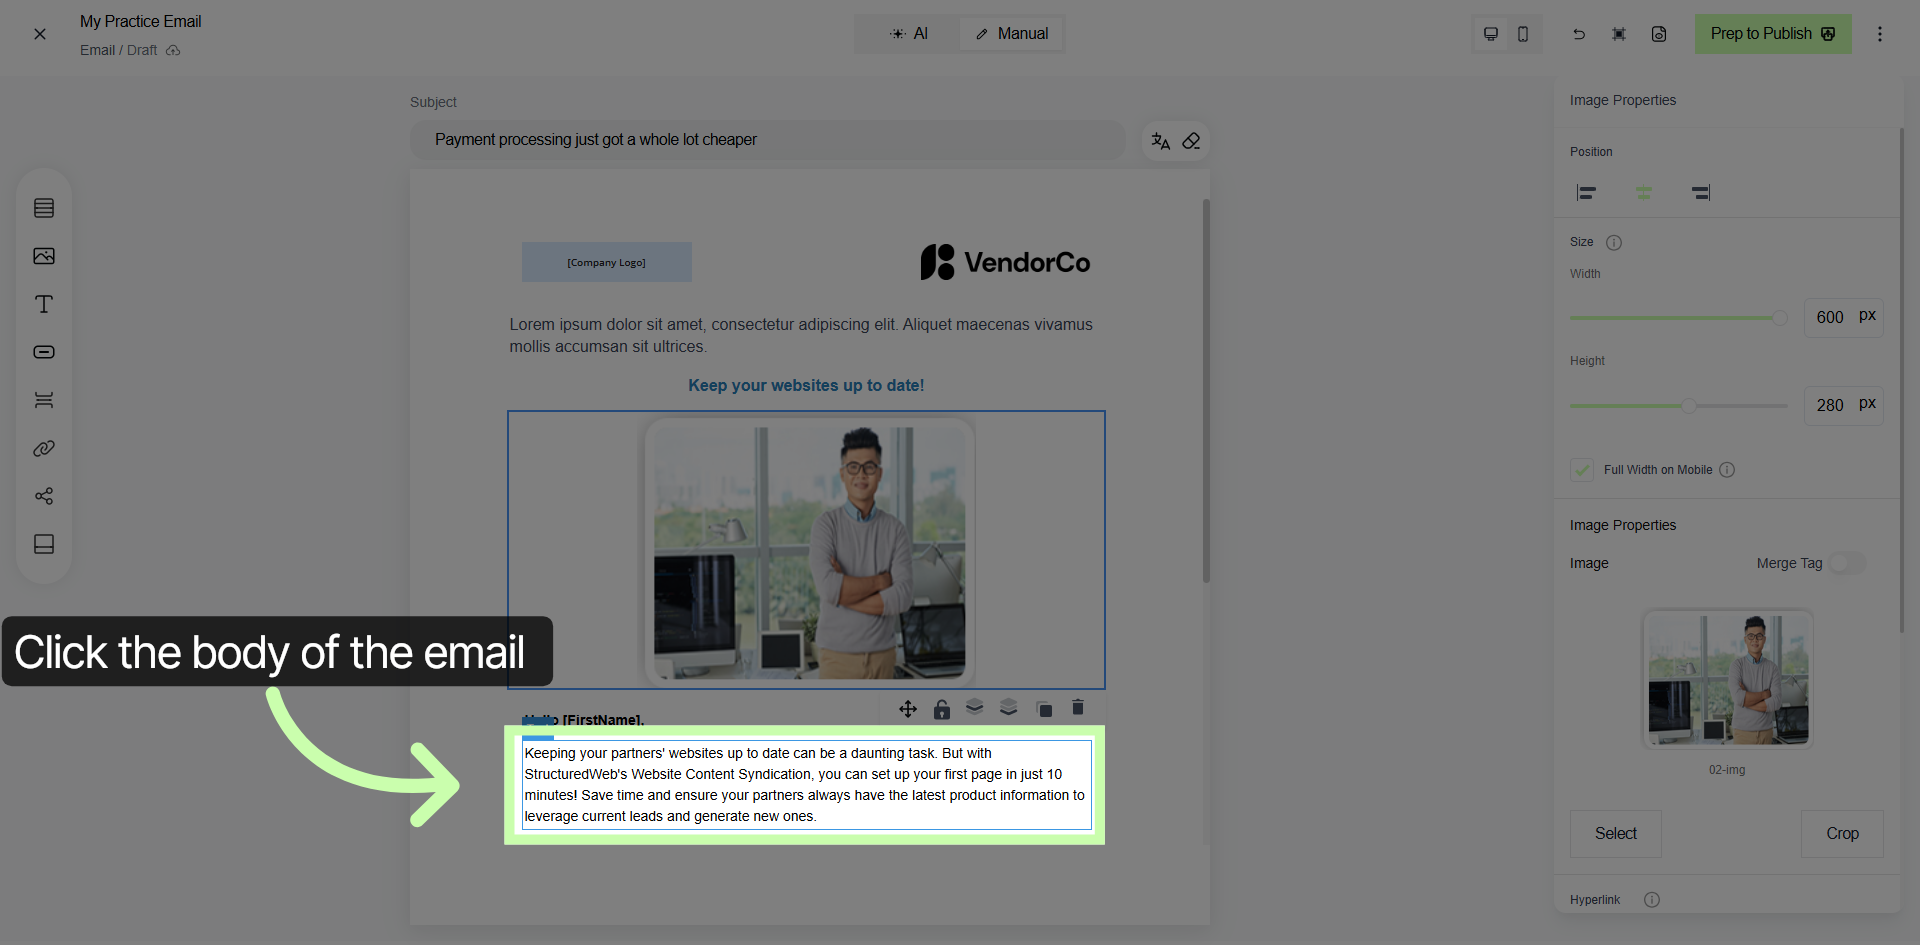
14. Editing Body of Email
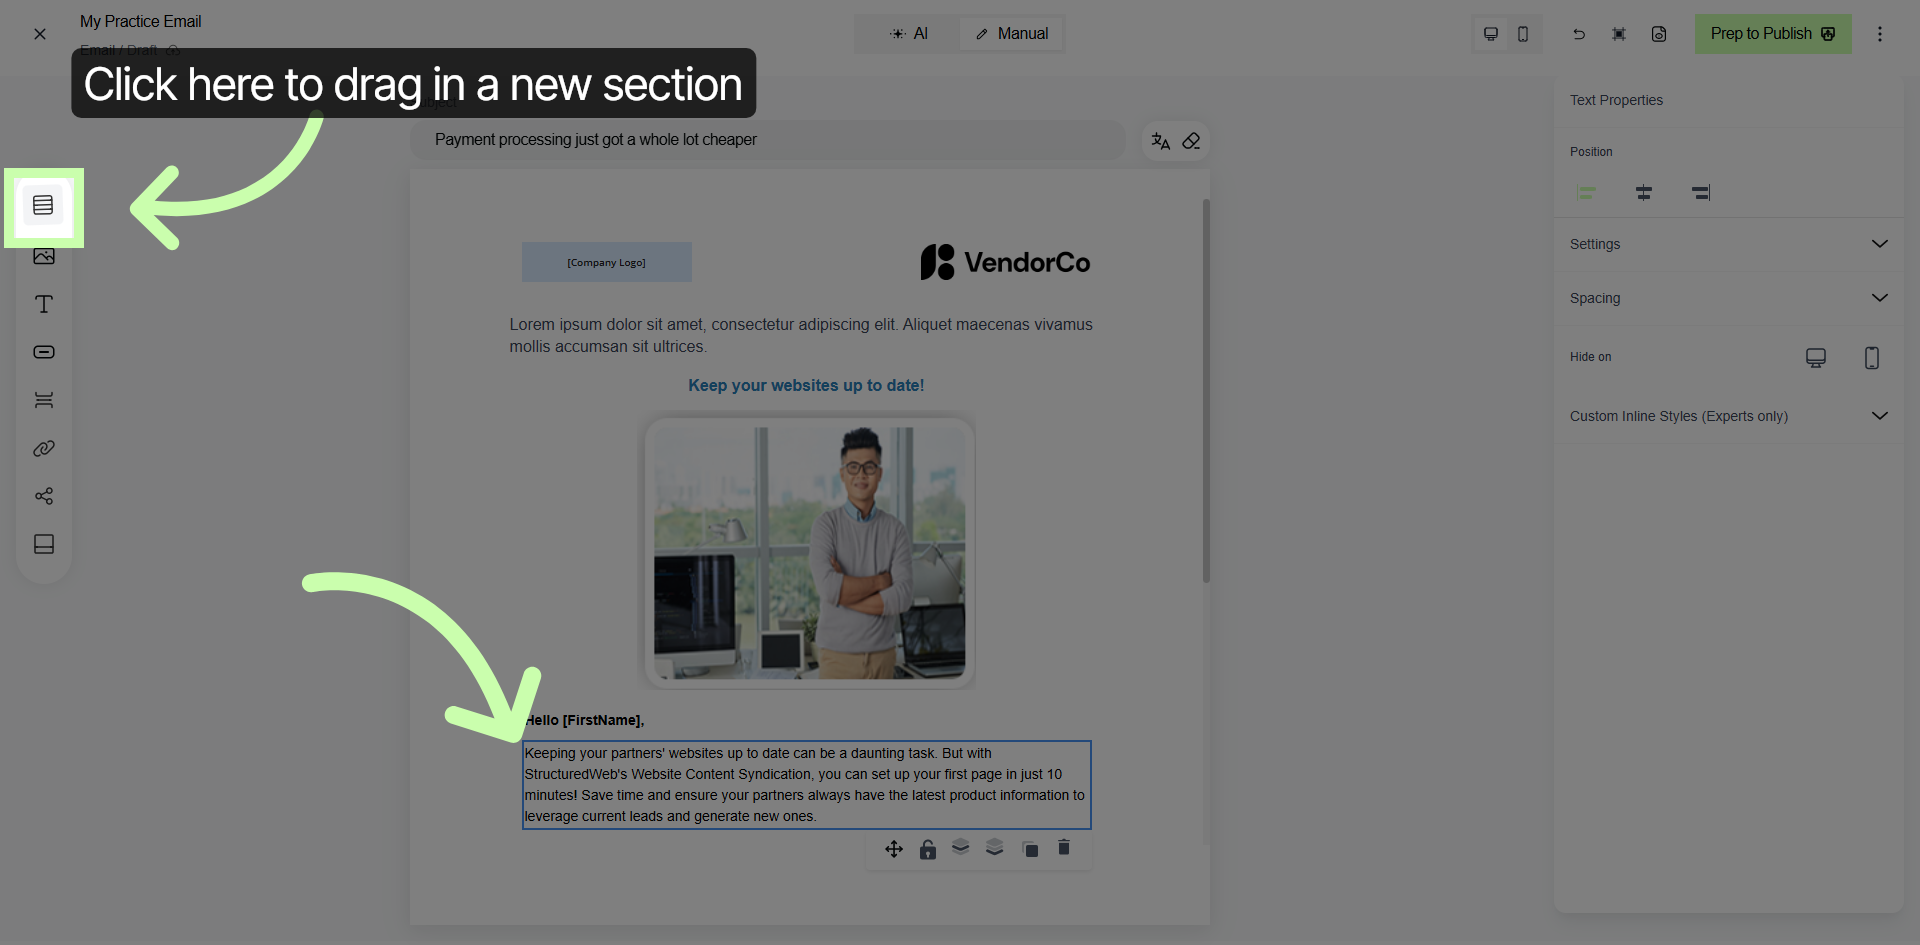
15. Split Layout
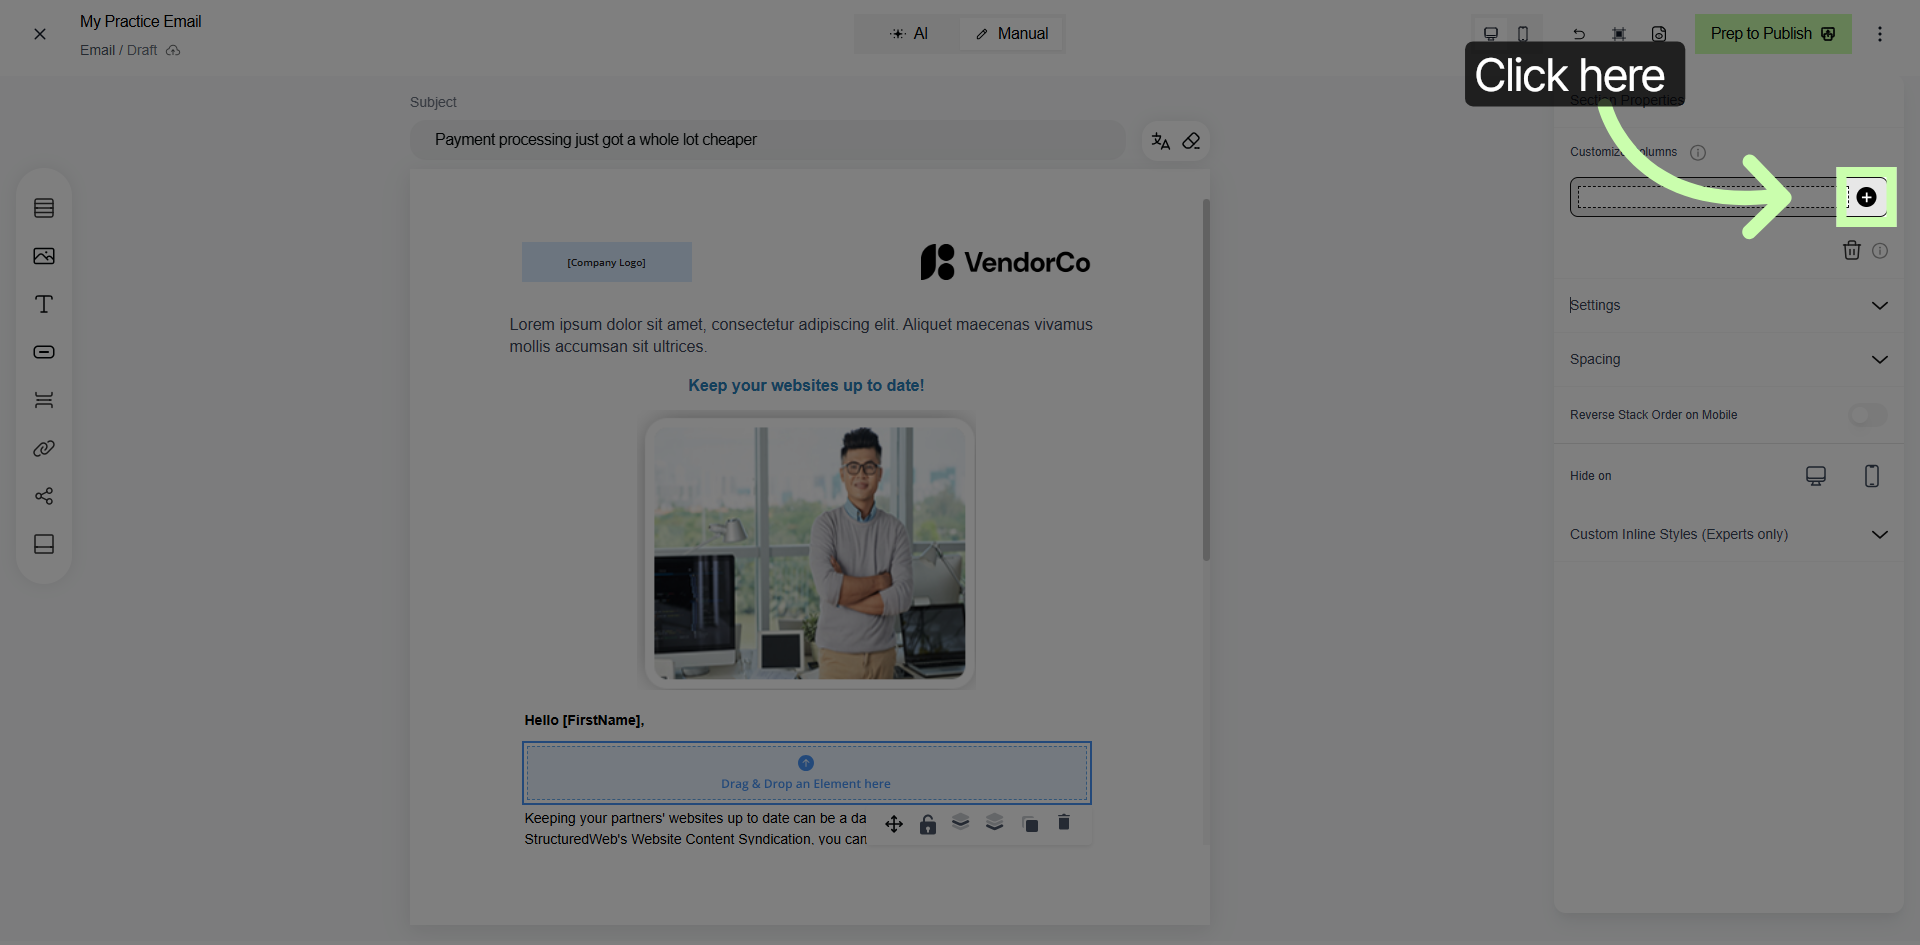
16. Expand Content Sections
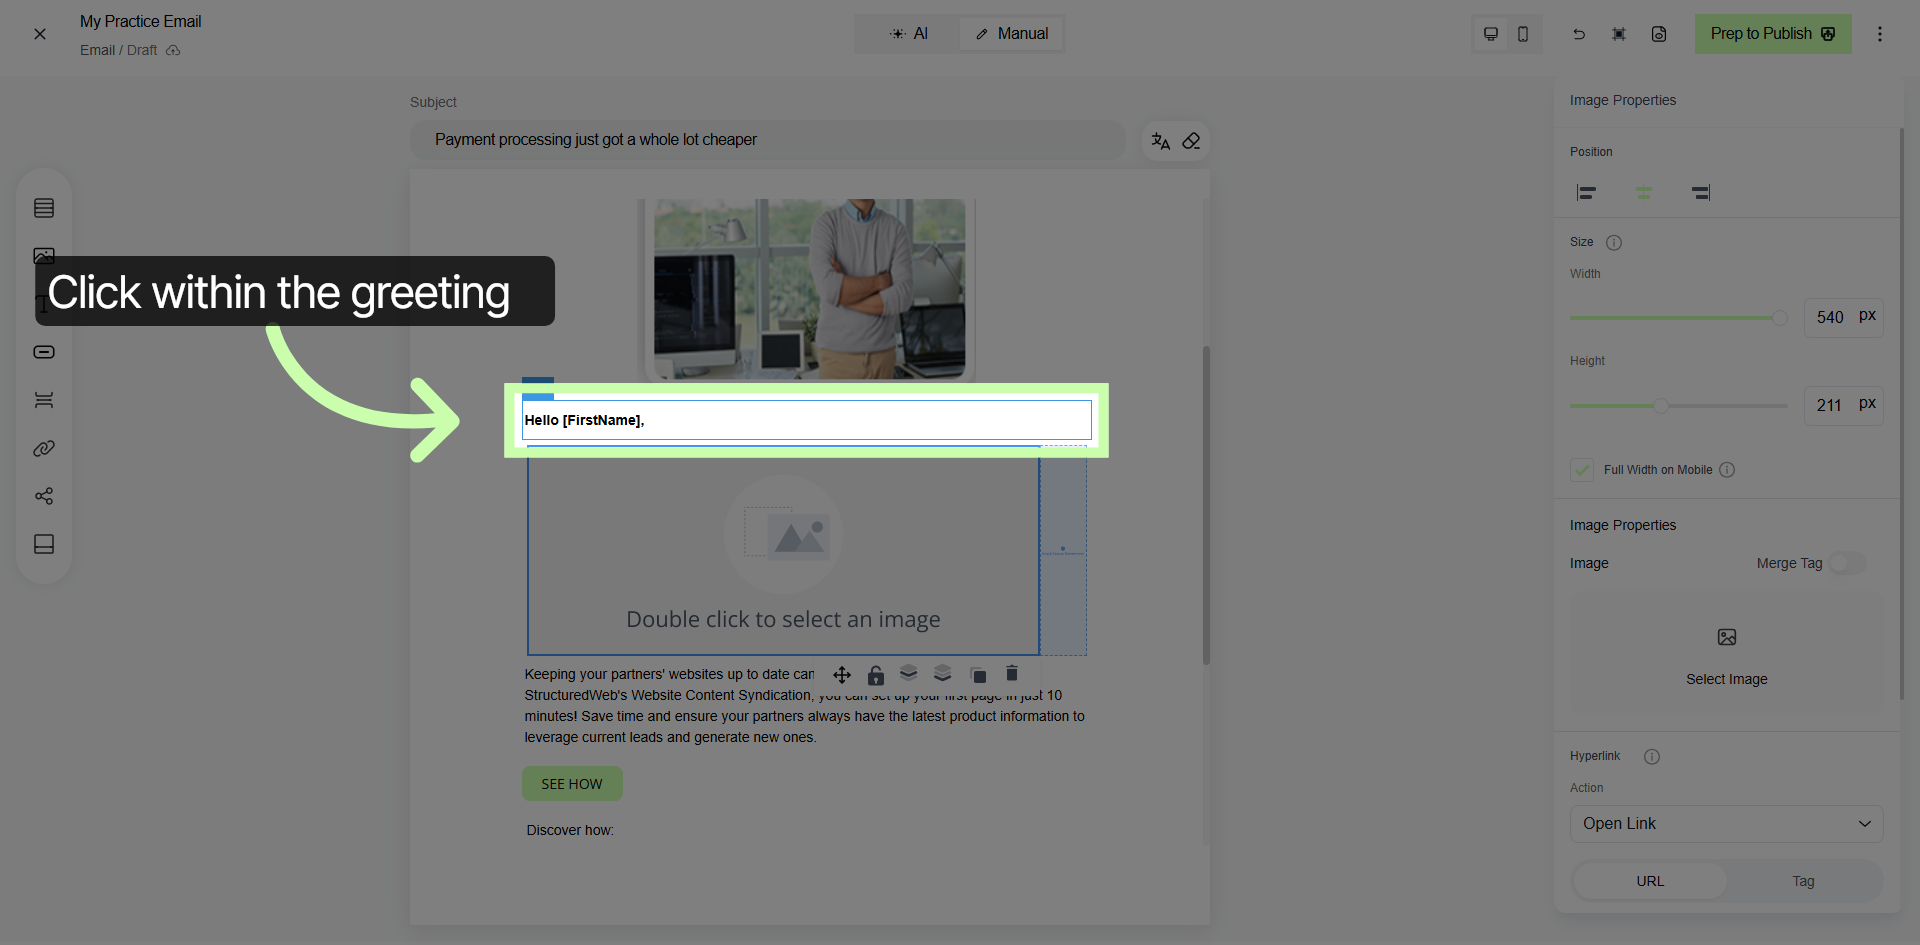
17. Select Greeting Text
18. Access Text Editing Tools
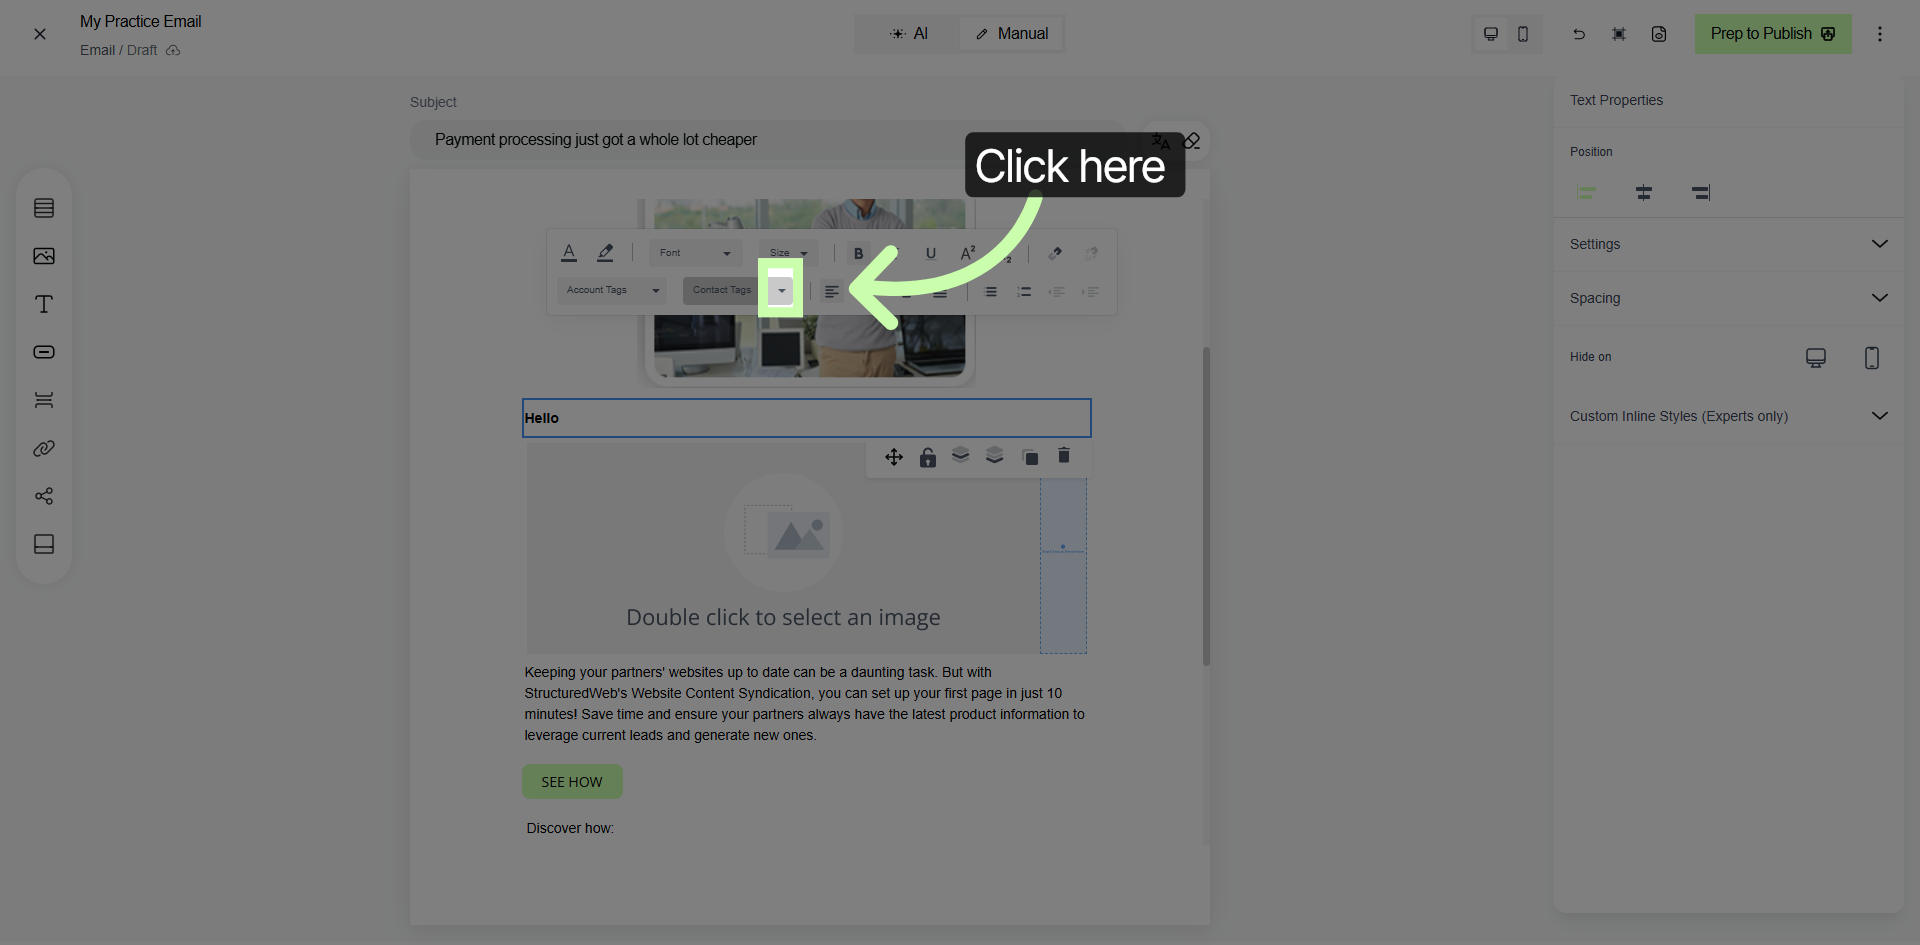
19. Select First Name Field
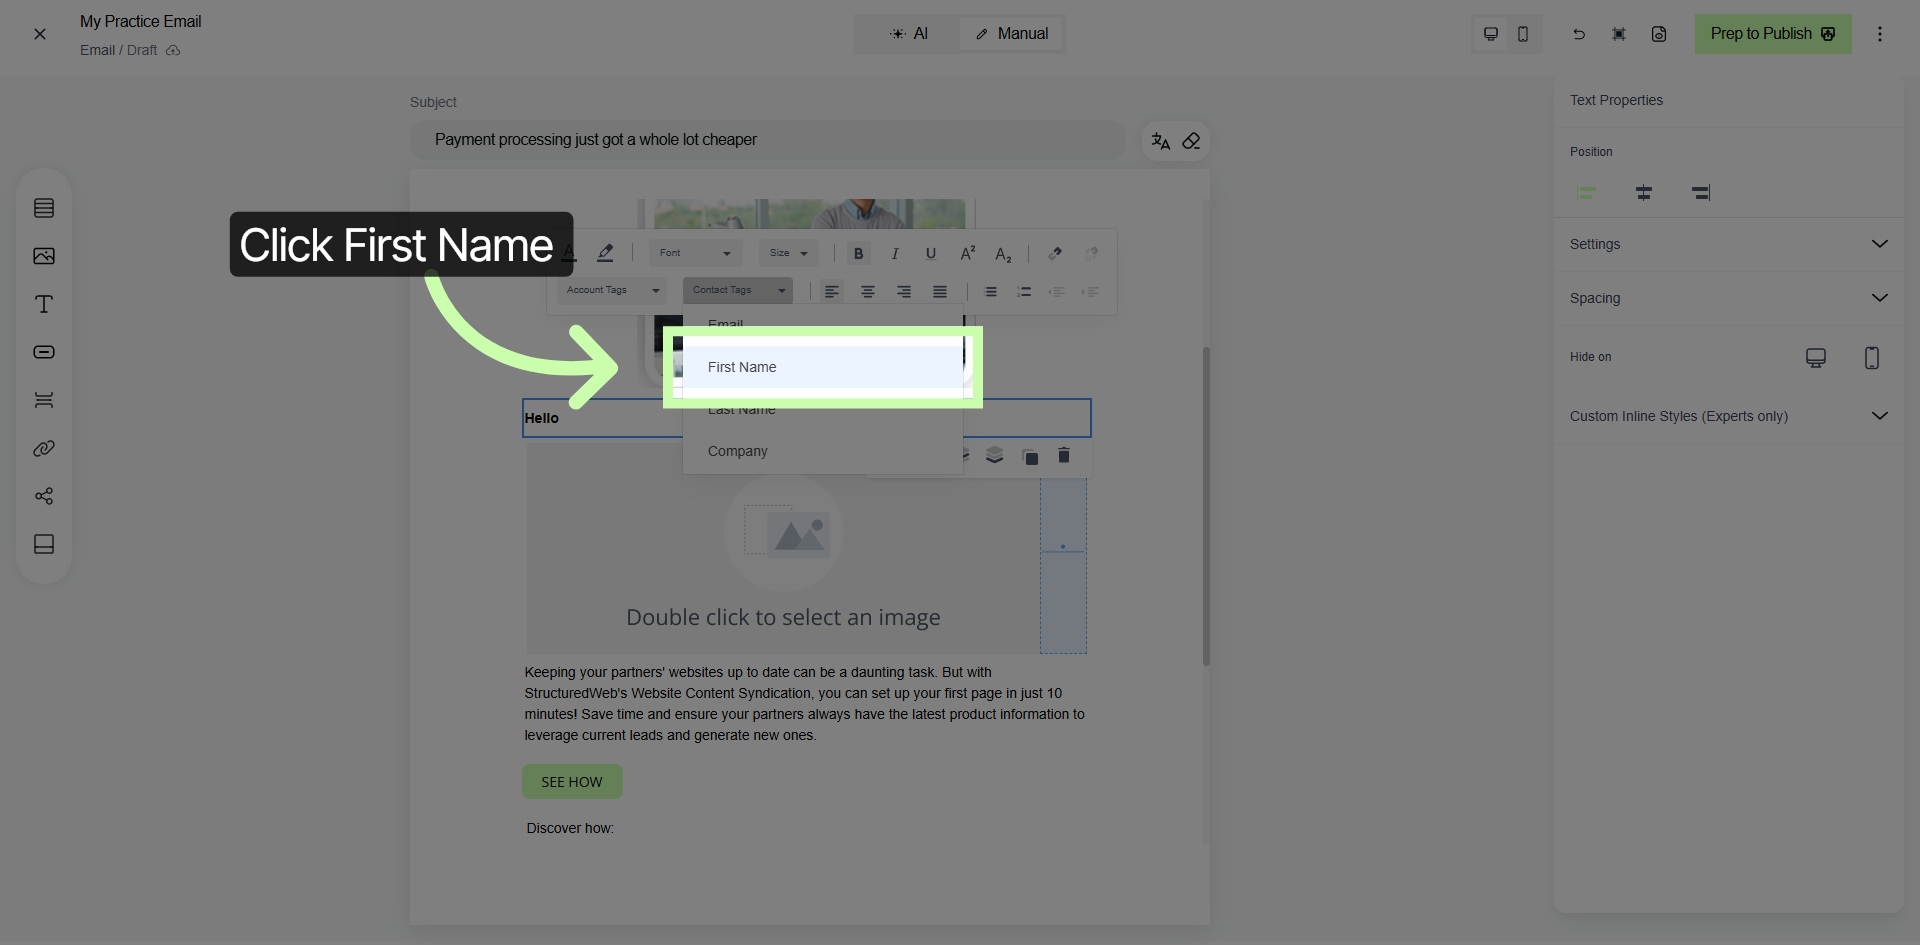
20. Select Language / Translation