 Creating your Email Campaign - Phase 3: Conversion & Testing
- Learn how to personalize email components for your audience
- Tailor messages to better match user needs and preferences
- Organize and manage email content effectively
- Create clear, engaging, and impactful emails
|
Before you begin — open your account This is a hands-on, learning-by-doing session. Open app.structured.ai in your browser and log in to your Tenant Account so you can follow along and apply each step in real time. |
|
Phase 1
Setup & Framework
|
Start Training ➡ |
|
Phase 2
Drag & Drop Editor
|
Start Training ➡ |
|
Phase 3
Conversion & Testing
|
Current Phase ✔ |
Follow Our Step-By-Step Training
1. Introduction
This comprehensive training is designed to walk you through the entire process of configuring and publishing email campaigns by utilizing the capabilities of Structured AI. You will learn step-by-step how to set up your email campaigns effectively, ensuring that all necessary parameters and settings are correctly configured.
Additionally, the training will cover the best practices for publishing your campaigns, allowing you to reach your target audience efficiently and maximize the impact of your marketing efforts through Structured AI's advanced tools and features.
2. Open Email Editor
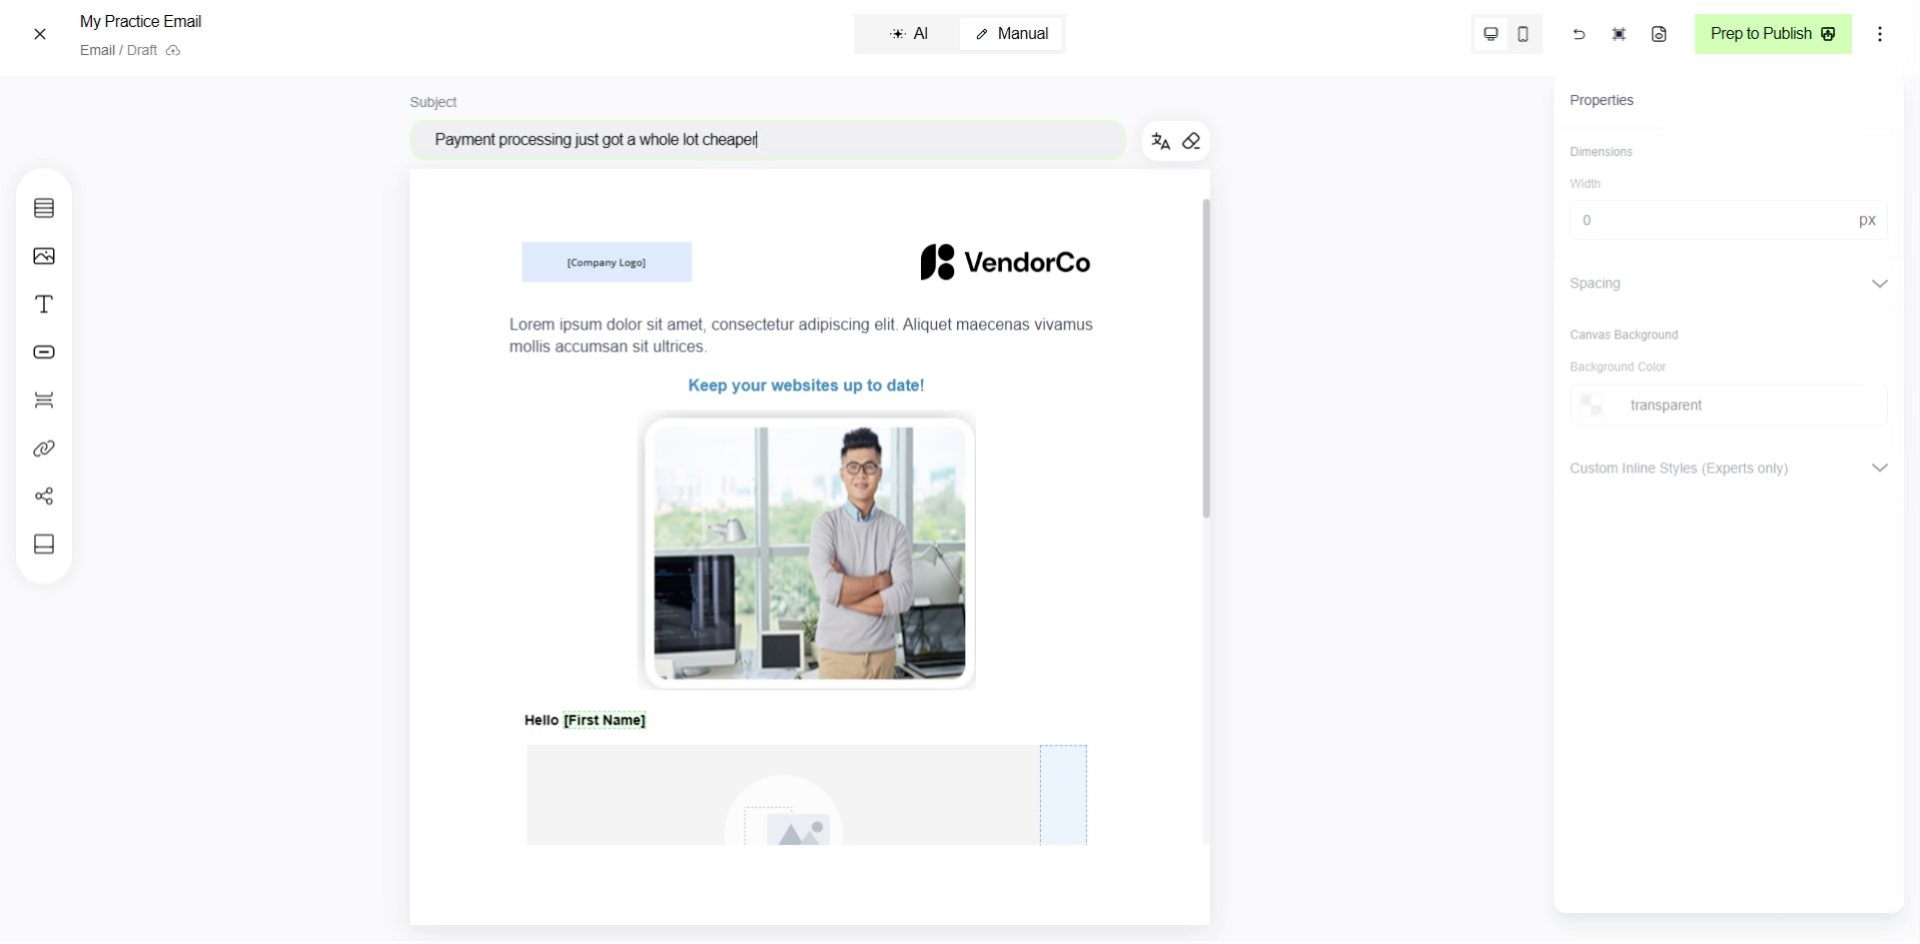
Just a quick recap, on the left side of the interface, you will find a dedicated panel that contains all of your Drag & Drop elements. This panel is designed to provide easy access to a variety of components that you can simply click on, drag, and then drop into your workspace.
The intuitive drag-and-drop functionality ensures a smooth and efficient workflow, making it easier for you to design exactly what you envision.
3. Access Email Template Options
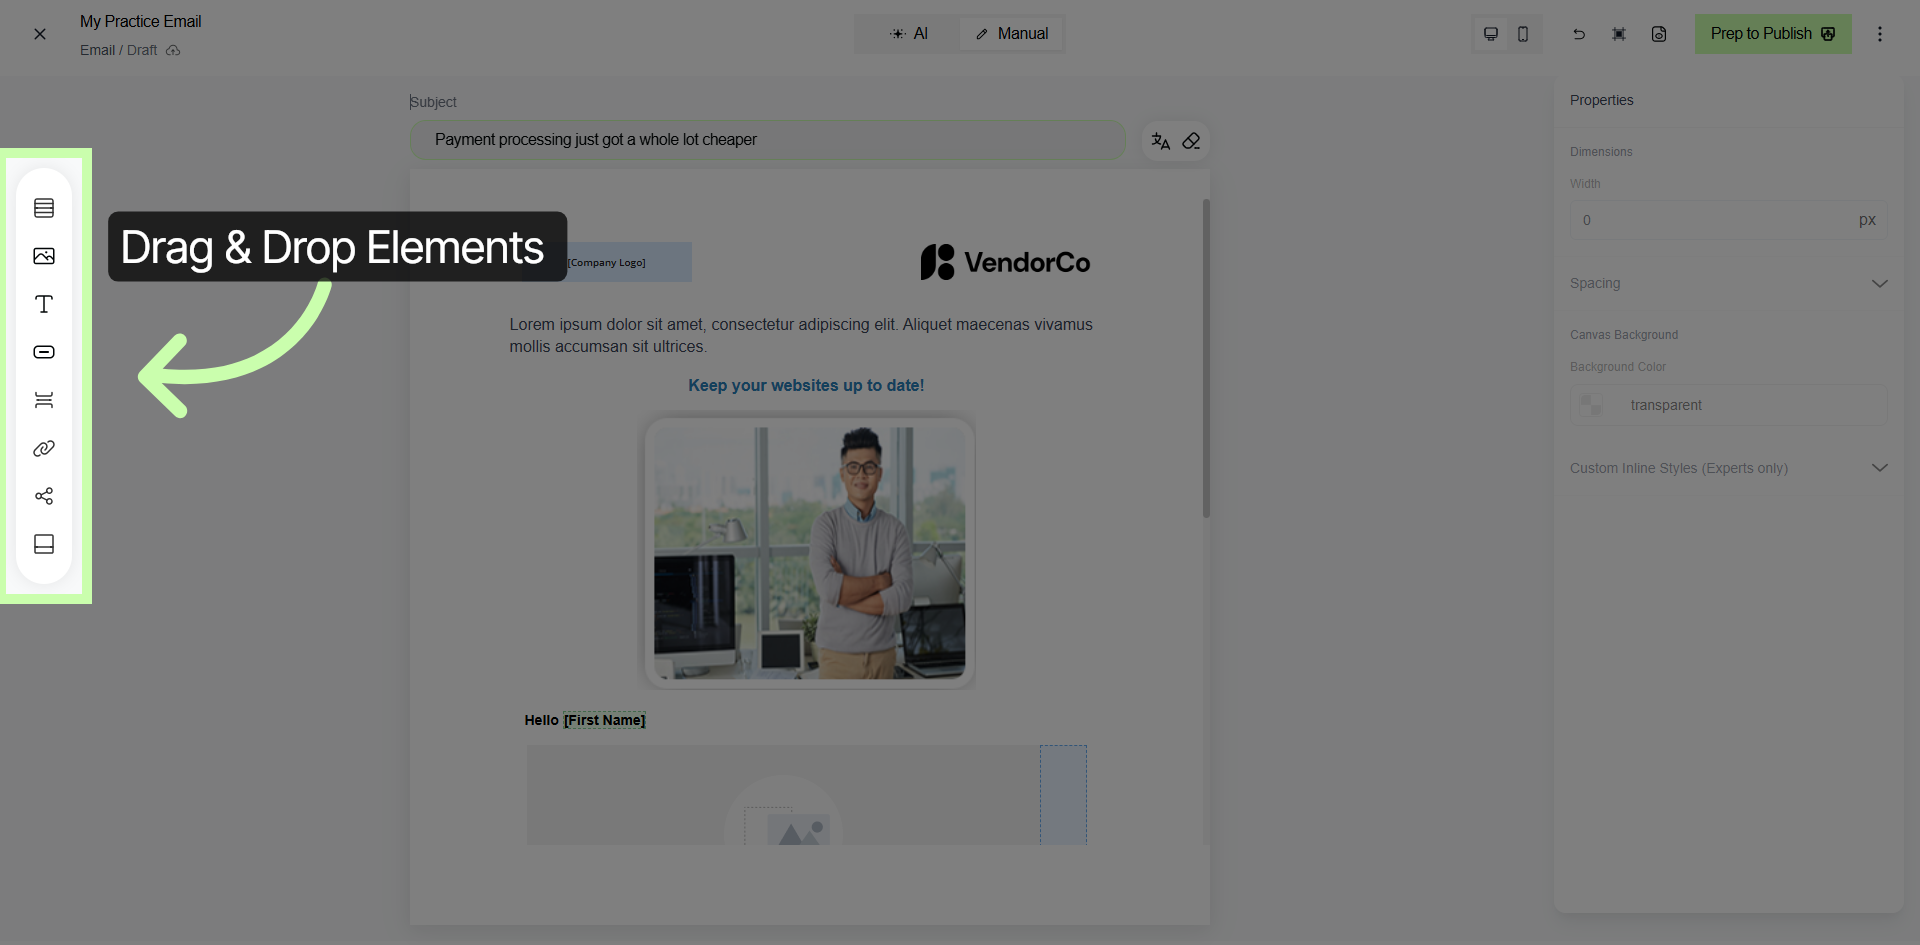
In Phase 2, we added a headline, an image and a new section. Let's proceed by adding or updating a call-to-action button in your email. To do this, start by dragging a Button element into a newly created section of your layout.
Once the Button element is in place, you can then customize its text, style, and link to align with your specific goals and branding, which we will review in later steps.
4. Add Button Element
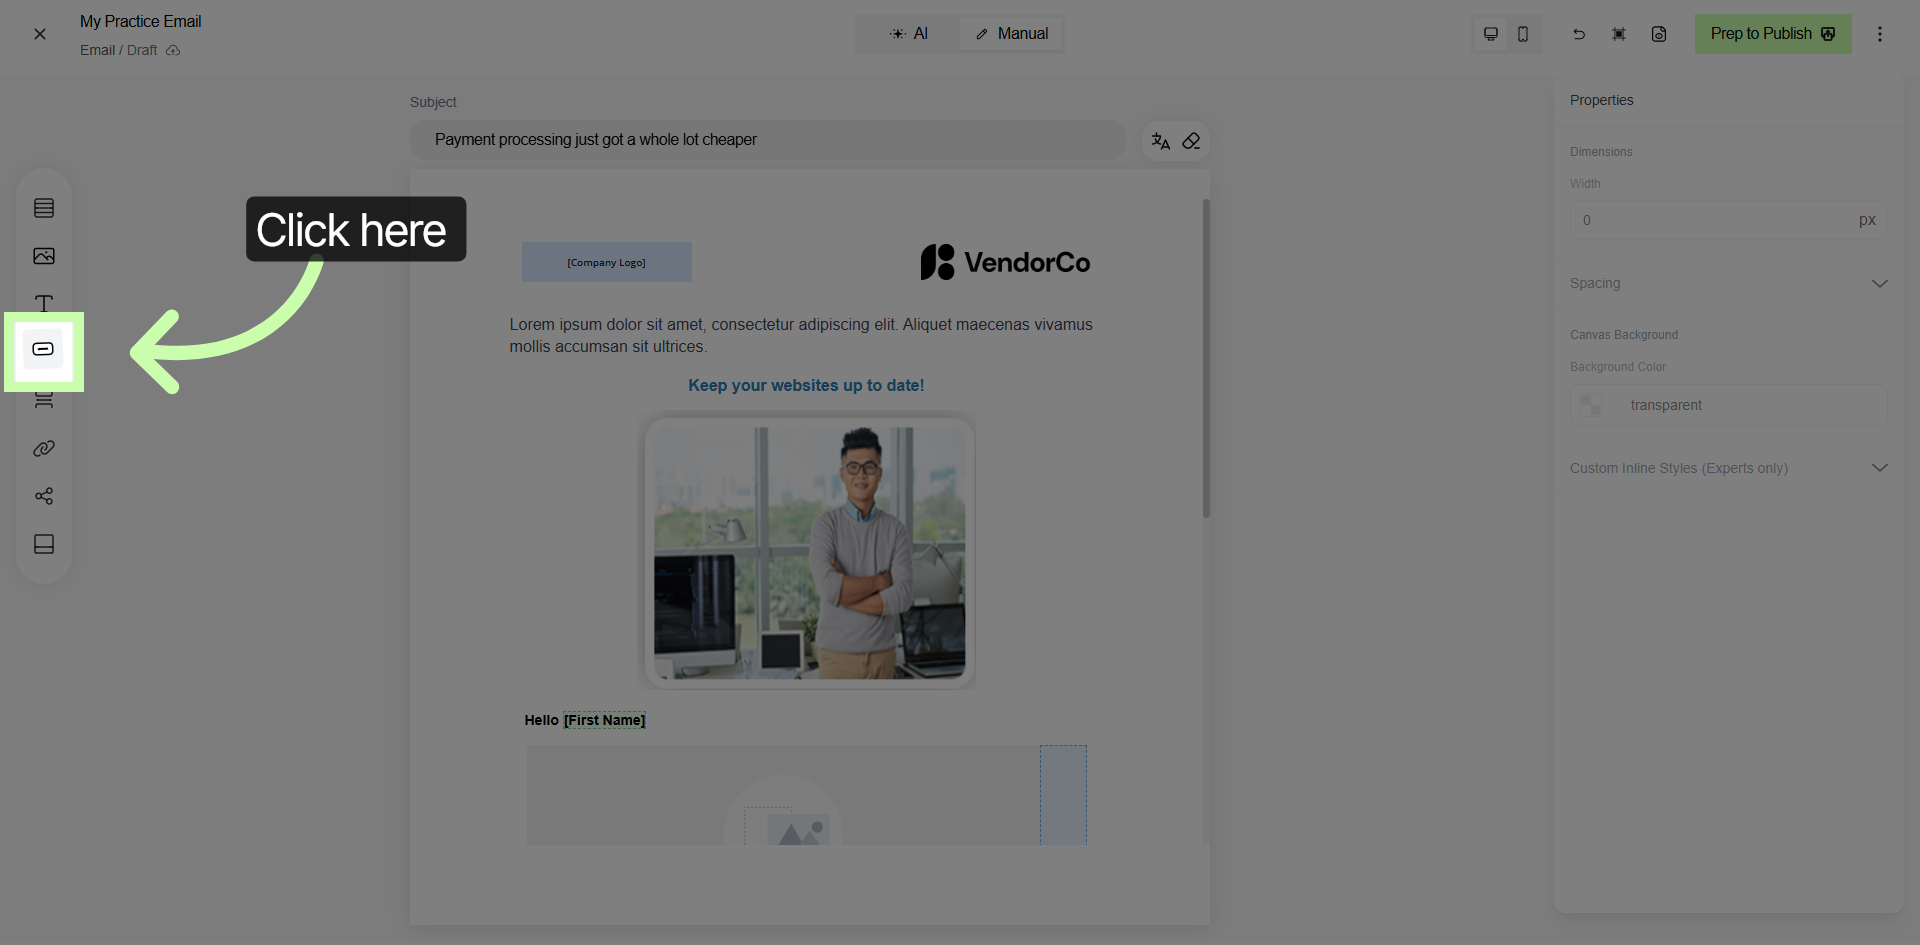
To customize the button, first click on the Button element. This action will allow you to edit the text displayed on the button. Additionally, you can configure various properties of the button, such as its size, color, font style, alignment, and behavior when clicked.
Adjusting these settings enables you to tailor the button's appearance and functionality to better suit your design and user experience goals.
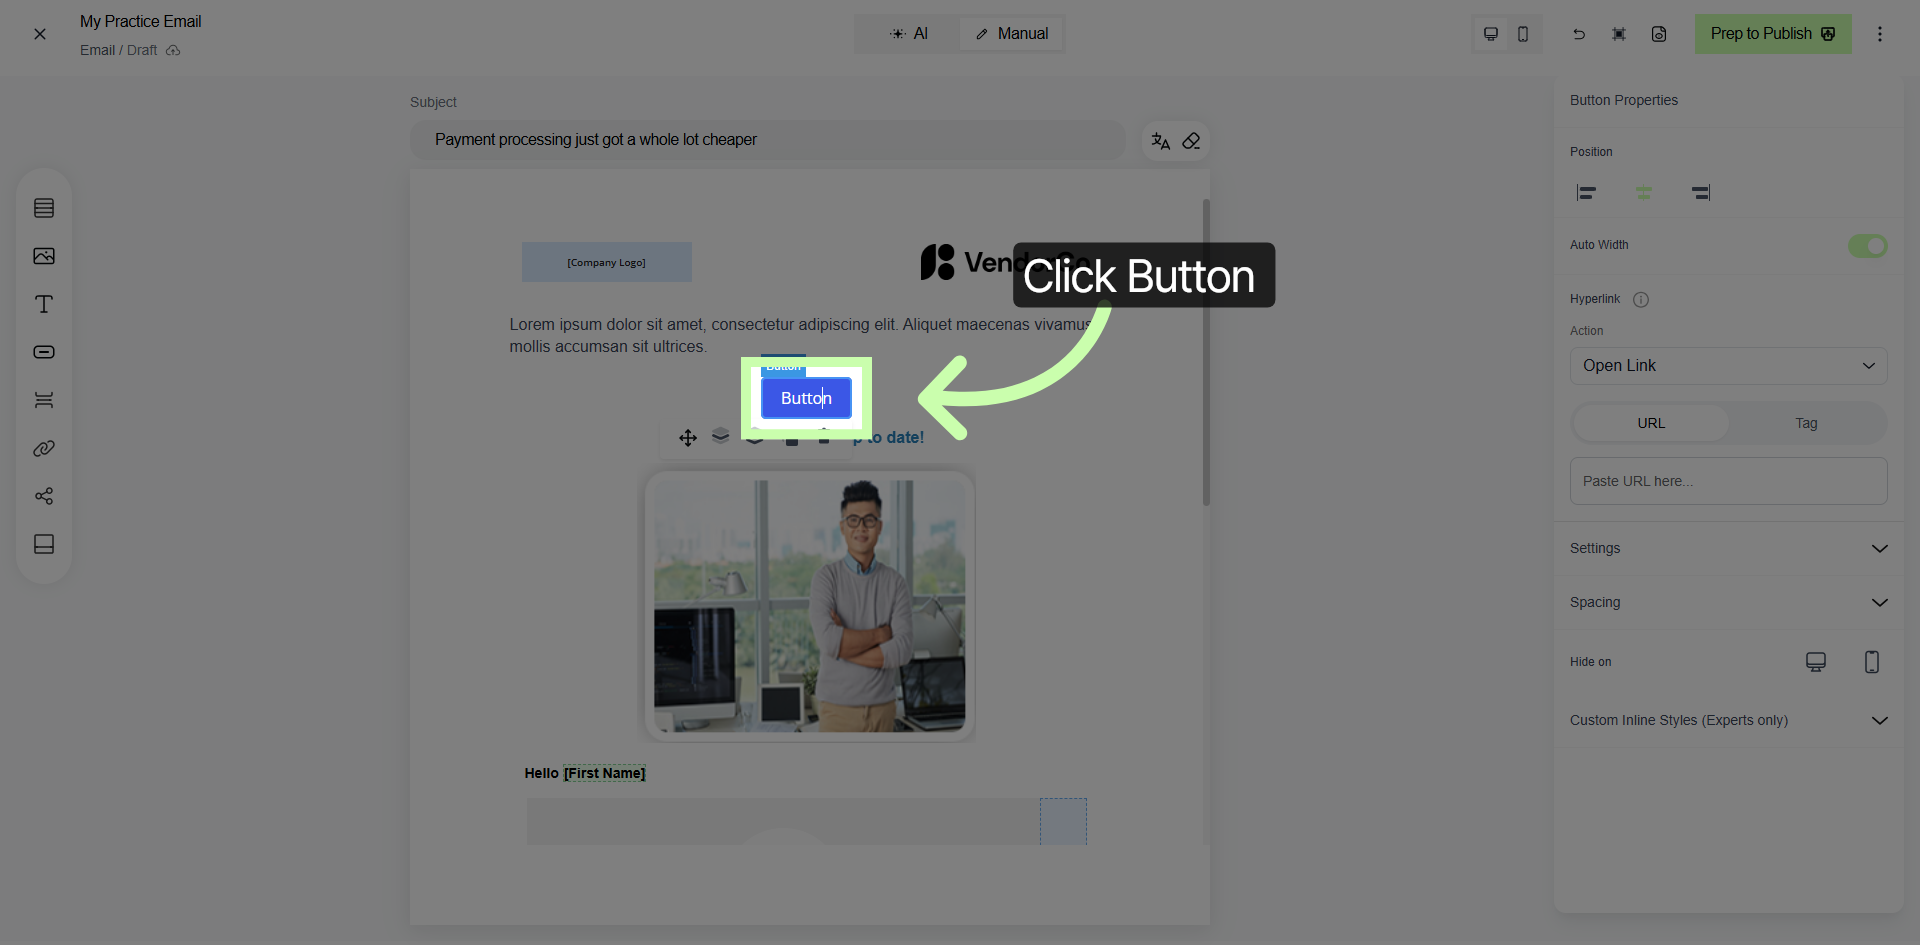
5. Set Button Text
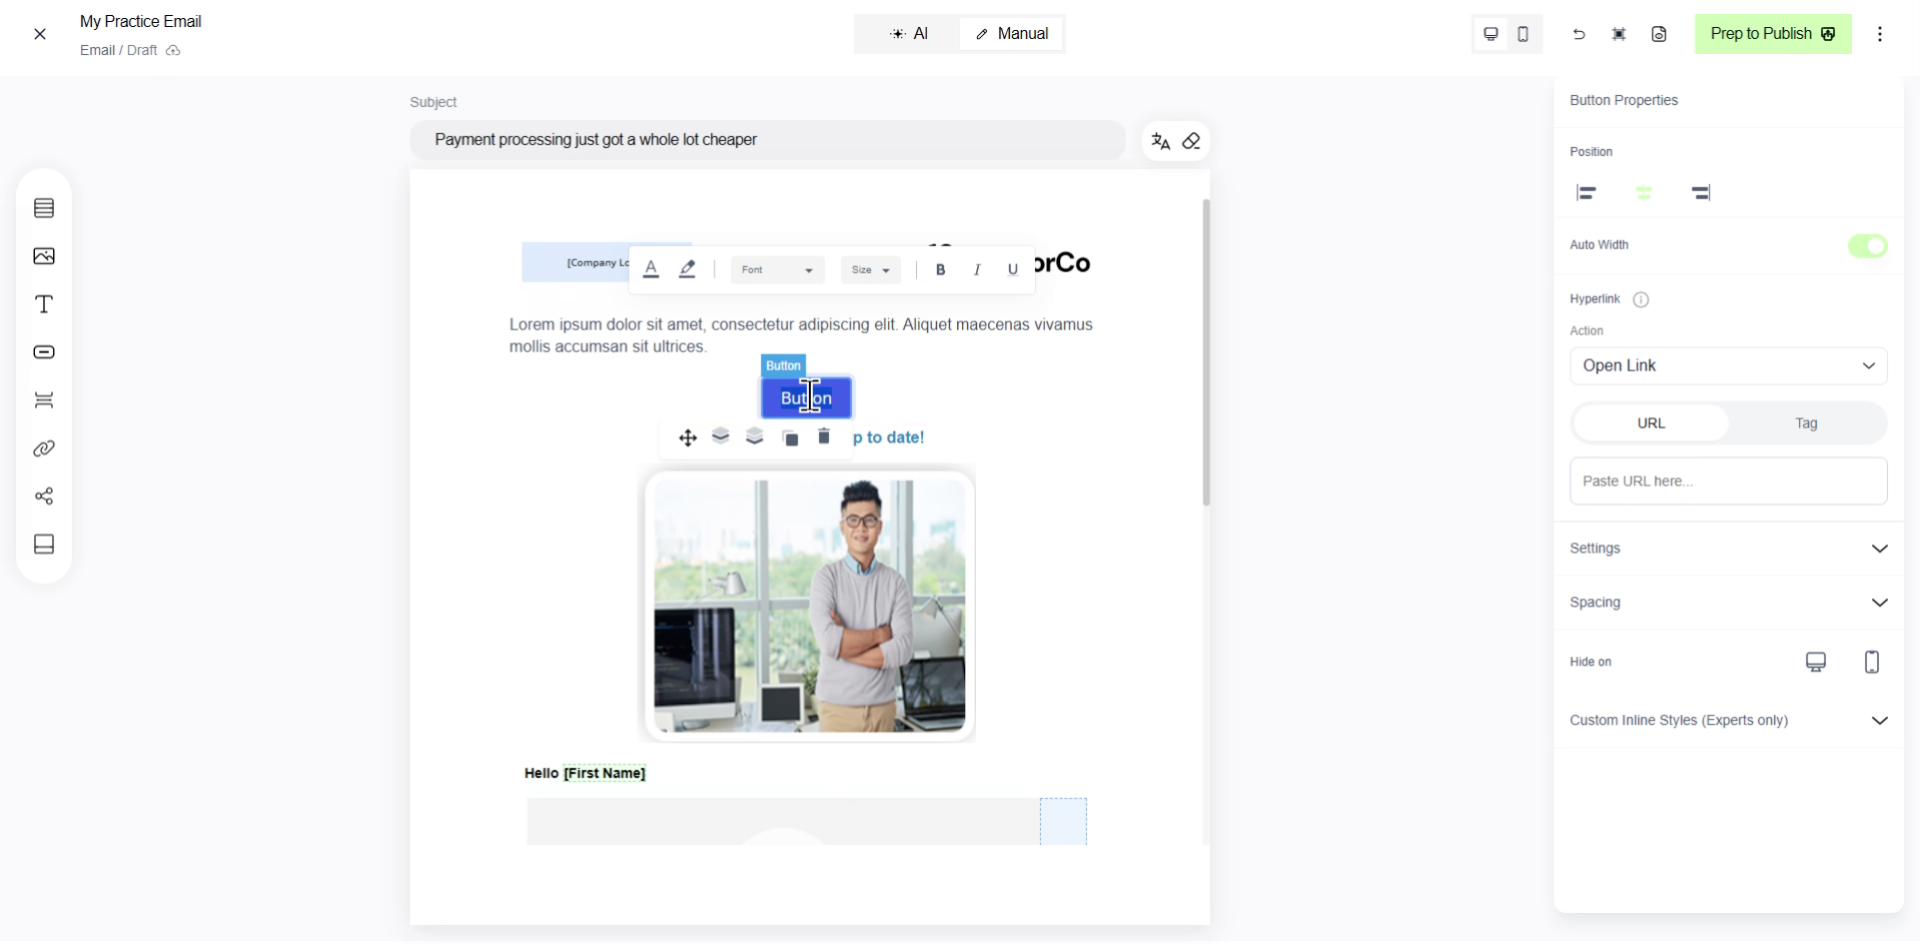
6. Select Call-To-Action Button
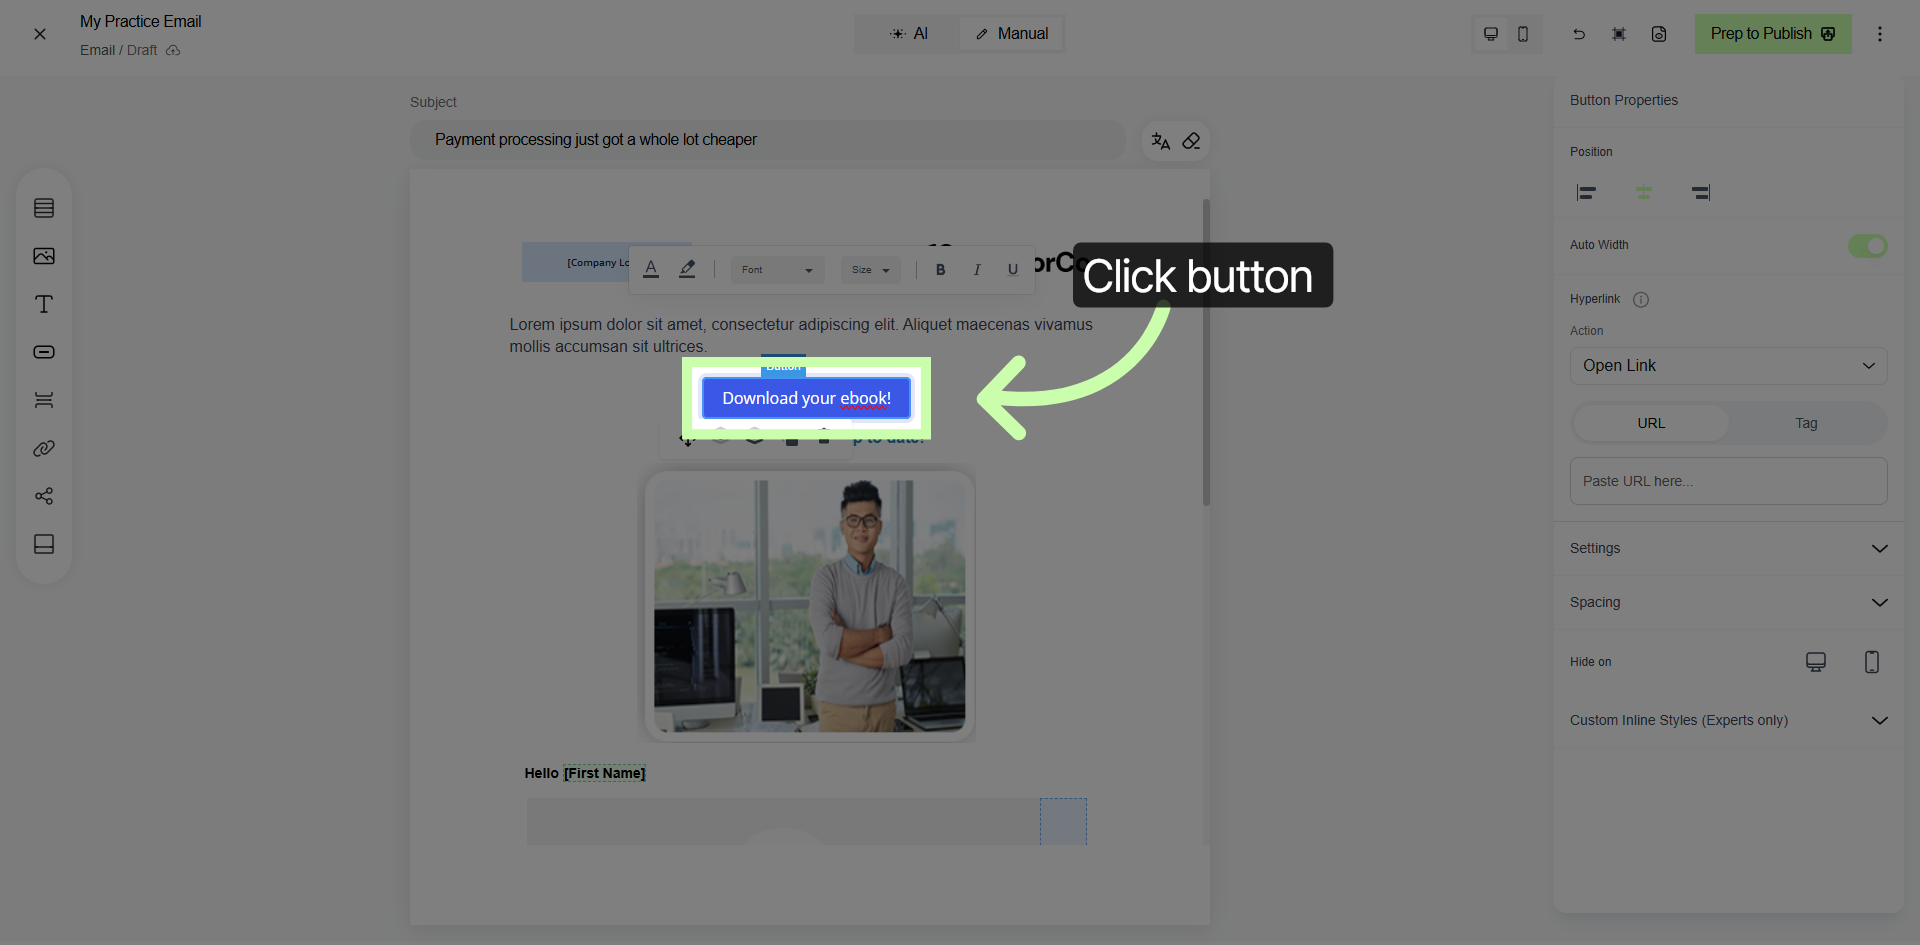
7. Open Button Properties
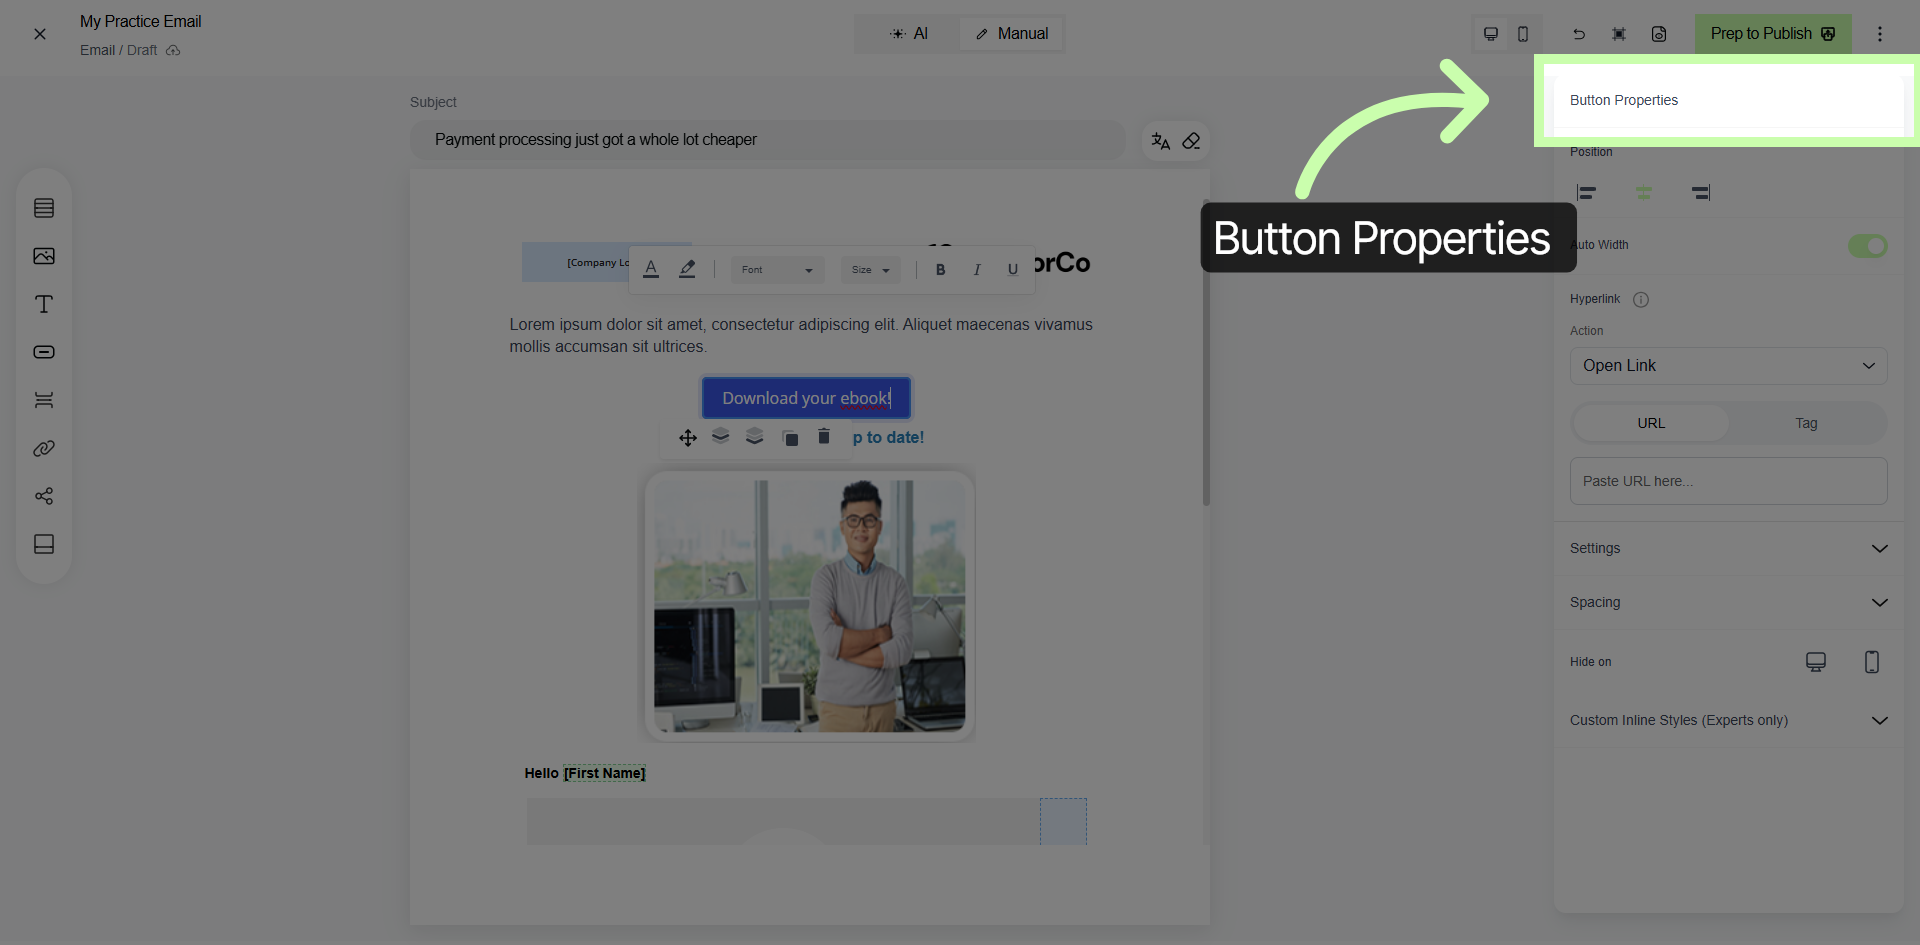
The properties for the Call to Action button are located in the right panel of the interface. Within this panel, you will find a variety of customization options specifically designed for the button you have selected.
These options allow you to modify the appearance, behavior, and other attributes of the Call to Action button to better suit your needs and enhance user engagement.
8. Choose Link Type
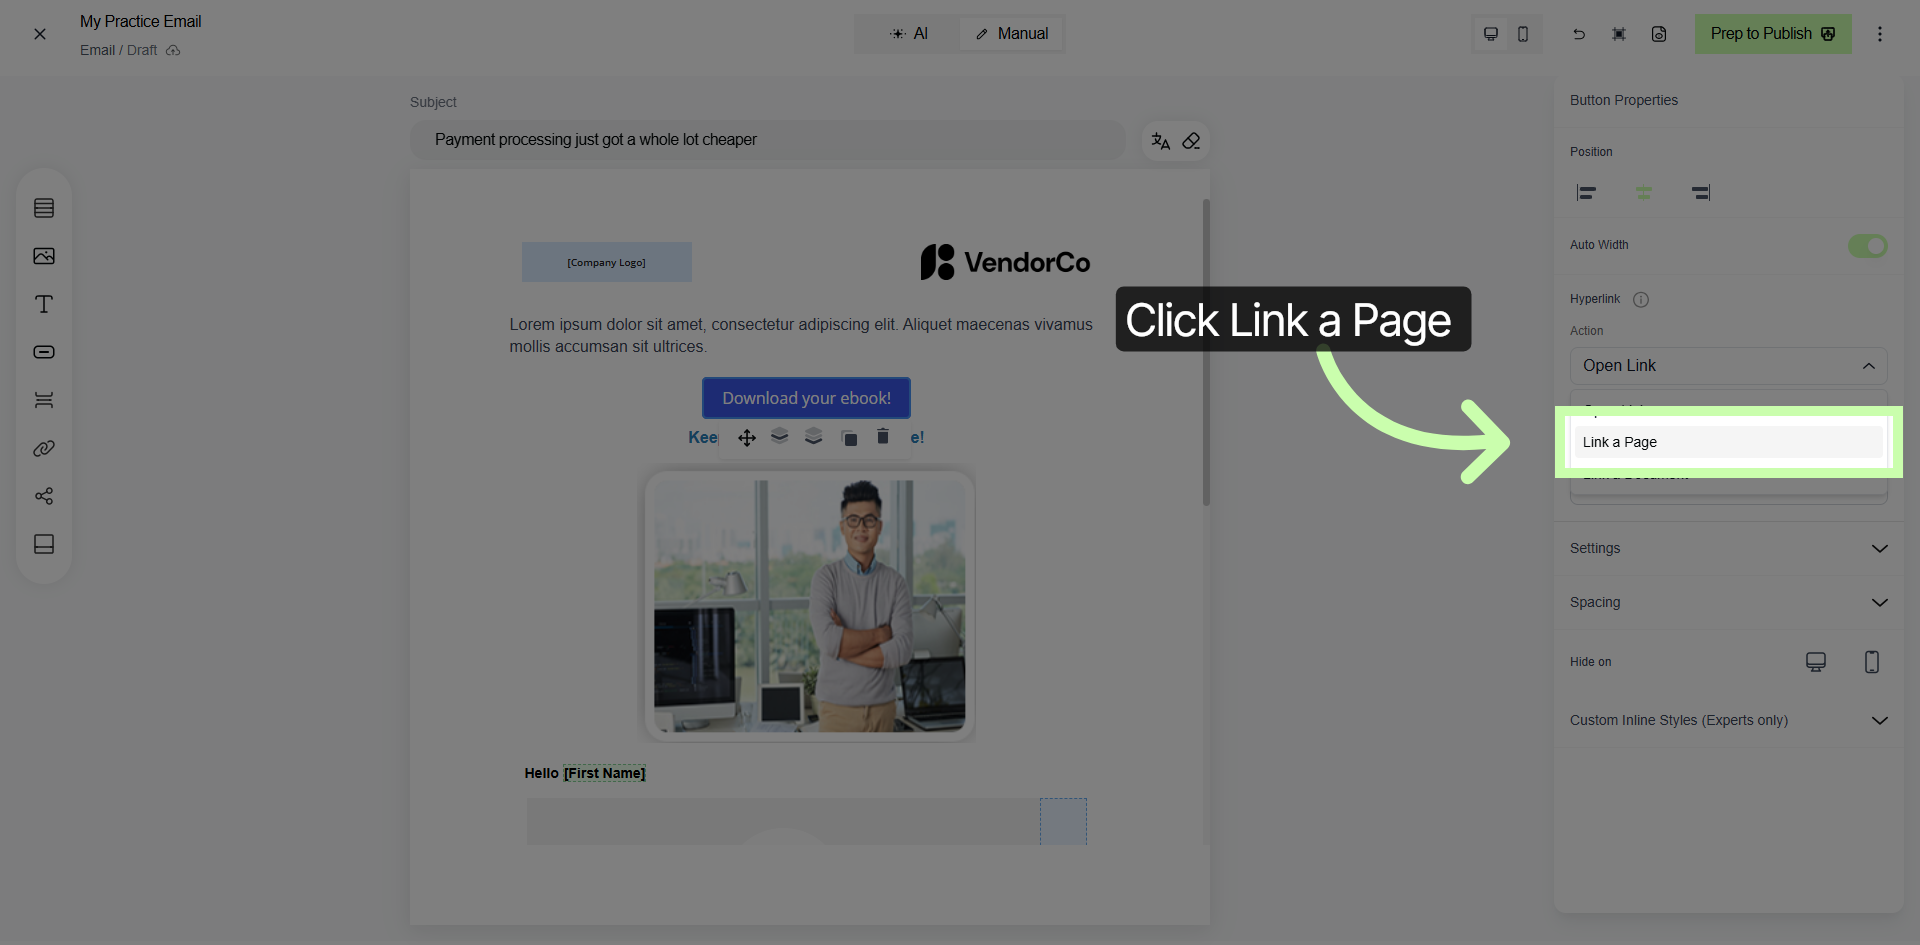
9. Link Document Option
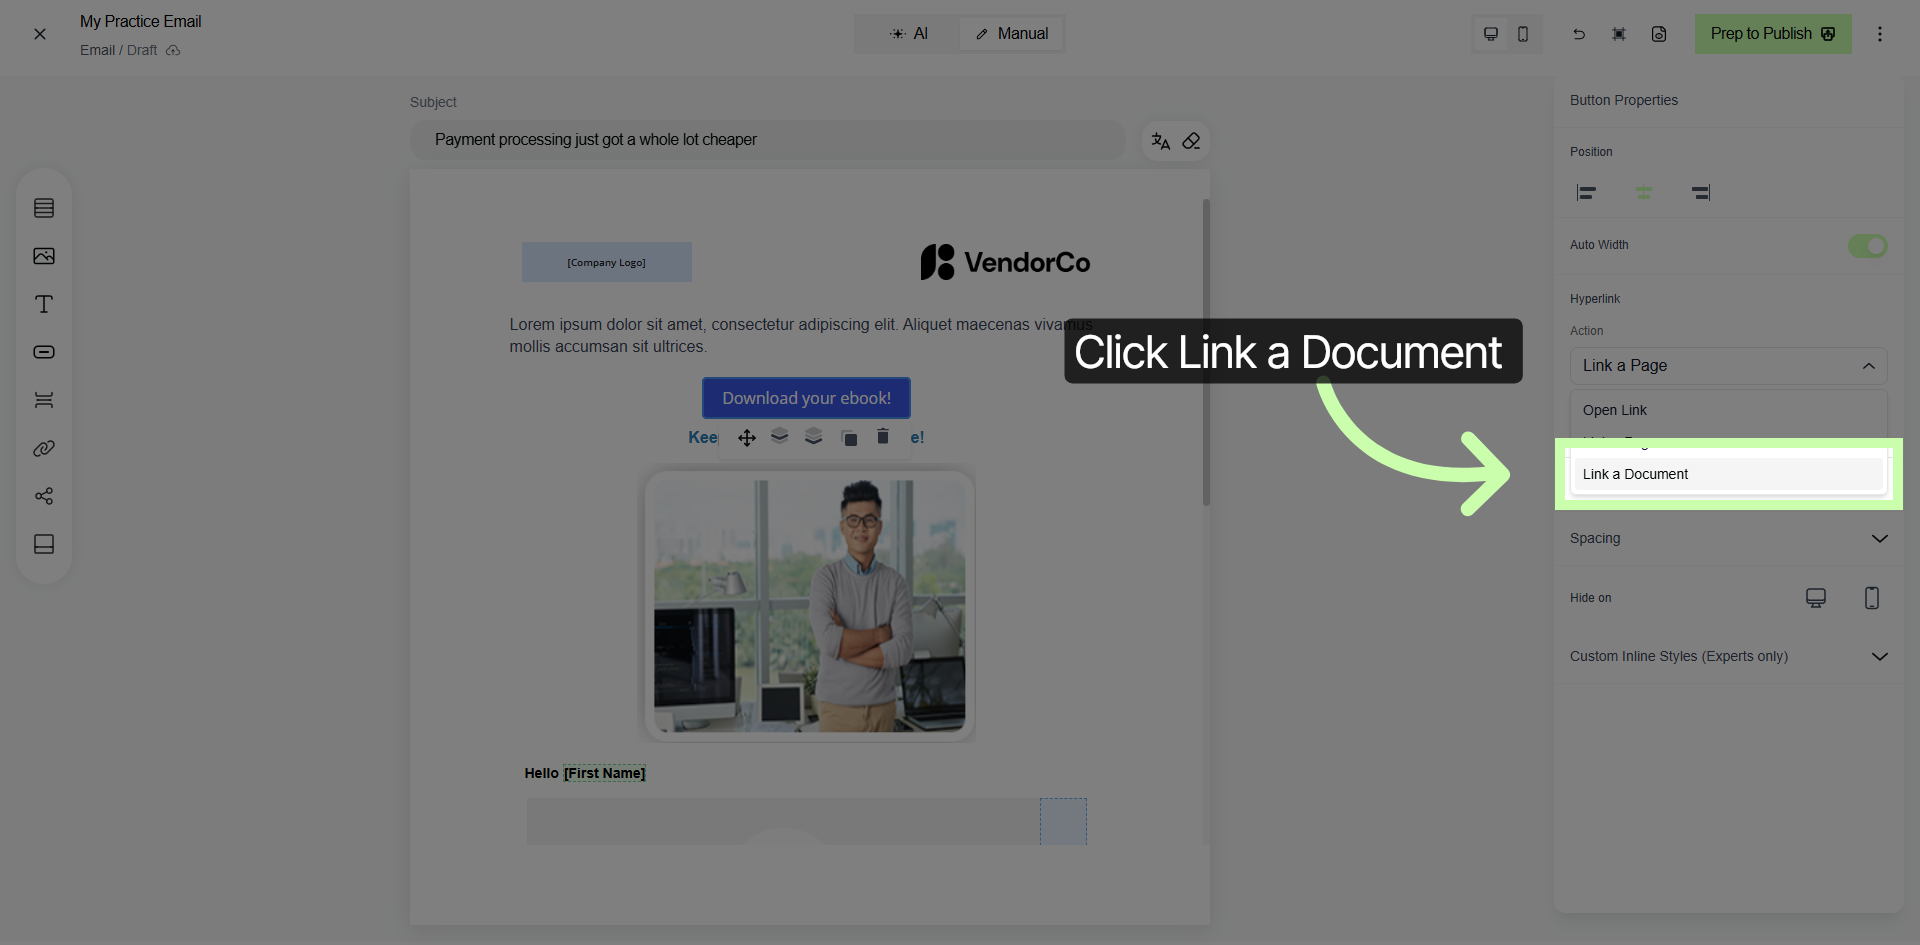
10. Open Publish Preparation
Once you have completed all the necessary edits and are satisfied with the content of your email, you are now ready to move forward with publishing it.
To initiate the process of preparing your email campaign for distribution, simply click on the Prep to Publish button. This action will start the steps required to finalize your email and get it ready for sending out to your intended recipients.
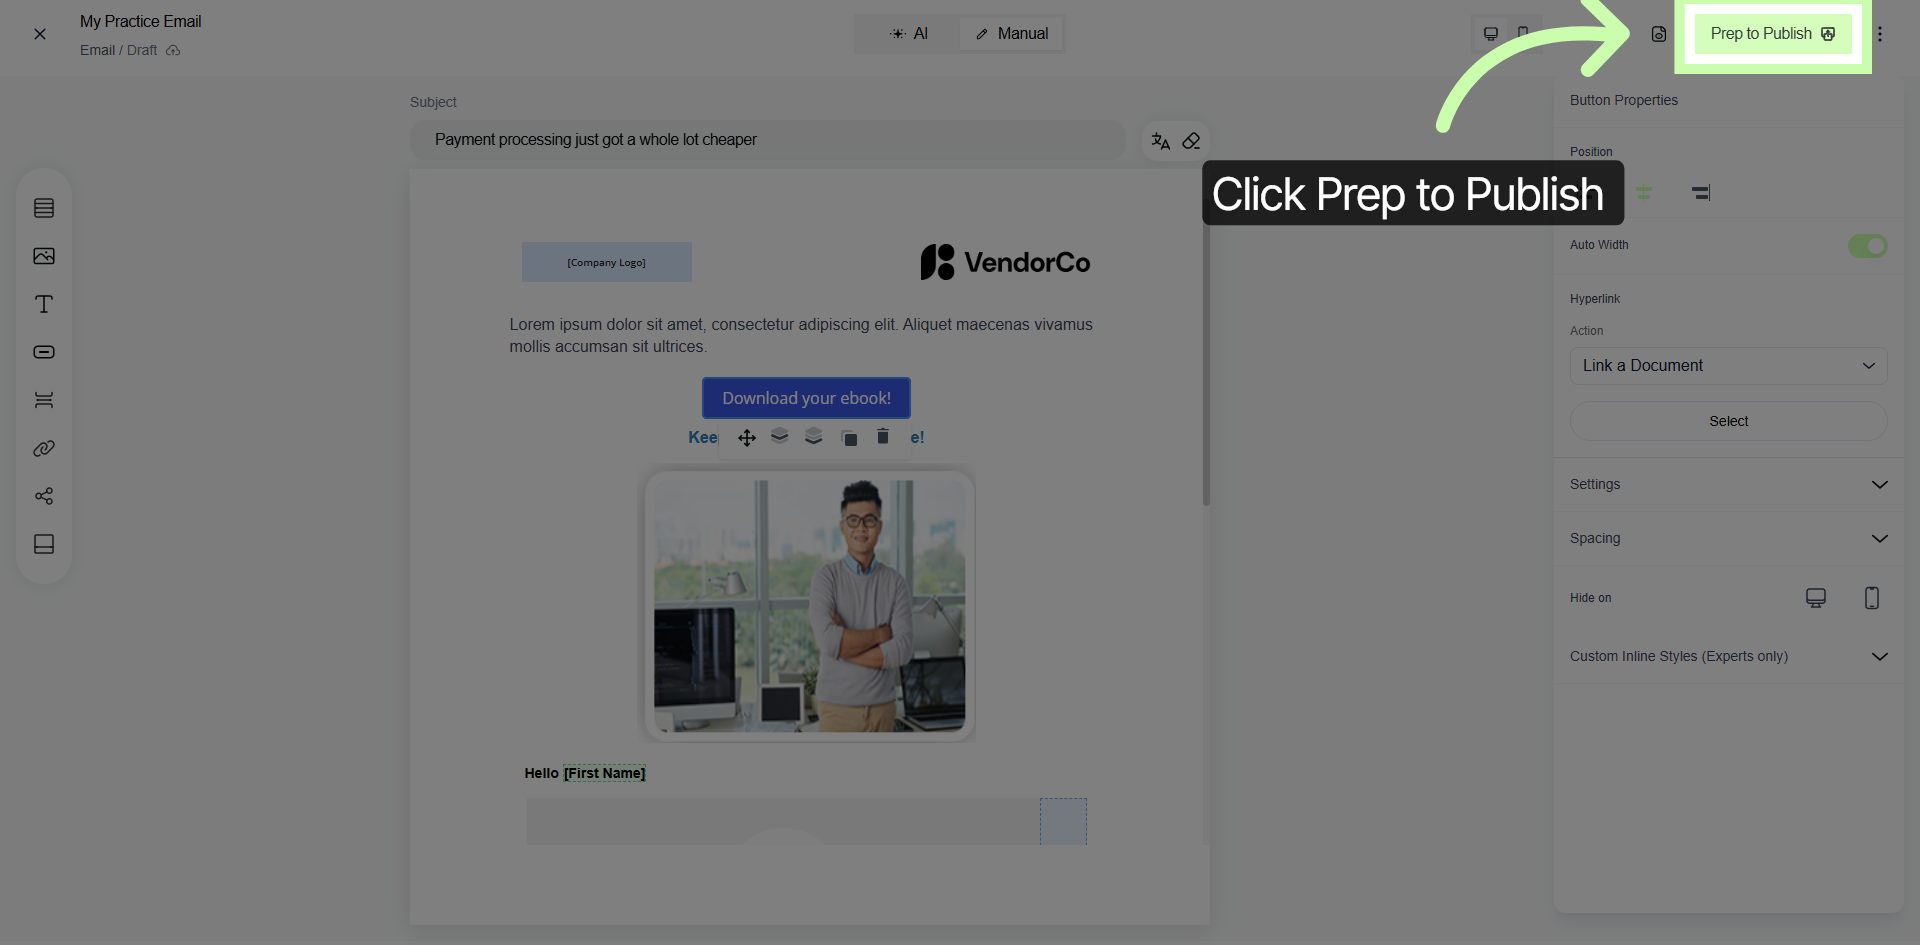
11. Access Content Settings
Click on the Content tab to carefully review and make any necessary edits to the email content before proceeding with publishing. This step ensures that the message is clear, accurate, and ready for distribution.
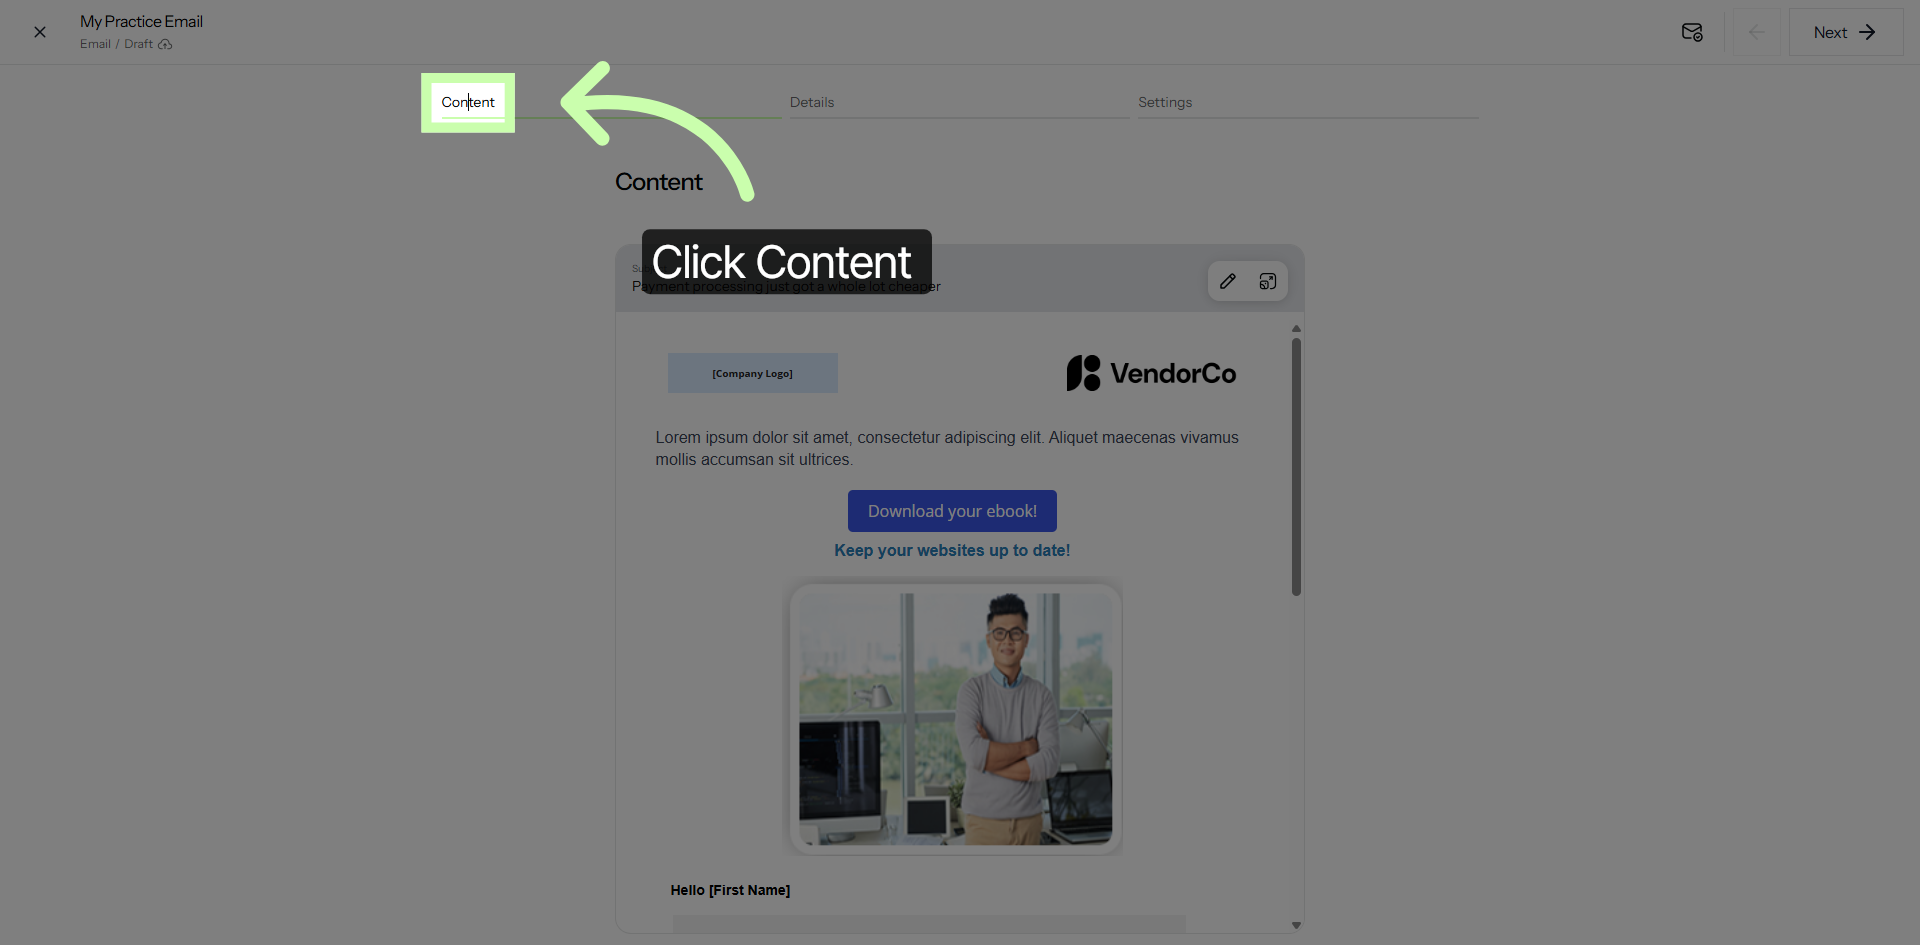
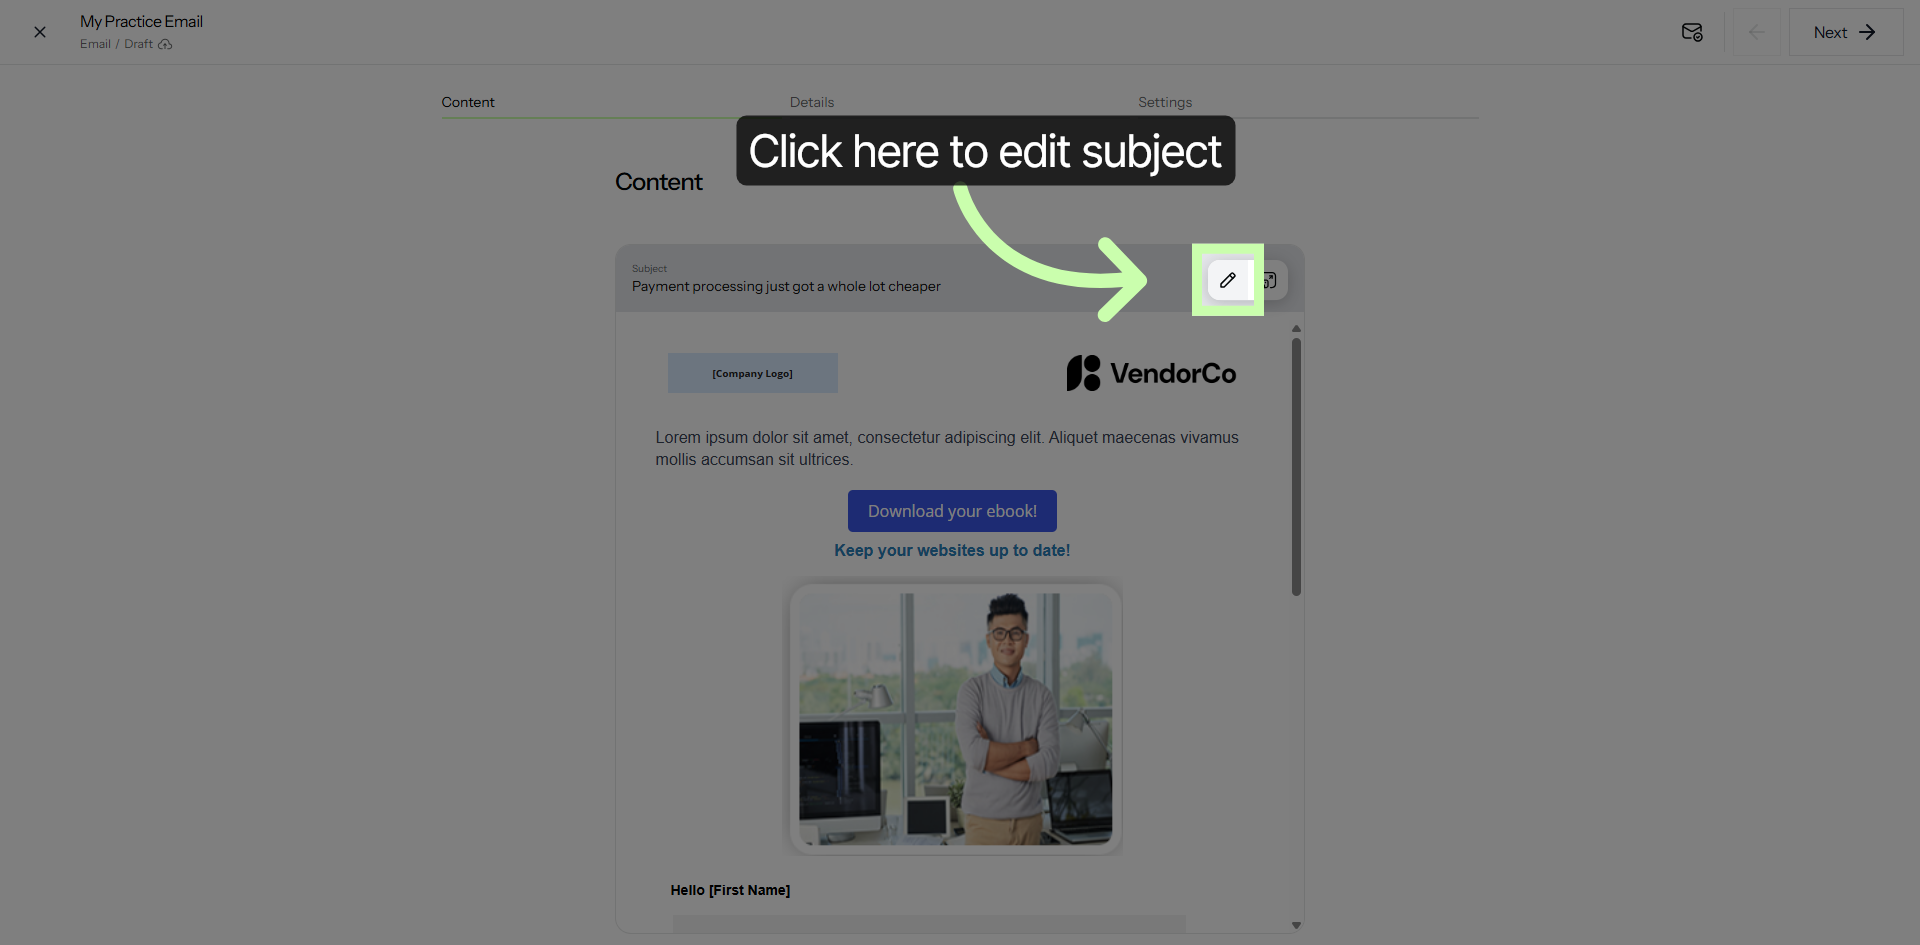
12. Edit Subject Line If Needed
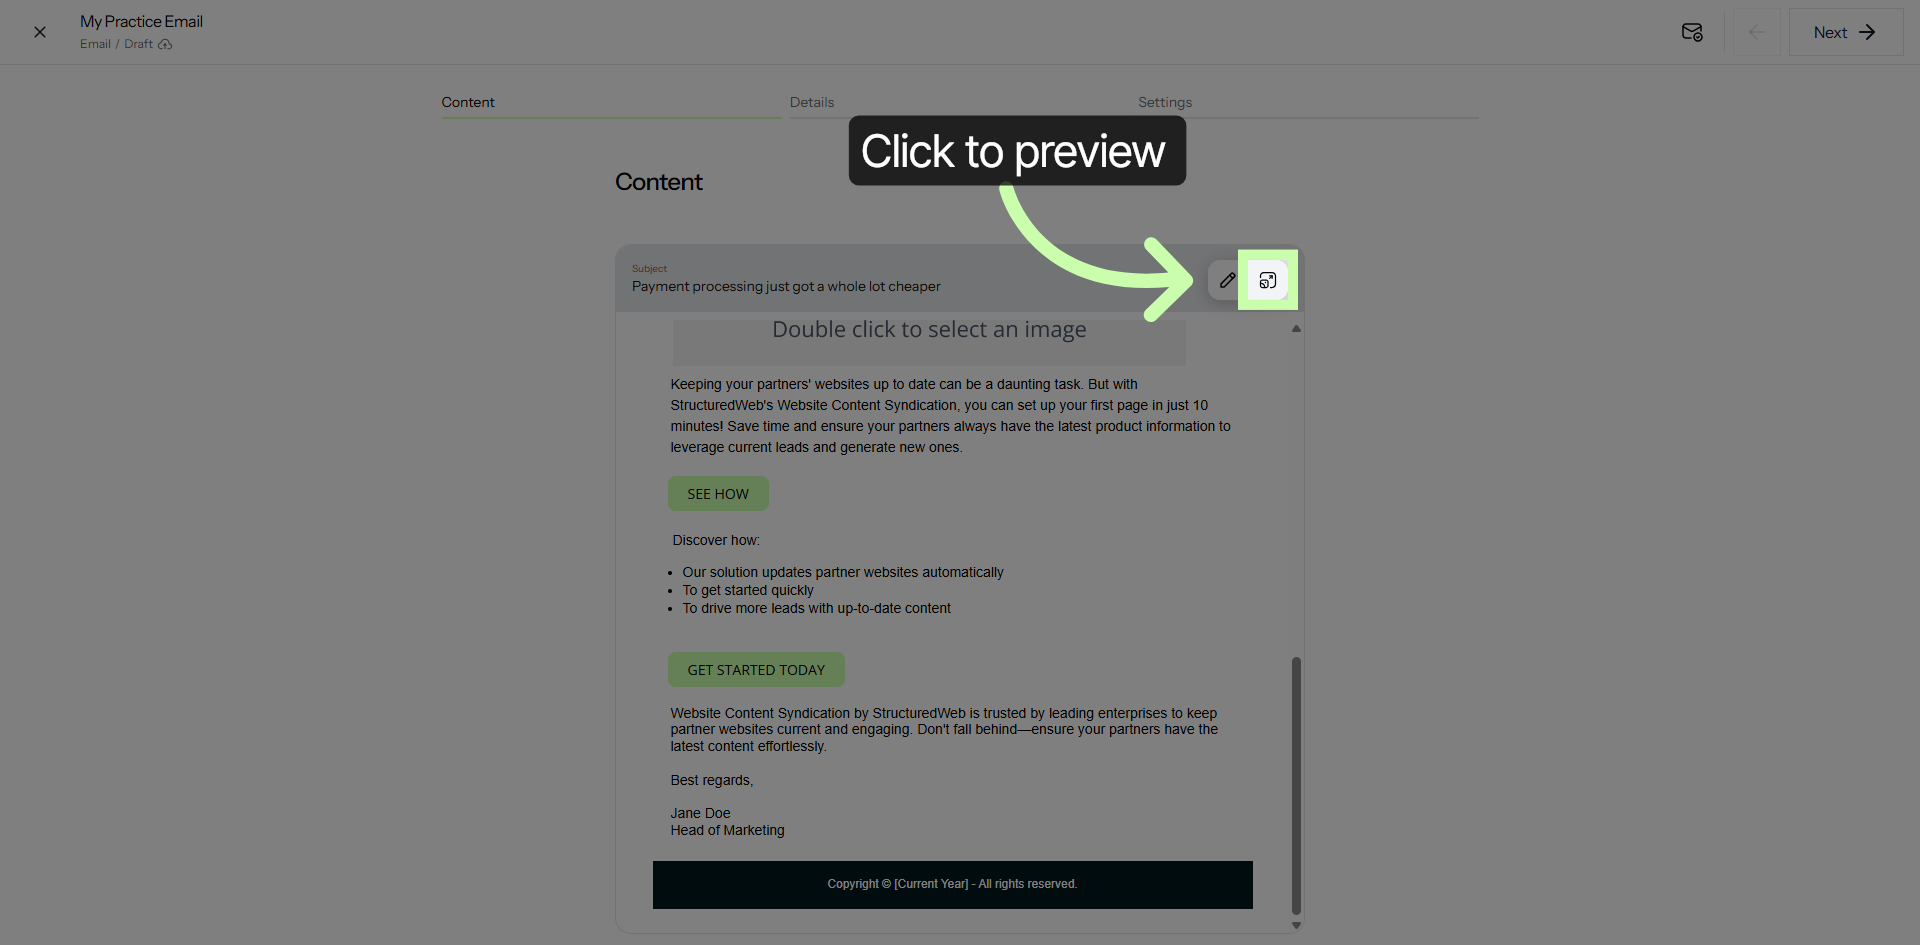
13. Preview Options
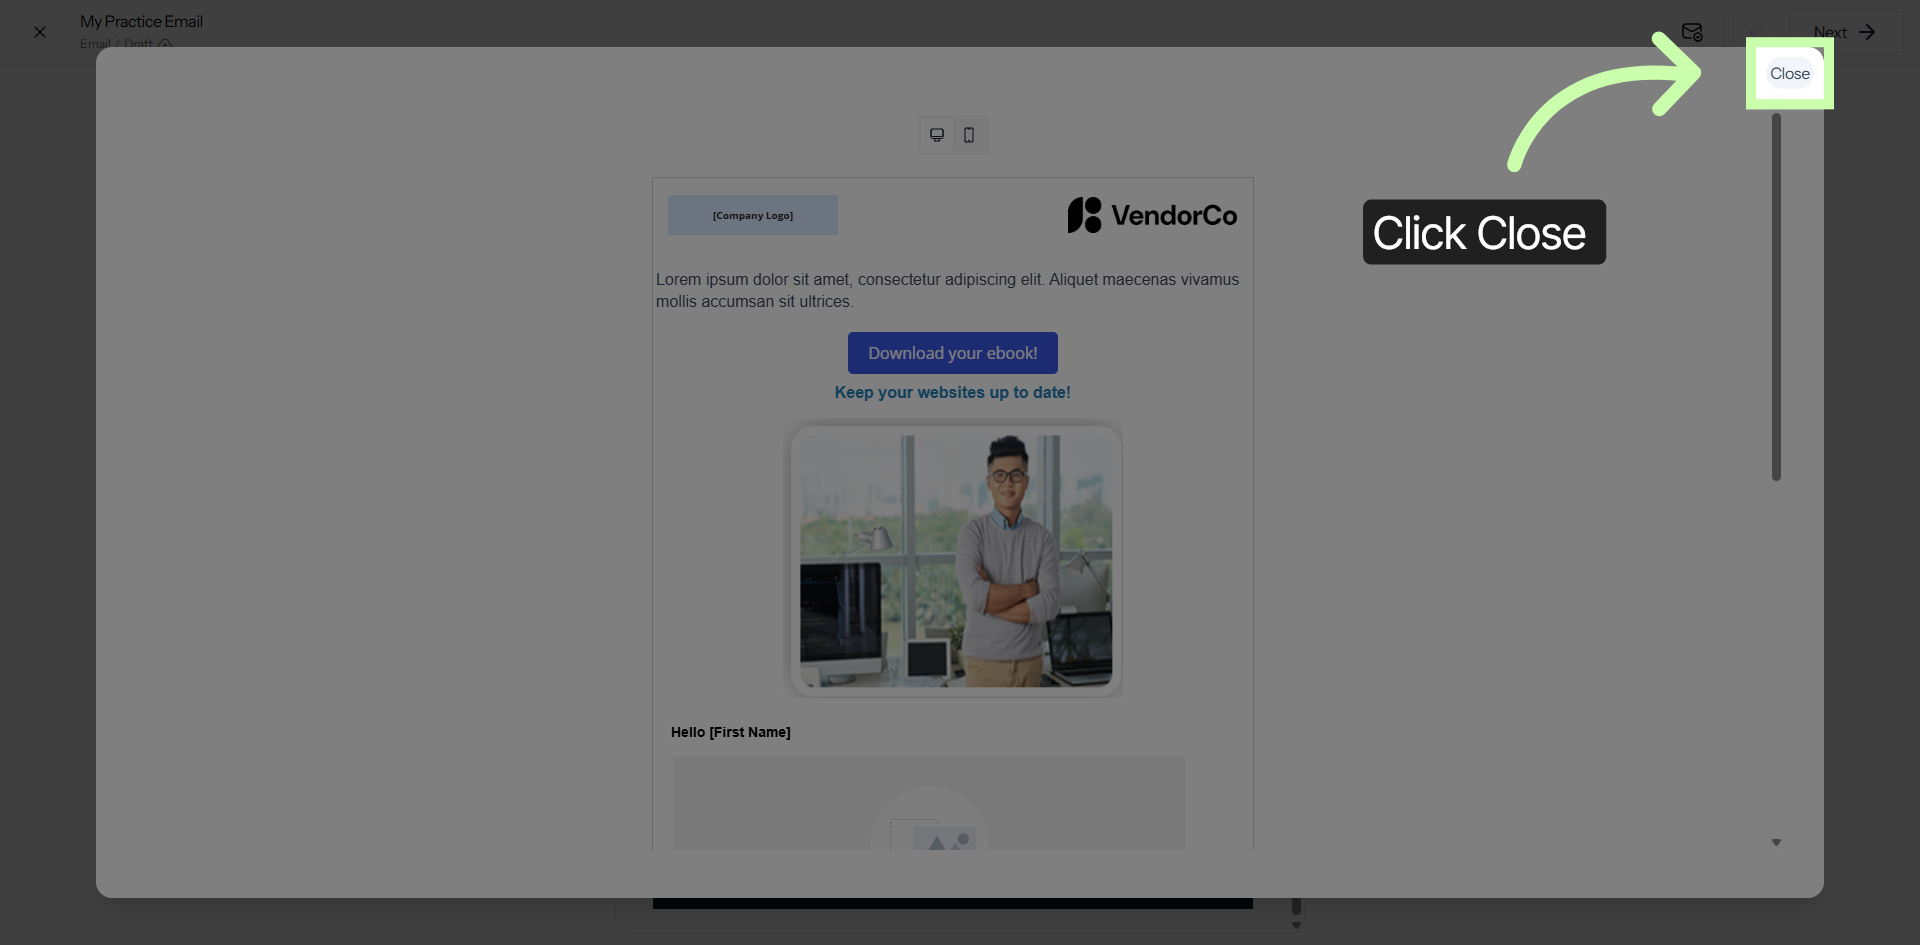
14. Close Publishing Settings
15. Send Test Email
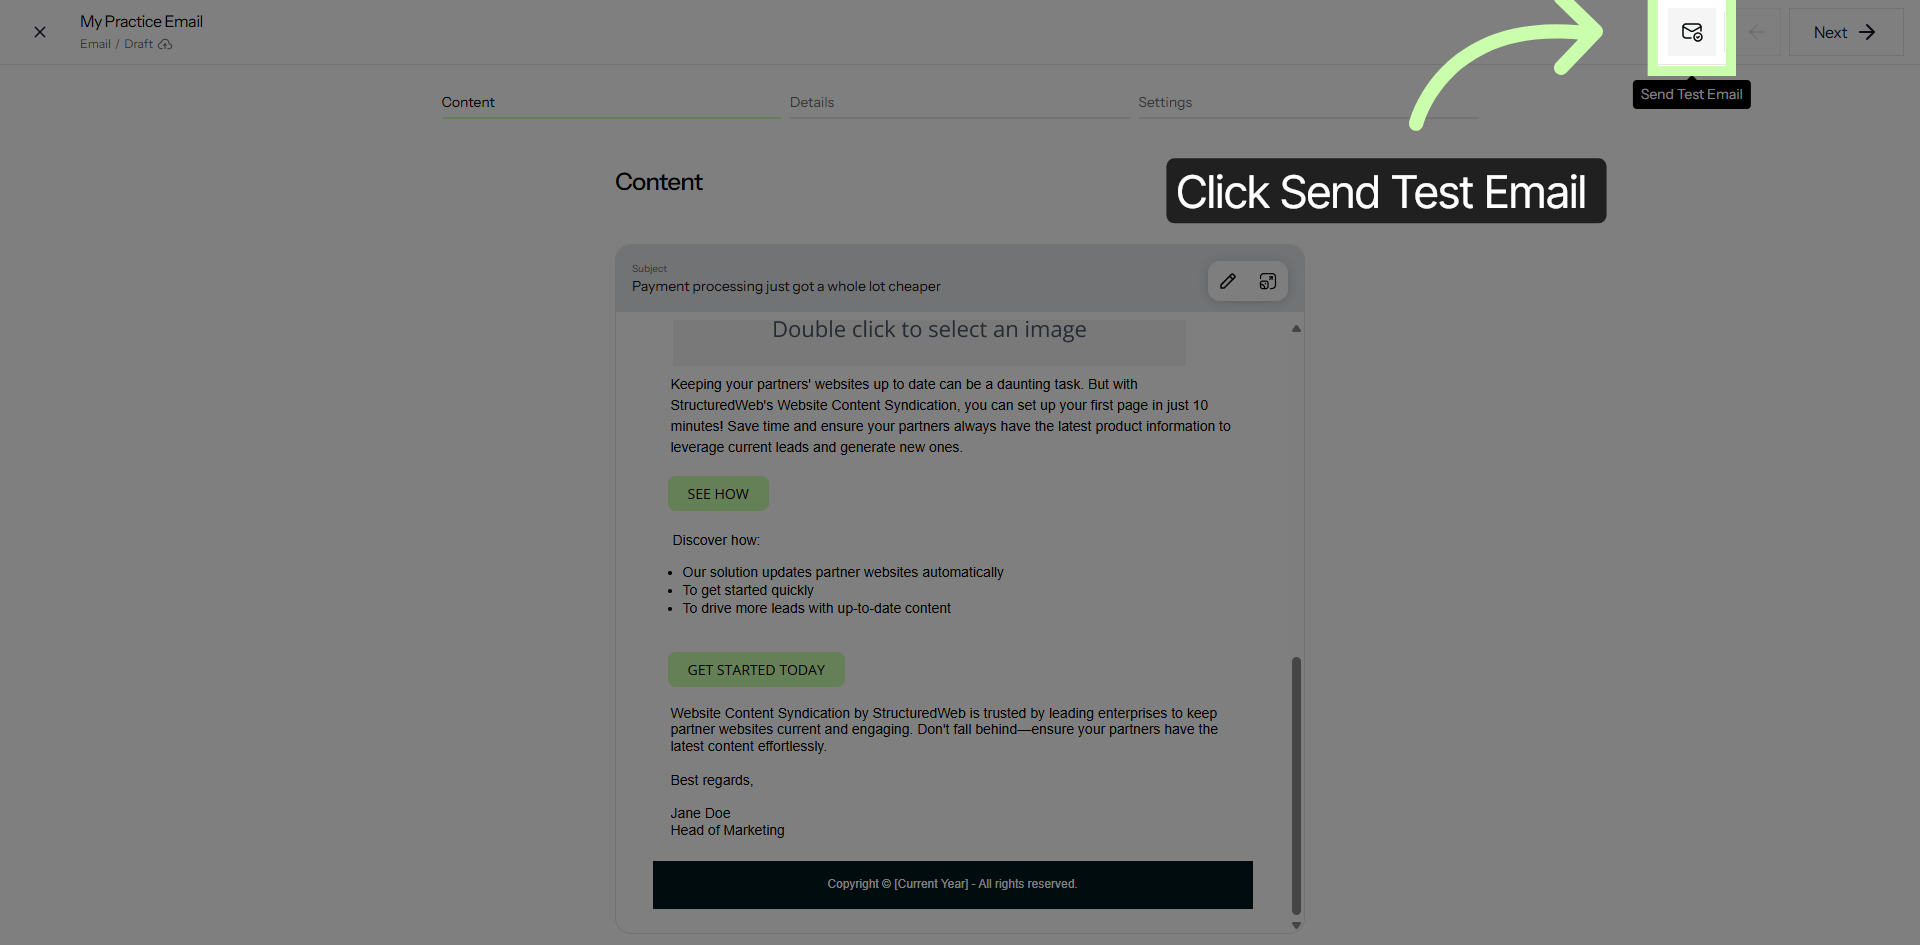
It is considered a best practice to send a test email to yourself before distributing your email campaign to a wider audience. This step allows you to verify that the email is delivered correctly and appears as intended in your inbox. To do this, simply click on the Send Test Email button and enter the recipient email address. Click the Send Test Email button when you're ready.
Doing so will send it to your designated email address, giving you the opportunity to review the content, layout, and functionality before finalizing and sending it out to your recipients. This process helps ensure accuracy and professionalism in your email communications.
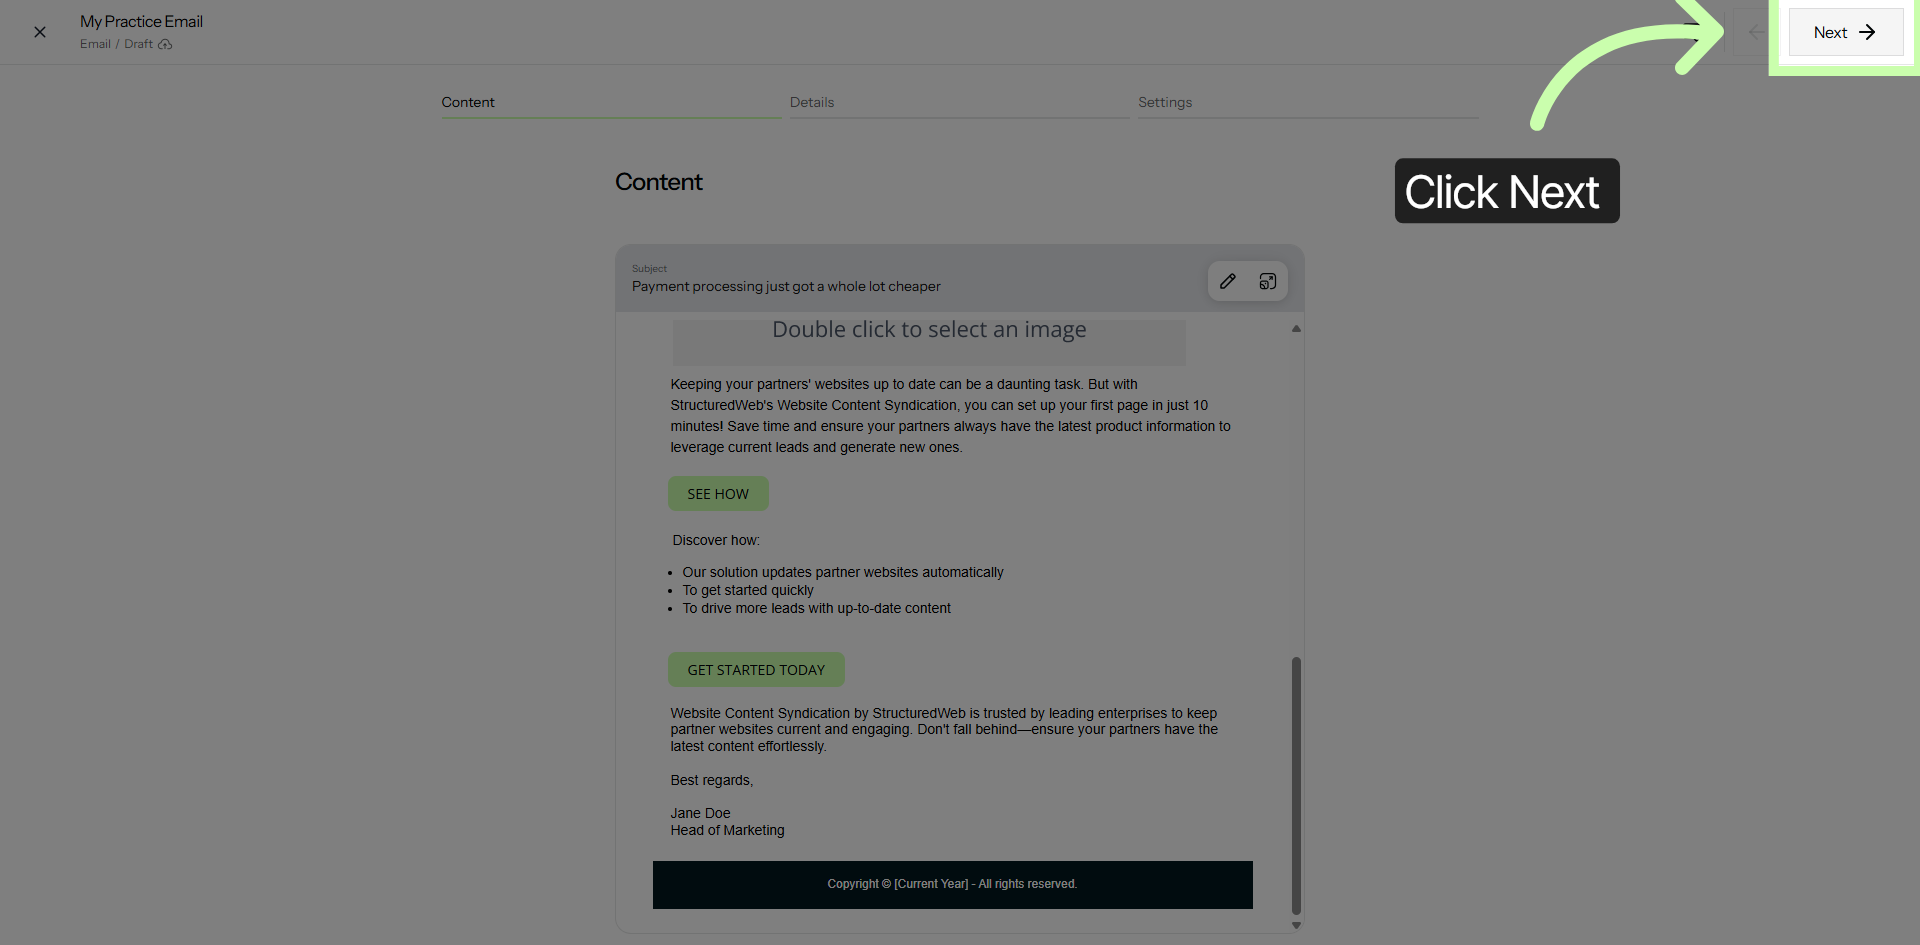
16. Proceed To Next Step
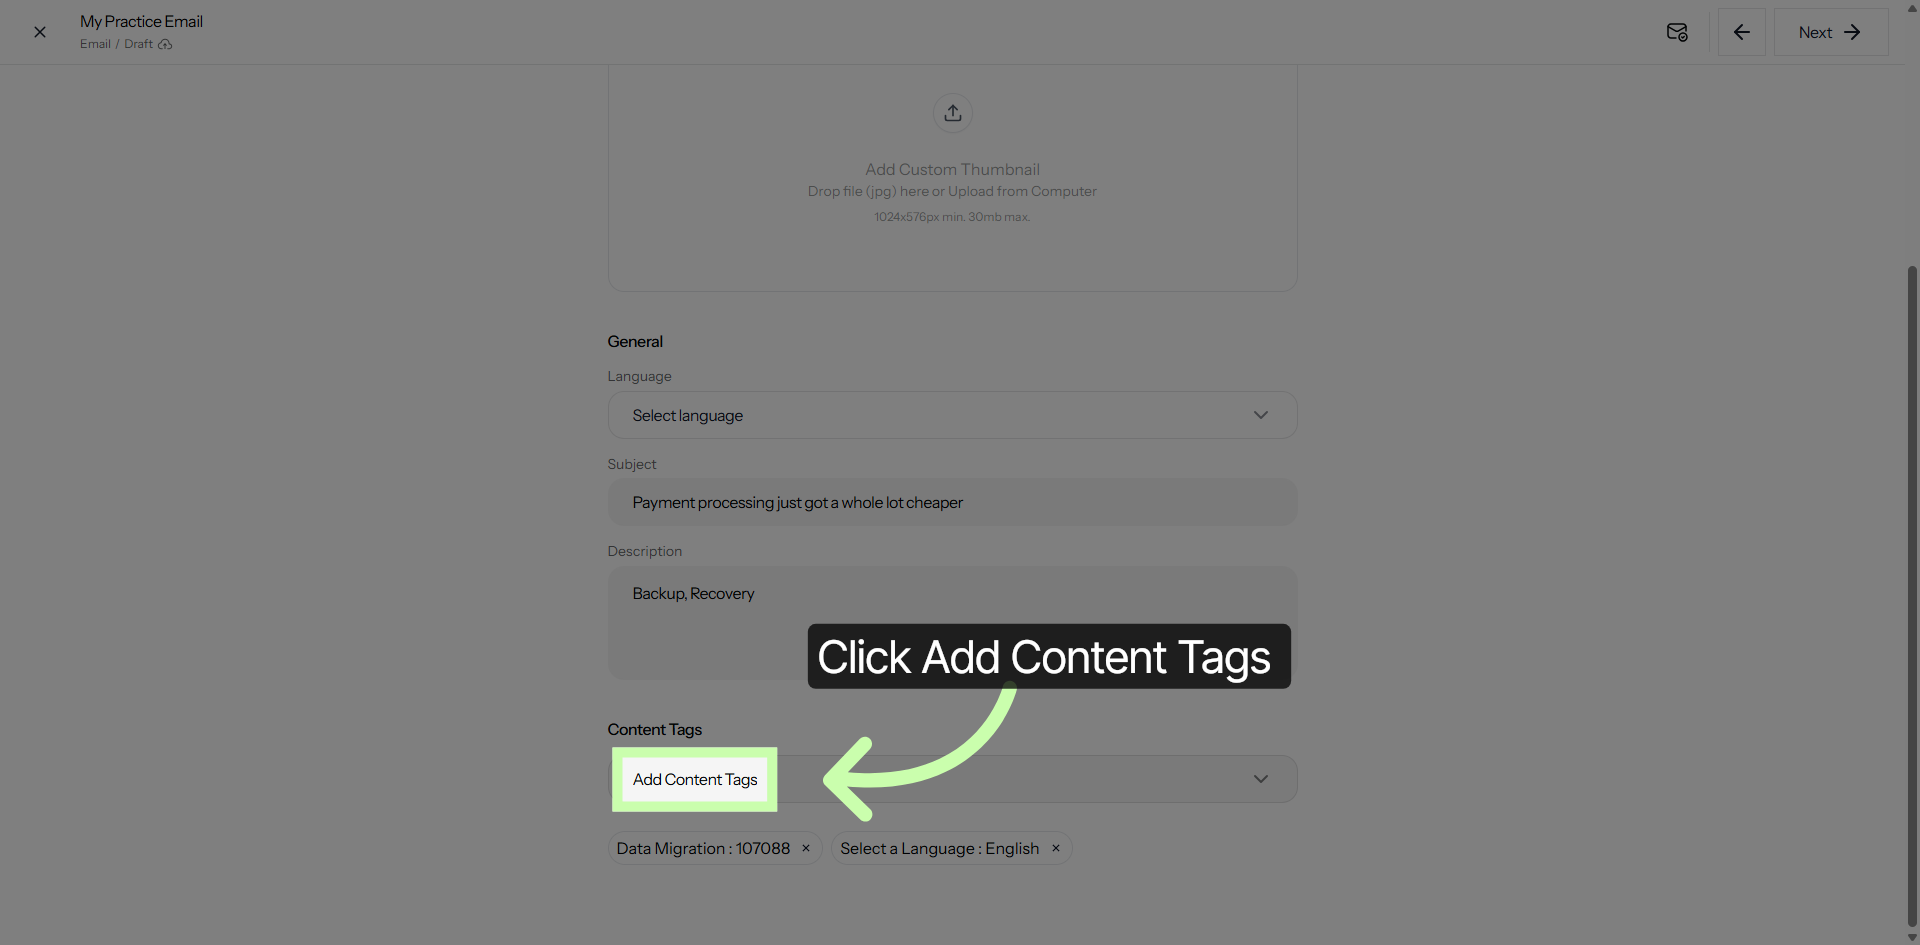
17. Add Content Tags
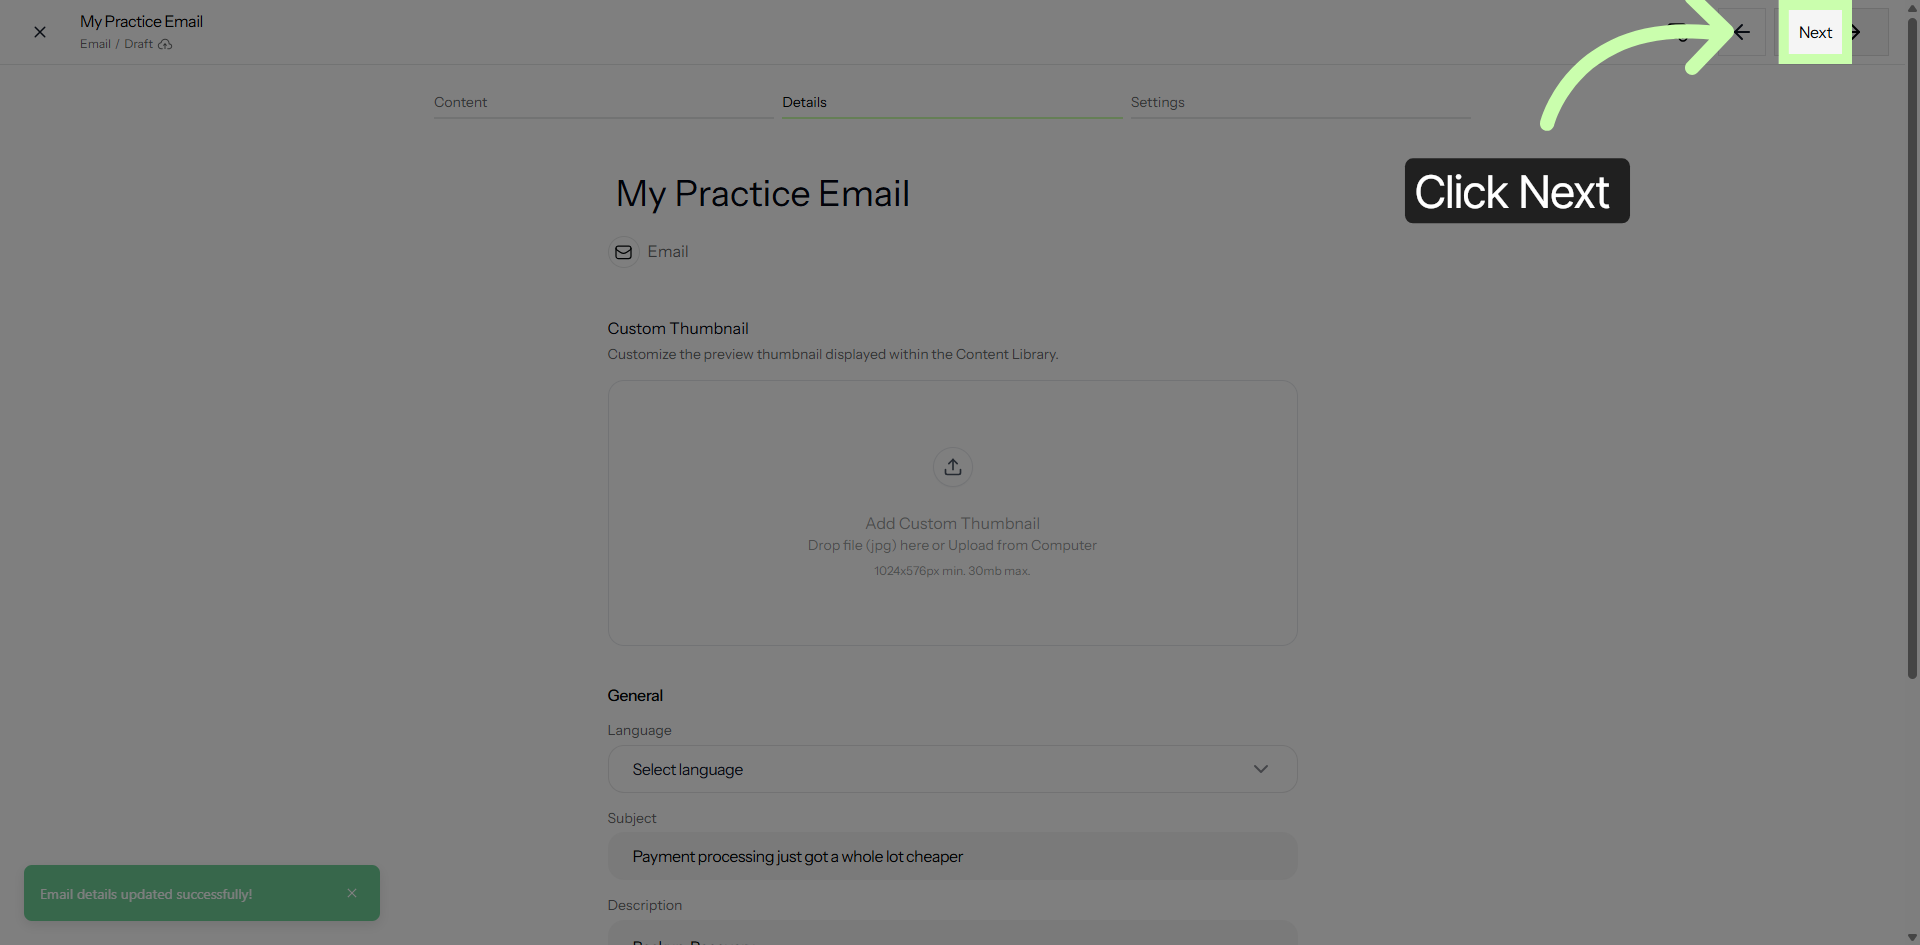
18. Continue To Next Step
Click Next to continue once you have finished adding the content tags. By doing so, you will be directed to the final tab labeled Settings, where you can review and adjust the necessary configurations before completing the process.
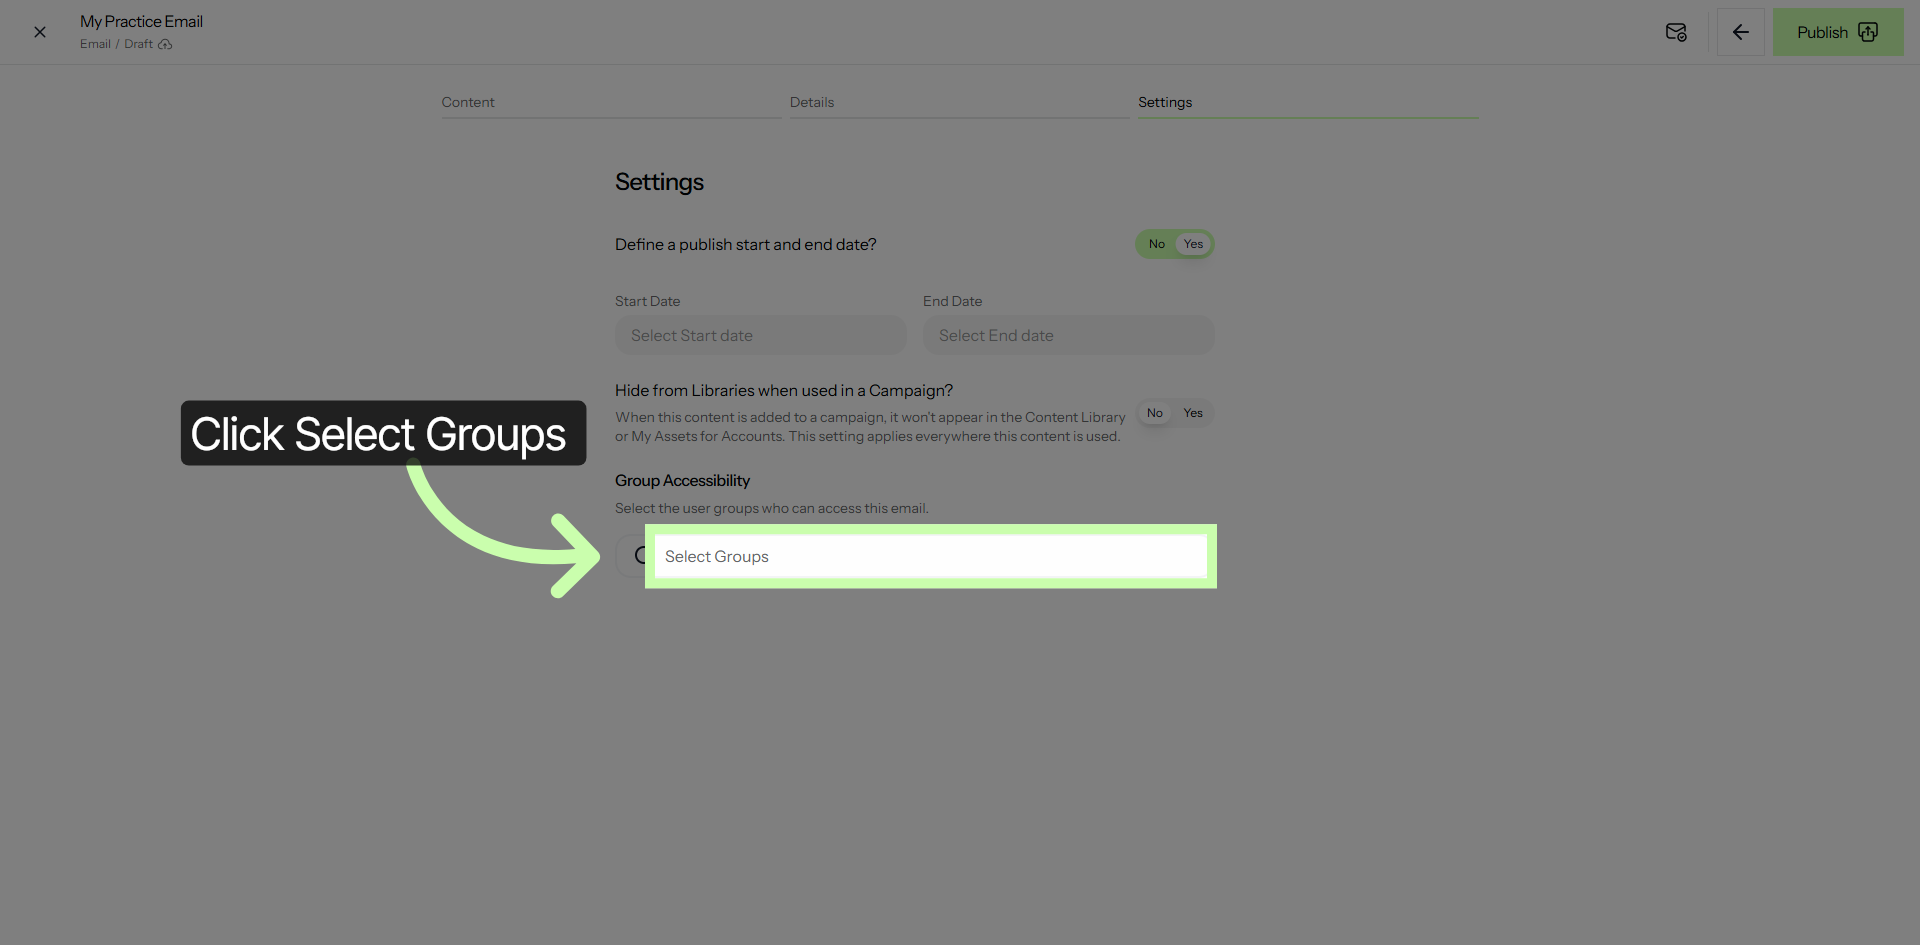
19. Open Group Selection
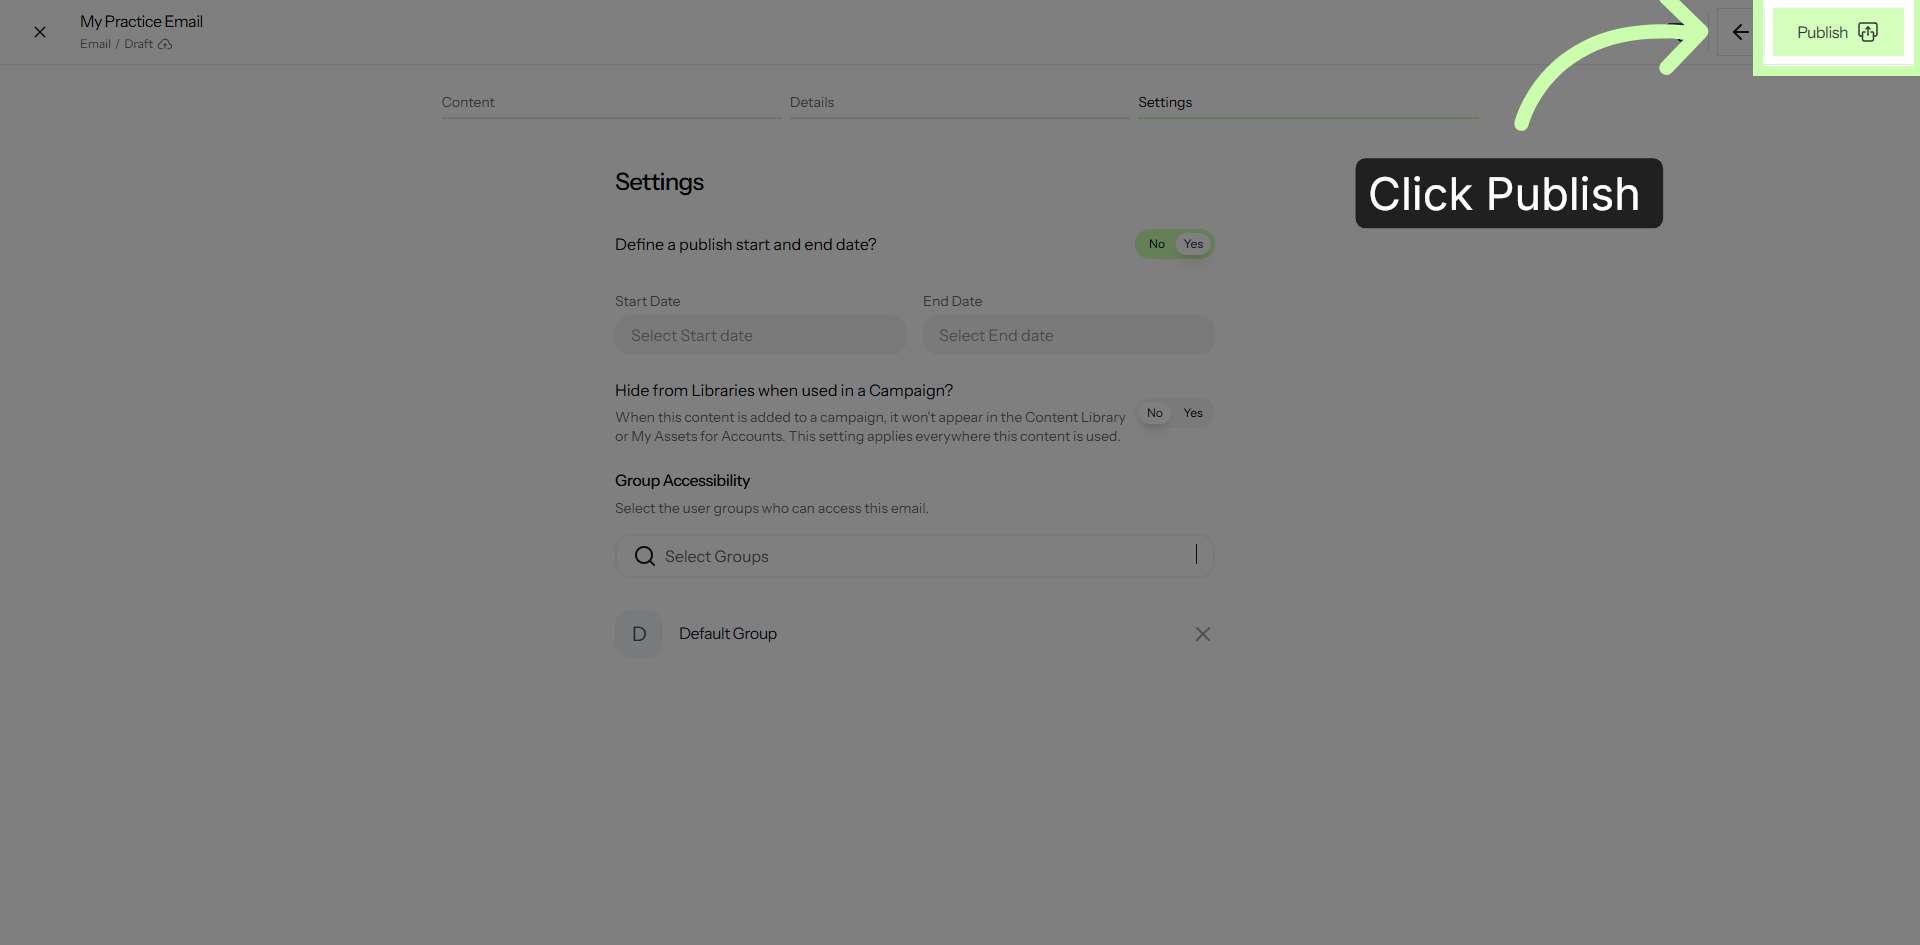
20. Publish Email Campaign
You are now fully prepared and ready to proceed with publishing your email campaign. Simply click the Publish button to finalize the process and confirm that your email campaign has been successfully launched and made available to your intended recipients.
21. Confirm Published Status
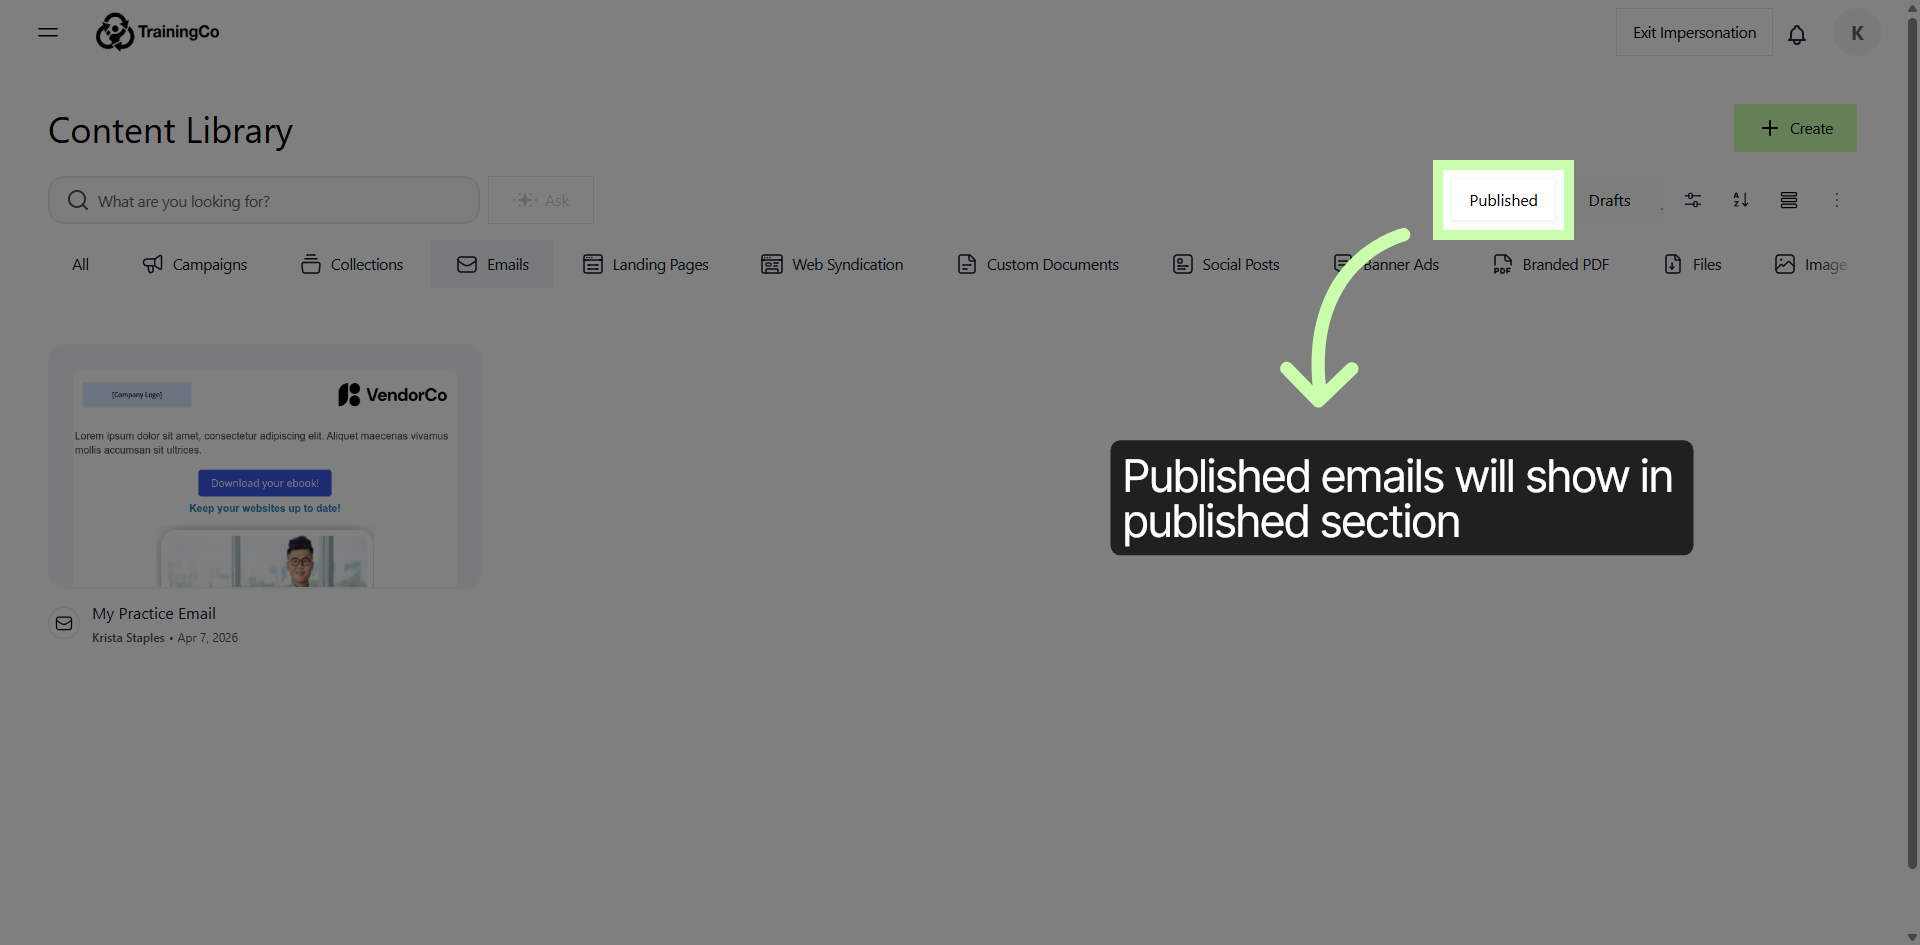
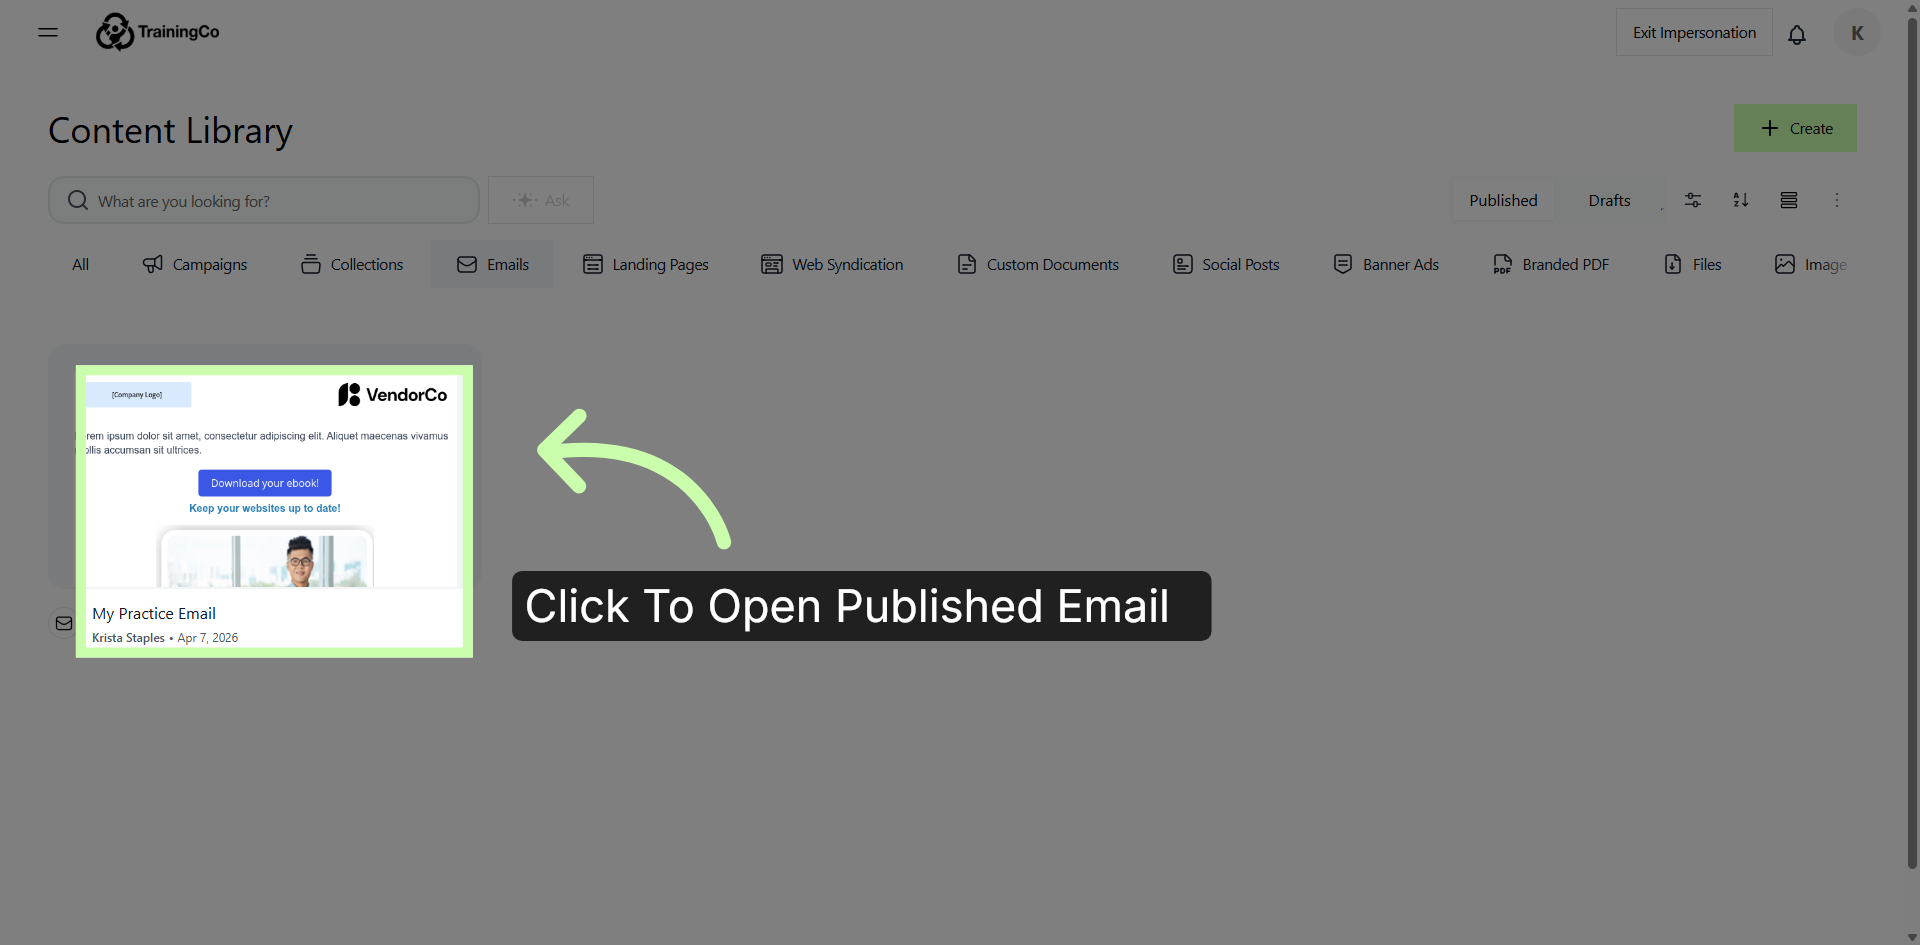
You have successfully completed all 3 phases of the configuration and publication of your email campaign using Structured AI. At this point, it is important to verify that the status is marked as published to ensure that it is active and ready to reach your intended audience.
Additionally, it is highly recommended to send test emails to yourself or a small group of recipients. This step allows you to review how the email appears in various inboxes and devices, ensuring that all elements such as images, links, and formatting display correctly.
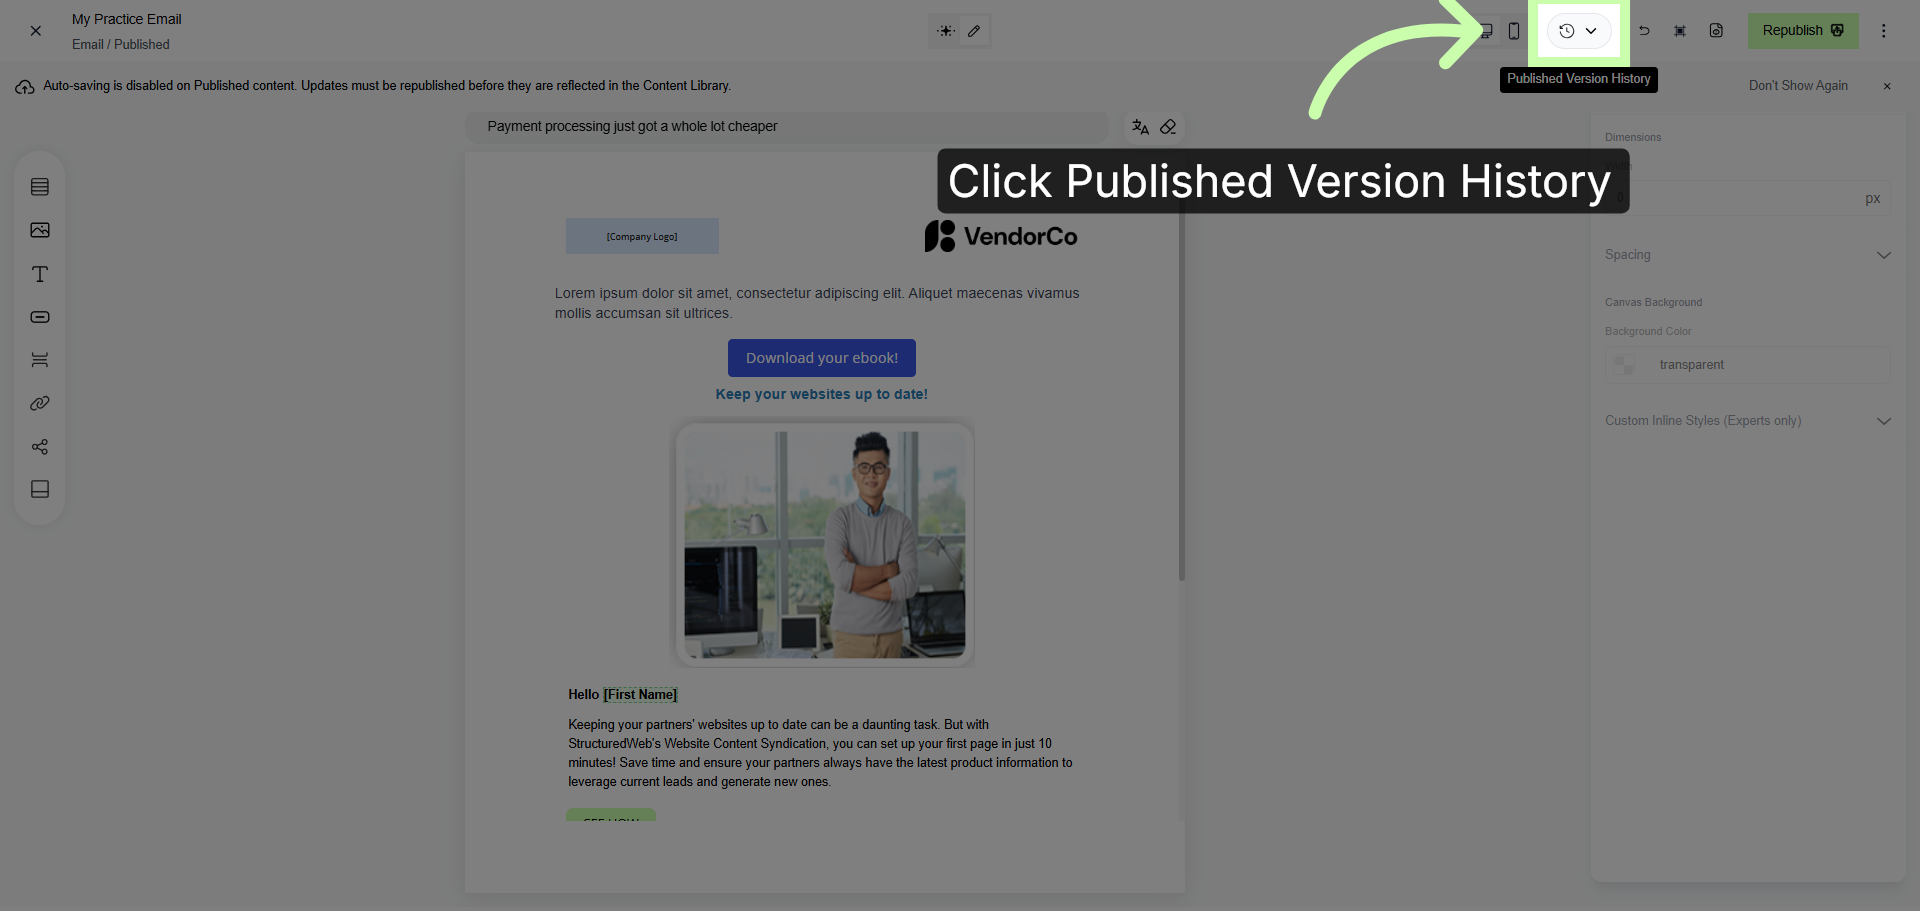
22. Restore Previously Published Version
23. Access Published Version History
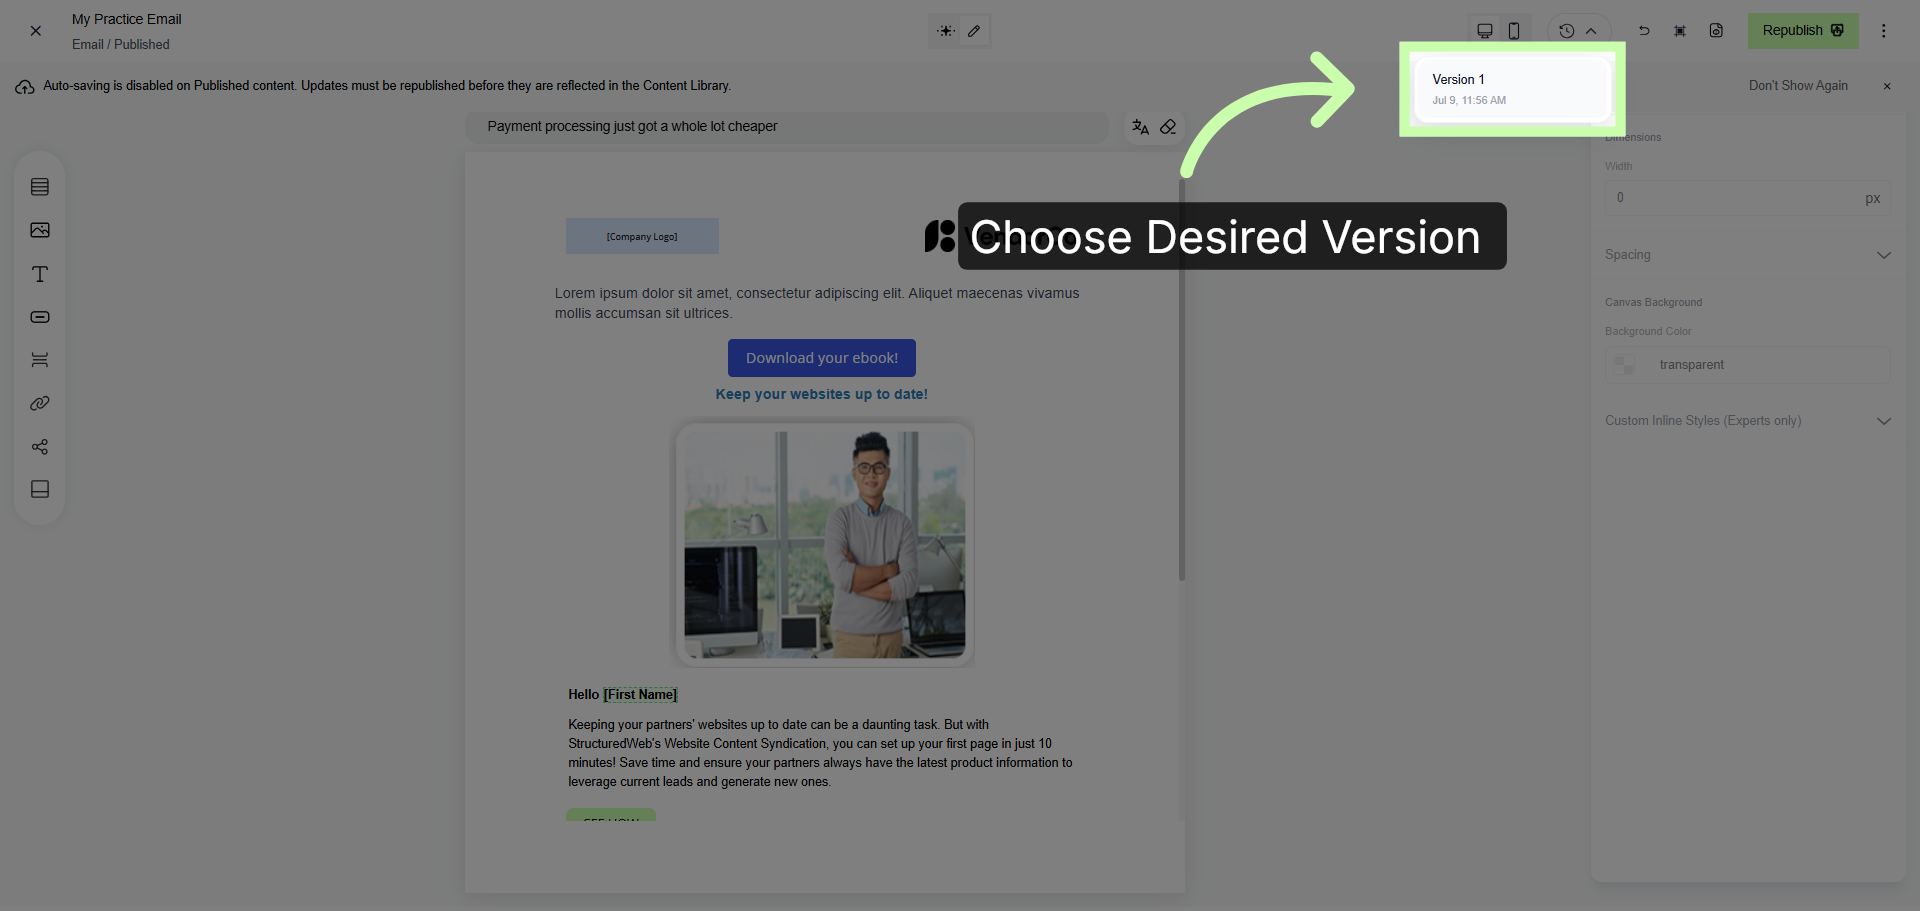
24. Select Desired Email Version
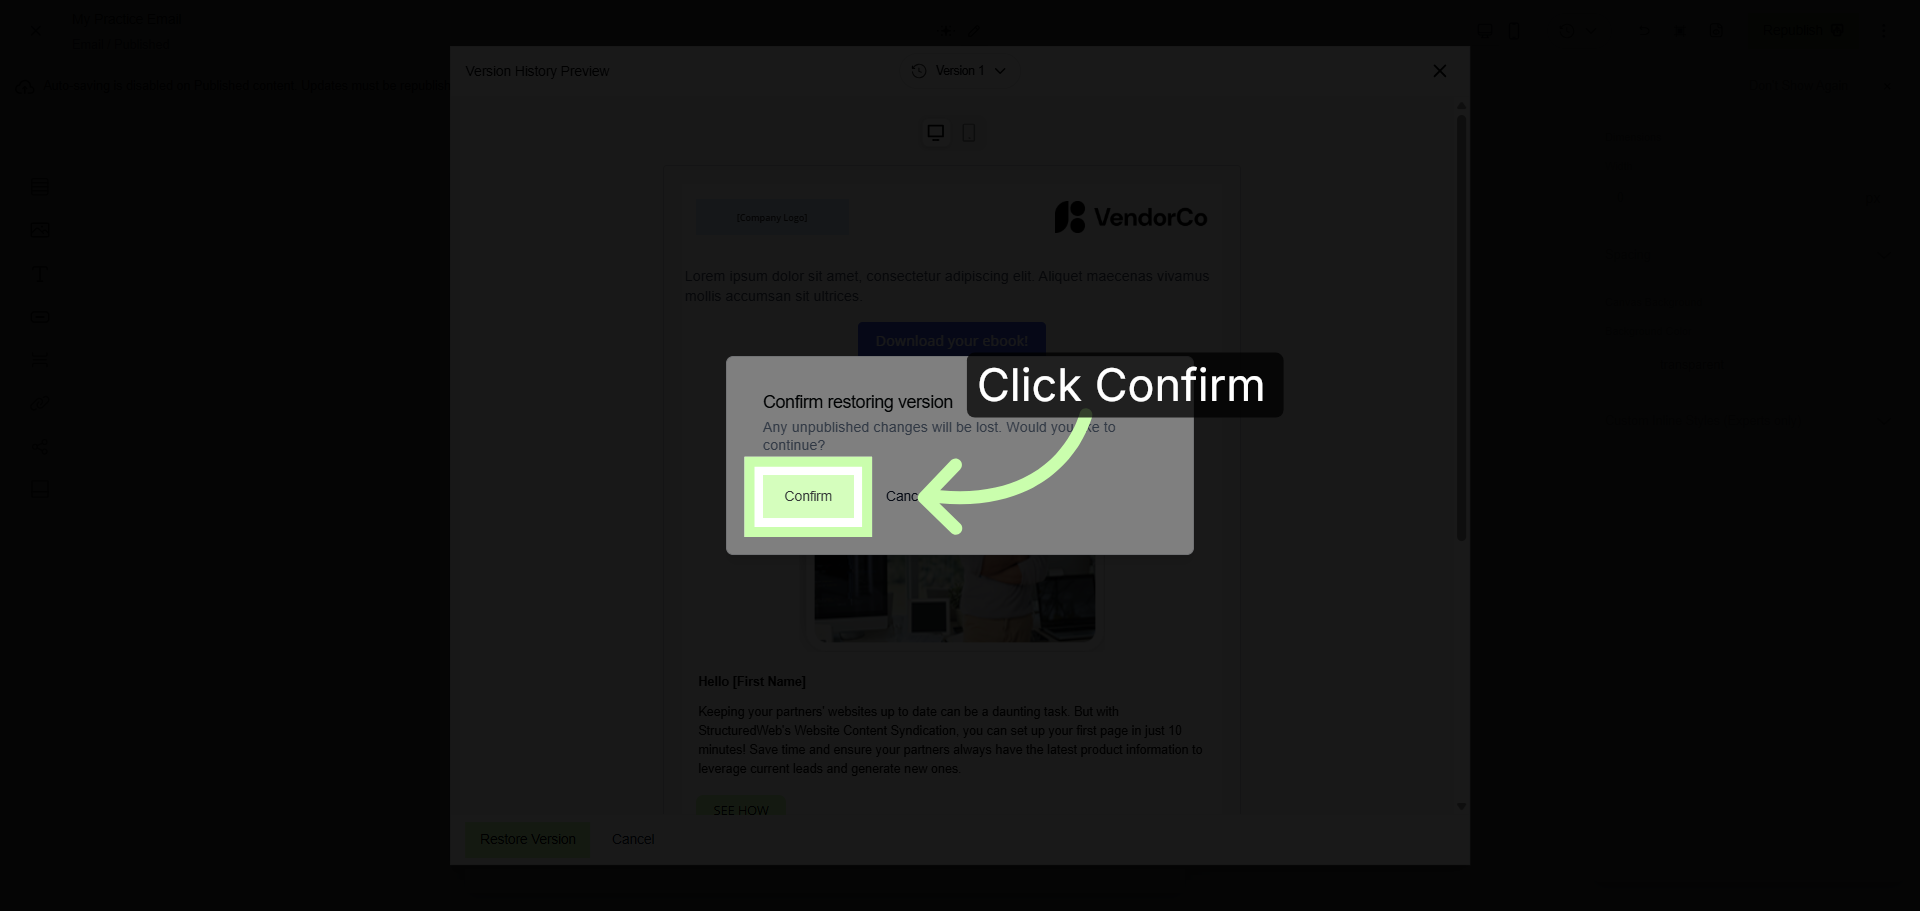
25. Initiate Version Restoration
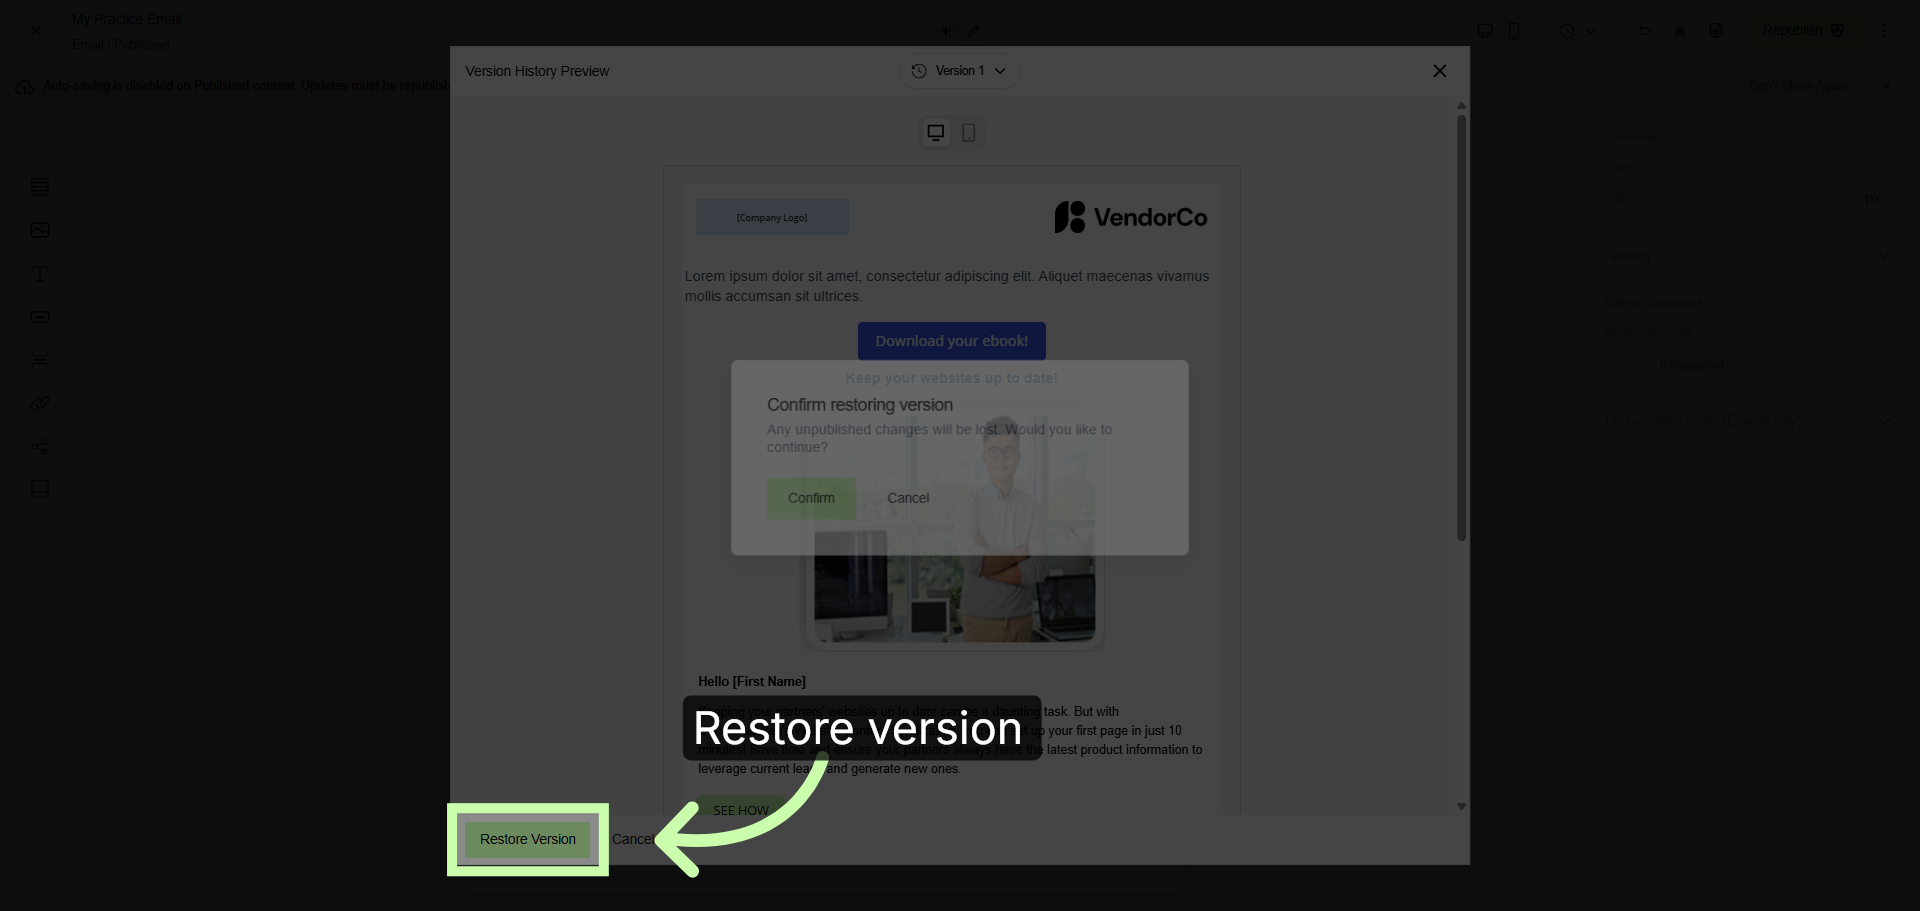
26. Confirm Restoration Action