
 Creating Your Banner Ad Campaign - Phase 2: Customizing the Ad
Estimated Time
~10 minutes
Current Phase
Phase 2 of 3
What You'll Accomplish
- Create banner ads using Structured AI tools.
- Customize banner ad designs to fit your marketing needs.
- Navigate the banner ad creation workflow with confidence.
- Produce simple, effective ad creatives ready for use.
|
Before you begin — open your account This is a hands-on, learning-by-doing session. Open app.structured.ai in your browser and log in to your Tenant Account so you can follow along and apply each step in real time. |
Direct Links to the Next Phases in this Training Series
This module is part of a 3-part series. Each session builds on the
last, and reviewing them in order ensures you don't miss any critical
steps and get a complete understanding of the workflow.
|
Phase 1
Setup & Framework
|
Start Training ➡ |
|
Phase 2
Customizing the Ad
|
Current Phase ✔ |
|
Phase 3
Testing & Management
|
Start Training ➡ |
Follow Our Step-By-Step Training
1. Introduction
Let's continue building on what you've learned in Phase 1. We will review how to edit banner elements, add headings, and finalize your design for effective advertising.
2. Open Banner Editor
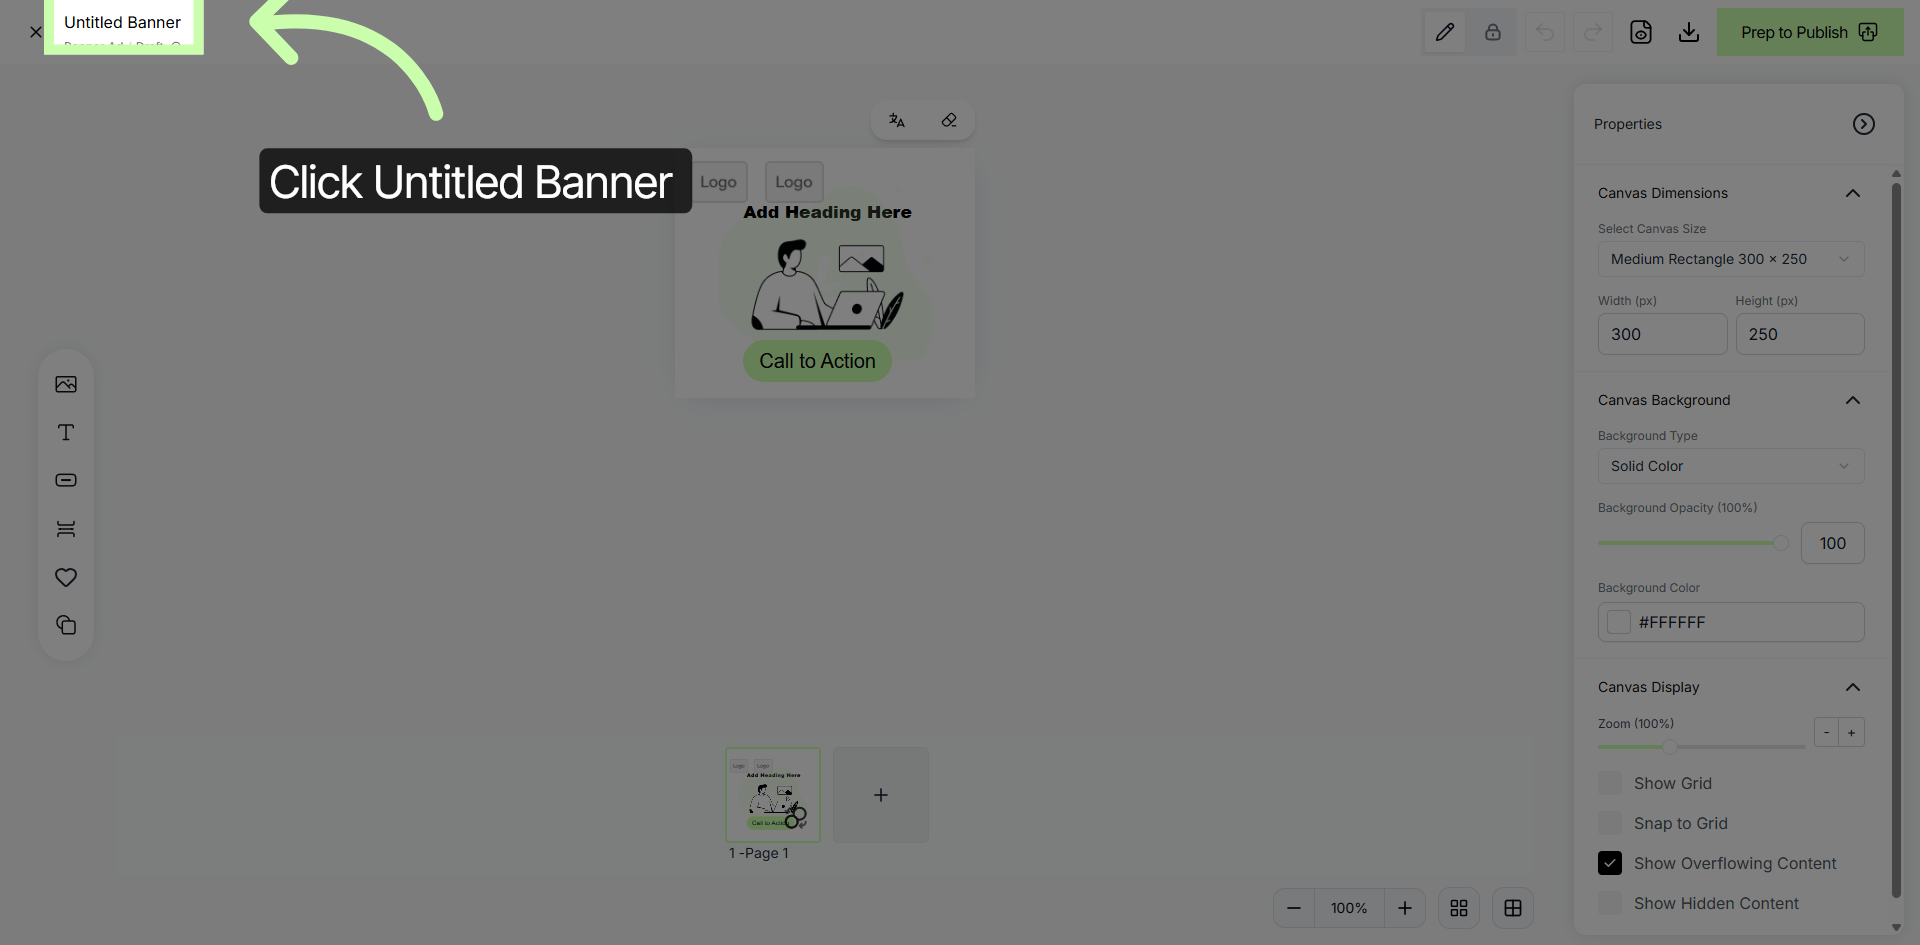
Click in the name entry field to give this banner a name.
3. Name Your Banner
For this training, fill in the banner name with "My Practice Banner Ad" to identify your project.
4. Remove Unneeded Banner Options
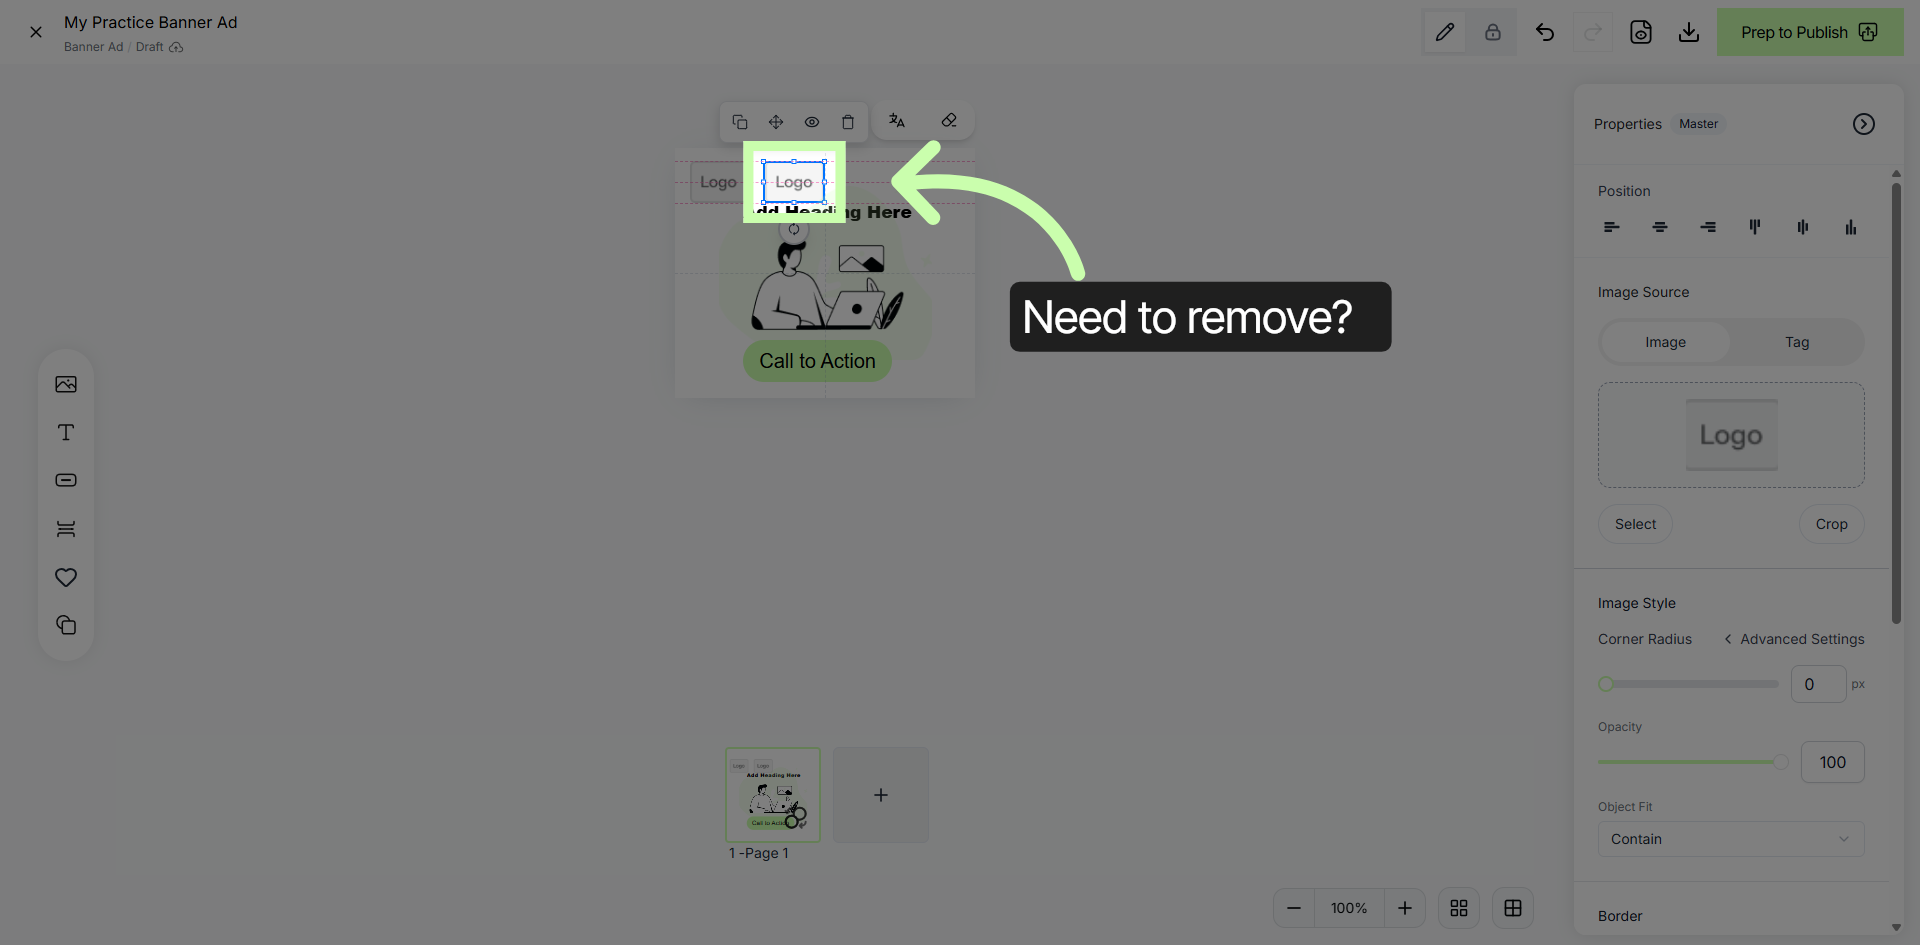
Next, delete any elements that do not apply to your design. Simply click on the element you need to delete.
5. Delete Unwanted Banner Elements
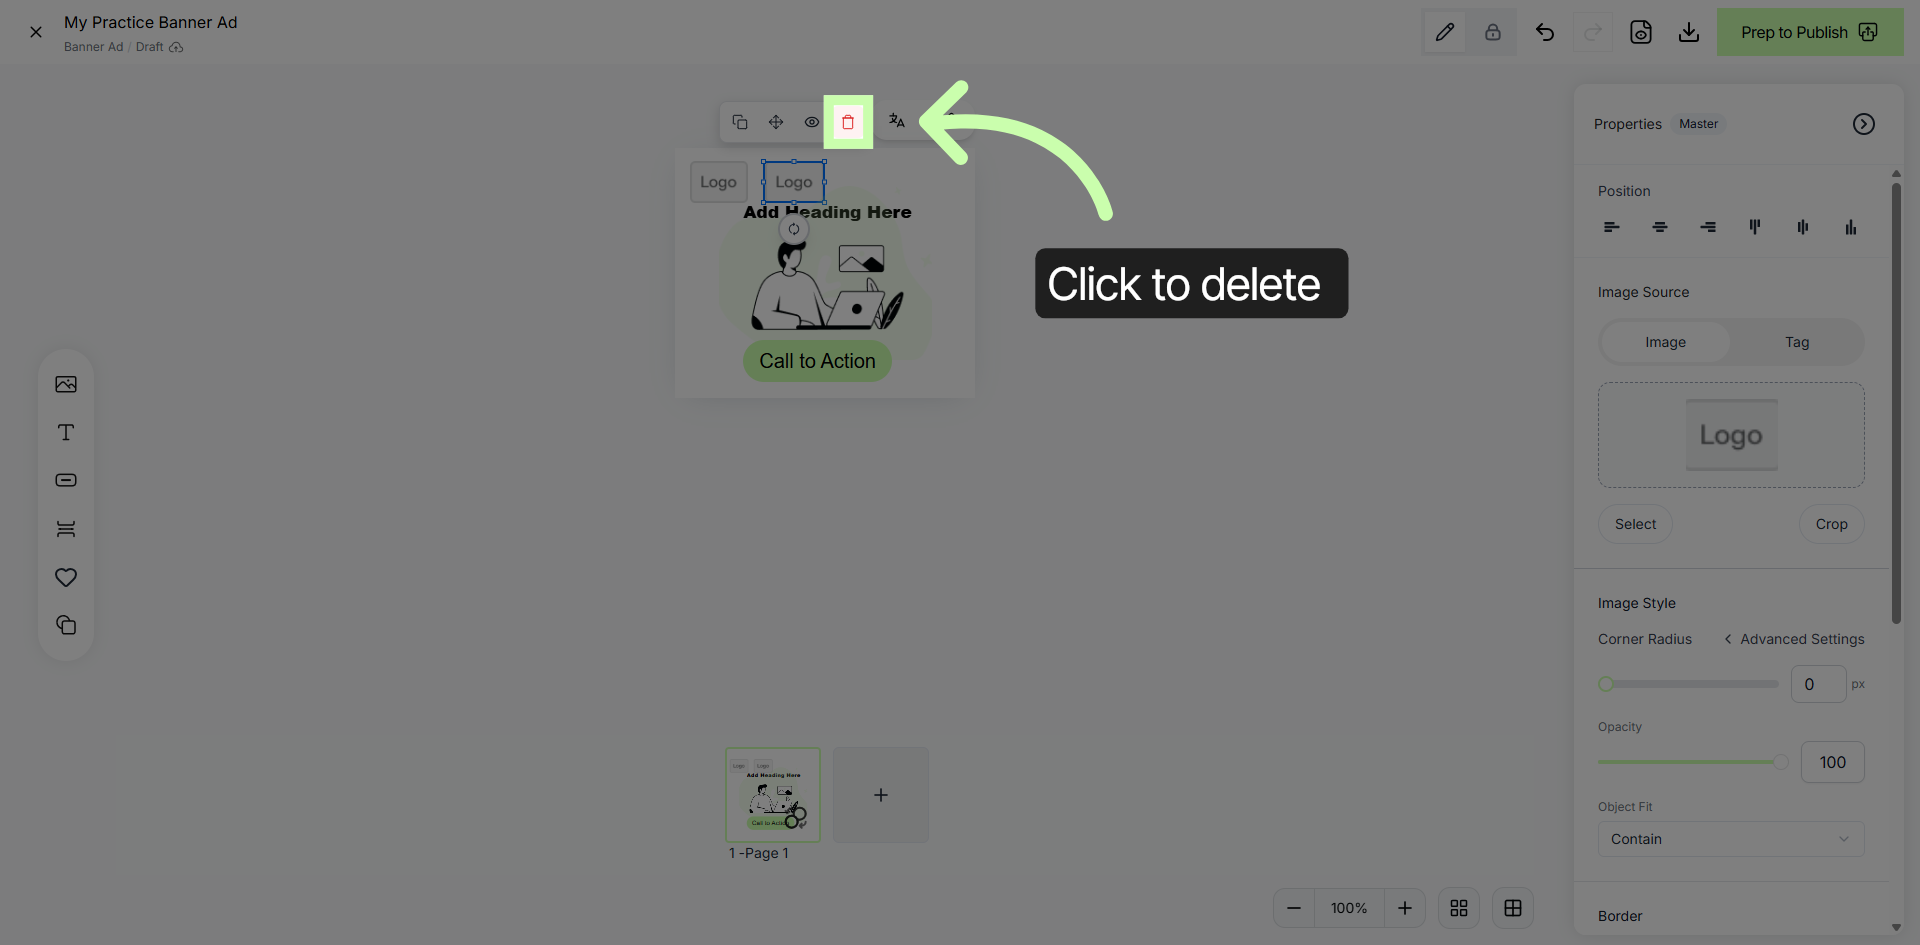
And then click on the red trash can button to remove from your banner ad.
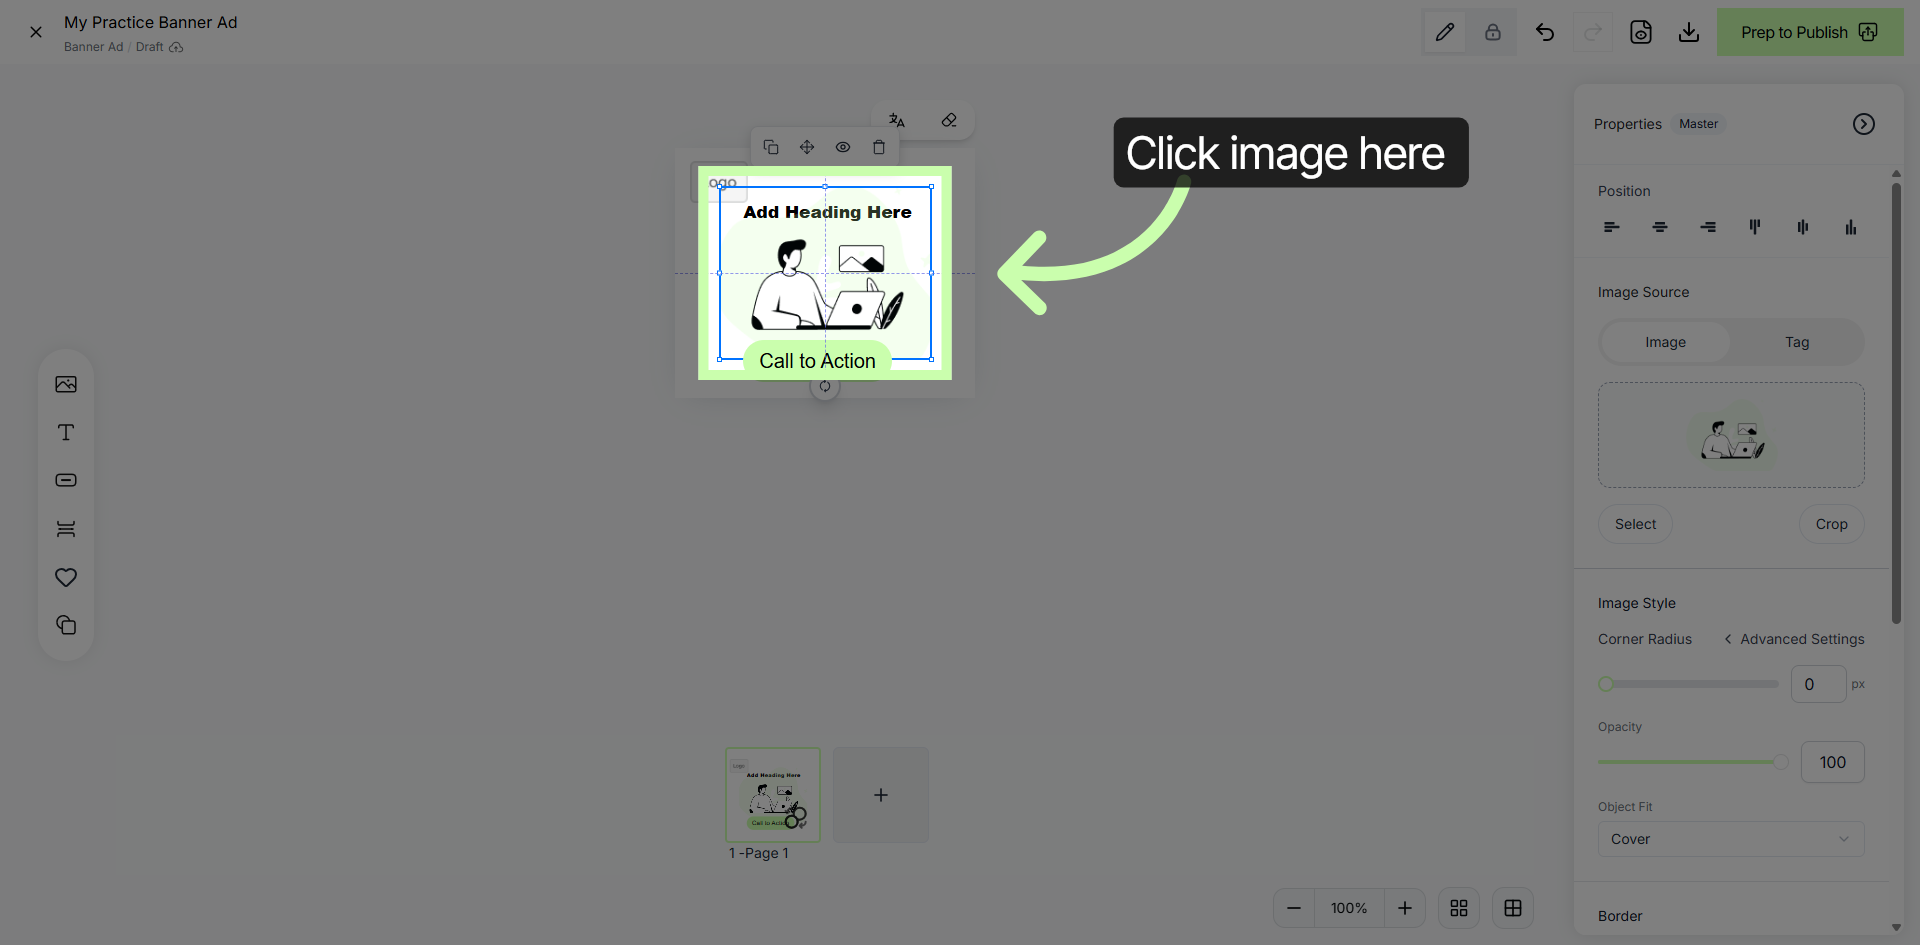
6. Select Image Banner Element
On the canvas, double click the image, and upload a new image.
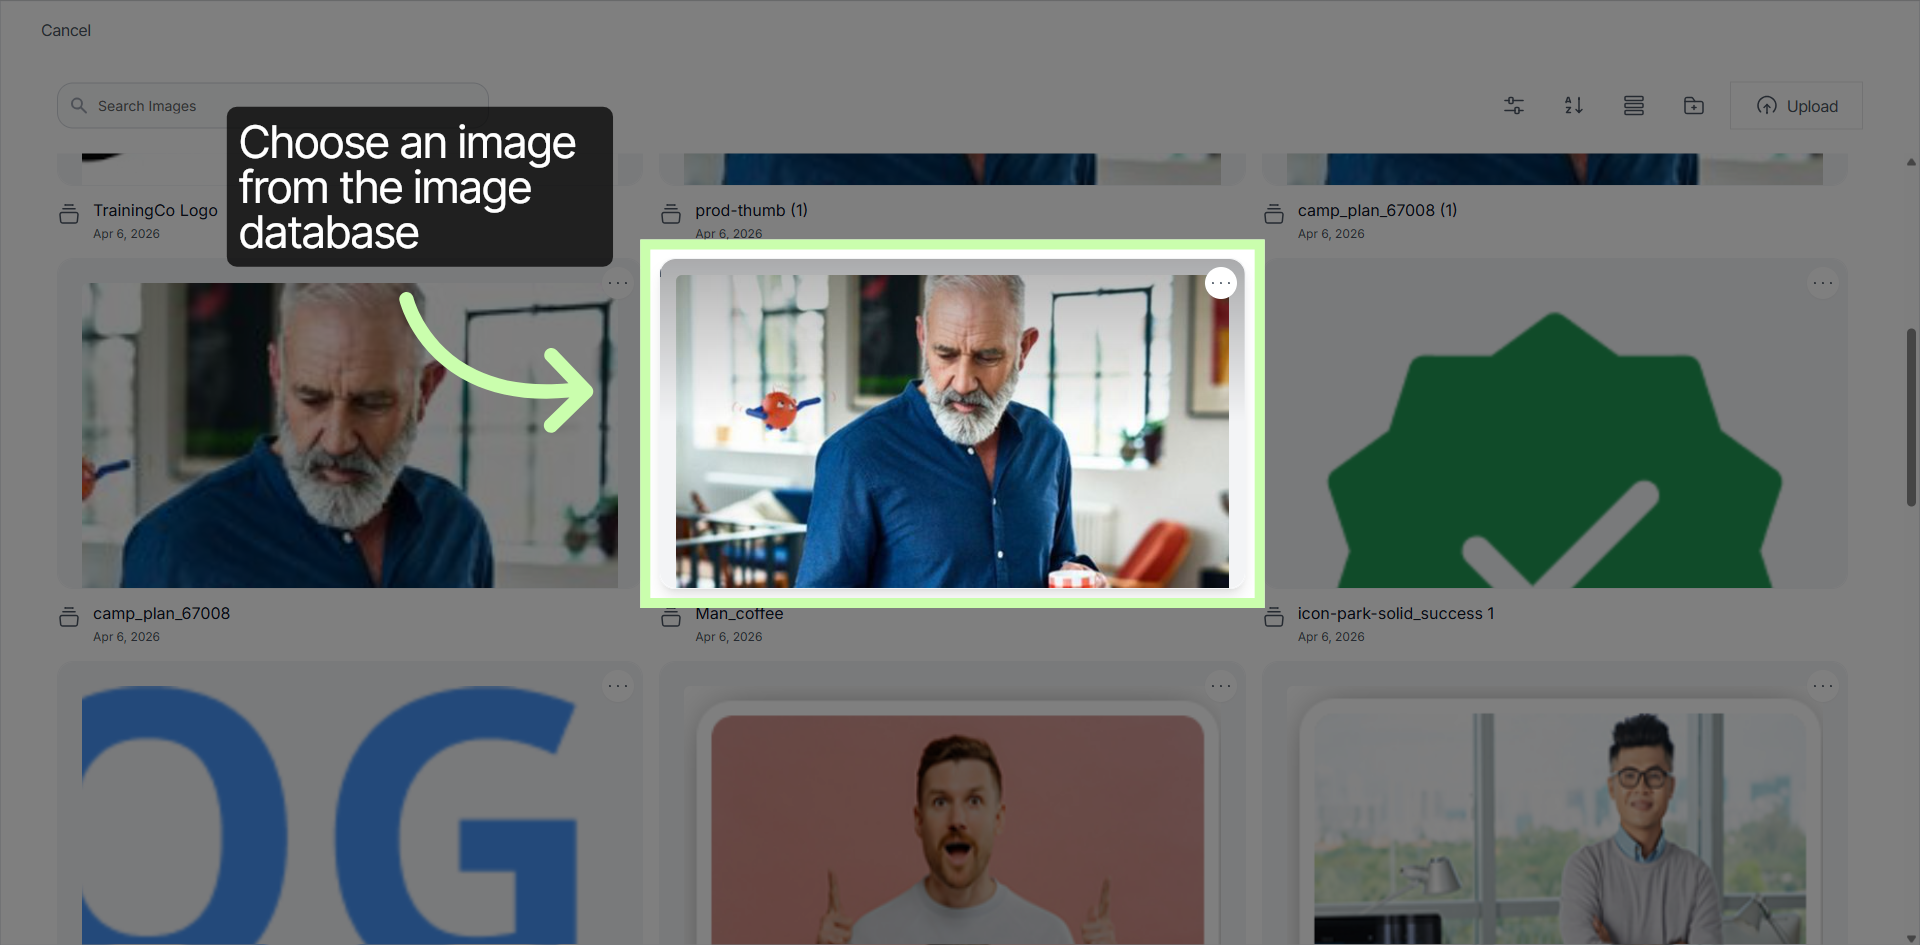
7. Add New Image
Choose an image from the image database.
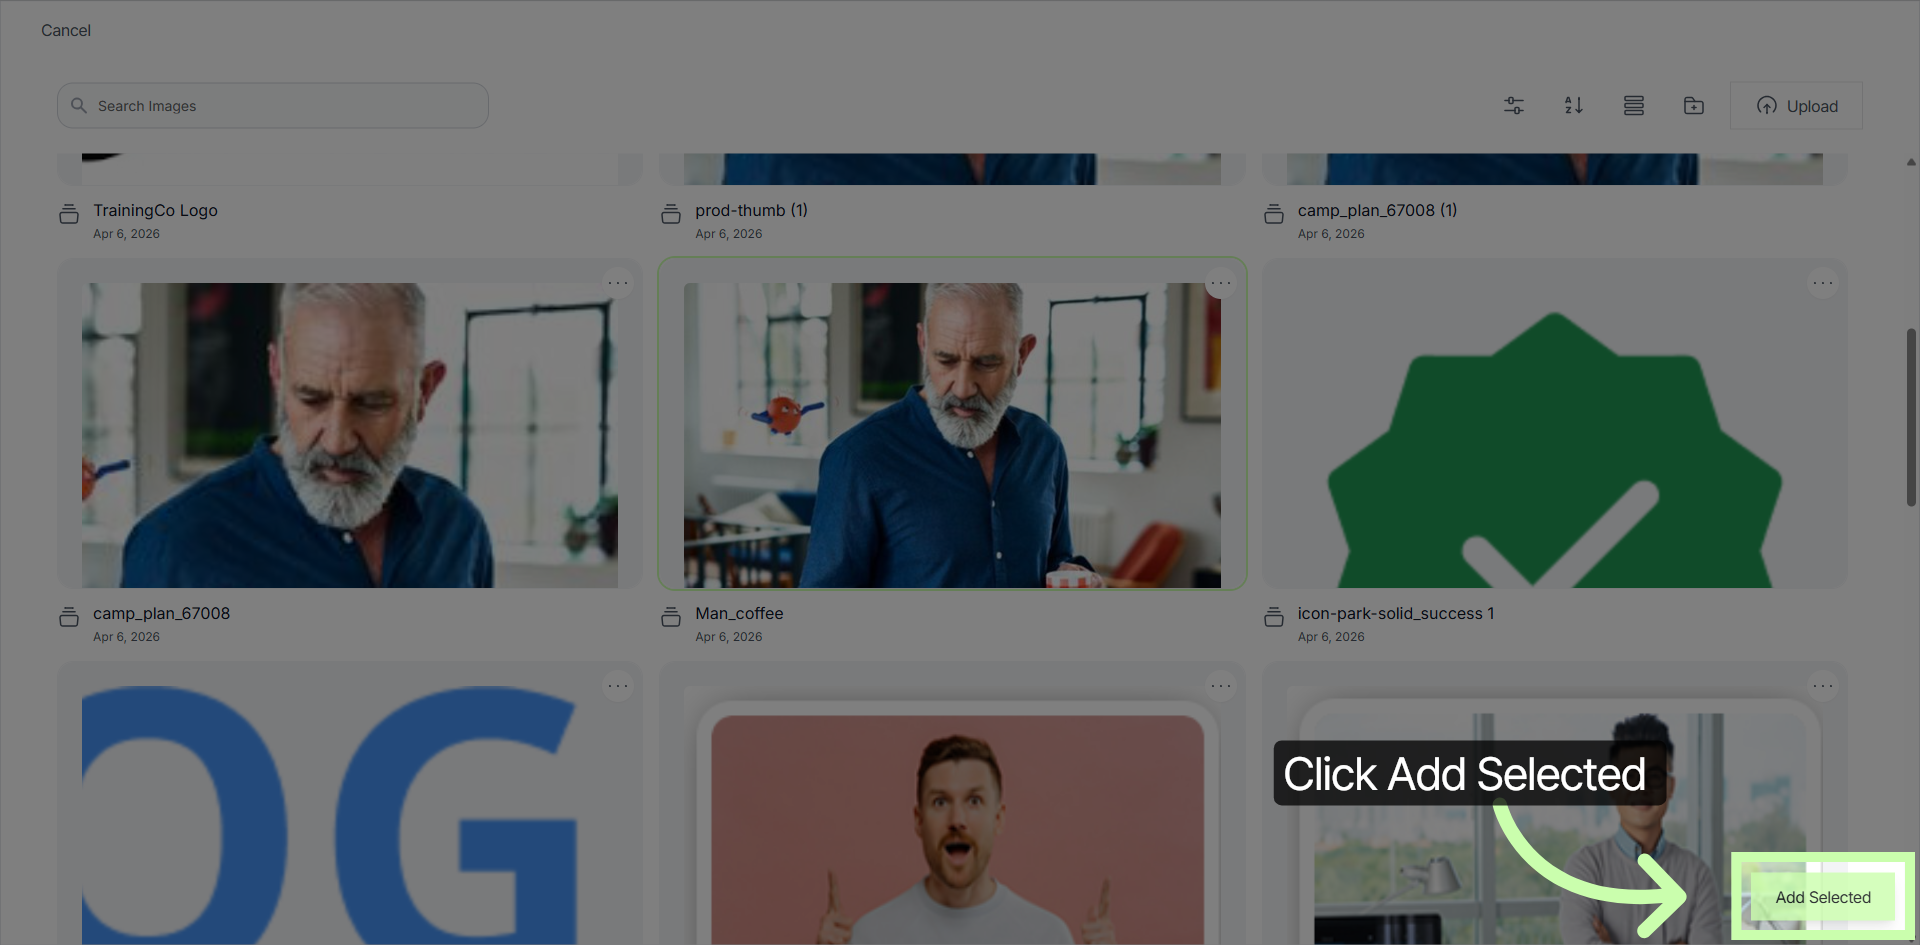
8. Add Selected New Image to Banner Ad
Then click the Add Selected button to include chosen elements/image into your banner design.
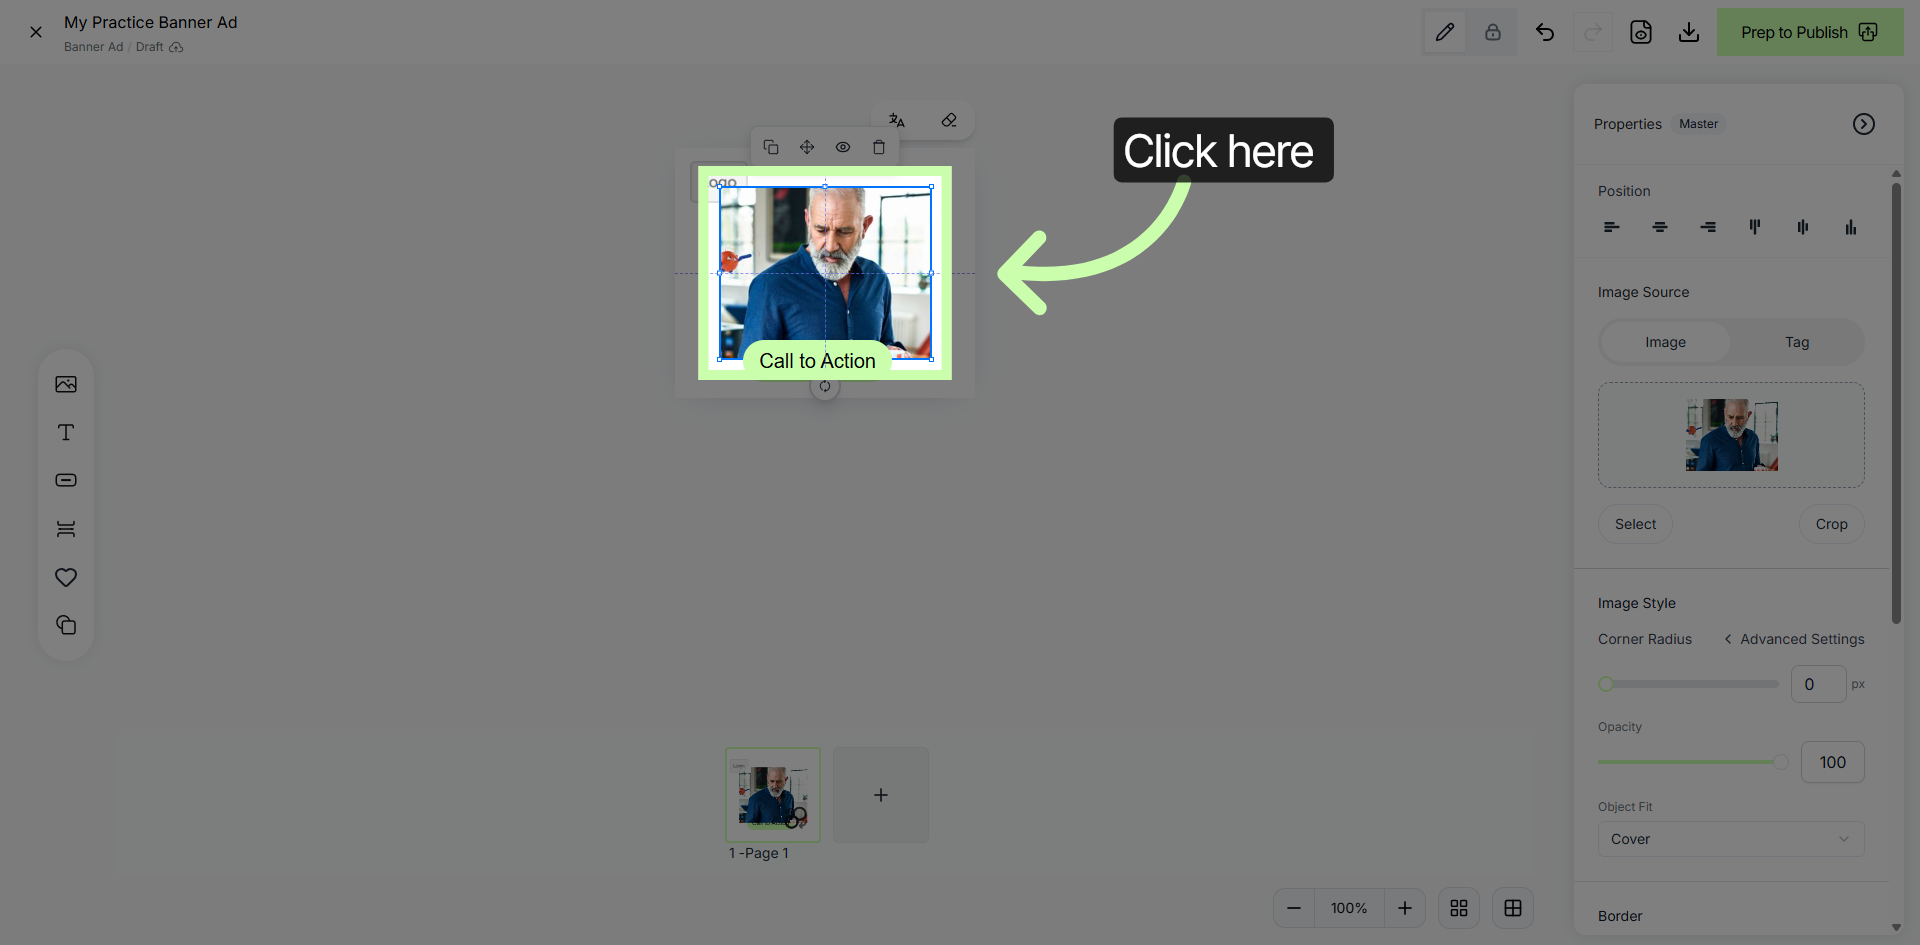
9. Open Image Editing
Click on the image to open the image editing options for your image.
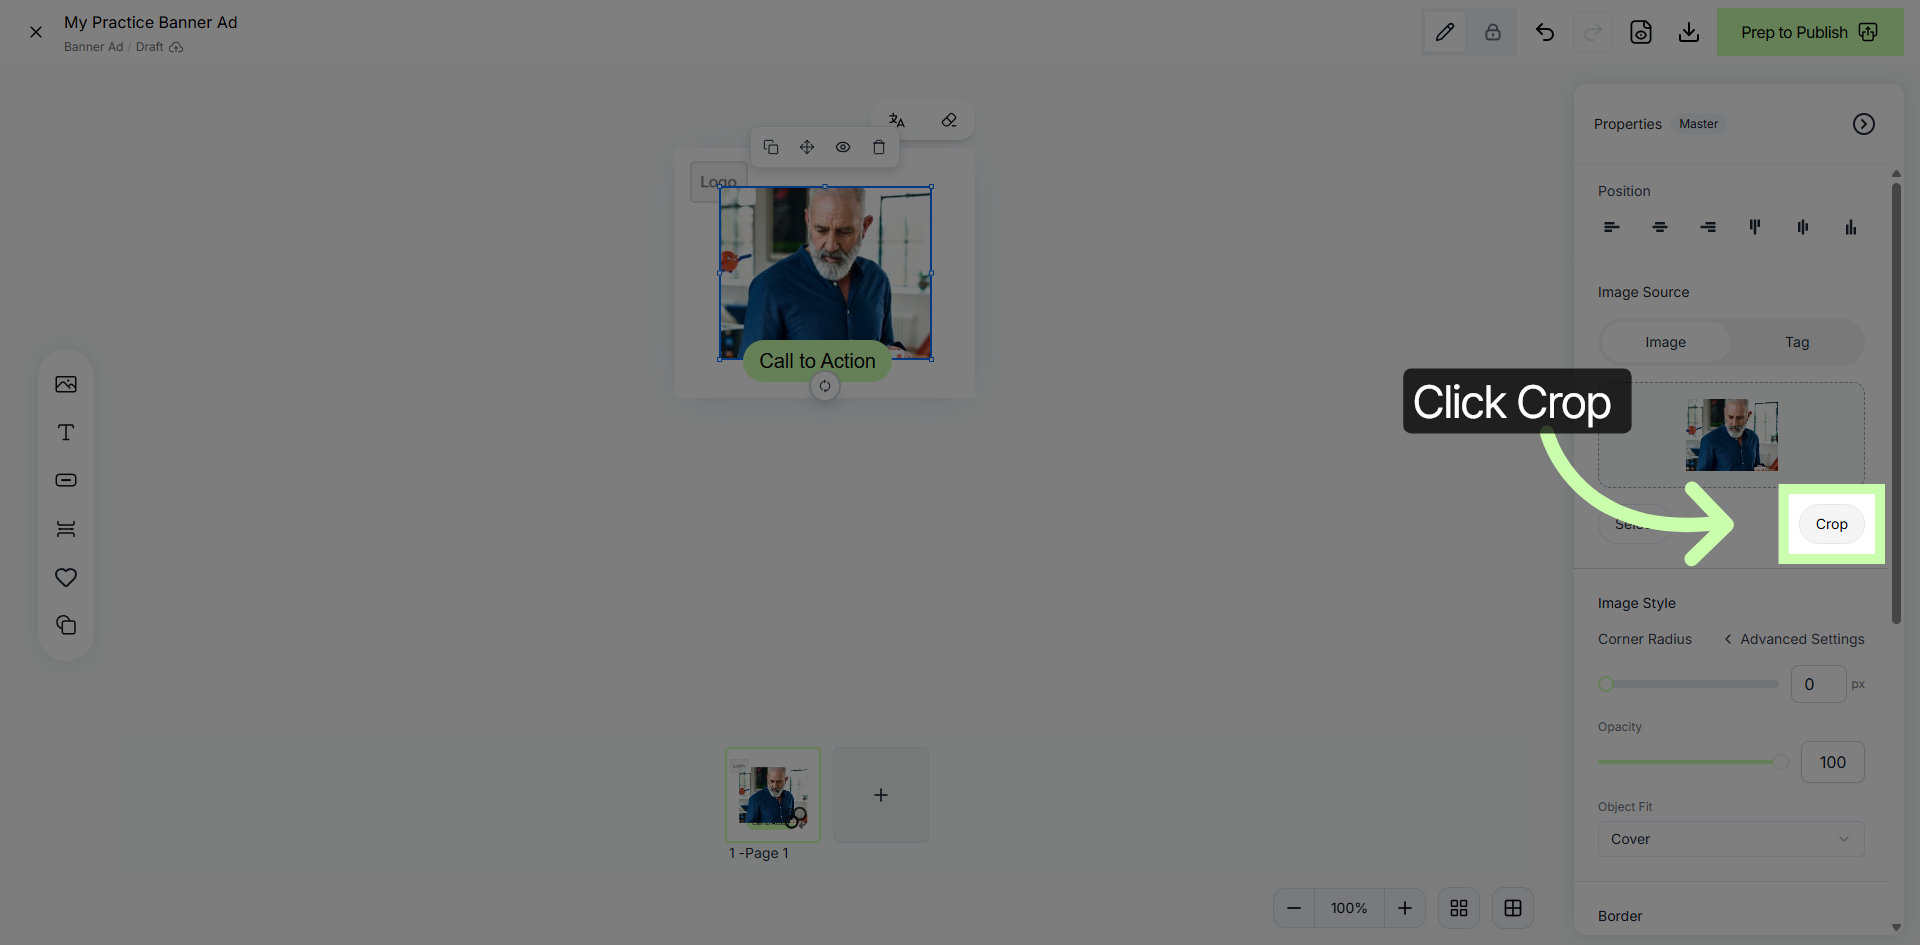
10. Crop Banner Image
In the Properties Panel, click the Crop button to adjust the banner image dimensions and focus area.
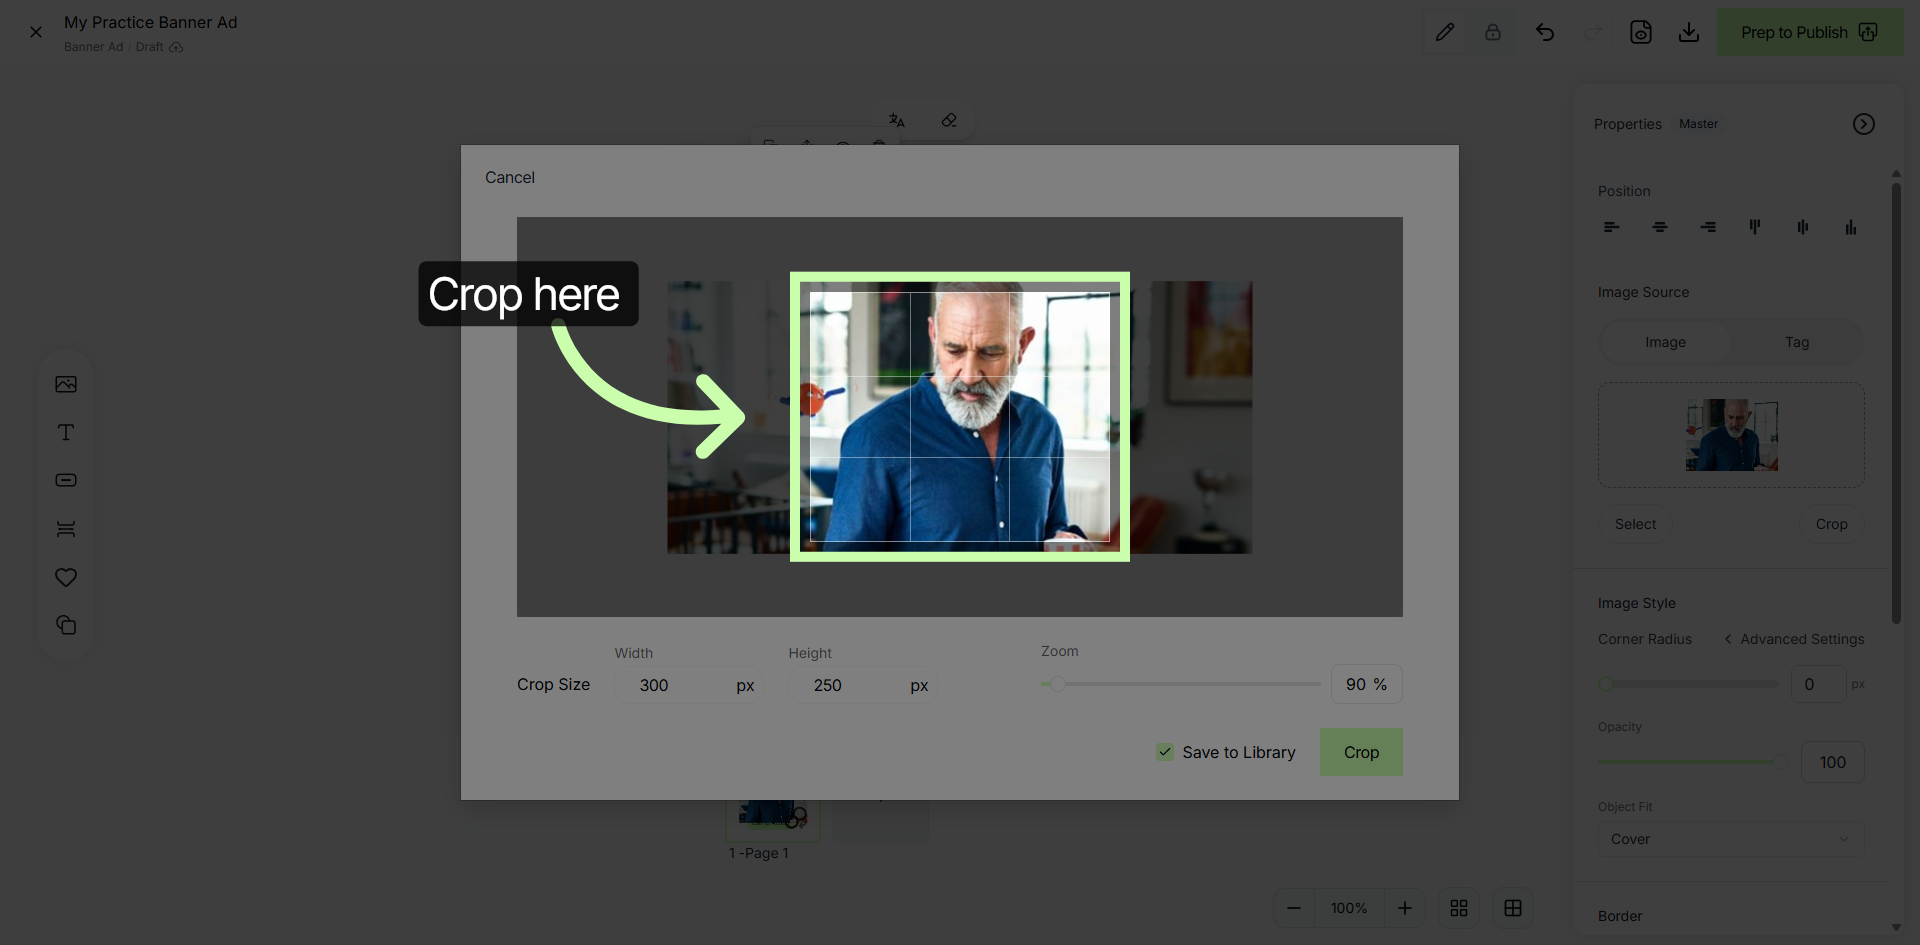
11. Confirm Crop Selection
Drag and adjust the image editor to confirm your crop selection and apply changes.
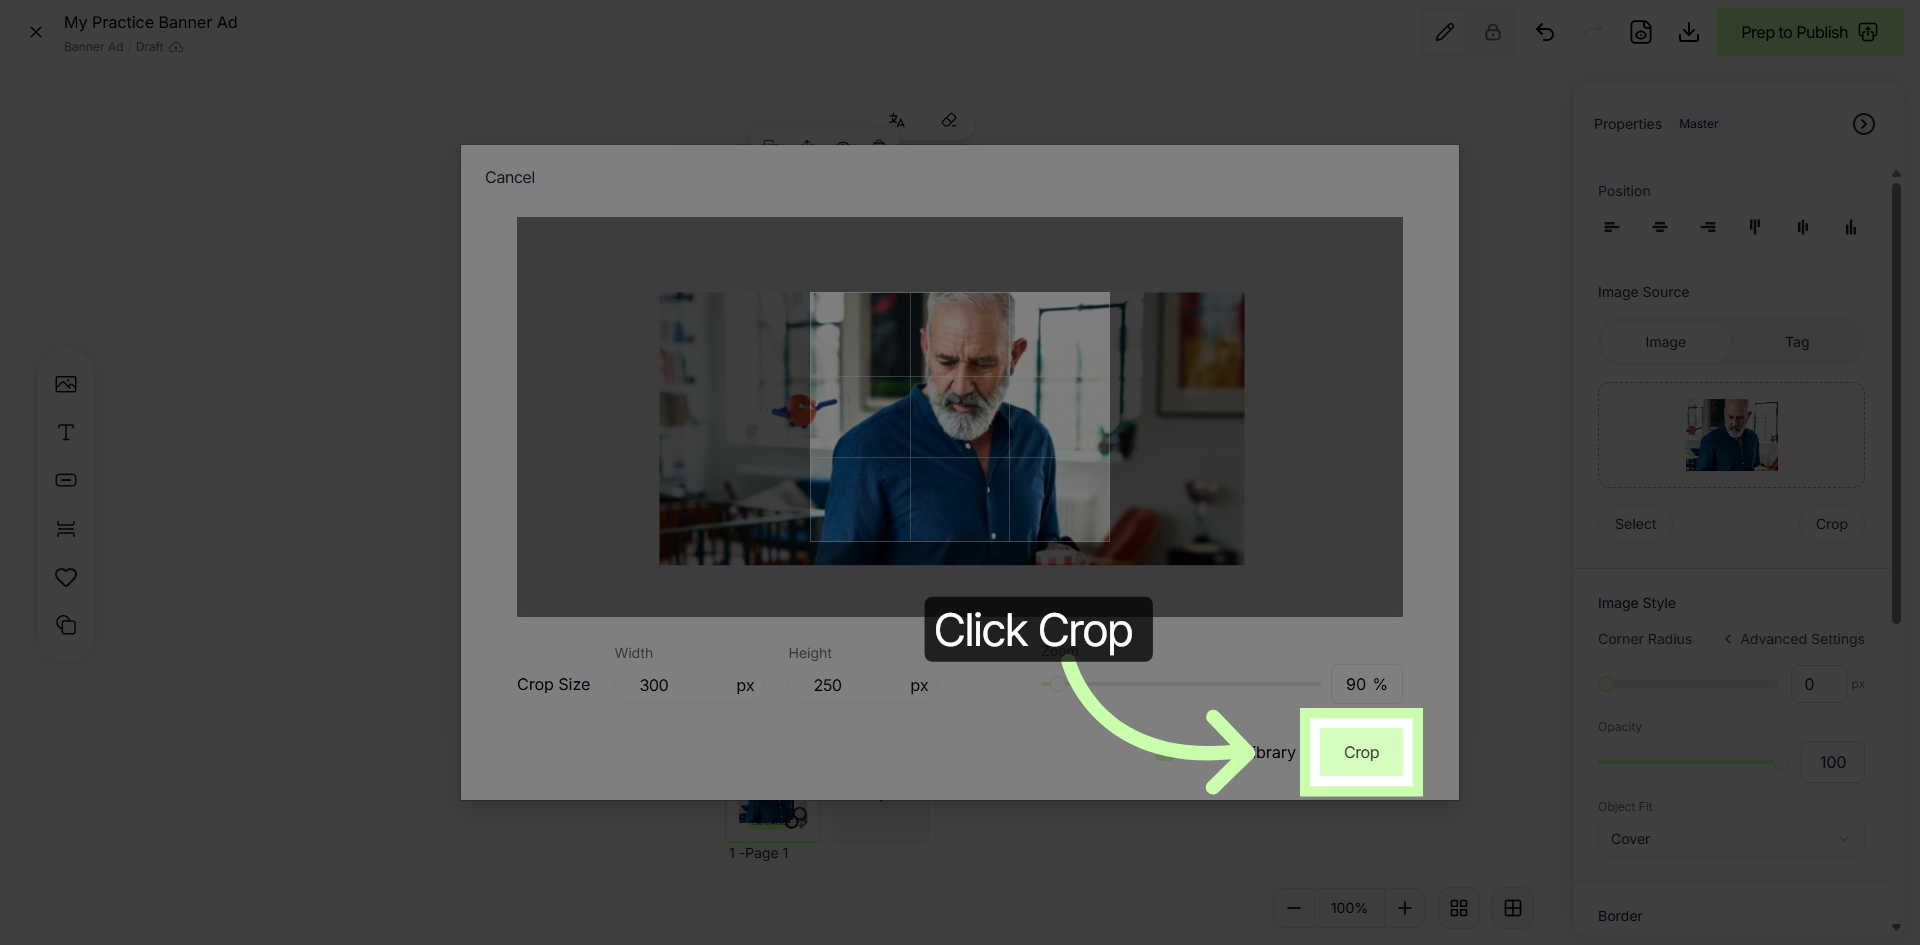
12. Finalize Image Crop
Once you have finished cropping the image, click Crop again to finalize the image cropping process.
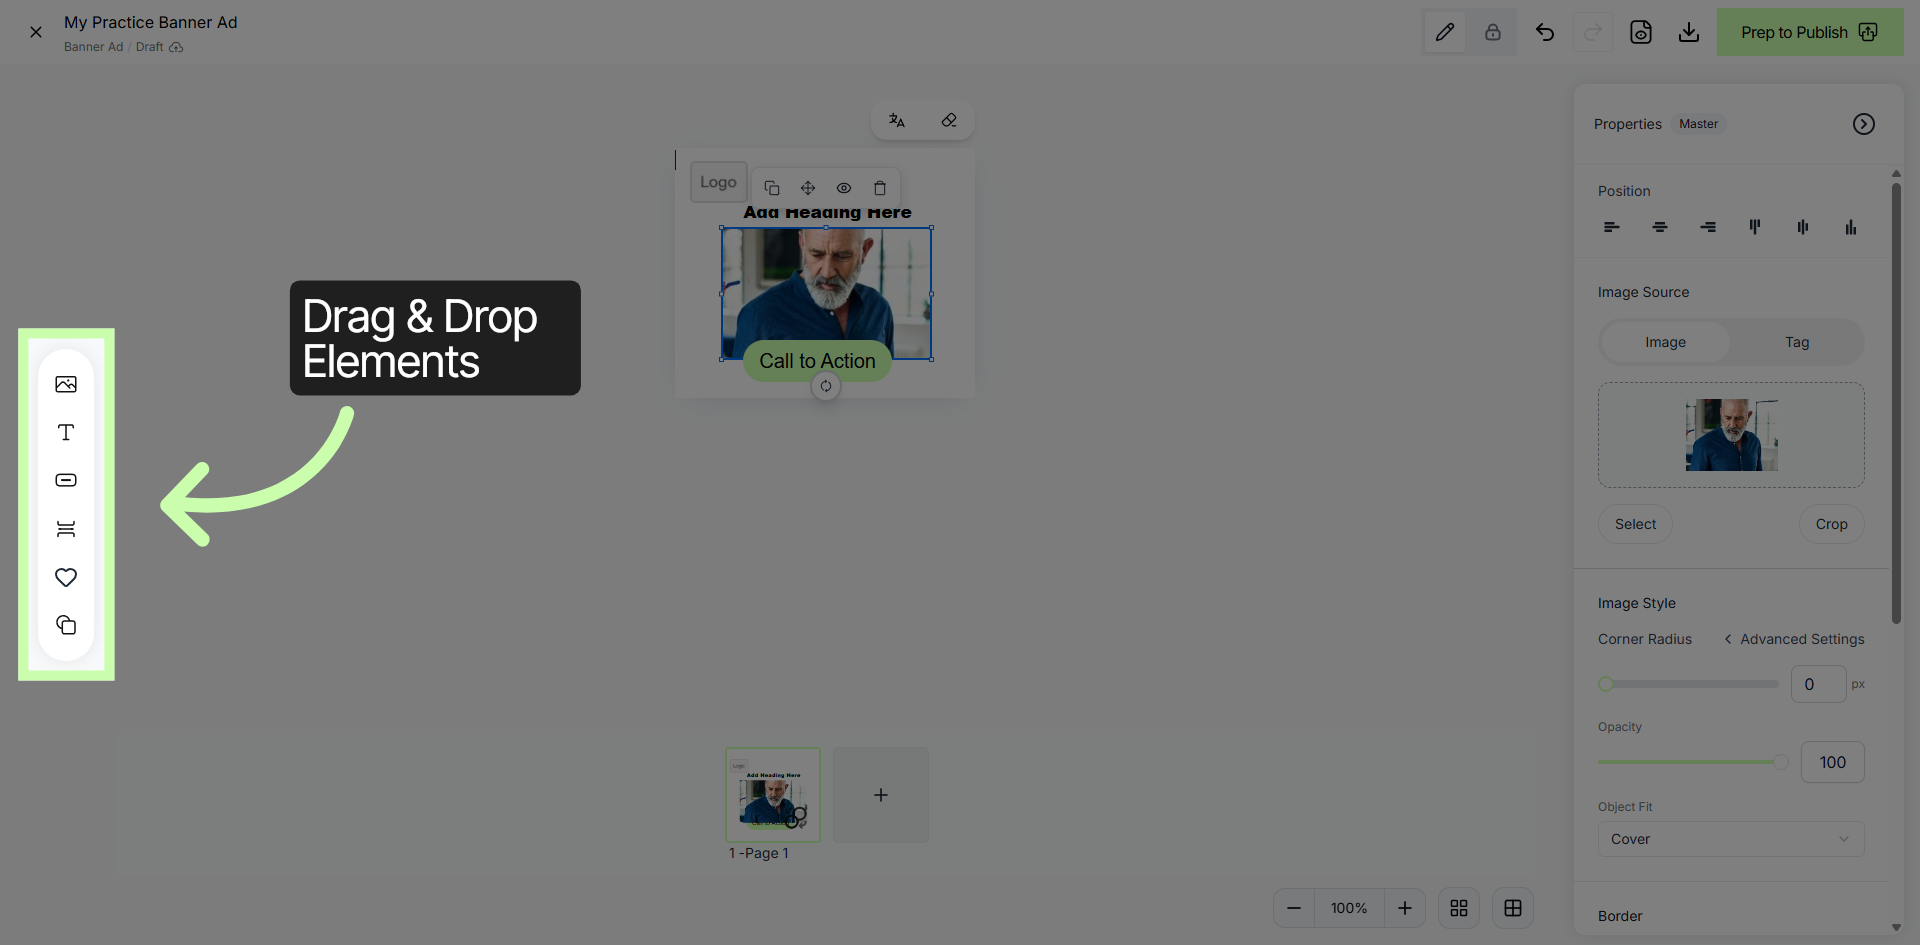
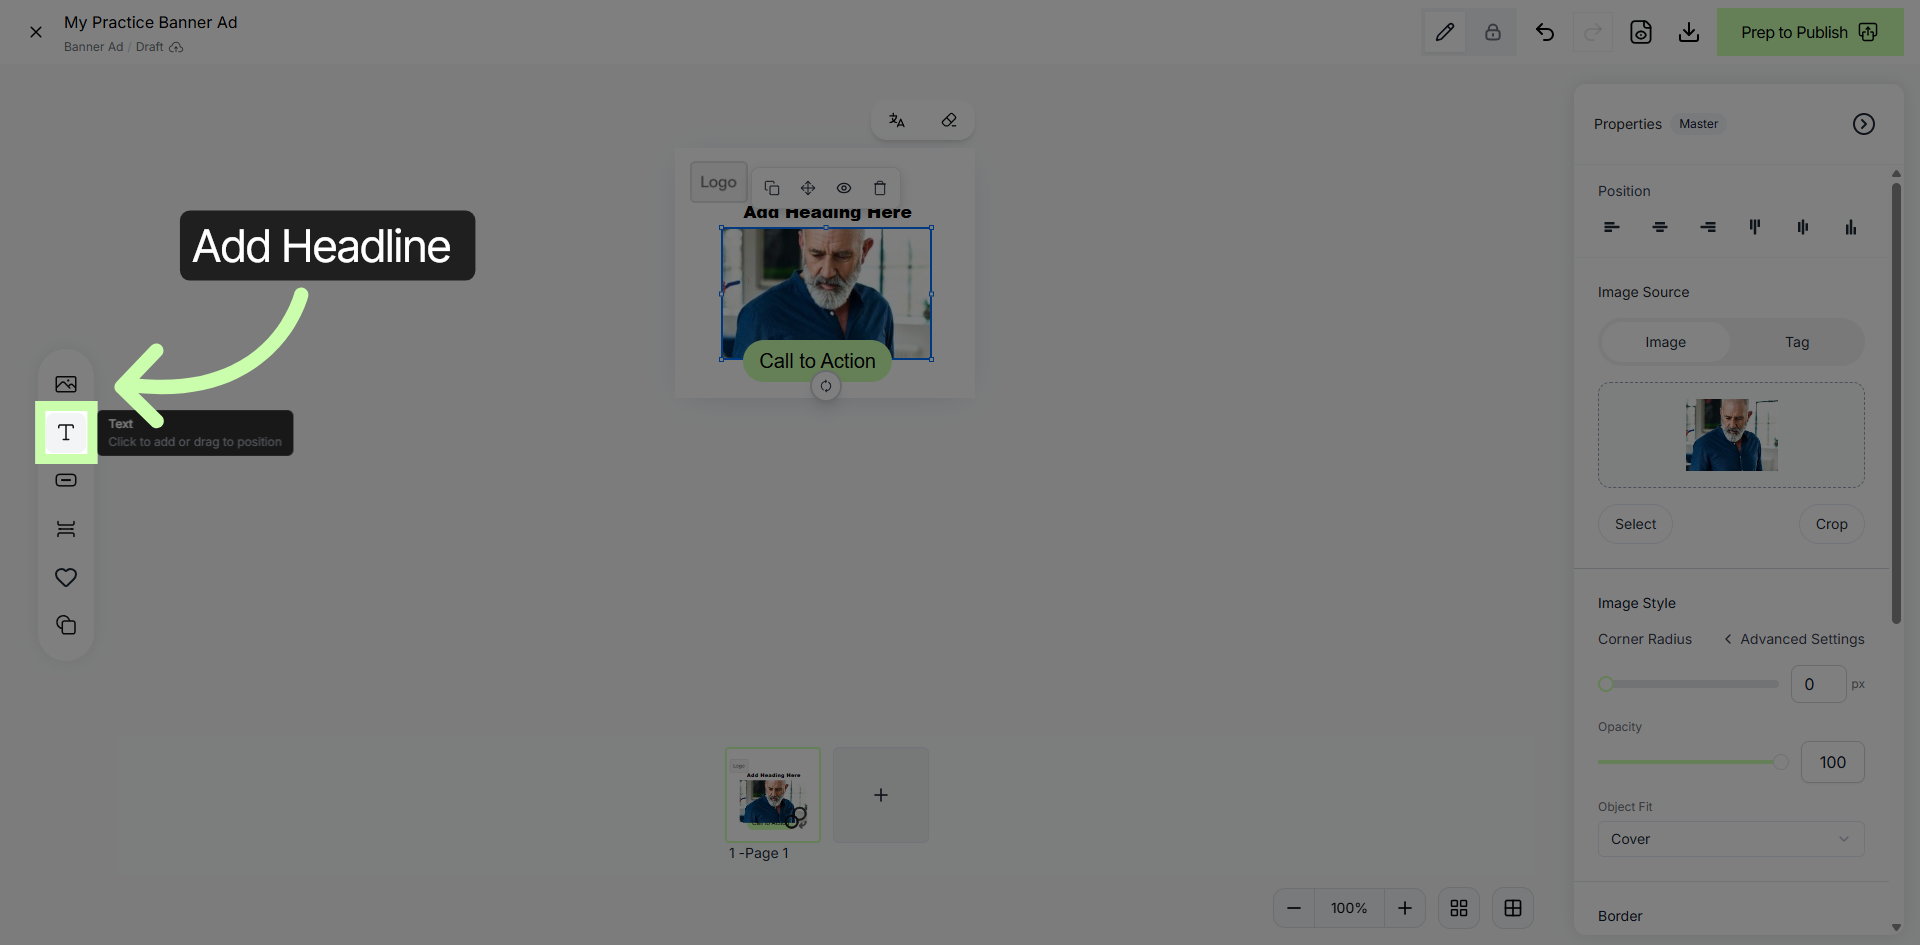
13. Access Drag & Drop Elements
The left panel will show you all the Drag & Drop Elements available to drag to your Banner Ad.
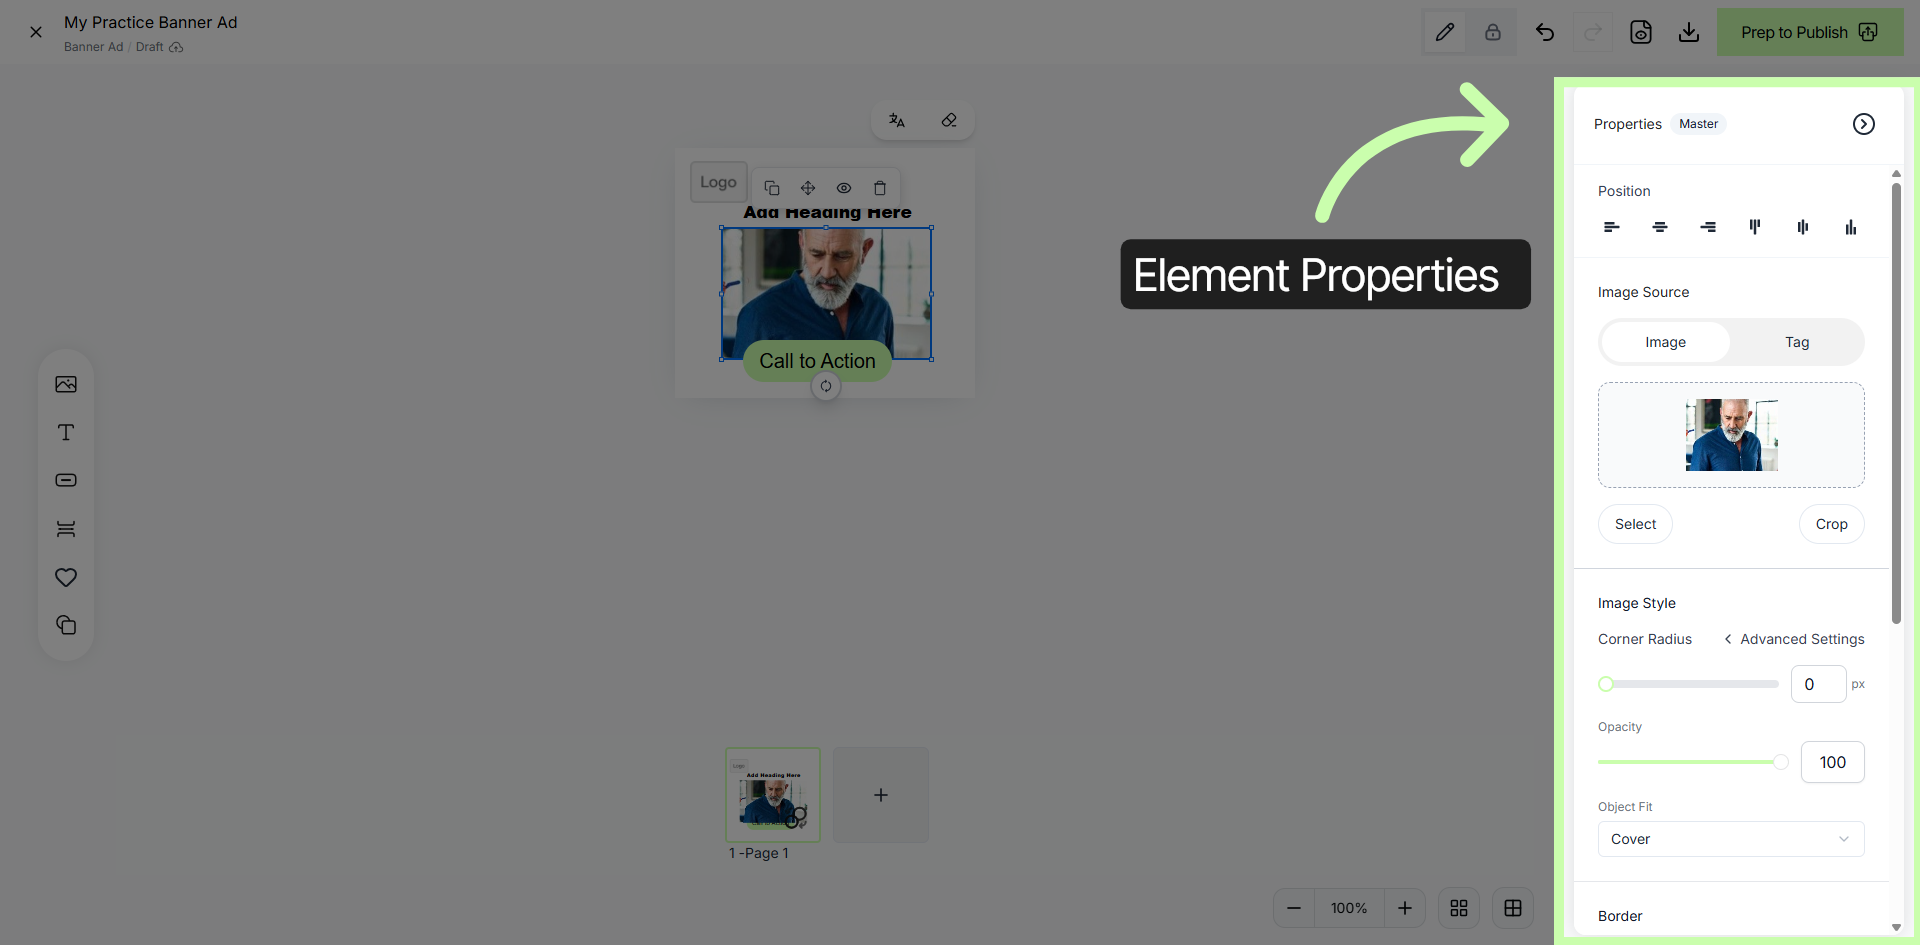
14. Element Properties Panel
In the right panel, you will see the editing Properties of the element you add to your banner ad. This will be different based on the element you are editing.
15. Add New Text Element
Drag a text element onto the canvas, and enter your headline natively.
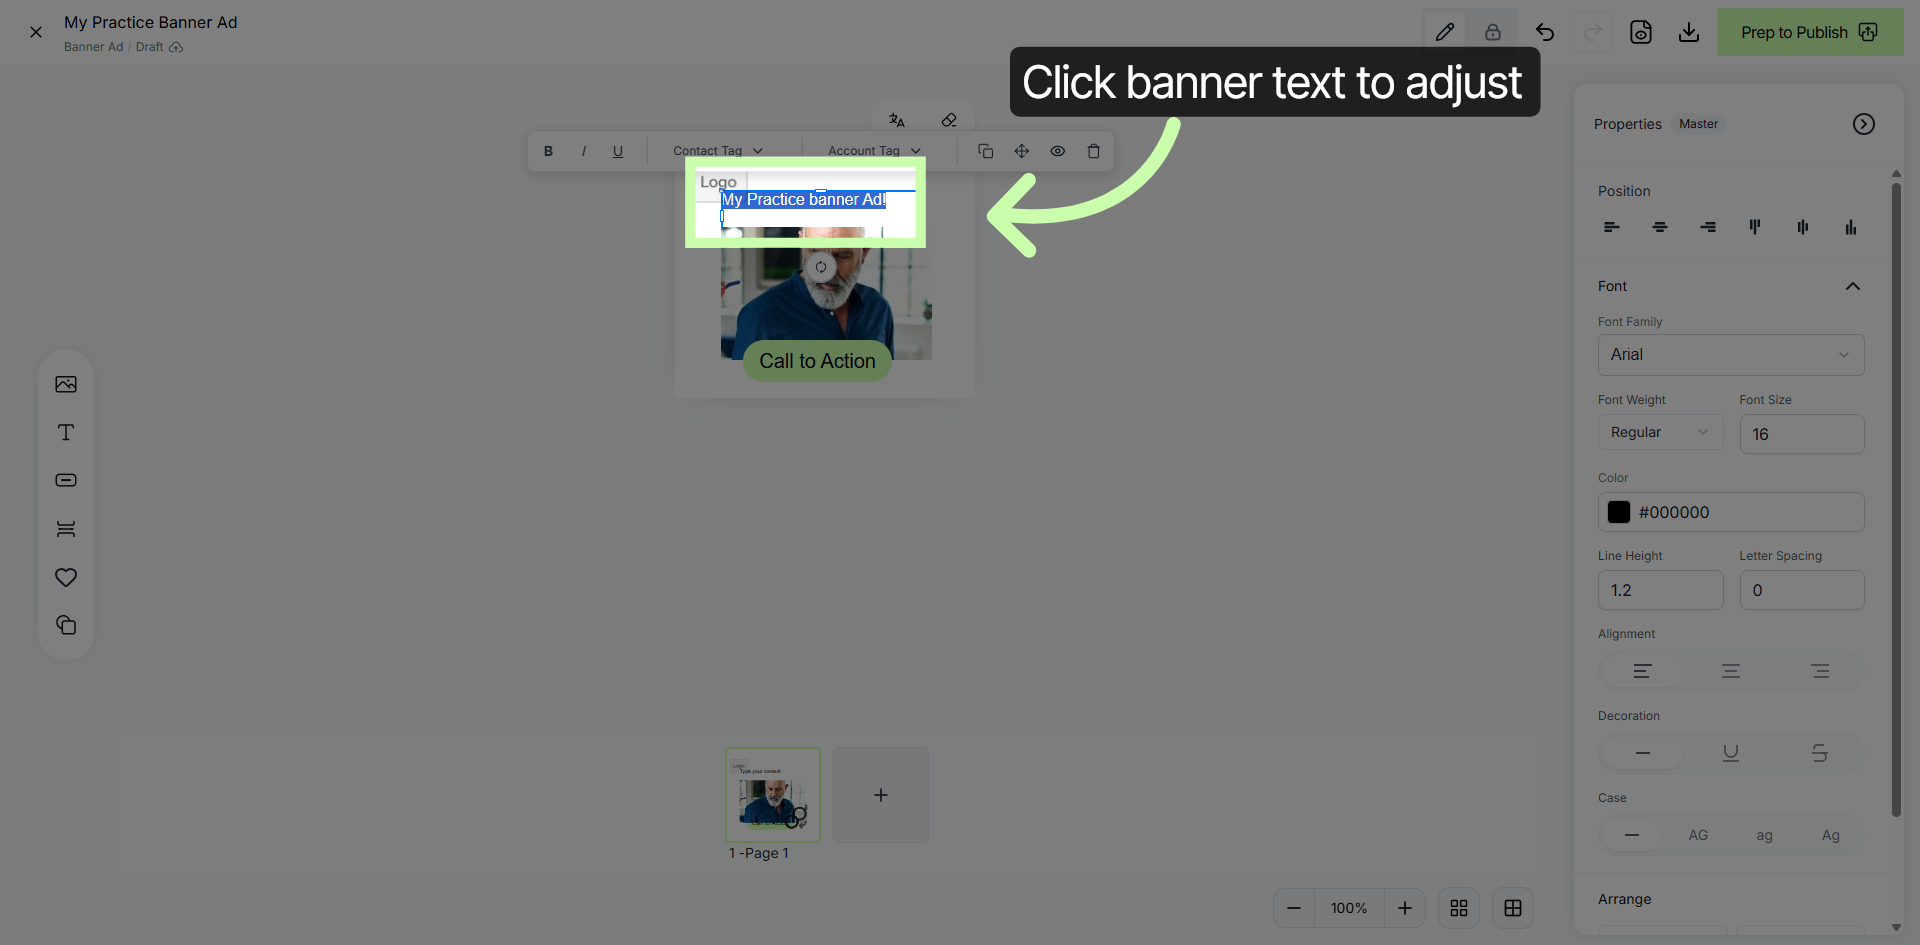
16. Choose Text Style
Once you add the new text element you can add text for your heading.
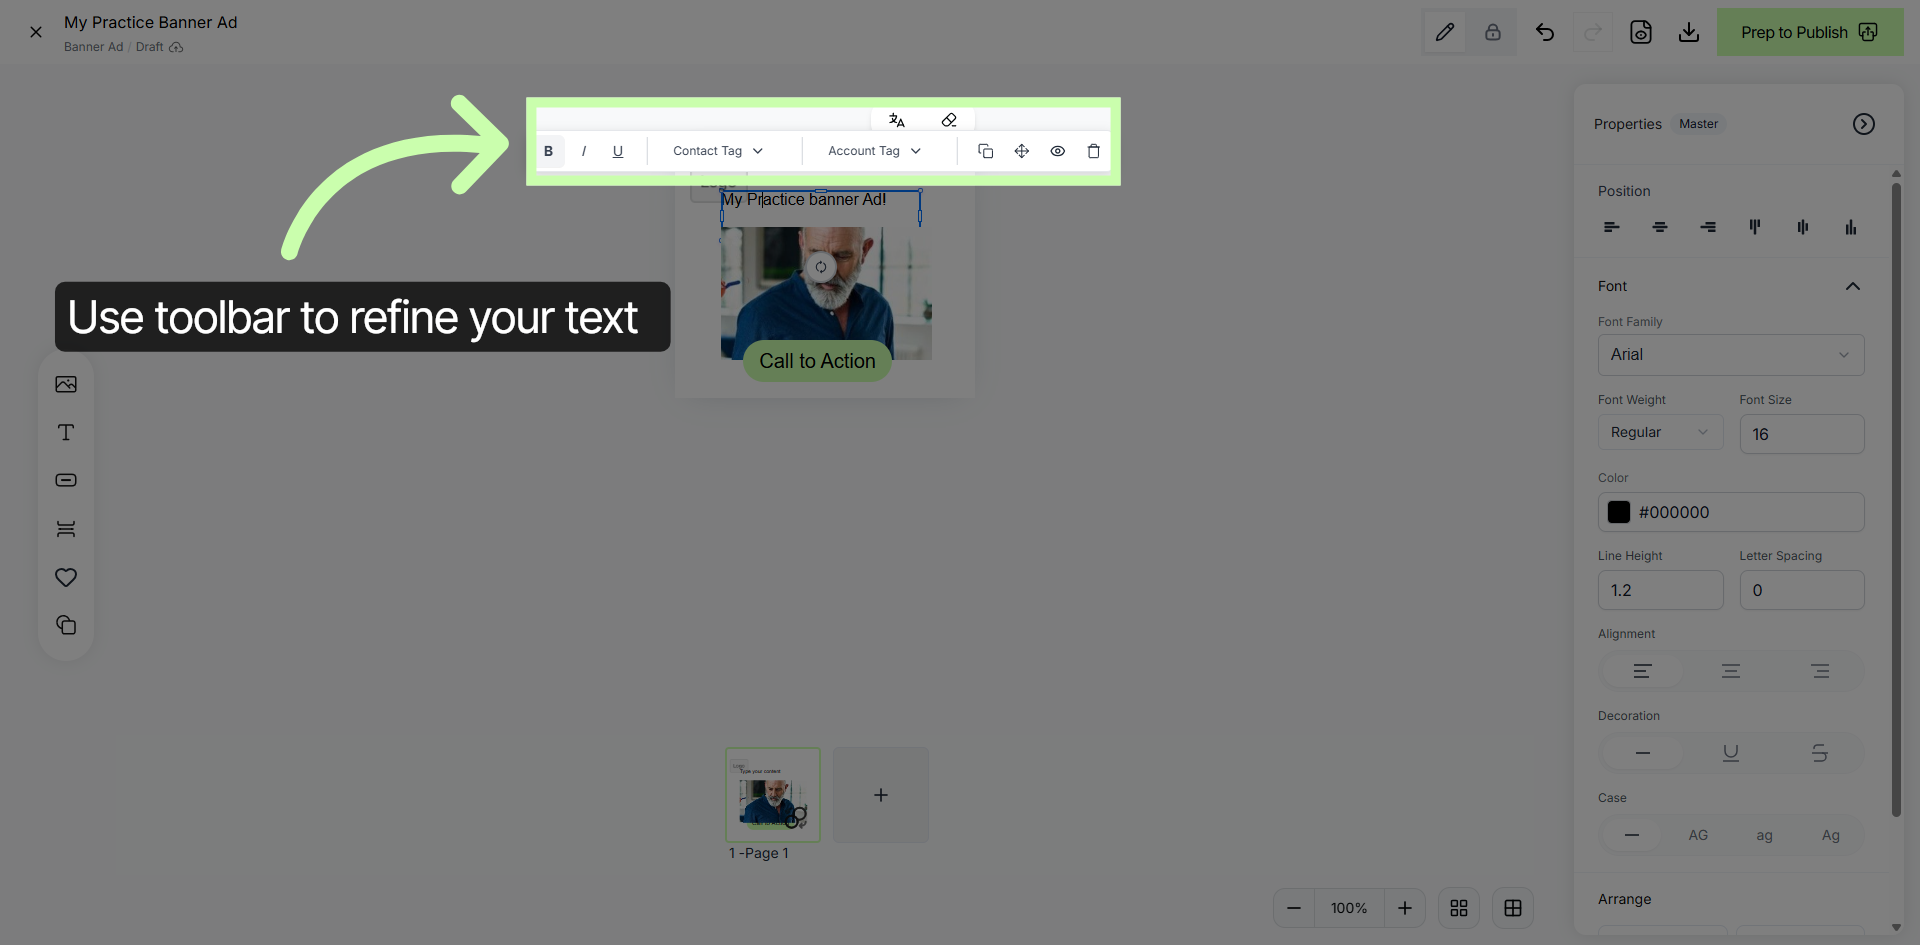
17. Formatting
Within the banner text editor, you have the ability to utilize the toolbar to refine your text. You can add text styling, contact tags, account tags and more!
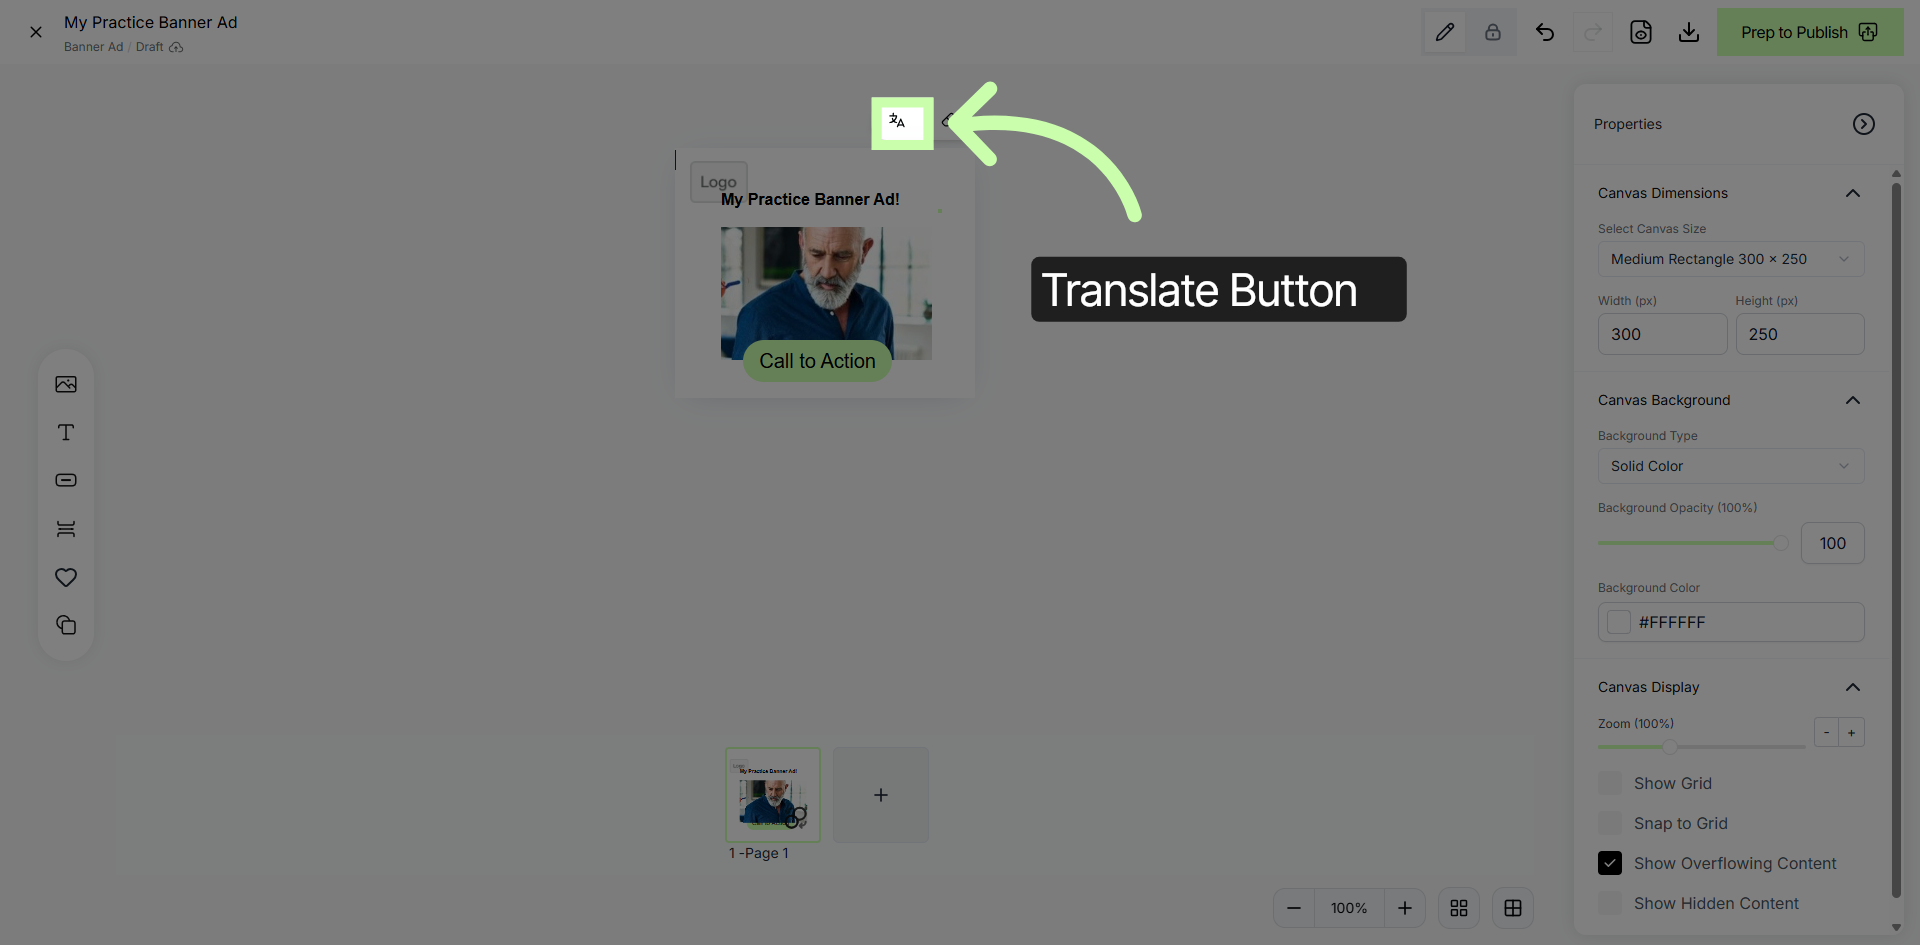
18. Translation
The Translate Button is available to you as well and allows you to translate the text into up to 130 languages!
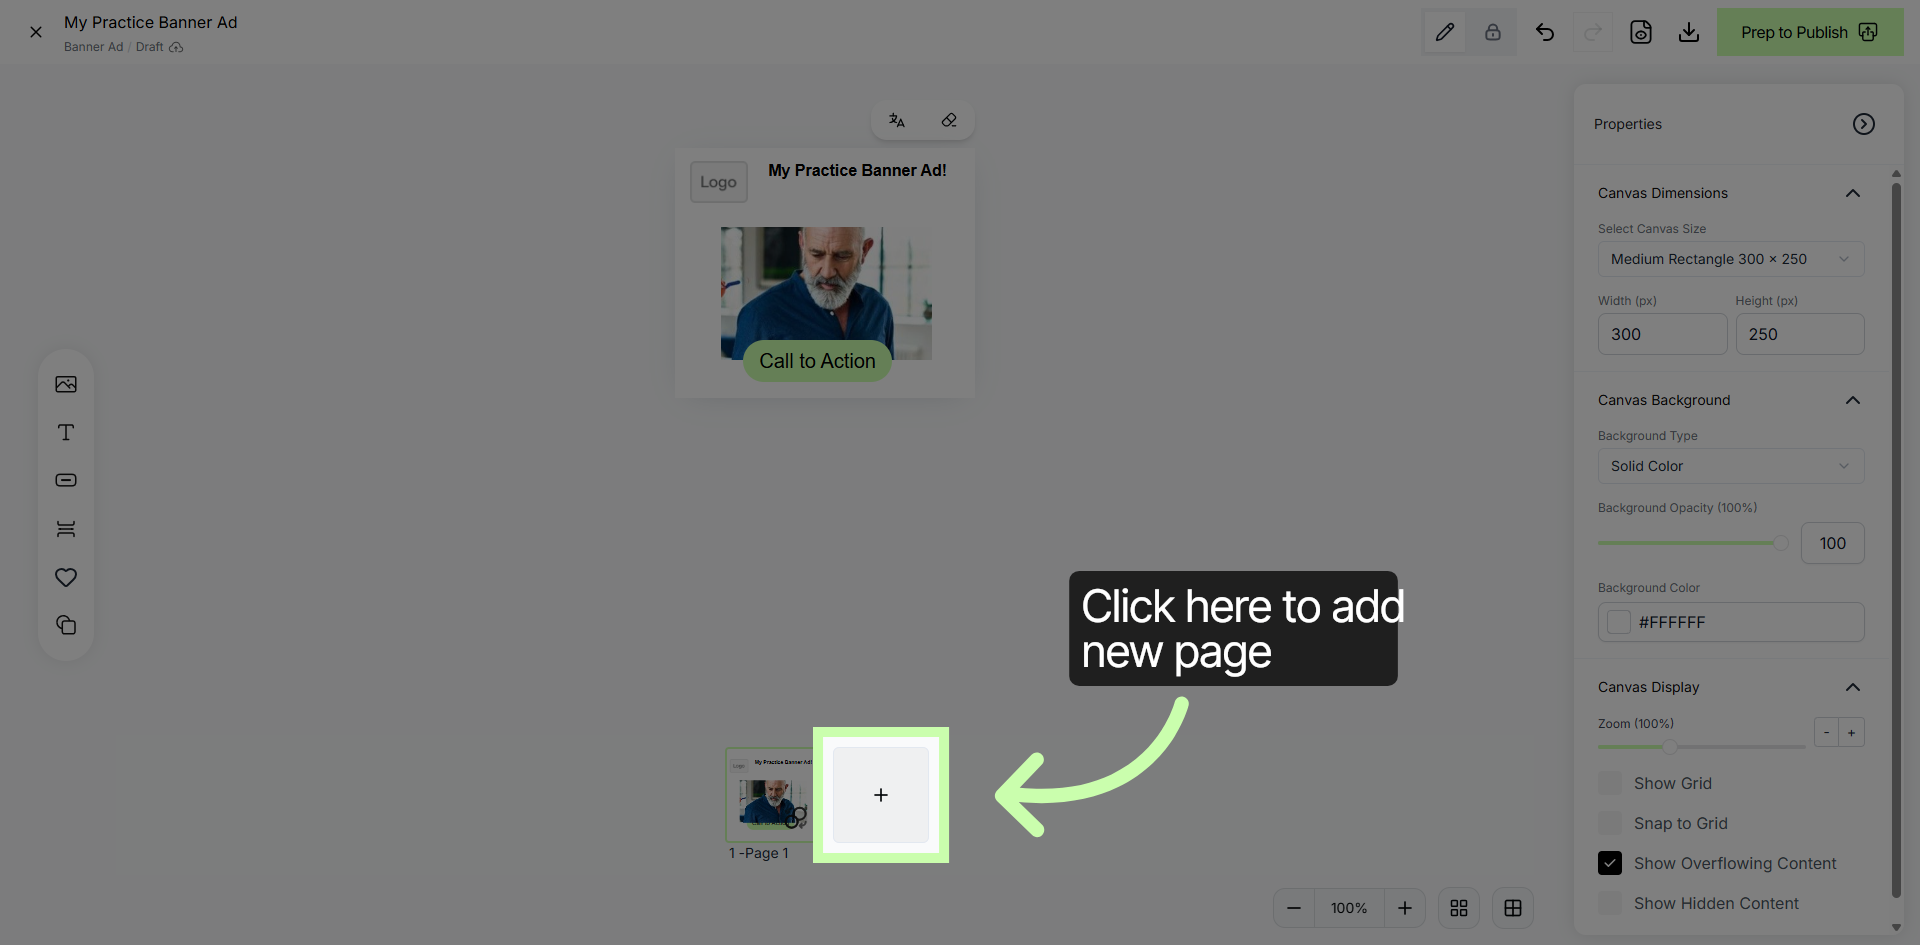
19. Add New Page
To add additional pages, click the plus + sign on the bottom of the canvas.
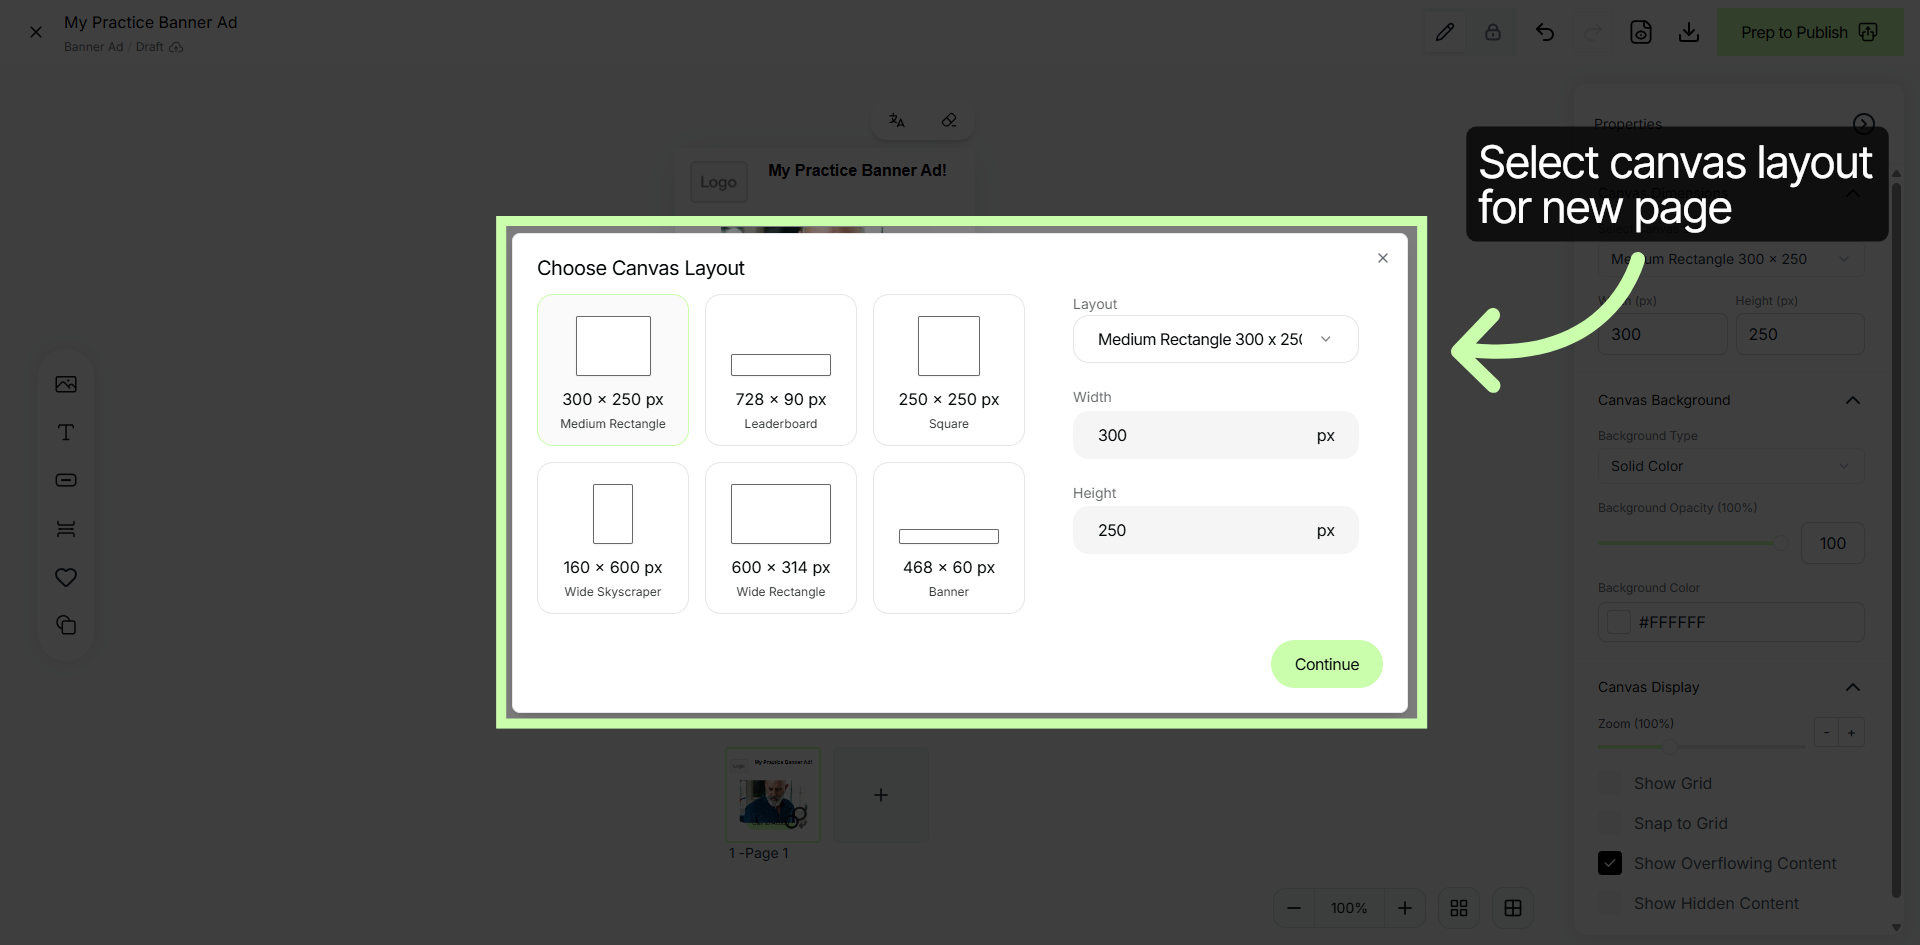
20. Select Canvas Layout for Additional Page
Choose the canvas layout for your additional page.
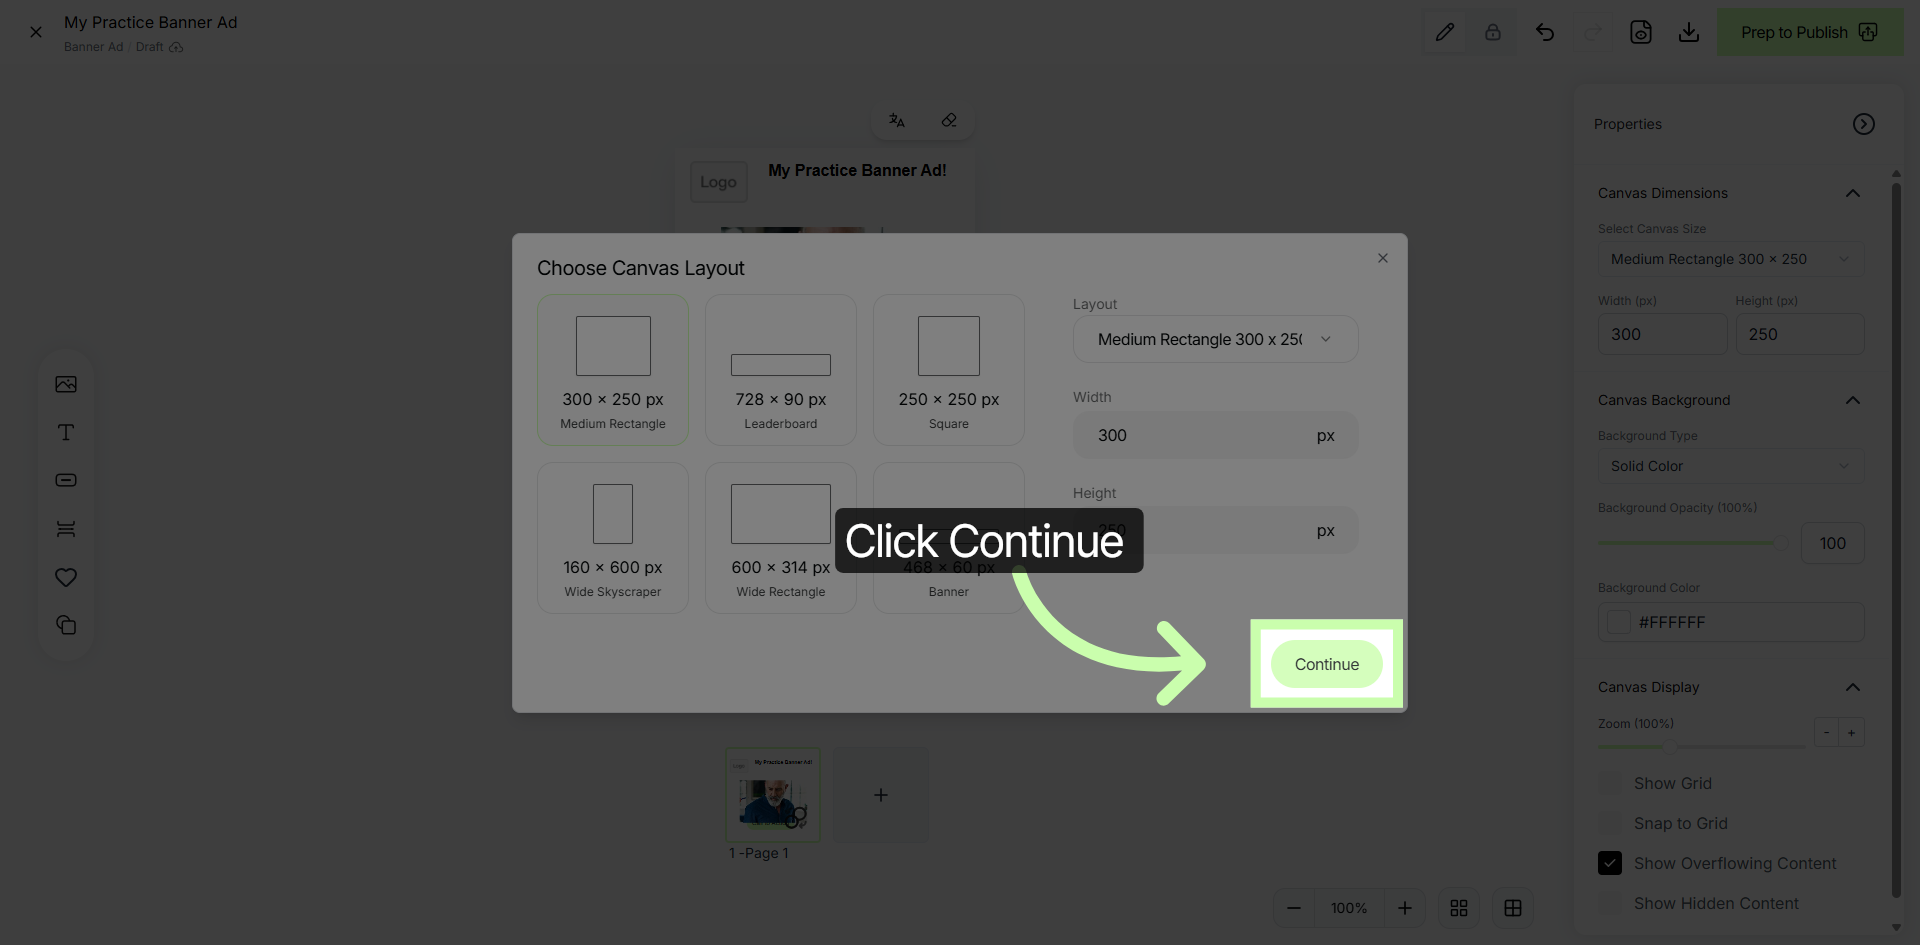
21. Proceed To Next Step
Click Continue to move forward with your banner creation process.
22. Complete Banner Setup
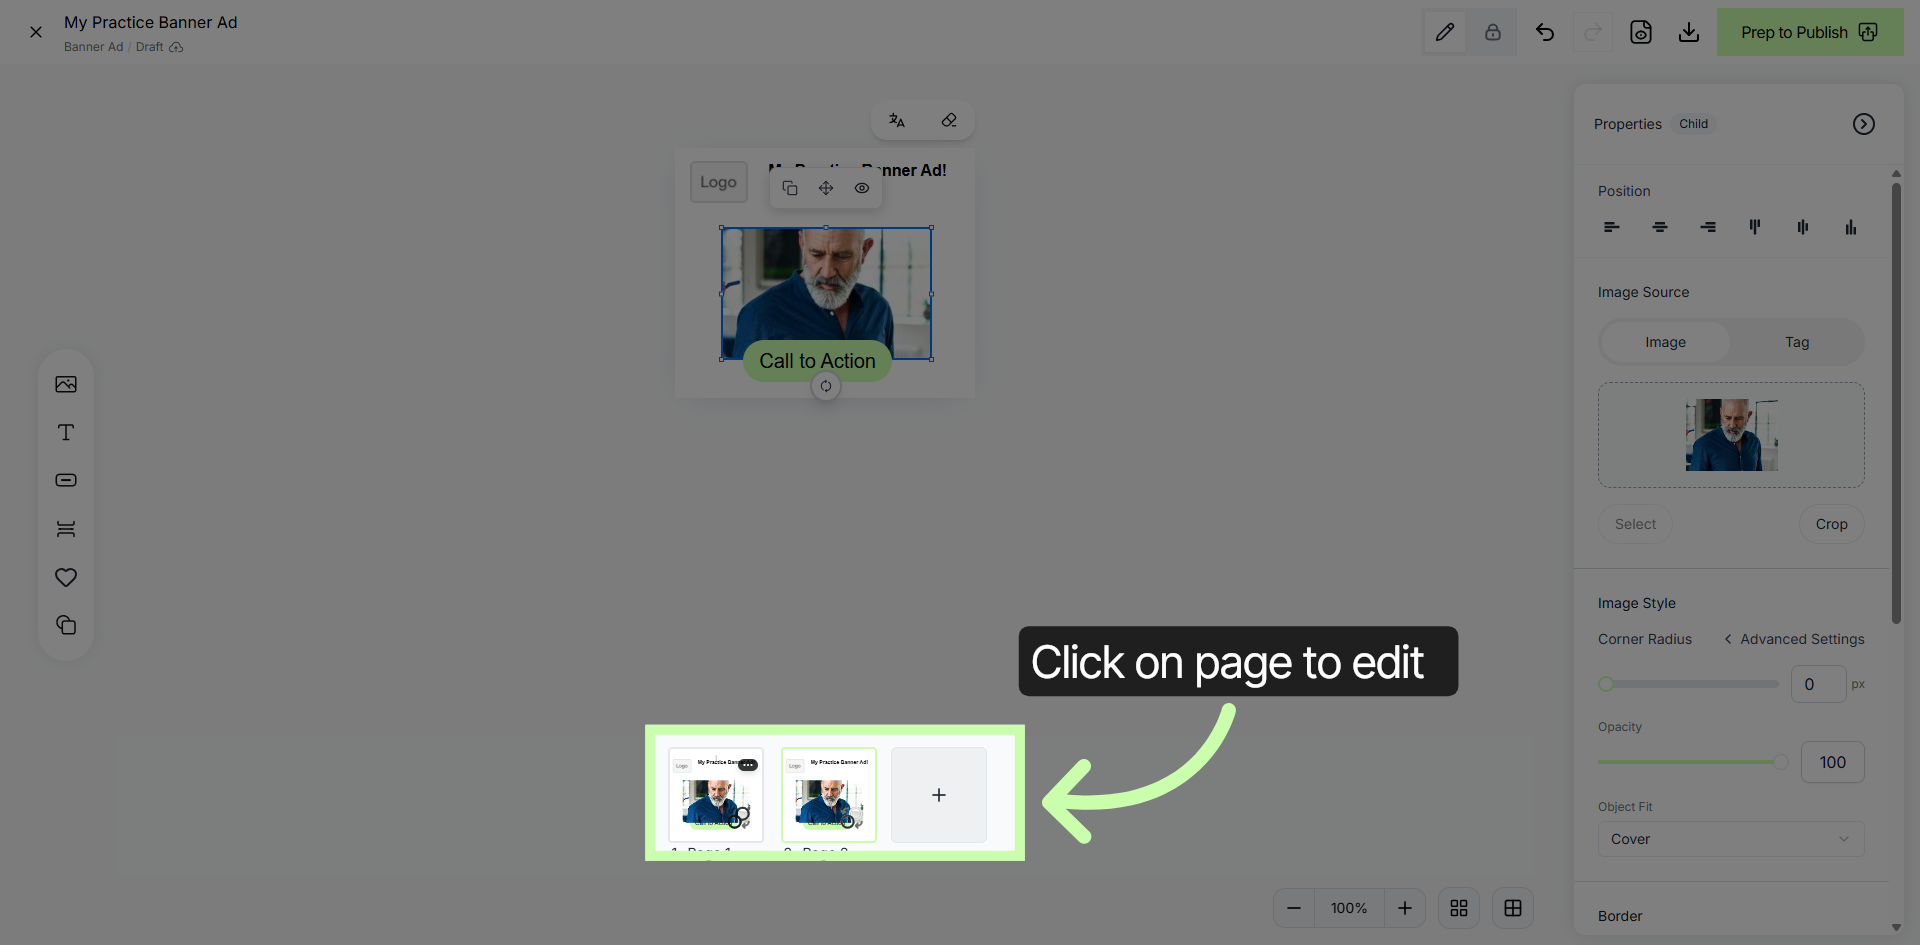
To edit each page of your banner ad, simply click on the page you want to edit. Adjust all elements to appear correctly on the canvas.
You have successfully created and customized a banner ad using Structured AI. Verify your banner's appearance and settings before publishing. For further customization, explore additional design features or create new banners to enhance your advertising strategy.