
 Creating Your Banner Ad Campaign - Phase 3: Testing & Management
Estimated Time
~10 minutes
Current Phase
Phase 3 of 3
What You'll Accomplish
- Configure call-to-action buttons within banner ads in Structured AI.
- Apply settings to ensure CTAs are correctly linked and functional.
- Complete the banner publishing process from setup to final release.
- Publish banners that are properly configured and ready for deployment.
|
Before you begin — open your account This is a hands-on, learning-by-doing session. Open app.structured.ai in your browser and log in to your Tenant Account so you can follow along and apply each step in real time. |
Direct Links to the Next Phases in this Training Series
This module is part of a 3-part series. Each session builds on the
last, and reviewing them in order ensures you don't miss any critical
steps and get a complete understanding of the workflow.
|
Phase 1
Setup & Framework
|
Start Training ➡ |
|
Phase 2
Customizing the Ad
|
Start Training ➡ |
|
Phase 3
Testing & Management
|
Current Phase ✔ |
Follow Our Step-By-Step Training
1. Introduction
Ready to learn more? Continue reading to learn how to link documents, customize content, and manage publishing settings effectively.
2. Access Call to Action Settings
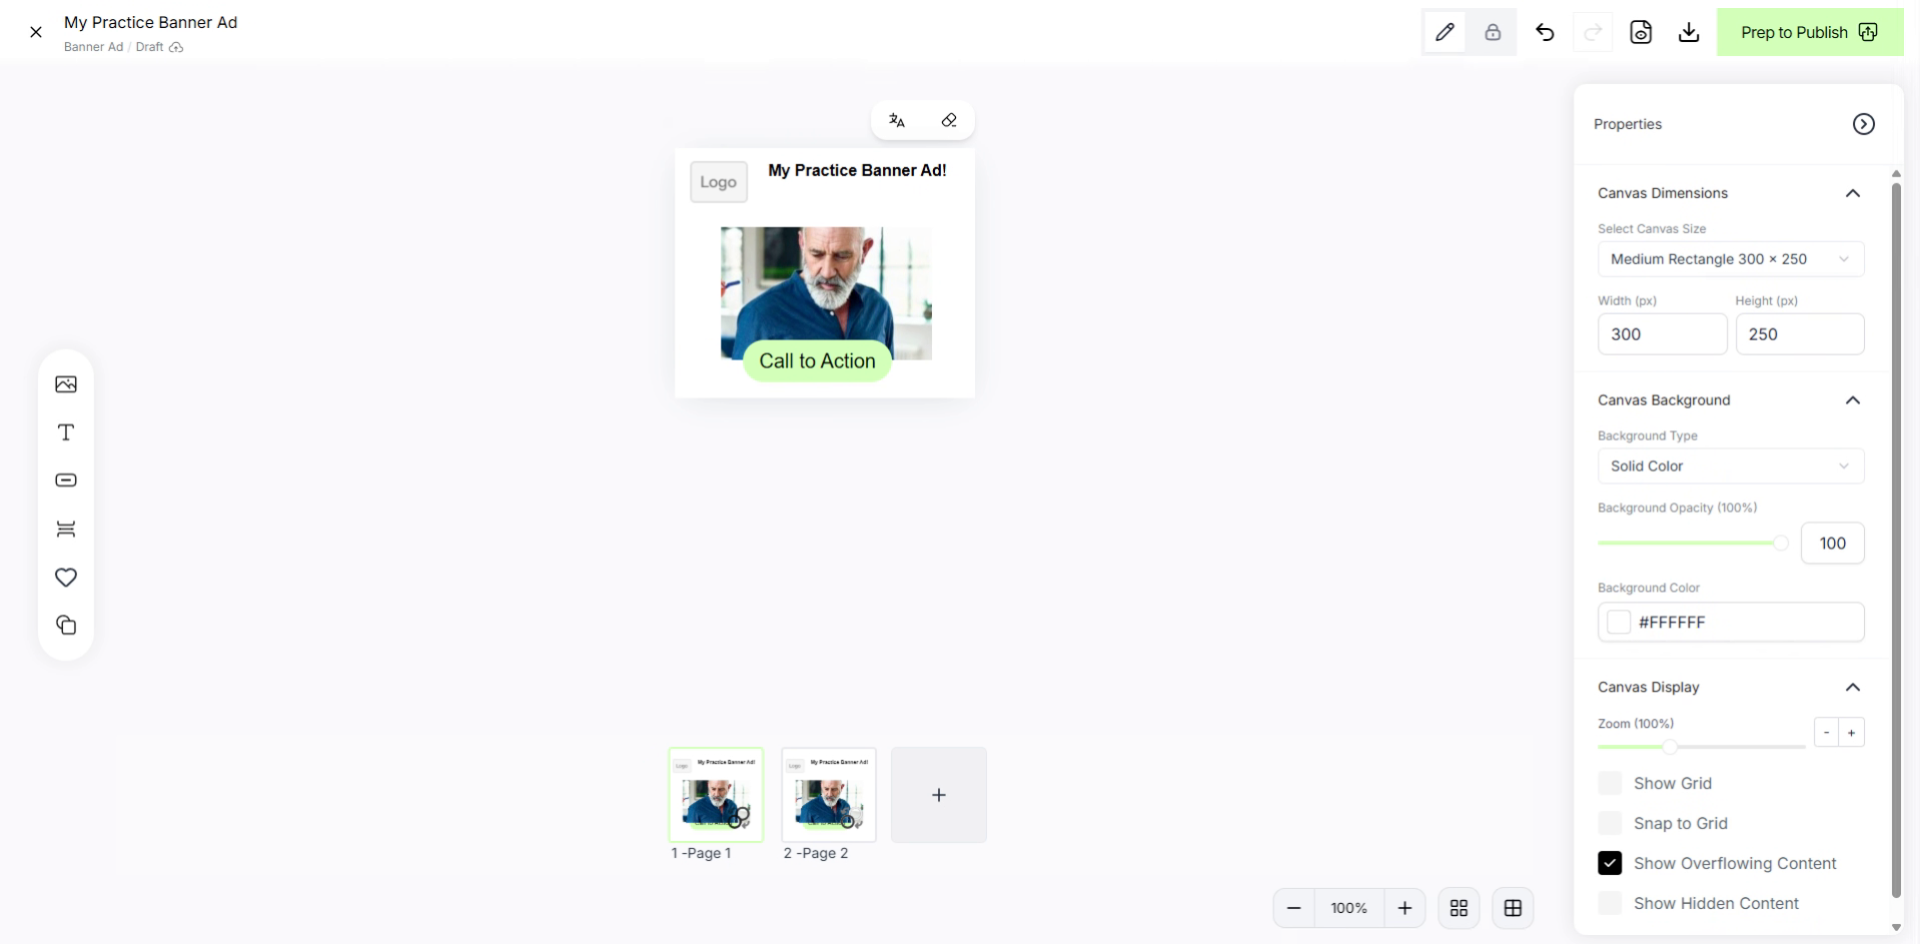
Turn your ad into a lead generating engine by adding a document. Click the Call to Action button to open the settings for configuring your banner's Call to Action button.
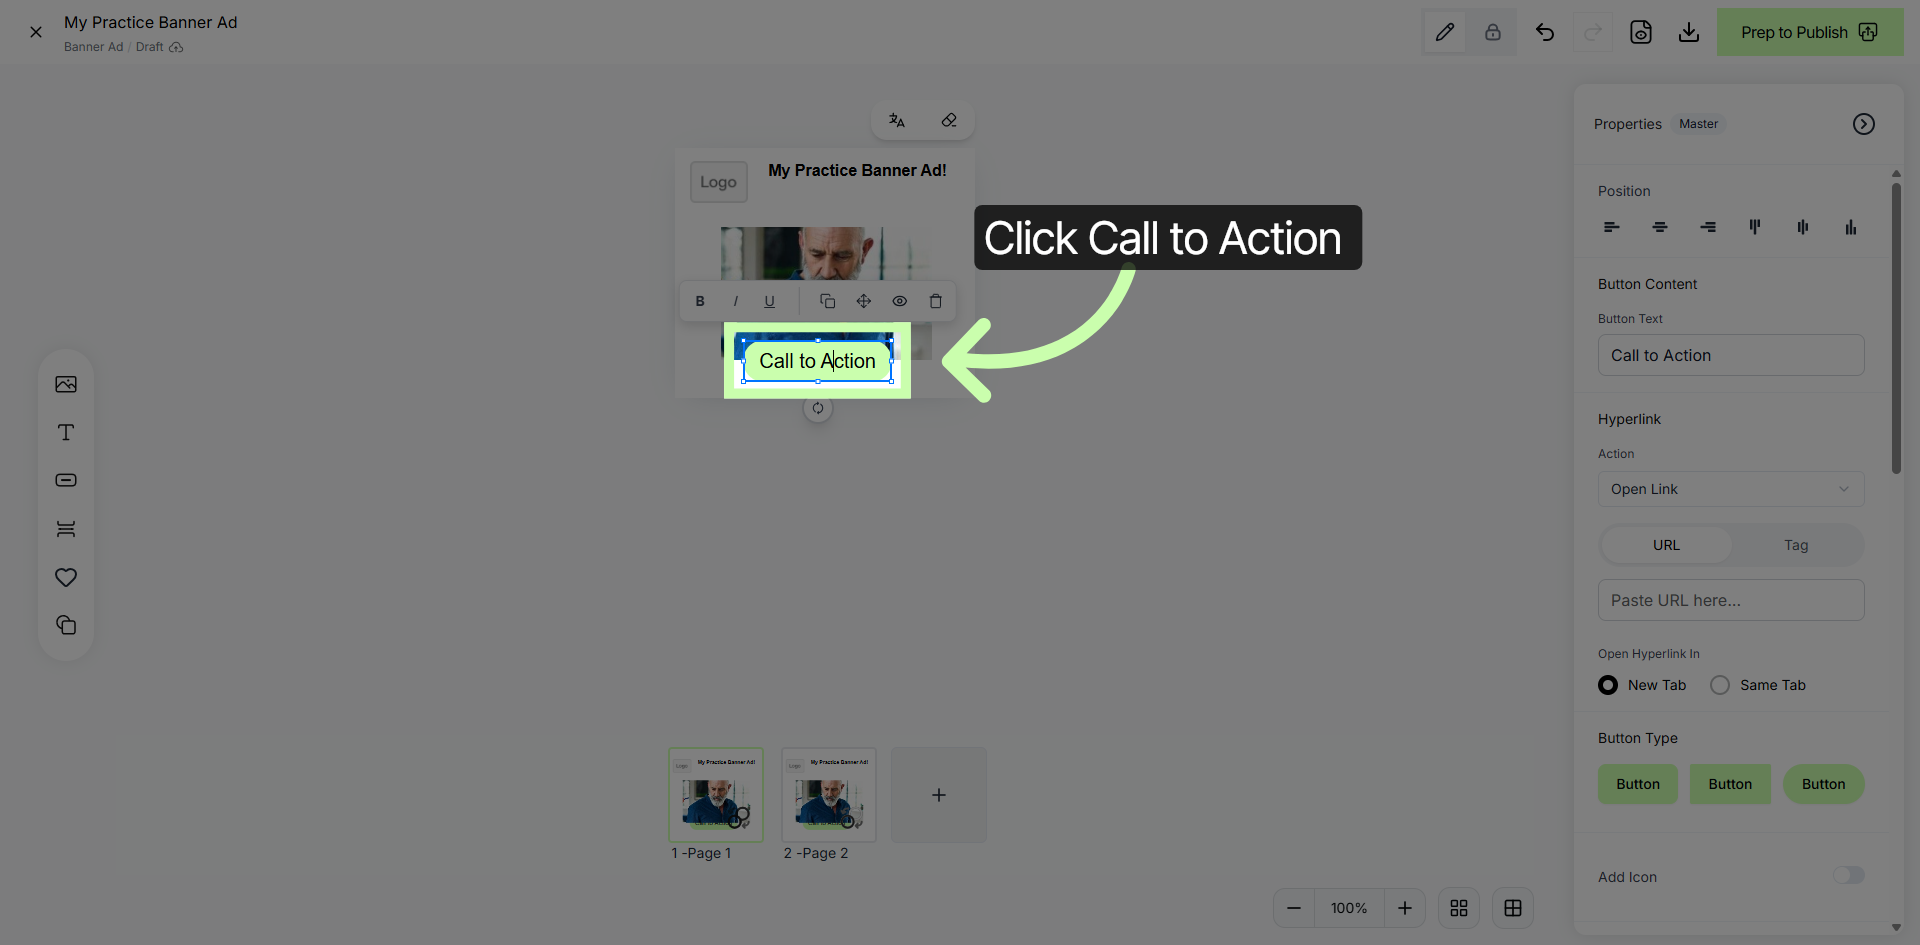
3. Button Properties
In the right panel, you will see your Button Properties. Use these to edit the design and name on your button.
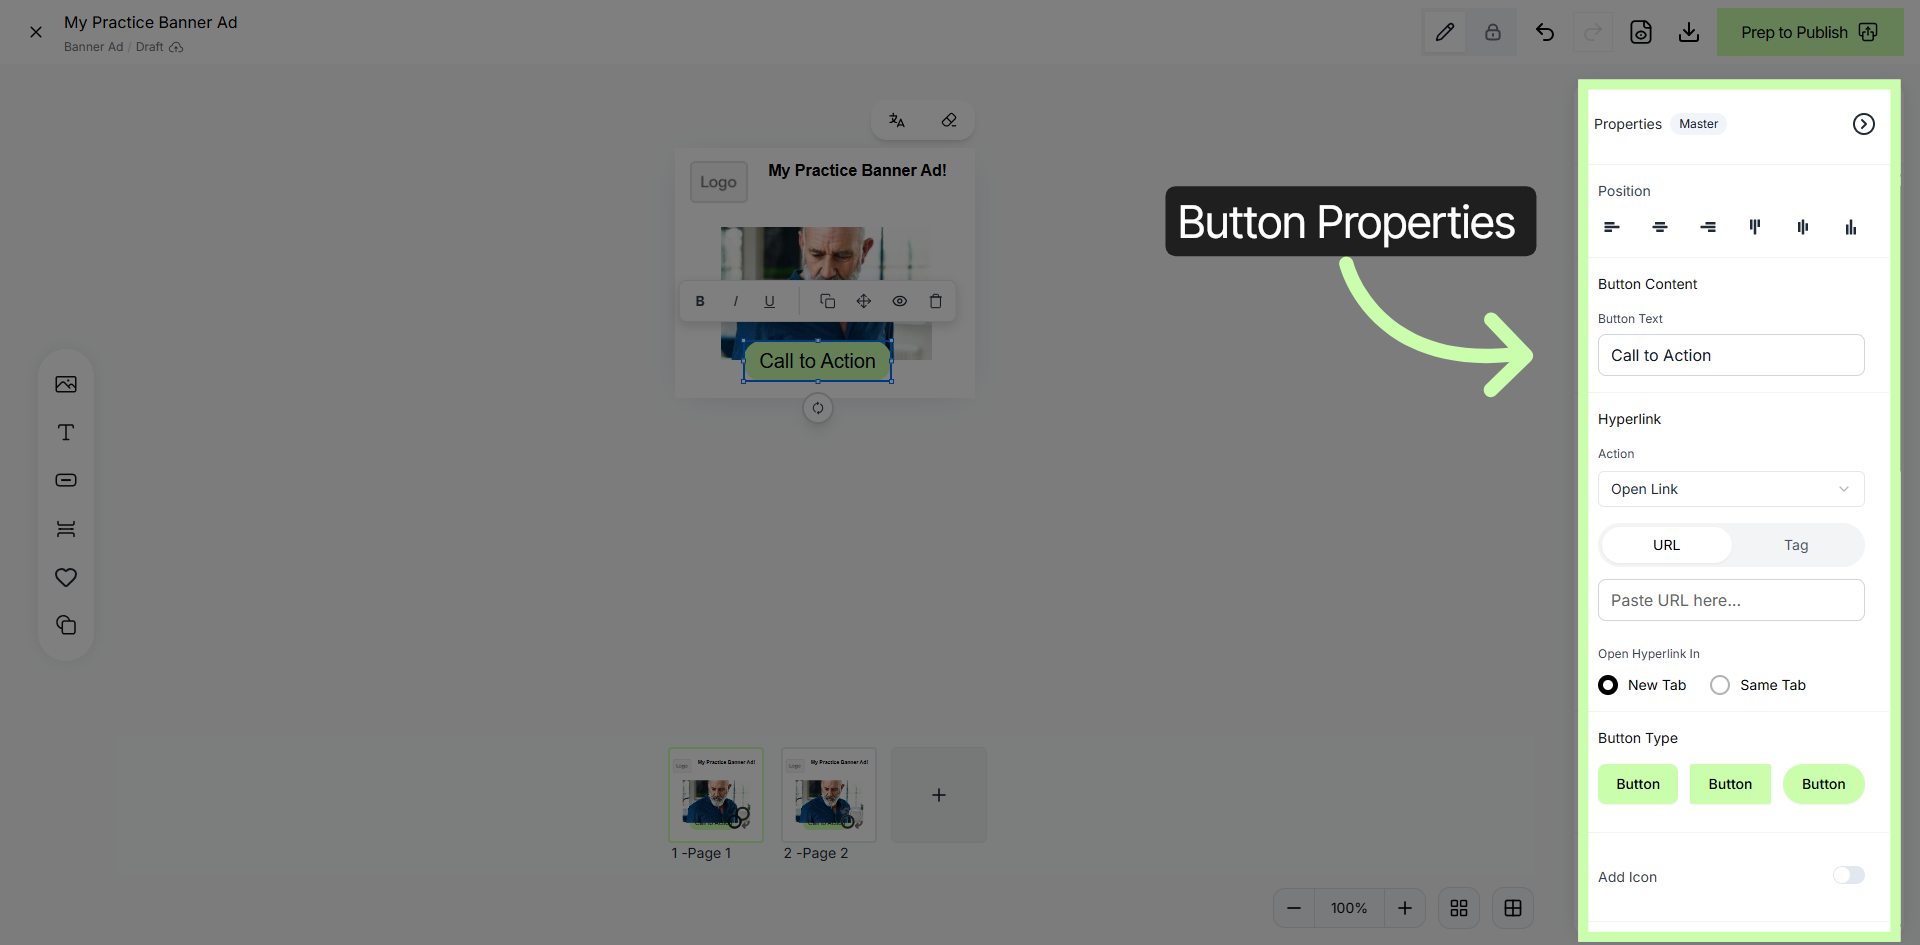
4. Open Document Linking Options
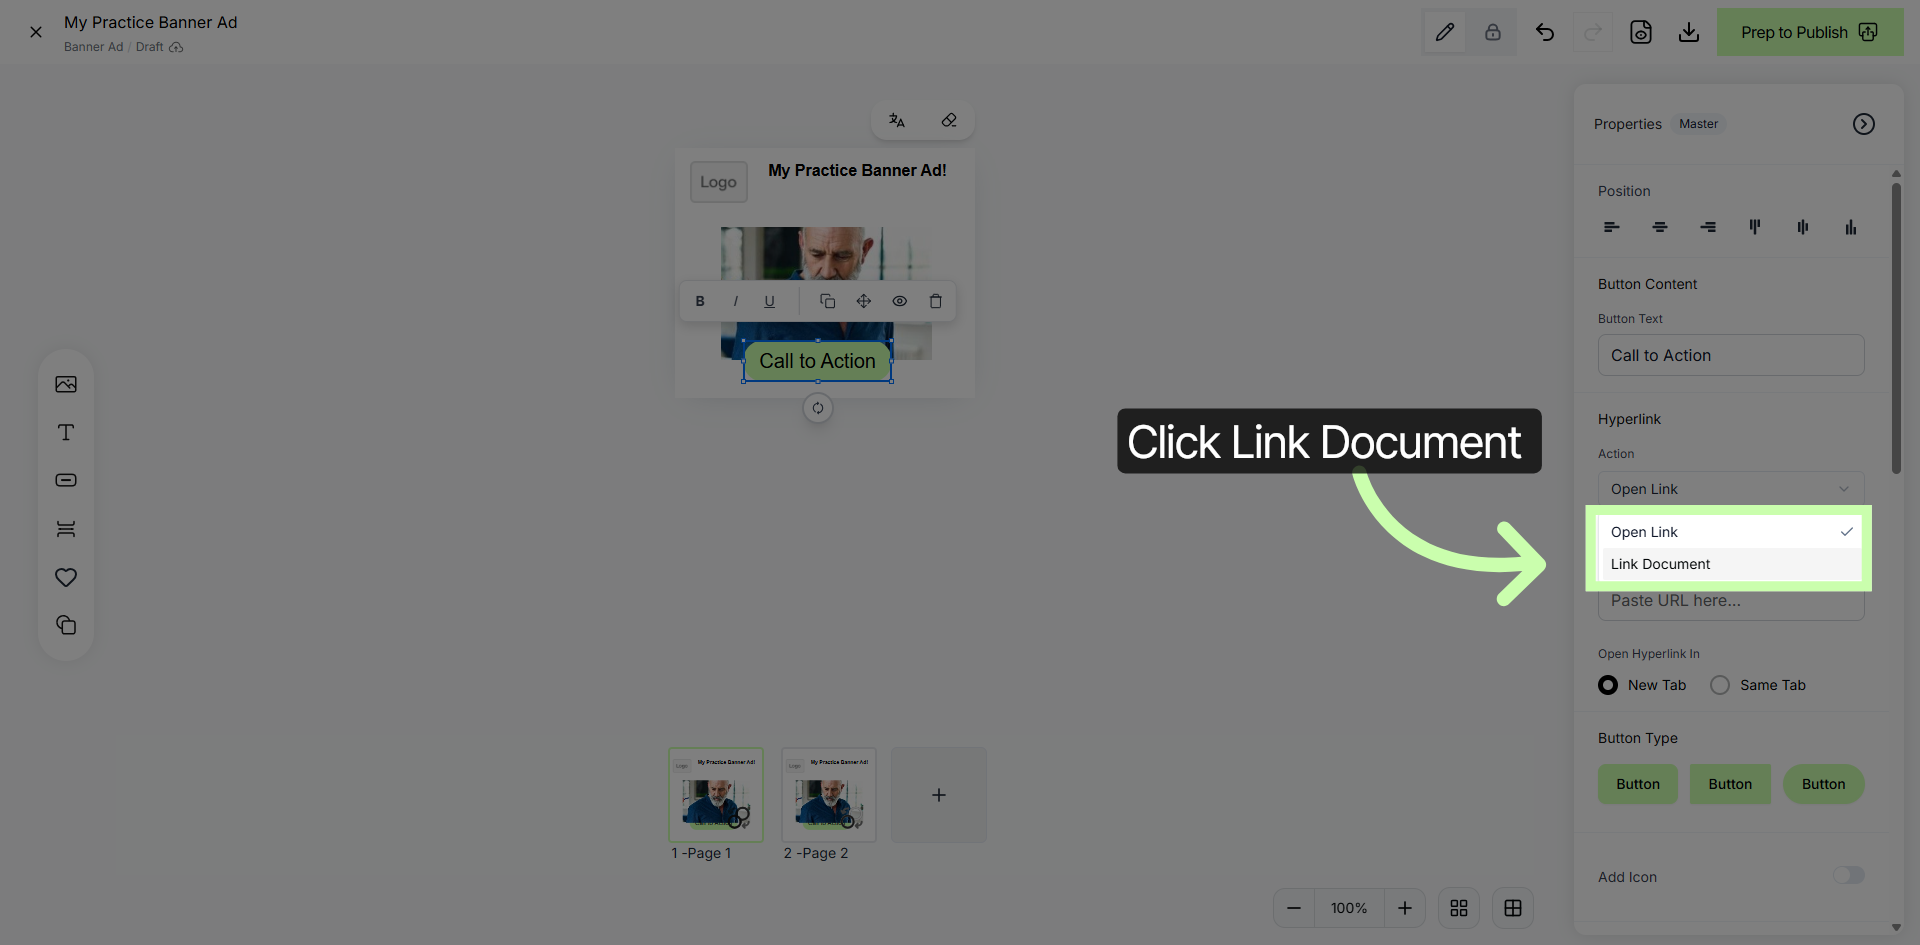
In the hyperlink Actions section of your properties panel, you can link a document to your Call to Action button. Click Link Document to start linking a document to your banner's call to action button.
5. Hyperlink Actions
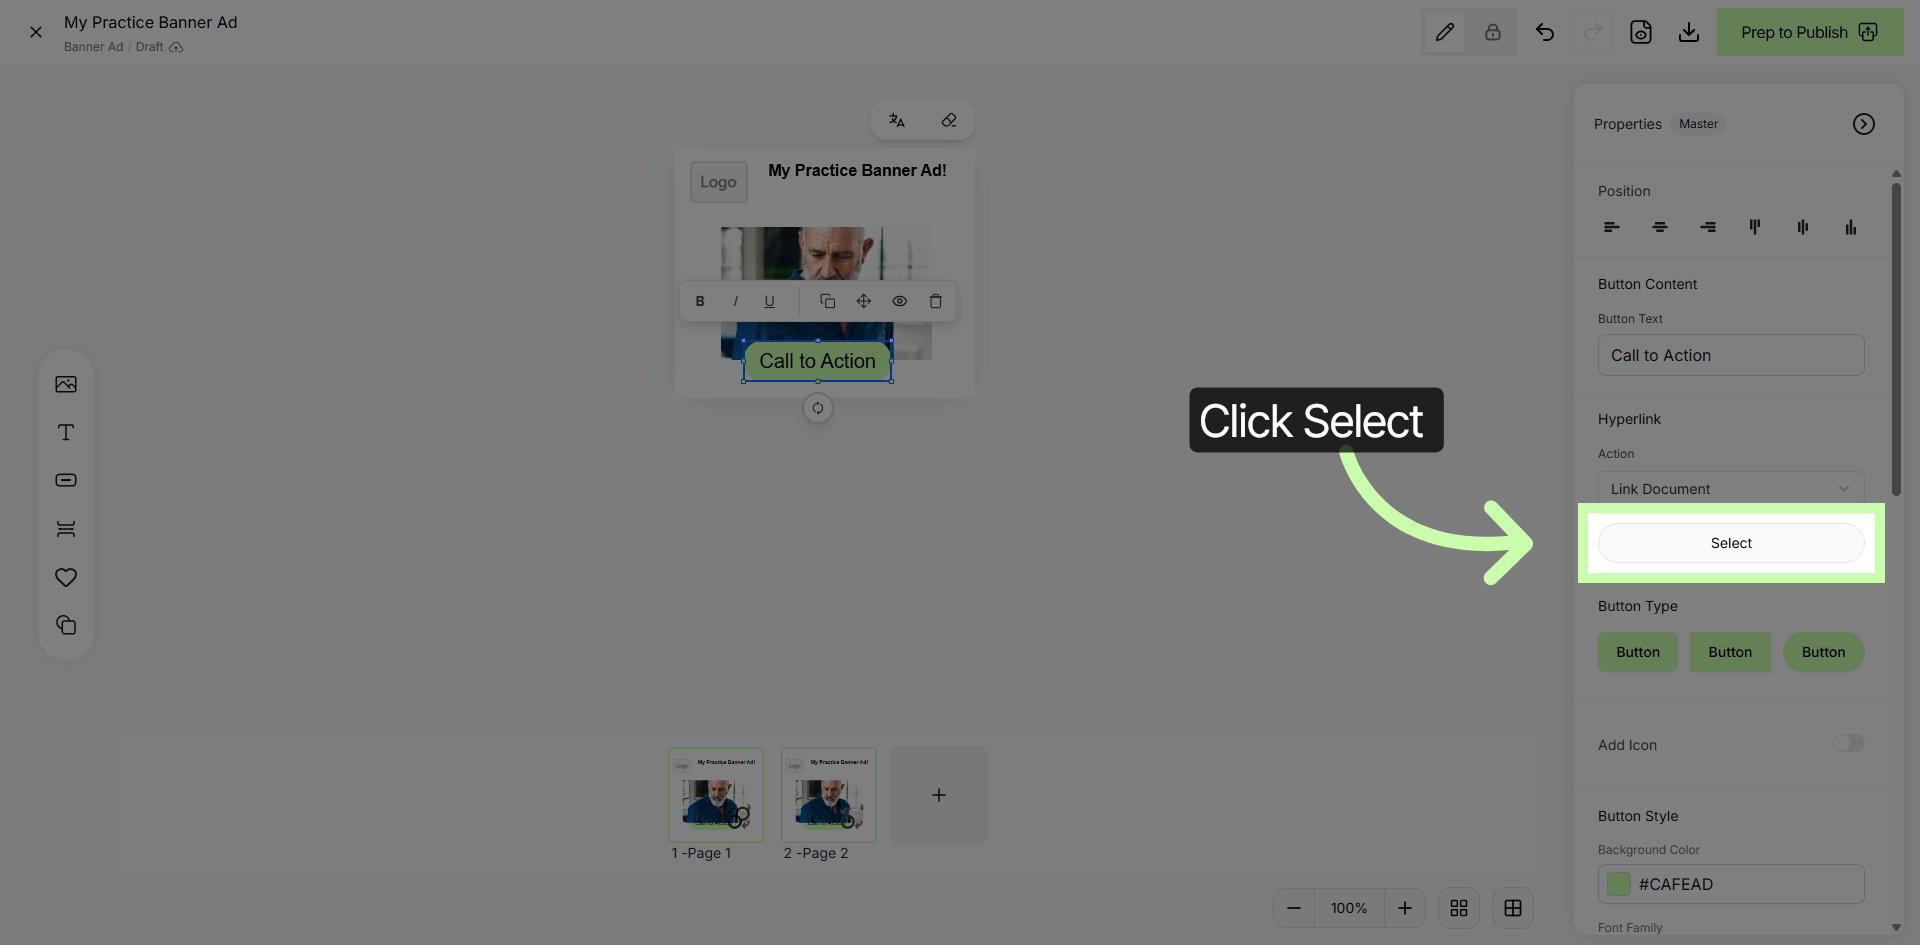
Click Select to choose the source of the document you want to link.
6. Select Document to Link to Call to Action Button
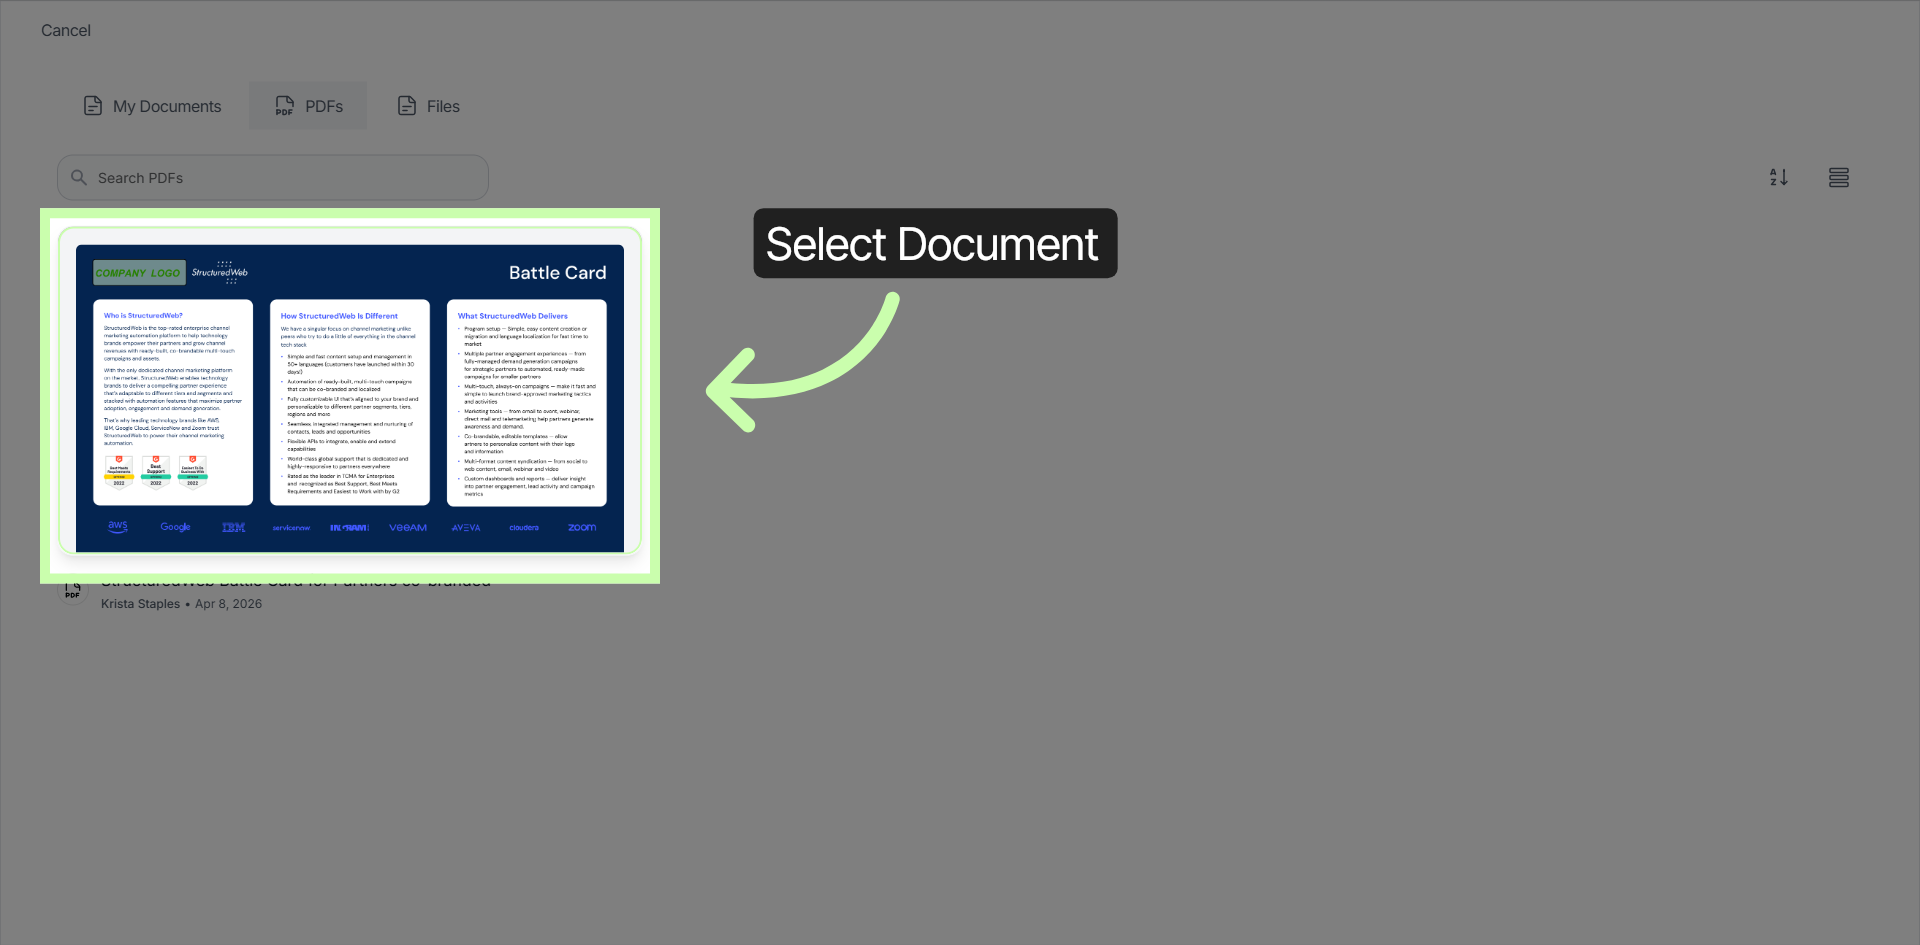
Select the document you wish to add to the button on your banner.
7. Proceed to Link the Document
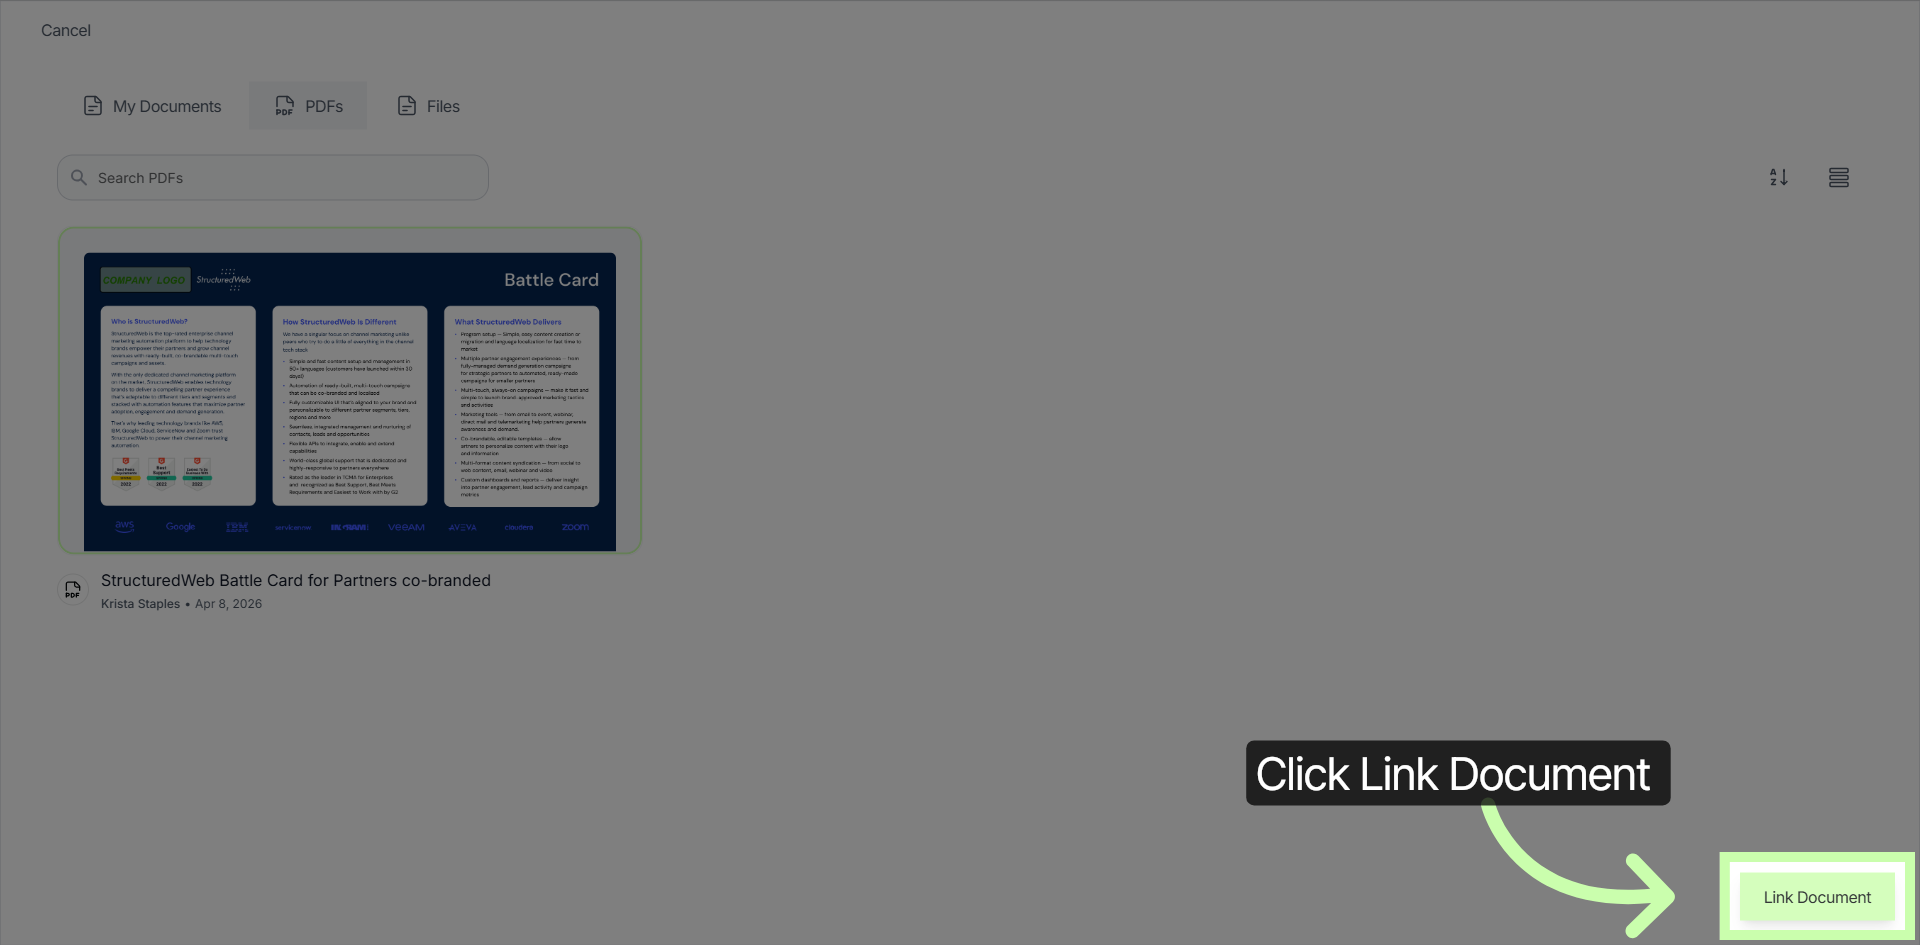
Click Link Document to proceed with adding the document.
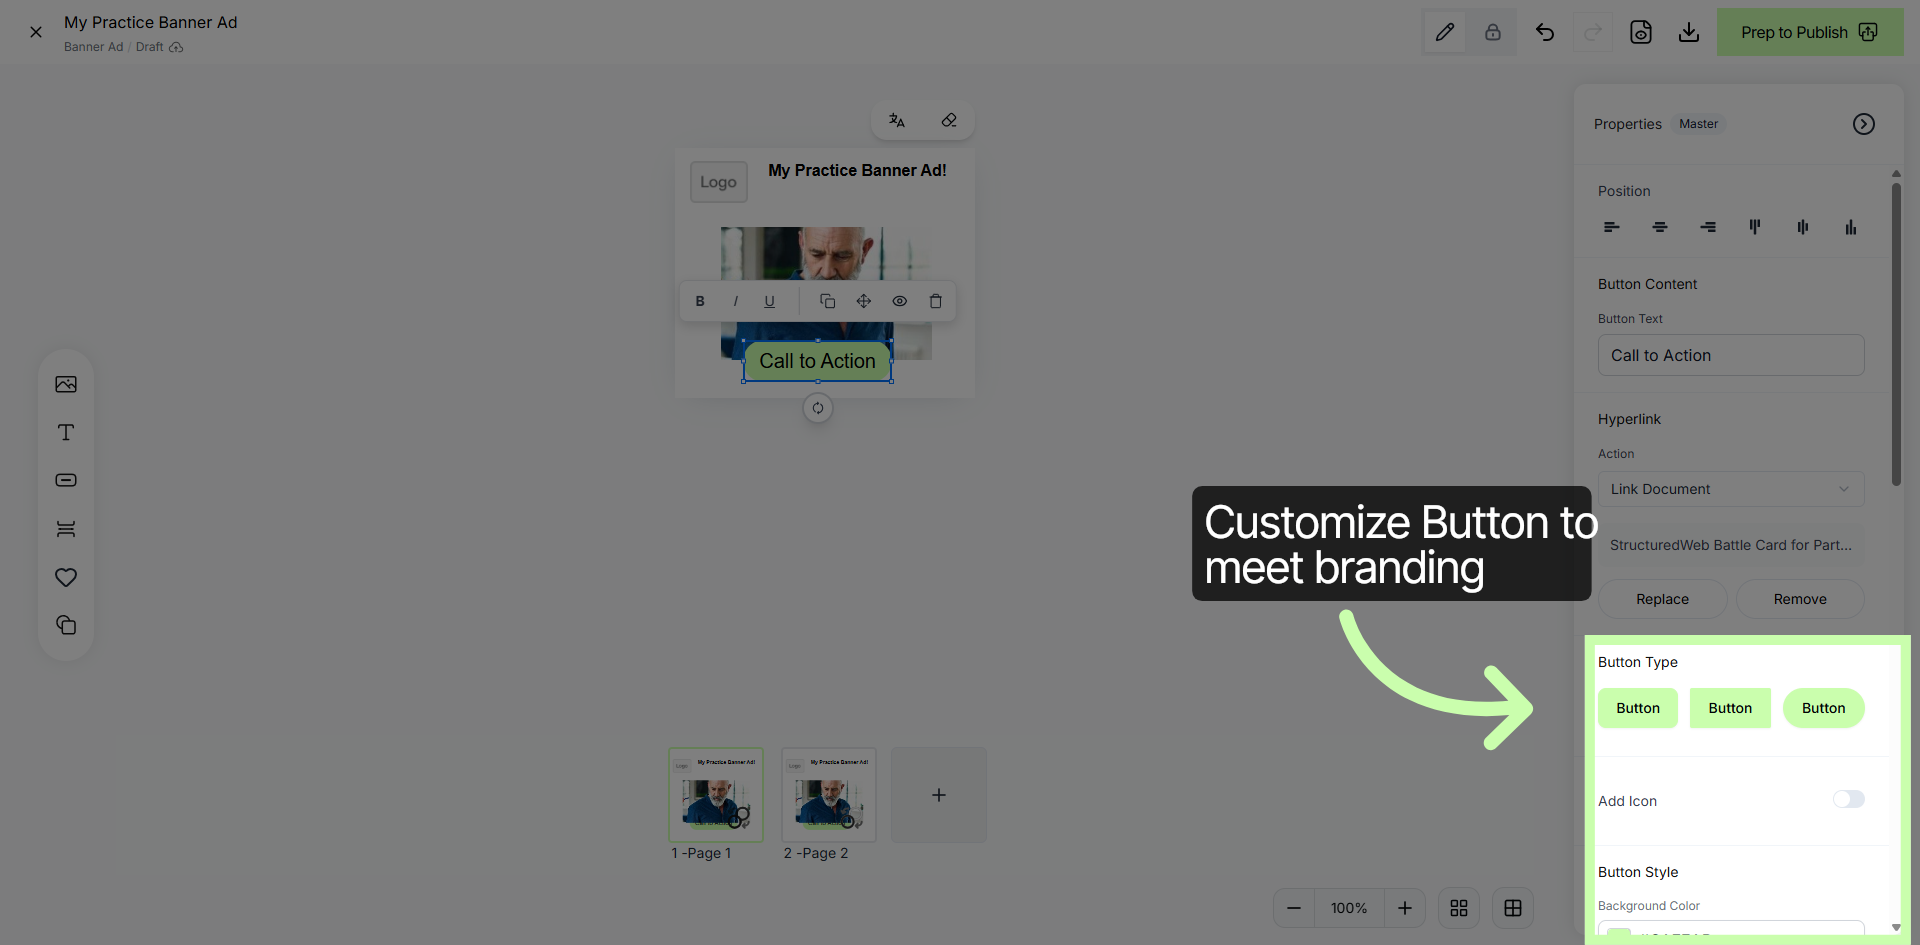
8. Customize Button Element Properties
Within the banner ad editor, you have the ability to customize the button to match your branding needs.
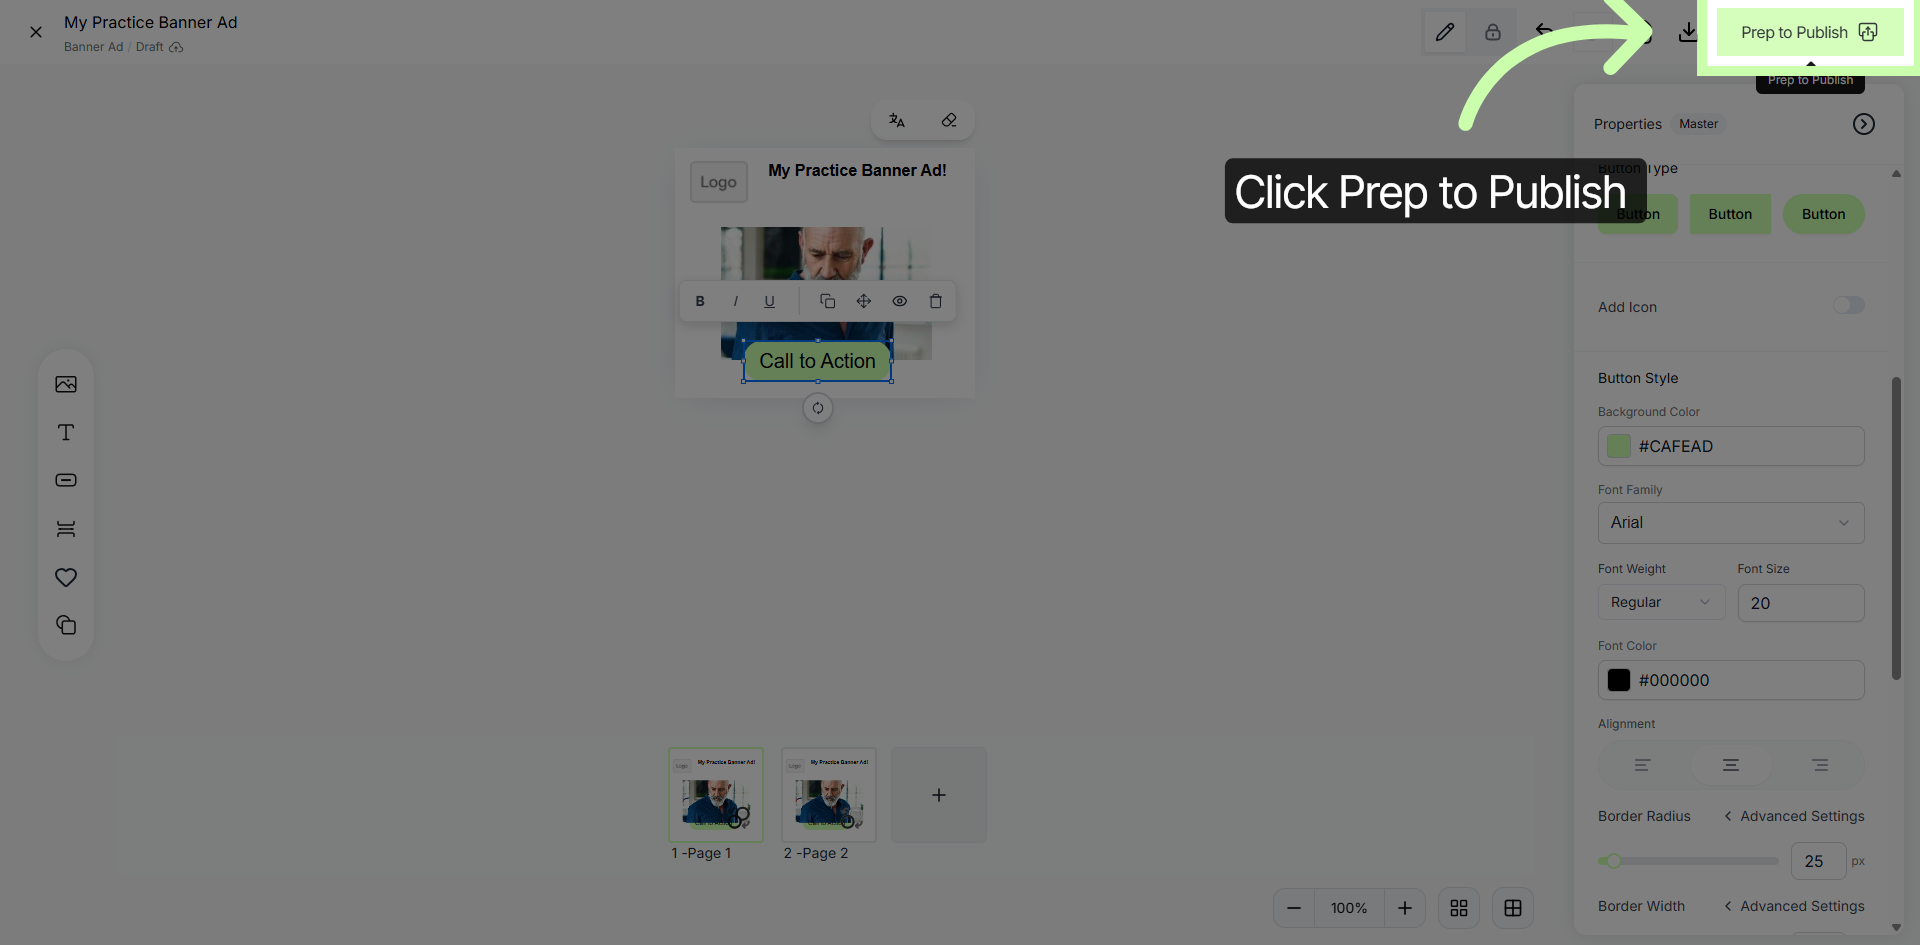
9. Prepare Banner for Publishing
You are almost ready to publish your banner ad! Once you have completed customizing your Banner Ad, click Prep to Publish to start the process of preparing your banner for publication.
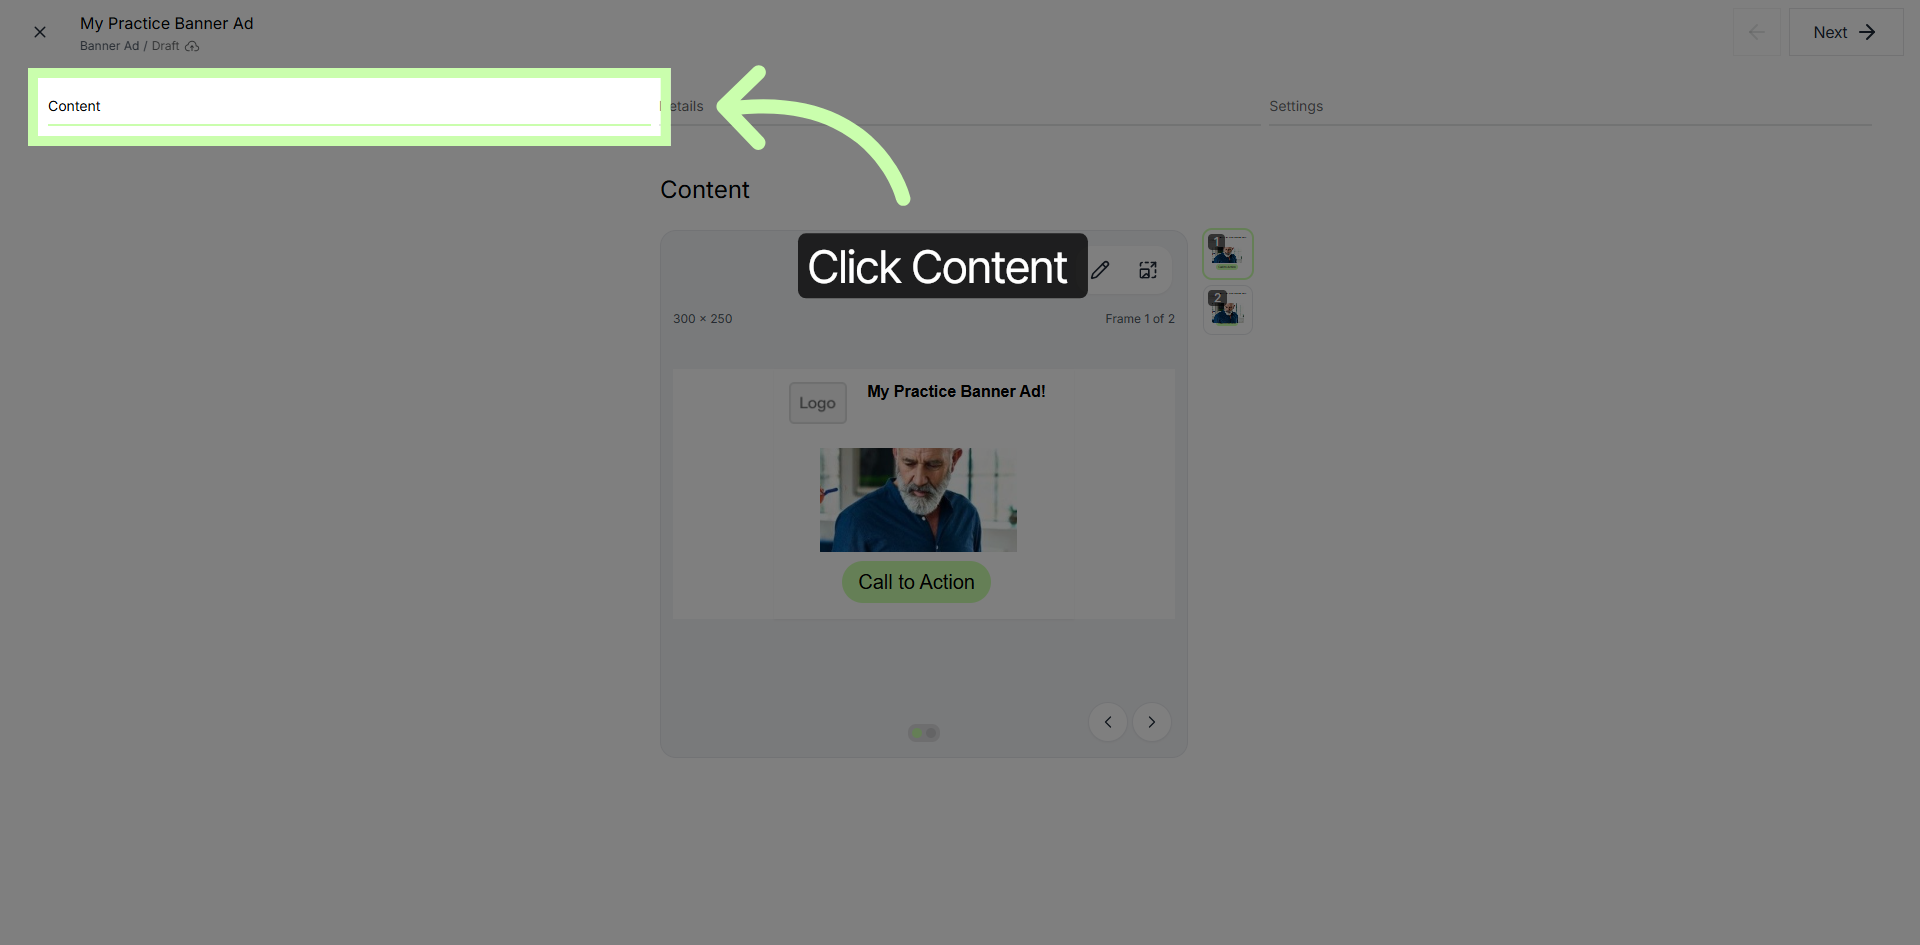
10. Access Content Settings
You will be taken to the Content Tab, which is step one of the publishing steps. Here, you will have the option to preview your banner before publishing.
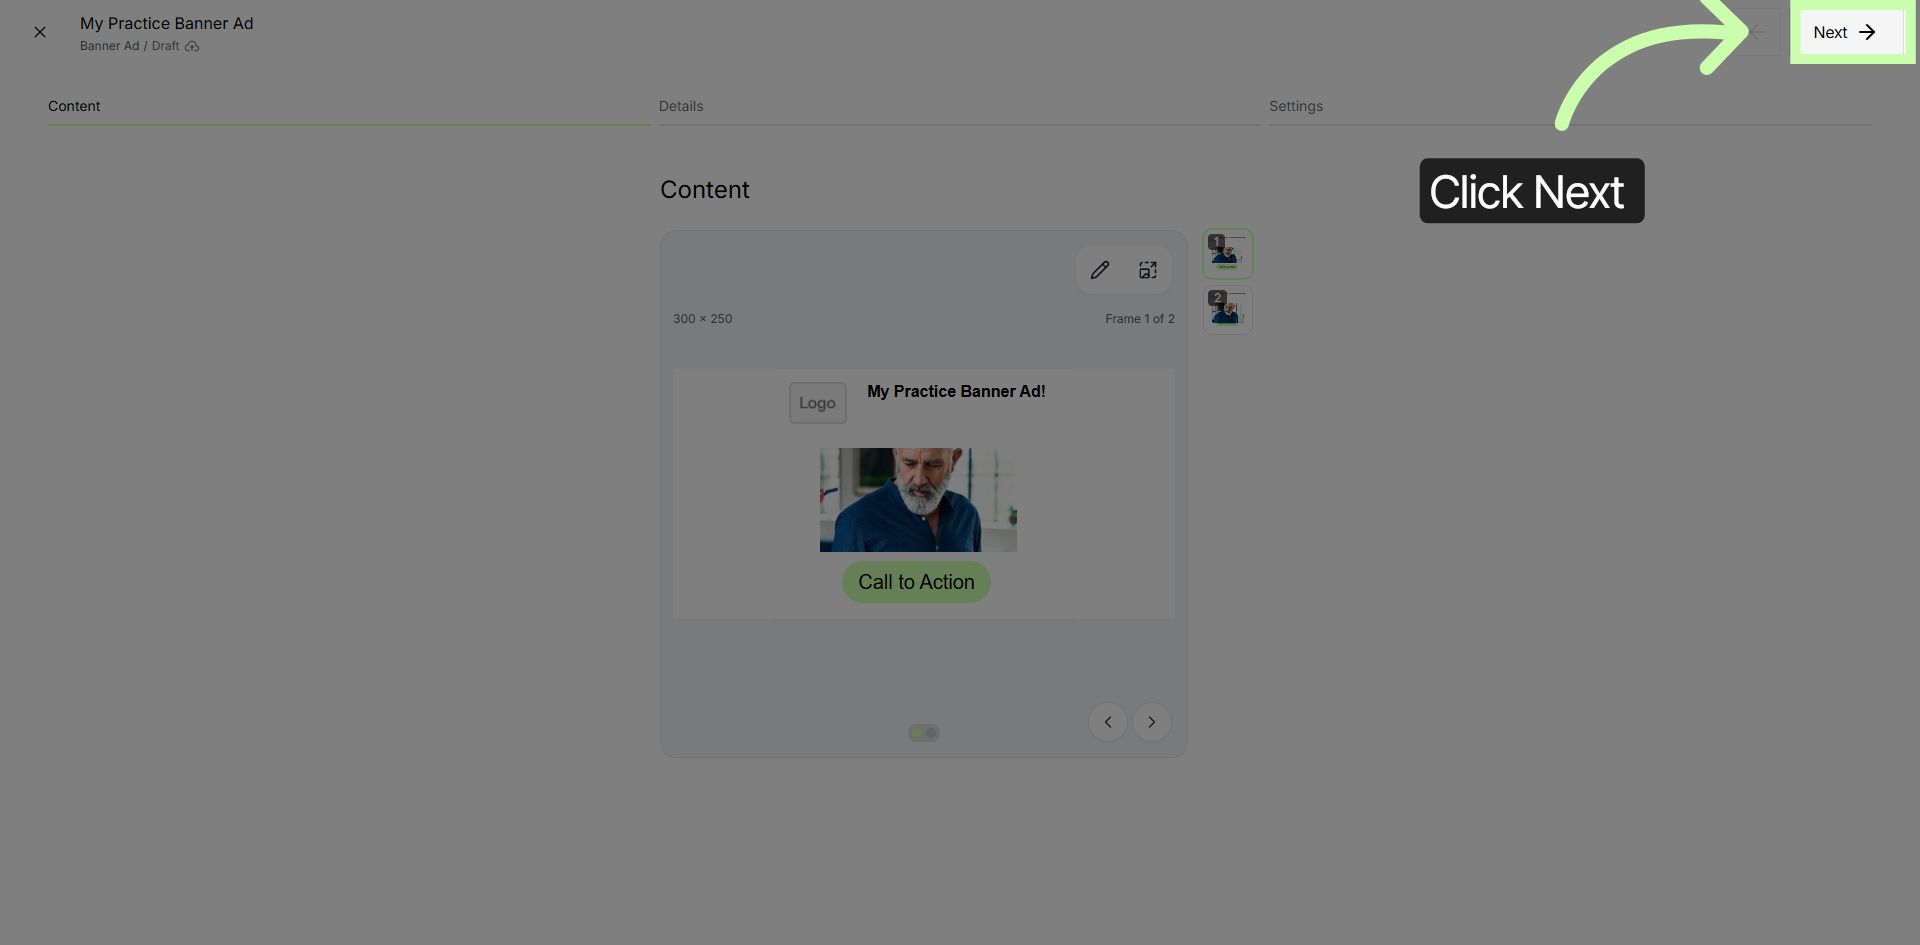
11. Proceed to Next Step in Publishing
Click Next to advance to the subsequent step in the banner publishing process.
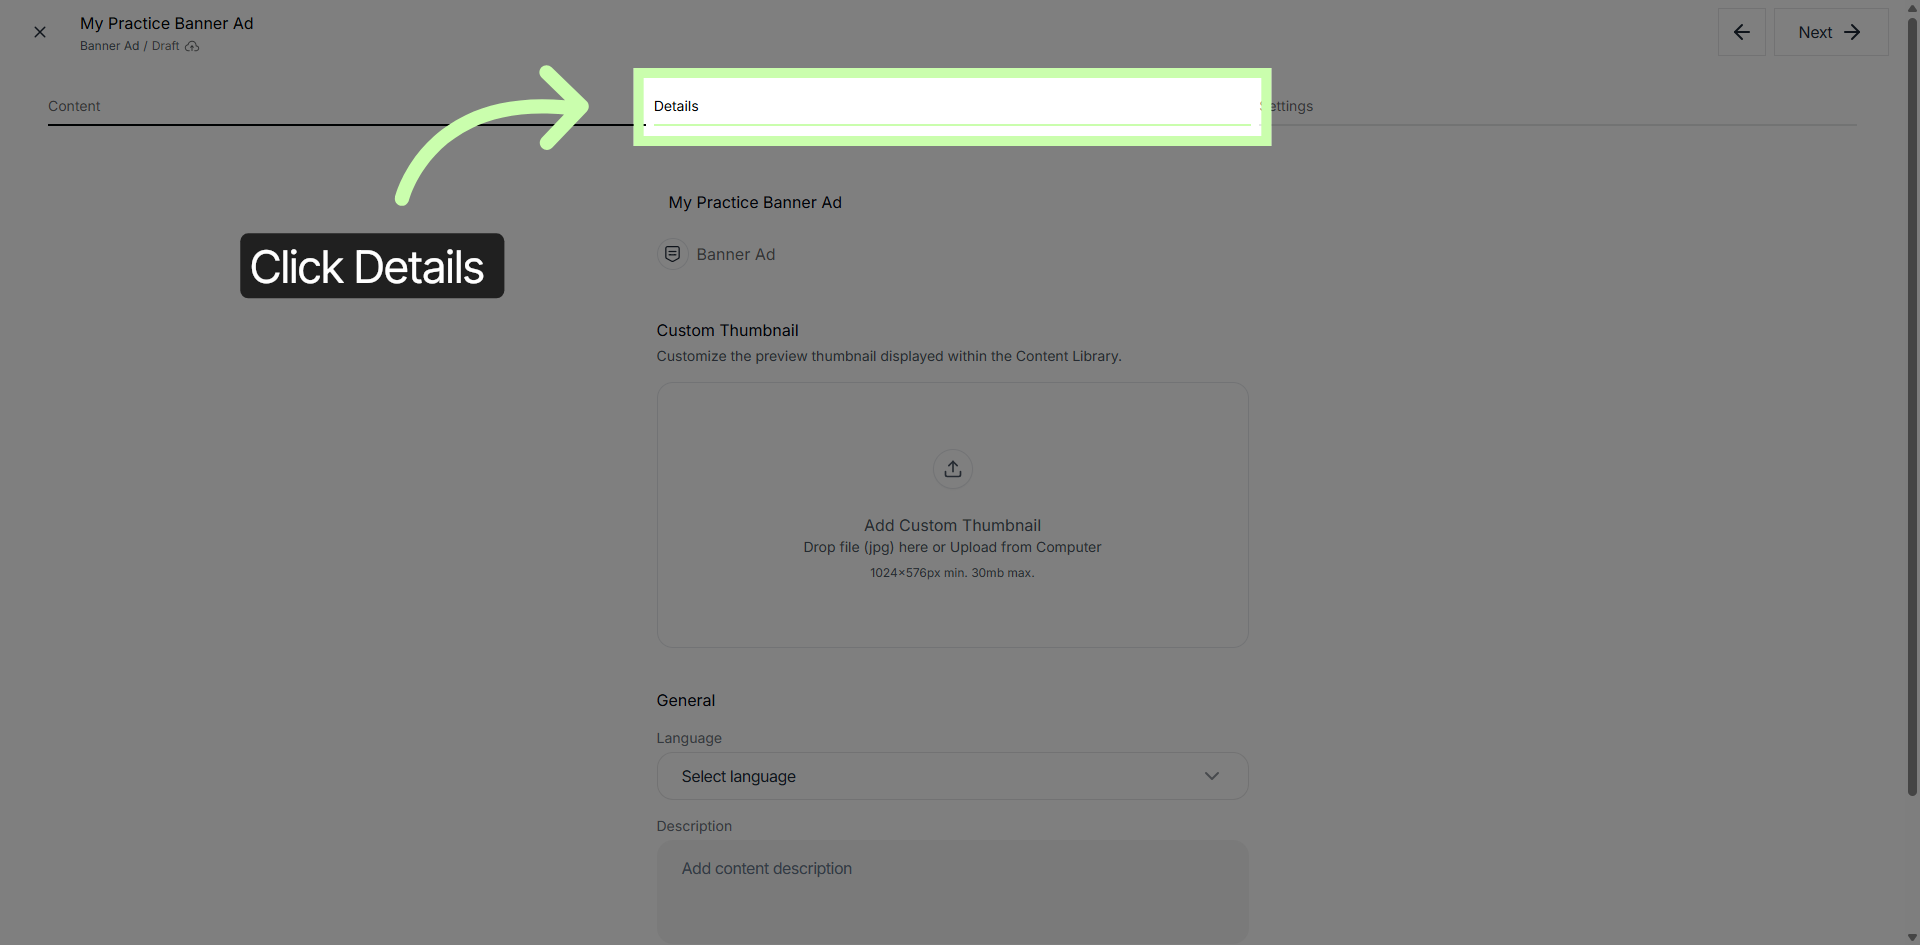
12. Open Details Section
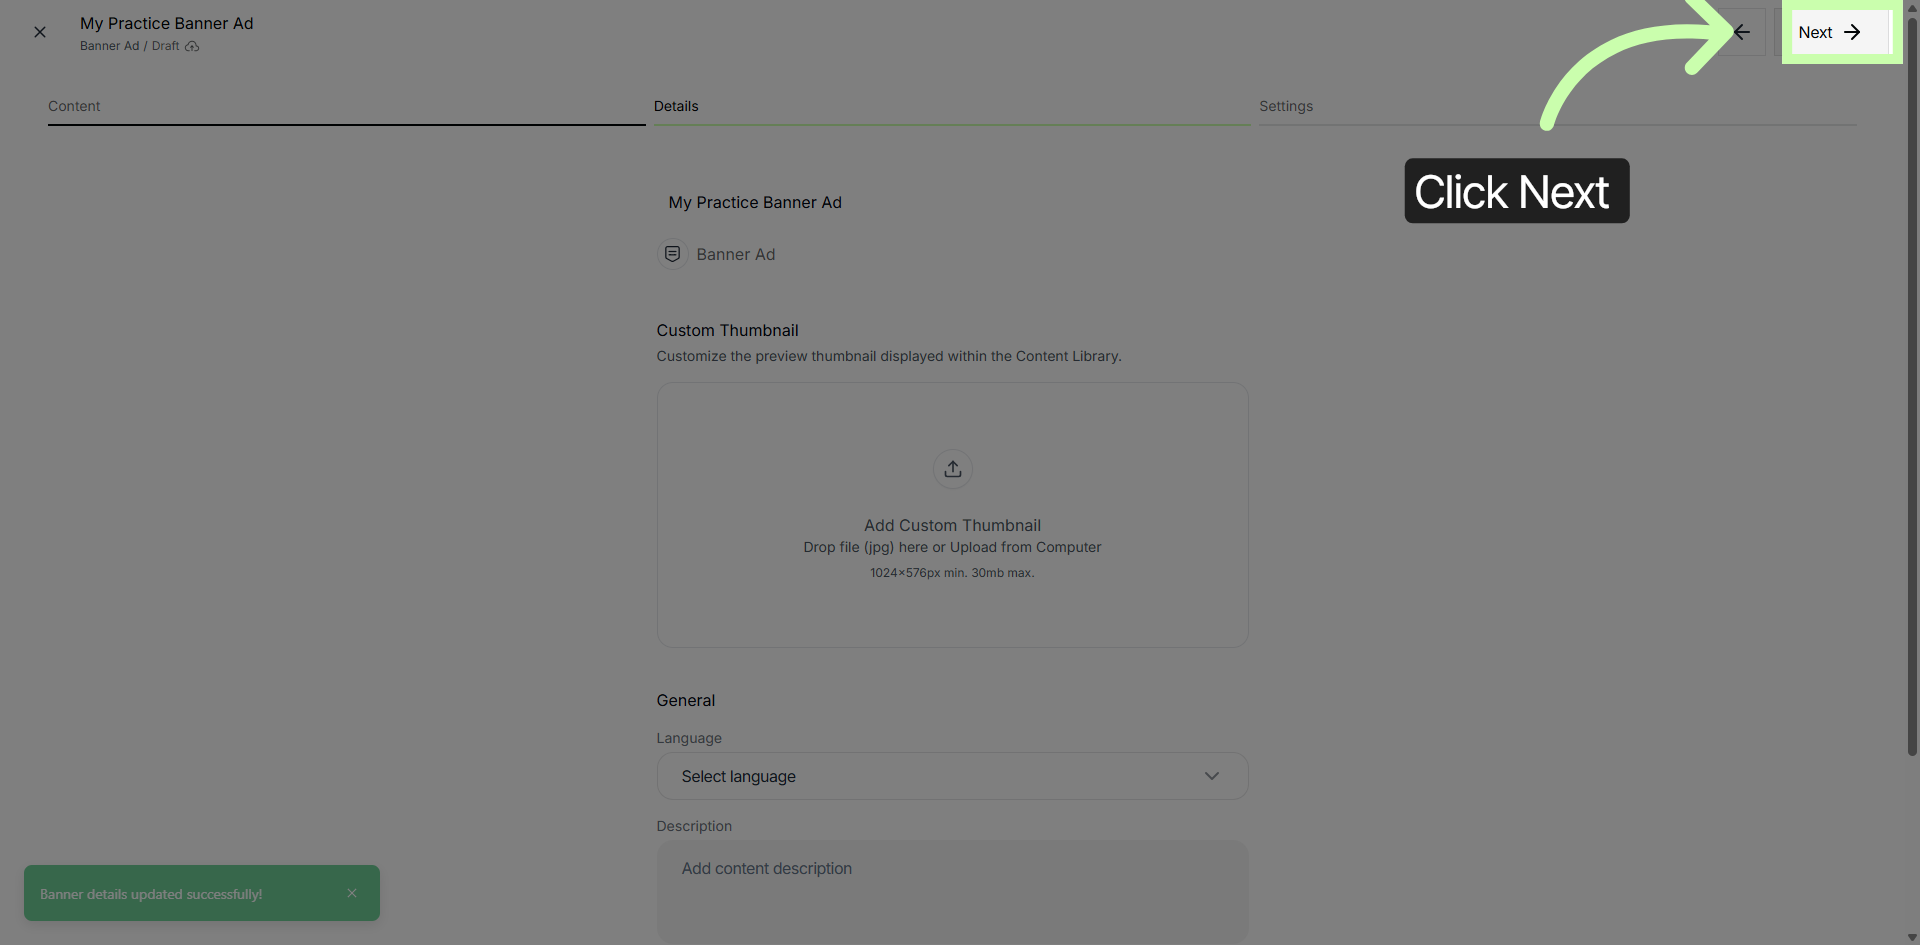
The next step in publishing is the Details Tab.
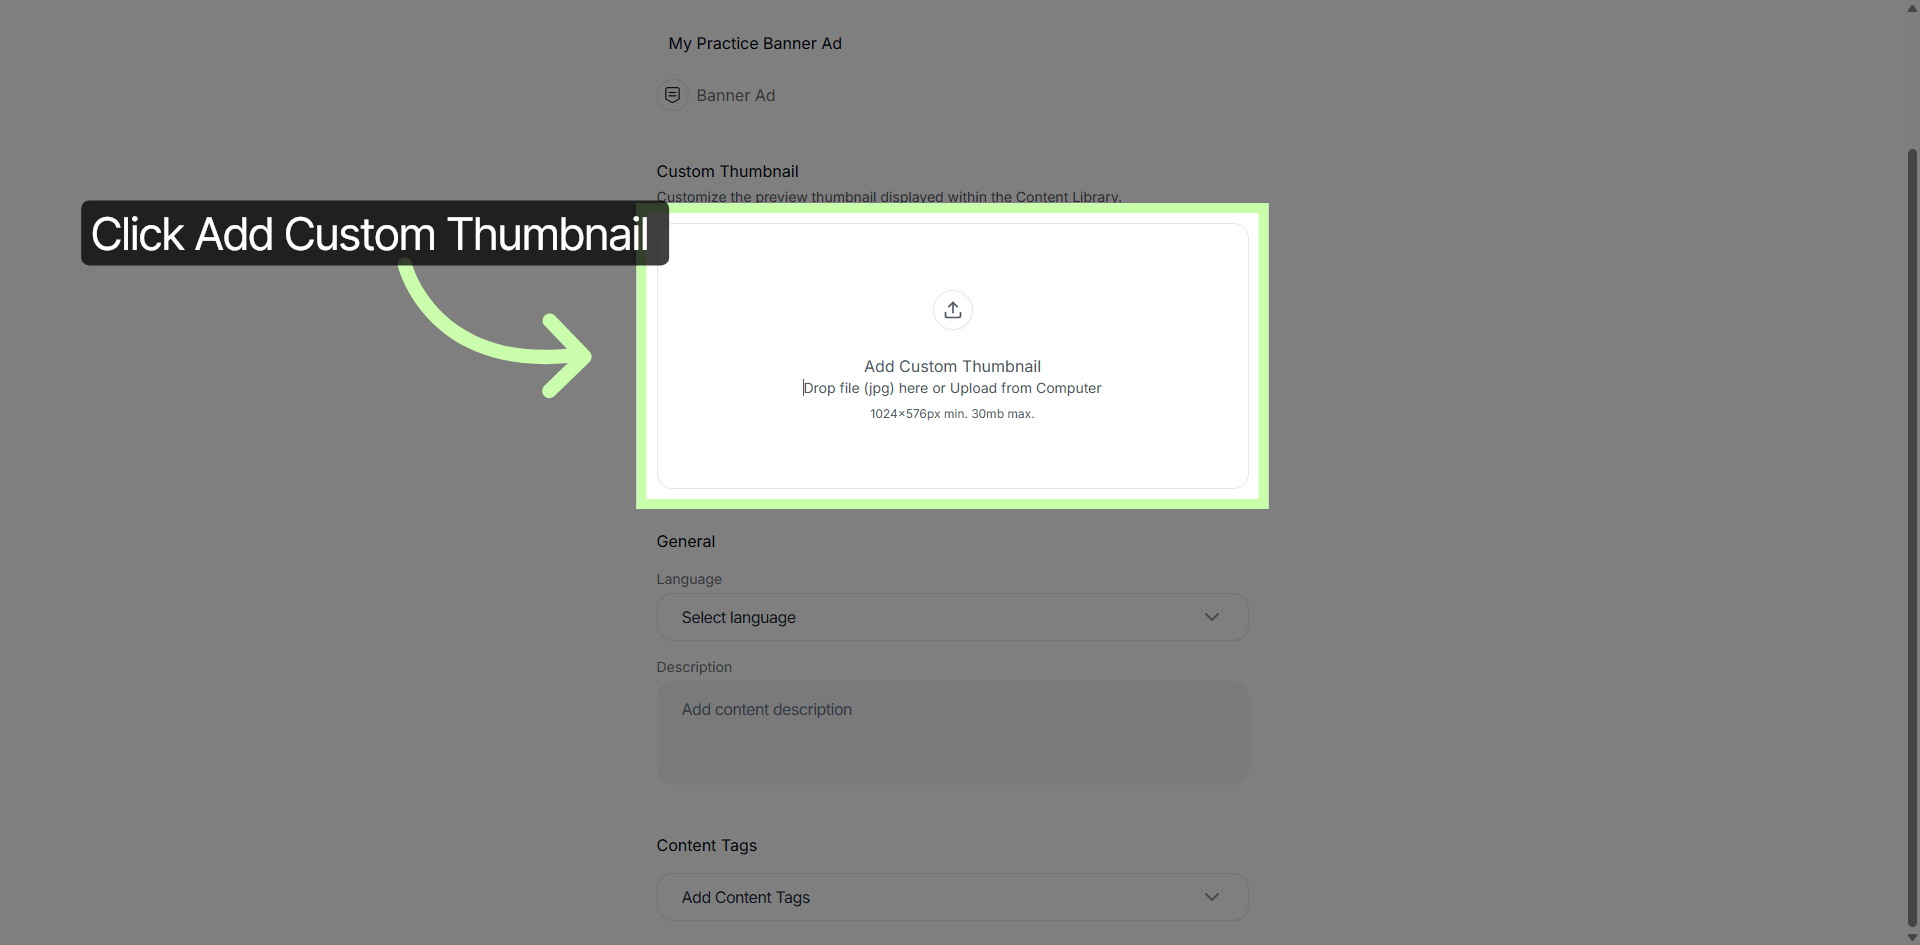
13. Add Custom Thumbnail
Here you can click Add Custom Thumbnail to upload a custom thumbnail image for your banner.
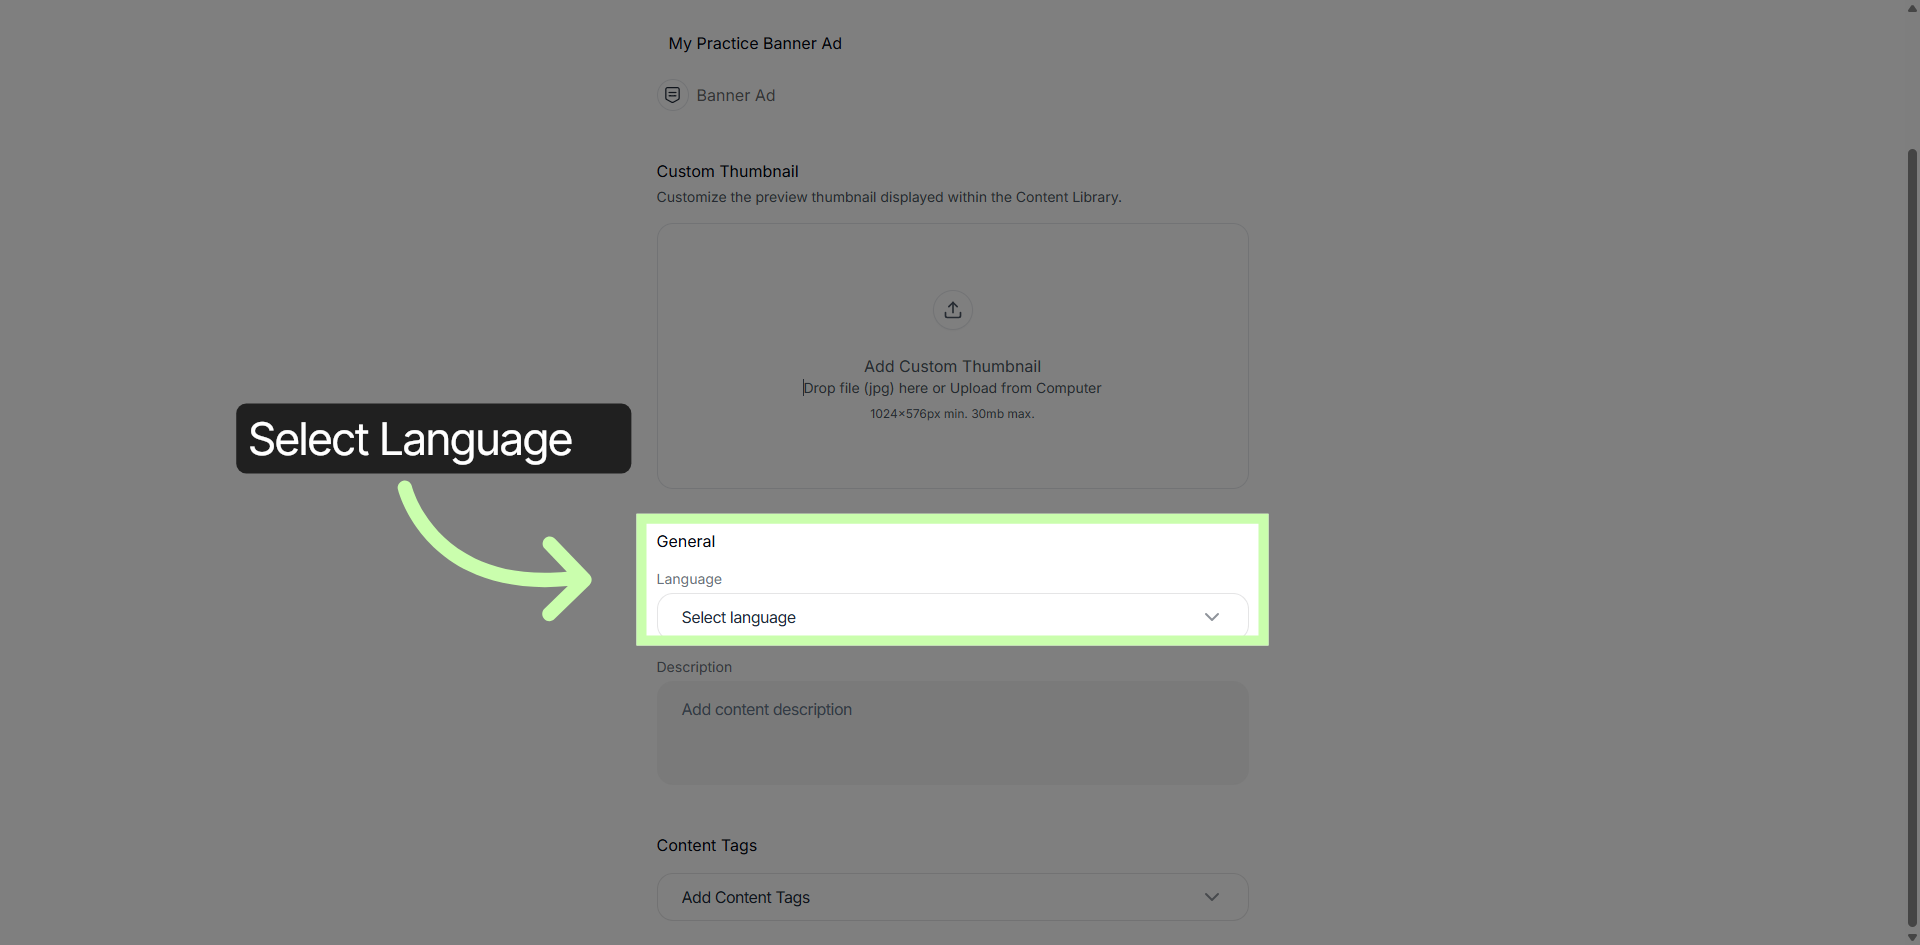
14. Select Language Option
Set the language settings for your banner content.
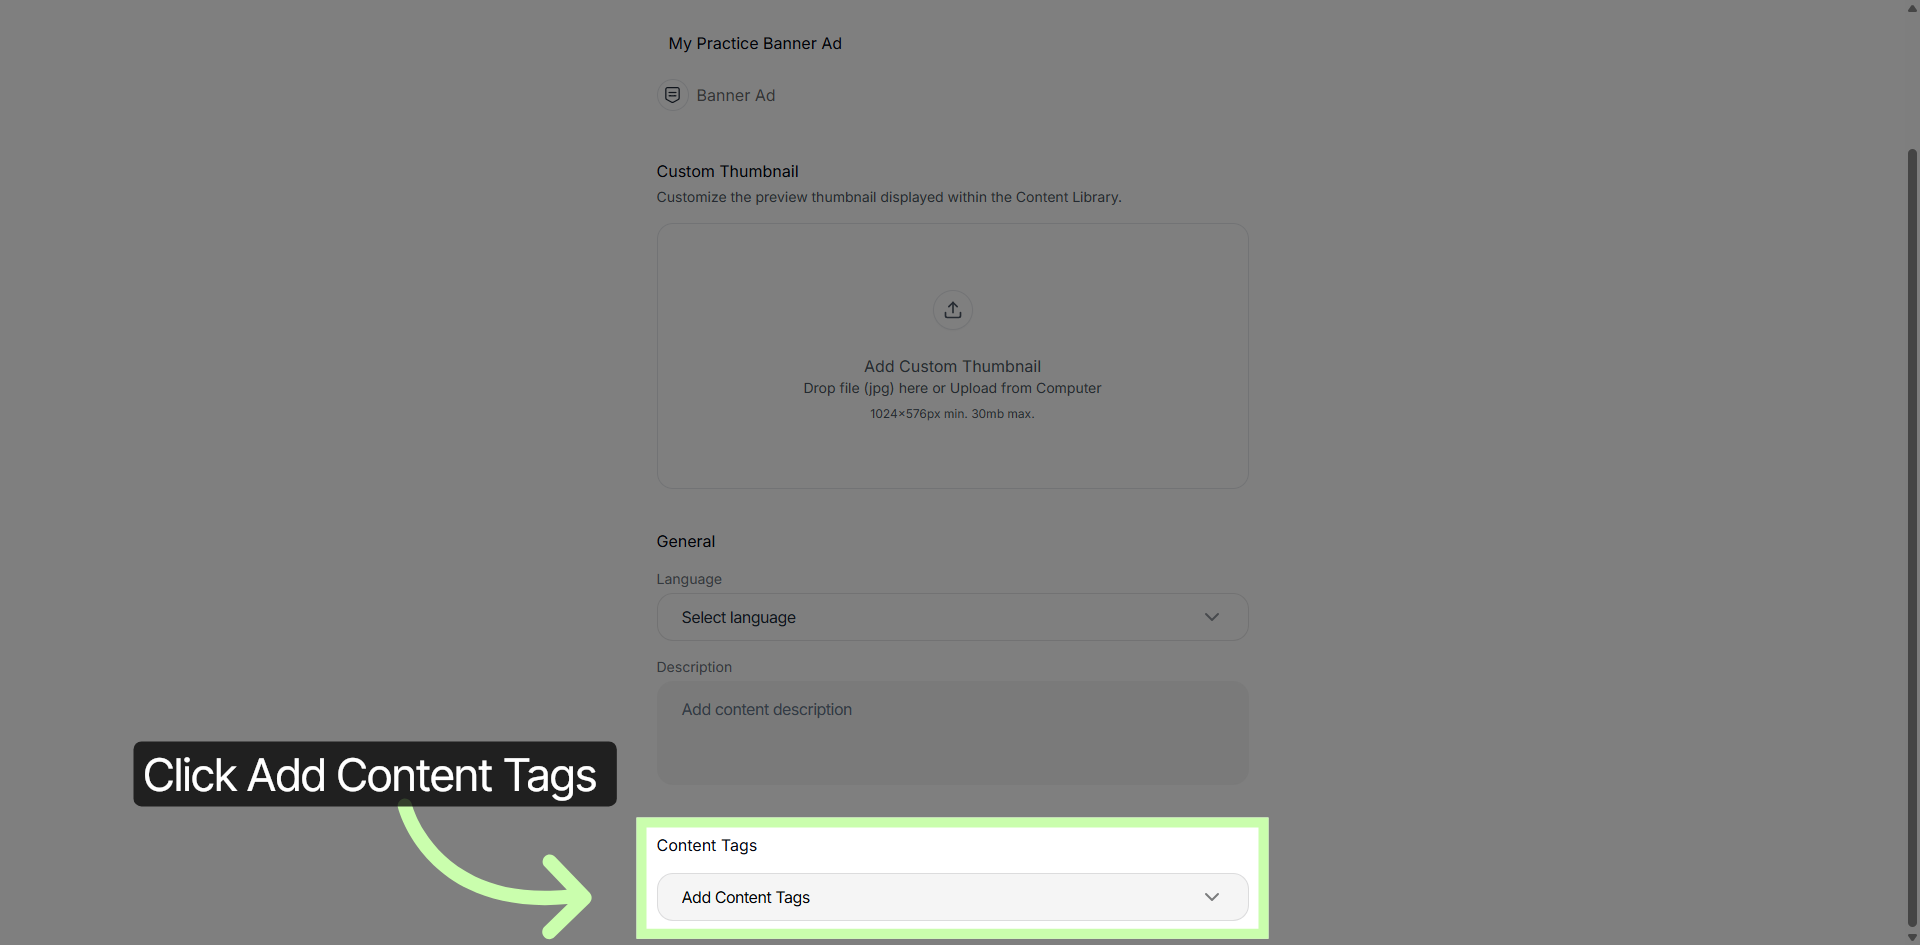
15. Add Content Tags
And add Content Tags to categorize your banner with relevant tags for better organization.
16. Advance to Next Step
Click Next to continue to the following stage in the banner configuration process.
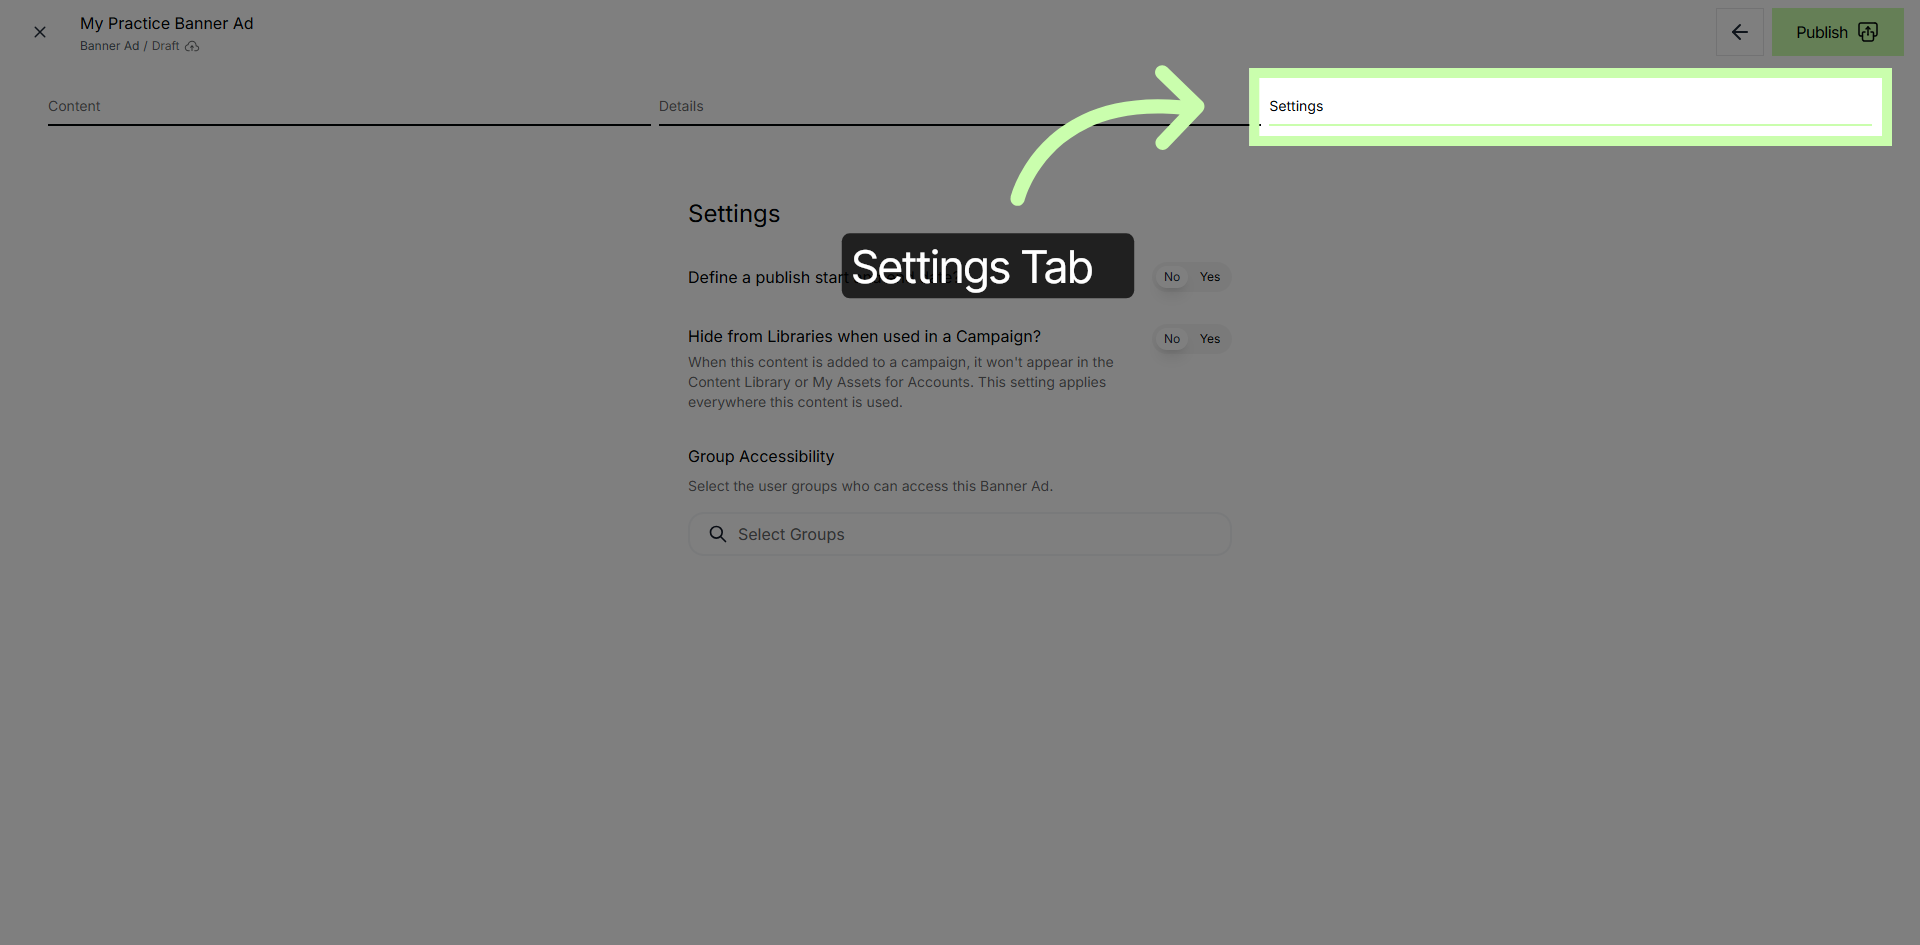
17. Settings Menu
The Settings Tab is the final step needed to publish your Banner Ad.
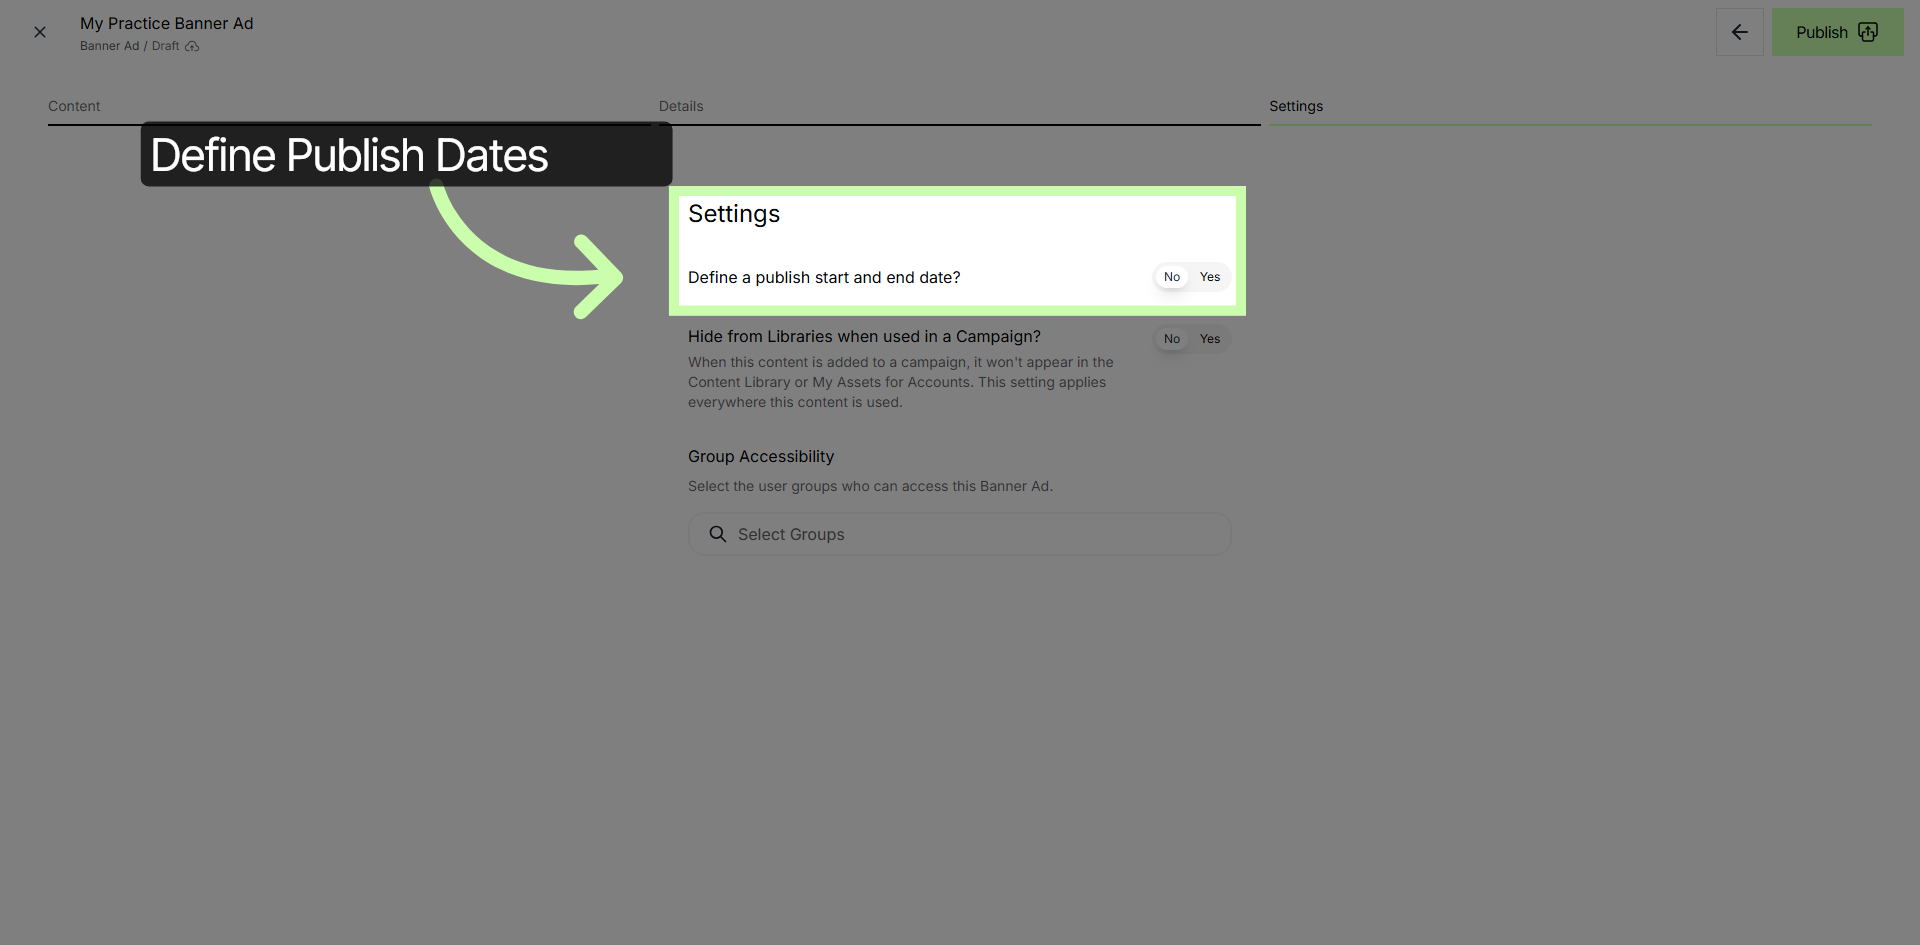
18. Define Publish Dates
The first setting is to Define a publish start and end date to set the timeframe during which your banner will be published.
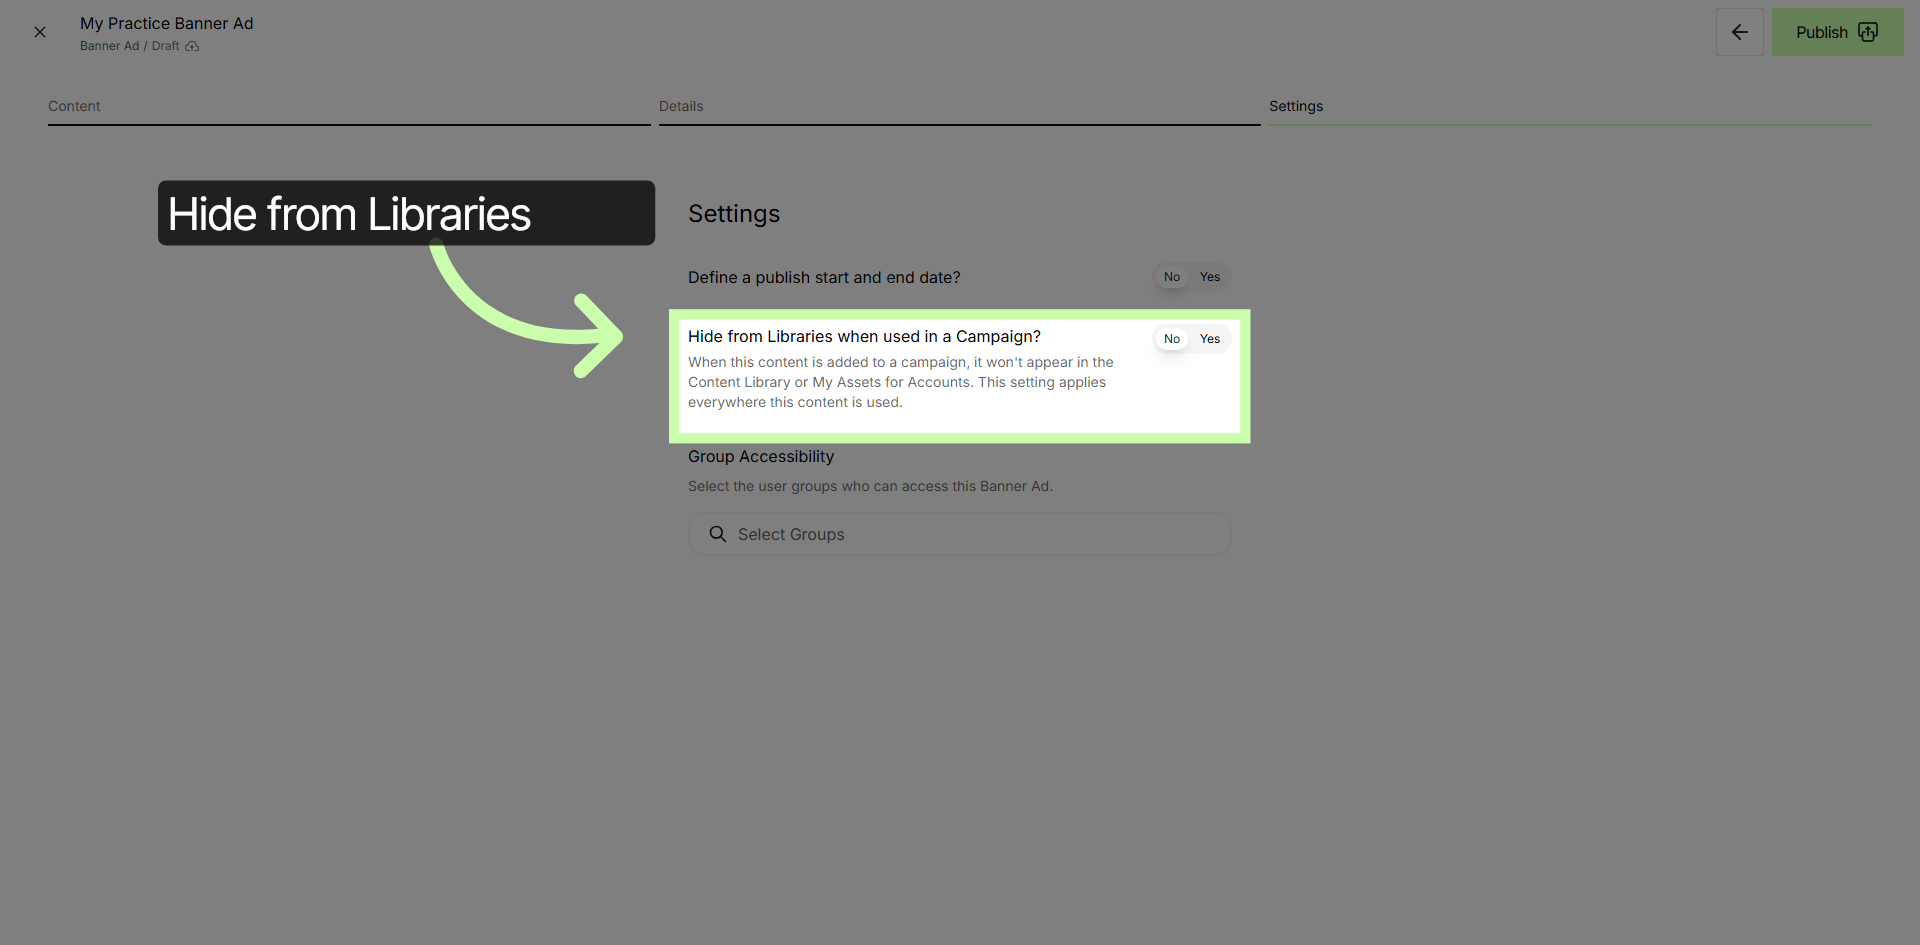
19. Toggle Library Visibility
Click Hide from Libraries when used in a Campaign to control whether your banner appears in libraries during campaigns. When this content is added to a campaign, it won't appear in the Content Library or My Assets for Accounts. This setting applies everywhere this content is used.
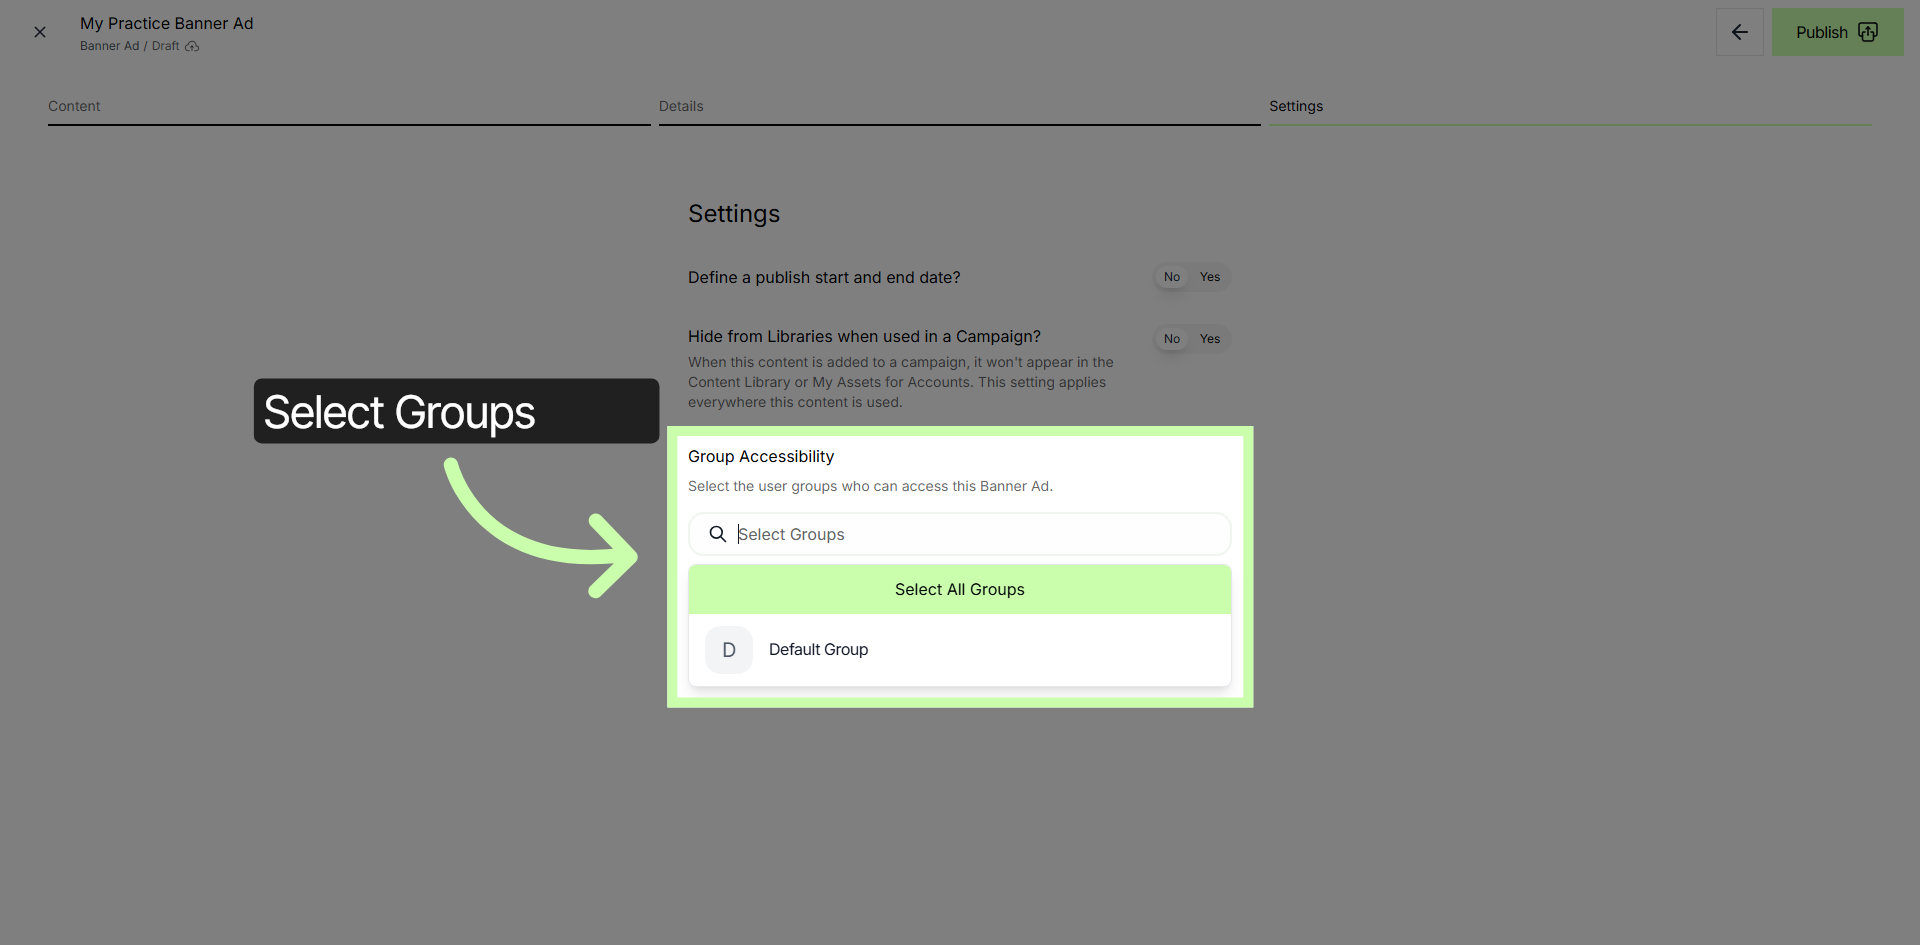
20. Select User Groups for Banner
Click Select Groups to specify which user groups can access your banner.
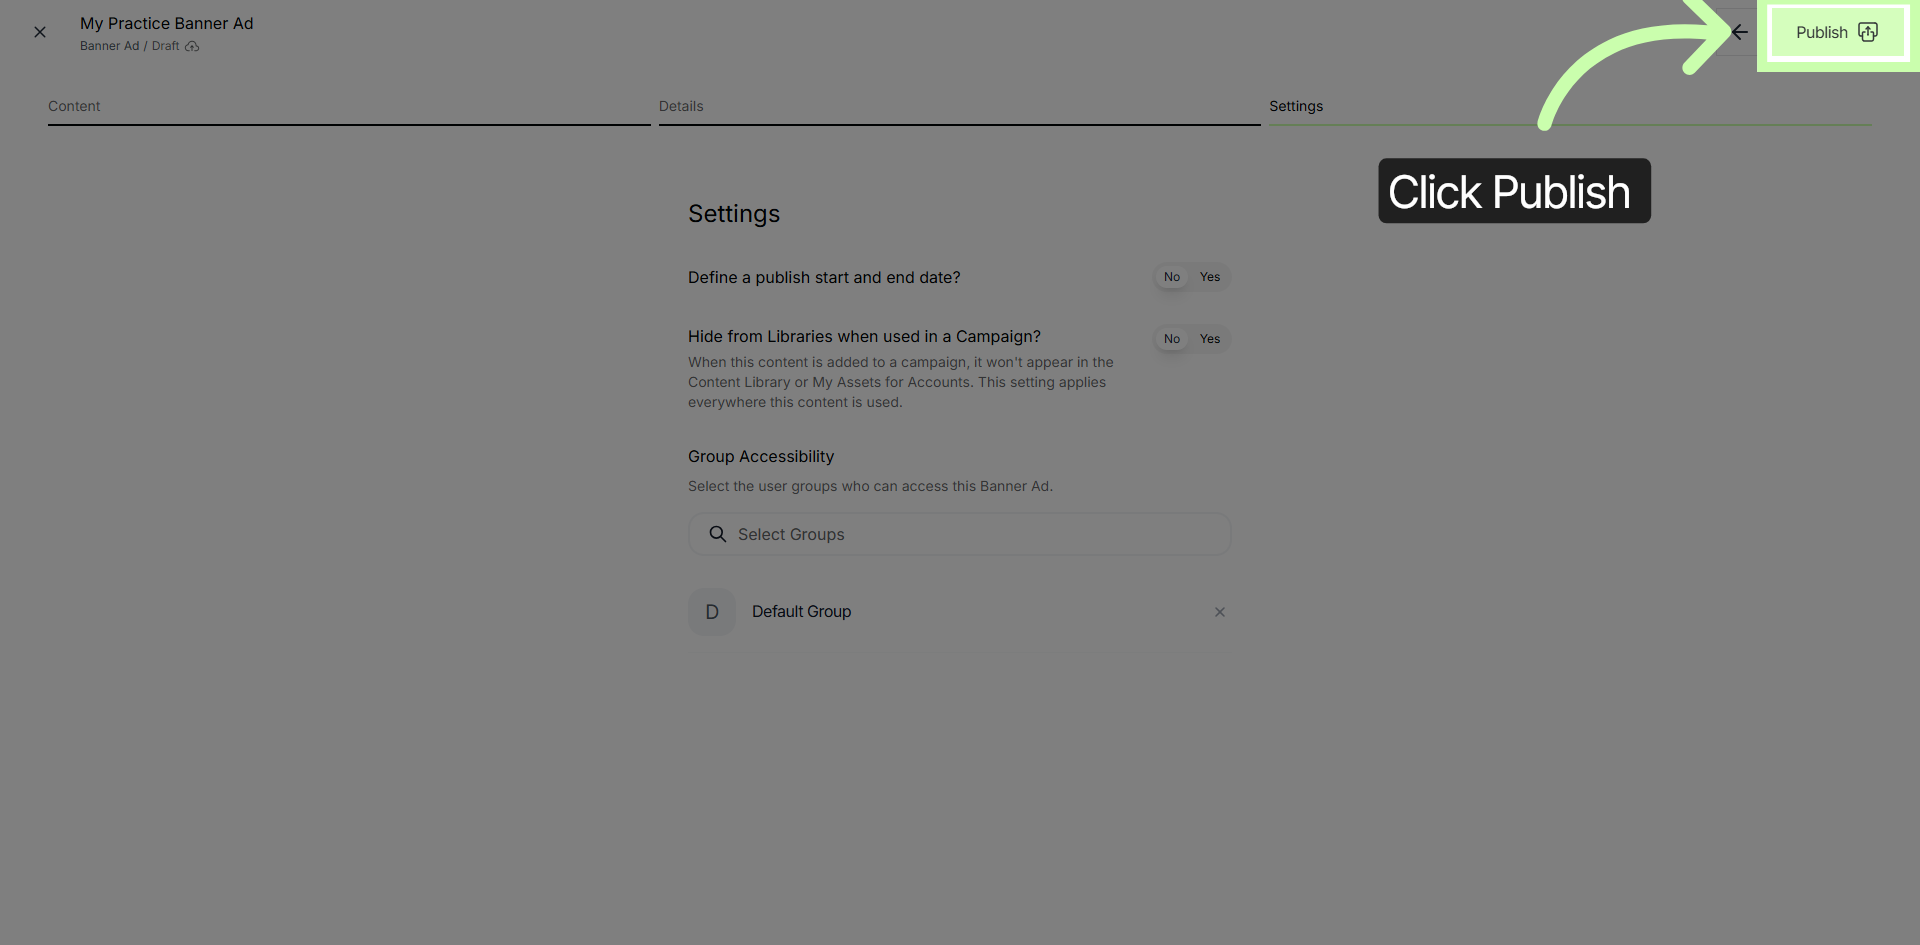
21. Publish Banner
Click Publish to make your banner live and accessible to the selected groups.
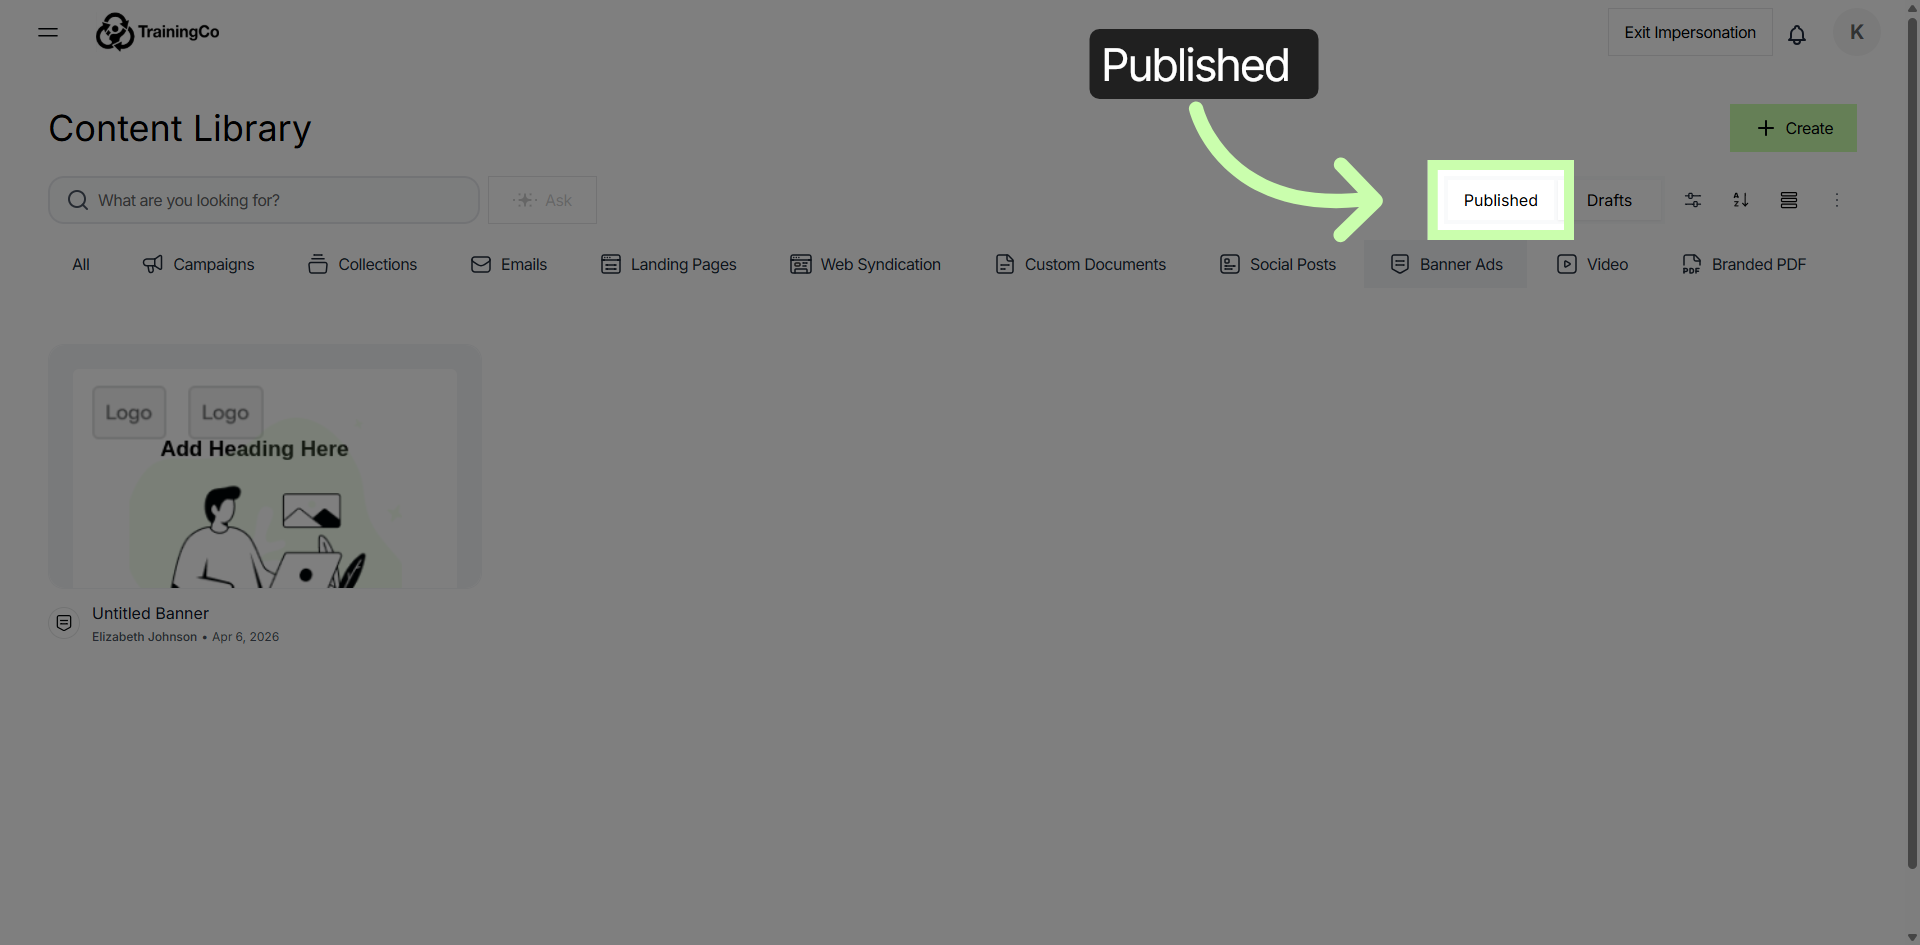
22. Confirm Published Status
Once you have published your banner Ad it will be listed in the Published section of your banner ads in your content library.
You have successfully configured call to action buttons, linked documents, customized content, and published banners using Structured AI. Verify your banner's published status in the Content Library to confirm completion. For further customization, explore additional content and publishing settings within the platform.