 Creating Forms & Landing Pages - Phase 3: Confirmations & Activation
- Learn how to configure and publish content using Structured AI
- Follow step-by-step instructions for the publishing process
- Understand how to prepare content for publication
- Publish content efficiently and accurately within the platform
|
Before you begin — open your account This is a hands-on, learning-by-doing session. Open app.structured.ai in your browser and log in to your Tenant Account so you can follow along and apply each step in real time. |
|
Phase 1
Setup & Framework
|
Start Training ➡ |
|
Phase 2
Drag & Drop Editor
|
Start Training ➡ |
|
Phase 3
Confirmations & Activation
|
Current Phase ✔ |
Follow Our Step-By-Step Training
1. Introduction
This training provides a comprehensive guide to help you navigate the process of configuring and publishing content using the Structured AI platform. It will walk you through each step in detail, ensuring that you understand how to efficiently publish your content.
Whether you are new to Structured AI or looking to enhance your skills, this tutorial aims to equip you with the knowledge and tools necessary to make the most out of the platform’s capabilities.
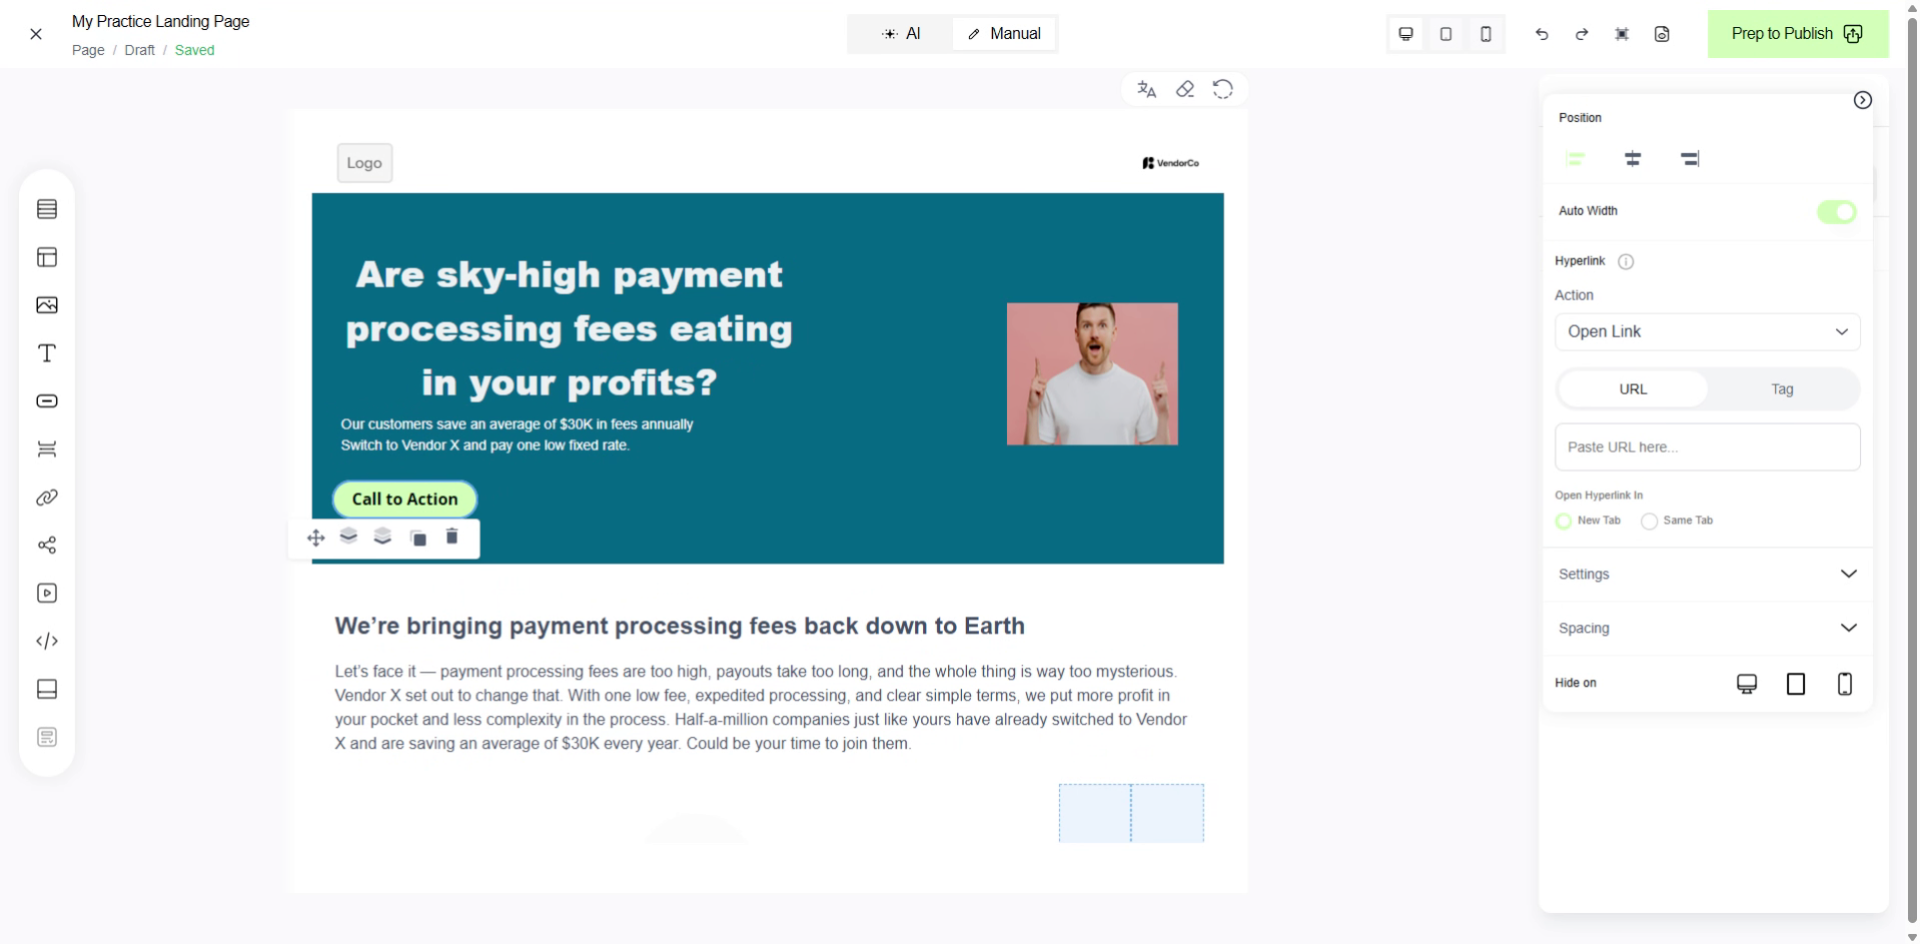
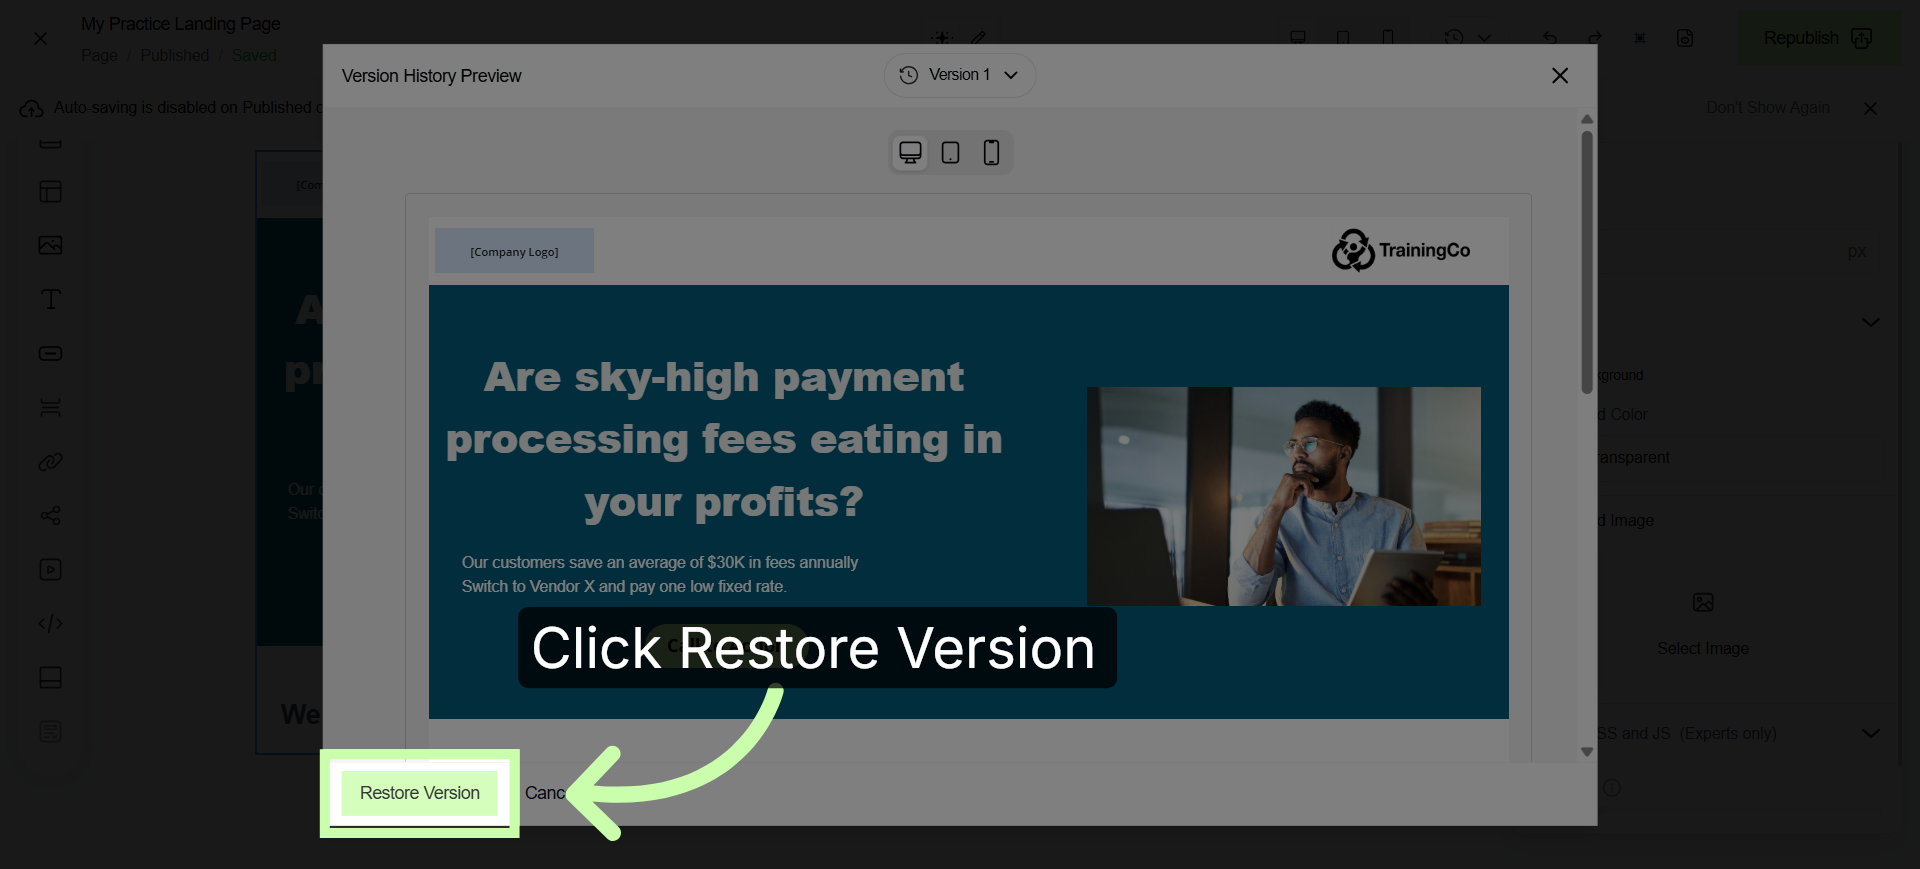
2. Access Form Fields Section
To ensure that you gather the correct information, please click inside the designated Form field. This action will activate the input area, allowing you to enter the necessary data accurately.
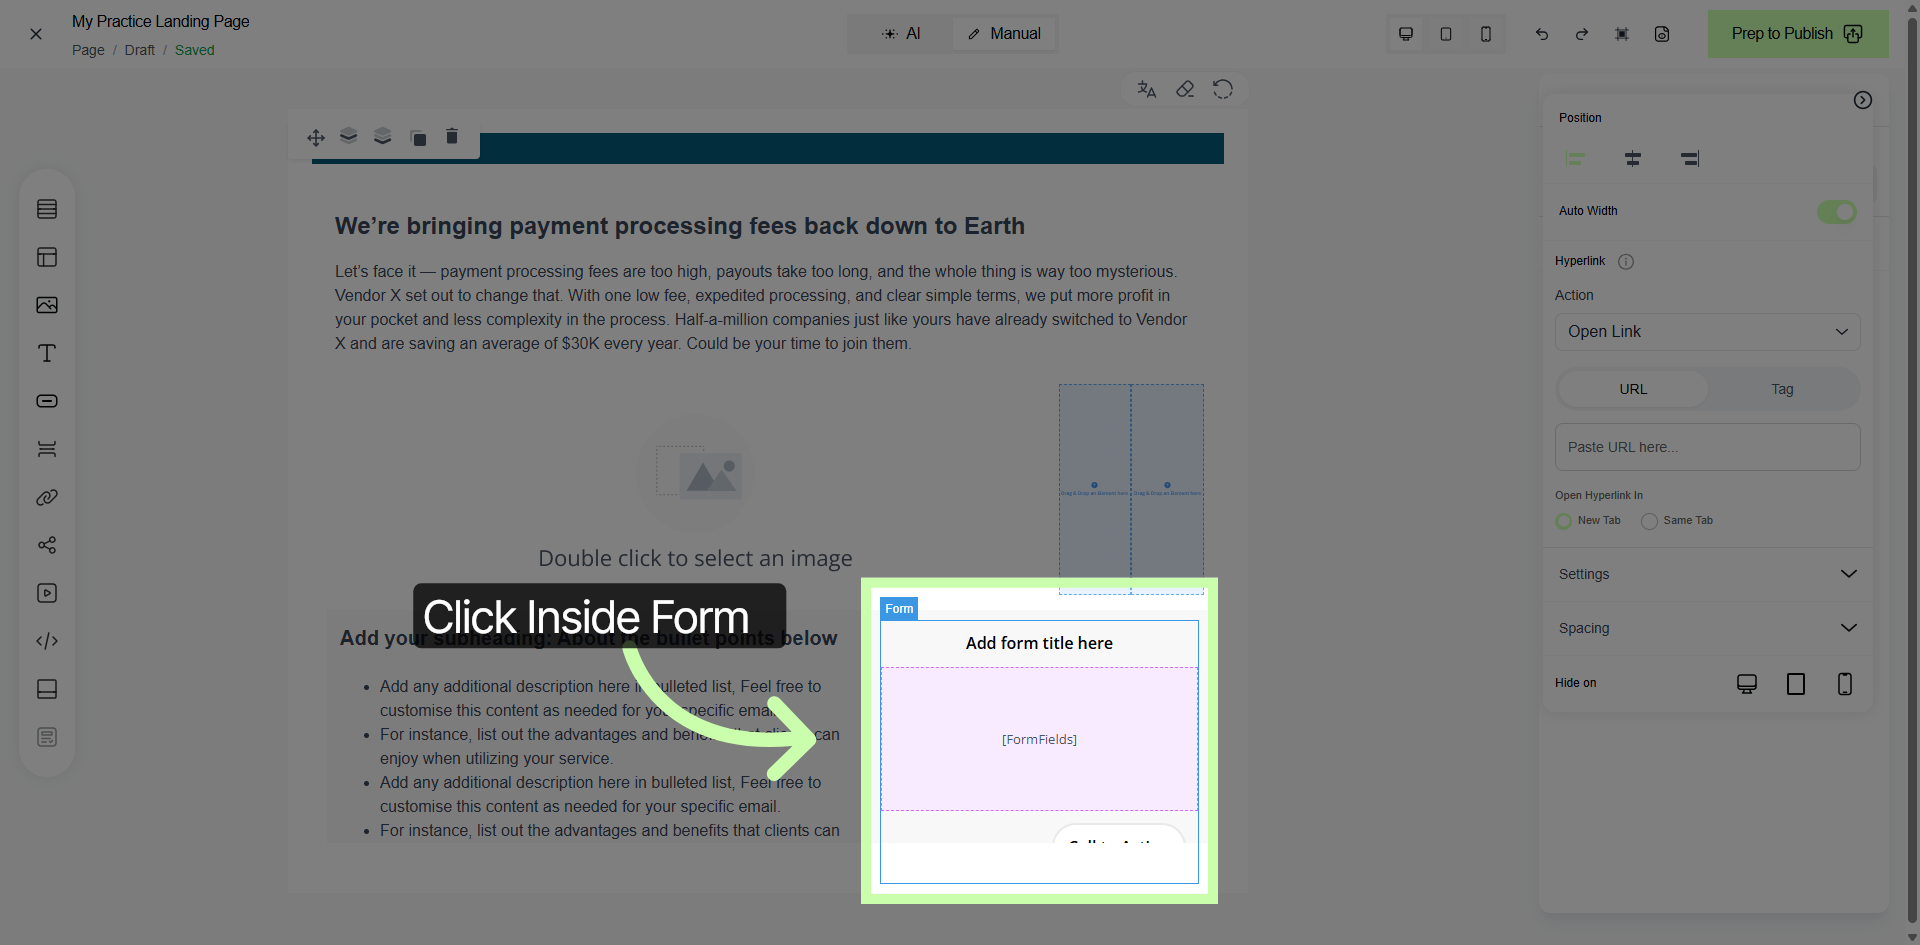
3. Add or Remove Form Fields
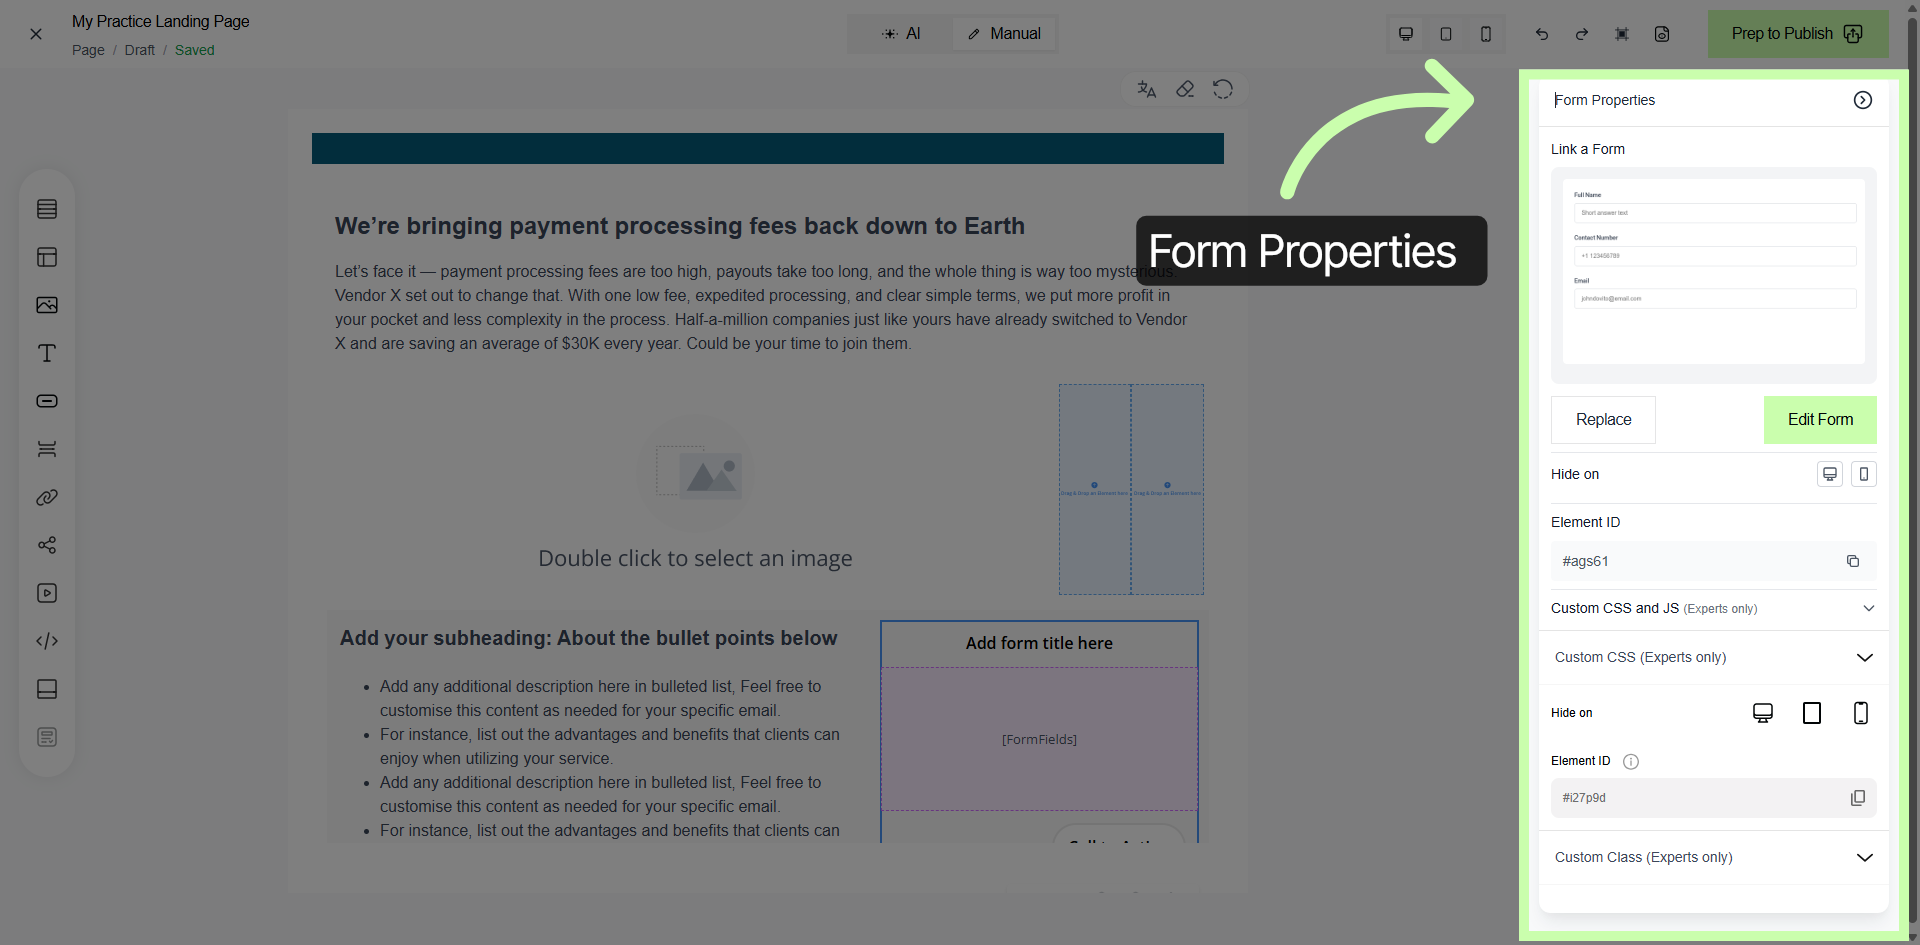
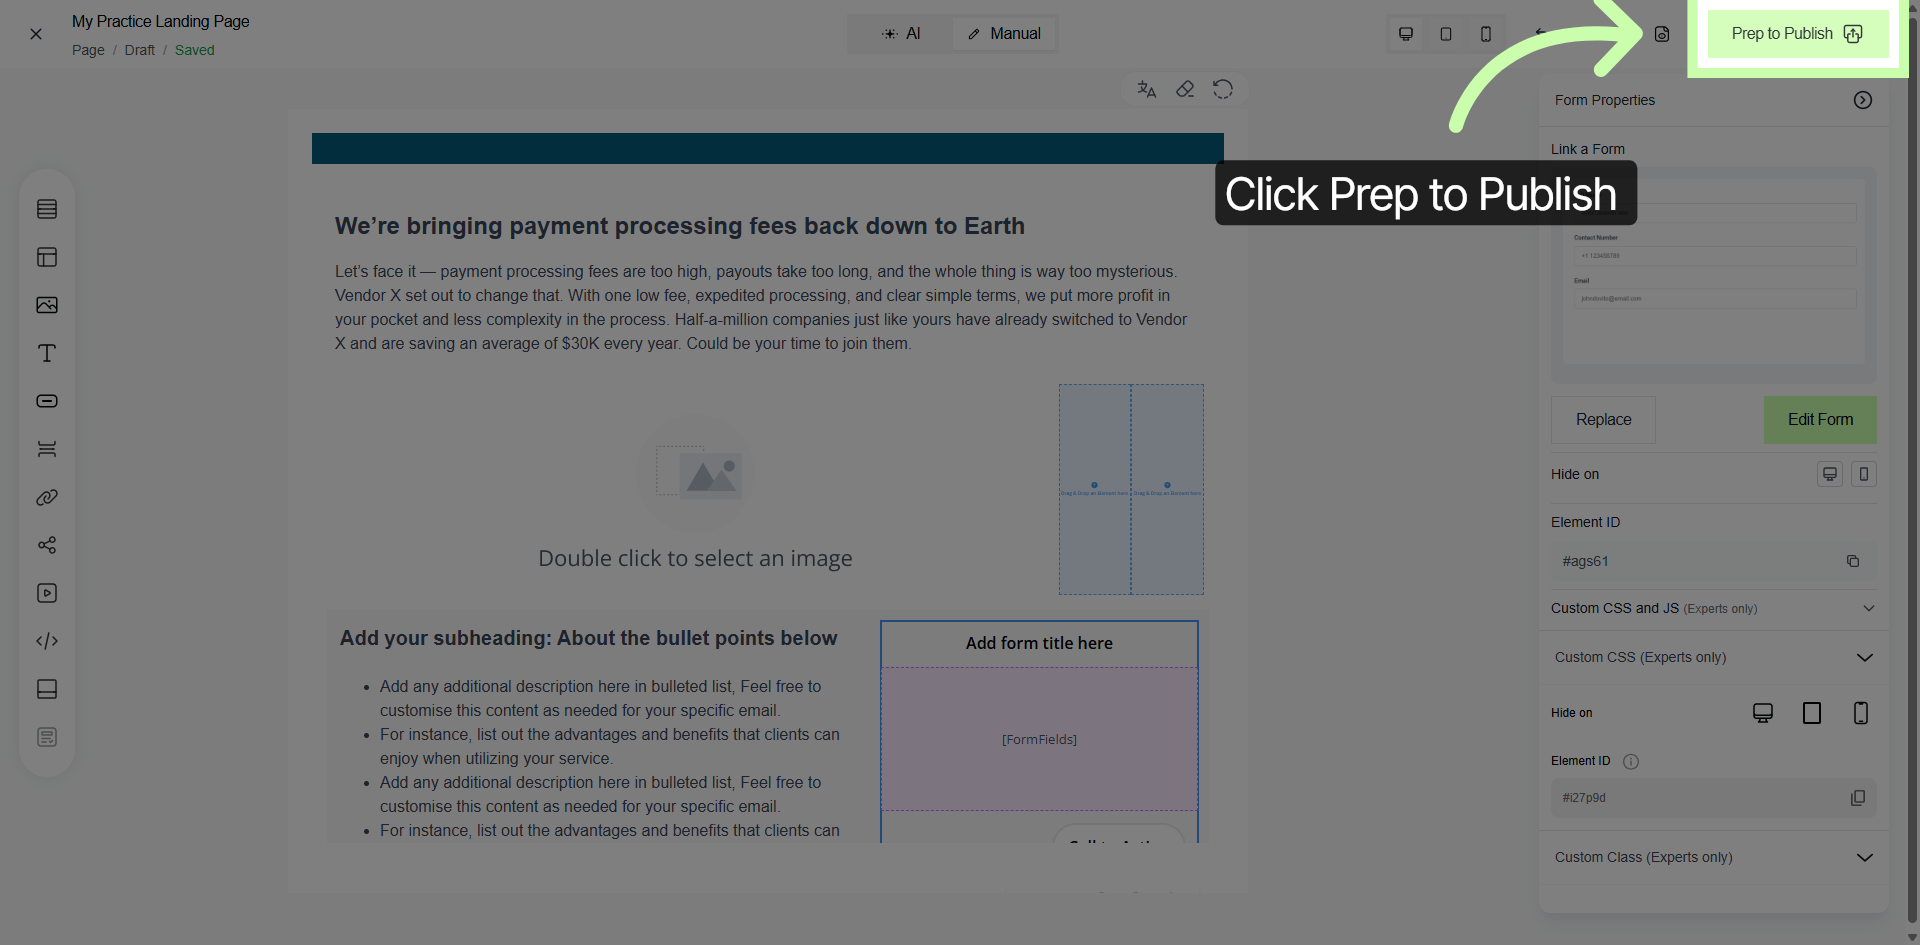
4. Navigate to Prep to Publish
Click on Prep to Publish to begin the process of preparing your content for publication within the platform. This action will guide you through the necessary steps to ensure your content is properly formatted, reviewed, and ready to be shared with your audience.
By starting with "Prep to Publish," you can organize and finalize all elements of your content, making sure everything meets the platform’s standards before it goes live.
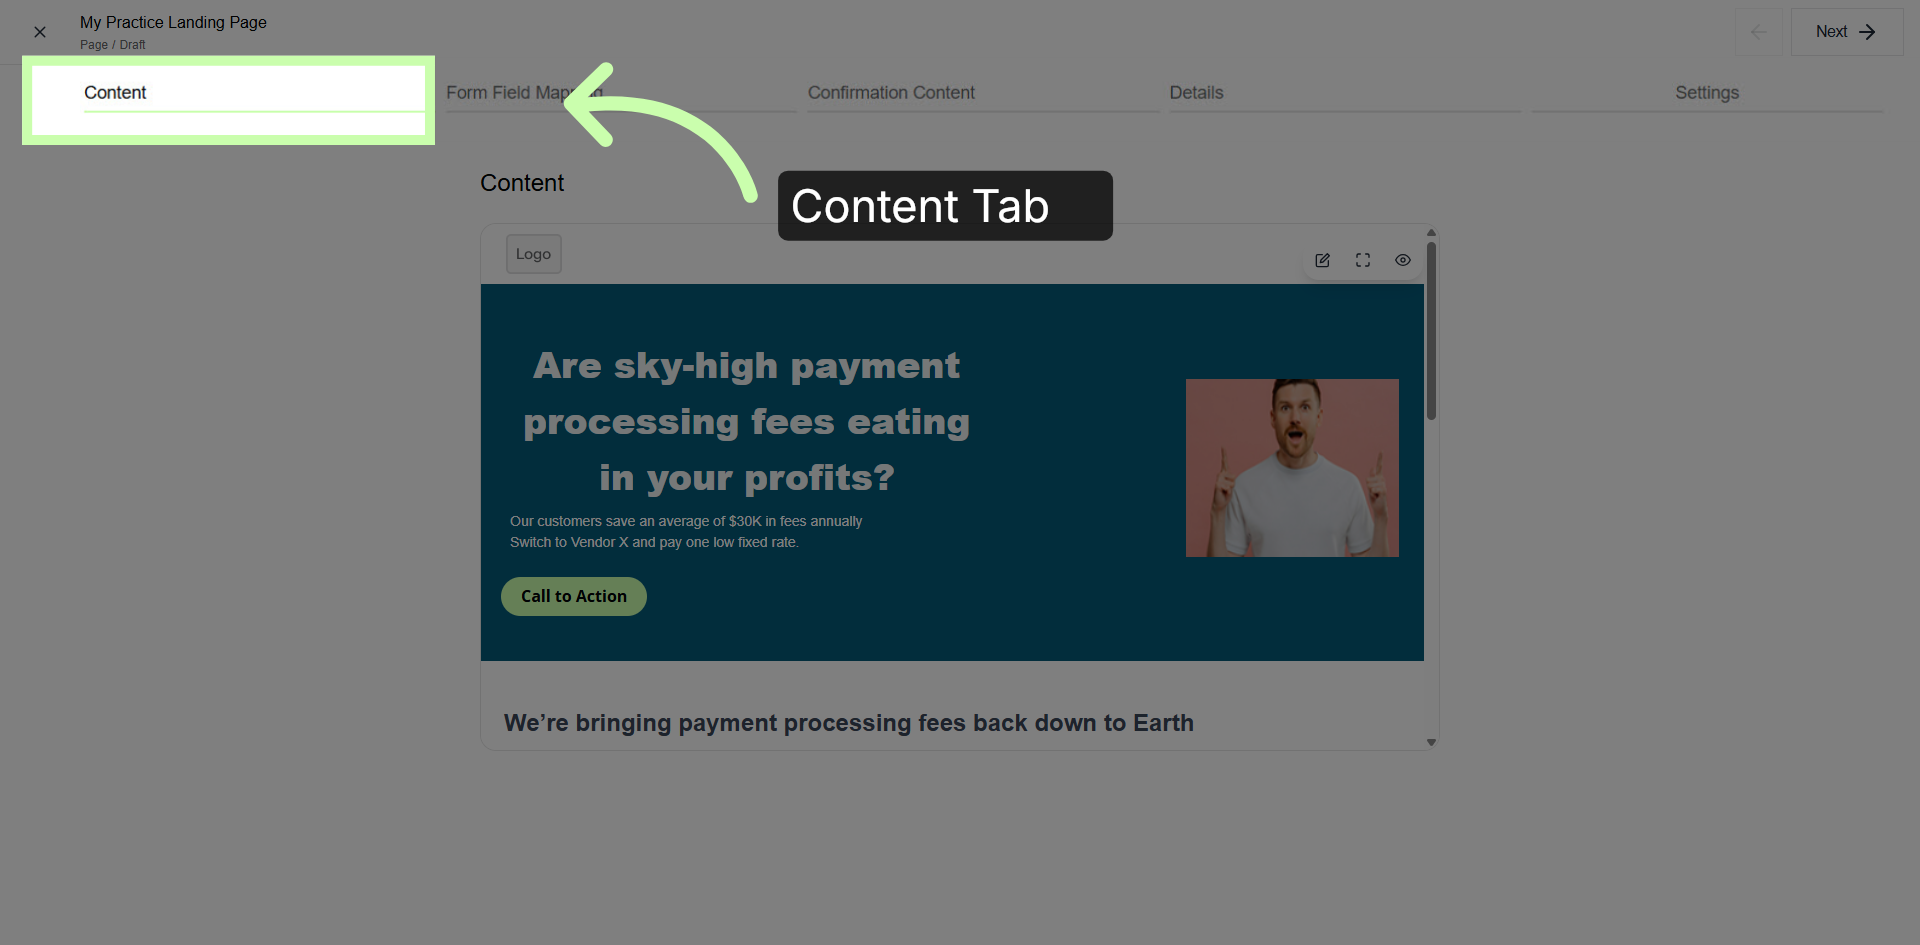
5. Access Content Settings
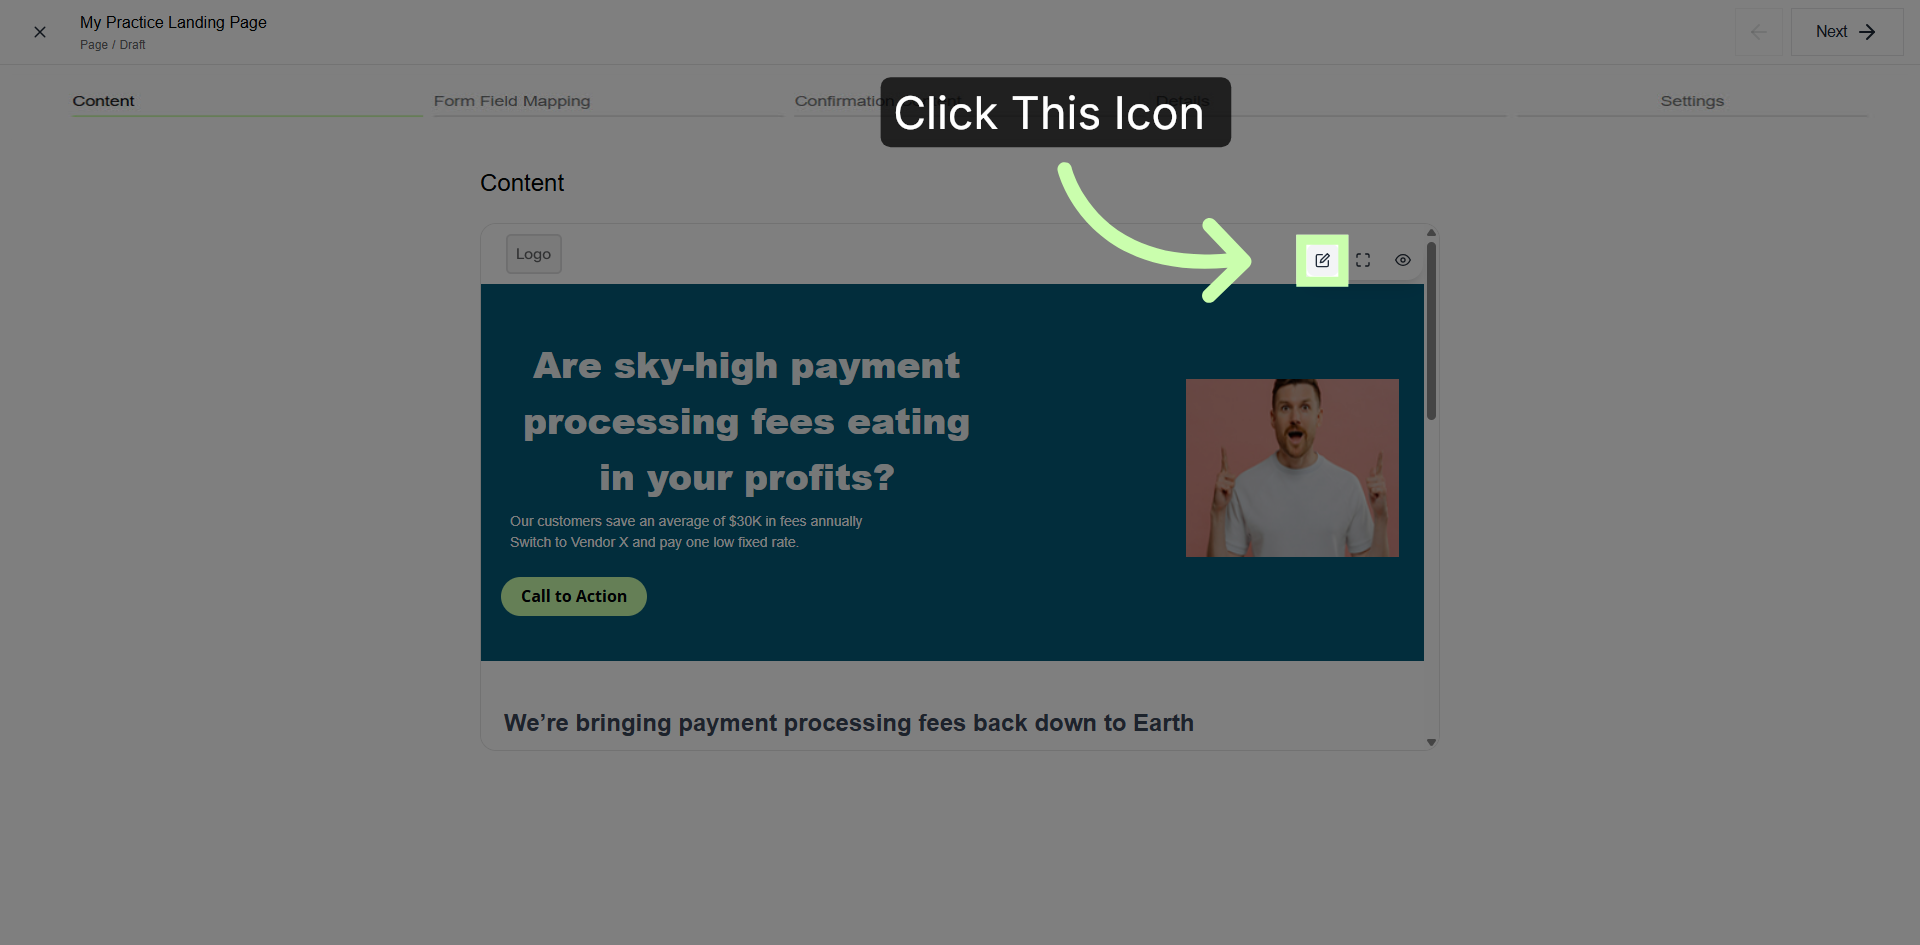
6. Open Additional Content Options
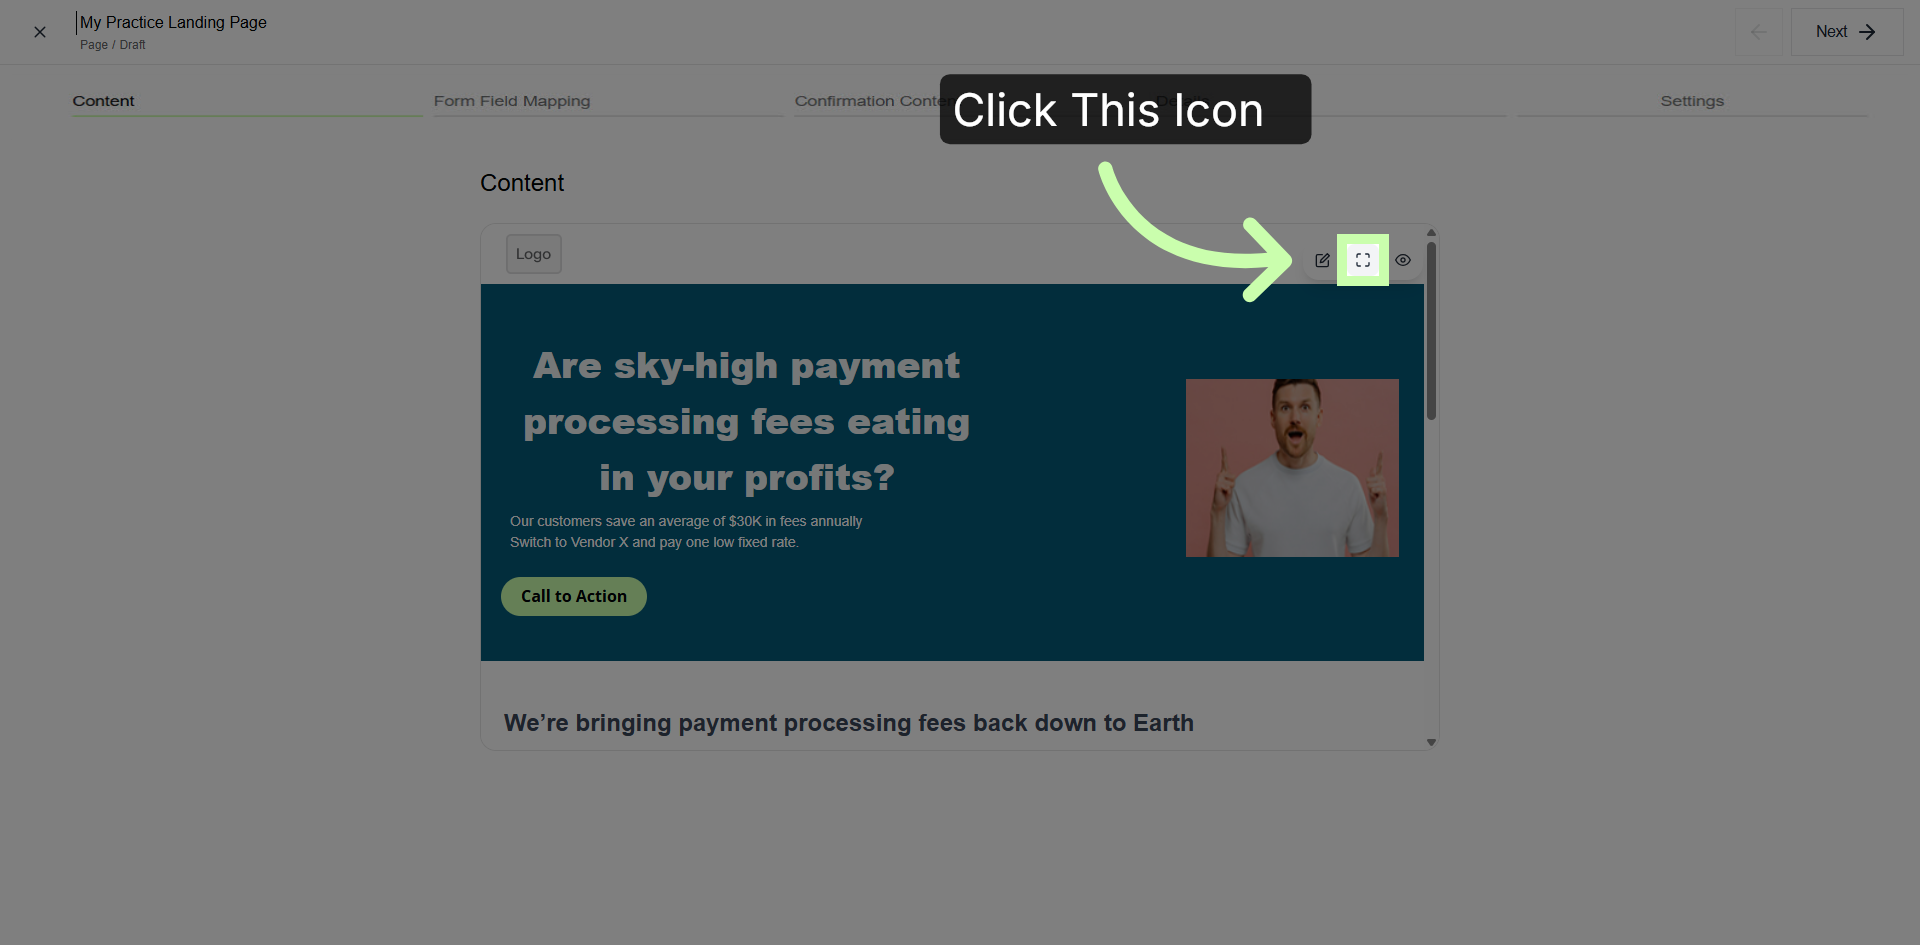
7. View Full Screen Preview
8. Preview Your Landing Page Before Publishing
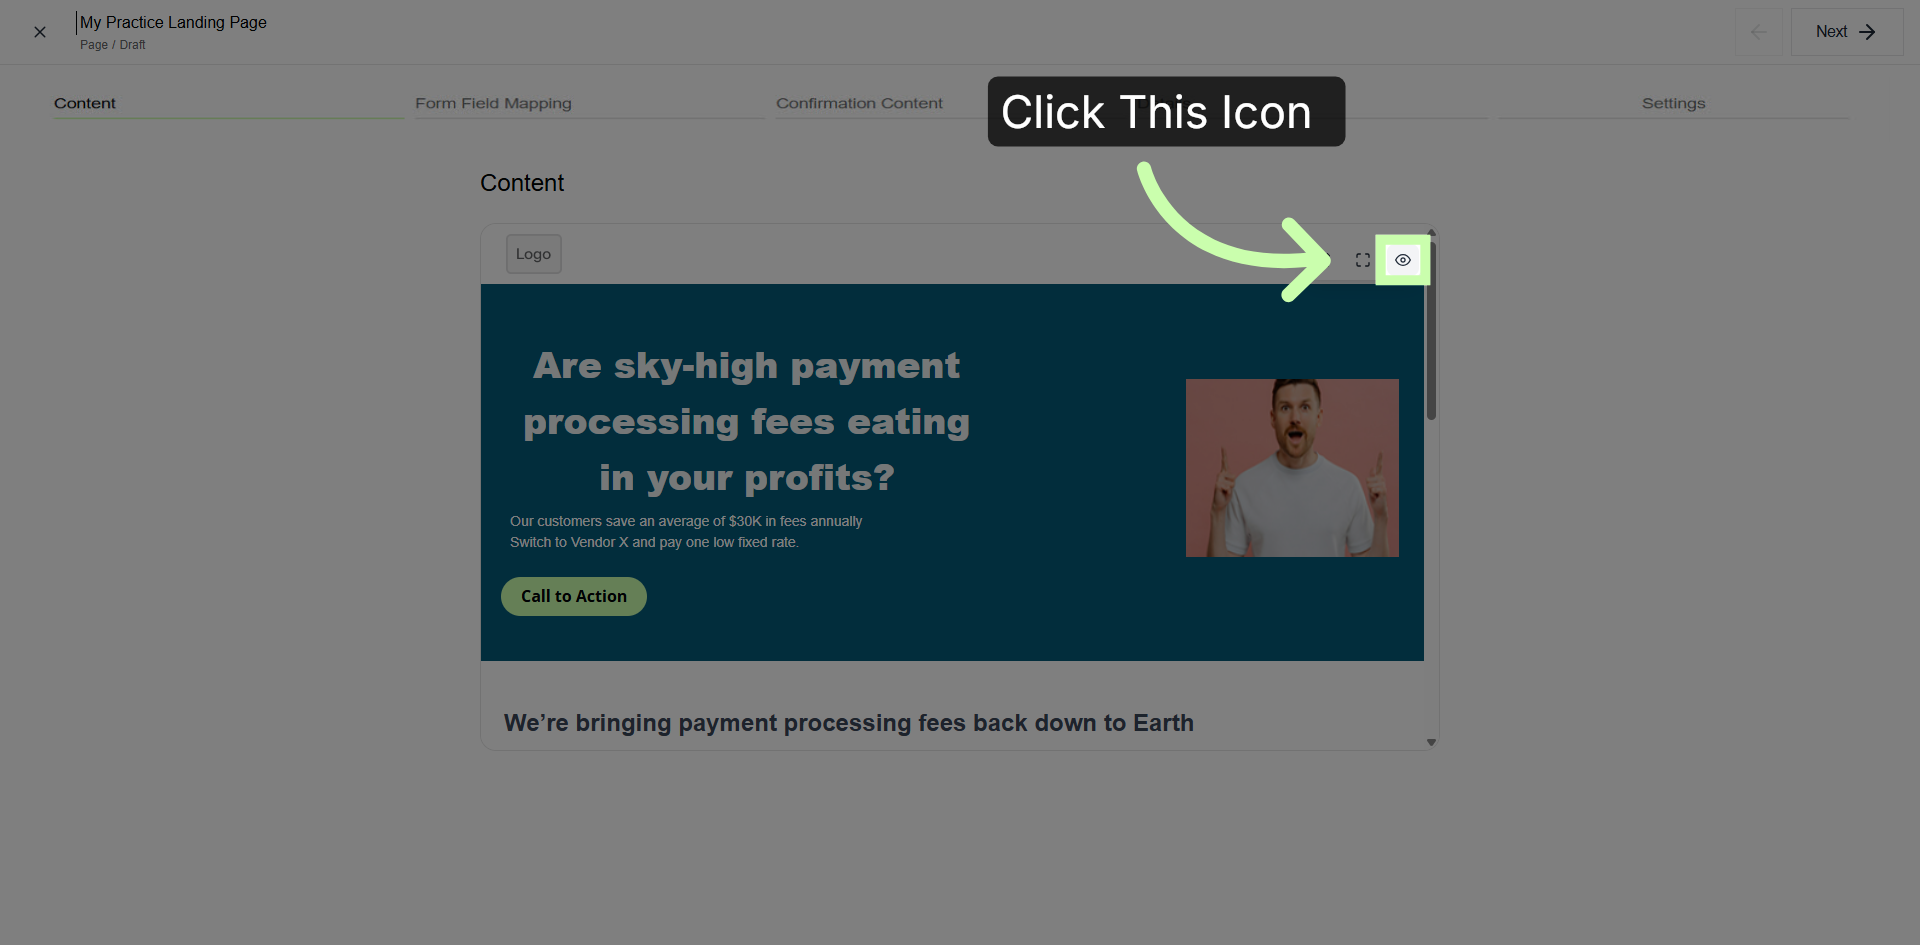
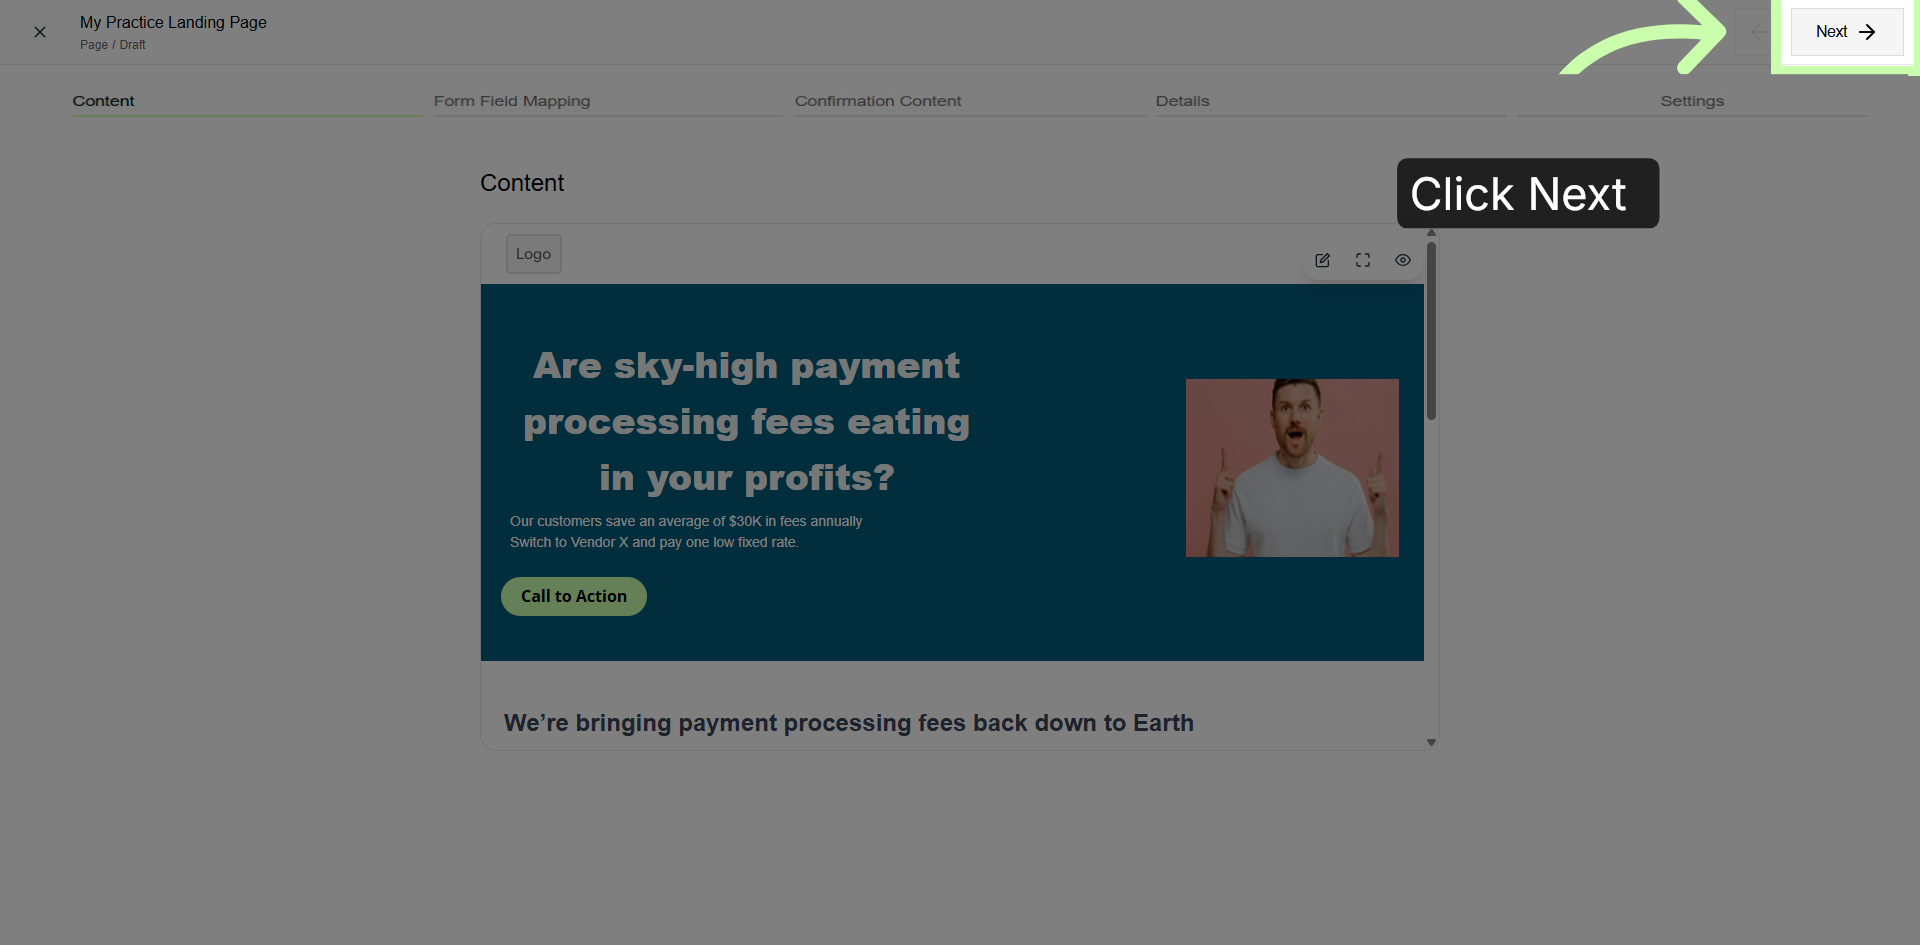
9. Proceed to Next Step
Click Next to proceed to the subsequent step in the content publishing workflow. This action will take you forward in the process, allowing you to continue preparing your content for publication.
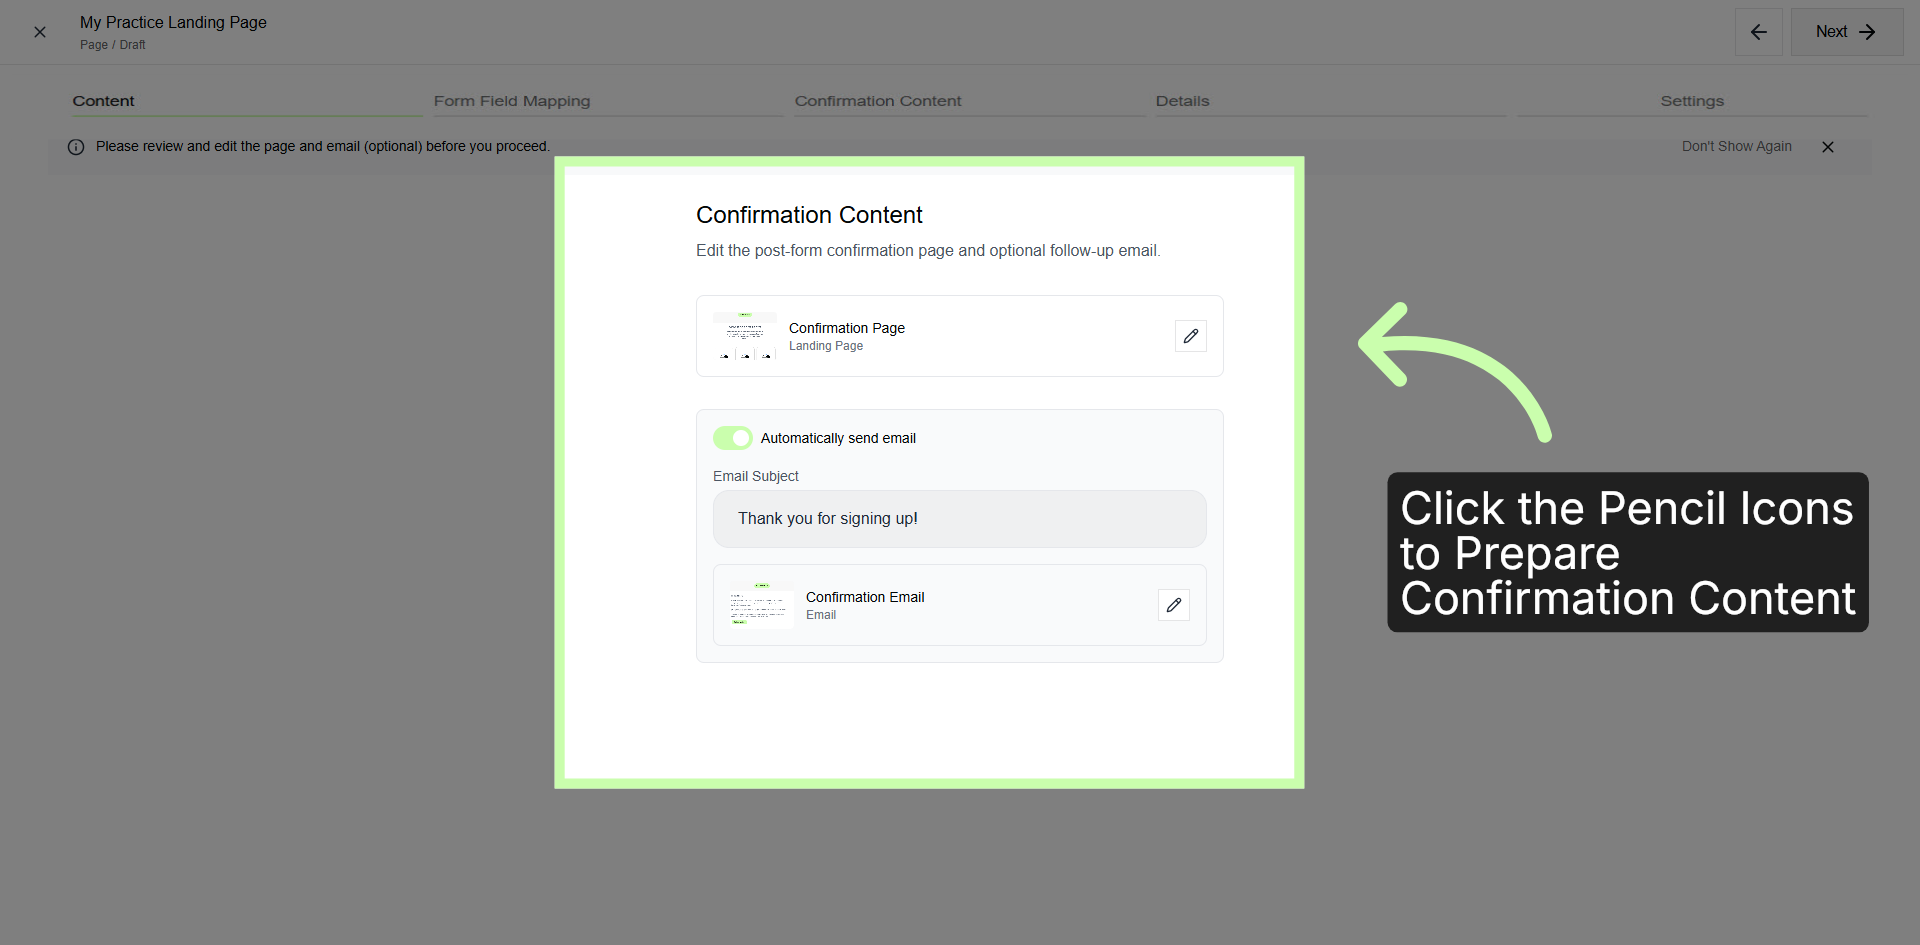
10. Confirmation Content
11. View Content Details
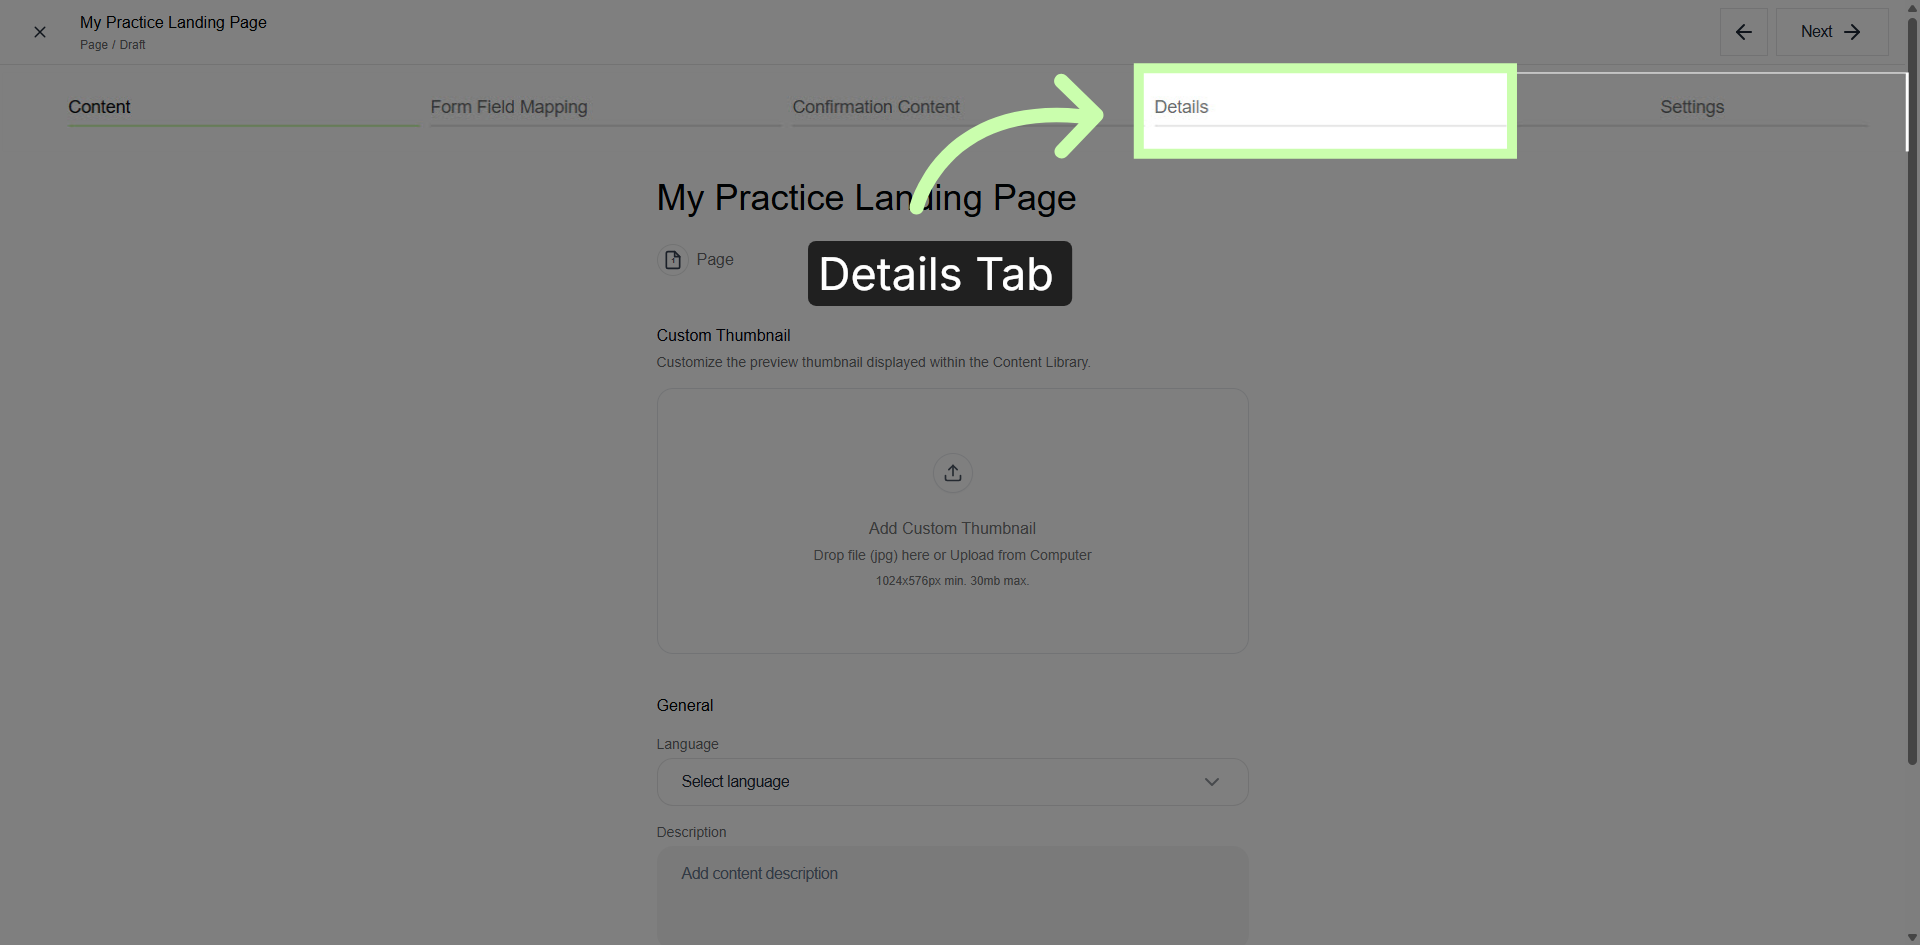
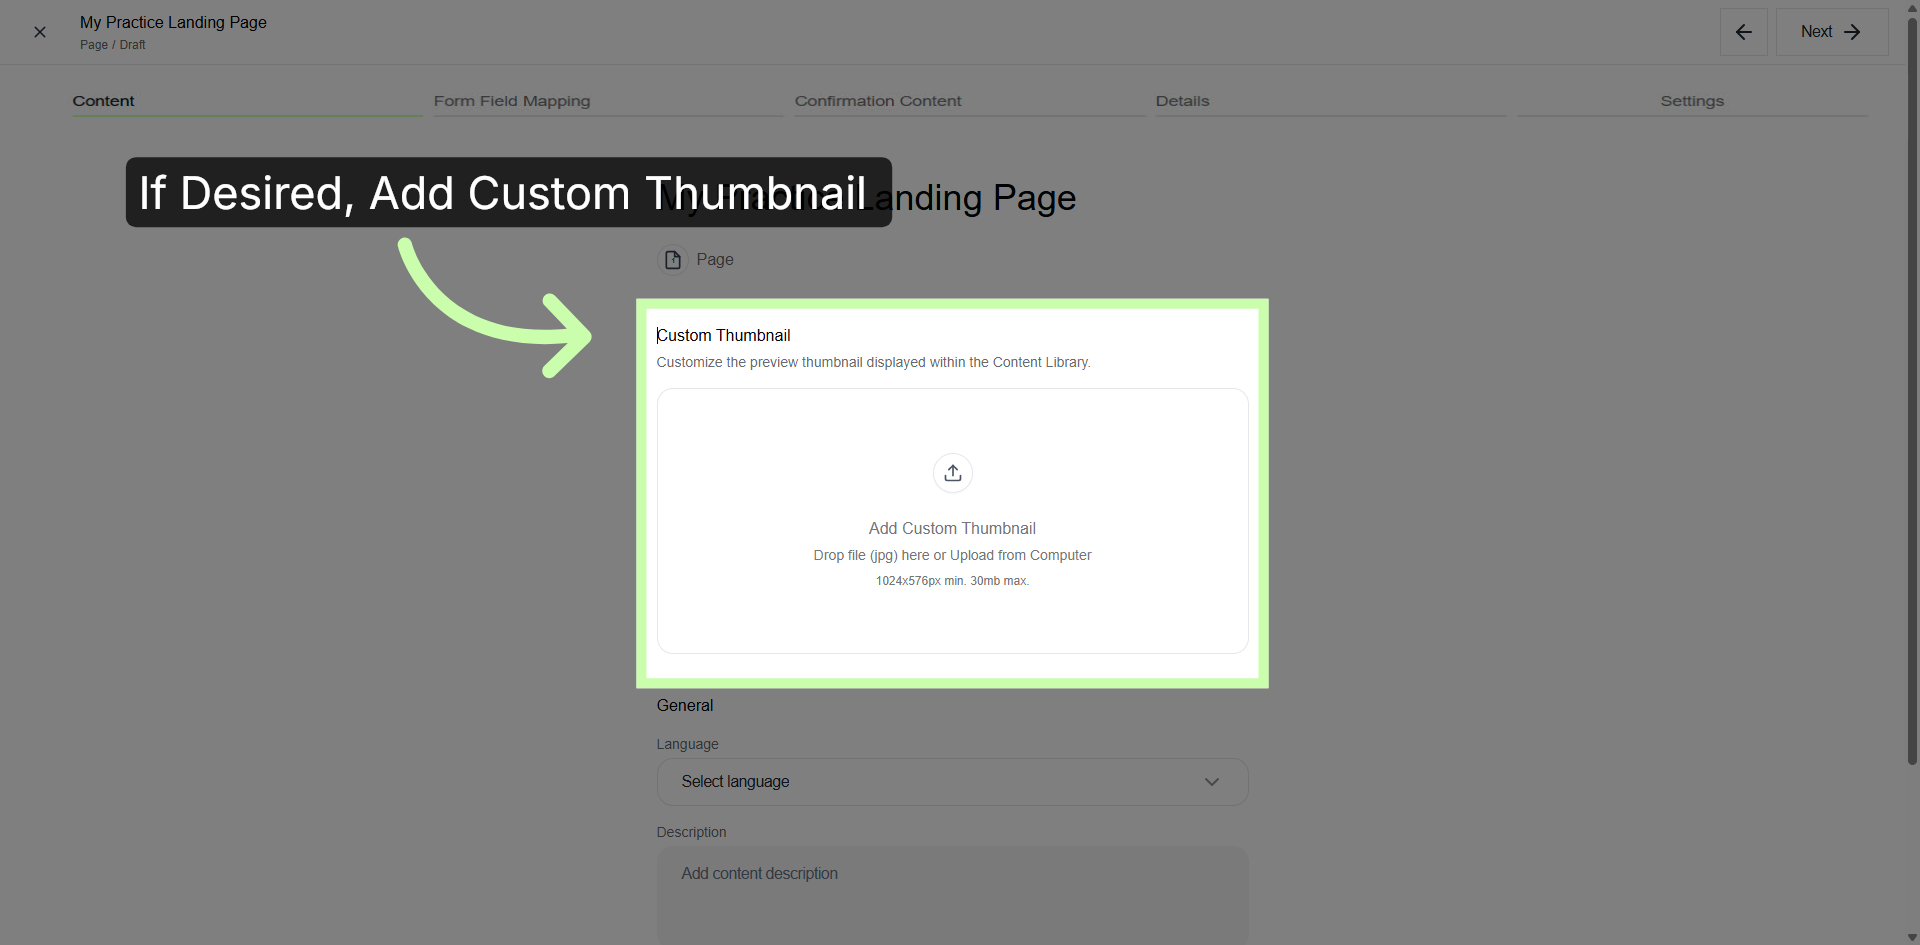
12. Set Custom Thumbnail
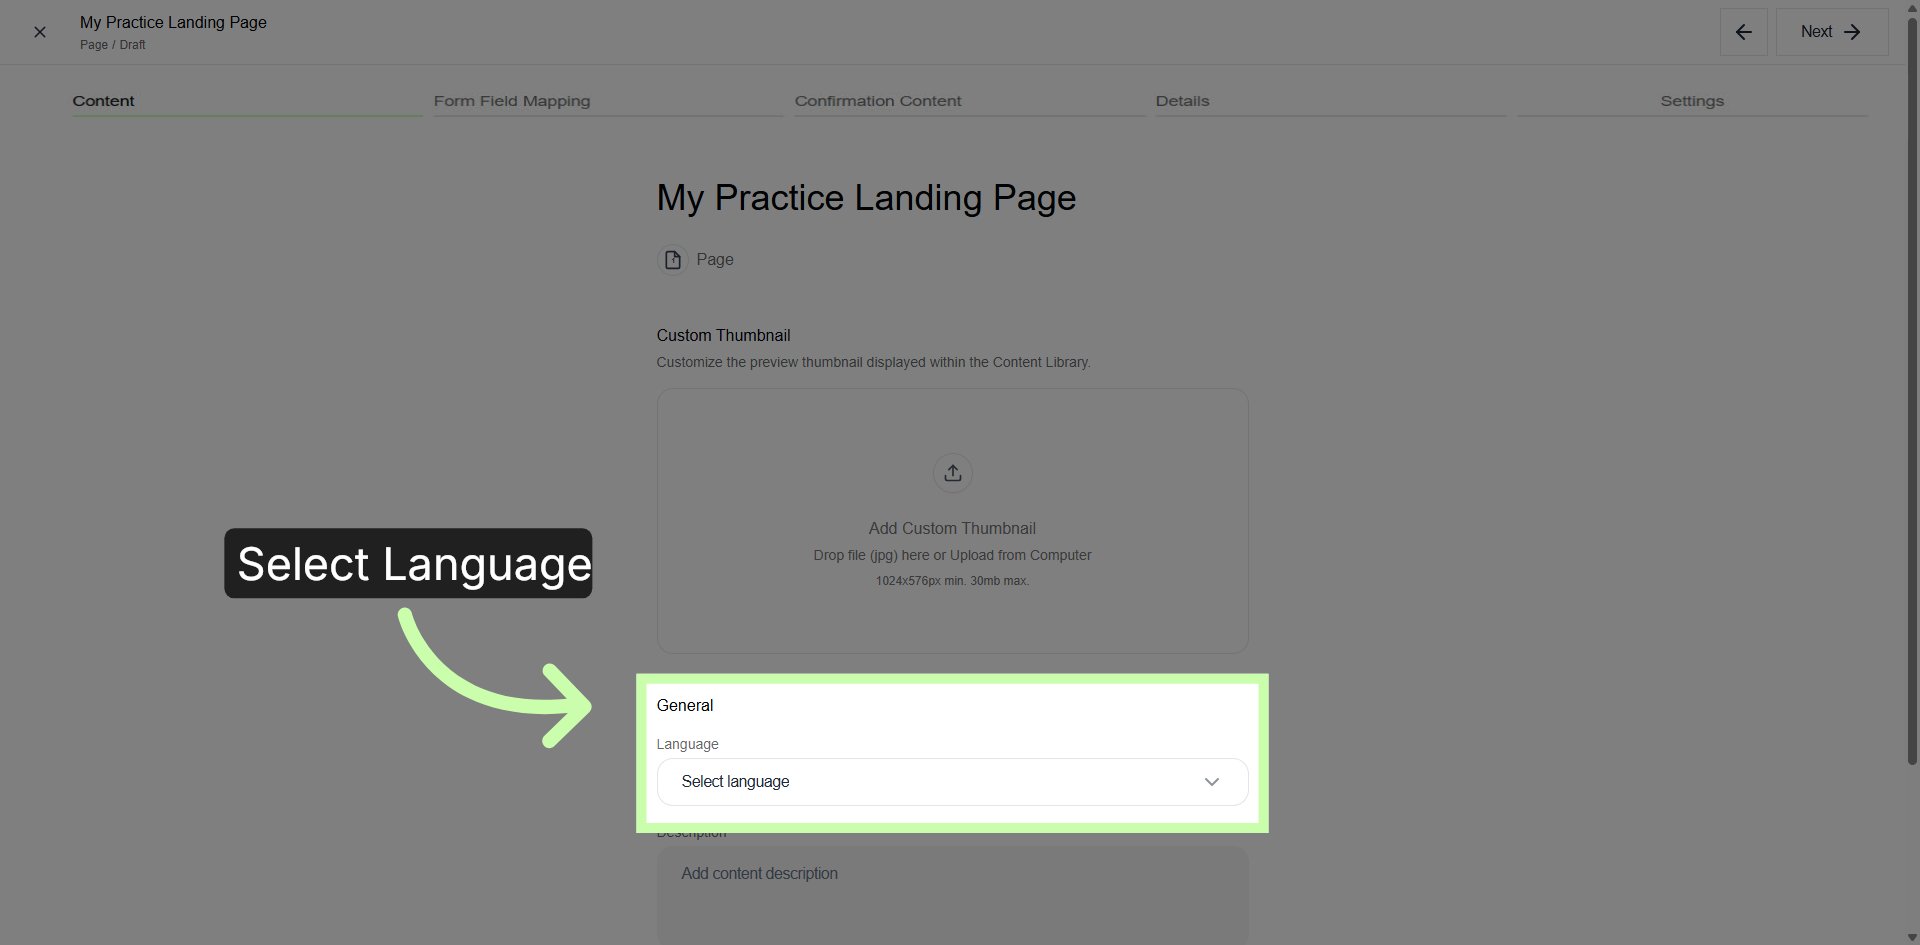
13. Select Language Option
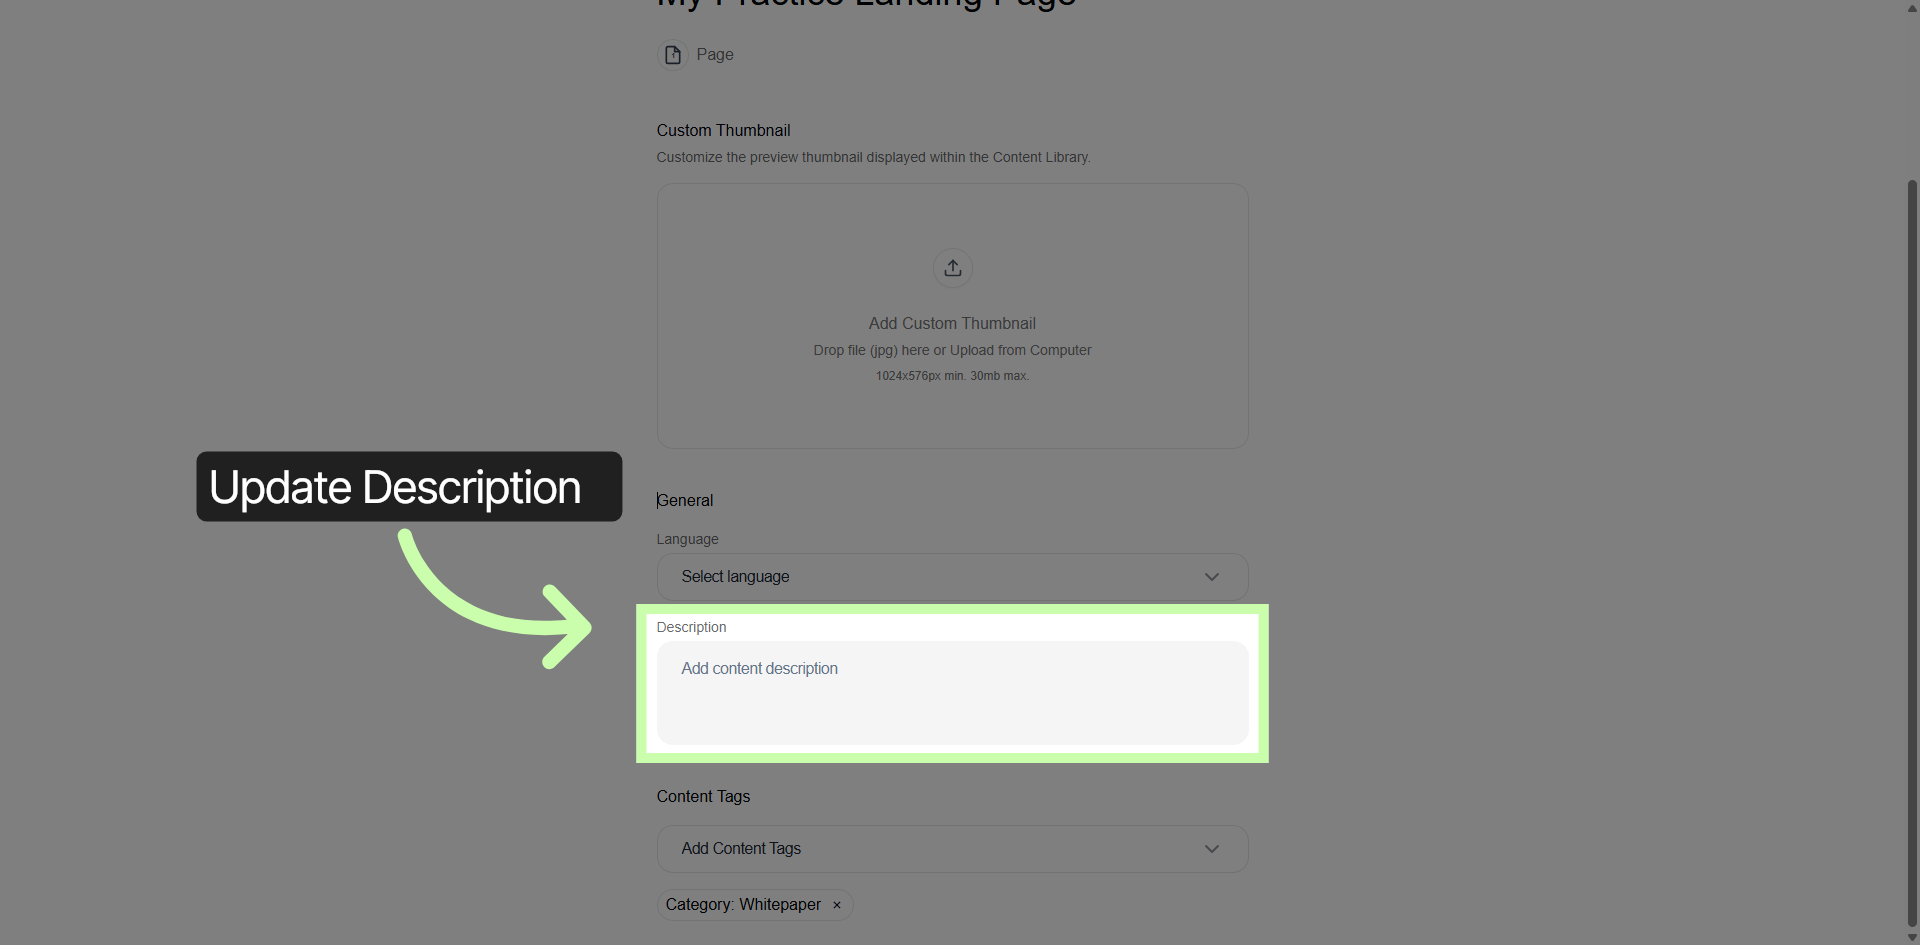
14. Edit Content Description
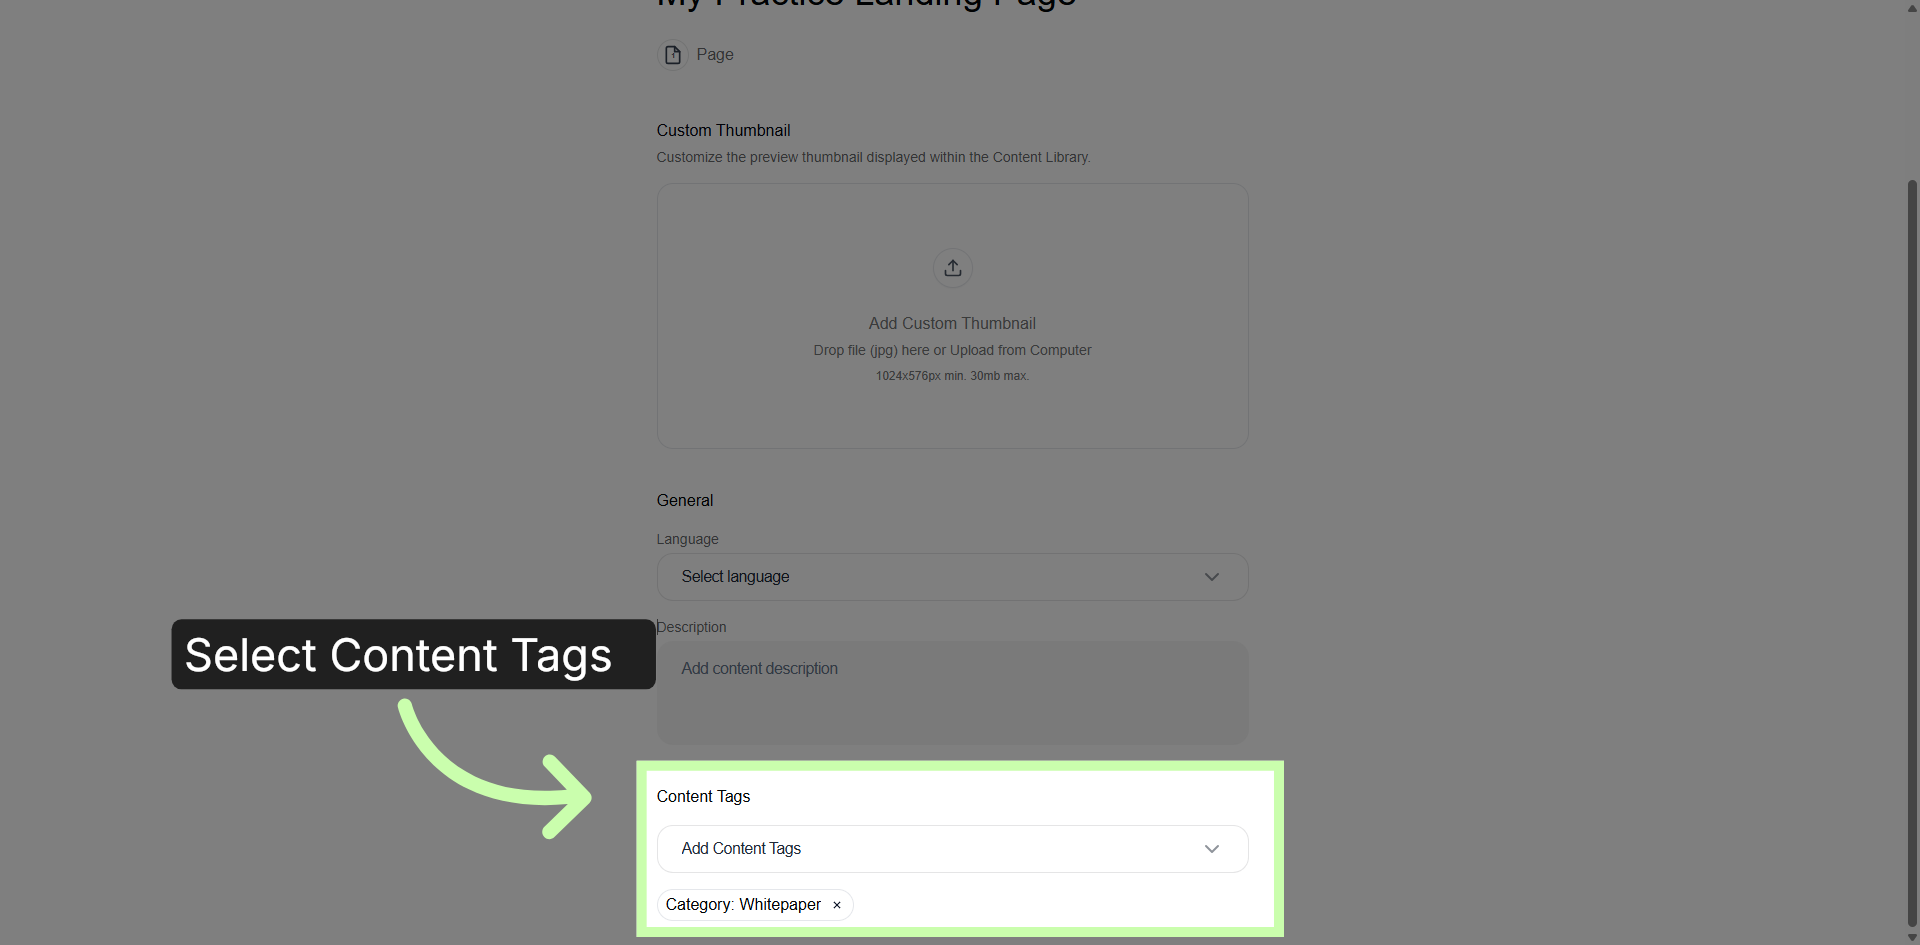
15. Manage Content Tags
16. Advance to Next Configuration Step
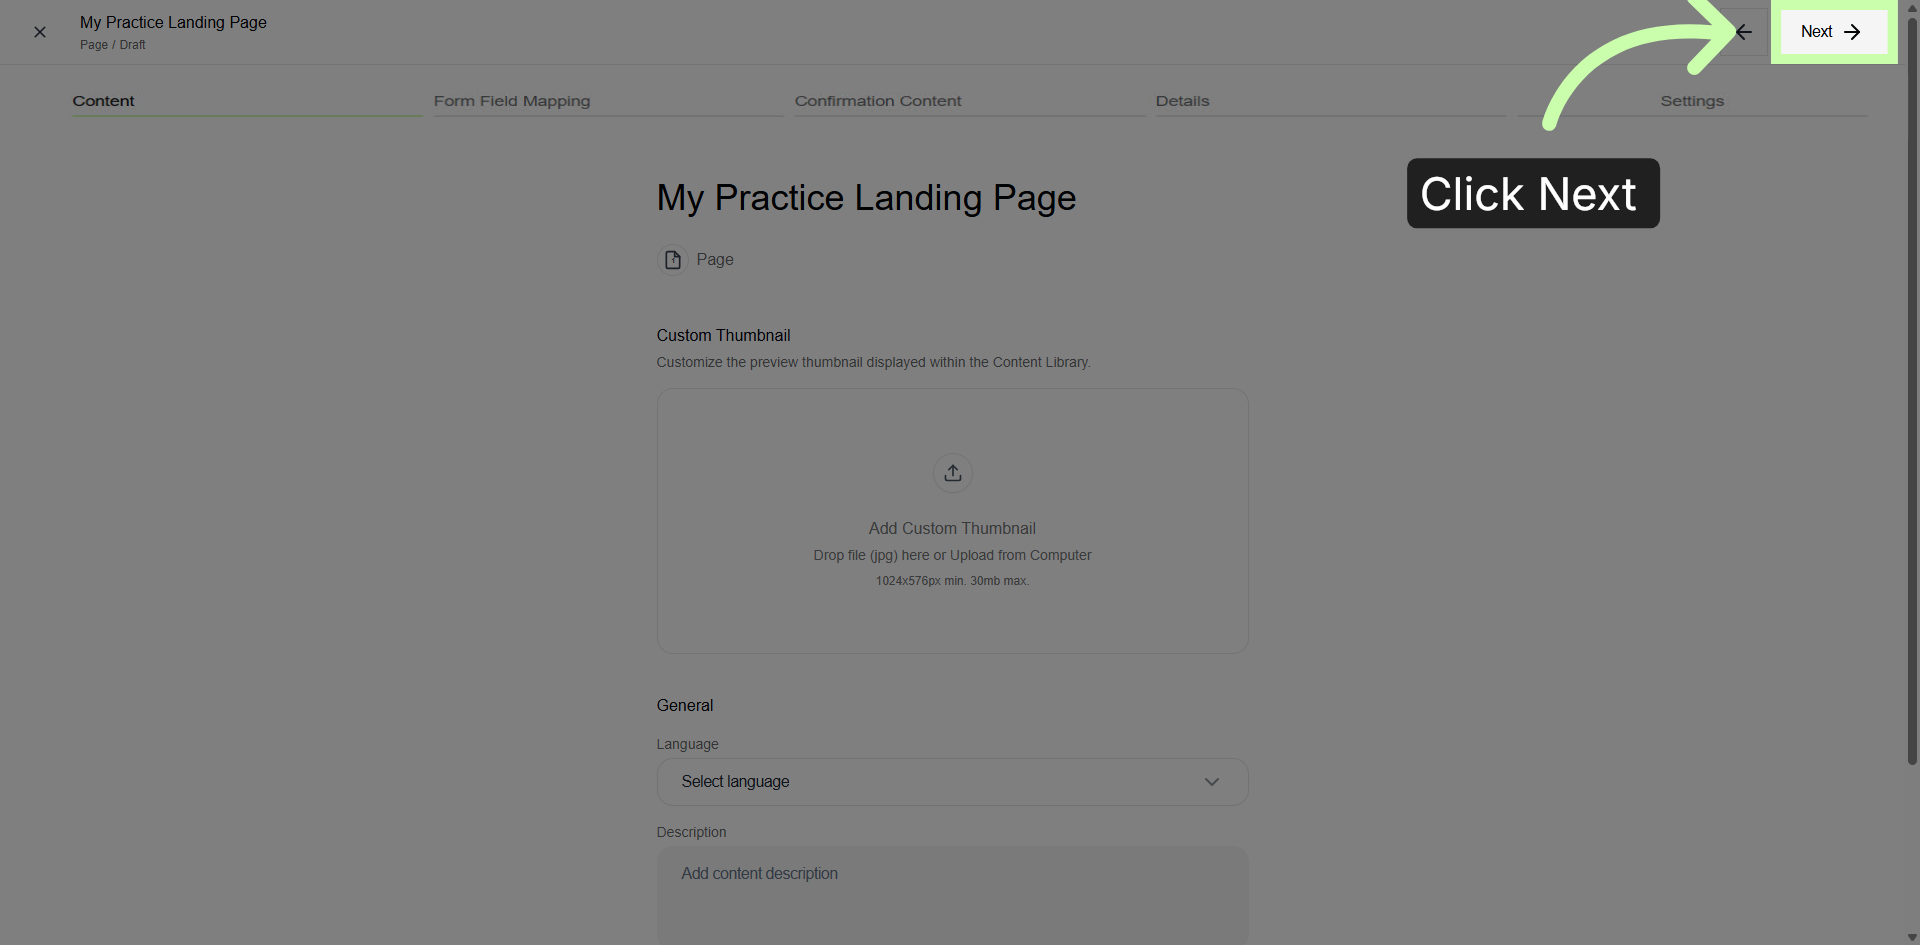
17. Open Publishing Settings
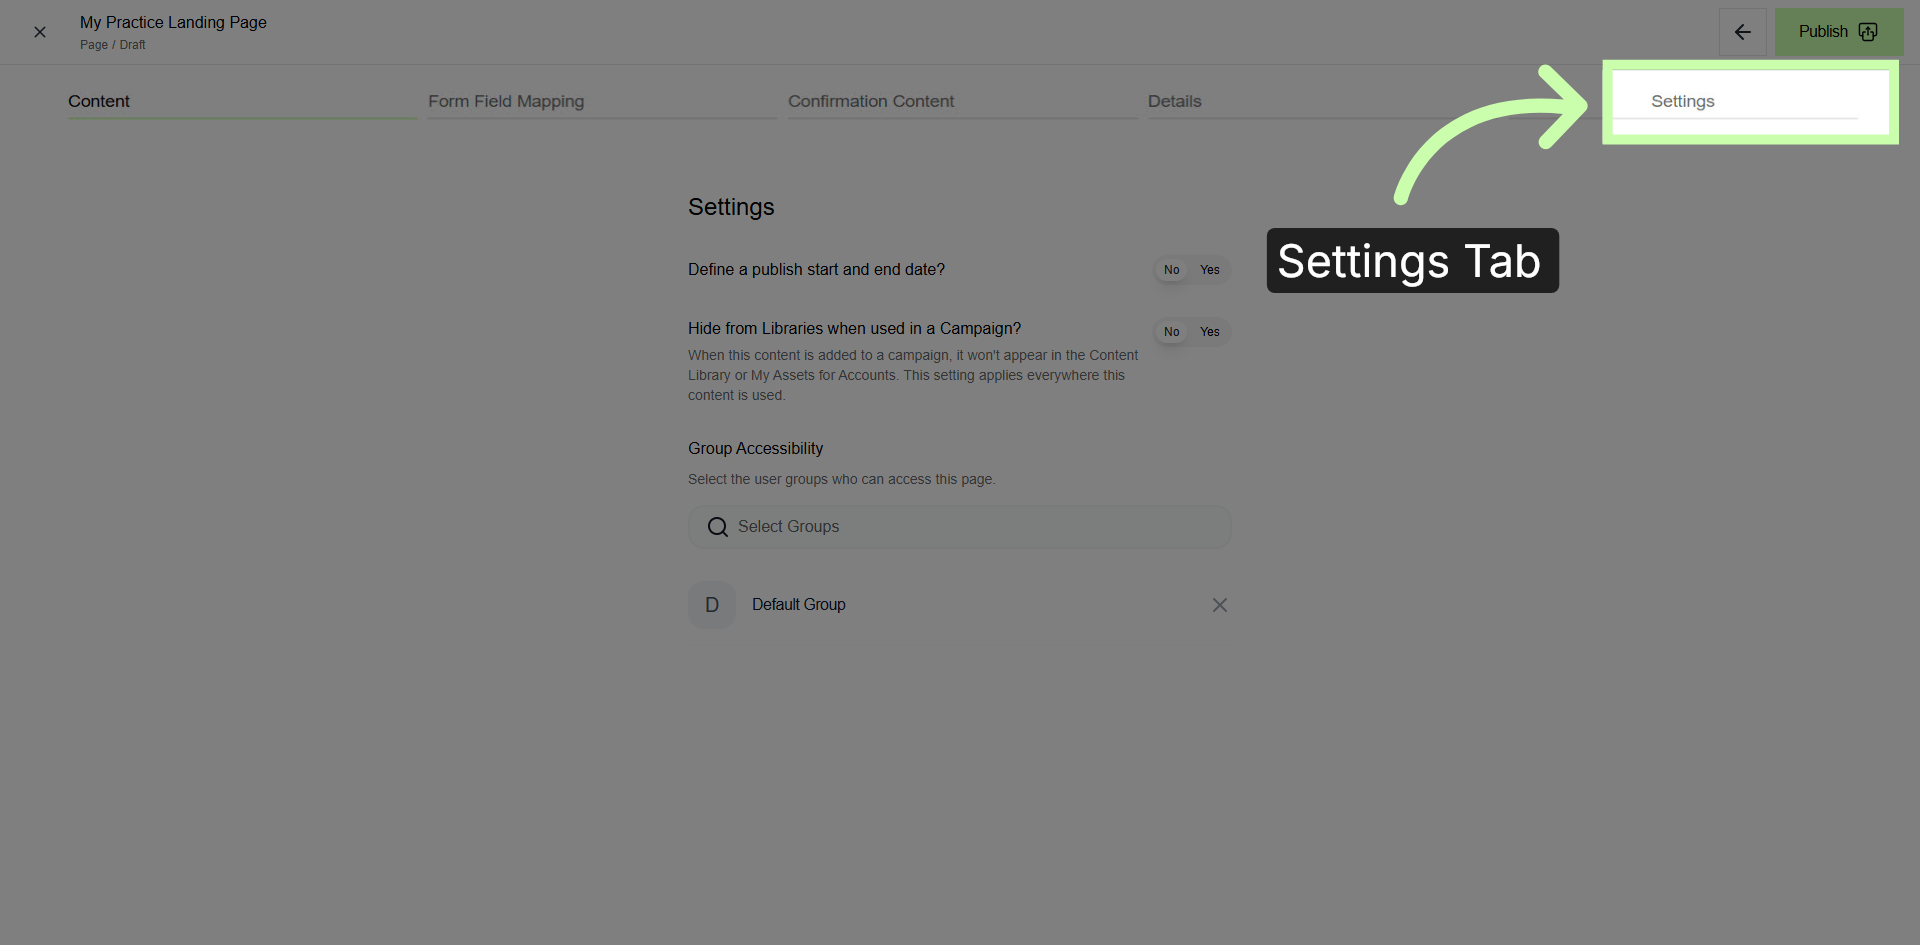
18. Define Publish Dates
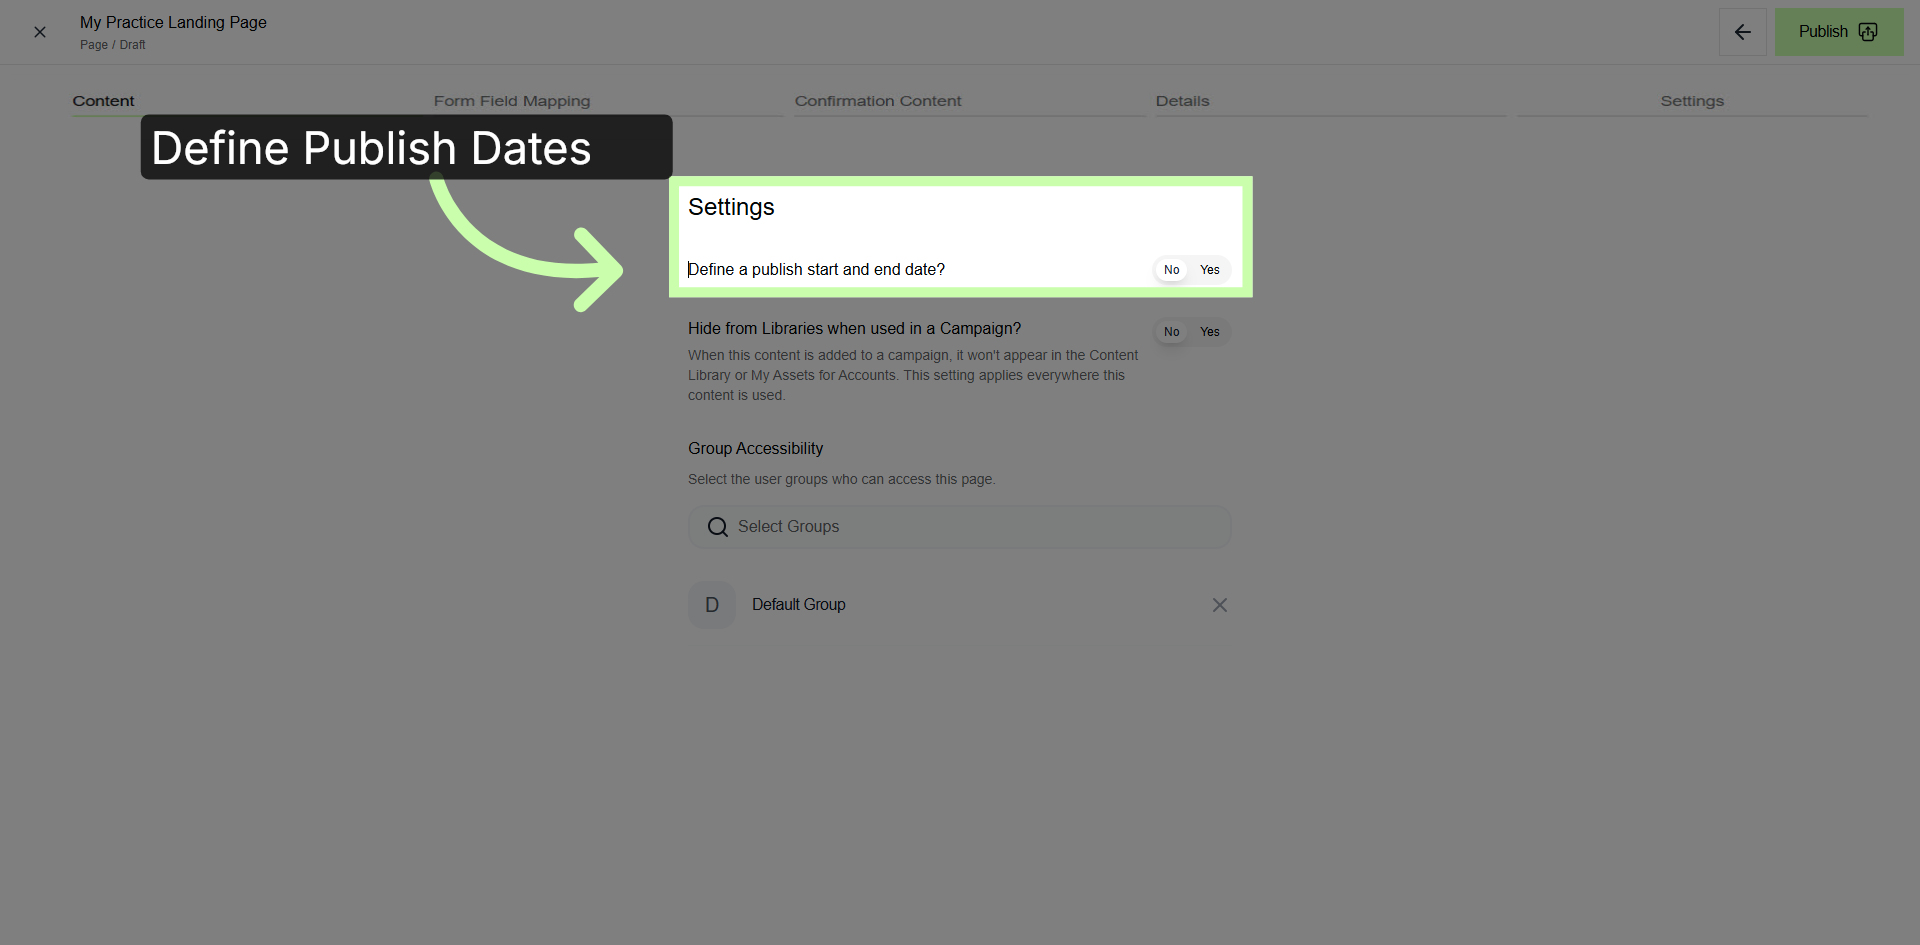
19. Set Library Visibility
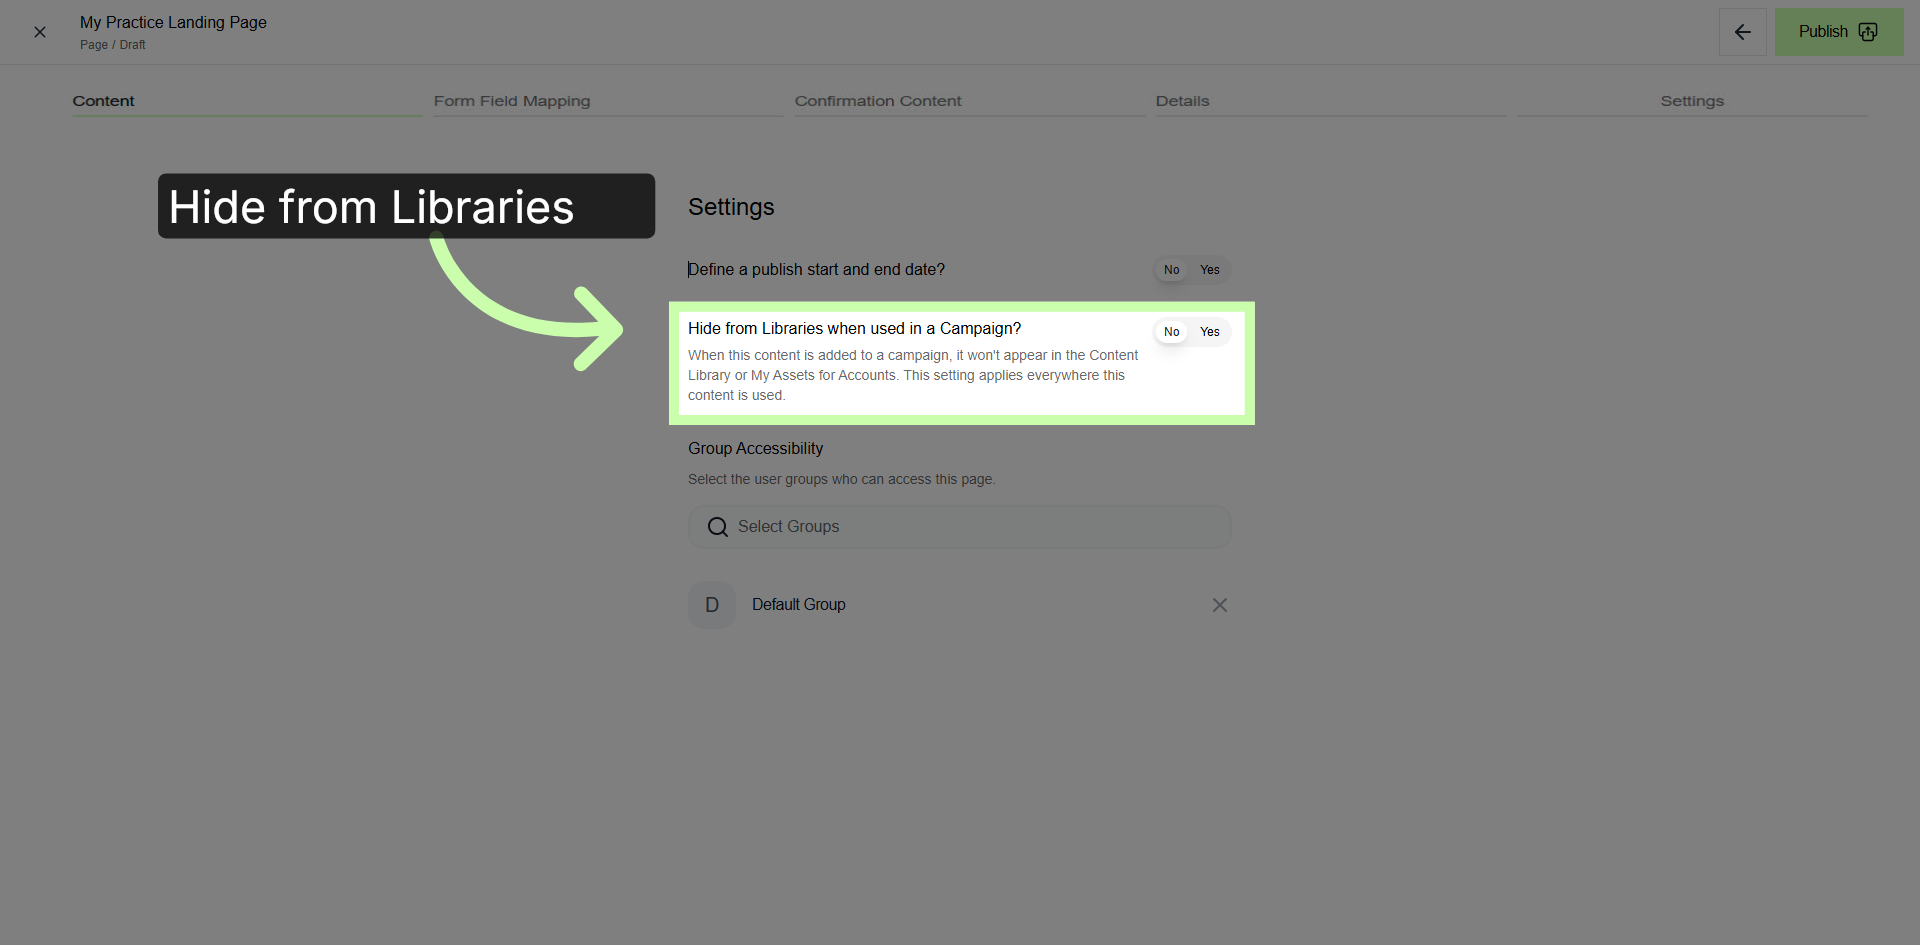
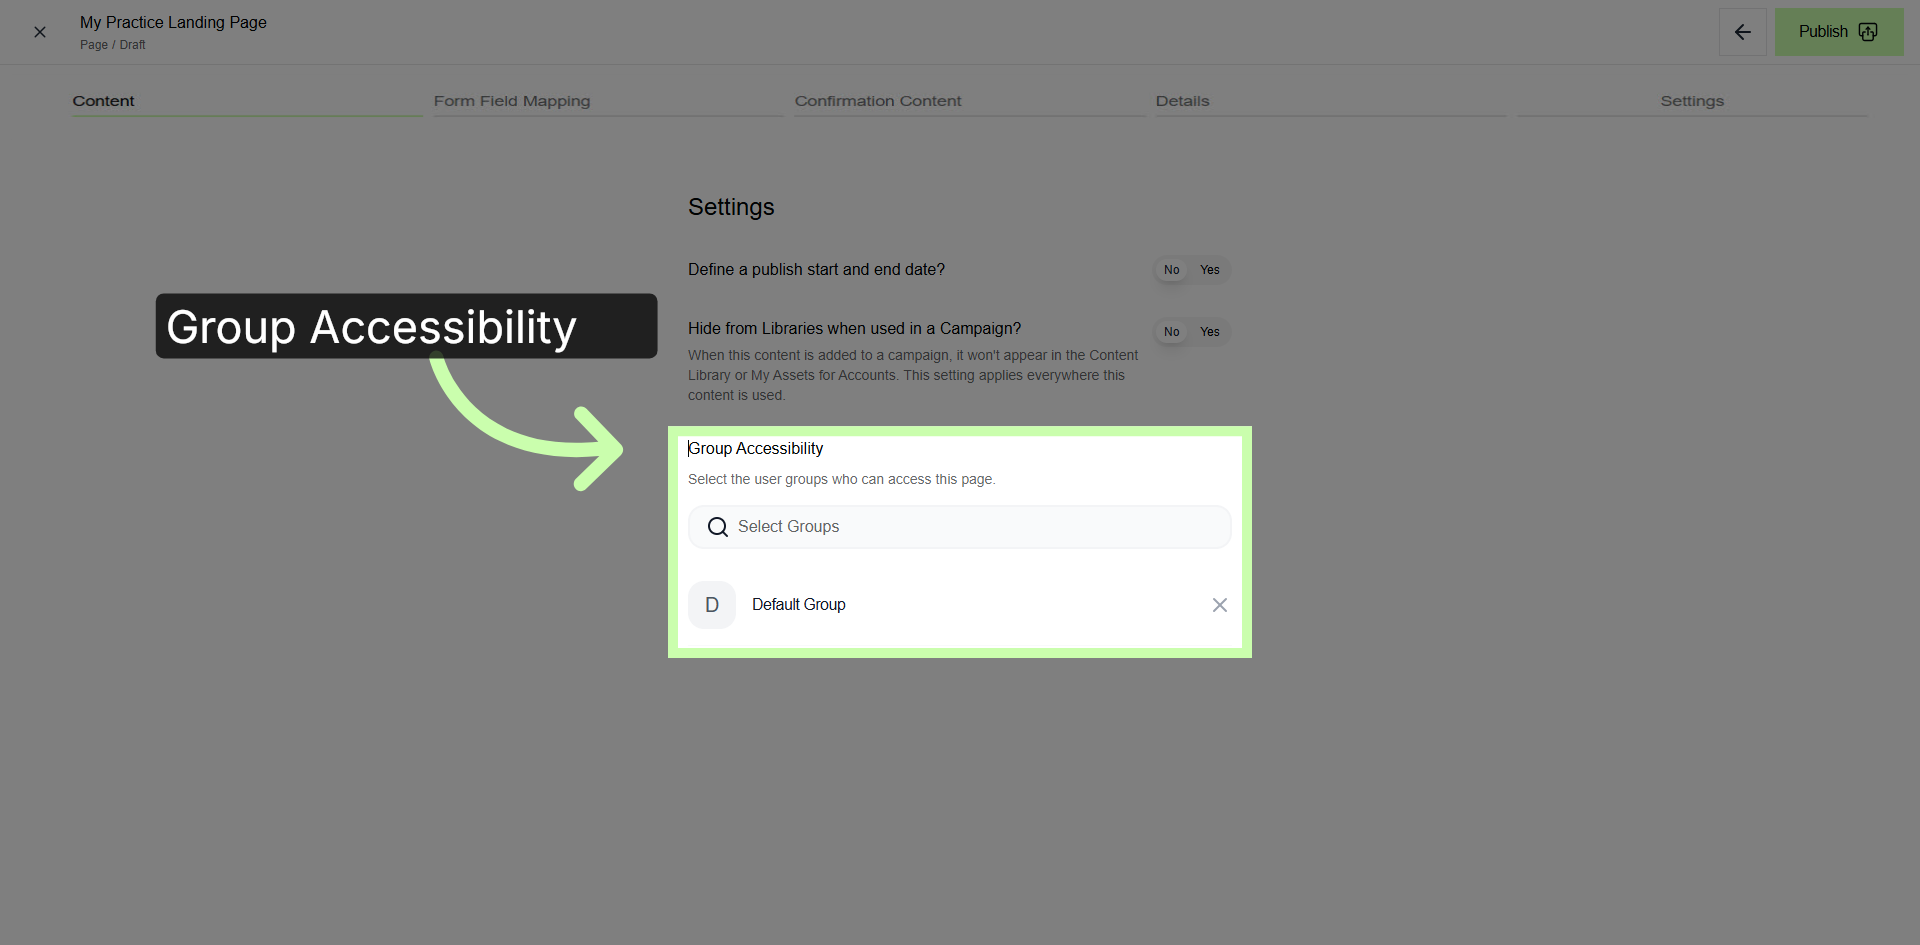
20. Configure Group Accessibility
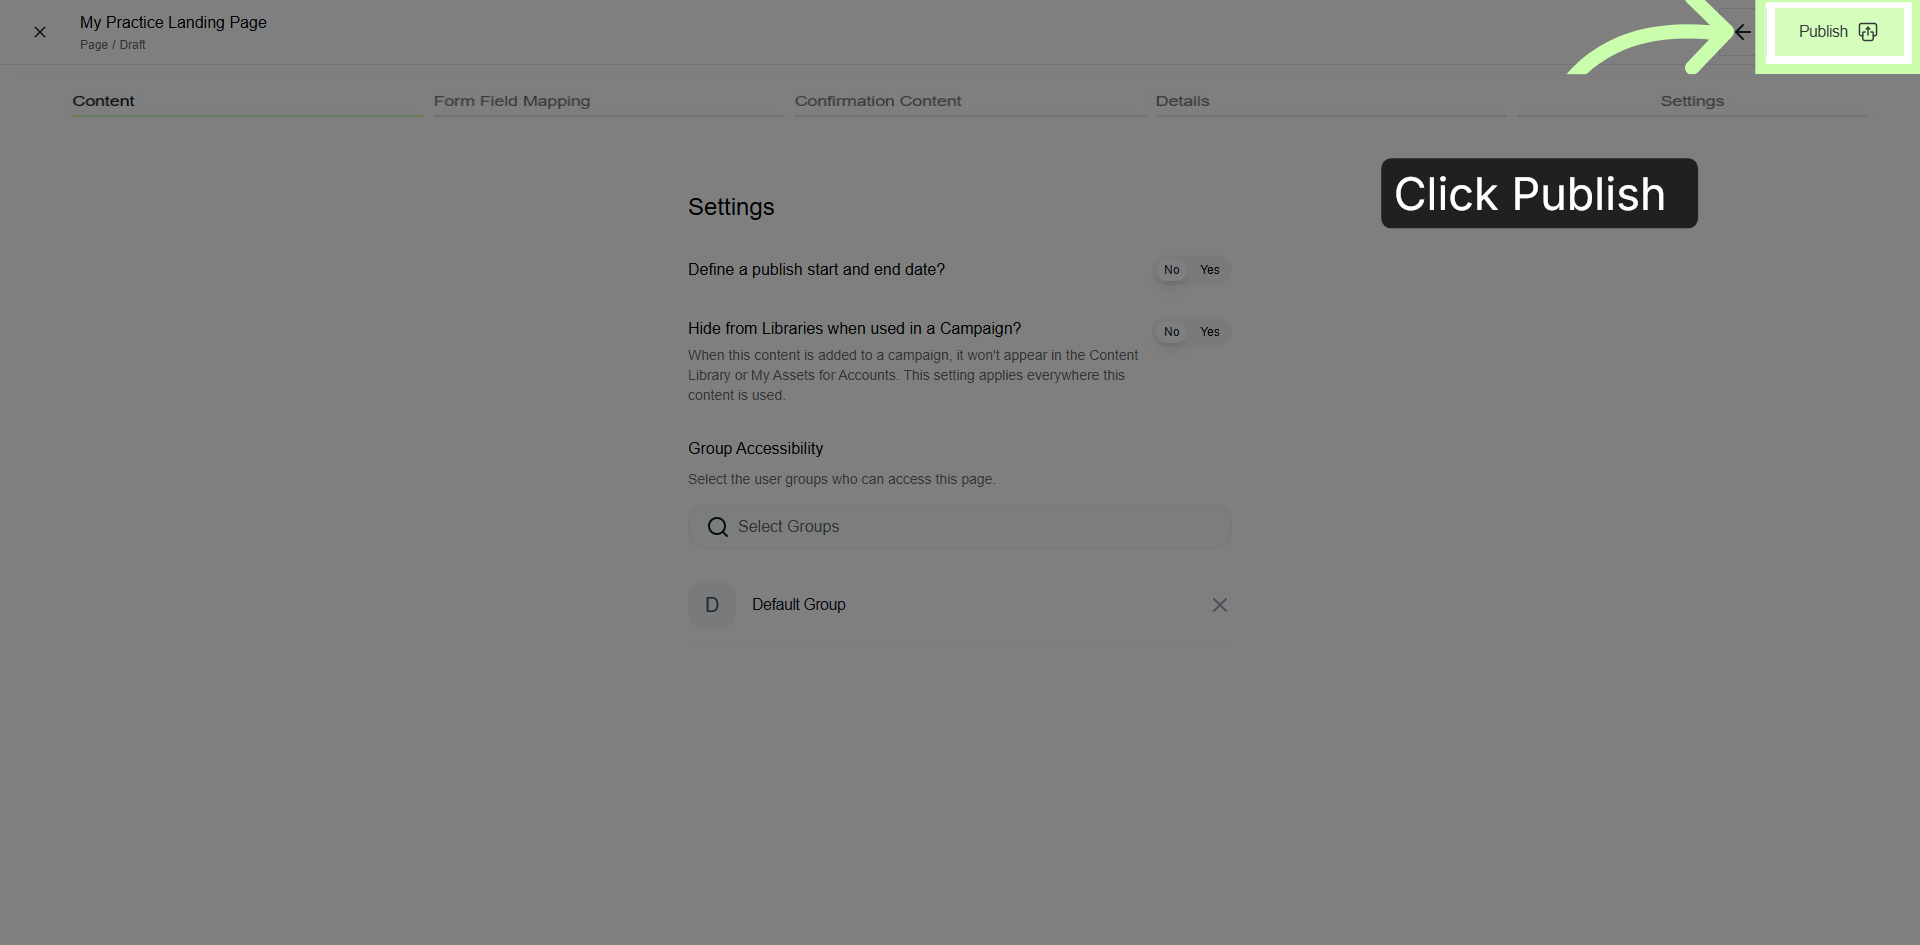
21. Publish Content
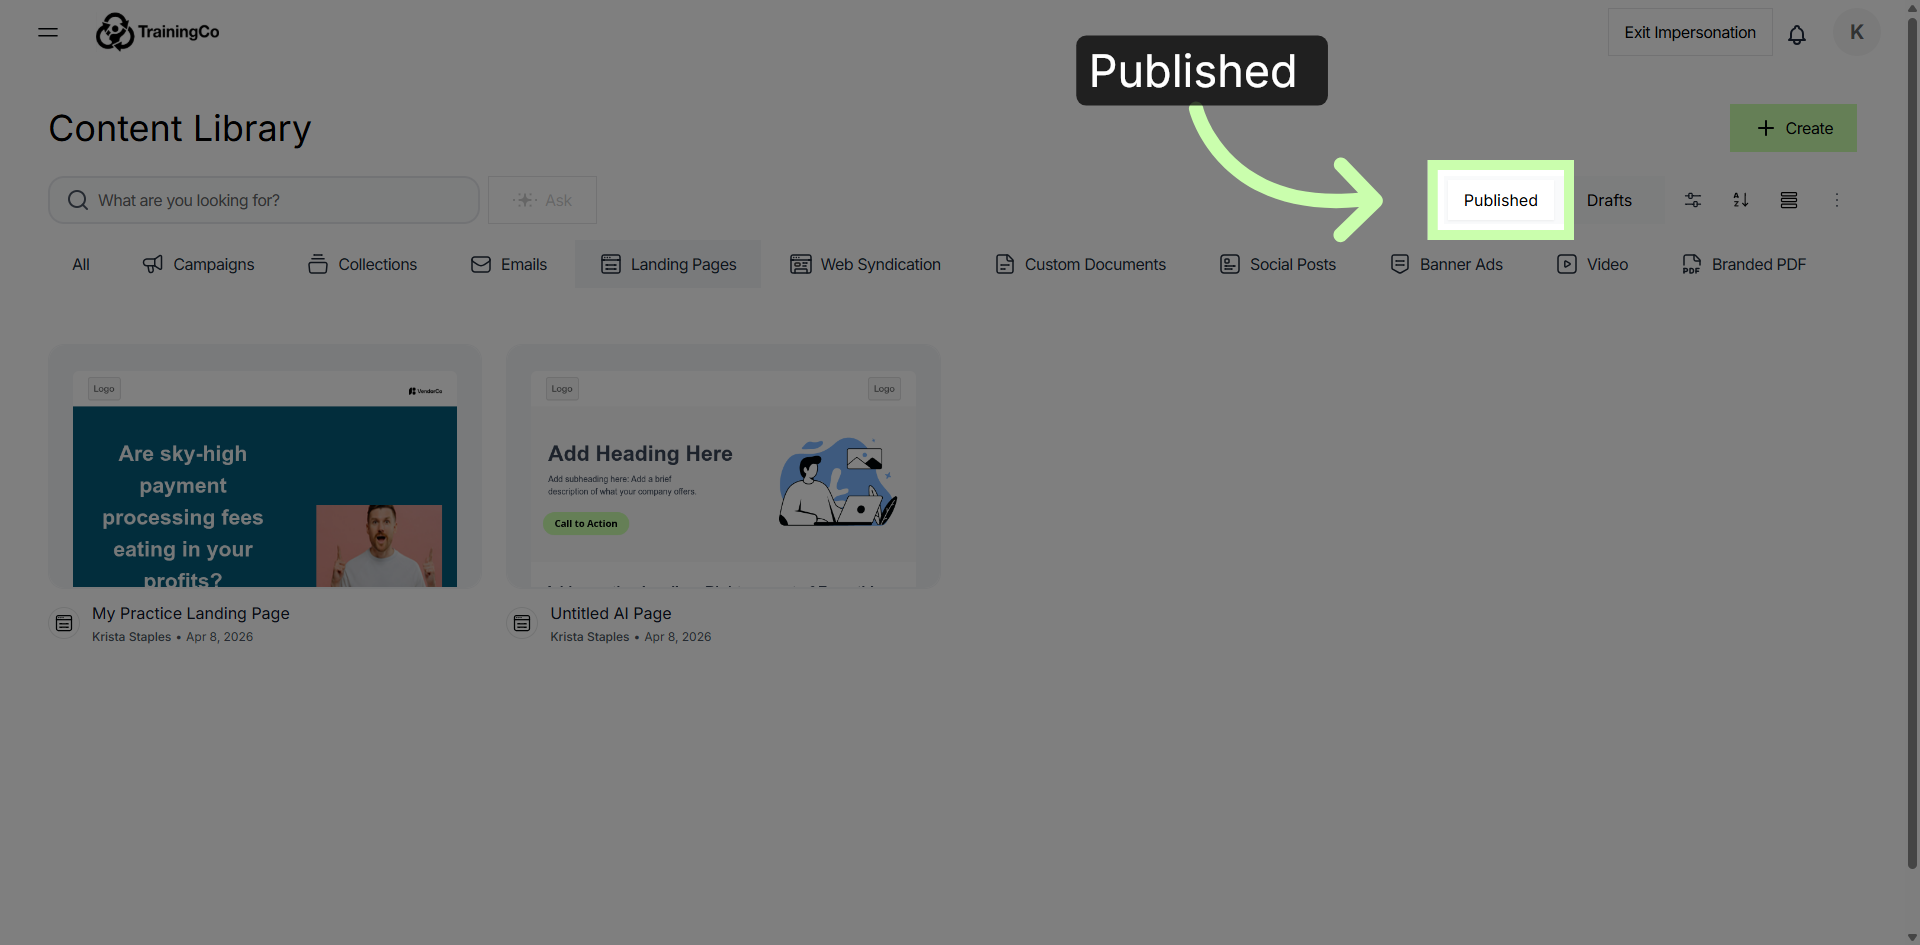
22. Confirm Published Status
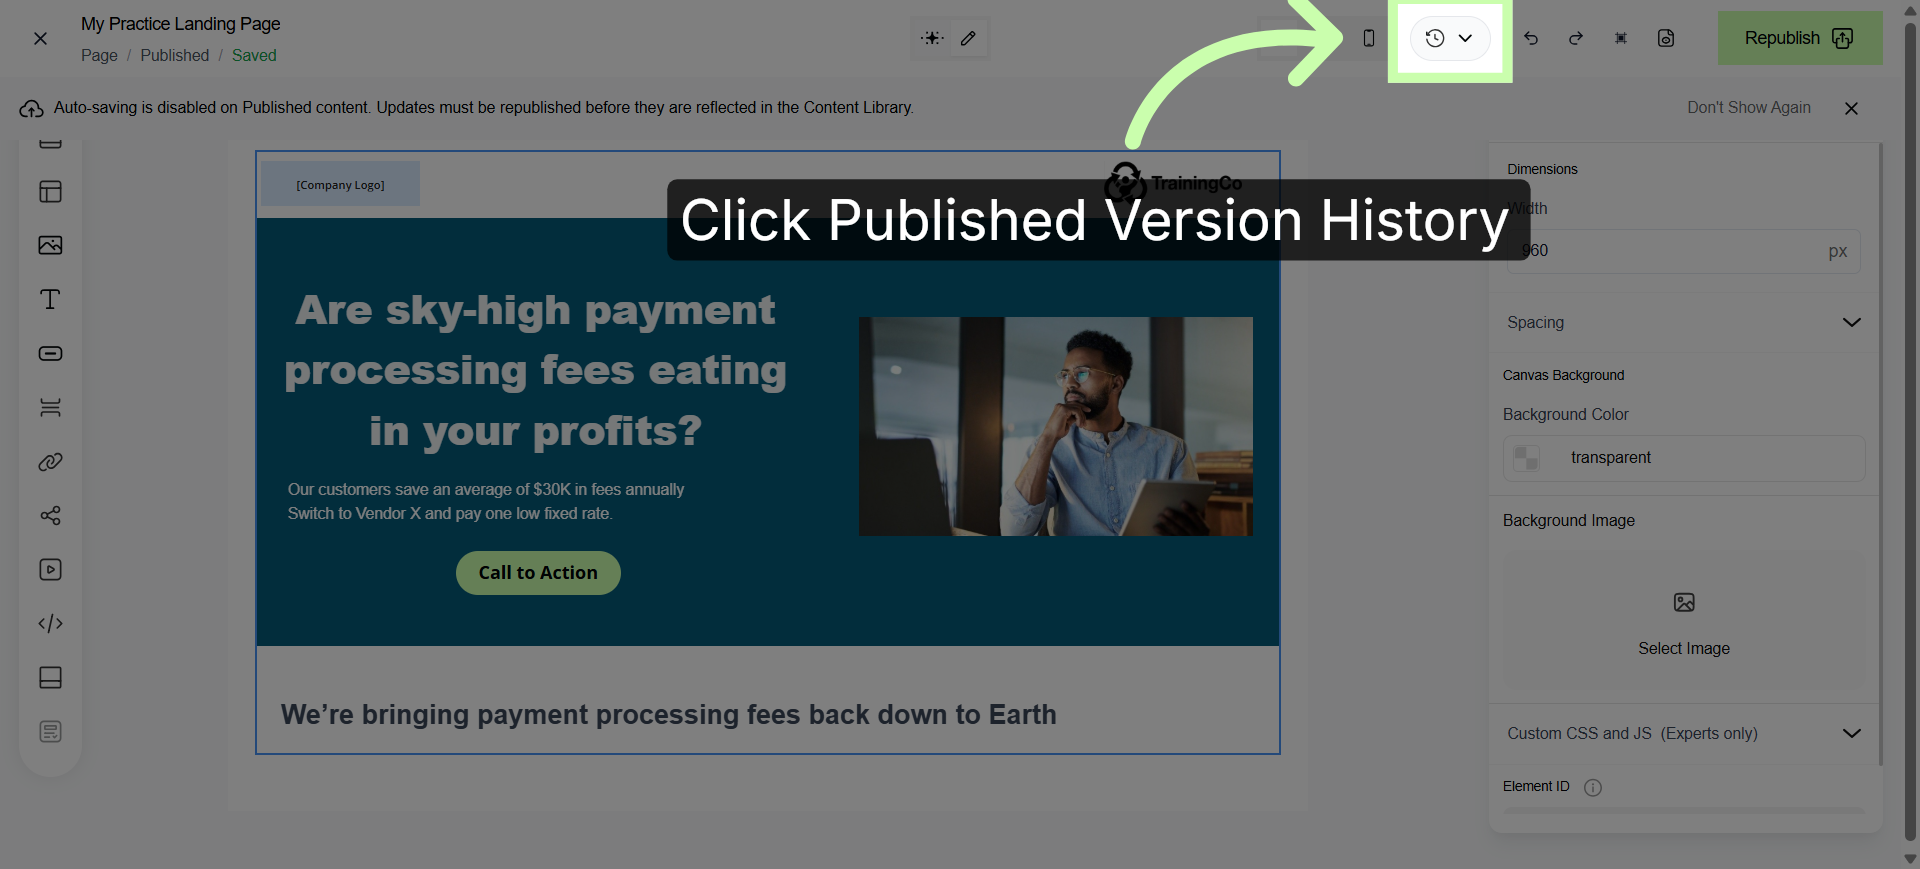
23. Restore Previously Published Version
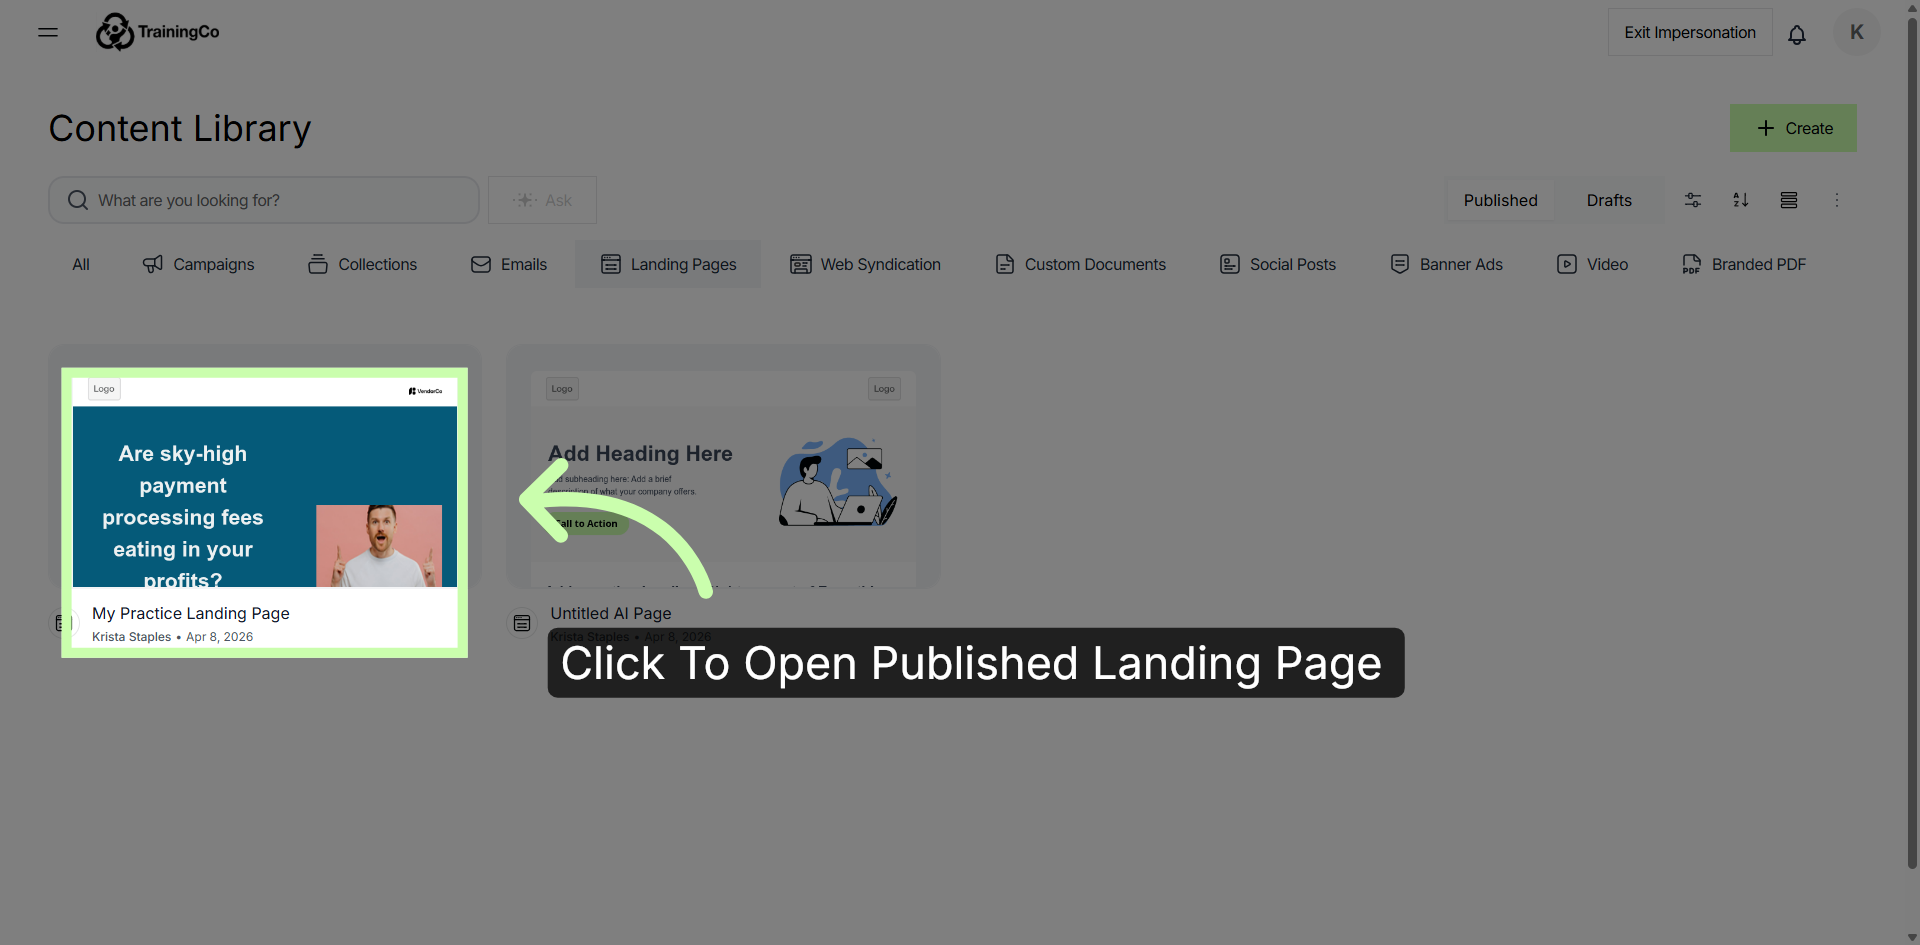
24. Access Published Version History
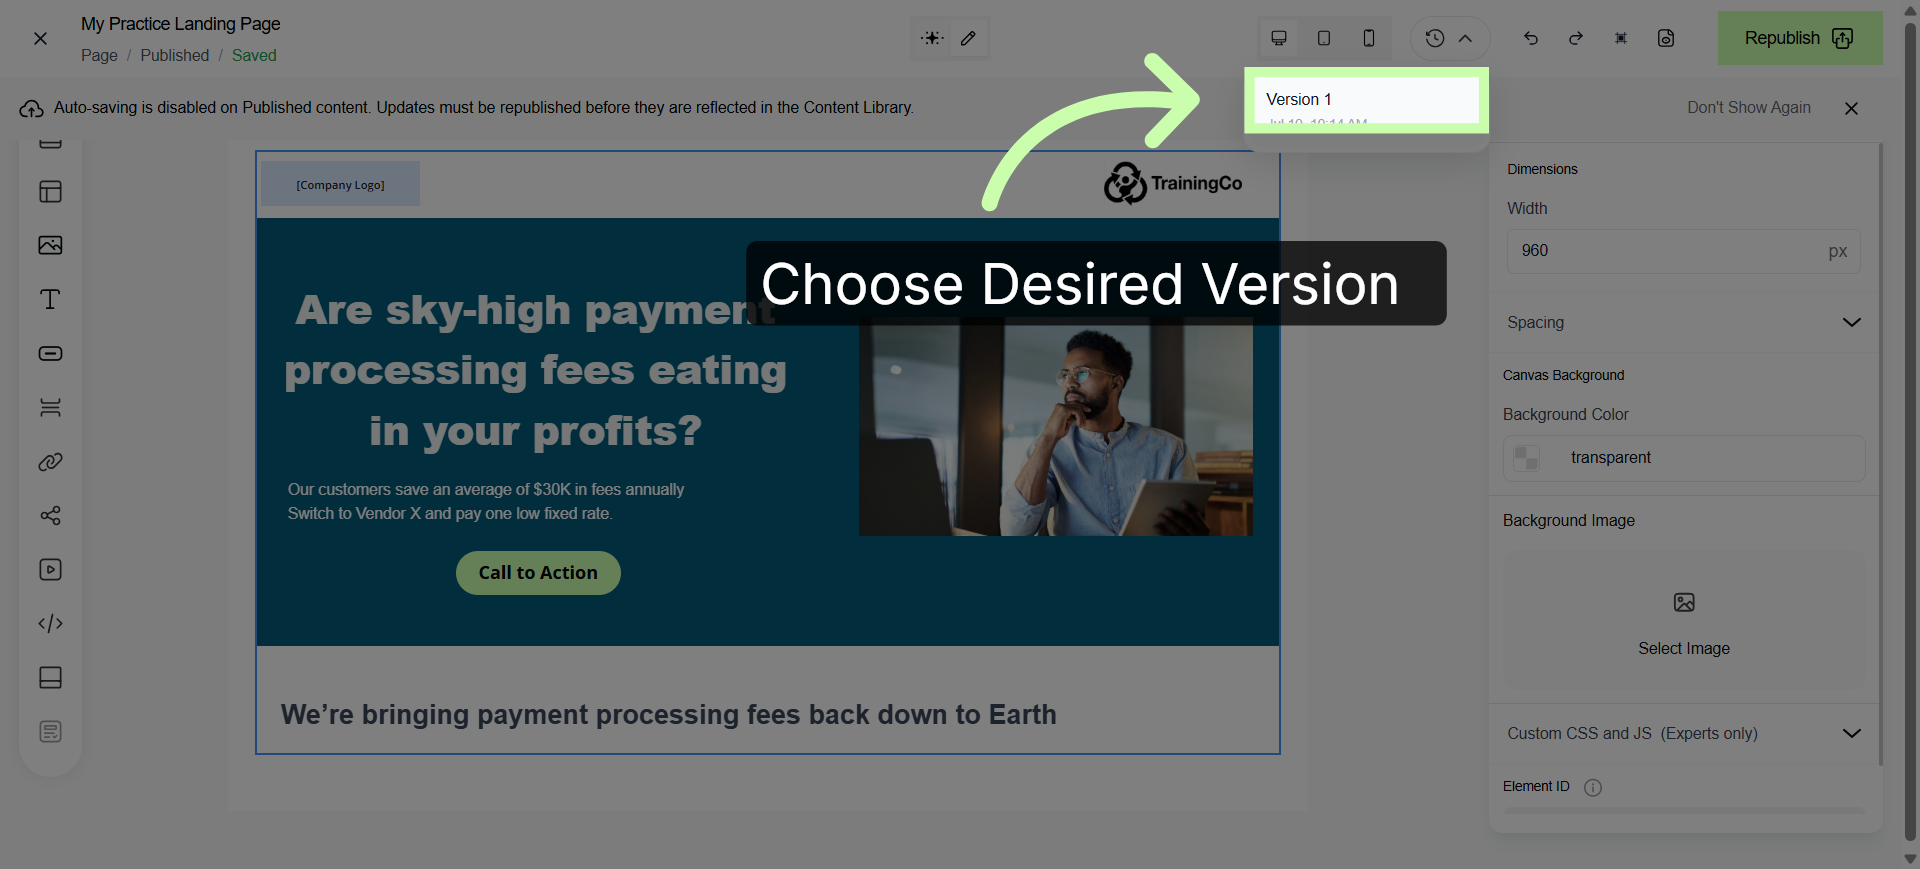
25. Select Desired Version
26. Initiate Version Restoration