 Creating Custom Documents - Phase 3: Personalization & Activation
- Configure and customize document settings to meet your publishing requirements.
- Complete the publication process and prepare documents for release.
- Review and finalize content to ensure accuracy and professional presentation.
- Publish polished, professional documents that effectively communicate your message.
|
Before you begin — open your account This is a hands-on, learning-by-doing session. Open app.structured.ai in your browser and log in to your Tenant Account so you can follow along and apply each step in real time. |
|
Phase 1
Purpose & Framework
|
Start Training ➡ |
|
Phase 2
Drag & Drop Editor
|
Start Training ➡ |
|
Phase 3
Personalization & Activation
|
Current Phase ✔ |
Follow Our Step-By-Step Training
1. Introduction
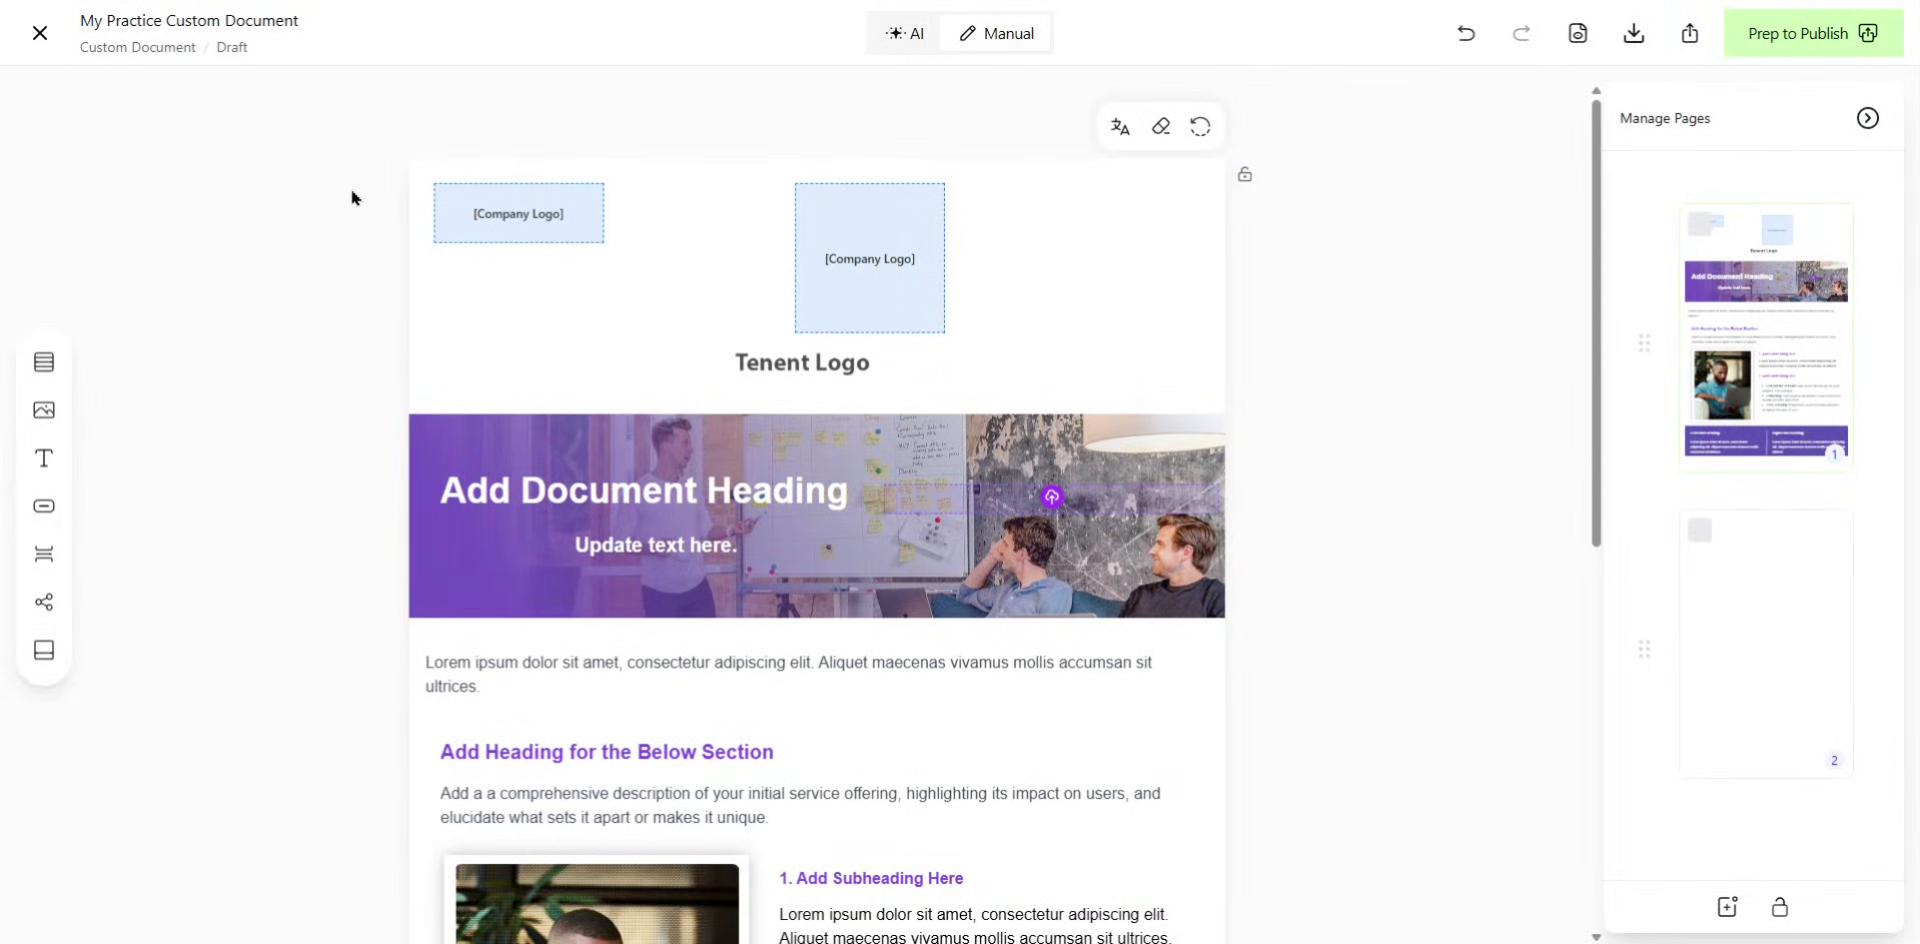
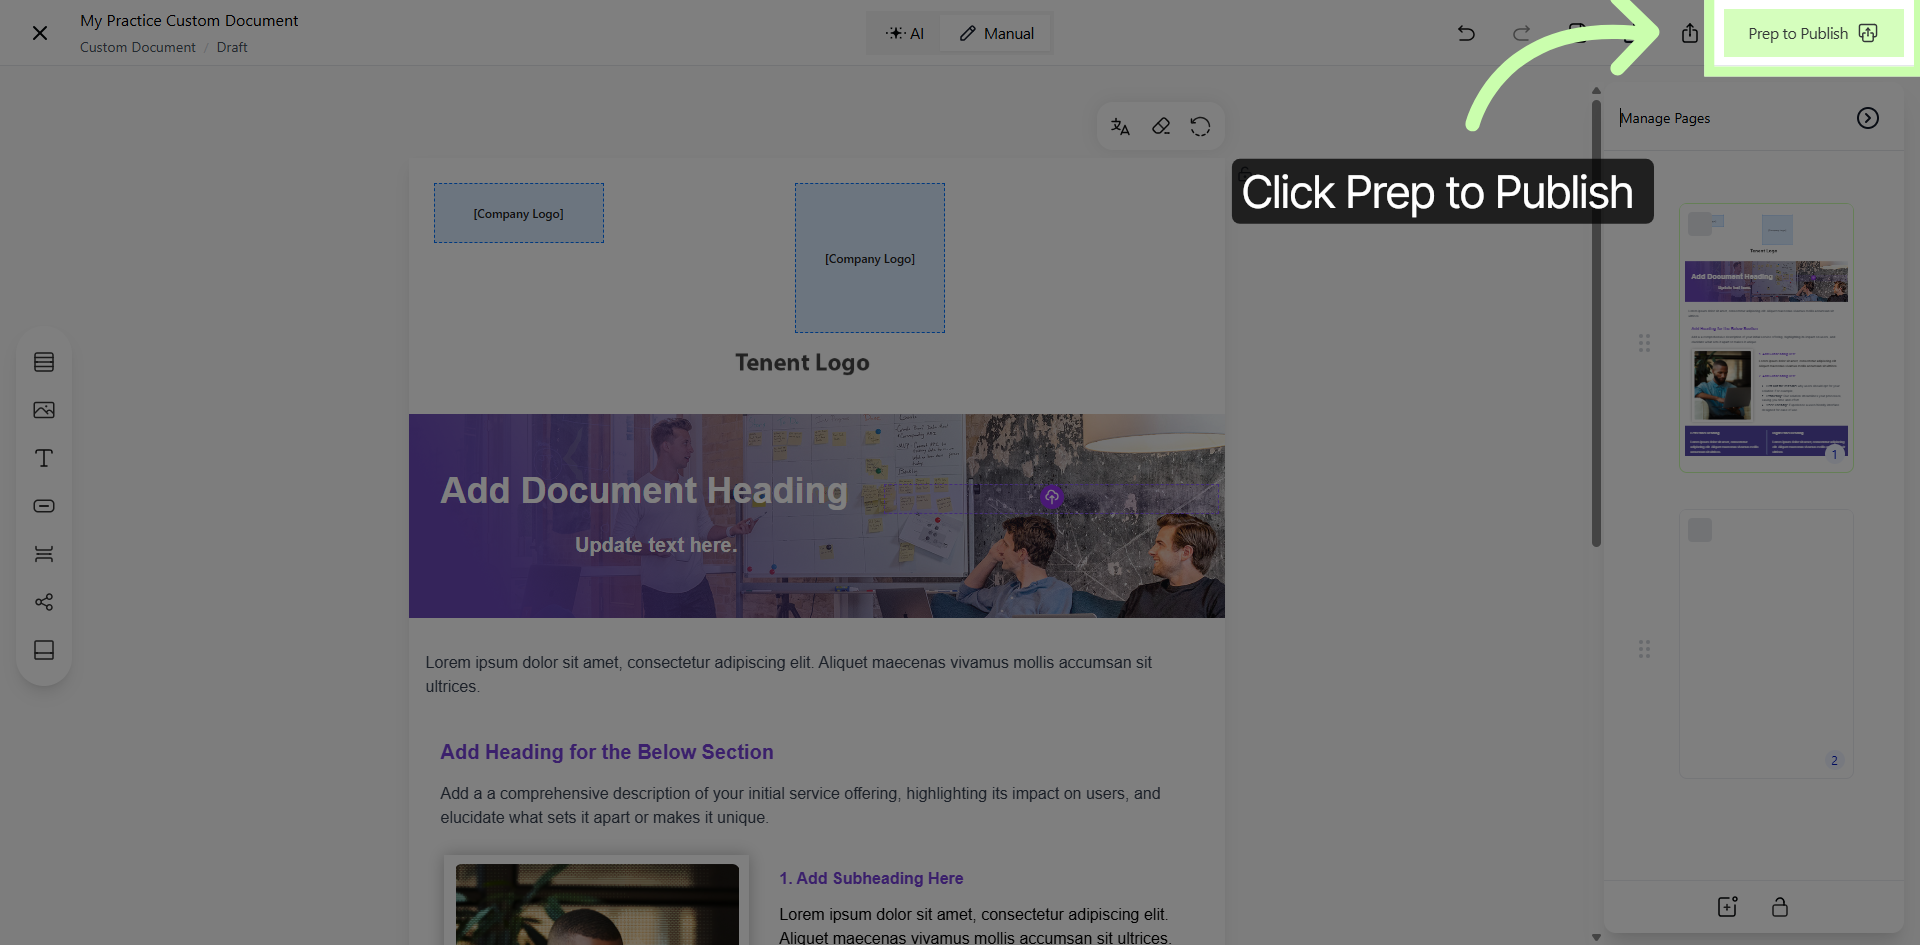
2. Access Publish Preparation
To start the process of getting your document ready for publication, simply click on the Prep to Publish button.
This action will initiate a series of steps designed to ensure that your document meets all necessary requirements and is properly formatted for publishing.
By selecting this option, you are effectively beginning the preparation workflow, which may include tasks such as reviewing the content, checking for errors, and applying any final adjustments needed before the document is officially published.
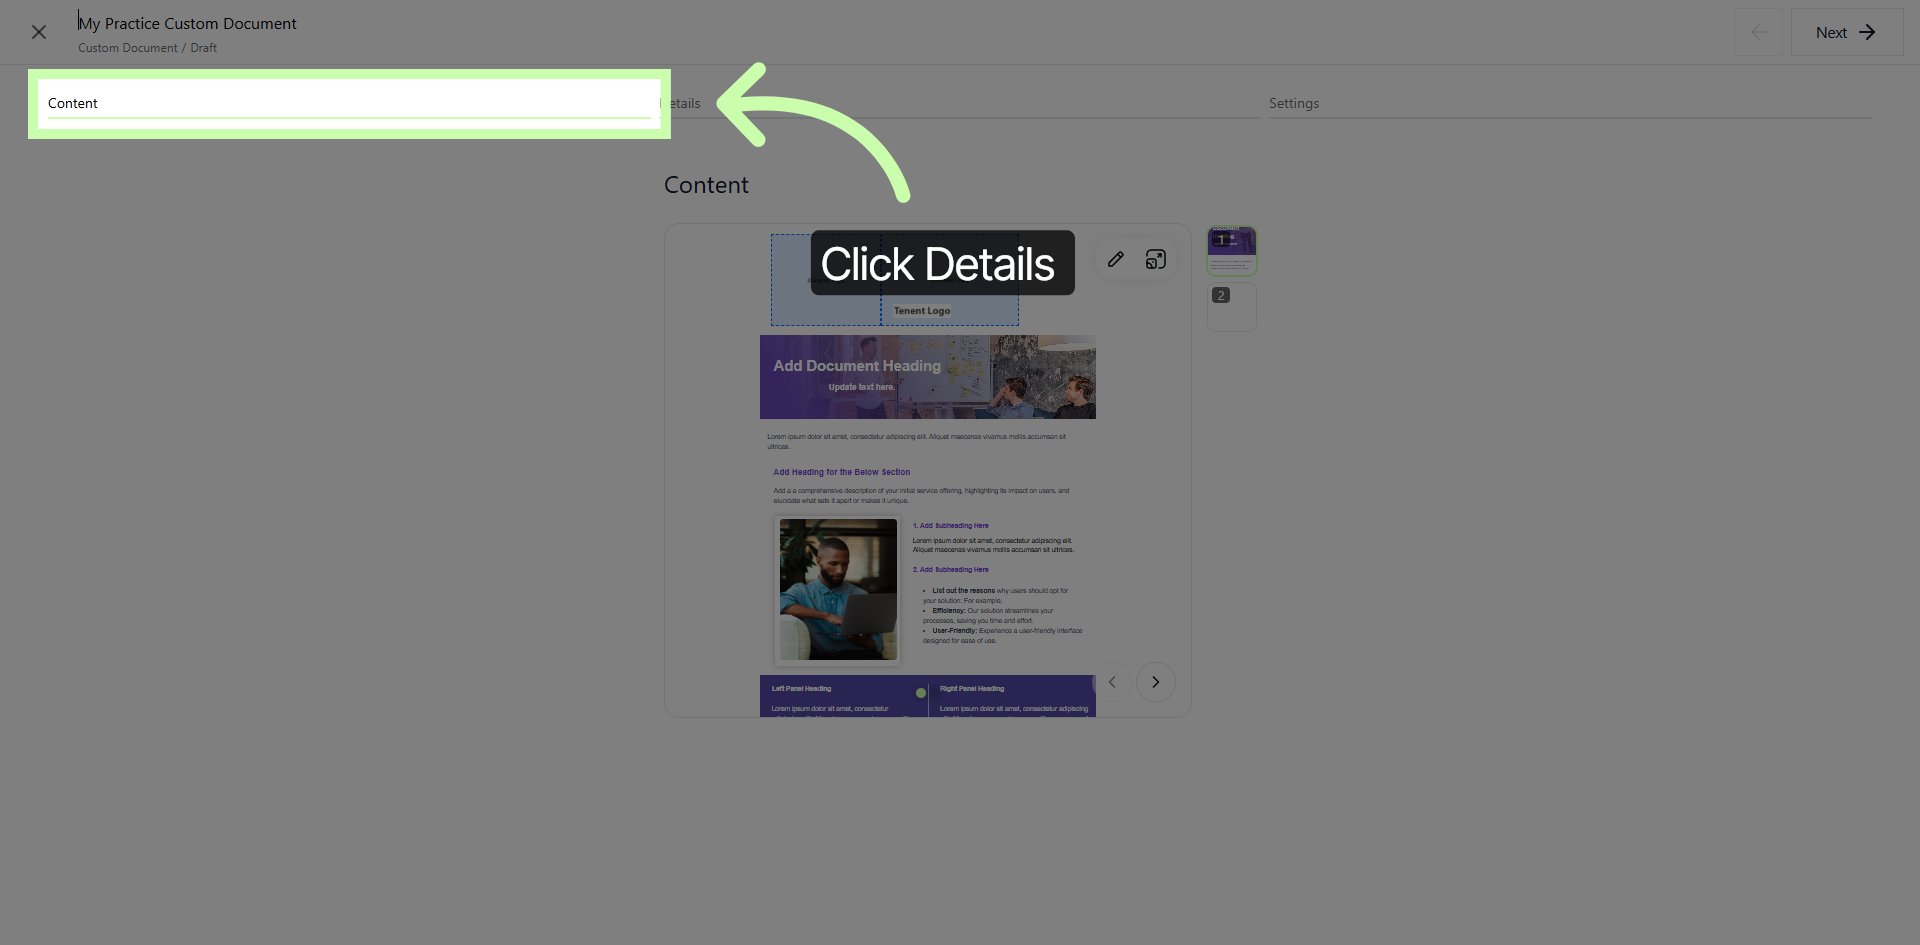
3. Content Tab
This action will direct you to the Content Tab, where you can access and manage various types of content.
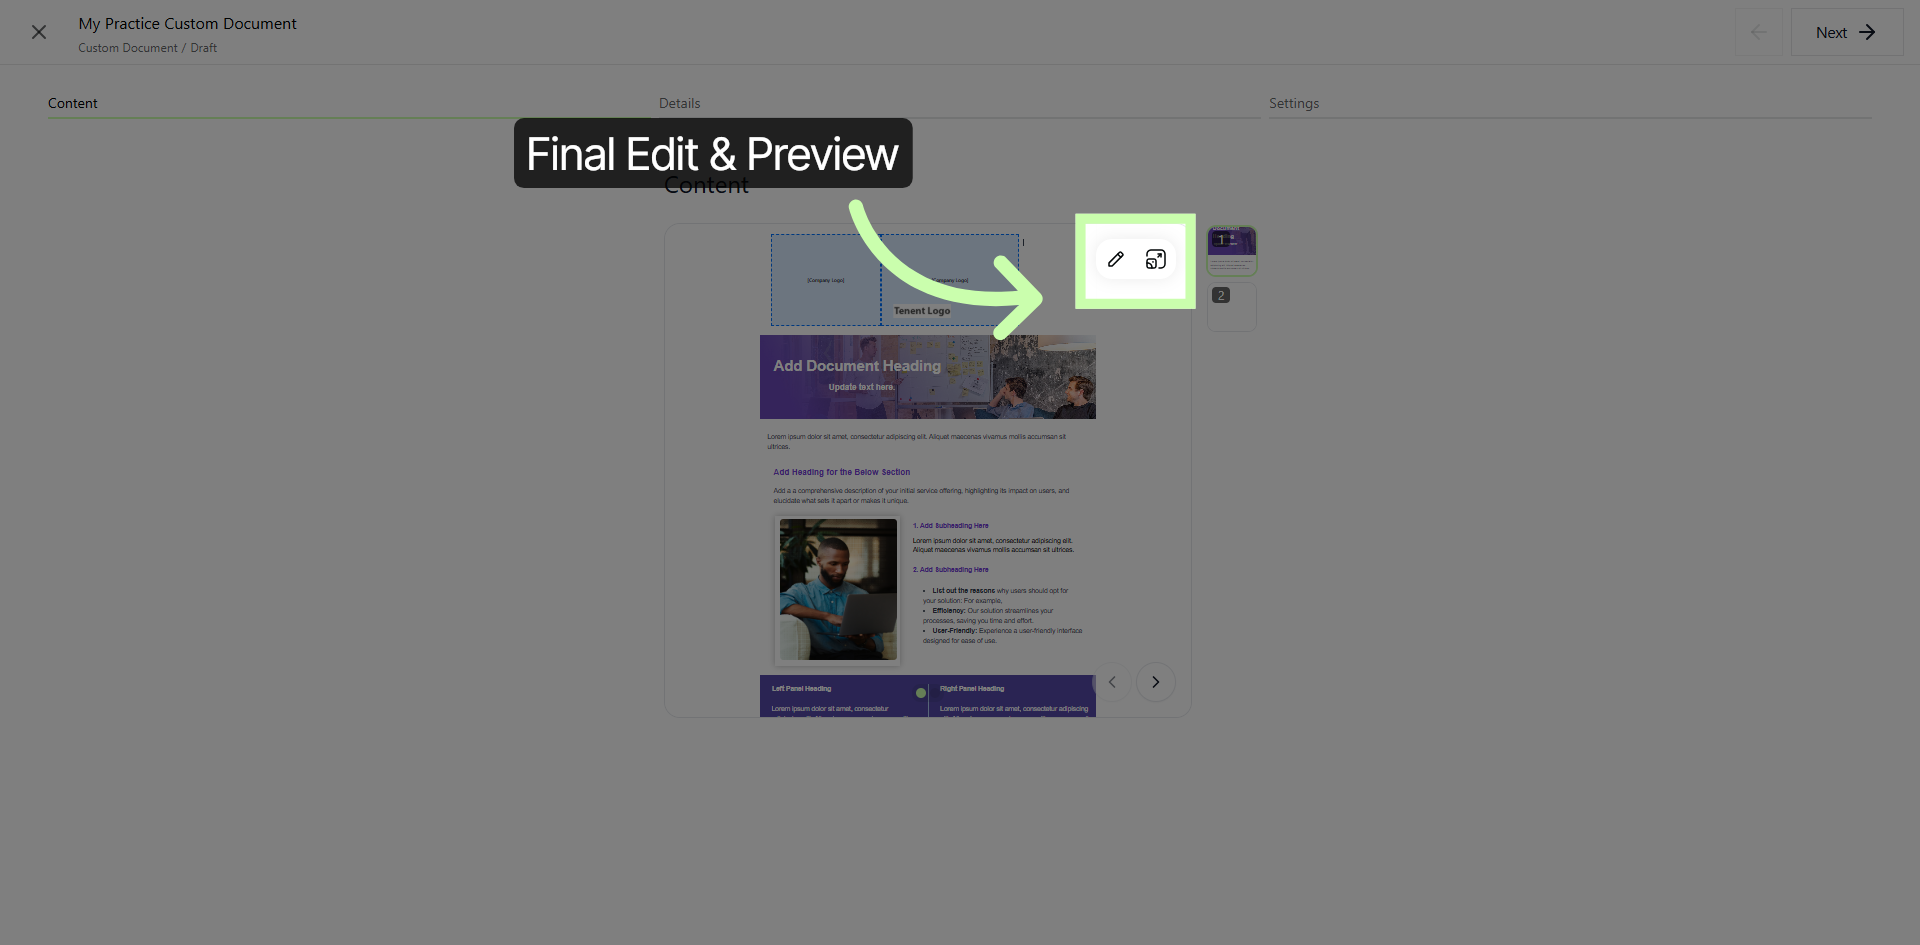
4. Final Edit & Preview Option
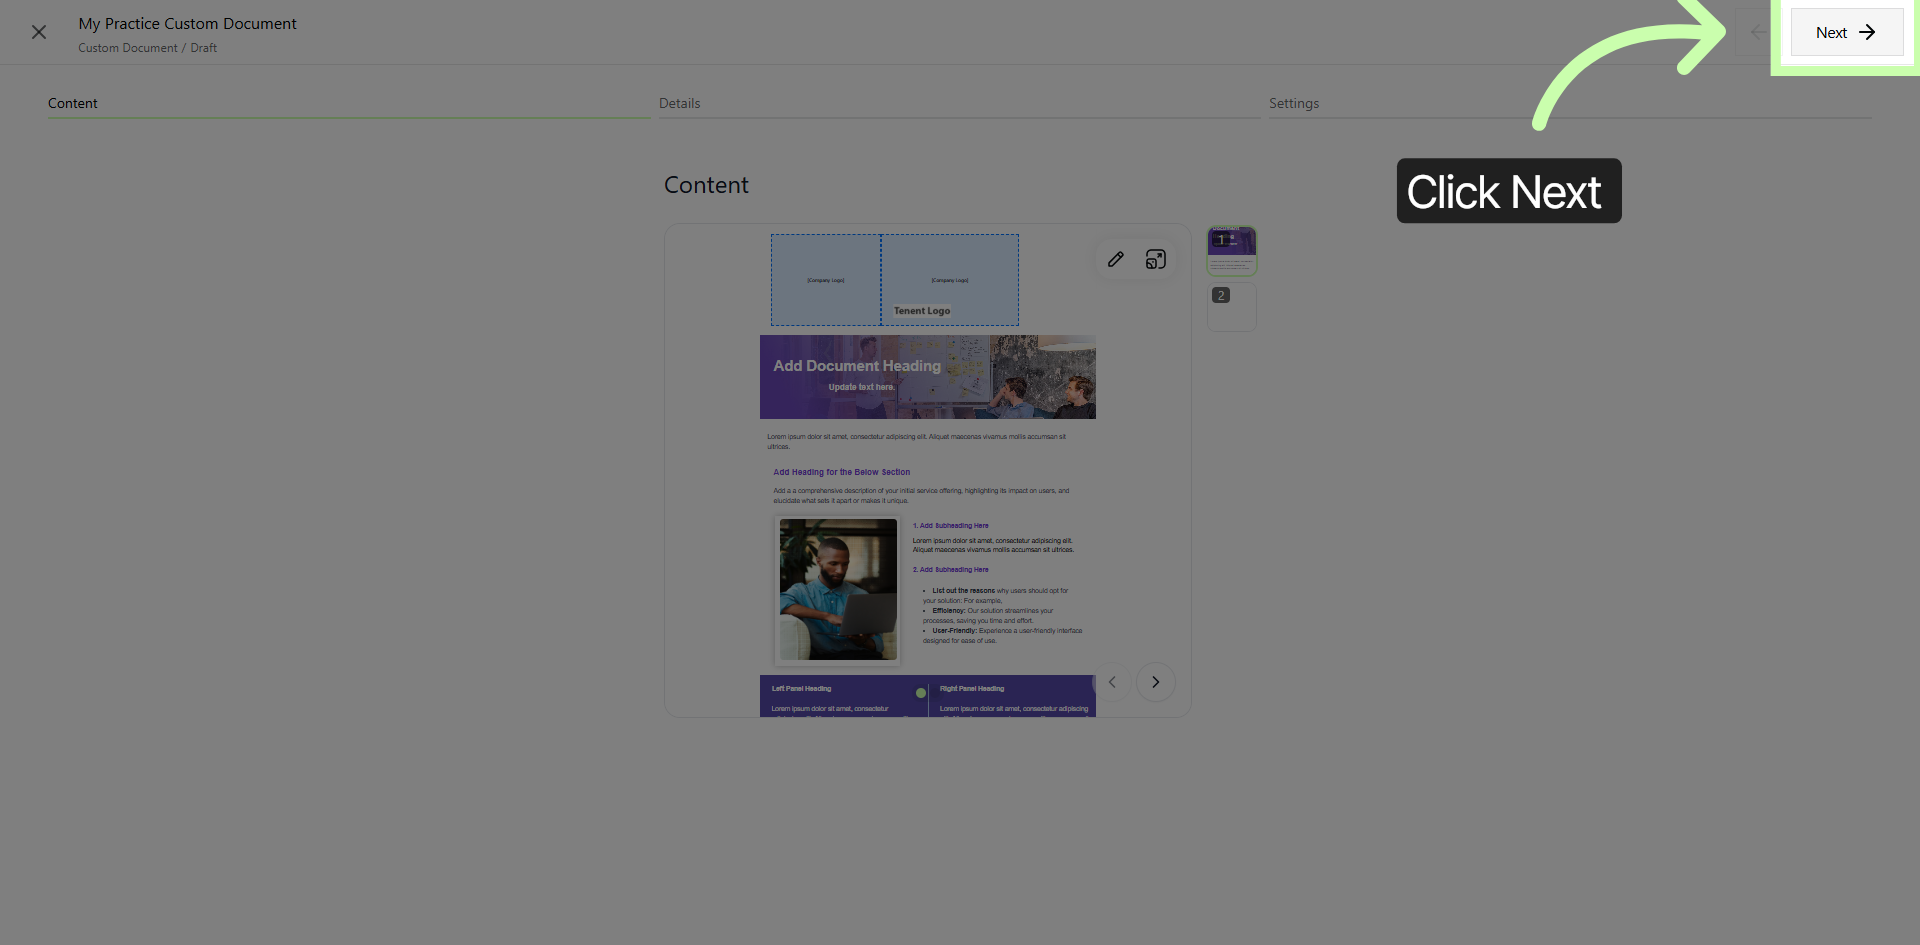
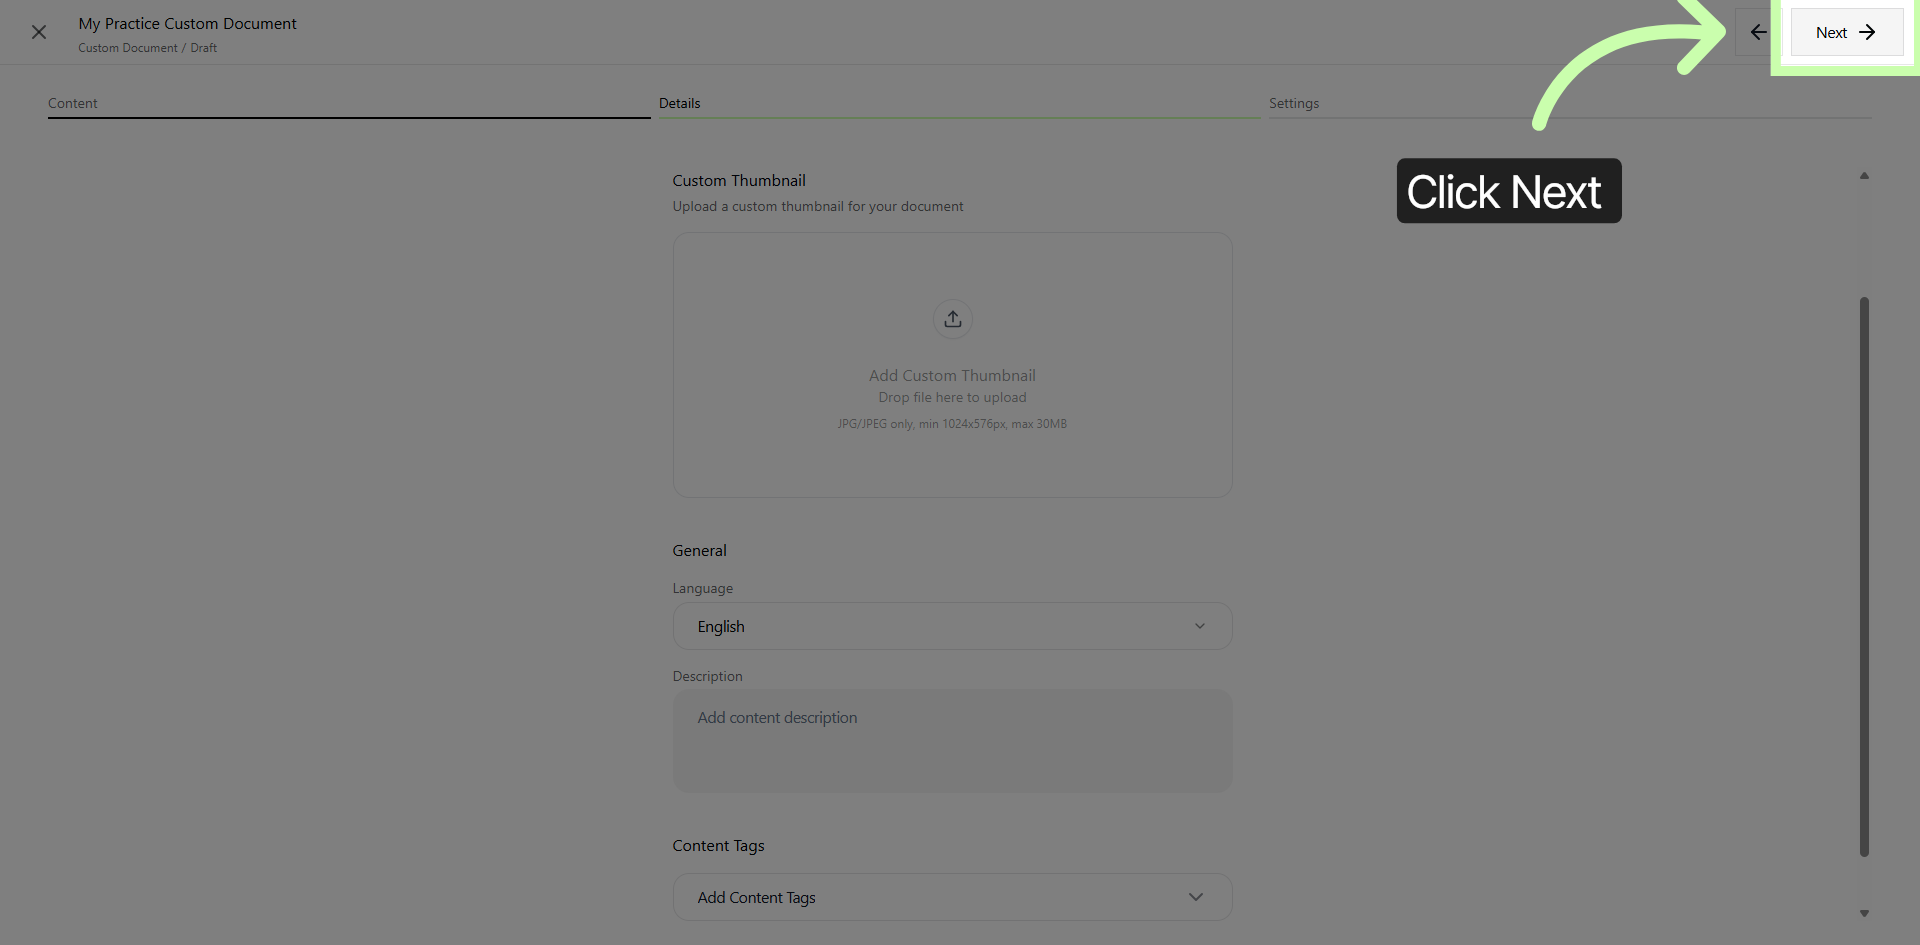
5. Proceed to Next Step
Please click the Next button to proceed to the subsequent step in the publishing workflow. This action will guide you forward through the process, ensuring that you continue smoothly toward completing your publication.
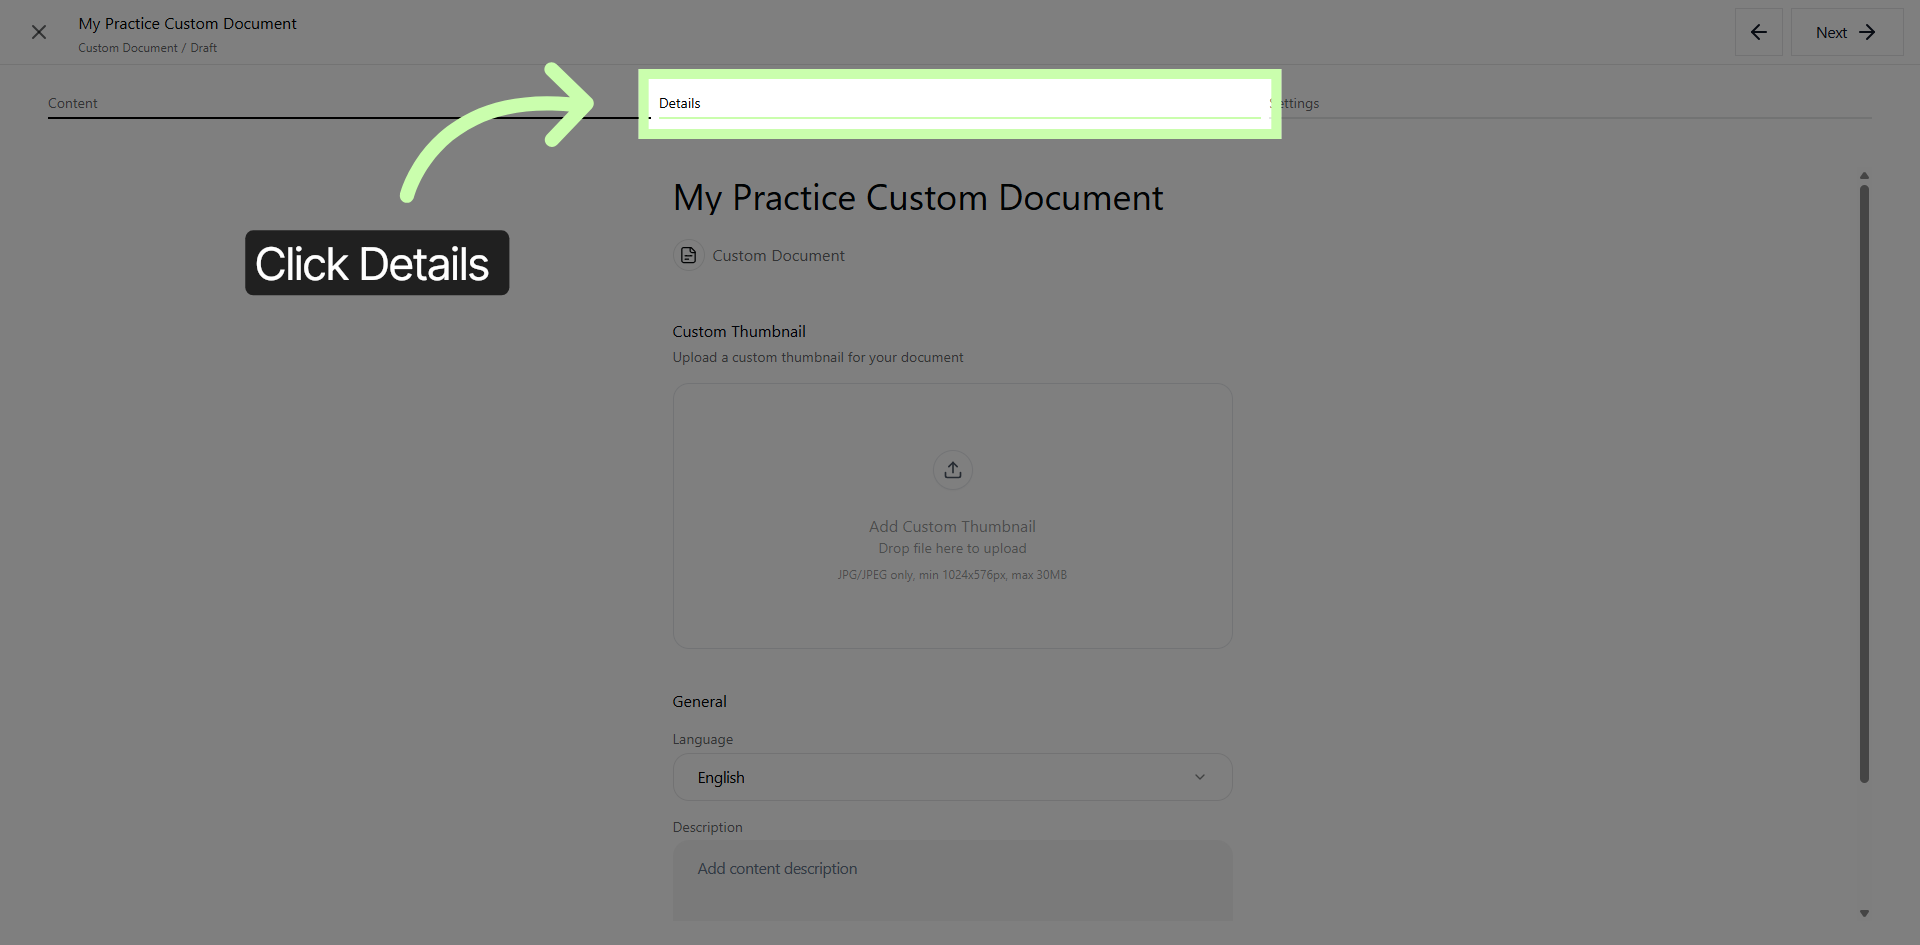
6. Details Tab
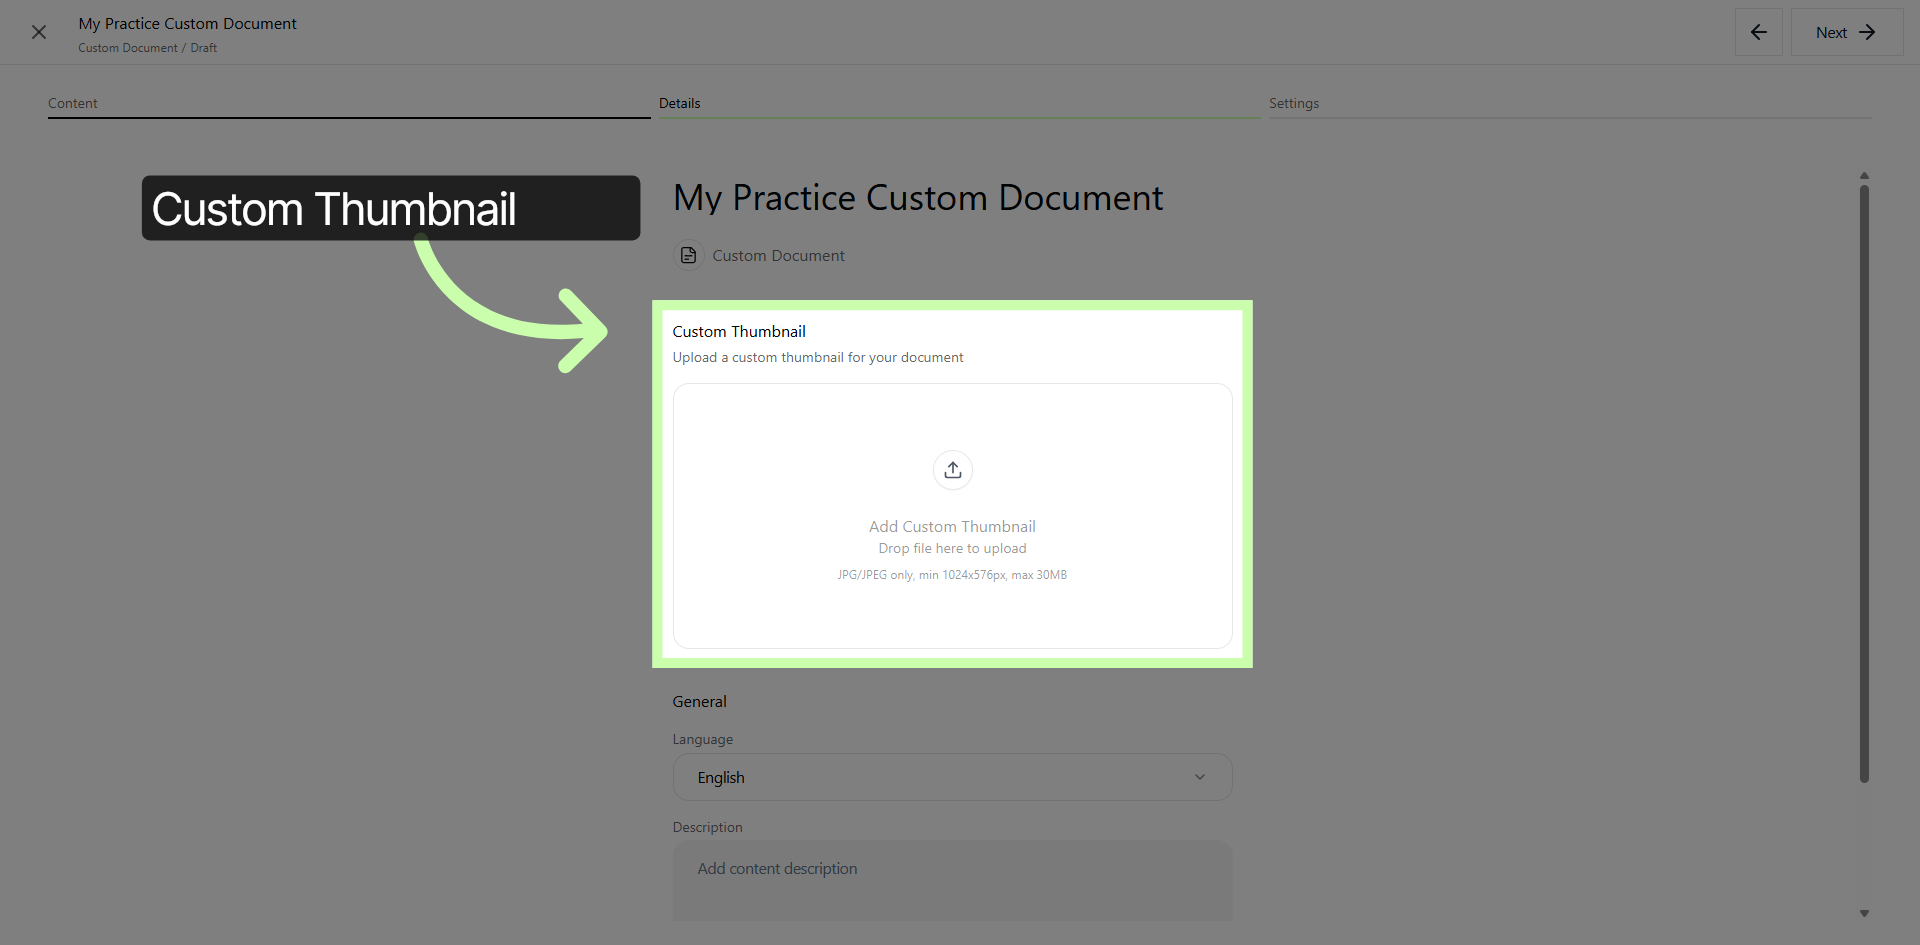
7. Custom Thumbnail Settings
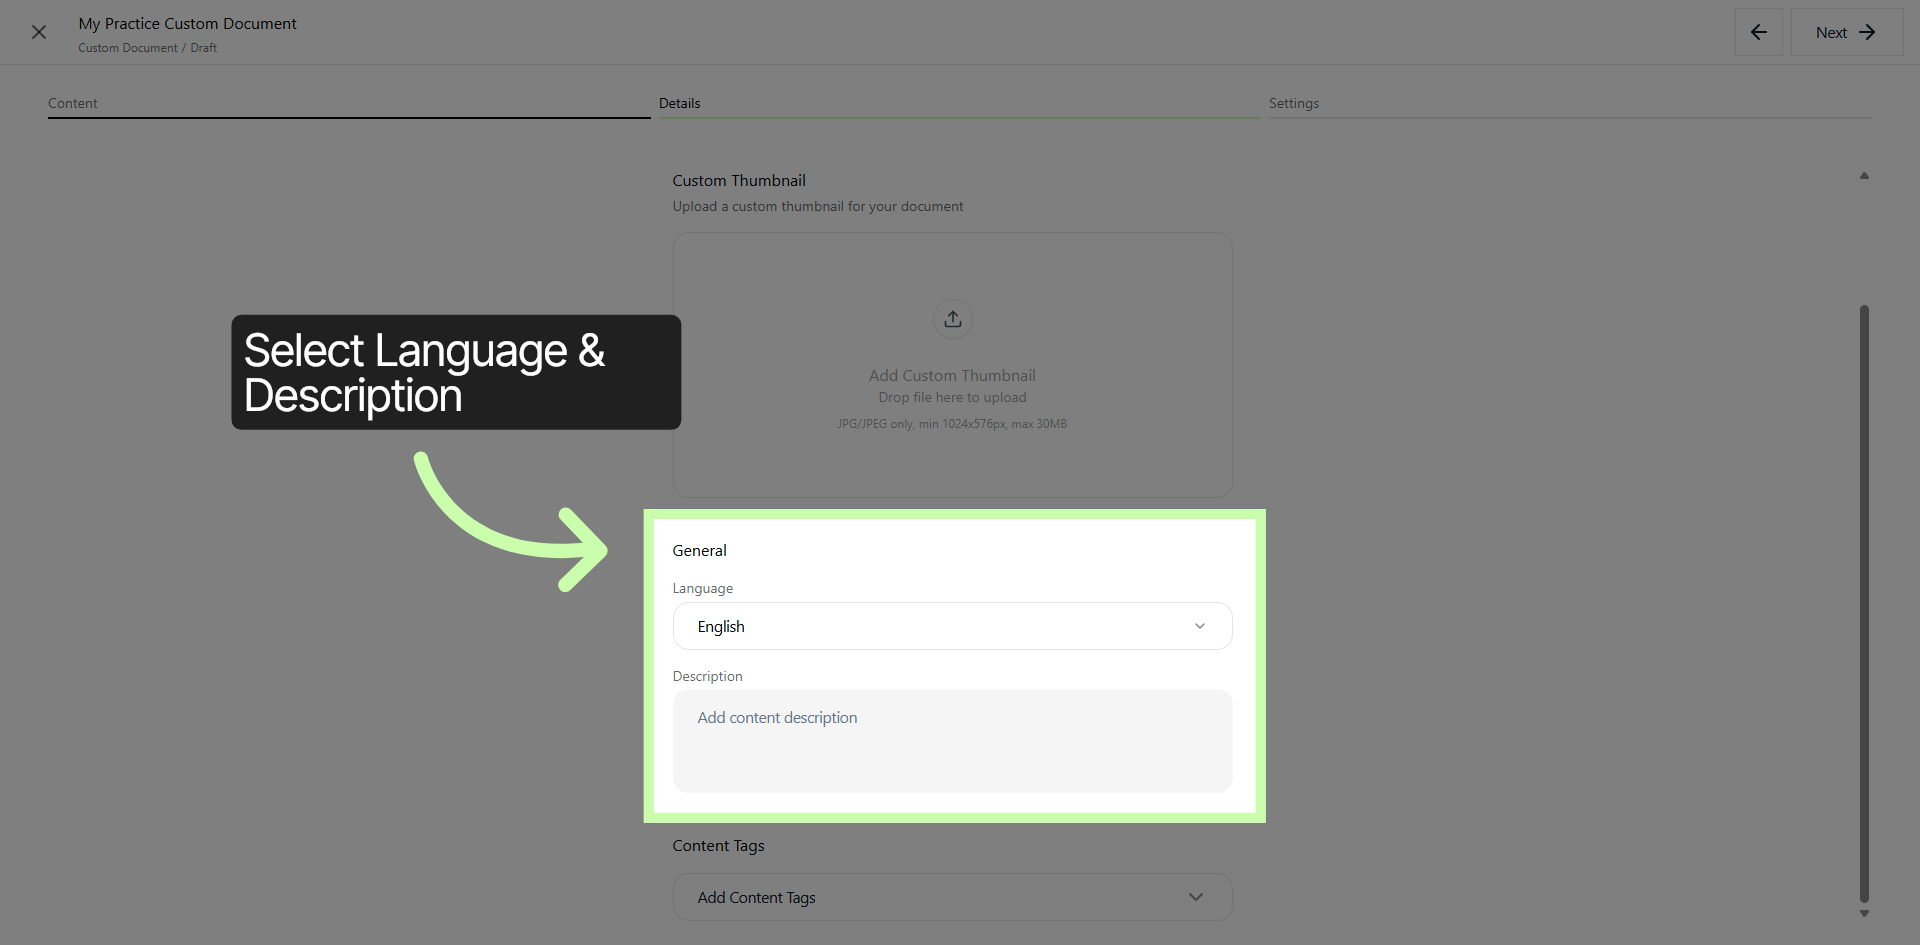
8. Set Language & Description
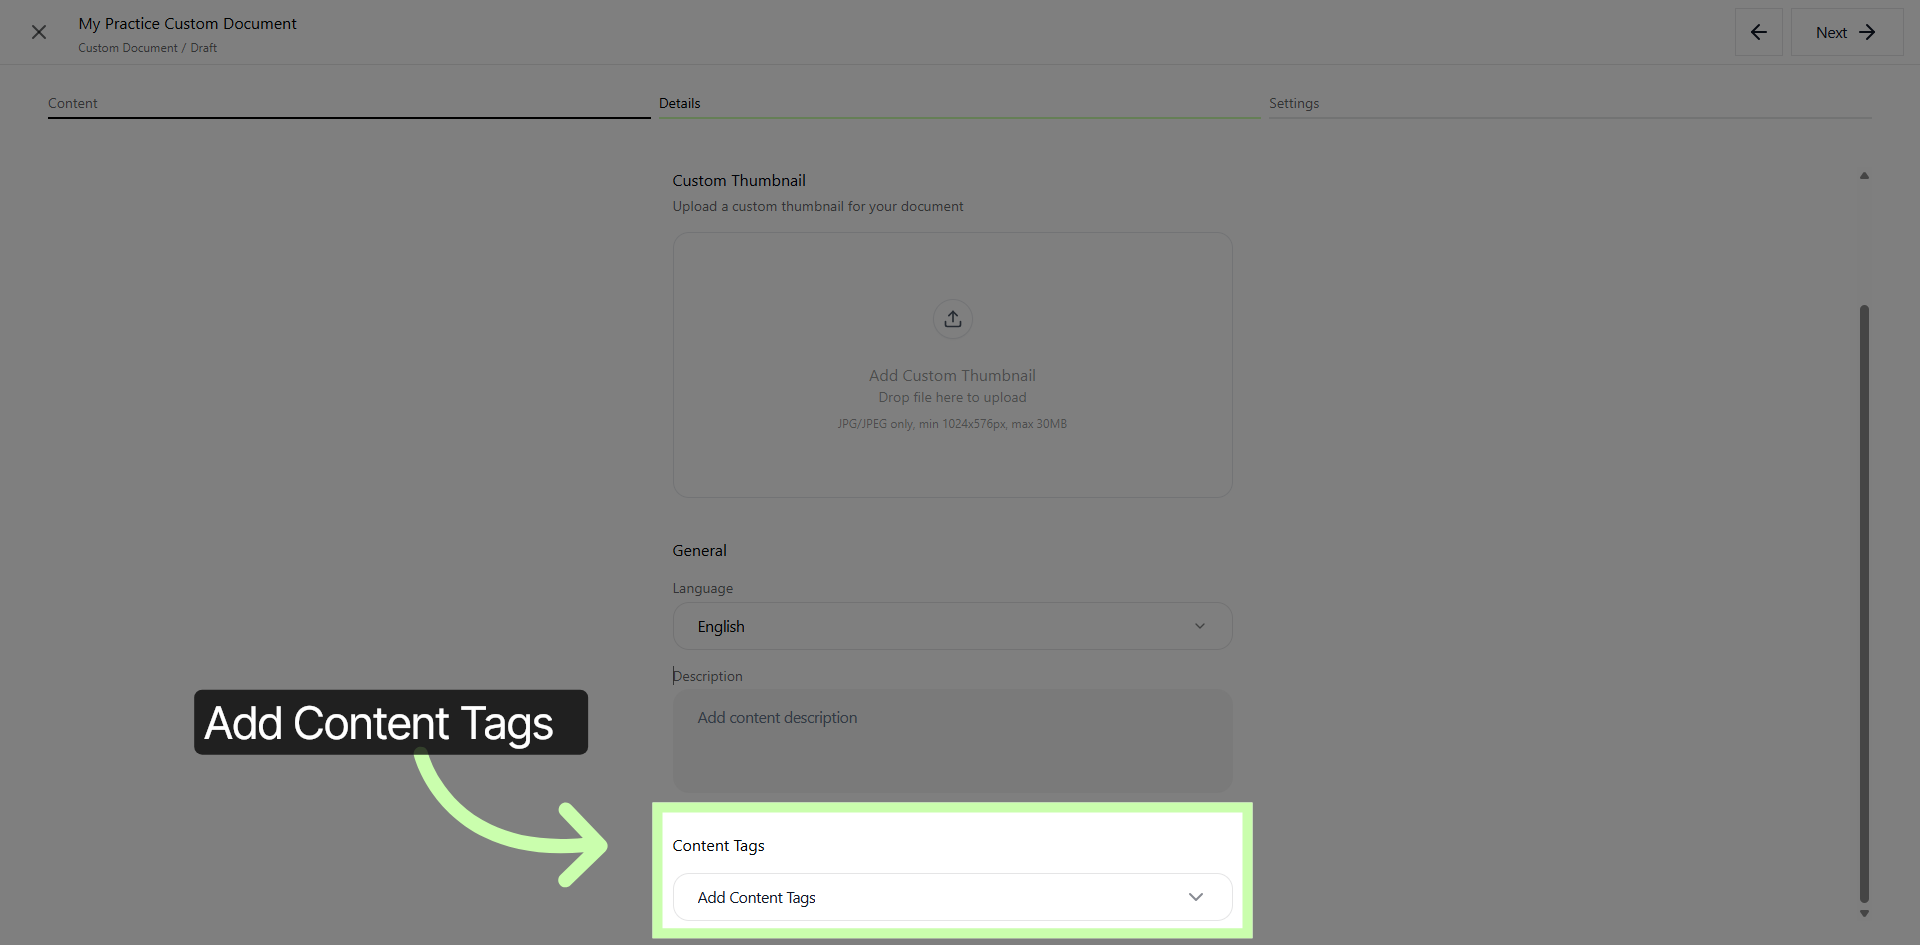
9. Manage Content Tags
10. Continue to Next Step
11. Settings Tab
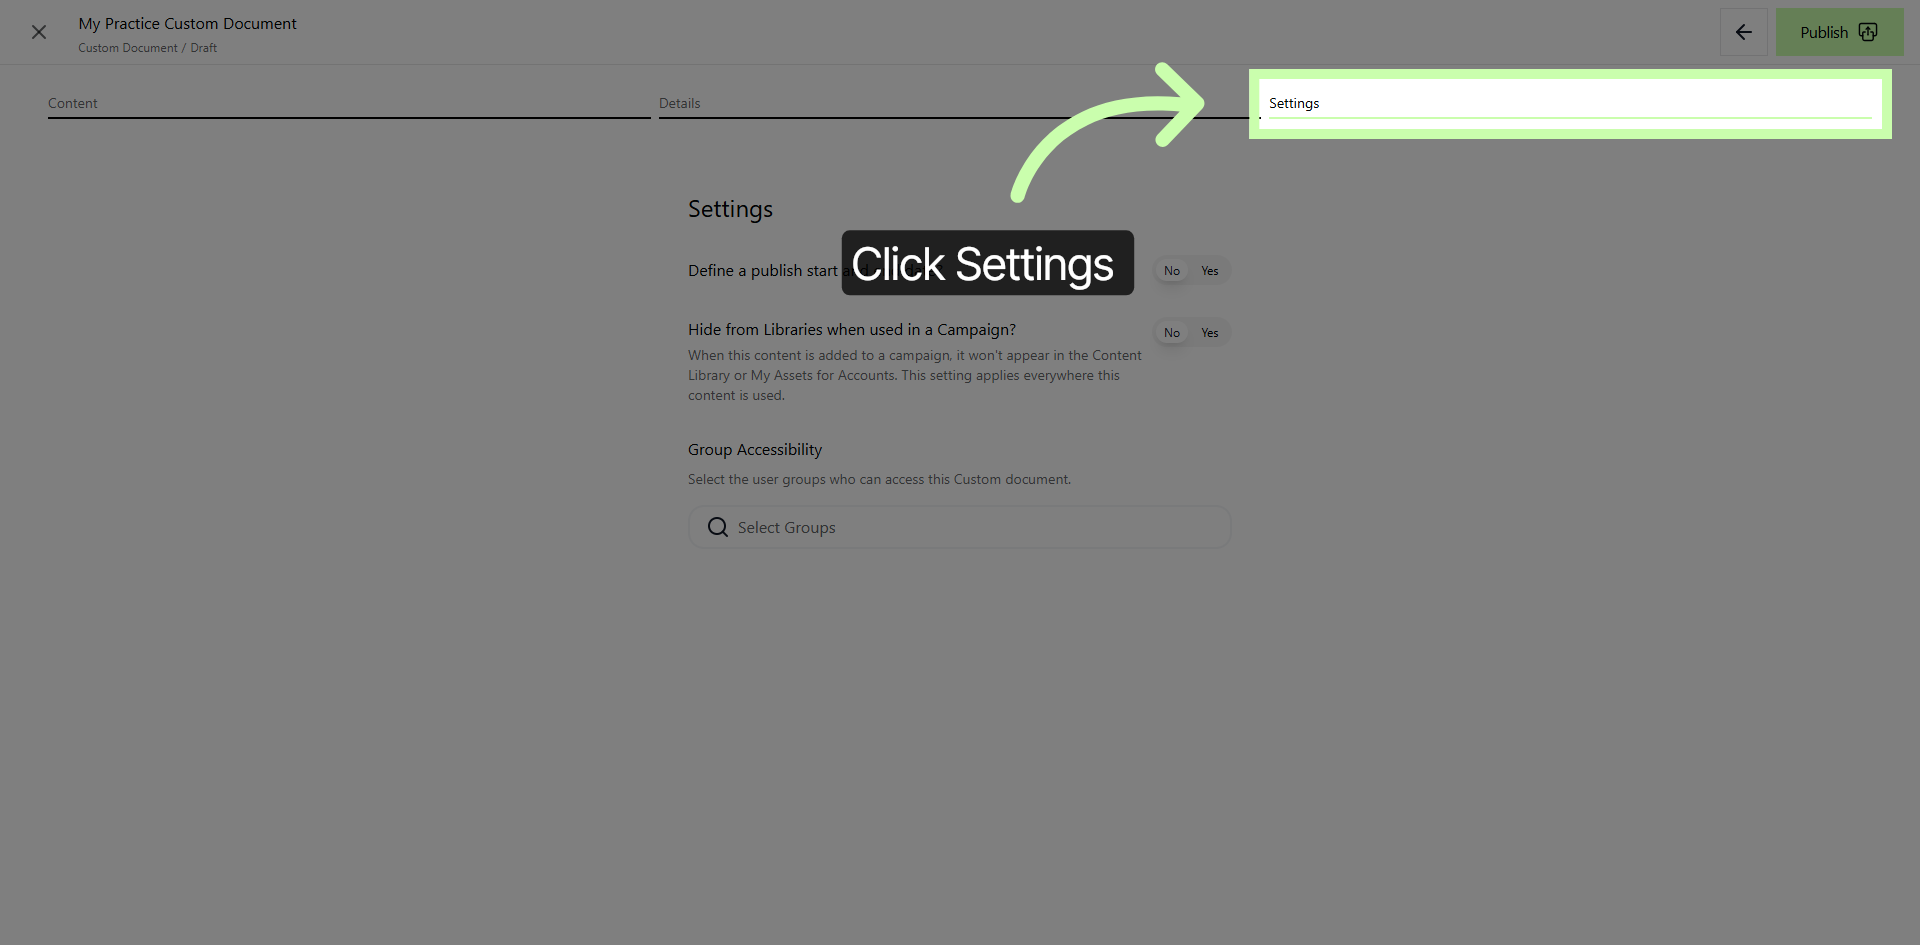
12. Define Publish Dates
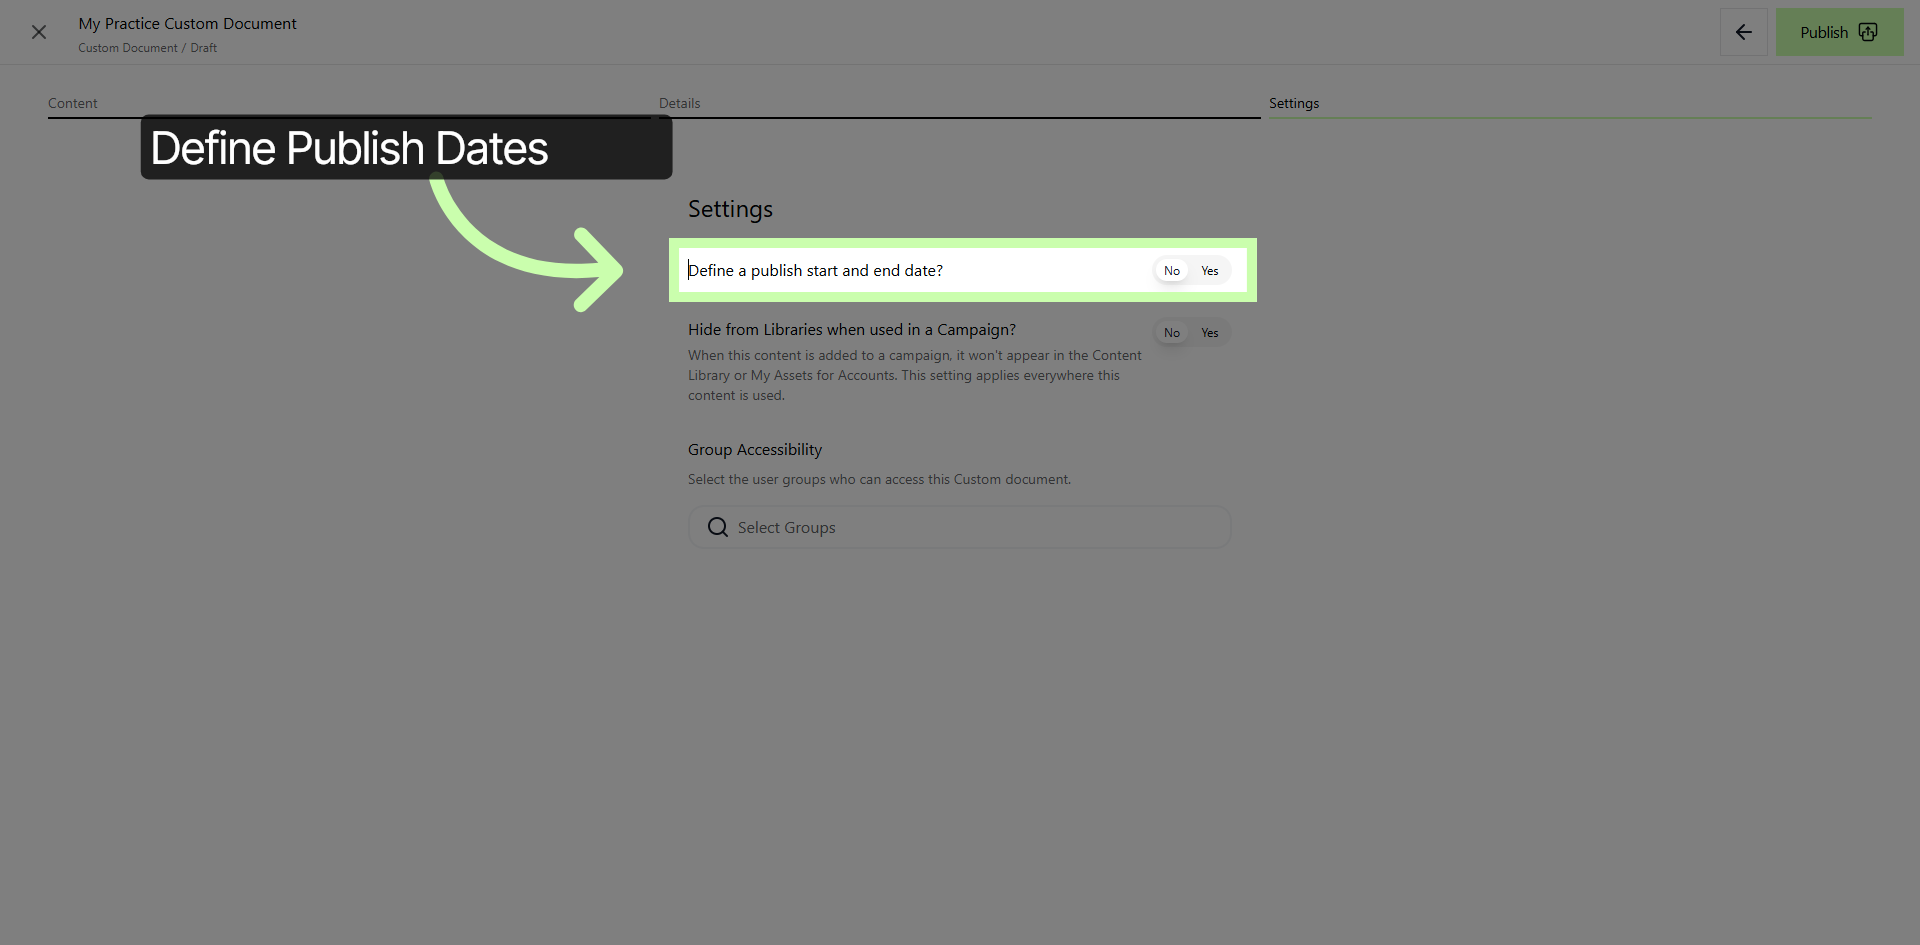
13. Toggle Library Visibility
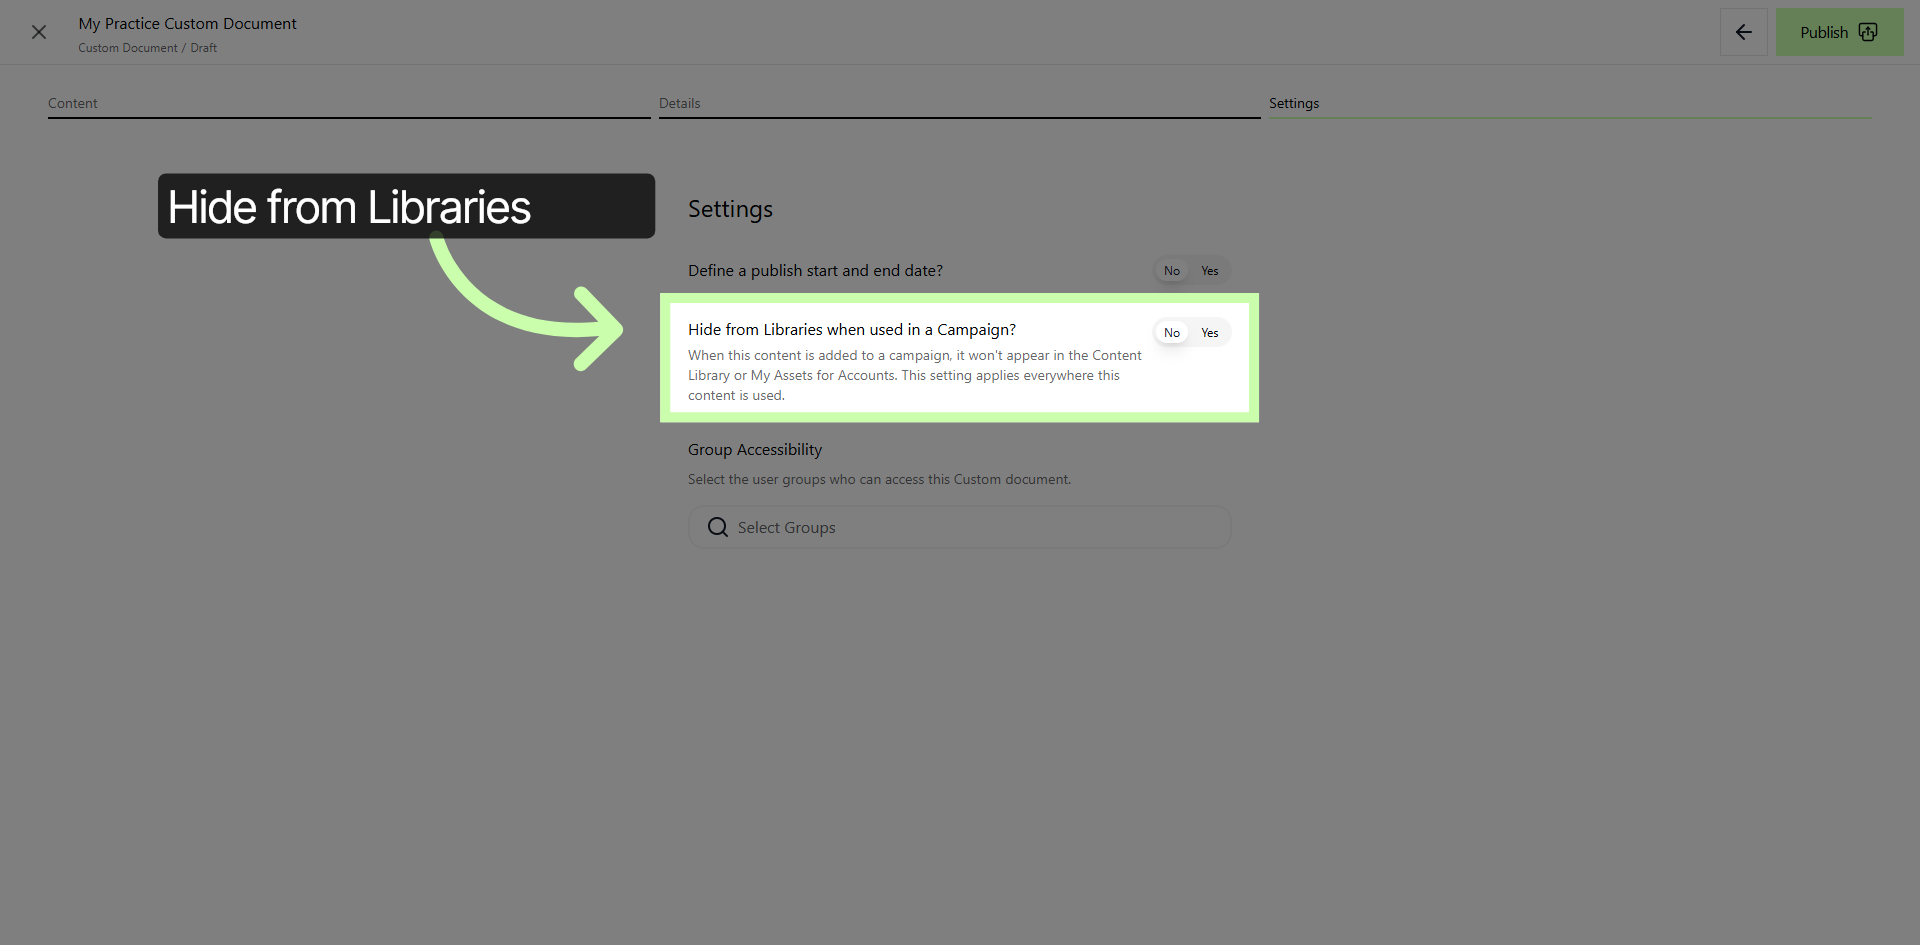
14. Select User Groups
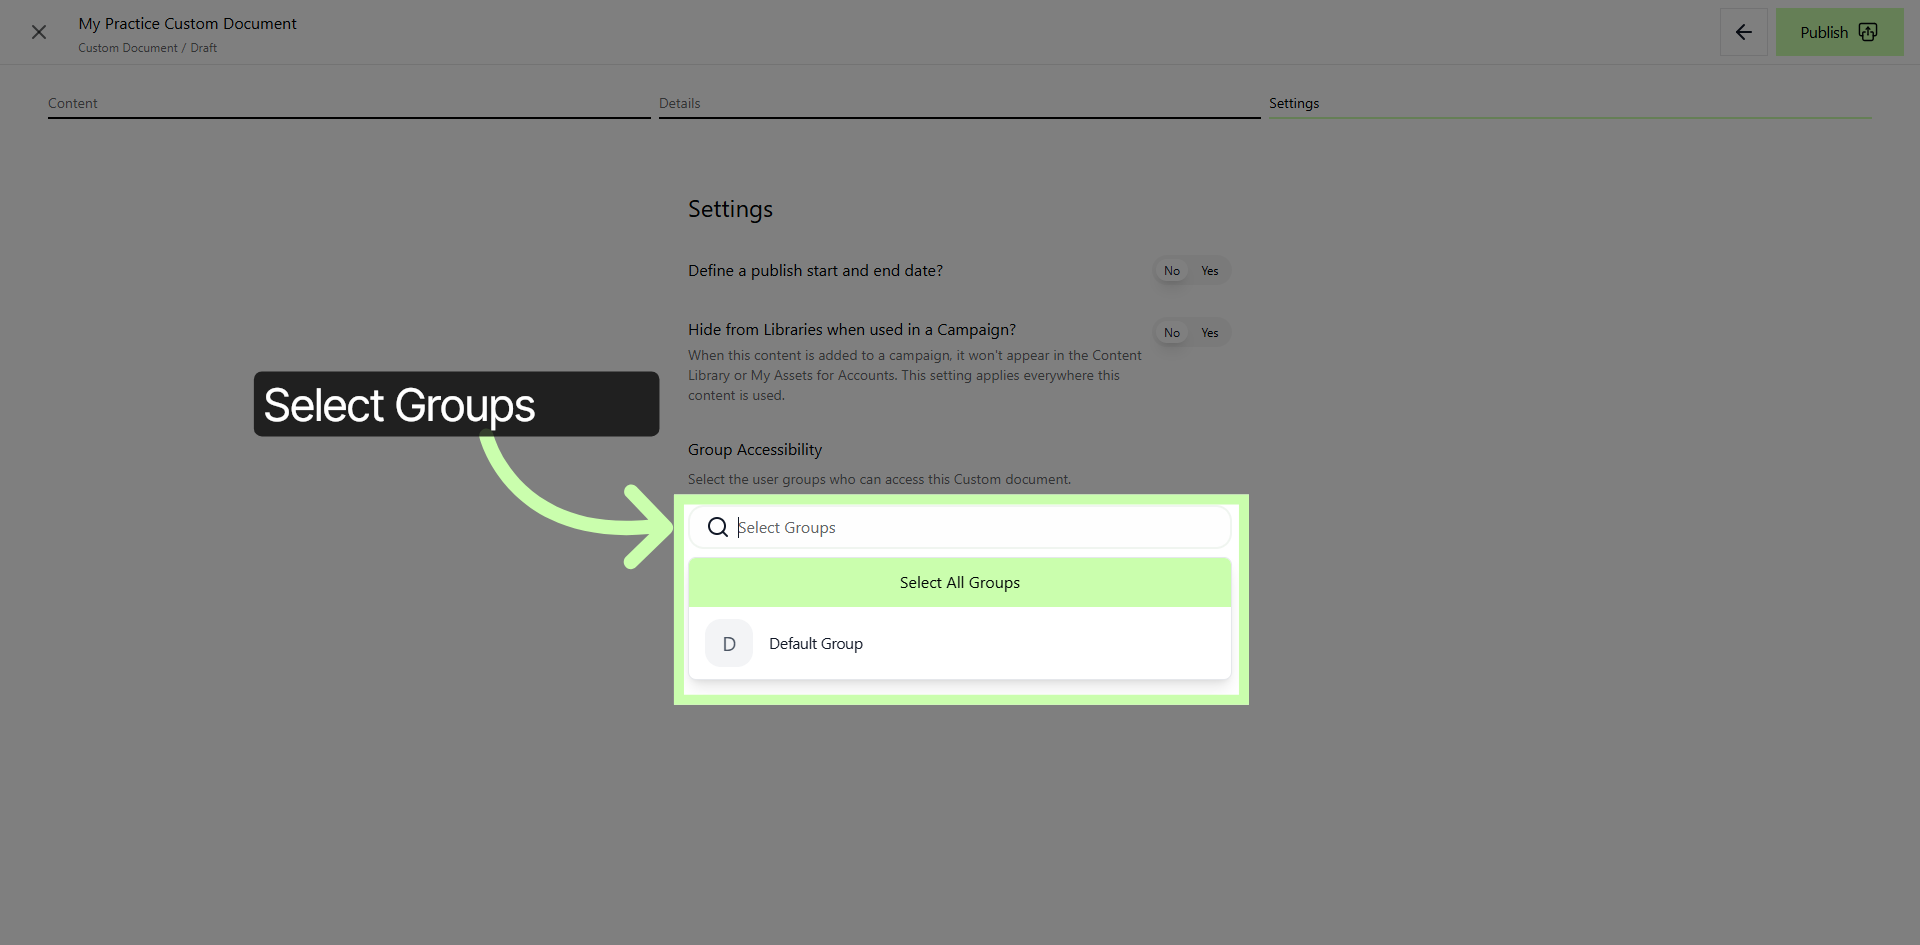
15. Publish Document
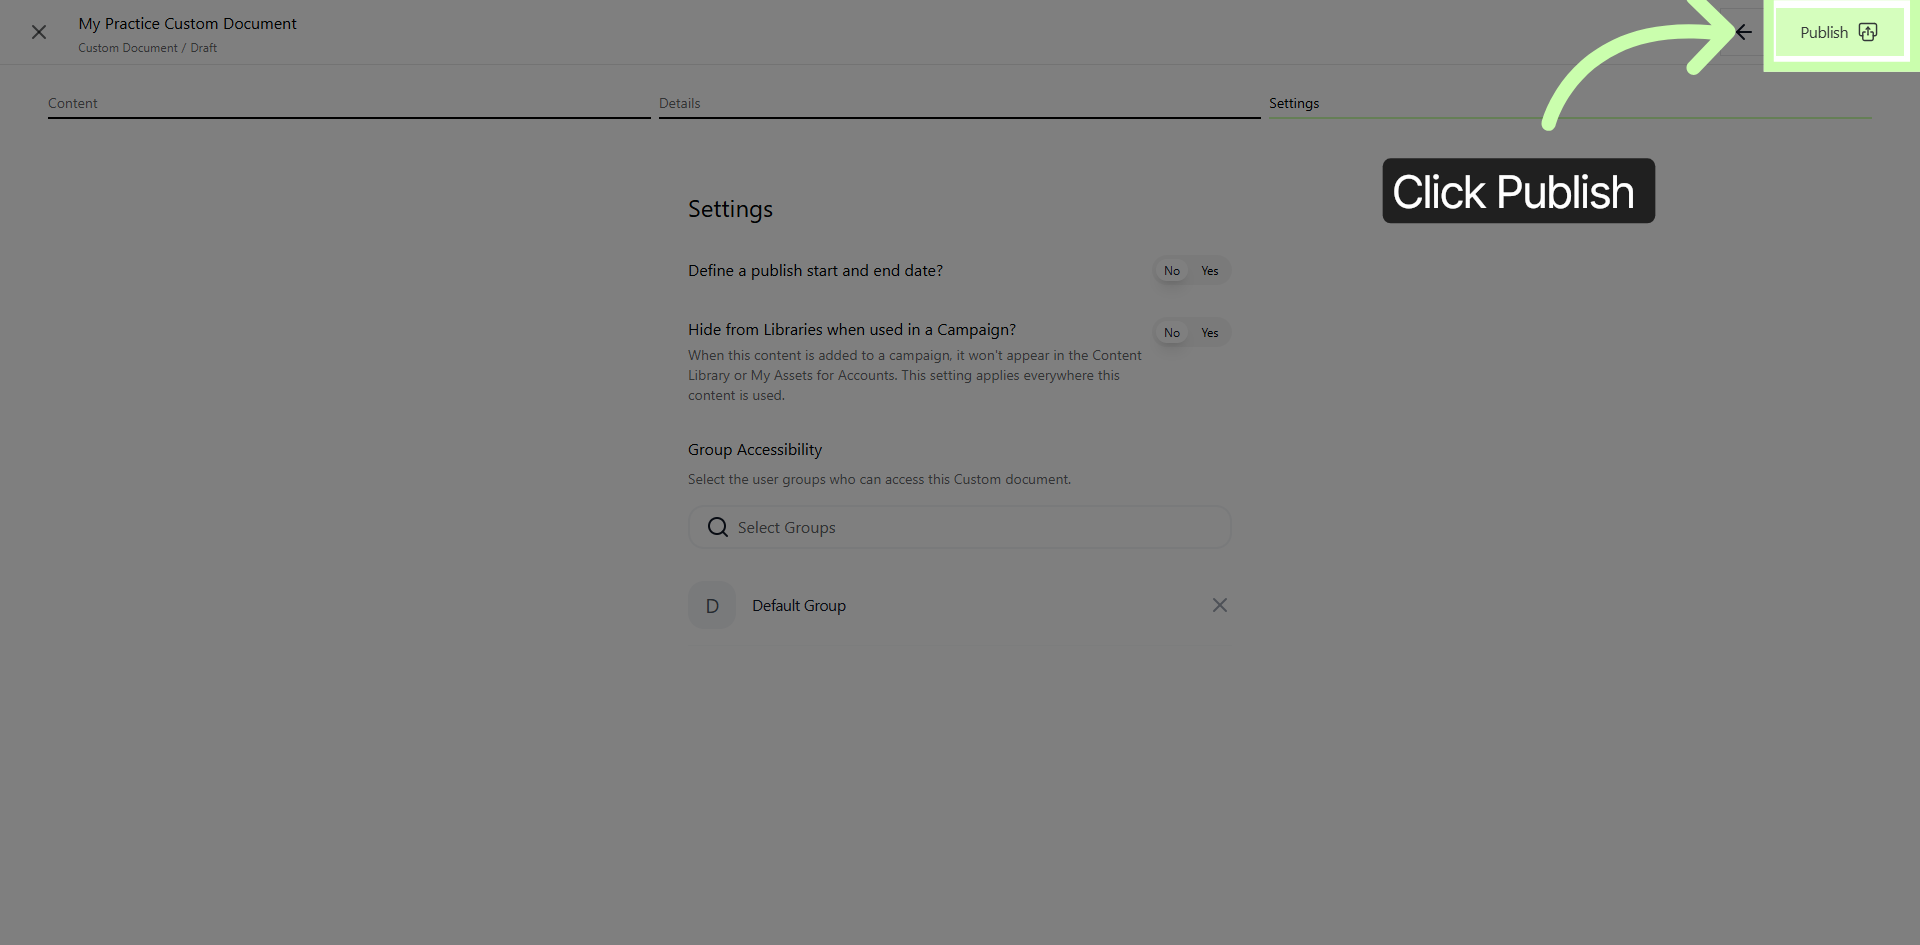
16. Restore Previously Published Version
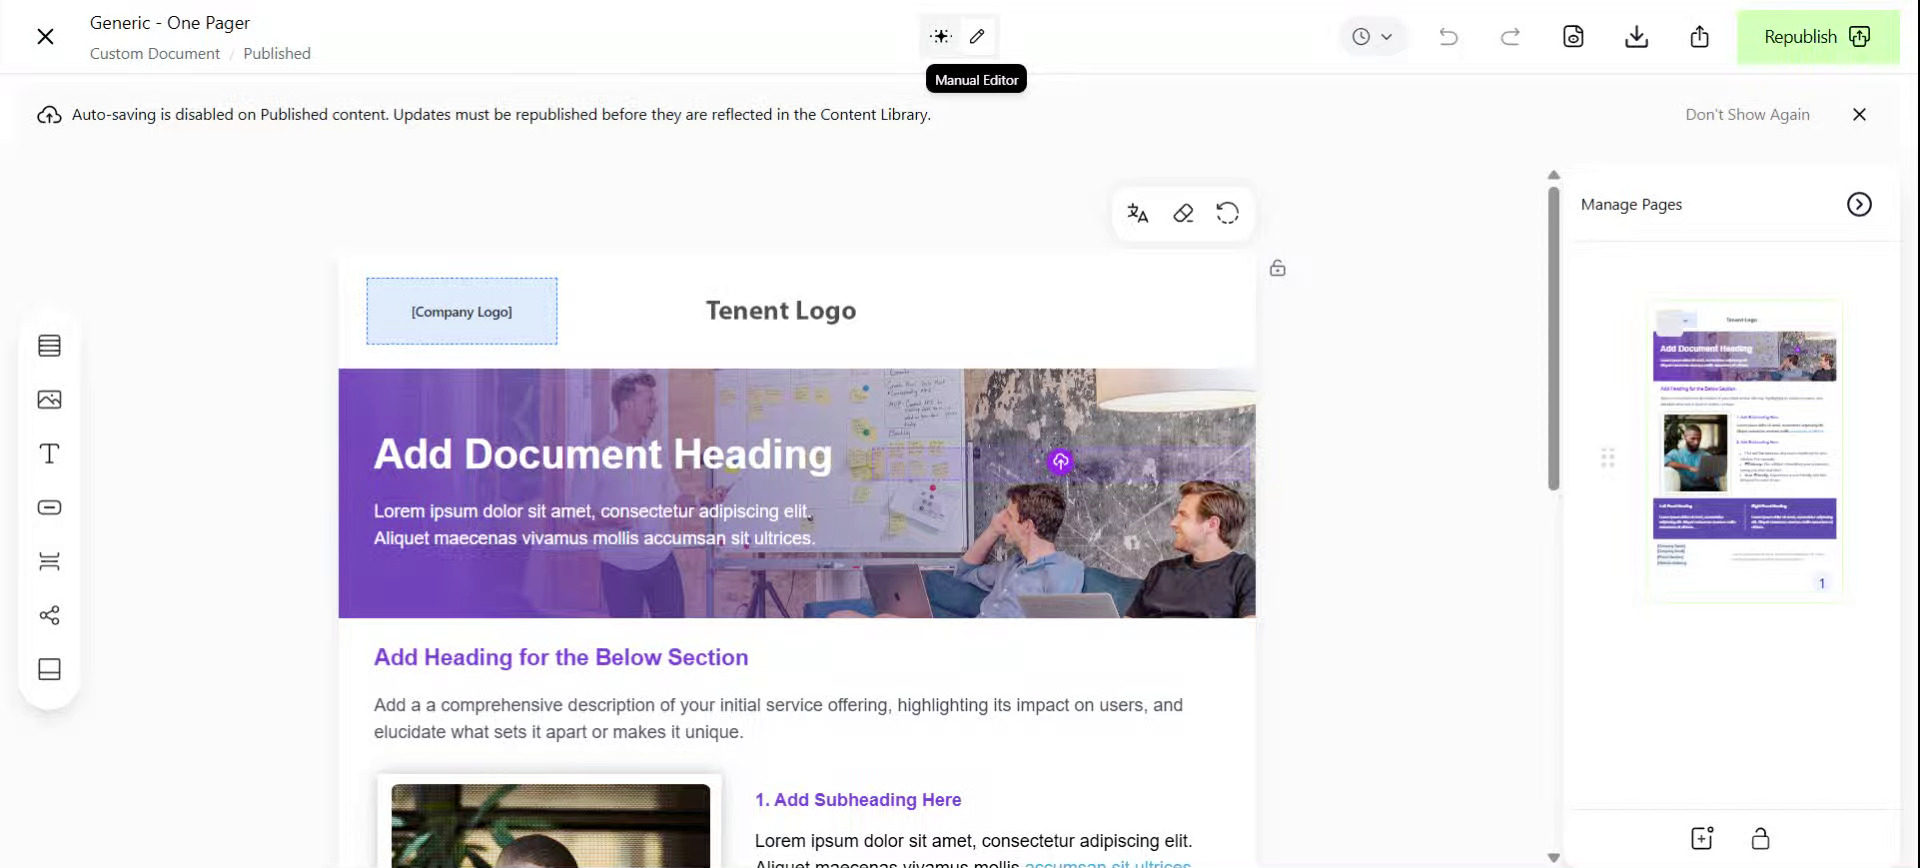
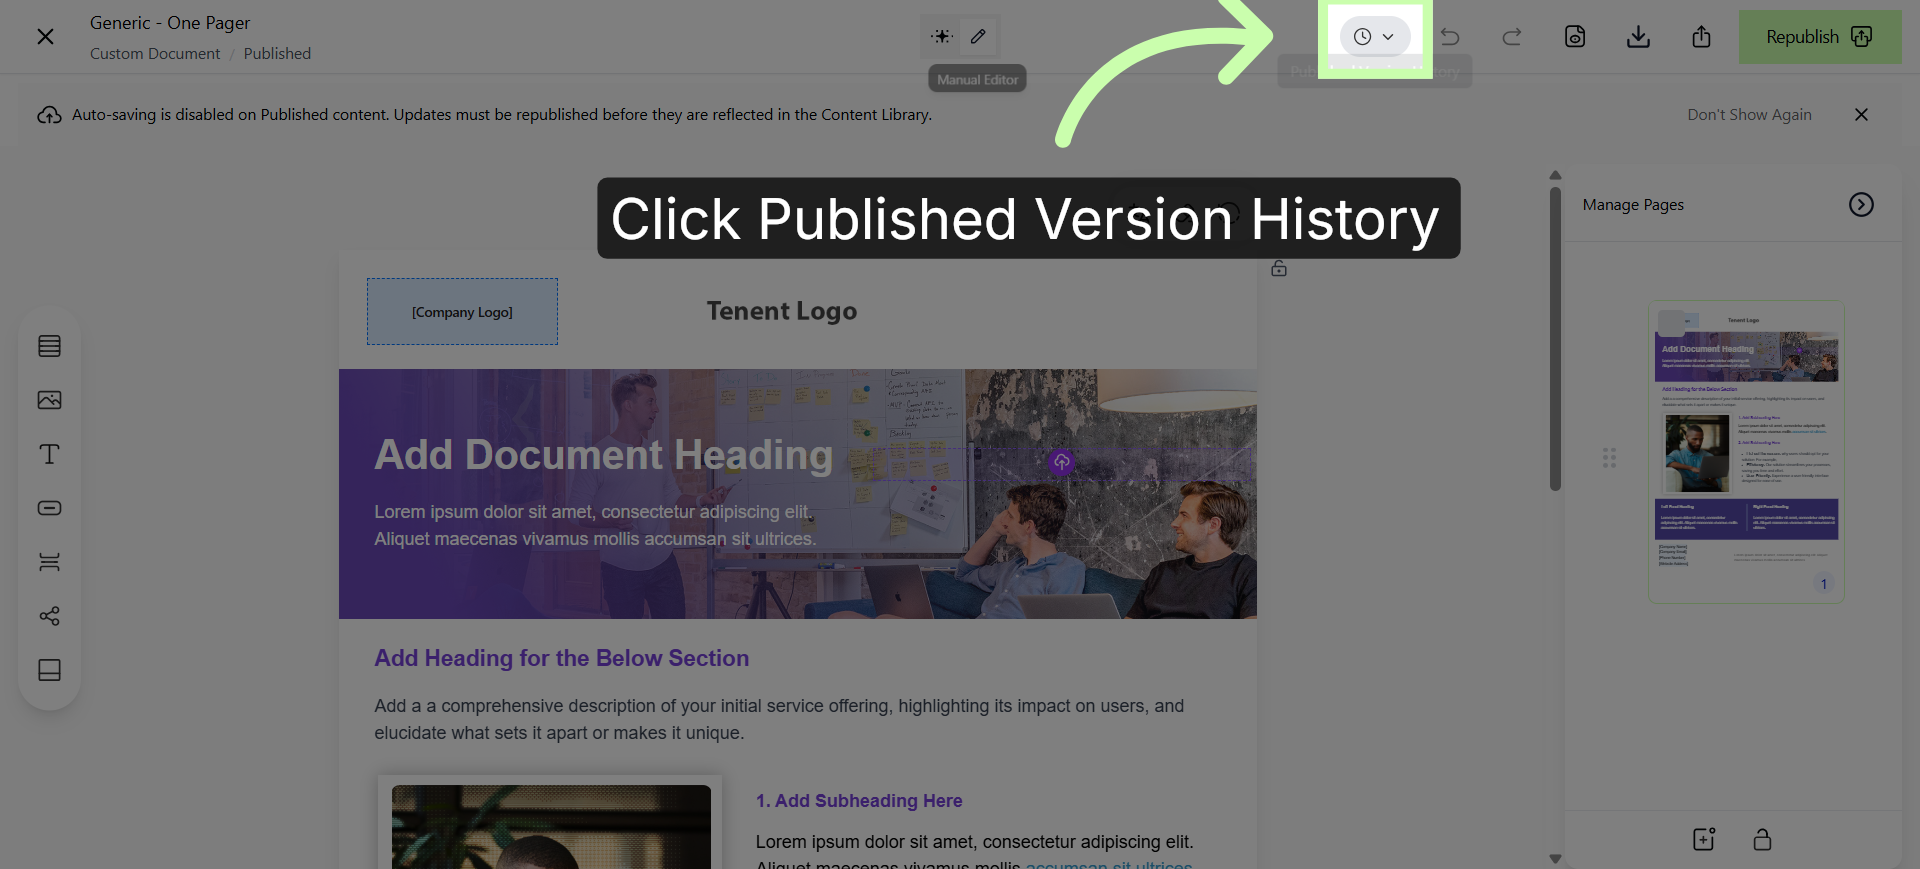
17. Access Published Version History
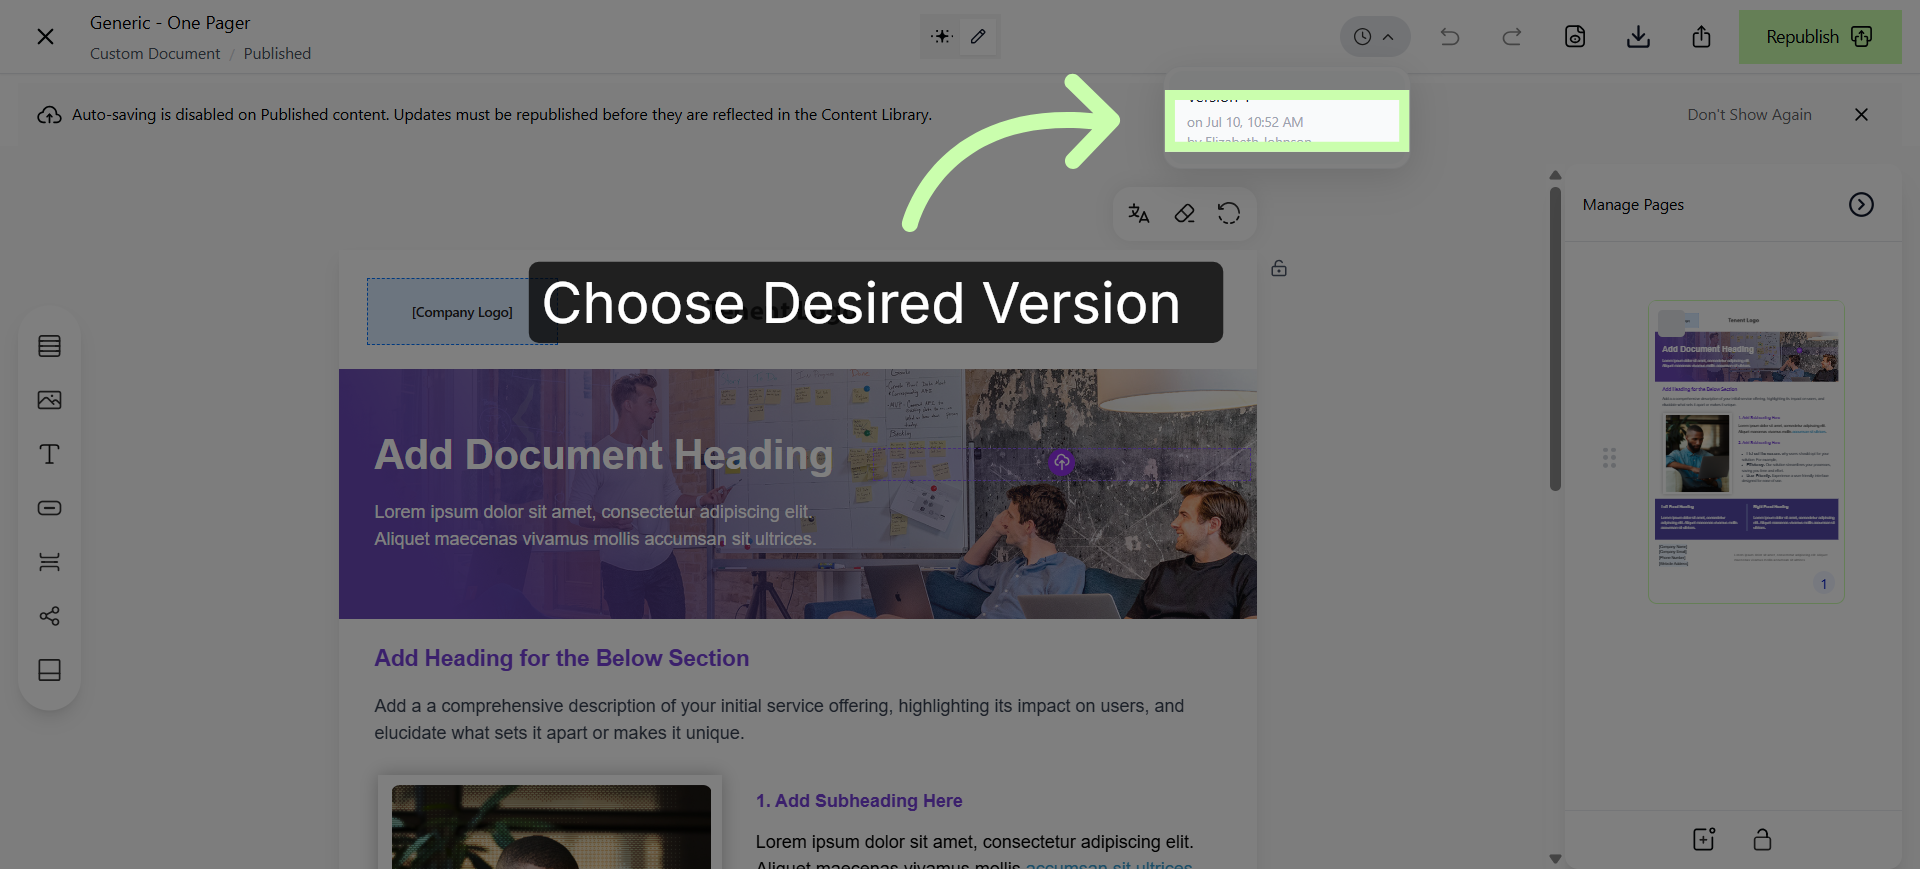
18. Select Desired Version
19. Initiate Version Restoration
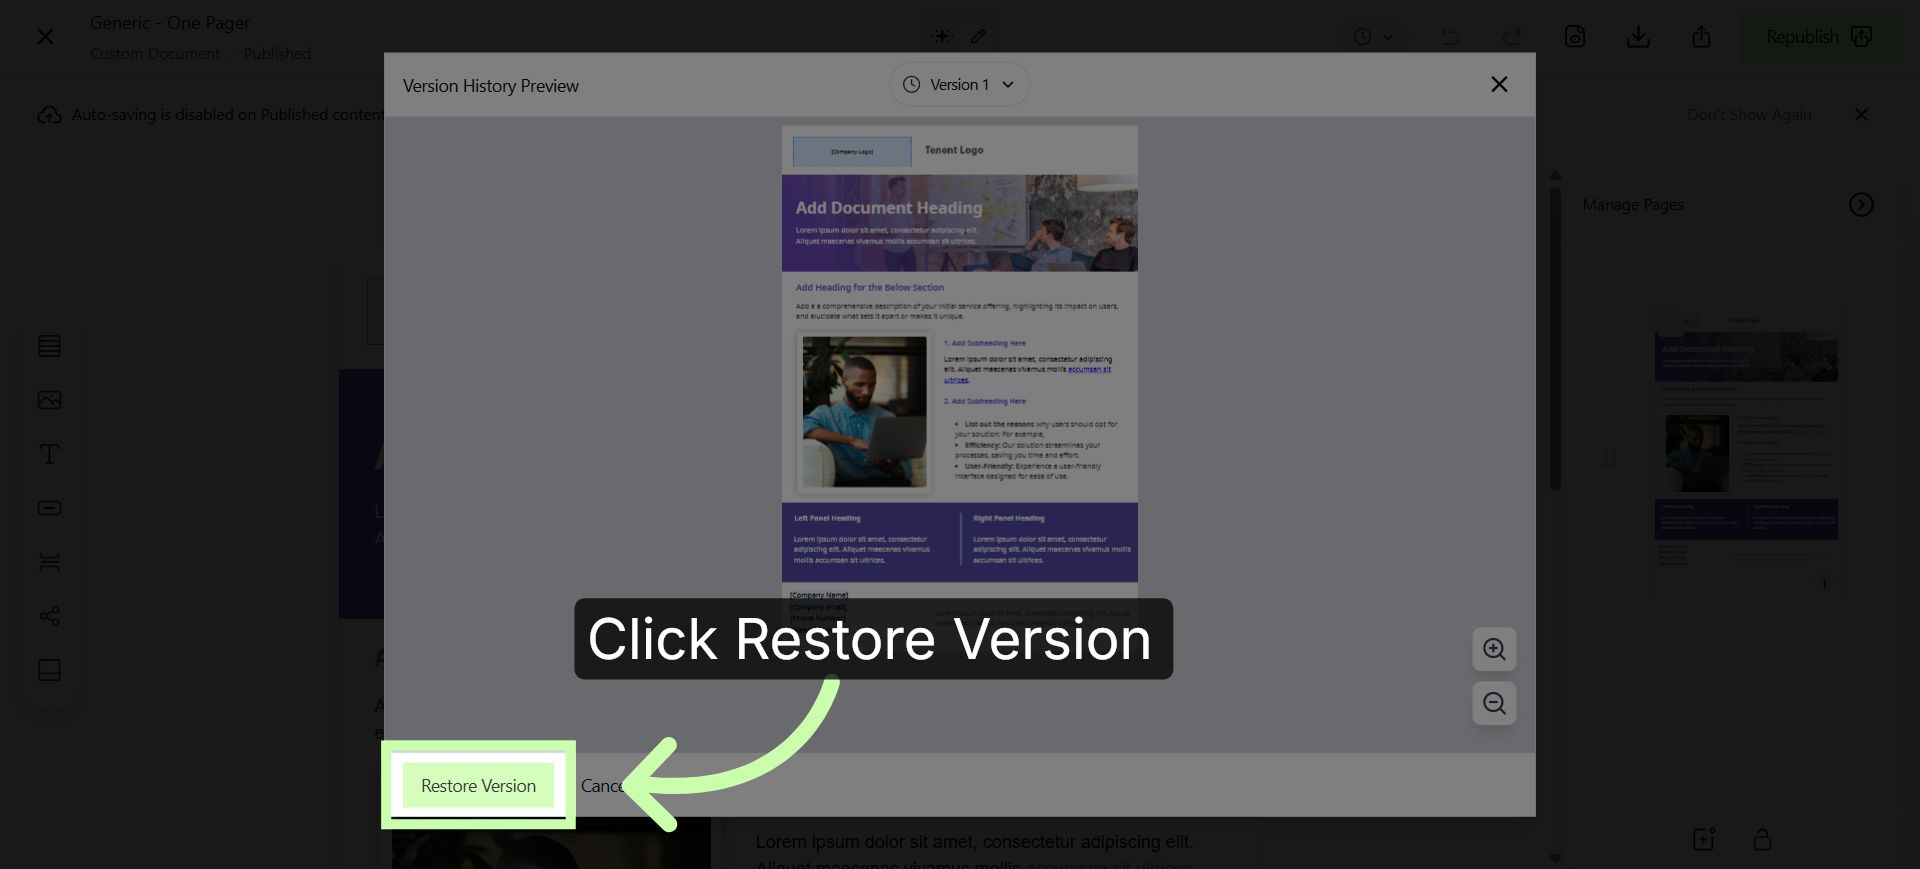
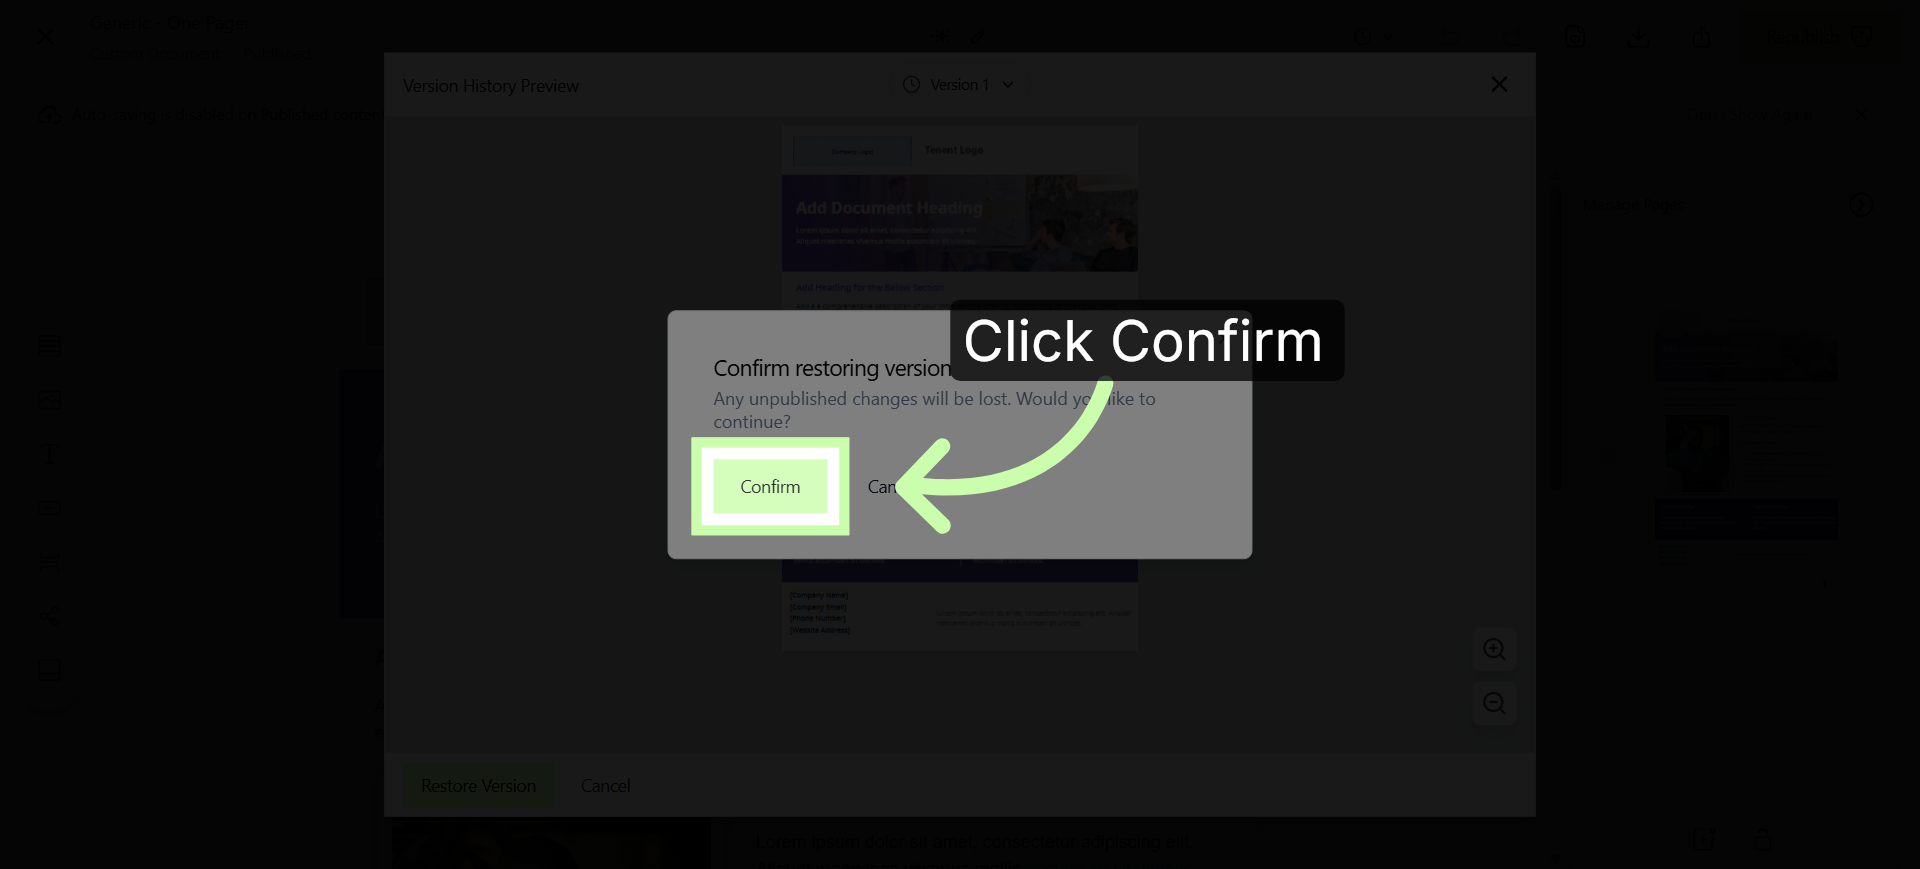
20. Confirm Version Restoration