
 Managing Account Fields - Phase 2: Customizing & Adding Fields
- How to create and add custom fields within the system.
- Where custom fields can be applied to capture additional data.
|
Before you begin — open your account This is a hands-on, learning-by-doing session. Open app.structured.ai in your browser and log in to your Tenant Account so you can follow along and apply each step in real time. |
|
Phase 1
Purpose & Framework
|
Start Training ➡ |
|
Phase 2
Customizing & Adding Fields
|
Current Phase ✔ |
|
Phase 3
Maintenance & Best Practices
|
Start Training ➡ |
Follow Our Step-By-Step Training
1. Access Content Library
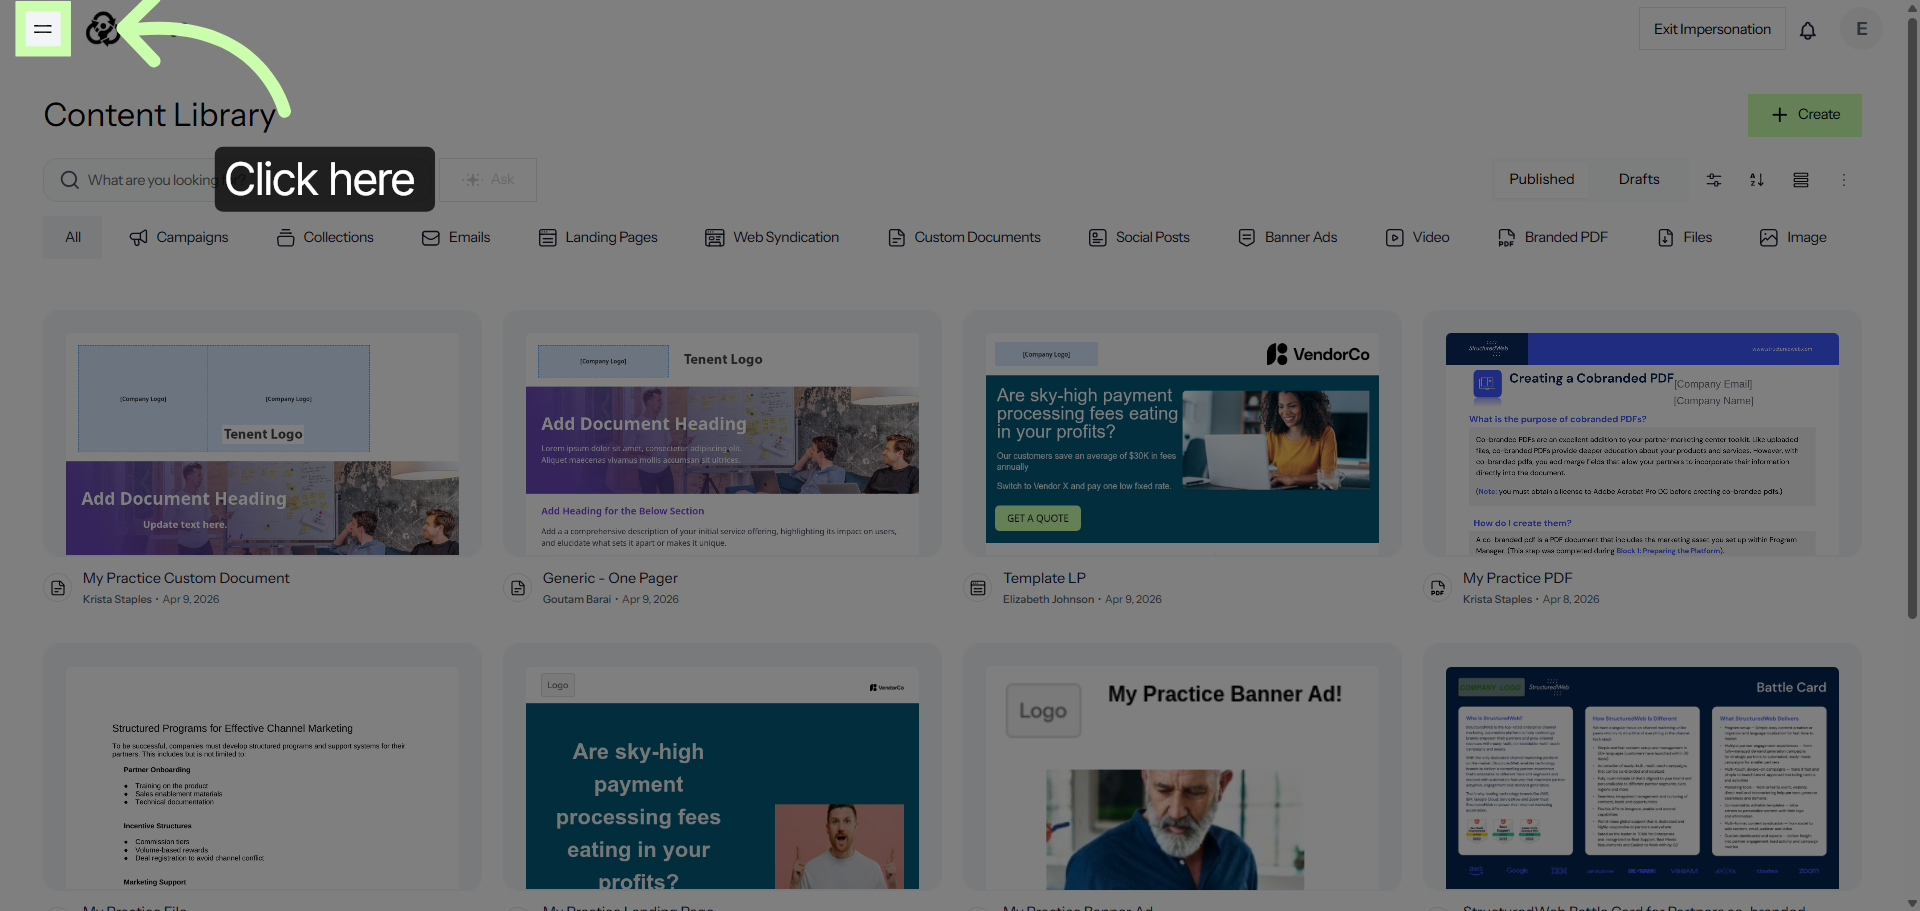
2. Open Account Fields Section
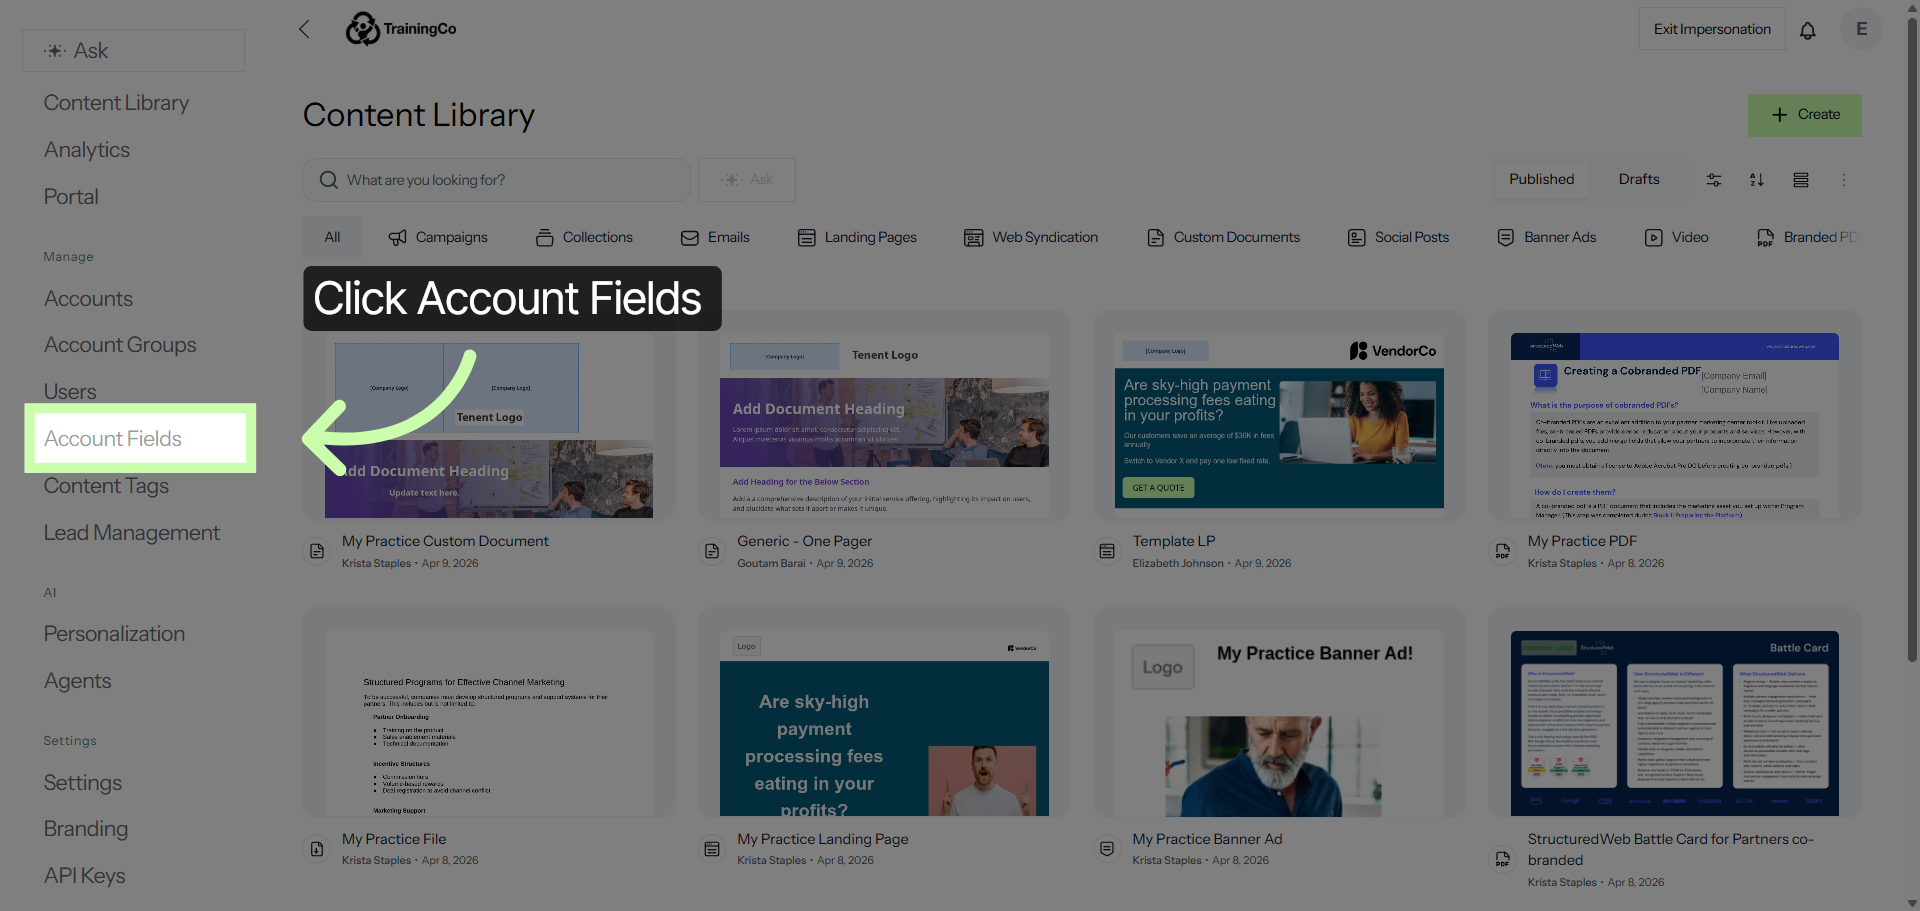
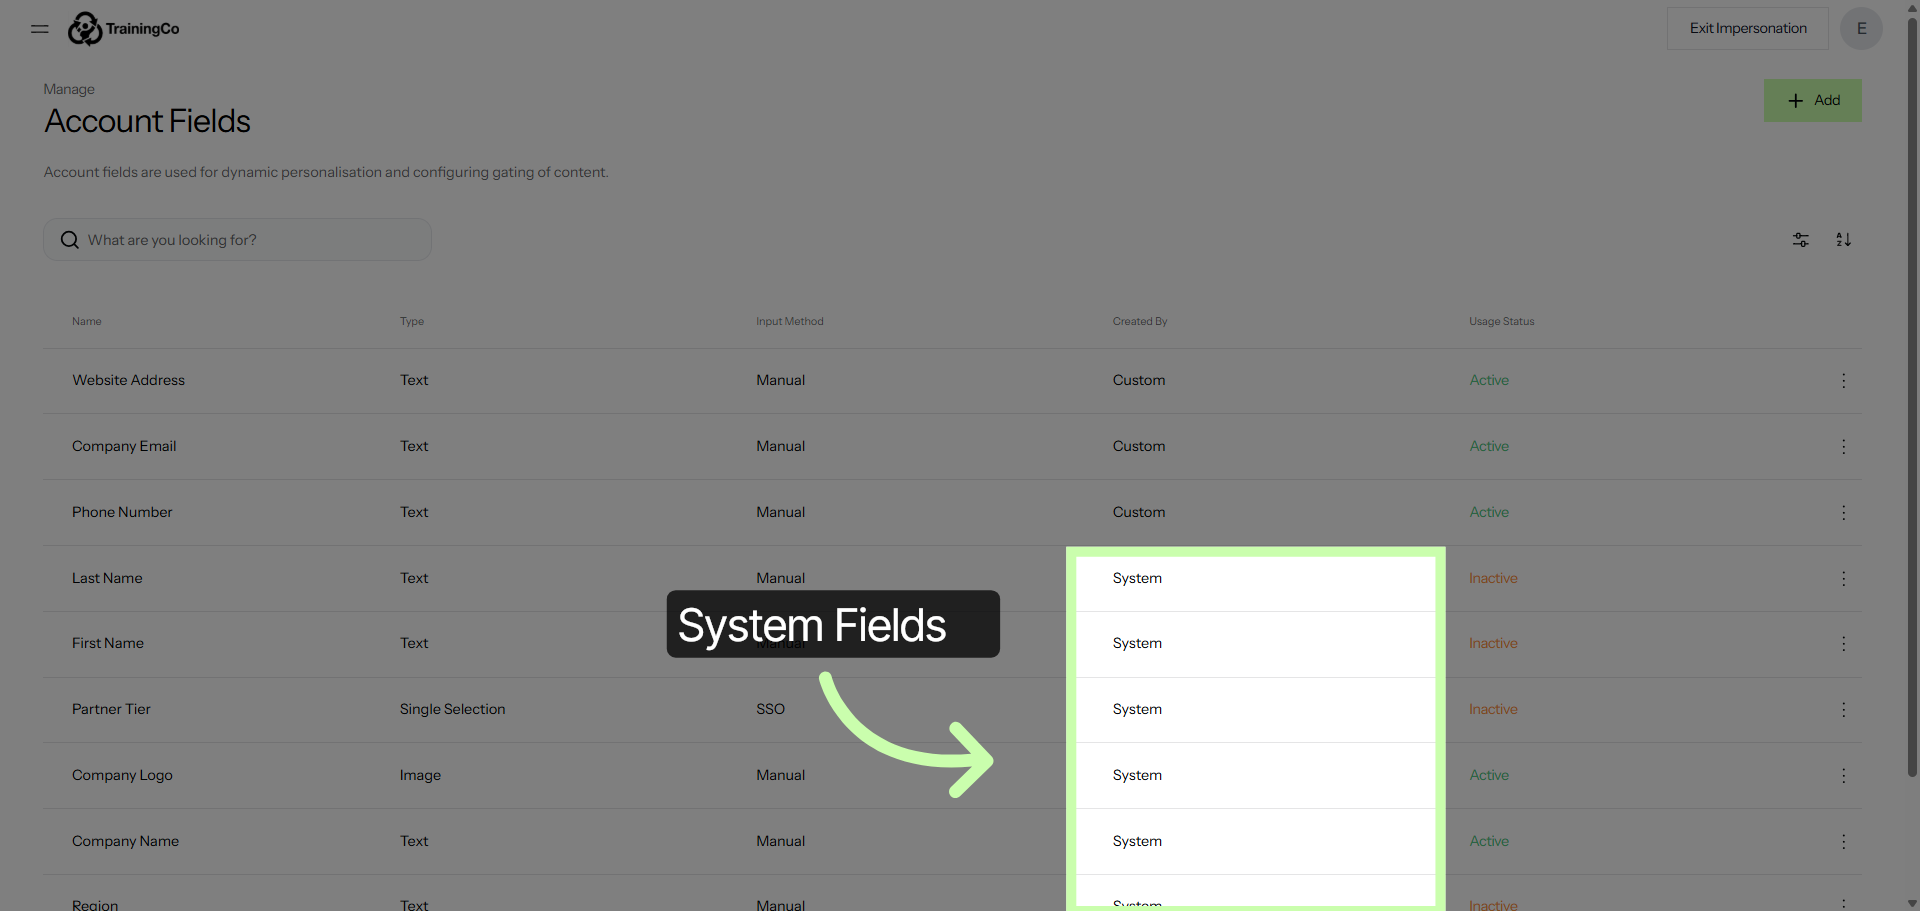
3. Navigate to System Fields
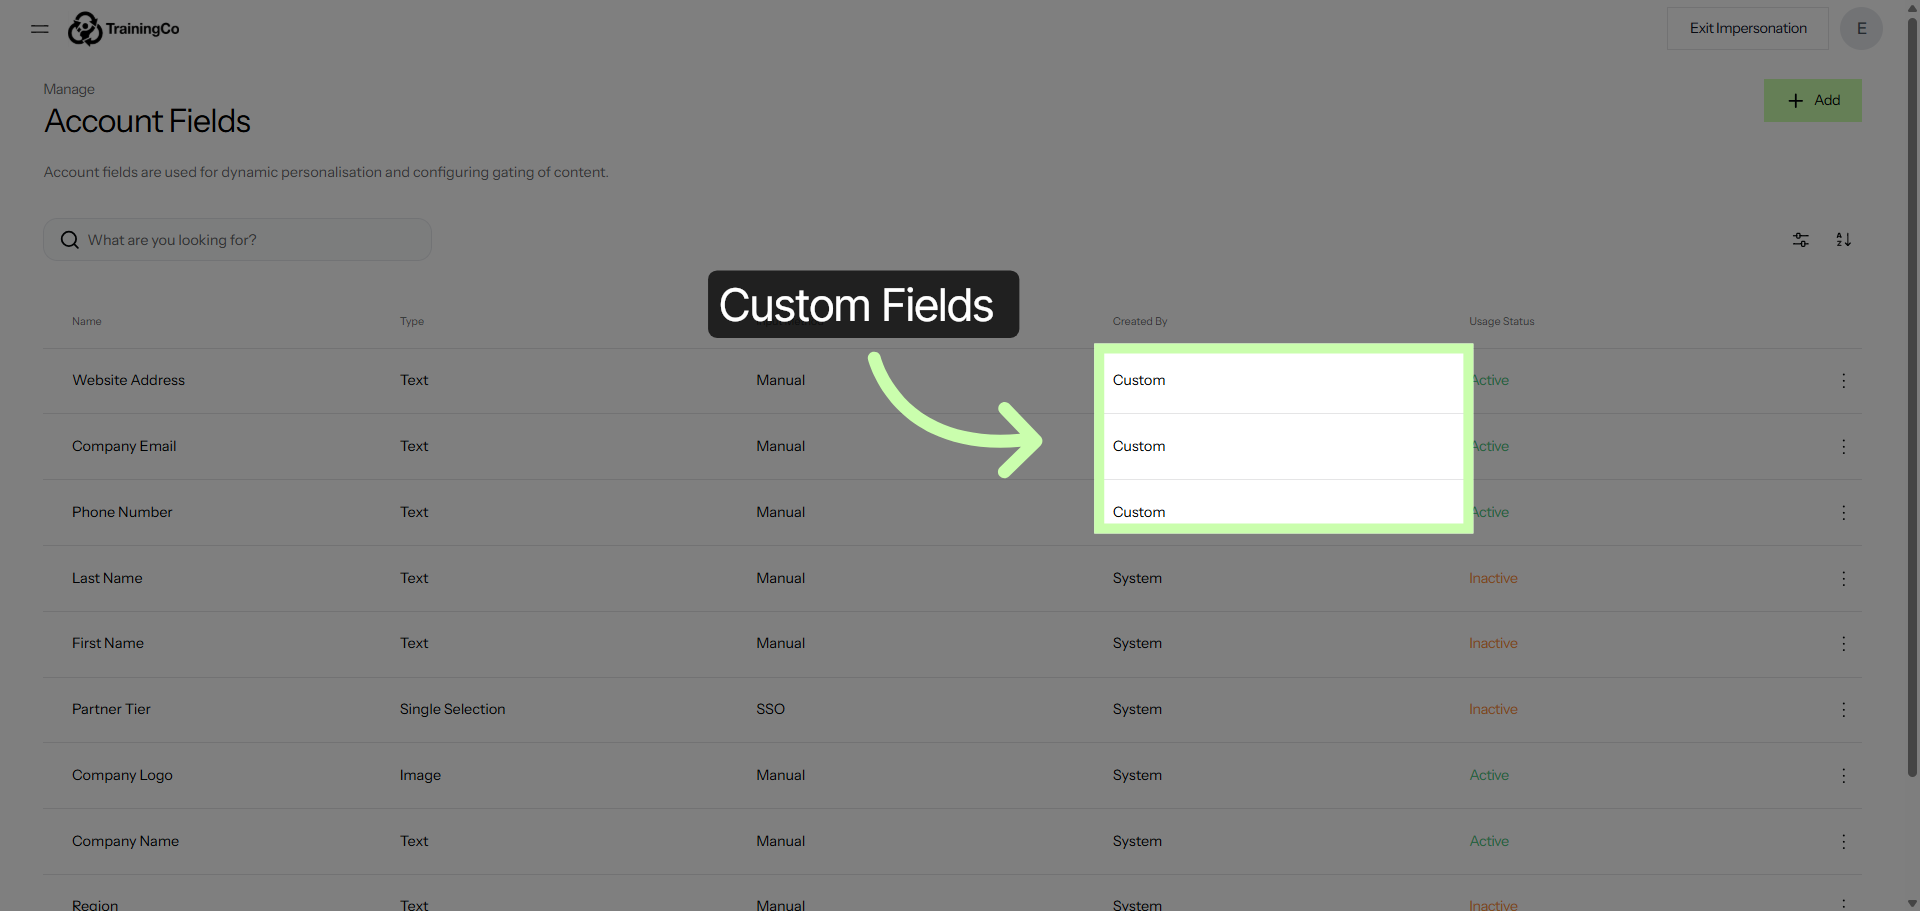
4. Select Custom Fields Tab
5. Initiate Adding New Field
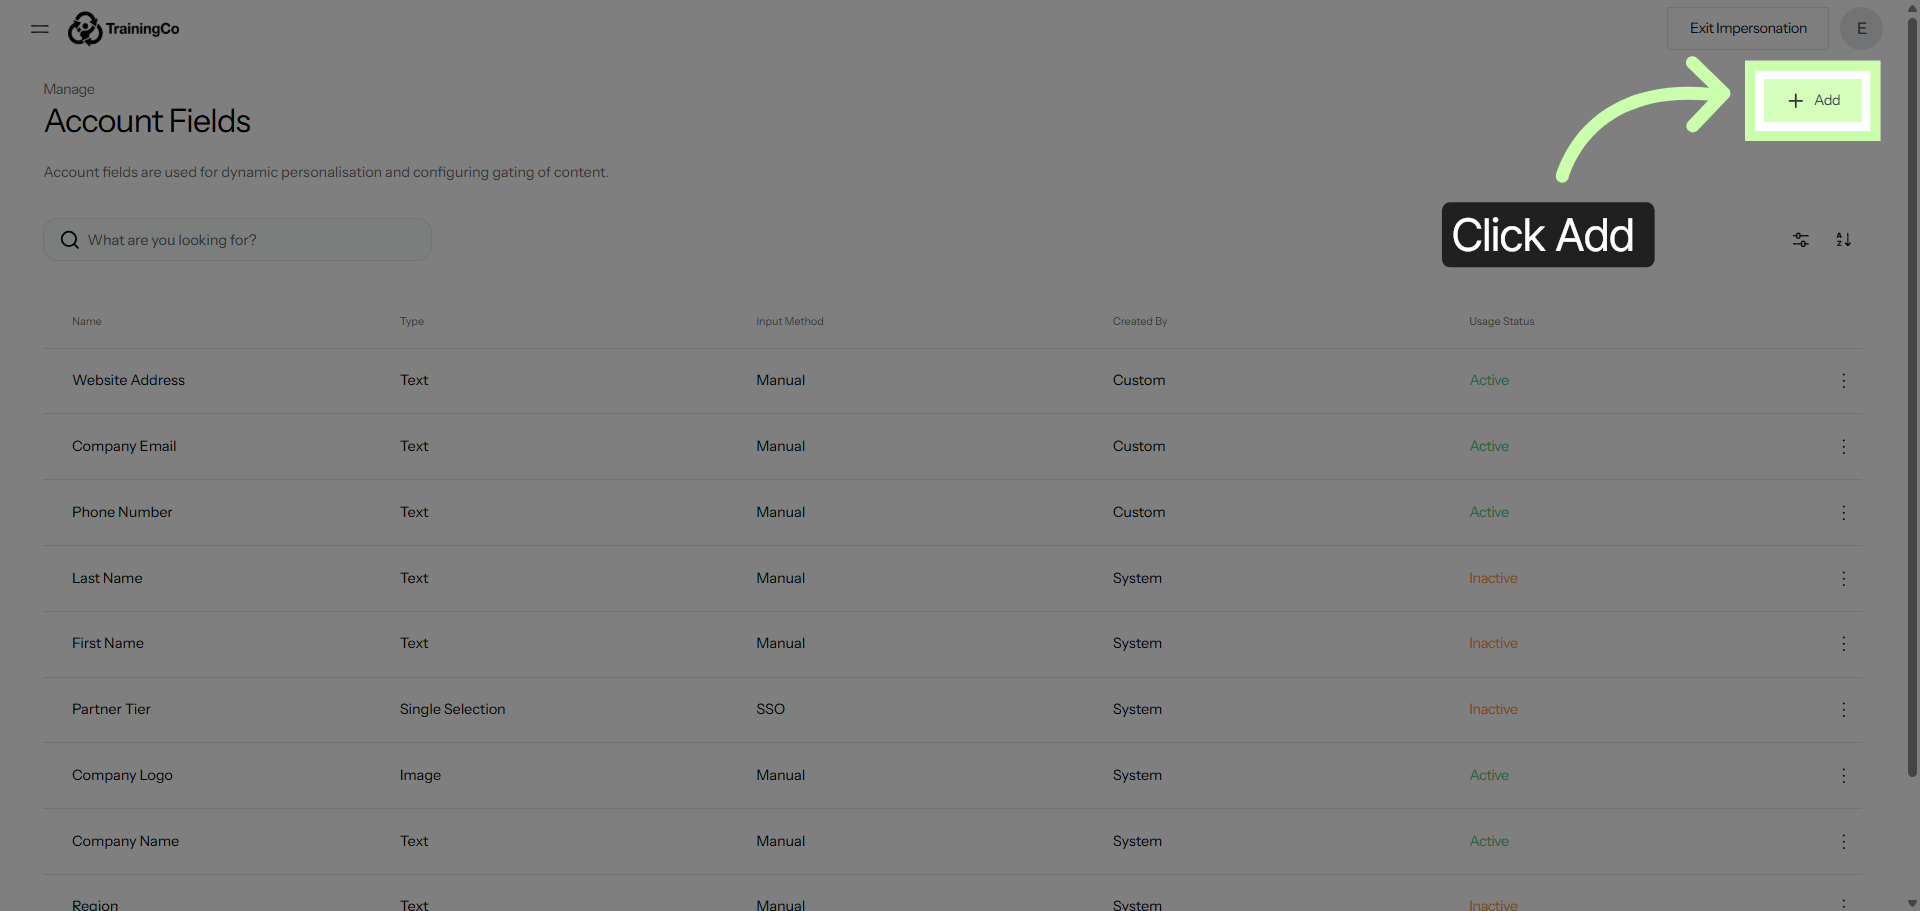
6. Open Field Type Options
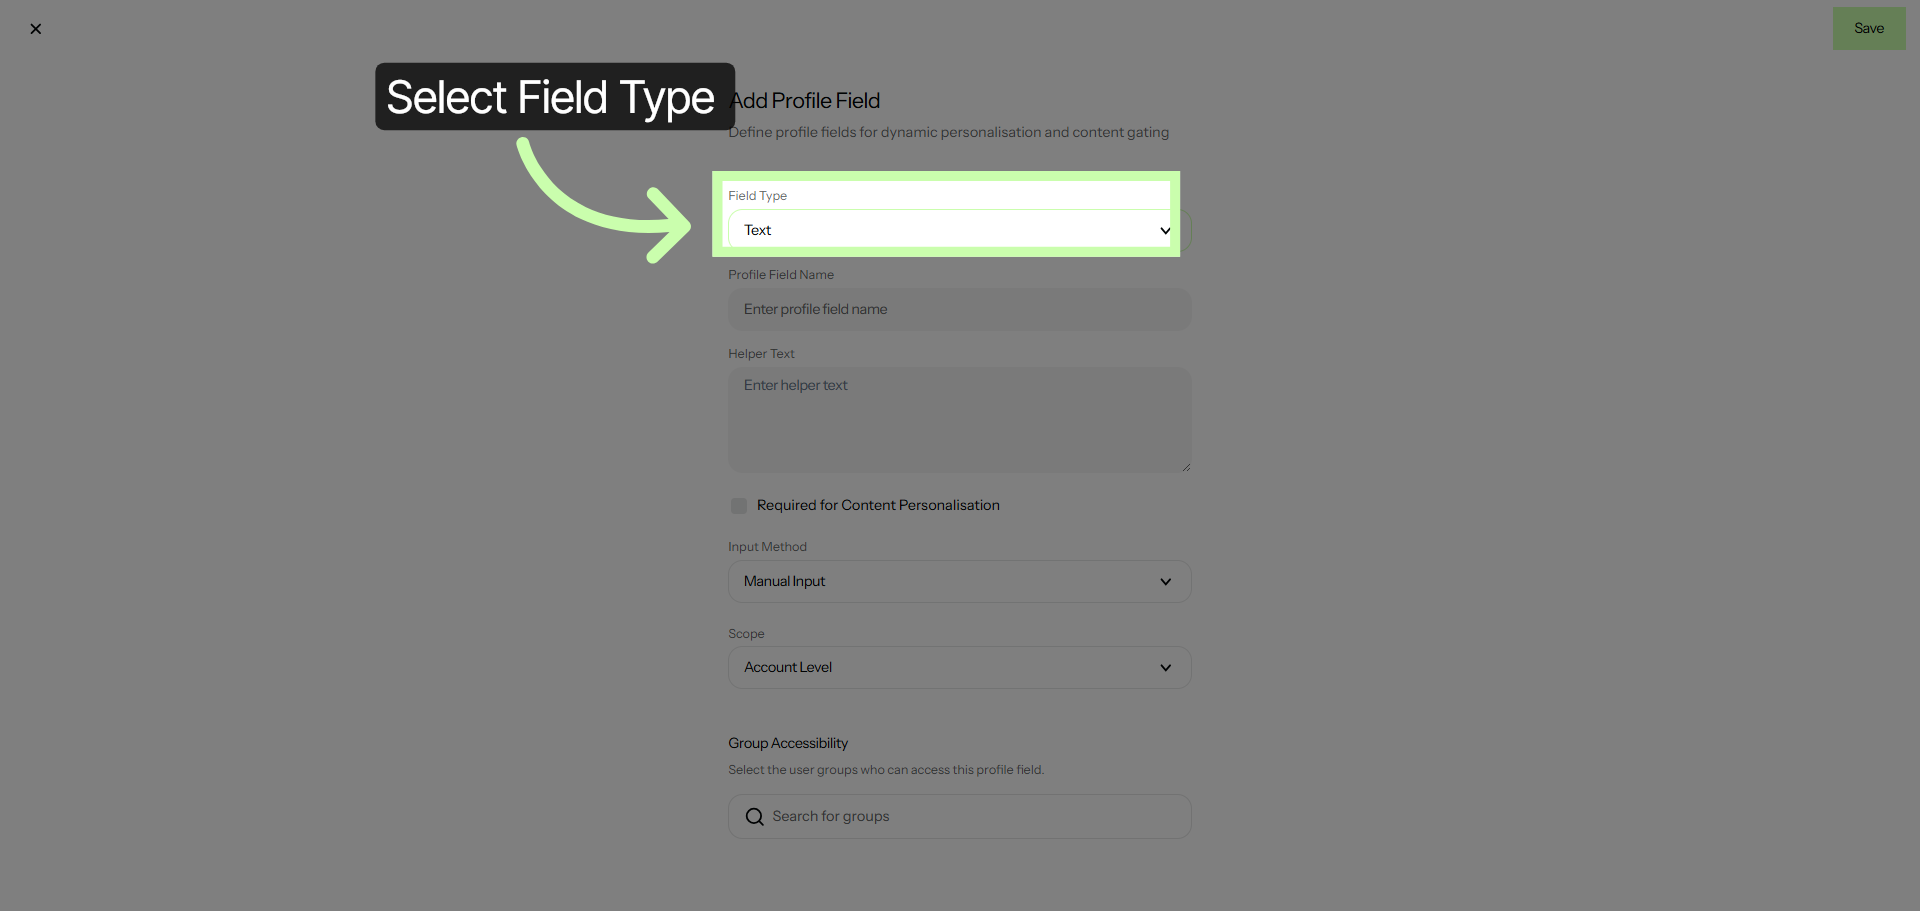
7. Choose Link Field Type
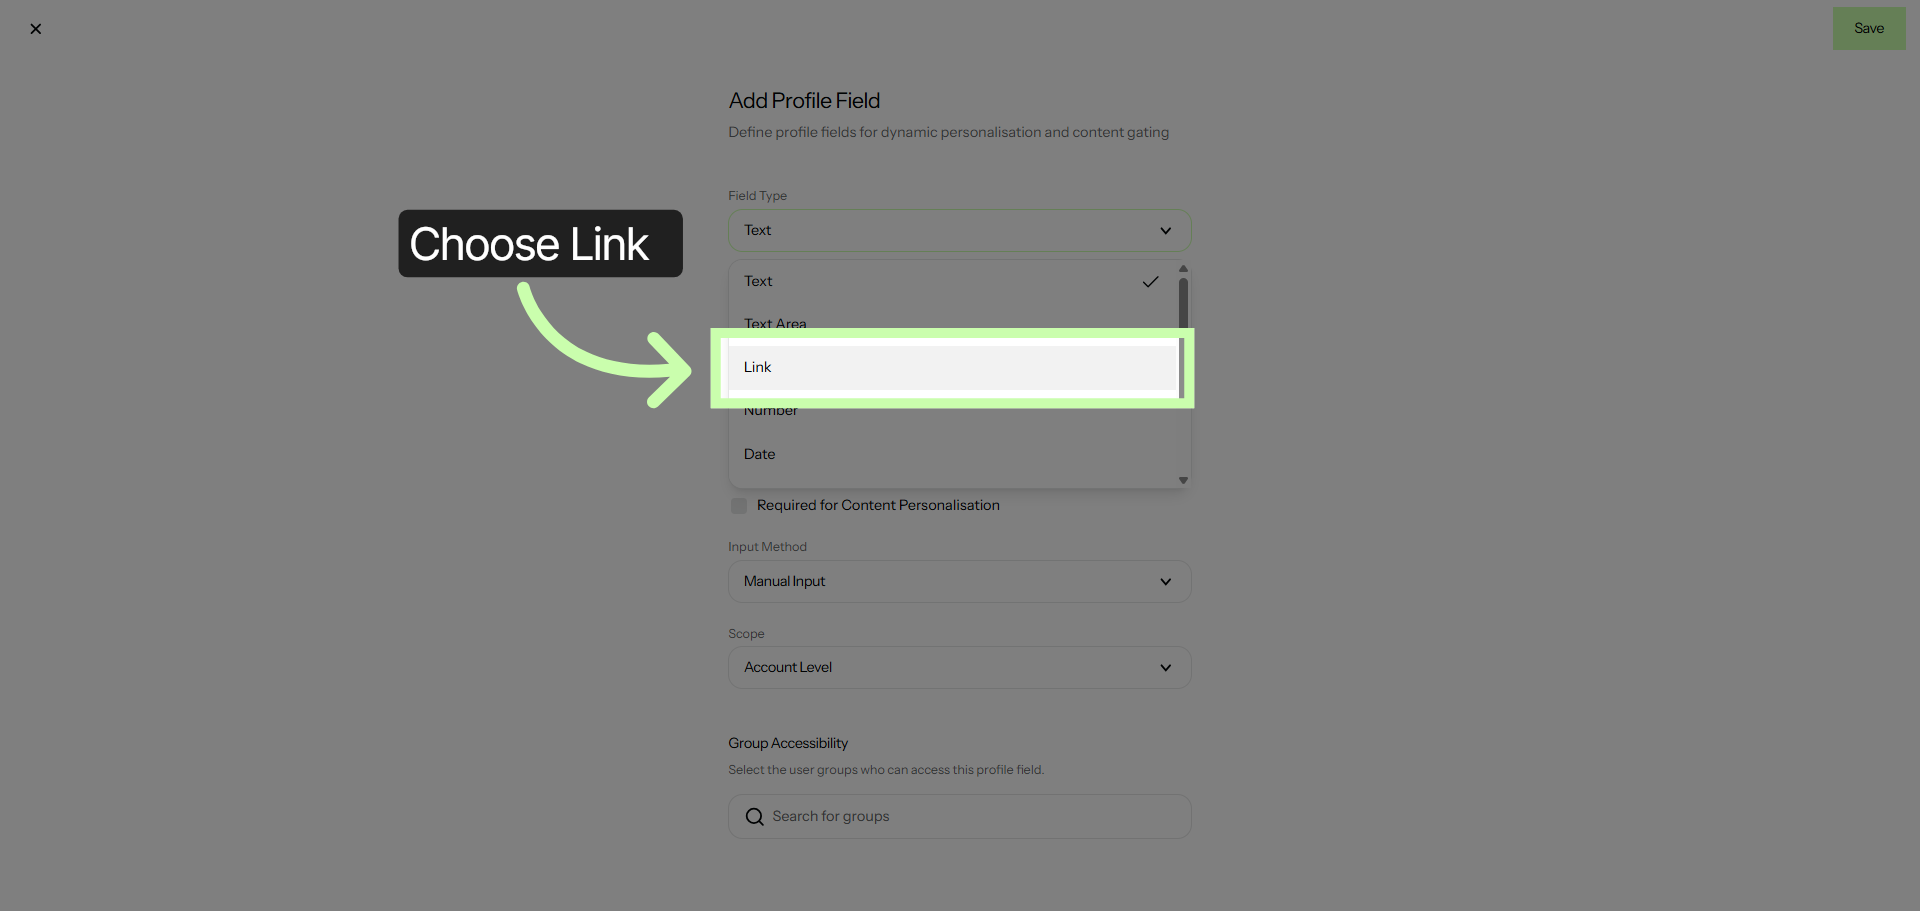
8. Enter Field Name
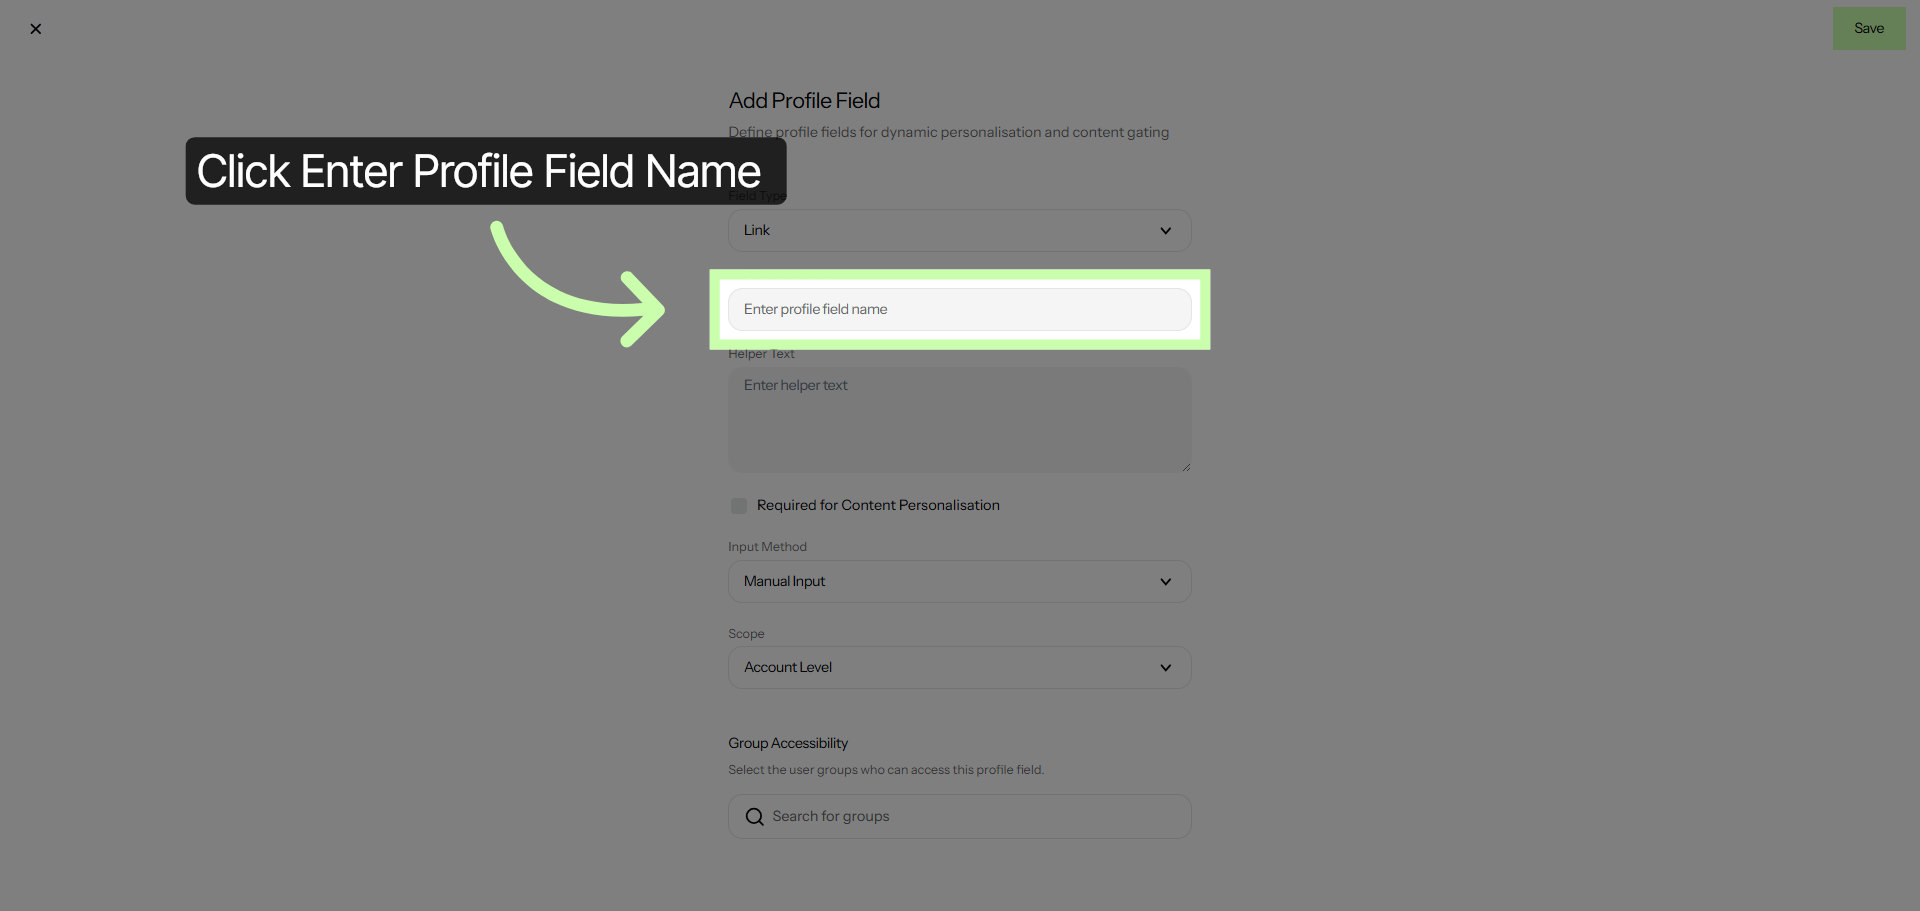
9. Name Field Privacy Policy Link
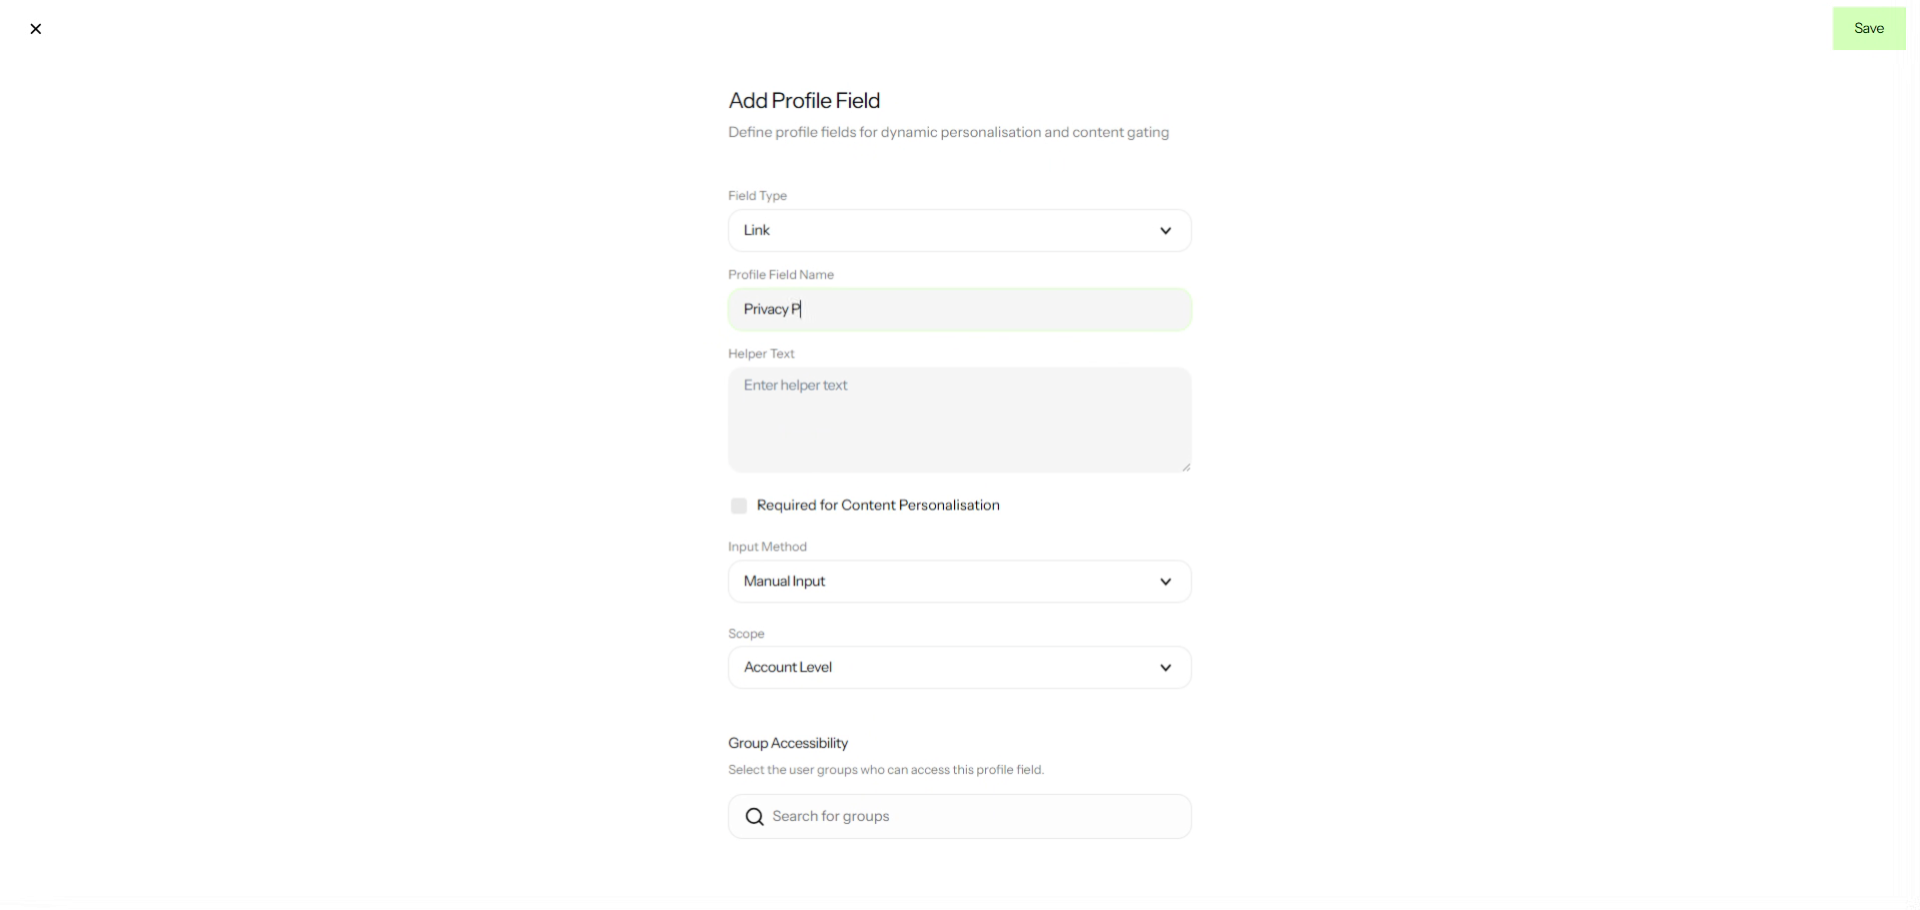
10. Add Helper Text
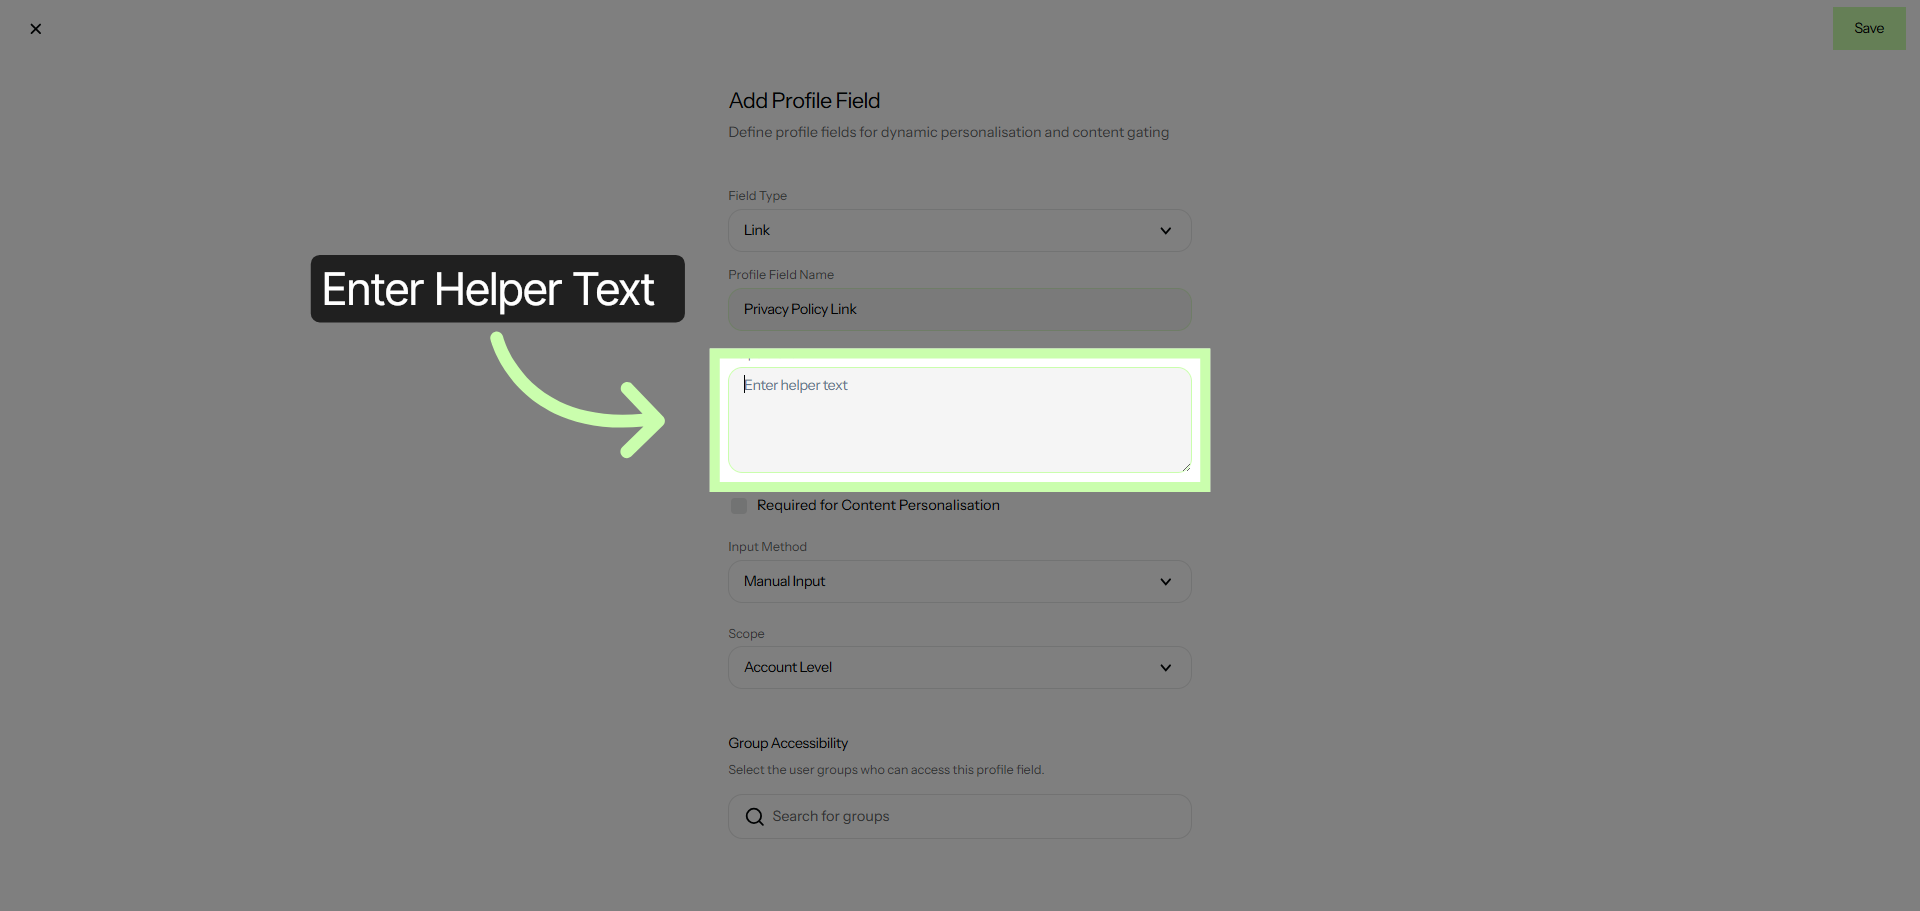
11. Provide Helper Text Details
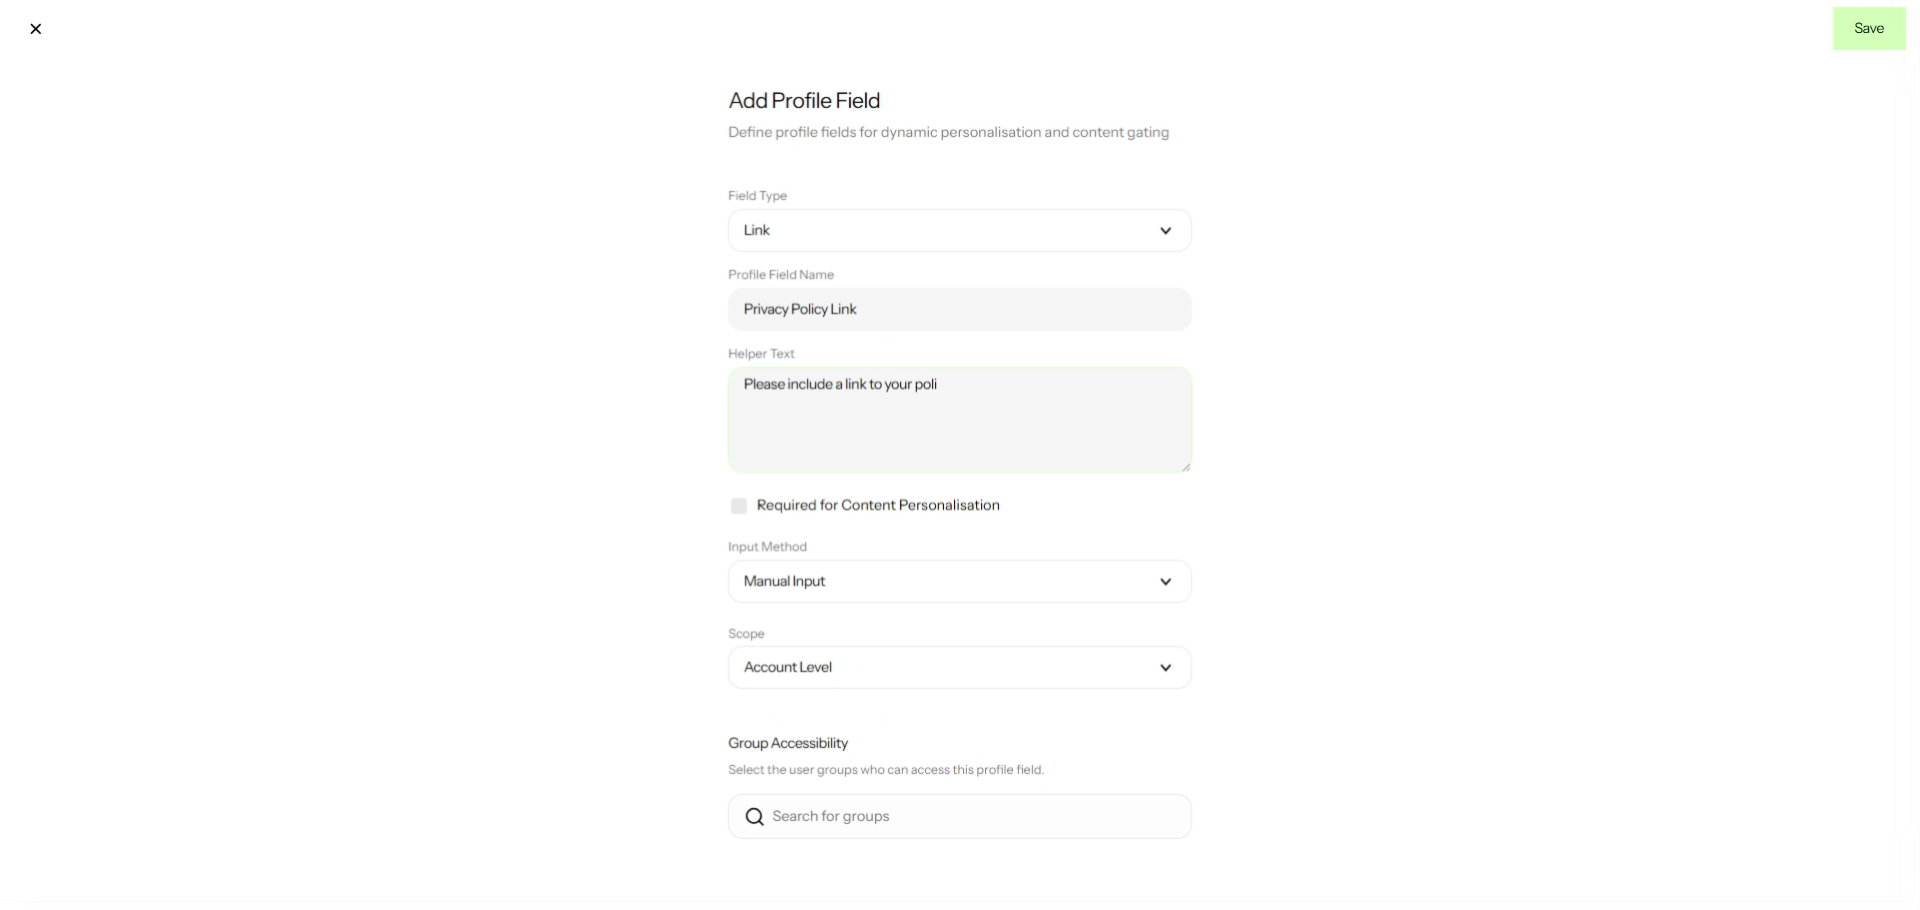
12. Confirm Manual Input Setting
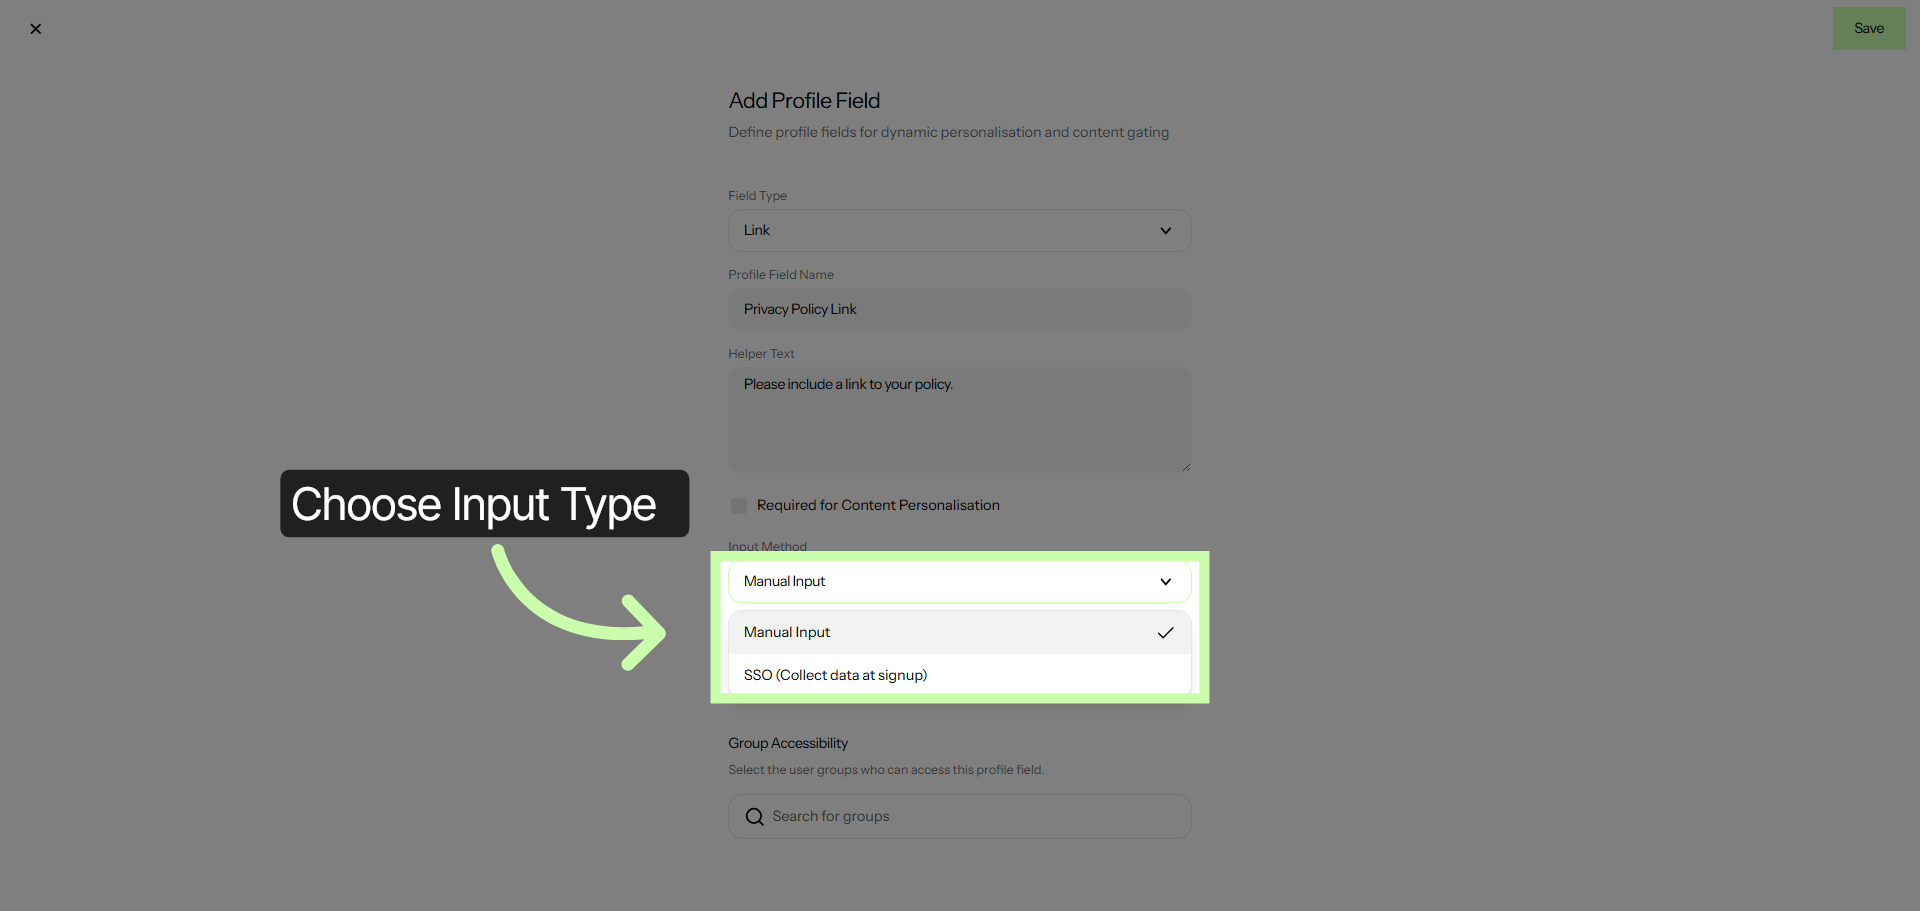
13. Confirm Account Level Setting
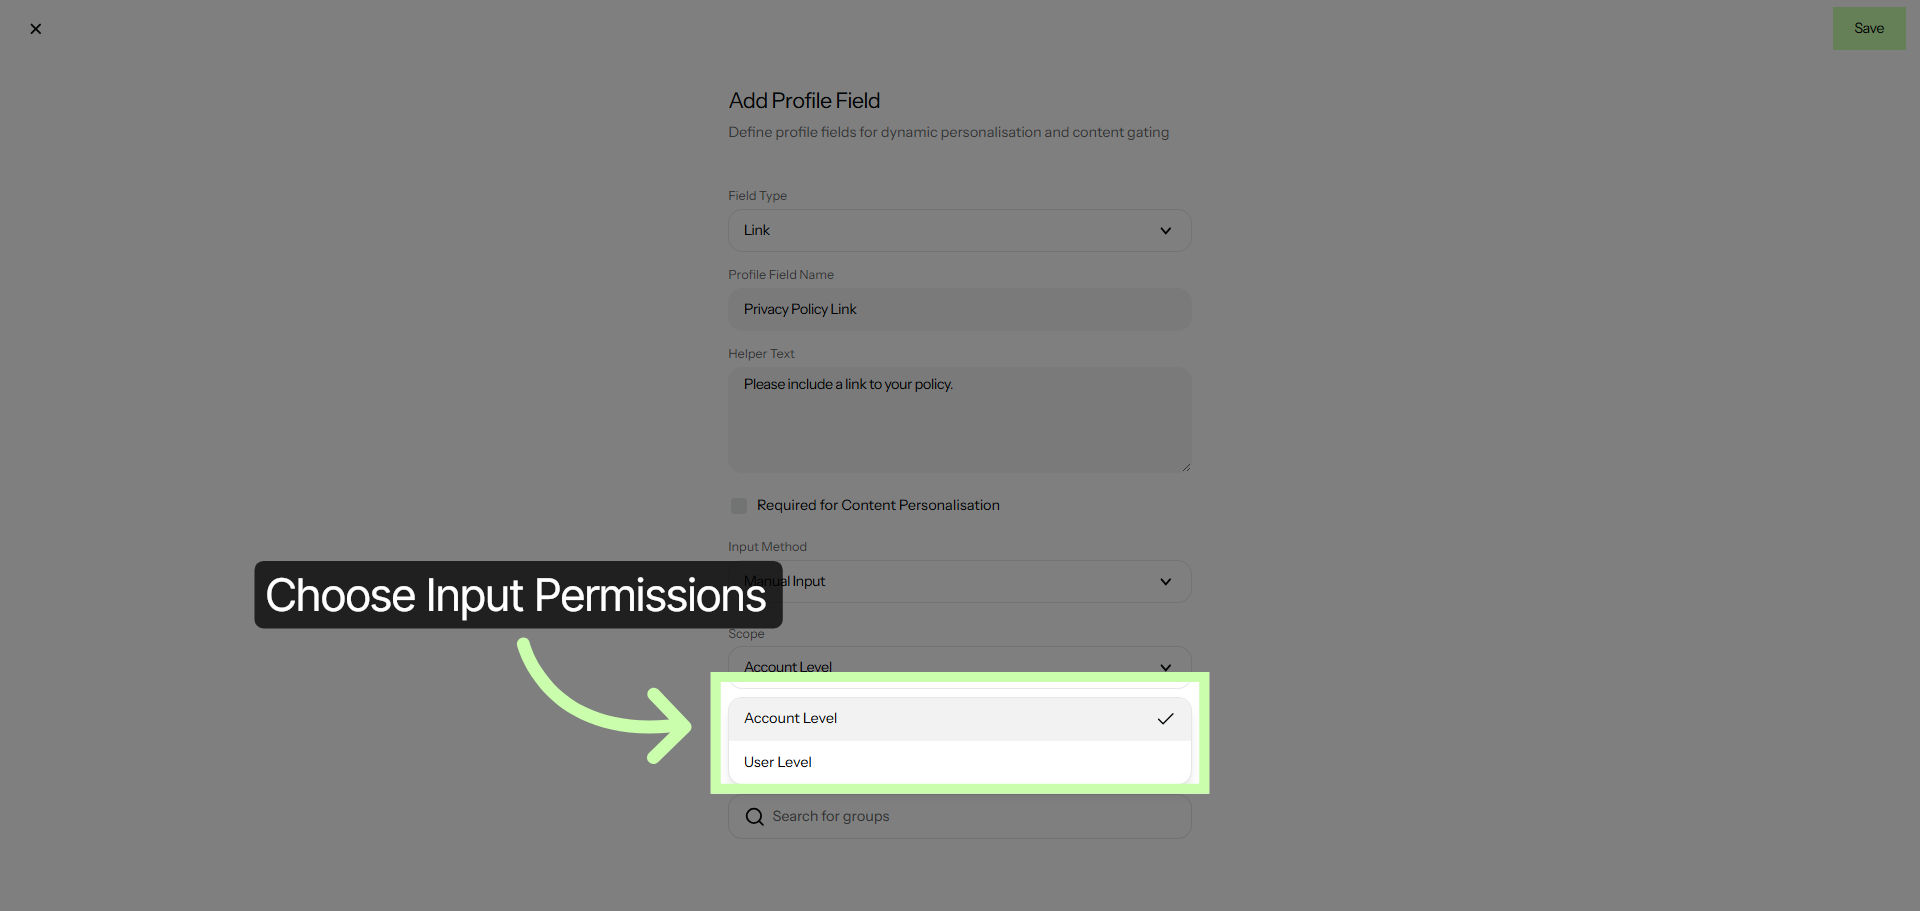
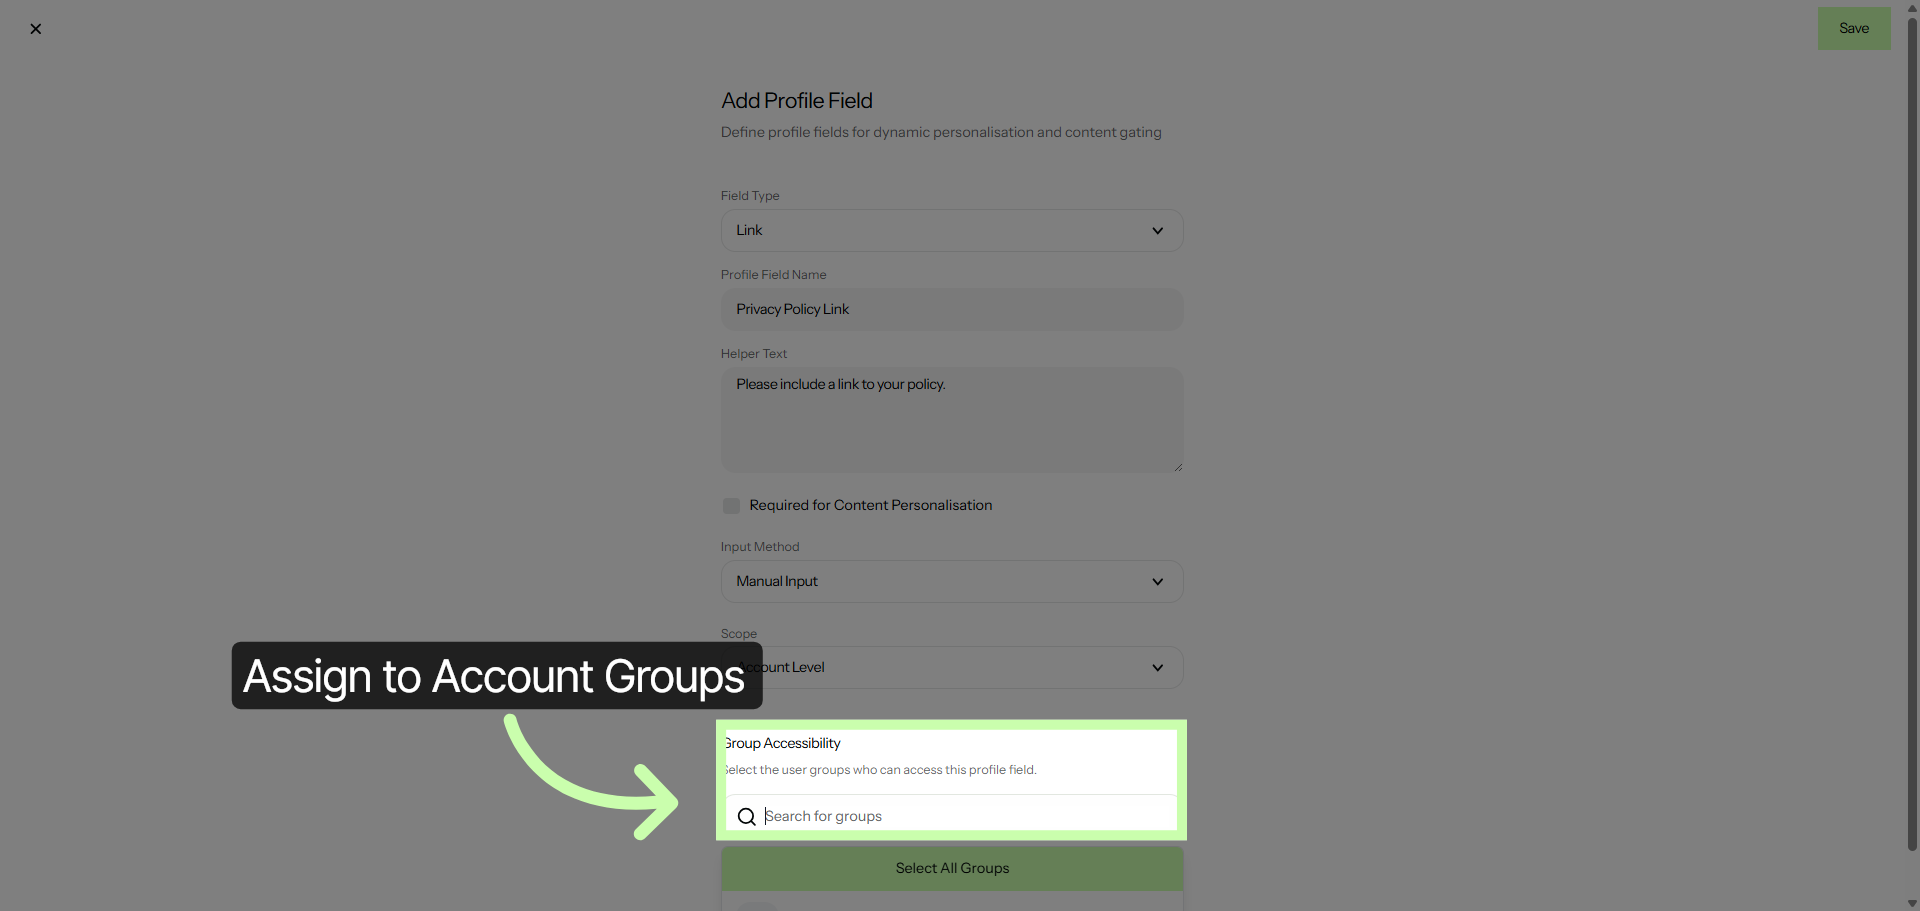
14. Search for Groups
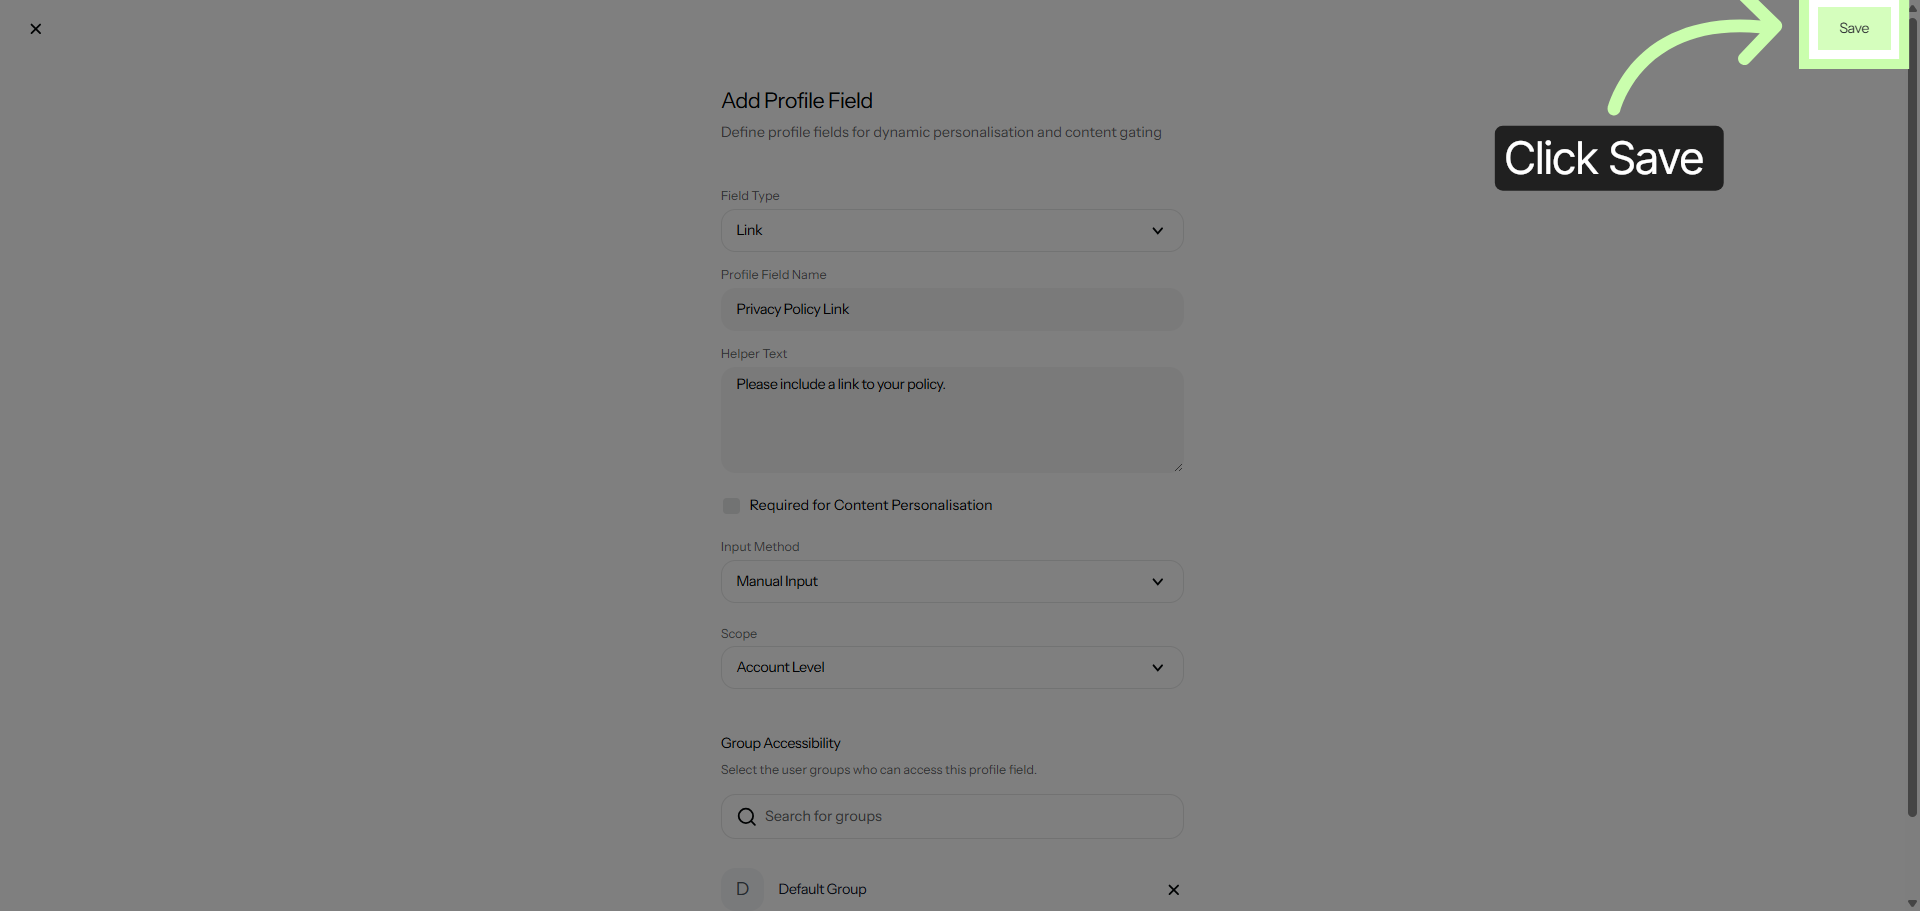
15. Save New Account Field
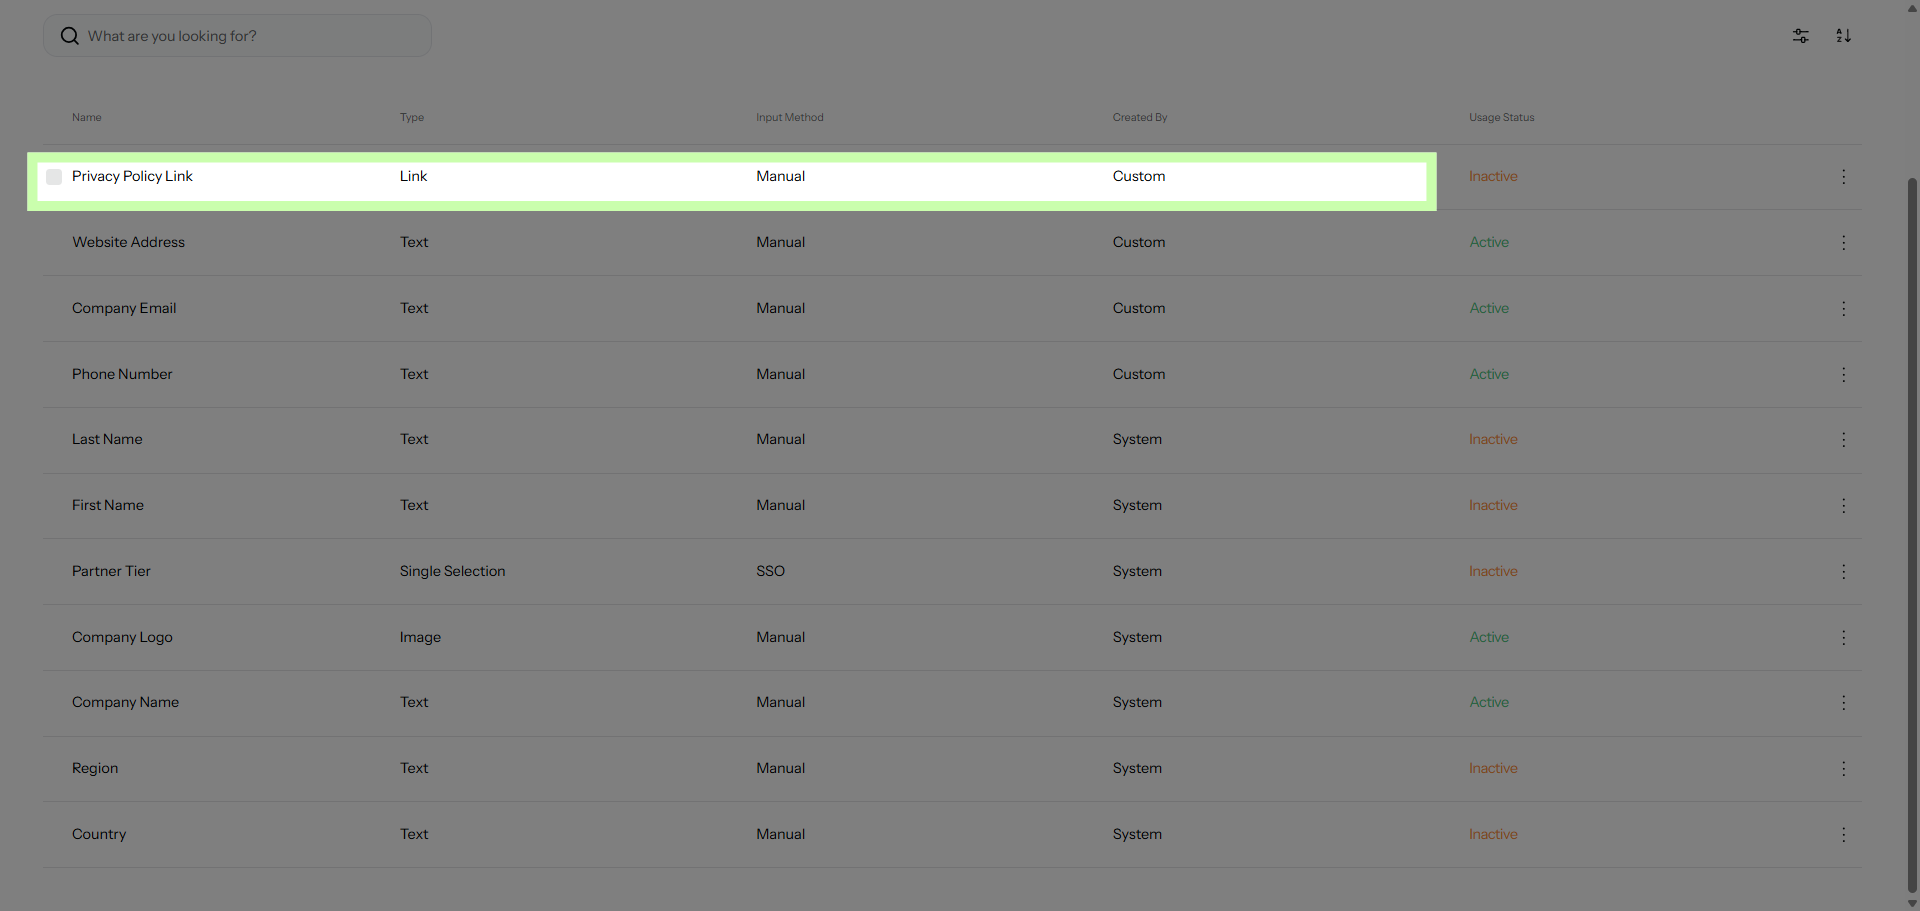
16. Set Field to Inactive
The following video provides a comprehensive demonstration on how to effectively manage Account Fields. It walks you through the entire process, explaining each step in detail to ensure you understand how to customize and organize the fields within your account.
By watching this video, you will gain valuable insights into managing your account settings more efficiently and tailoring the fields to better suit your specific needs.