
 Building Campaigns - Phase 3: Final Details & Activation
- How to successfully publish campaigns within the platform.
- The key steps required to prepare a campaign for launch.
- Best practices for ensuring campaigns are published correctly and efficiently.
- How the publishing process supports effective campaign execution and delivery.
|
Before you begin — open your account This is a hands-on, learning-by-doing session. Open app.structured.ai in your browser and log in to your Tenant Account so you can follow along and apply each step in real time. |
|
Phase 1
Purpose & Framework
|
Start Training ➡ |
|
Phase 2
Building the Campaign Structure
|
Start Training ➡ |
|
Phase 3
Final Details & Activation
|
Current Phase ✔ |
Follow Our Step-By-Step Training
1. Introduction
Whether you are new to campaign management or looking to refine your skills, this training will walk you through each phase in detail to ensure your campaigns reach the intended audience and achieve their goals.
The final two steps in building campaigns are automating your workflow and adding settings.
2. Proceed to Campaign Delay Settings
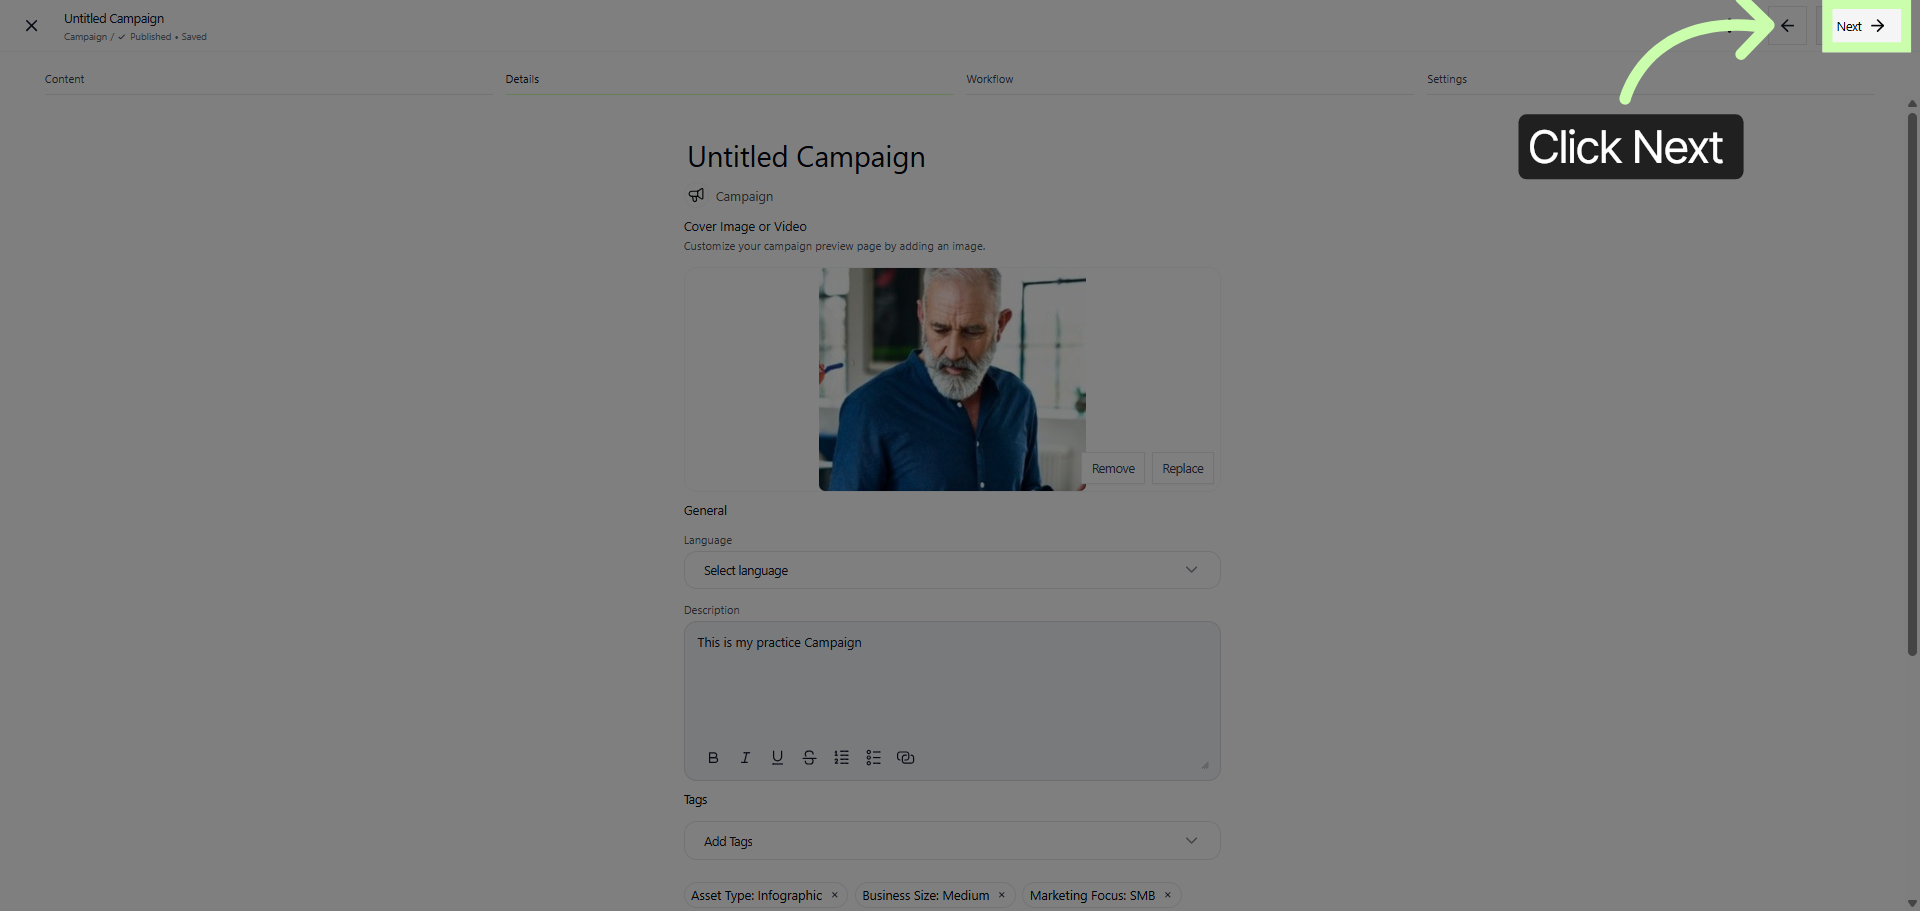
Continuing from the point where you concluded in Phase 2, please click on the Next button. This action will allow you to proceed smoothly to the subsequent stage, which is the automation step. By doing so, you will be guided forward in the process without missing any important steps.
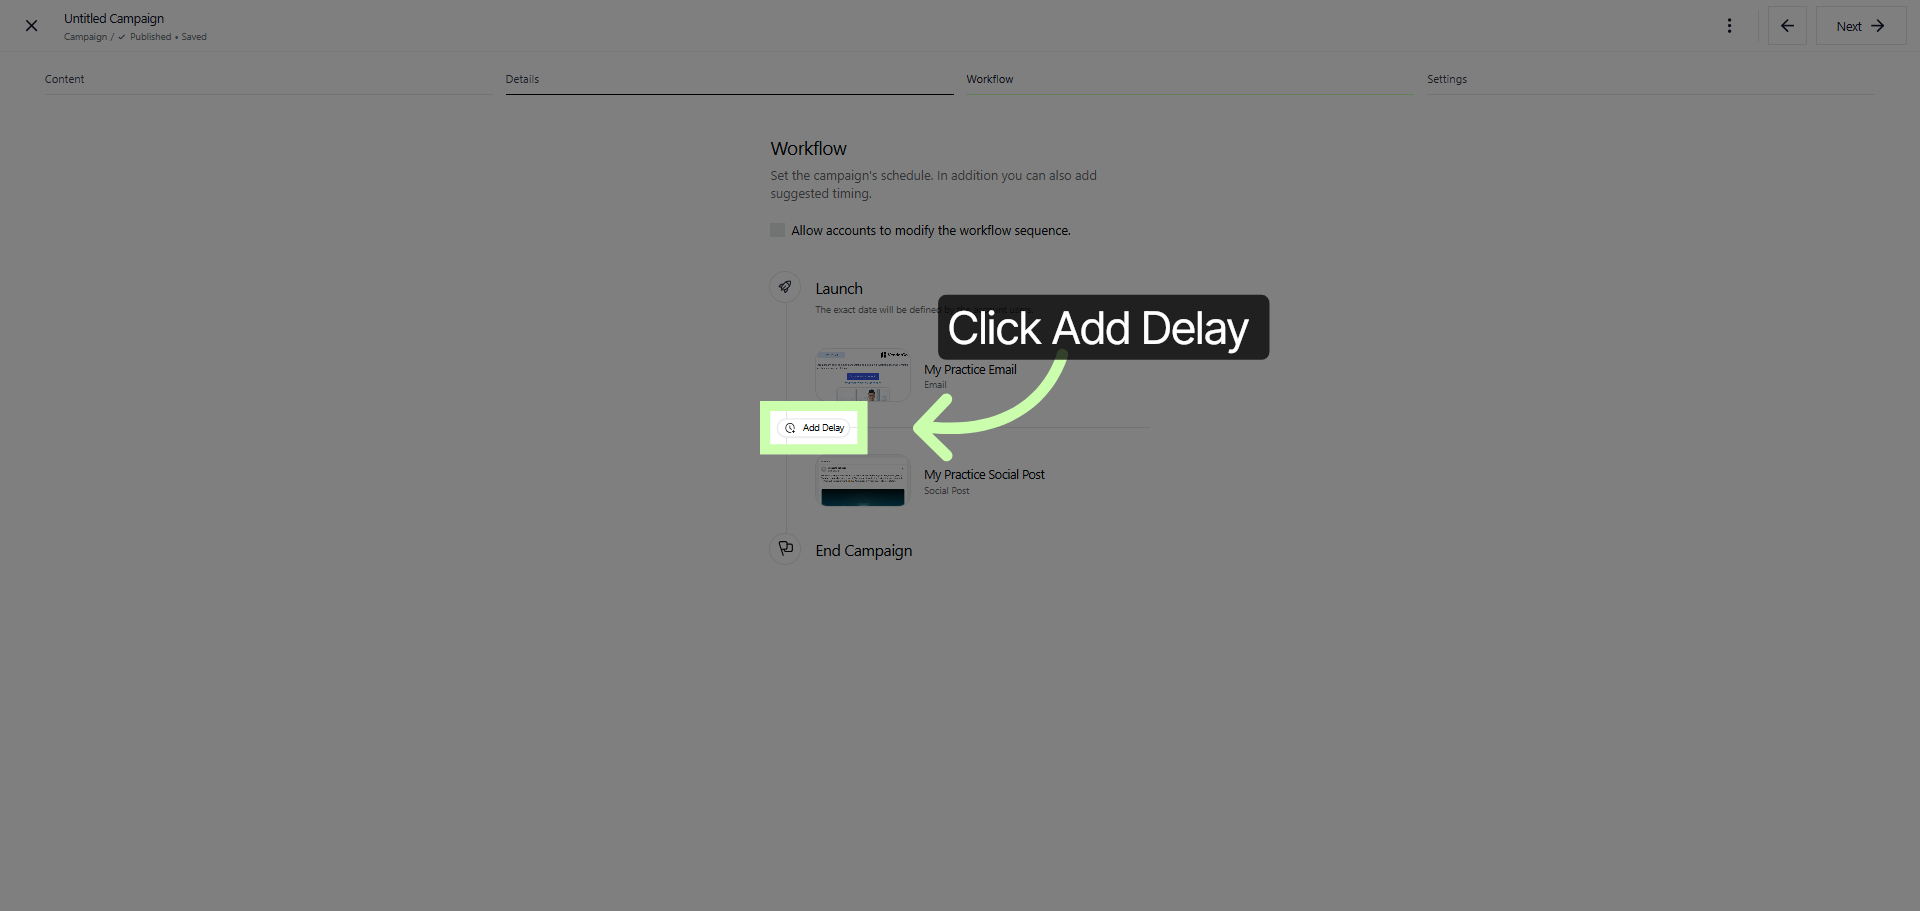
3. Add Delay to Campaign
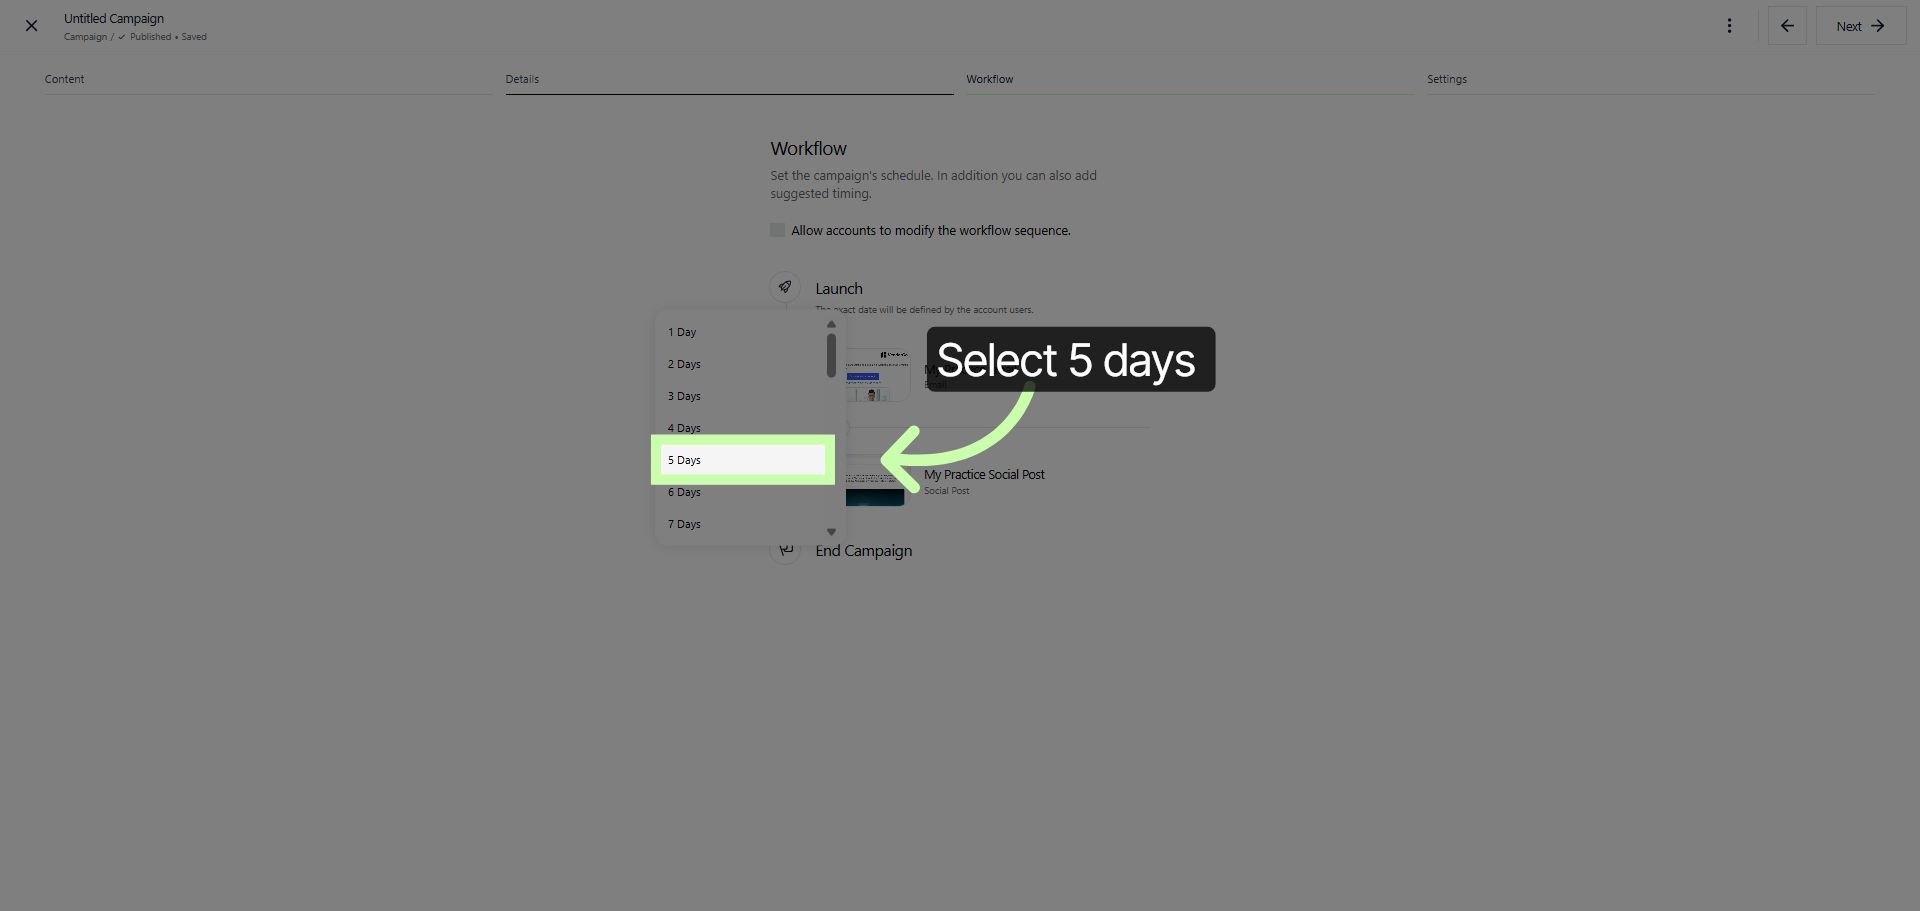
4. Set Delay Duration
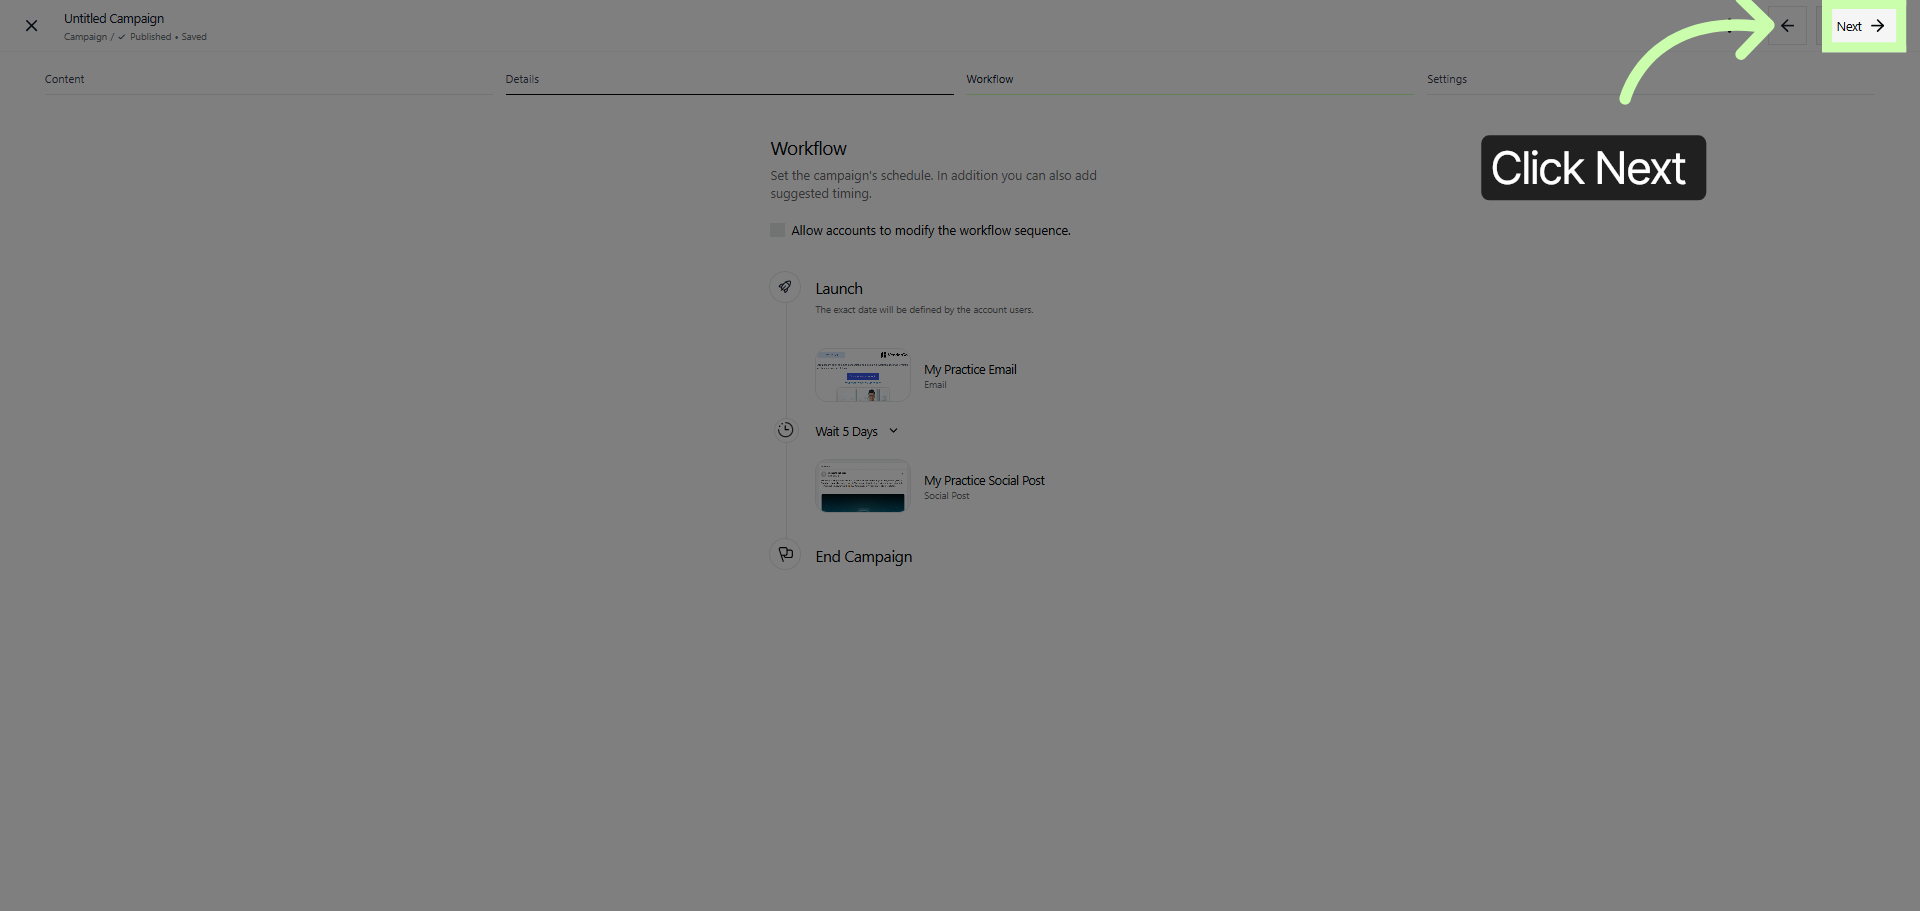
5. Continue to Next Step
Click Next to proceed to the following step in the campaign setup process. This will allow you to continue configuring your campaign and move forward with the necessary settings and options.
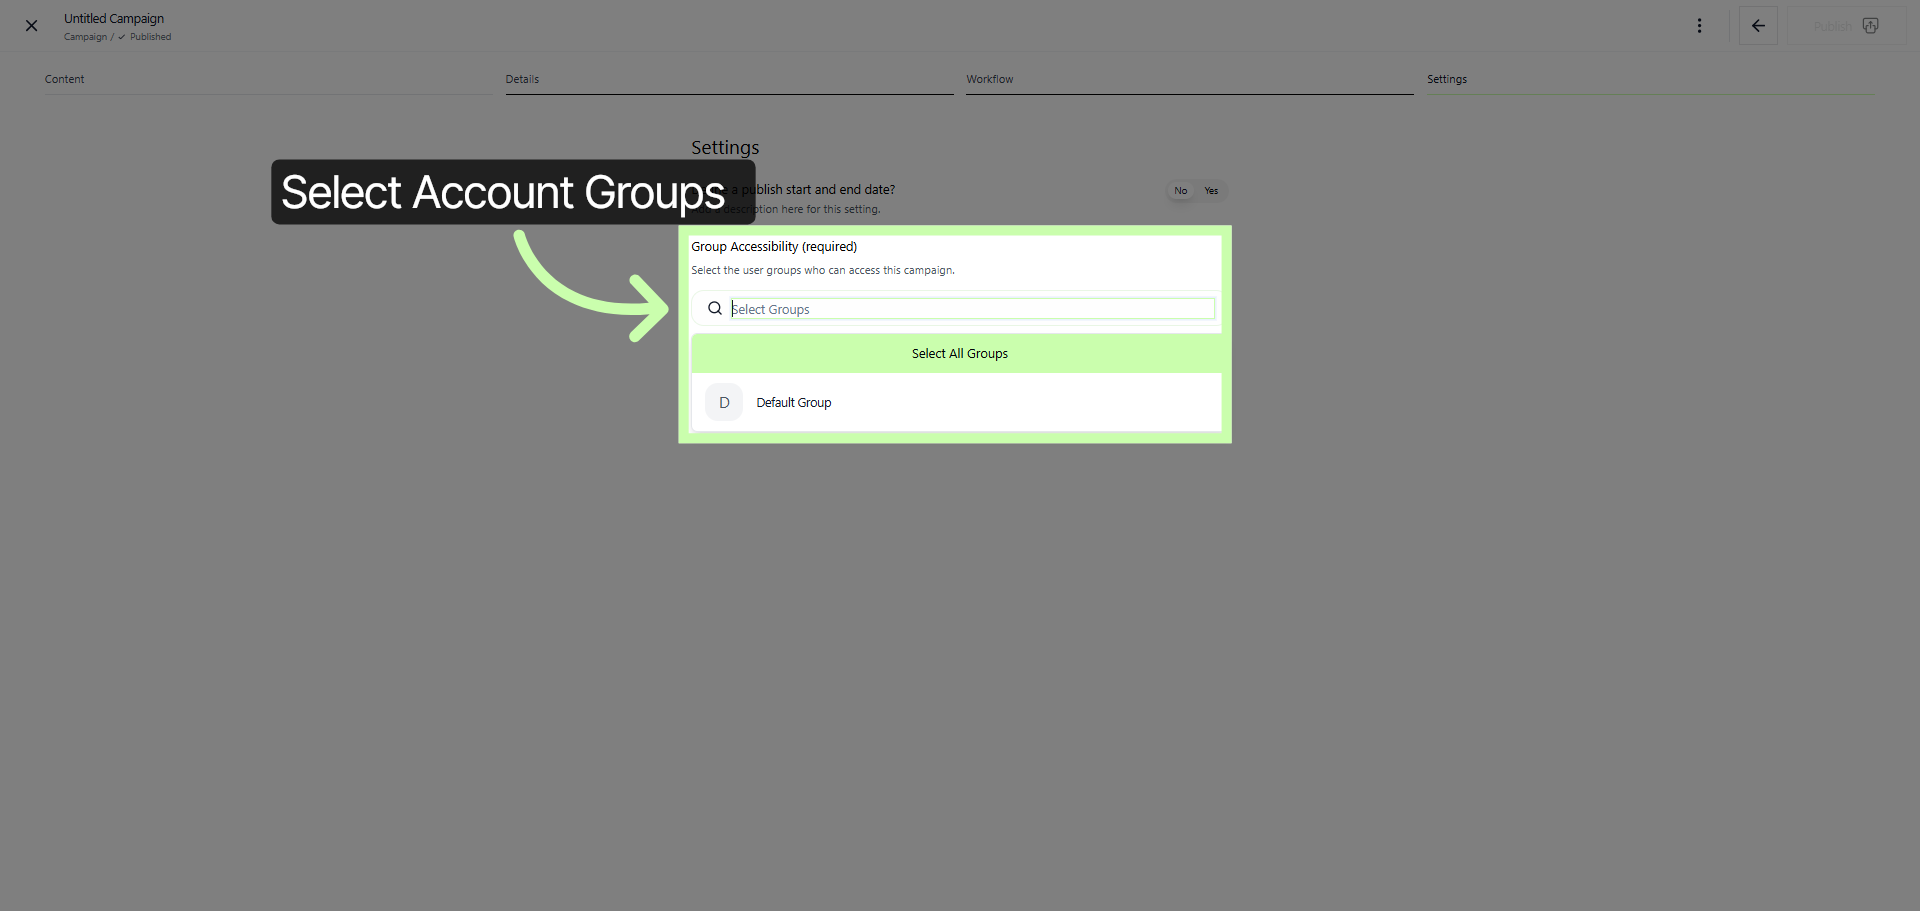
6. Search for Groups
In the section labeled Group Accessibility, you will find an option to select the specific Account Group to which you want to be able to access the campaign. This allows you to control and manage which group of accounts will have access to or be targeted by the campaign, ensuring that your campaign reaches the appropriate audience within your organizational structure.
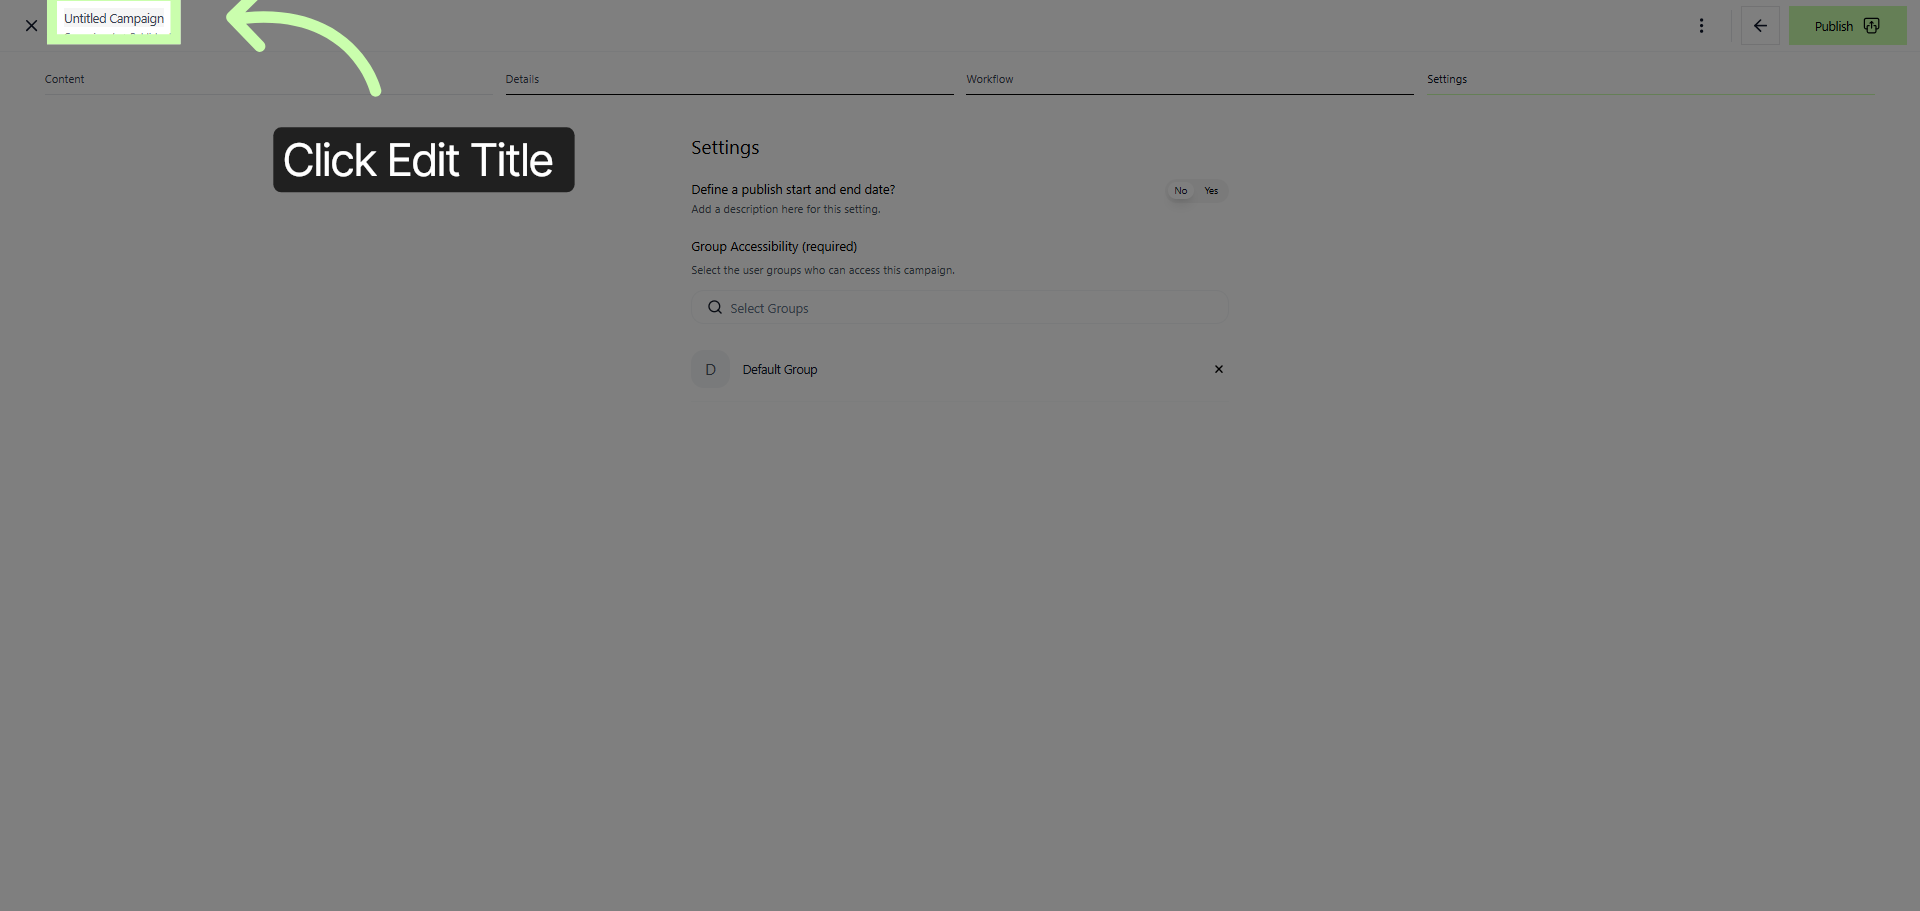
7. Edit Campaign Title
To change the campaign's title, simply click inside the title section. This action will allow you to edit and customize the title according to your preferences or campaign requirements. By selecting this area, you can easily update the text to better reflect the theme or purpose of your campaign, ensuring that it captures the attention of your audience effectively.
8. Enter Campaign Name
9. Publish Campaign
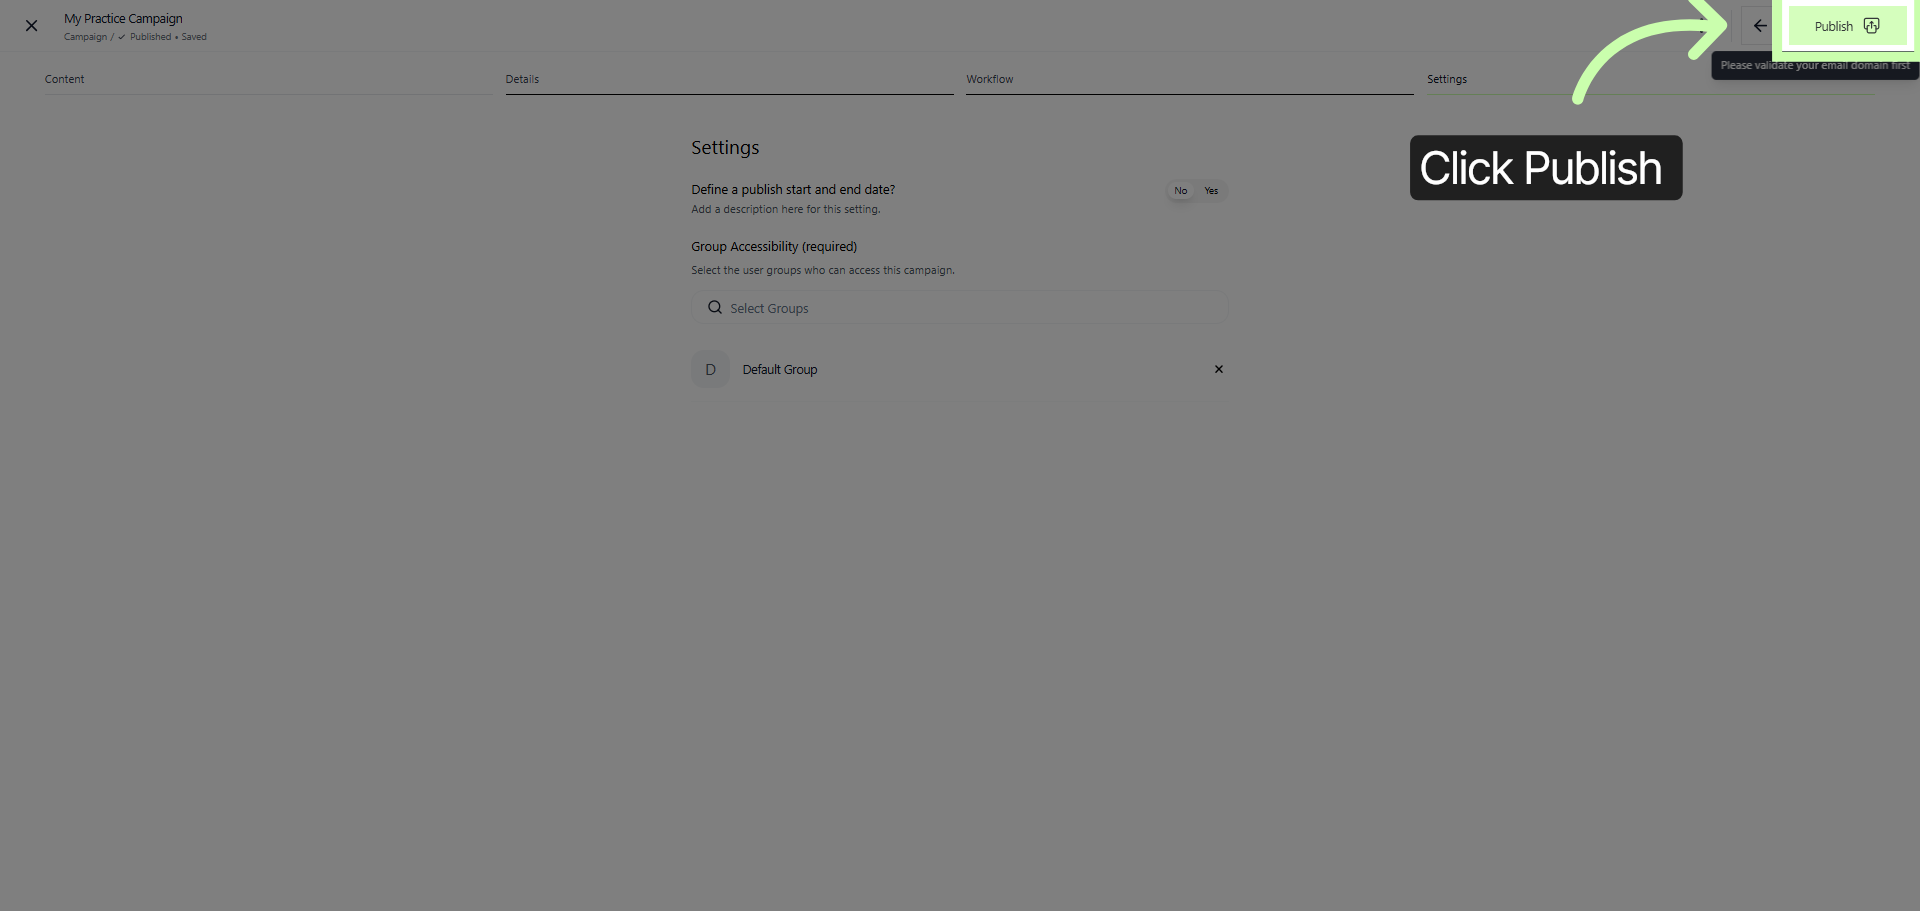
Congratulations! You have successfully created and launched a campaign. This marks an important milestone in your marketing efforts, showcasing your ability to design, organize, and execute a strategic plan aimed at reaching your target audience effectively.
Finished? Move Back to Main List of All Tenant Trainings →