
 Creating Collections - Phase 2: Building the Collection
- How to create a Collection step by step within the platform.
- The key components required to successfully build a Collection.
- How to organize content effectively using Collections.
- Best practices for creating and managing Collections for long-term usability.
|
Before you begin — open your account This is a hands-on, learning-by-doing session. Open app.structured.ai in your browser and log in to your Tenant Account so you can follow along and apply each step in real time. |
|
Phase 1
Purpose & Framework
|
Start Training ➡ |
|
Phase 2
Building the Collection
|
Current Phase ✔ |
|
Phase 3
Final Details & Activation
|
Start Training ➡ |
Follow Our Step-By-Step Training
1. Introduction
A Collection serves as a tool specifically created to help organize marketing materials that are not part of an automated workflow. These collections provide Vendors and Partners with the ability to group together related assets based on common themes, target audiences, or specific marketing initiatives.
By using Collections, teams can efficiently manage and access their marketing resources in a structured way, ensuring that all relevant materials are easily found and utilized for various campaigns or projects.
Let's get started! To begin, the first step is to gather and organize all the content related to the Collection. This involves compiling all the necessary materials, information, and resources associated with the Collection to ensure a smooth and efficient workflow moving forward.
2. Create Collection
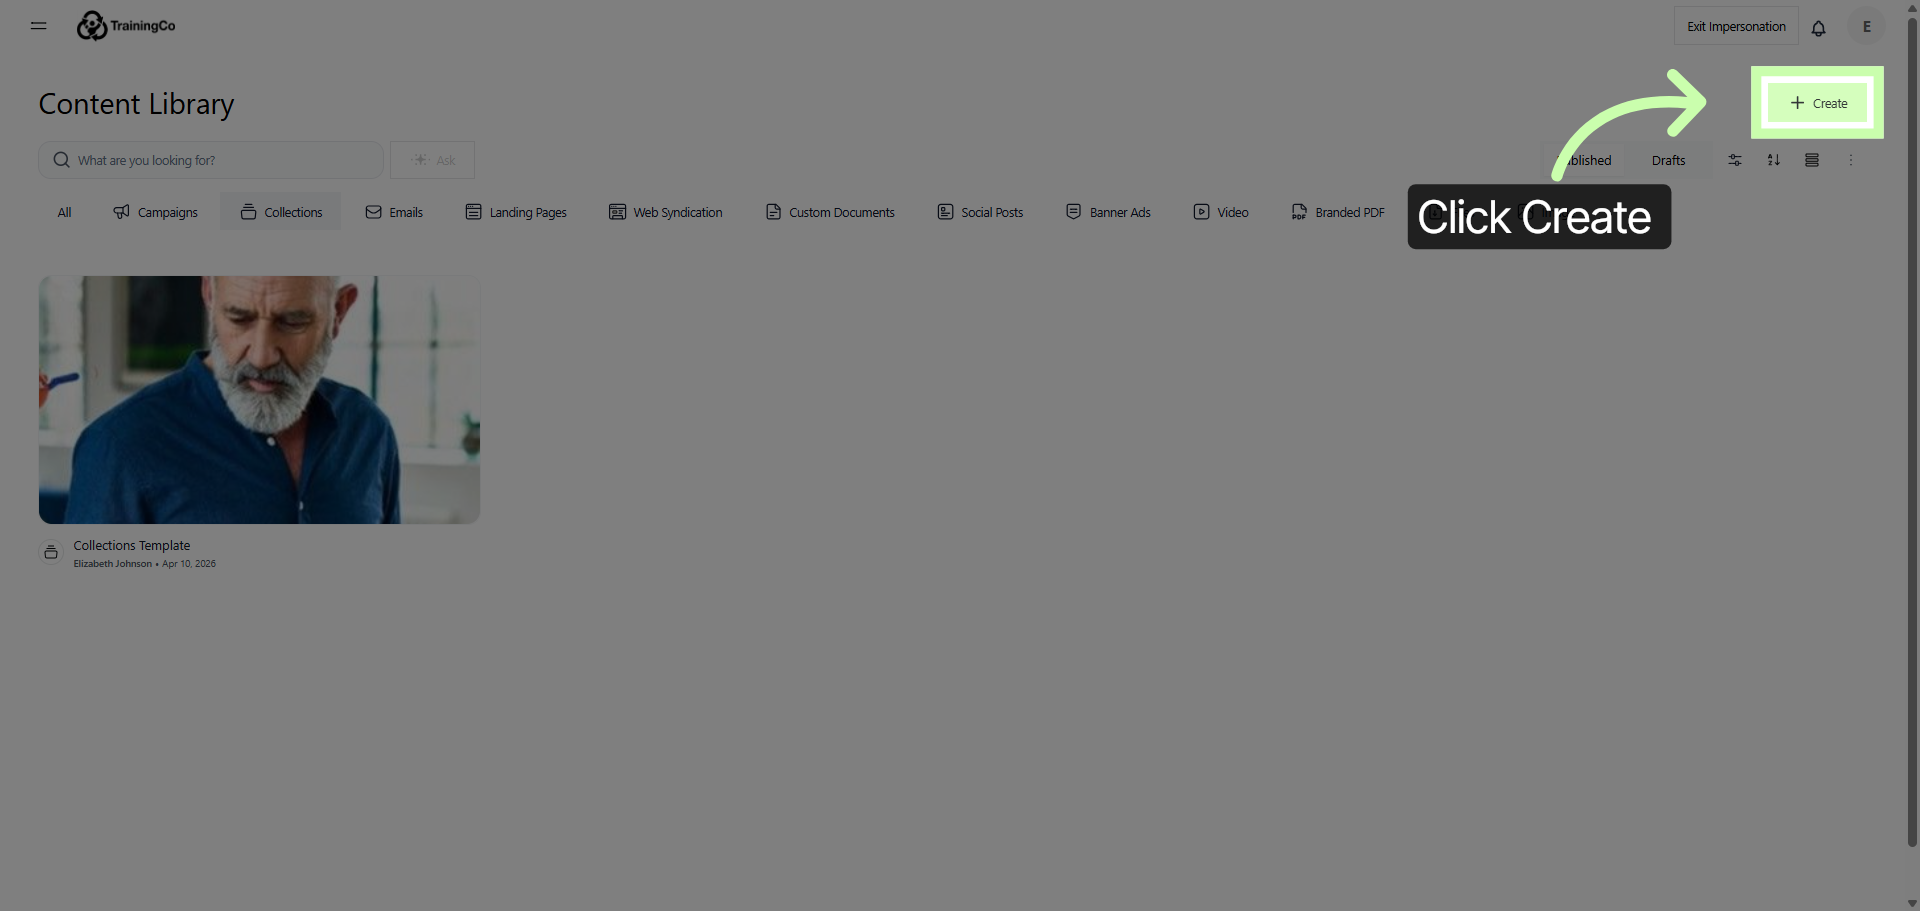
To access an existing Collection or to create a brand new one, you should begin by navigating to the Content Library. This is the central hub where all your collections and content are organized and managed.
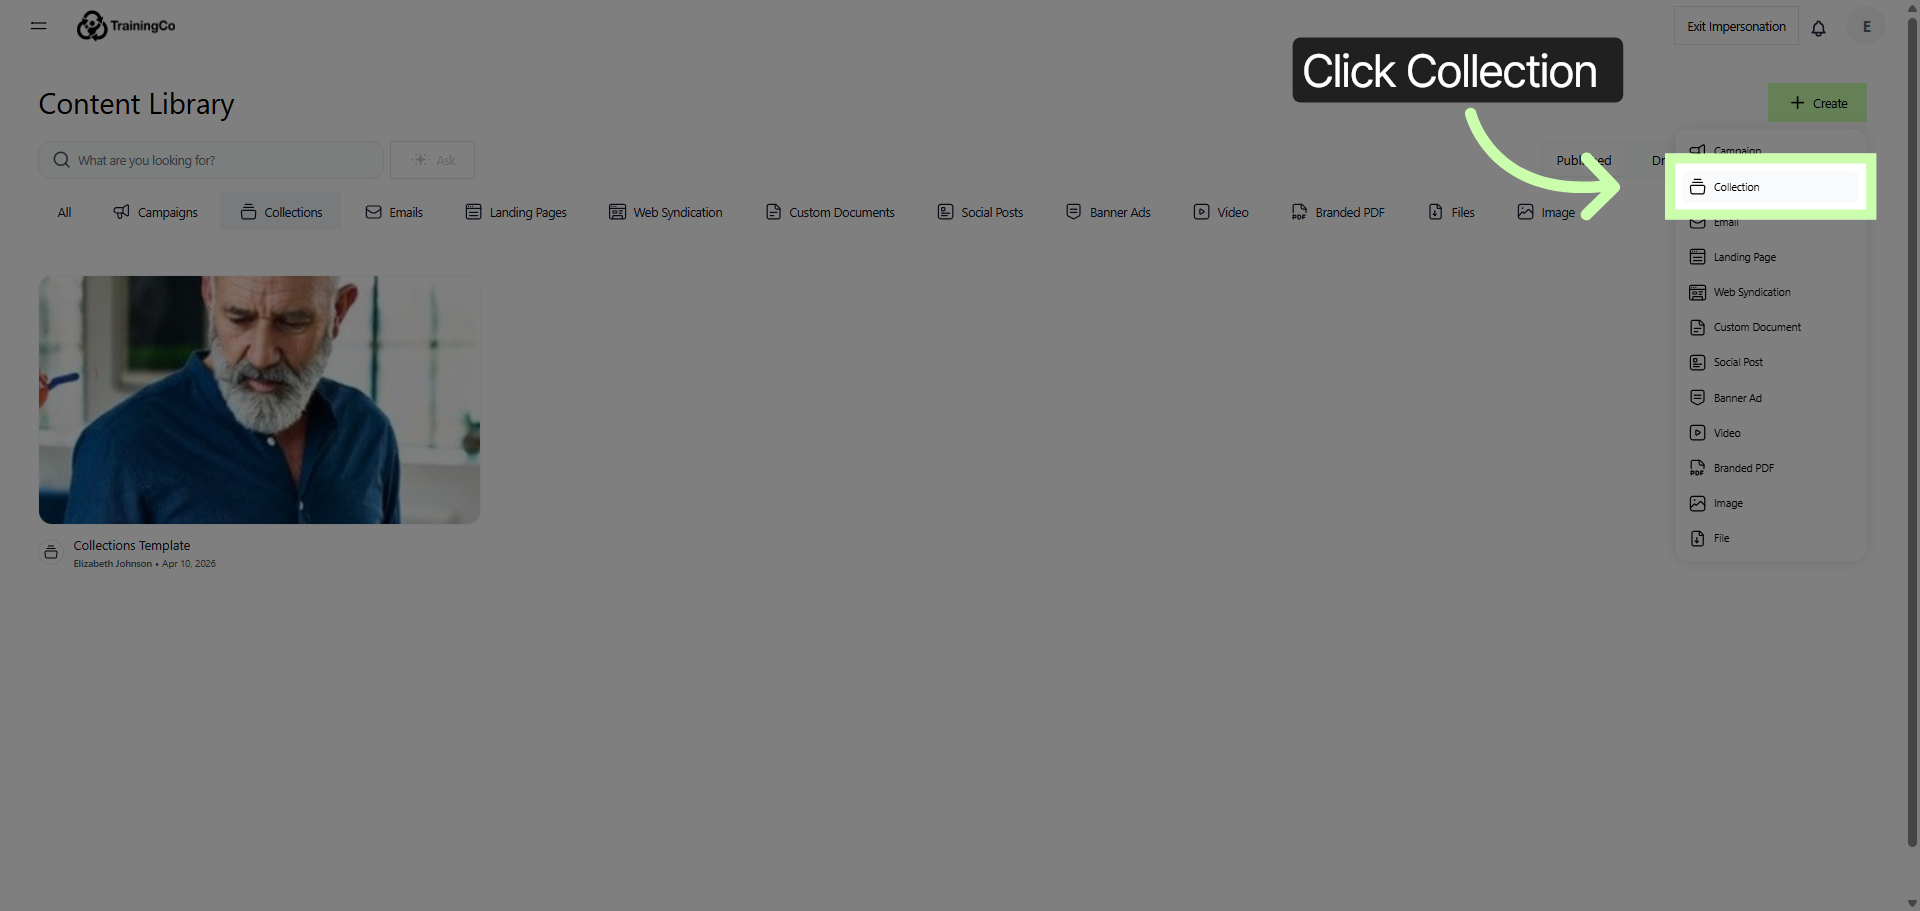
Once you have arrived at the Content Library, look for the option labeled Create. This option allows you to initiate the process of making a new collection from scratch, enabling you to customize and add content according to your needs.
By selecting "Create," you will be guided through the necessary steps to build your collection efficiently and effectively.
3. Initiate New Collection
4. Access Collection Editing
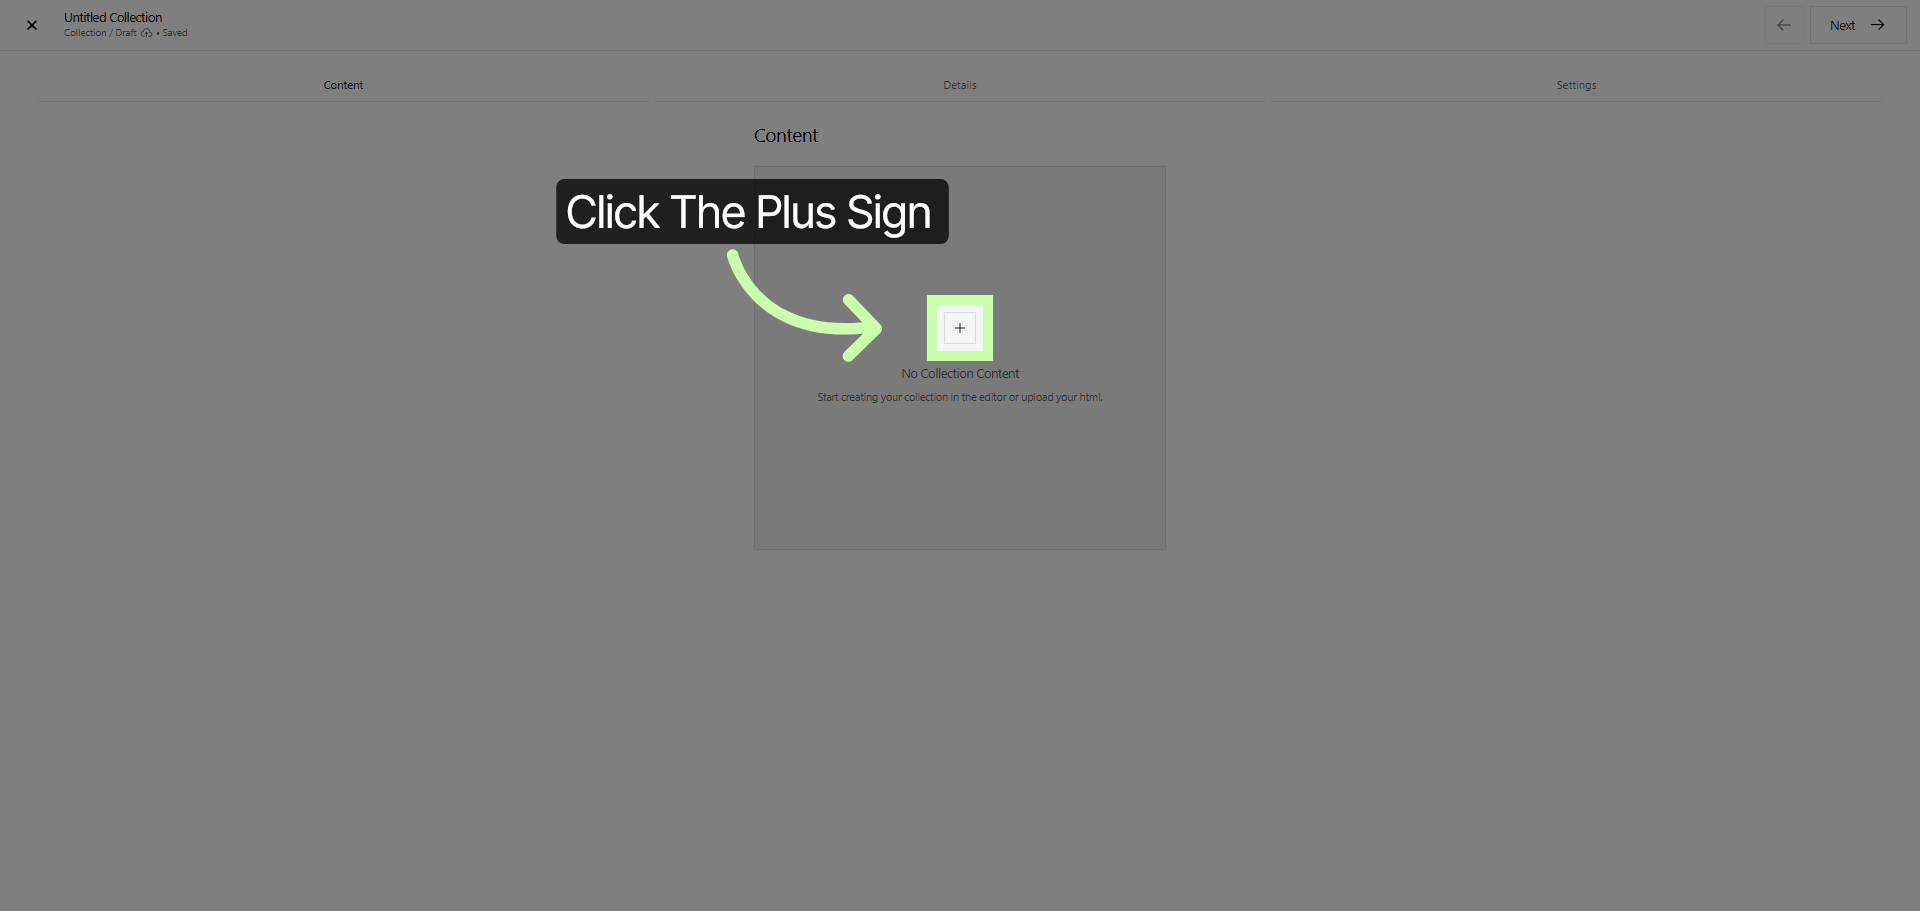
Within the Content Tab, start by clicking on the Plus Sign +. This action will initiate the process of adding new Campaign Content to your existing Collection.
By doing so, you can easily expand and customize the content within your collection, allowing you to tailor your campaign materials to better suit your goals and audience. This step is essential for organizing and managing your campaign assets efficiently.
5. Add Content To Collection
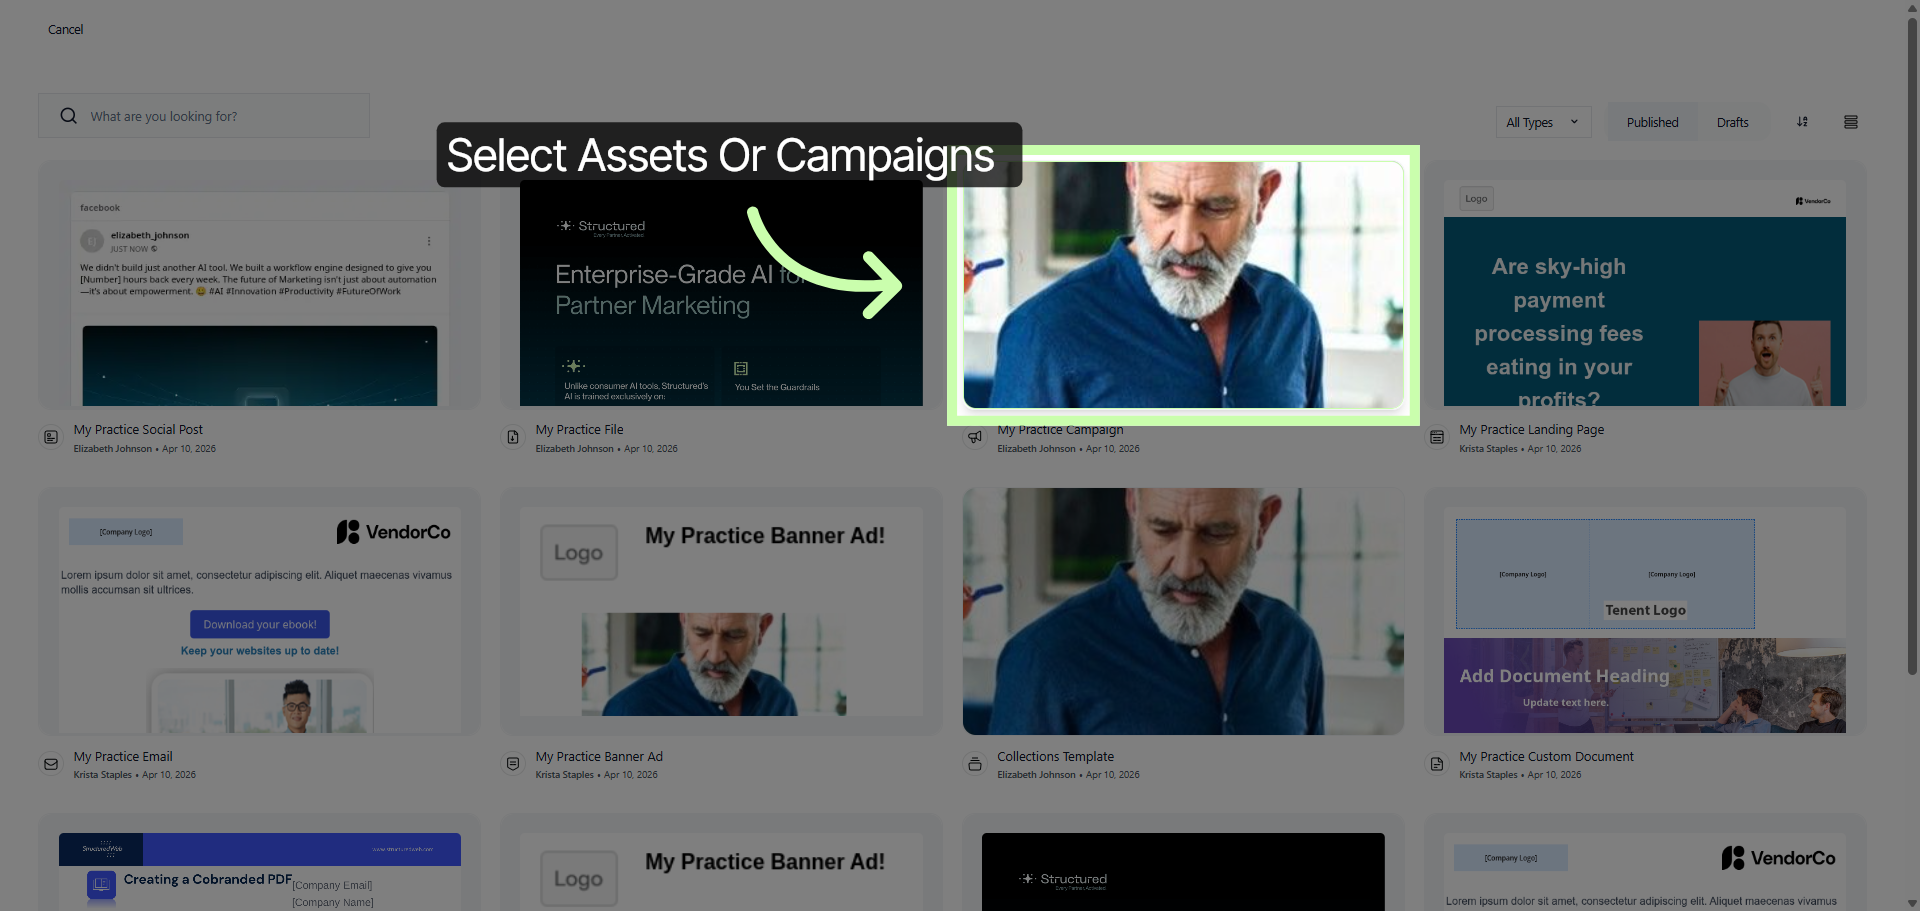
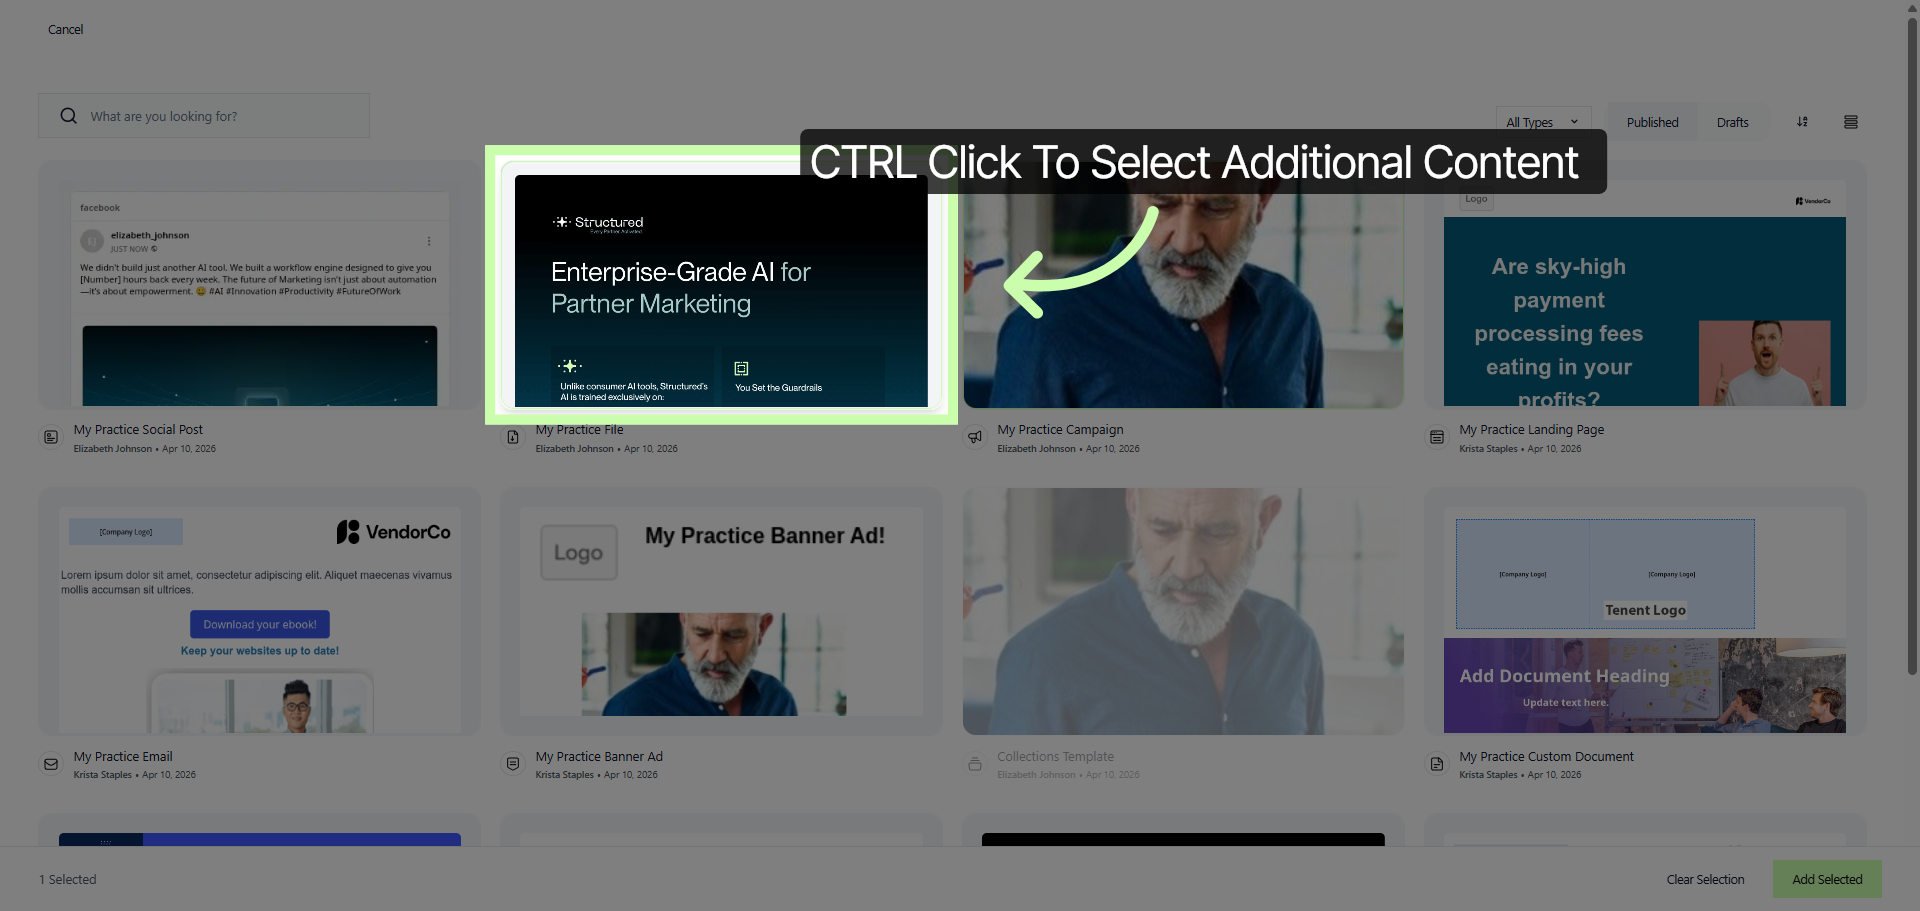
To begin, please click on any asset or campaign card that interests you.
Selecting an asset is the first step in navigating through the available options and customizing your experience according to your preferences.
6. Select Additional Content
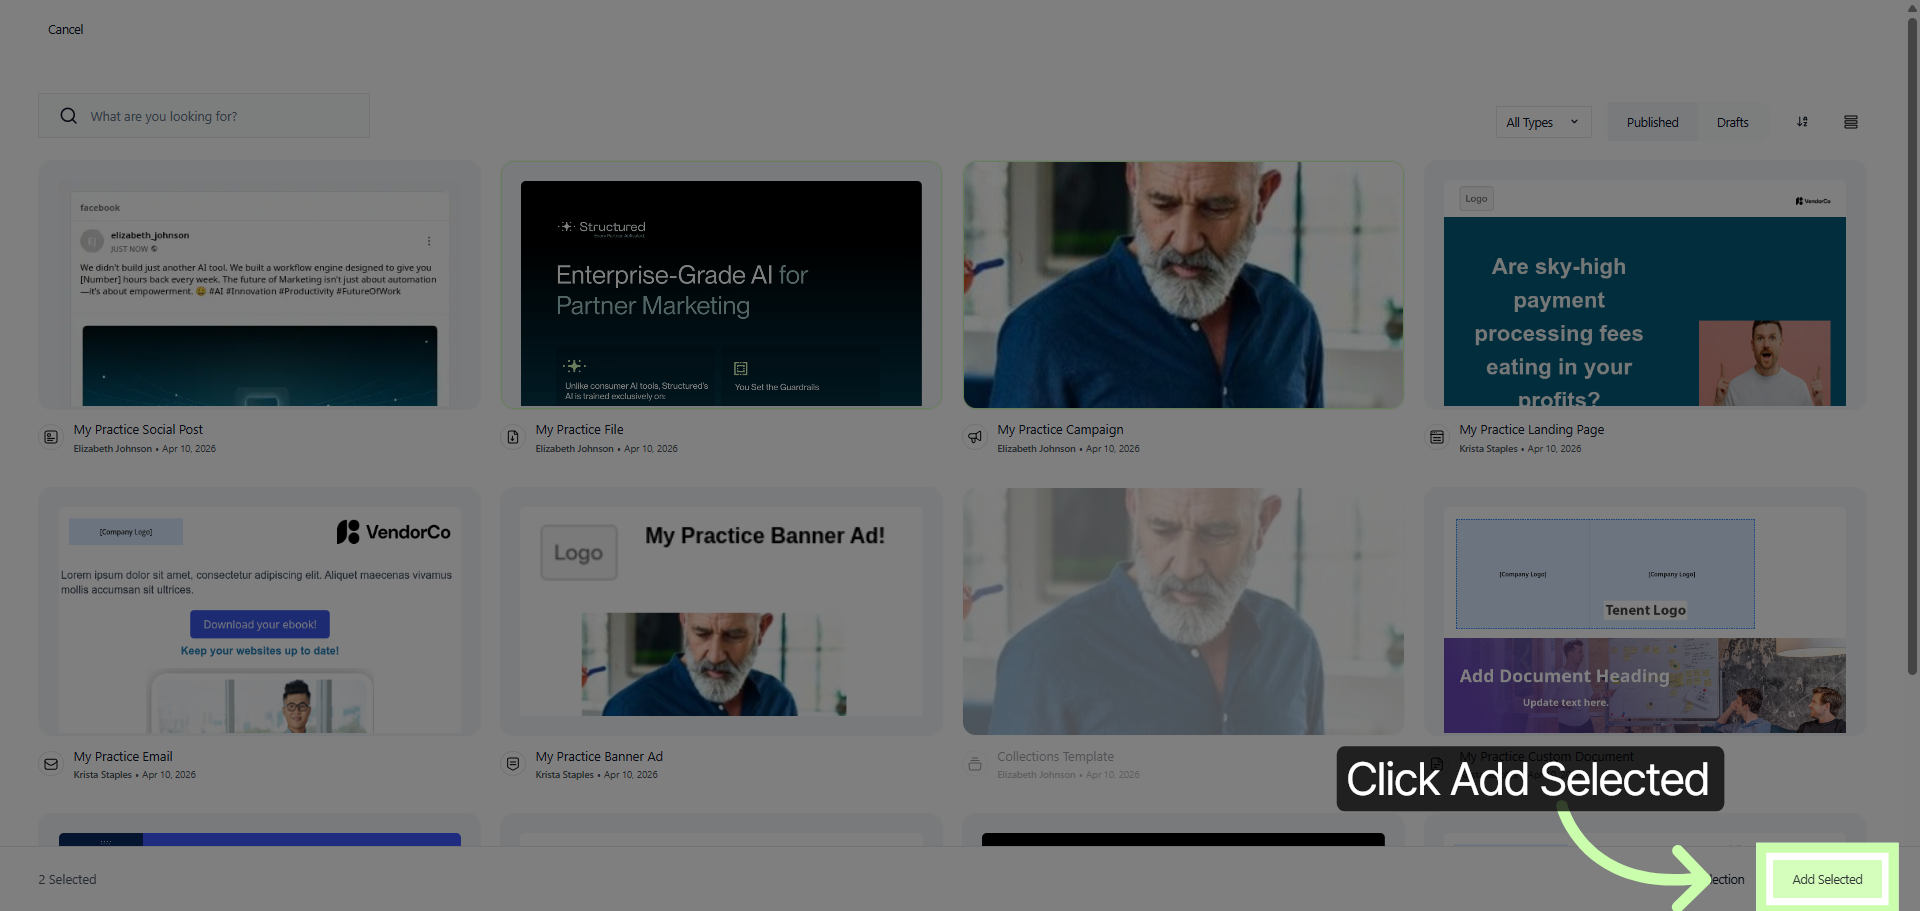
7. Add Selected Content
You can begin adding content to your Collection, such as:
Campaigns
Collections
Emails
Landing Pages
Custom Documents
Social Posts
Banner Ads
Co-Branded PDF's
Files
Images
Great Job!
You have successfully completed the current phase. The next step will guide you through the process of publishing a Collection. This phase is important as it will teach you how to make your collection available to others. To continue, please click the link below to move forward to Phase 3.