
 Creating Collections - Phase 3: Final Details & Activation
- How to publish Collections successfully within the platform.
- The steps required to prepare a Collection for publication.
- Best practices for ensuring Collections are published accurately and efficiently.
- How to make published Collections accessible to the intended audience.
|
Before you begin — open your account This is a hands-on, learning-by-doing session. Open app.structured.ai in your browser and log in to your Tenant Account so you can follow along and apply each step in real time. |
|
Phase 1
Purpose & Framework
|
Start Training ➡ |
|
Phase 2
Building the Collection
|
Start Training ➡ |
|
Phase 3
Final Details & Activation
|
Current Phase ✔ |
Follow Our Step-By-Step Training
1. Ready to Publish
By using Collections, teams can efficiently manage and access their marketing resources in a structured way, ensuring that all relevant materials are easily found and utilized for various campaigns or projects.
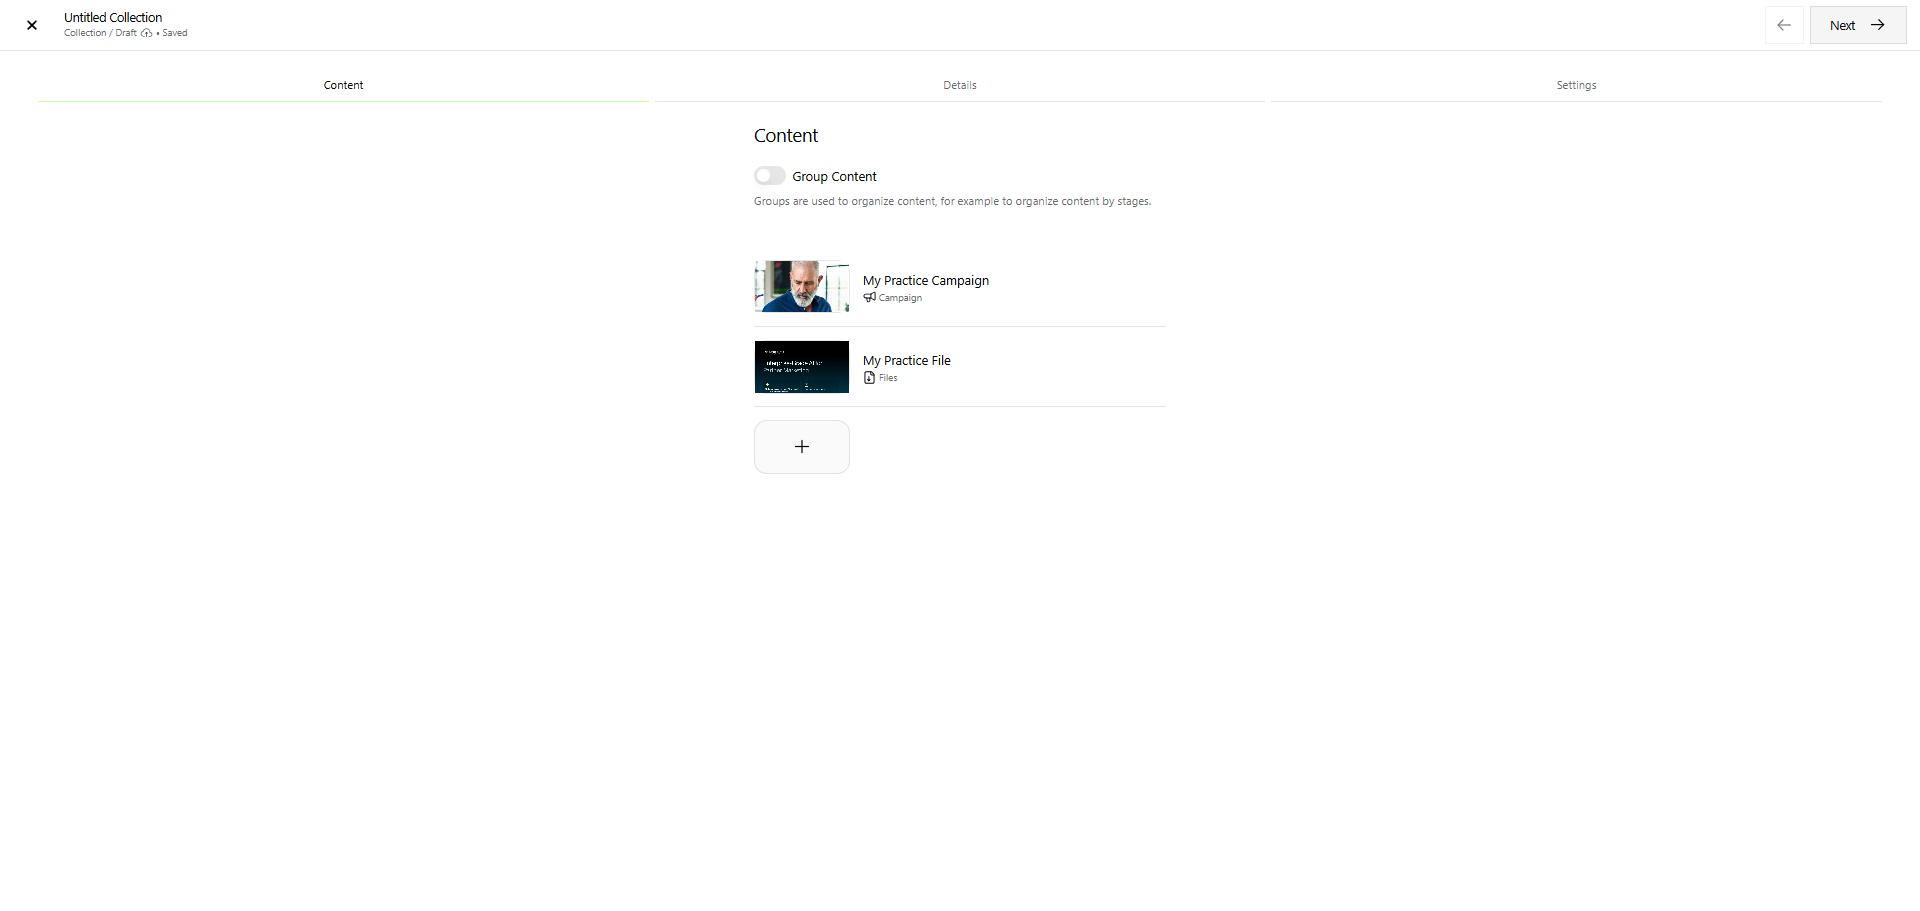
2. Proceed To Next Step
Once all the content is added to the Collection, click Next to proceed to the following step in the Collection setup process.
This action will guide you through the necessary stages to complete the configuration efficiently and ensure that all required information is properly entered. By moving forward, you will be able to finalize the setup and begin utilizing the collection features as intended.
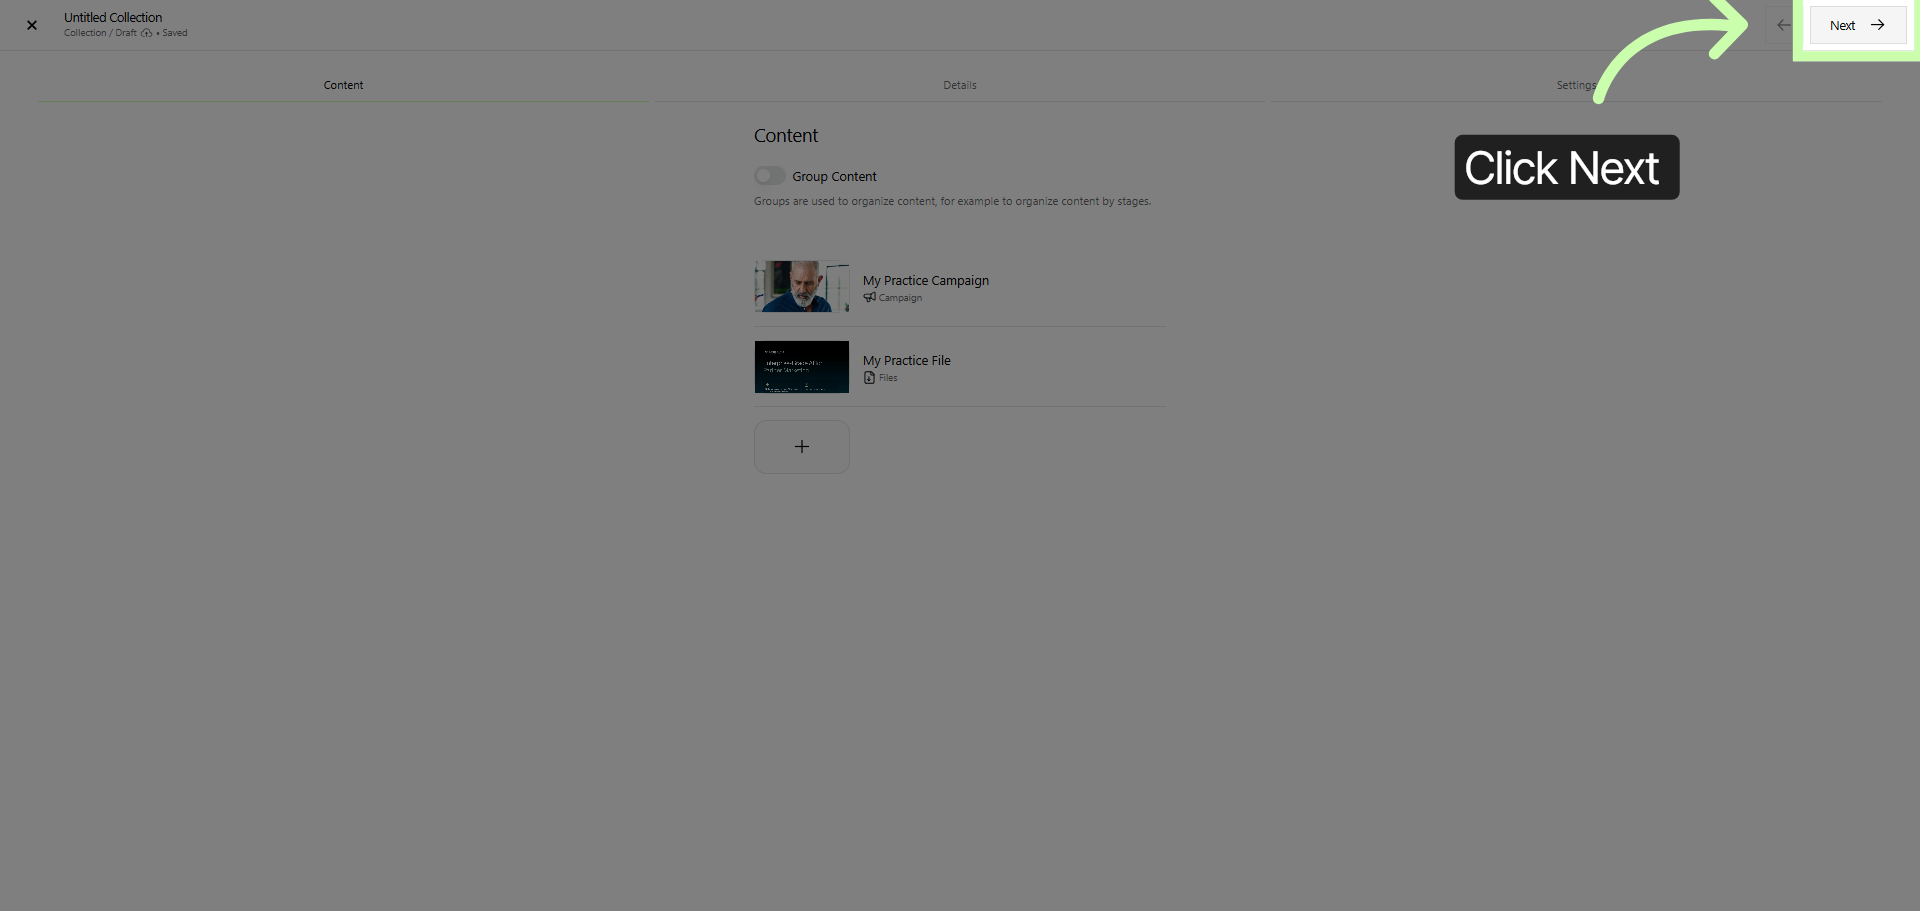
3. Change Cover Image
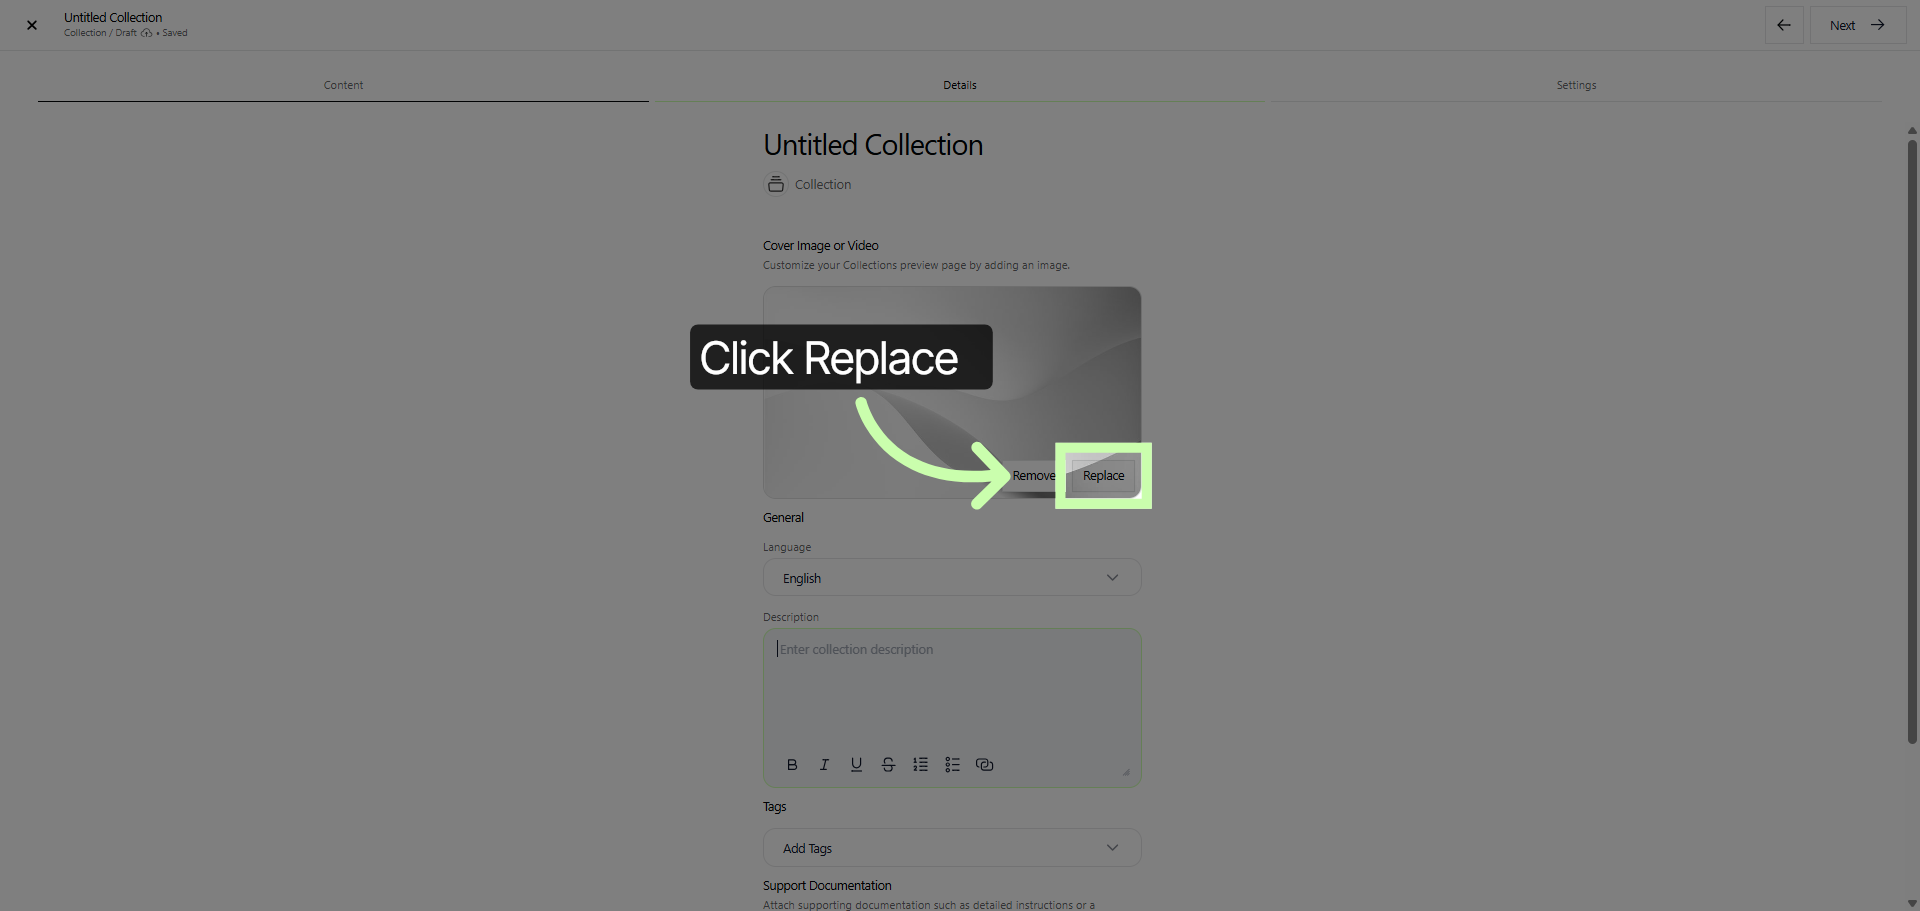
4. Choose New Cover Image
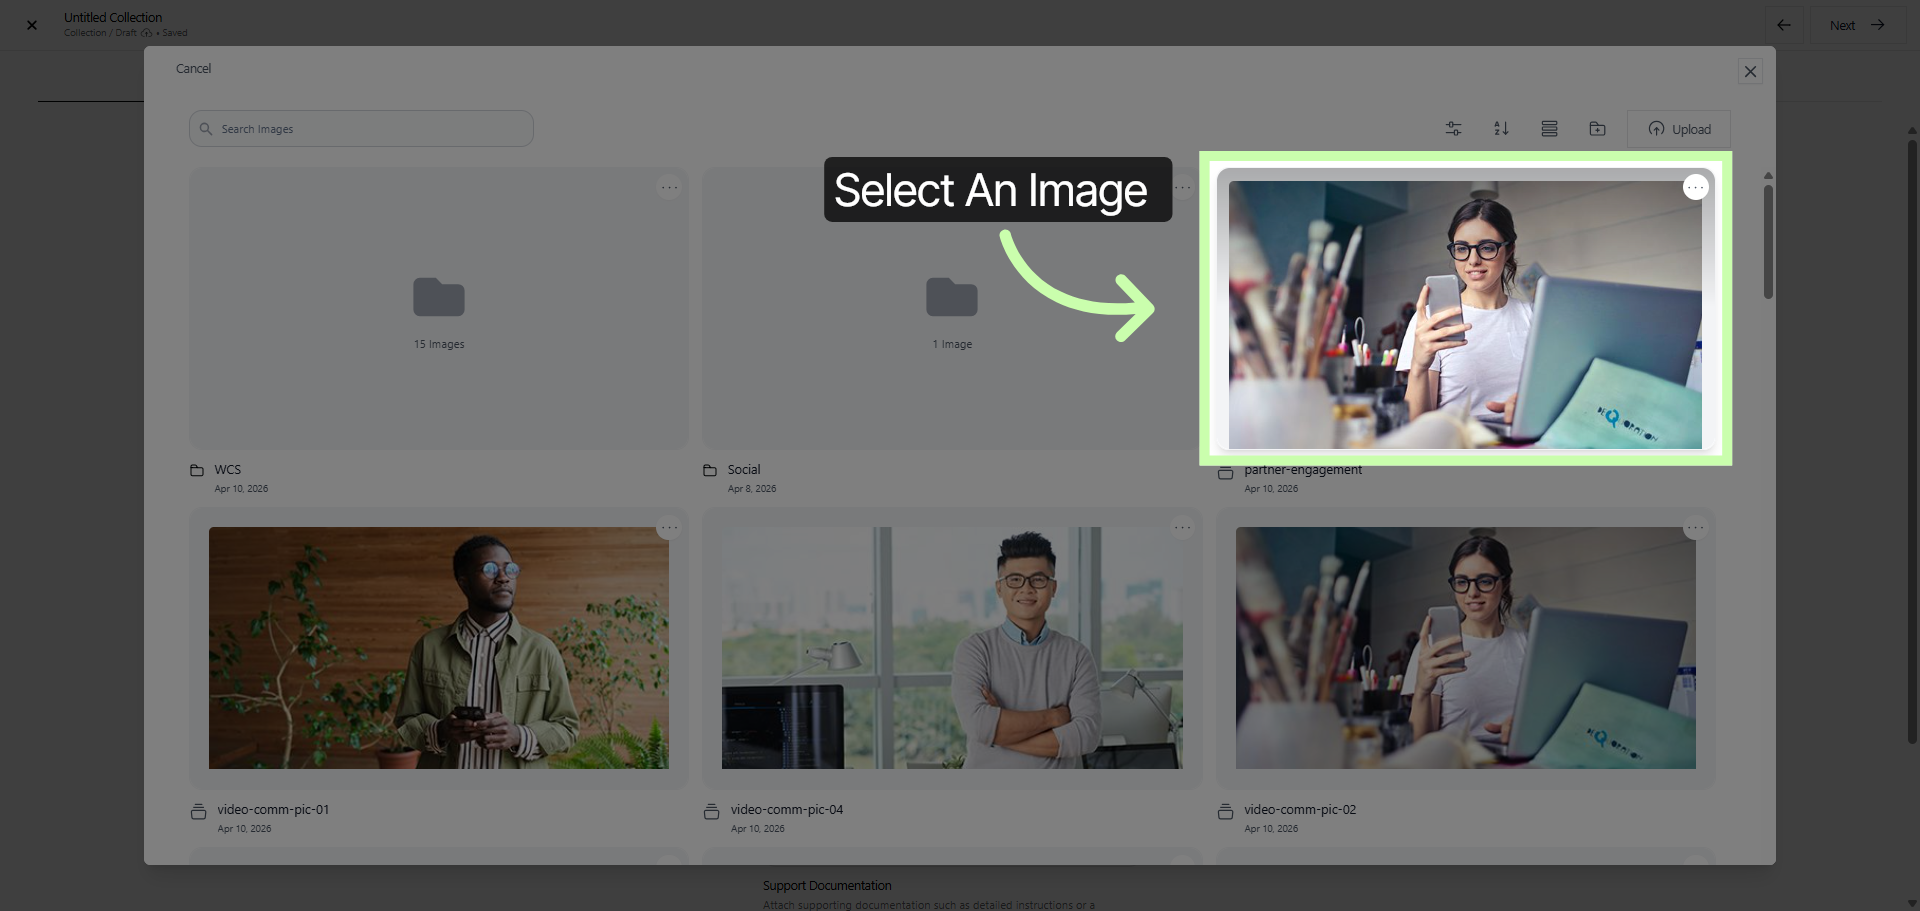
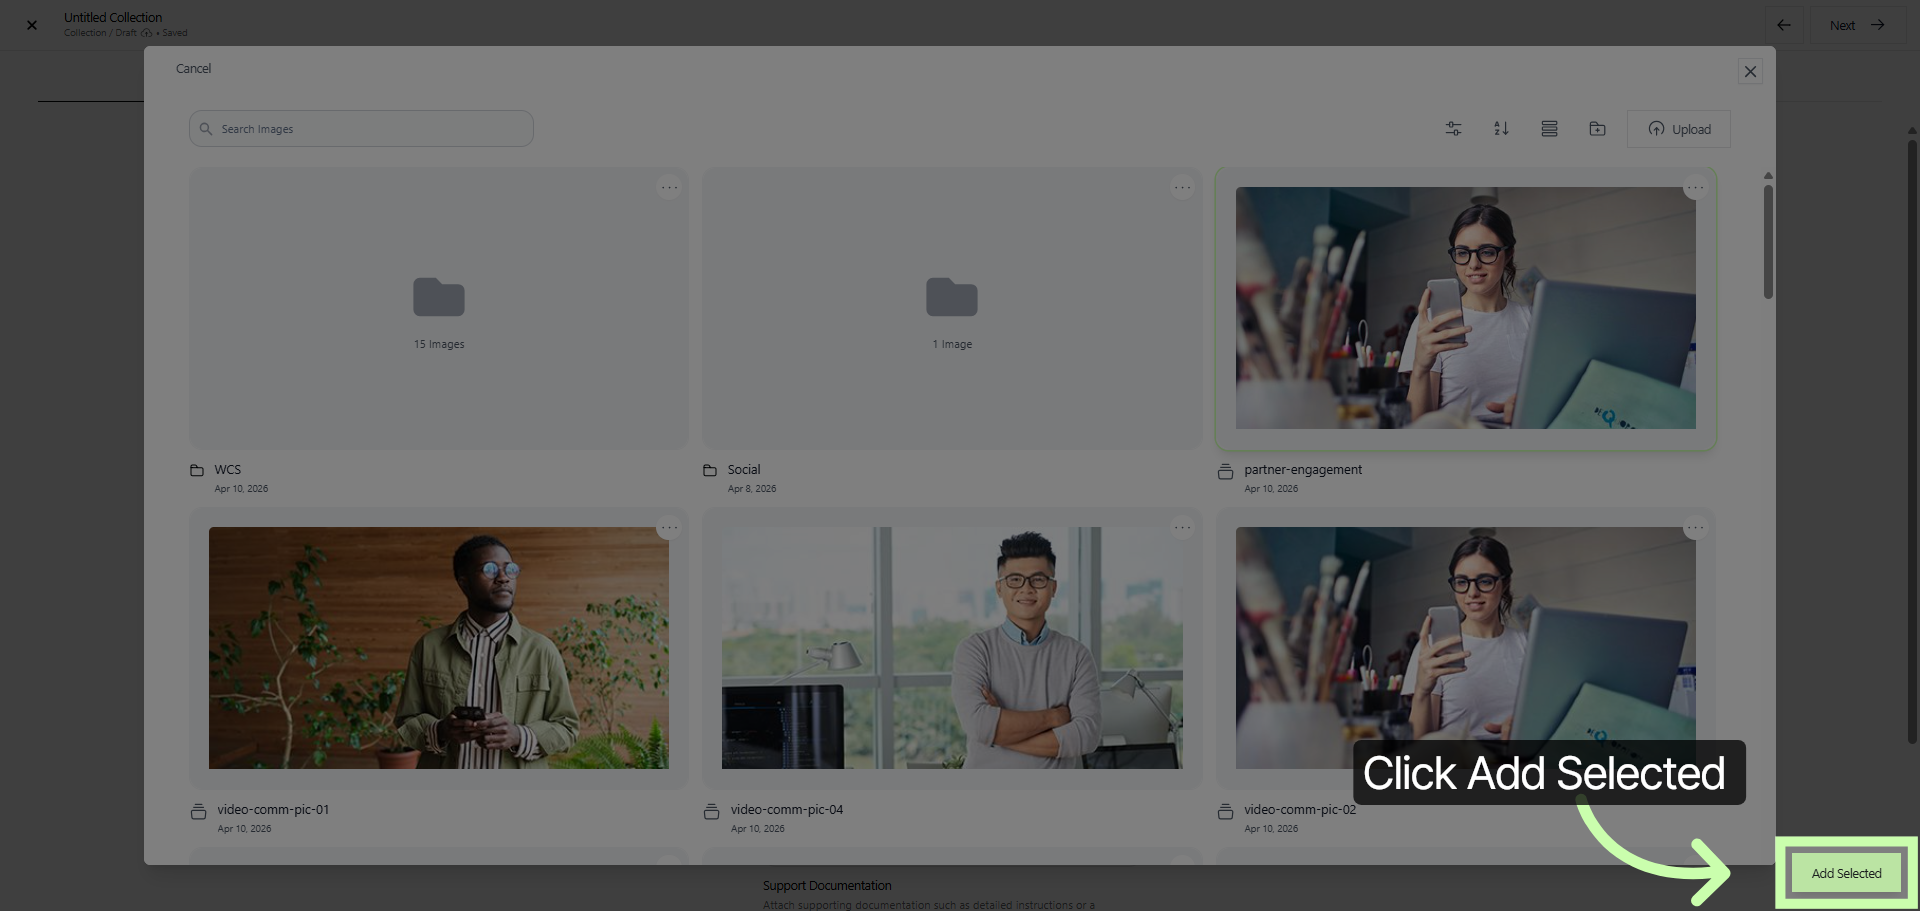
5. Add Cover Image
To add the image as your collection cover image, simply click on the Add Selected button.
6. Edit Collection Details
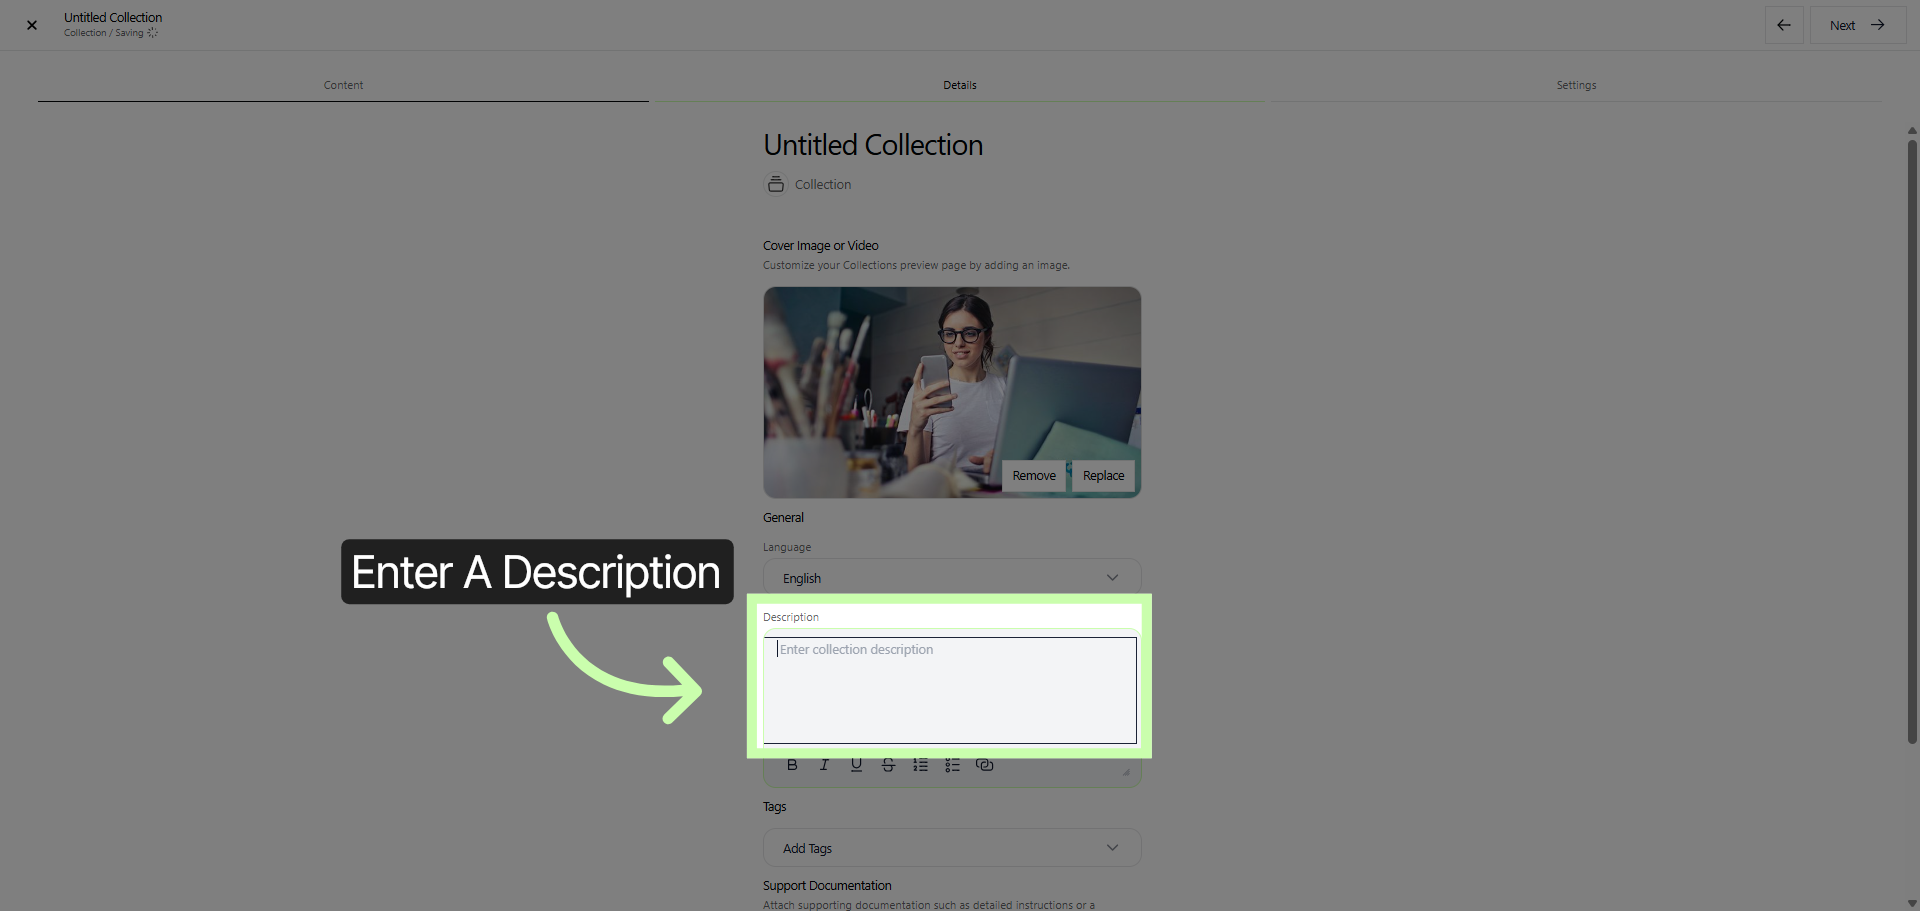
Provide a detailed and clear description for your Collection in the description space provided. This description should effectively convey the purpose, theme, or unique features of your collection to help visitors understand what it encompasses. Make sure to include any relevant details that highlight the significance or special aspects of your collection, so that it attracts and informs your audience comprehensively.
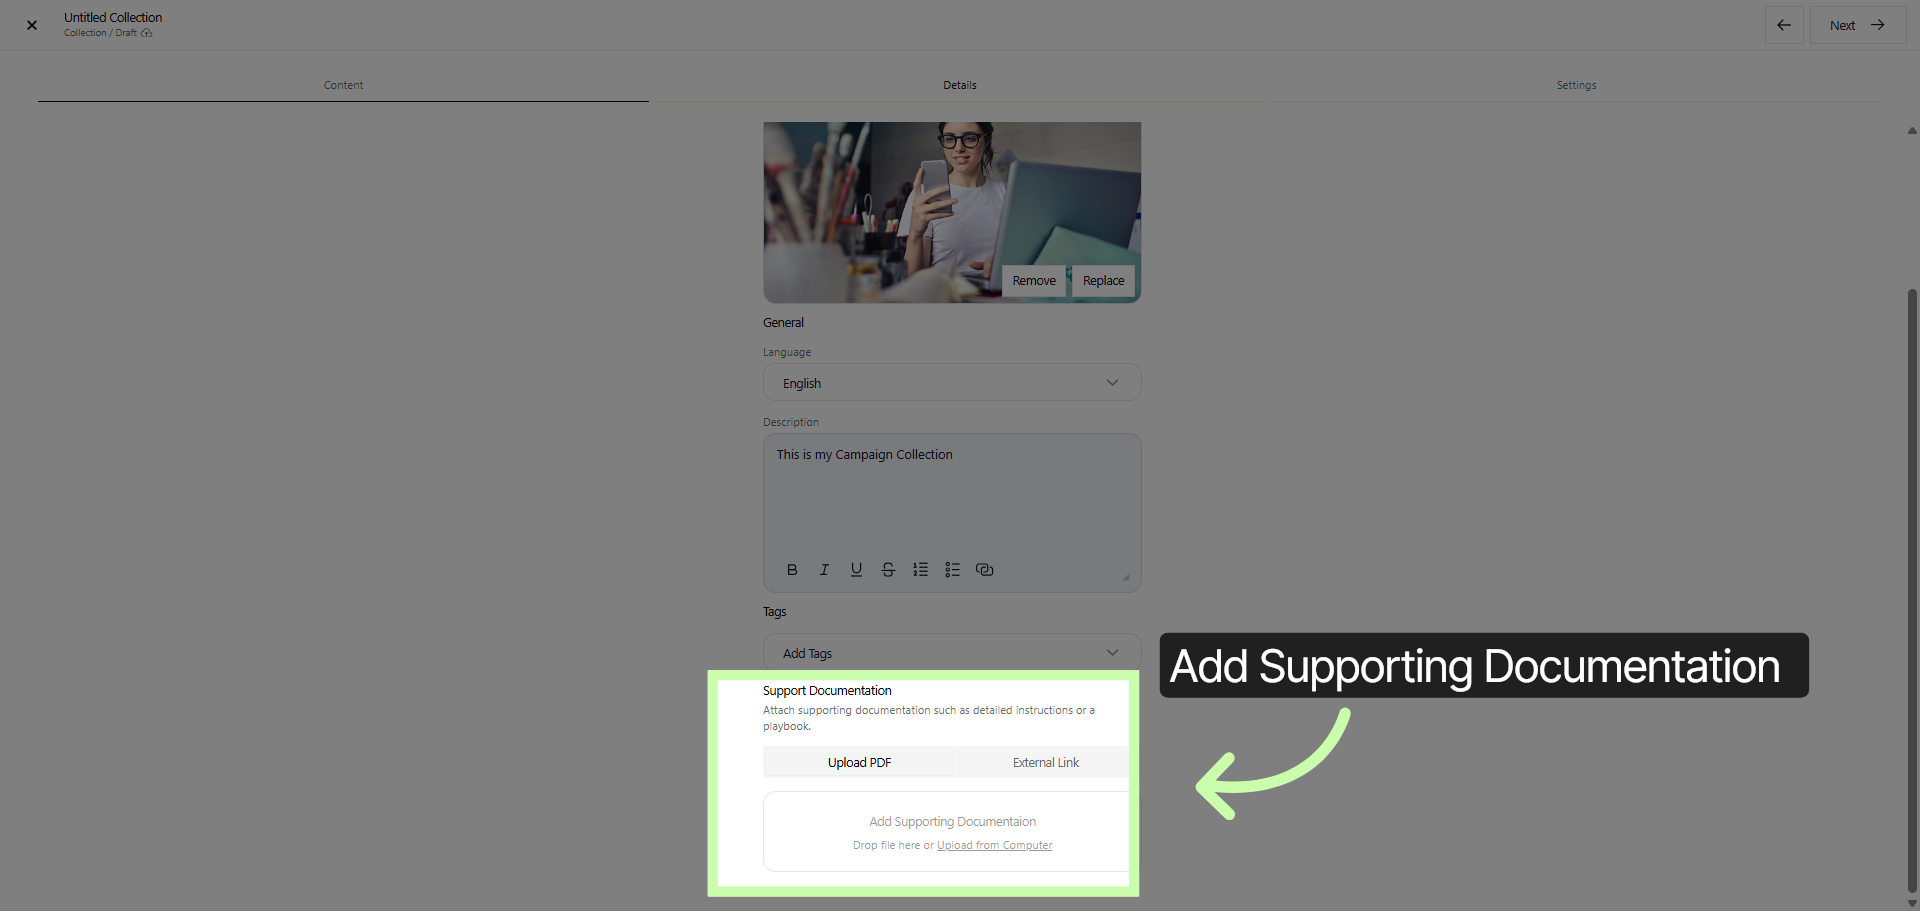
7. Access Collection Settings
8. Continue Setup Process
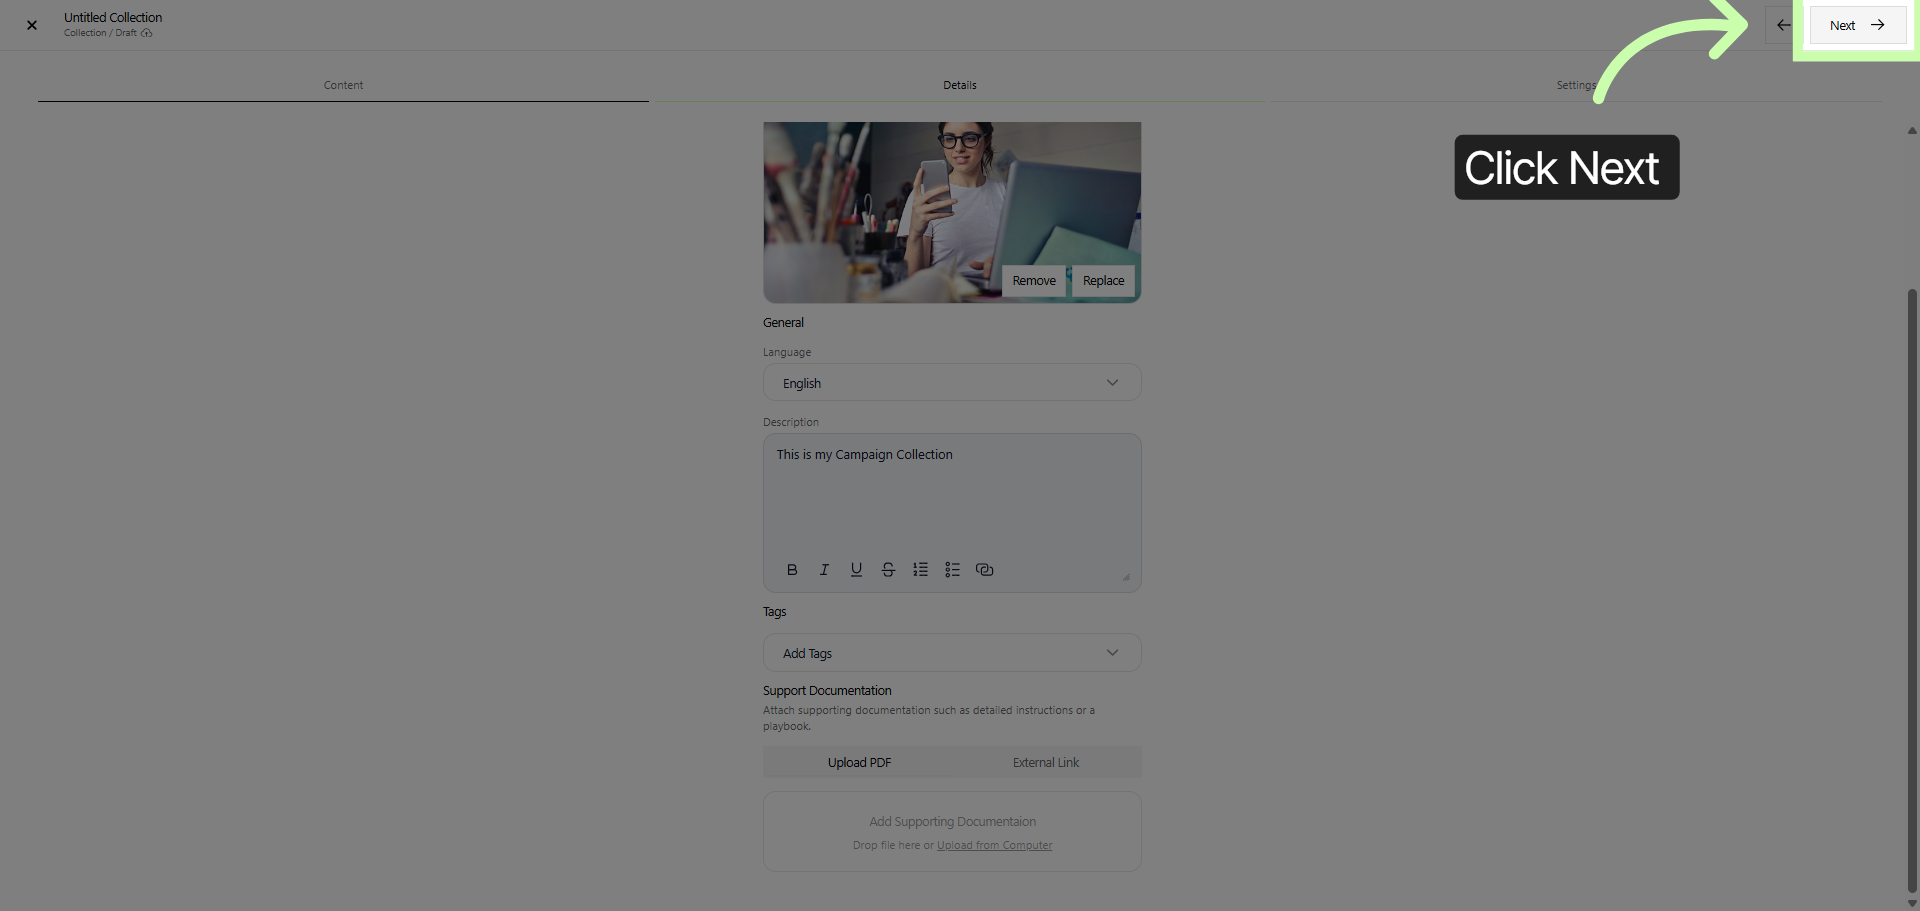
Click Next to move forward to the subsequent step in setting up your collection configuration. This will allow you to continue the process and make further adjustments as needed.
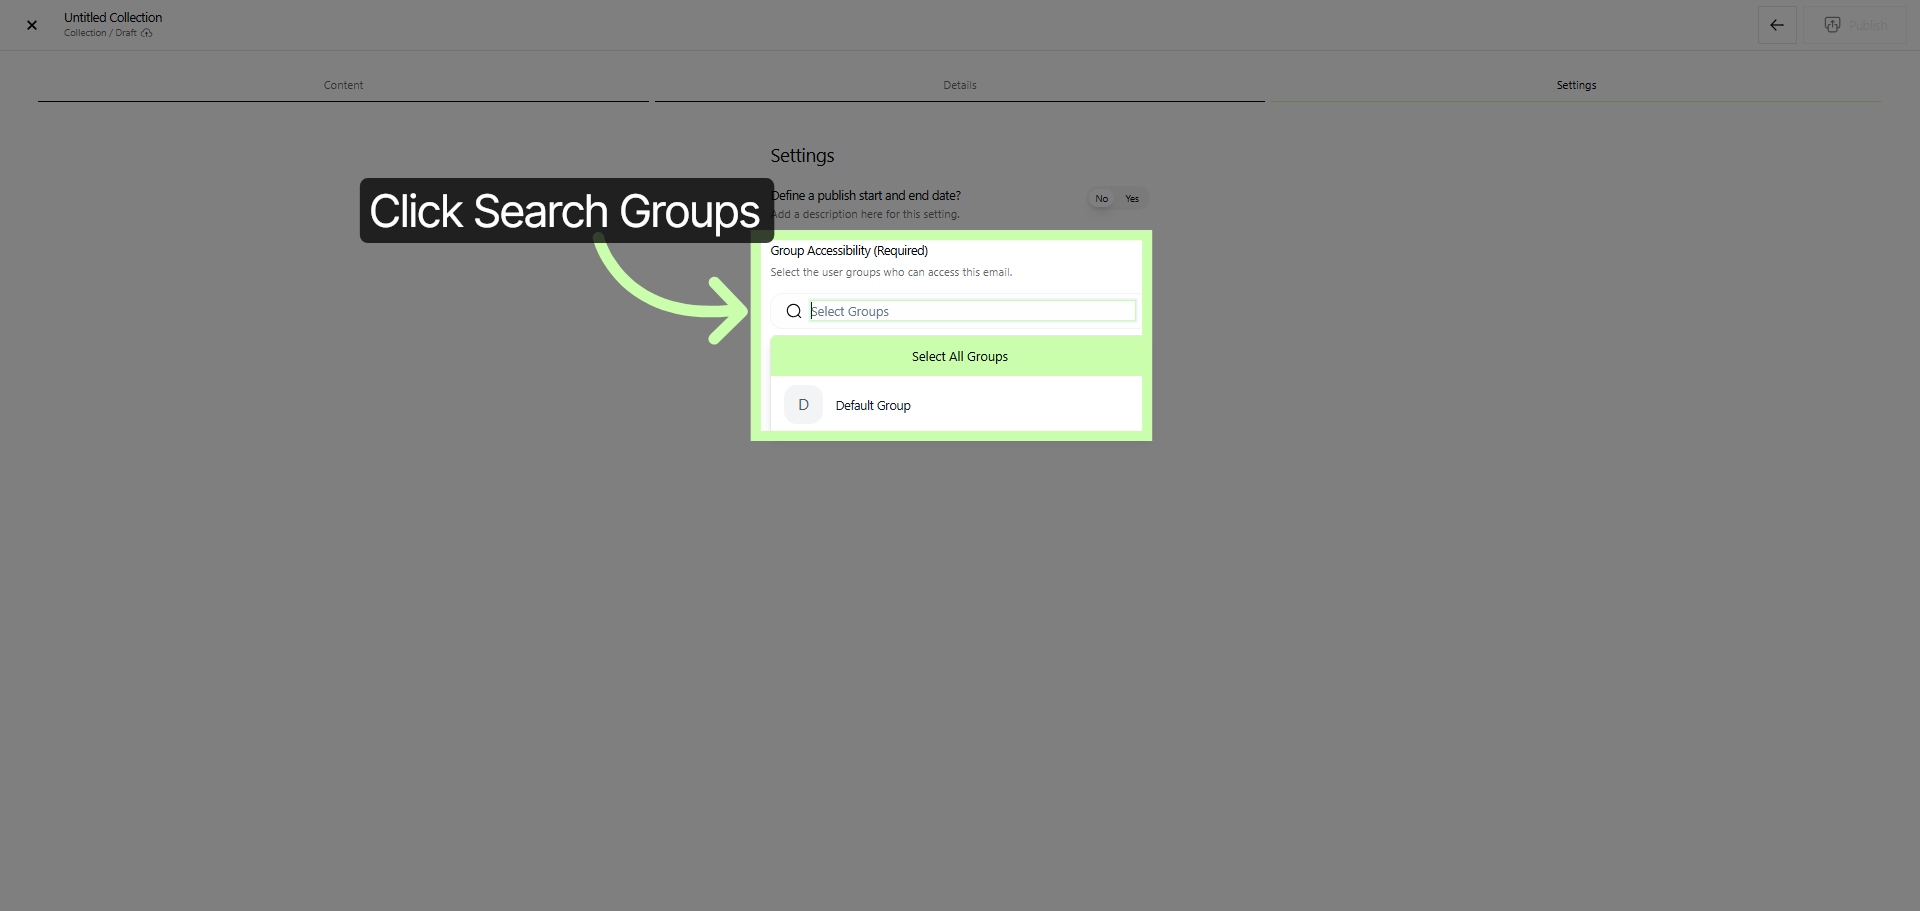
9. Search For Groups
10. Open Collection Overview
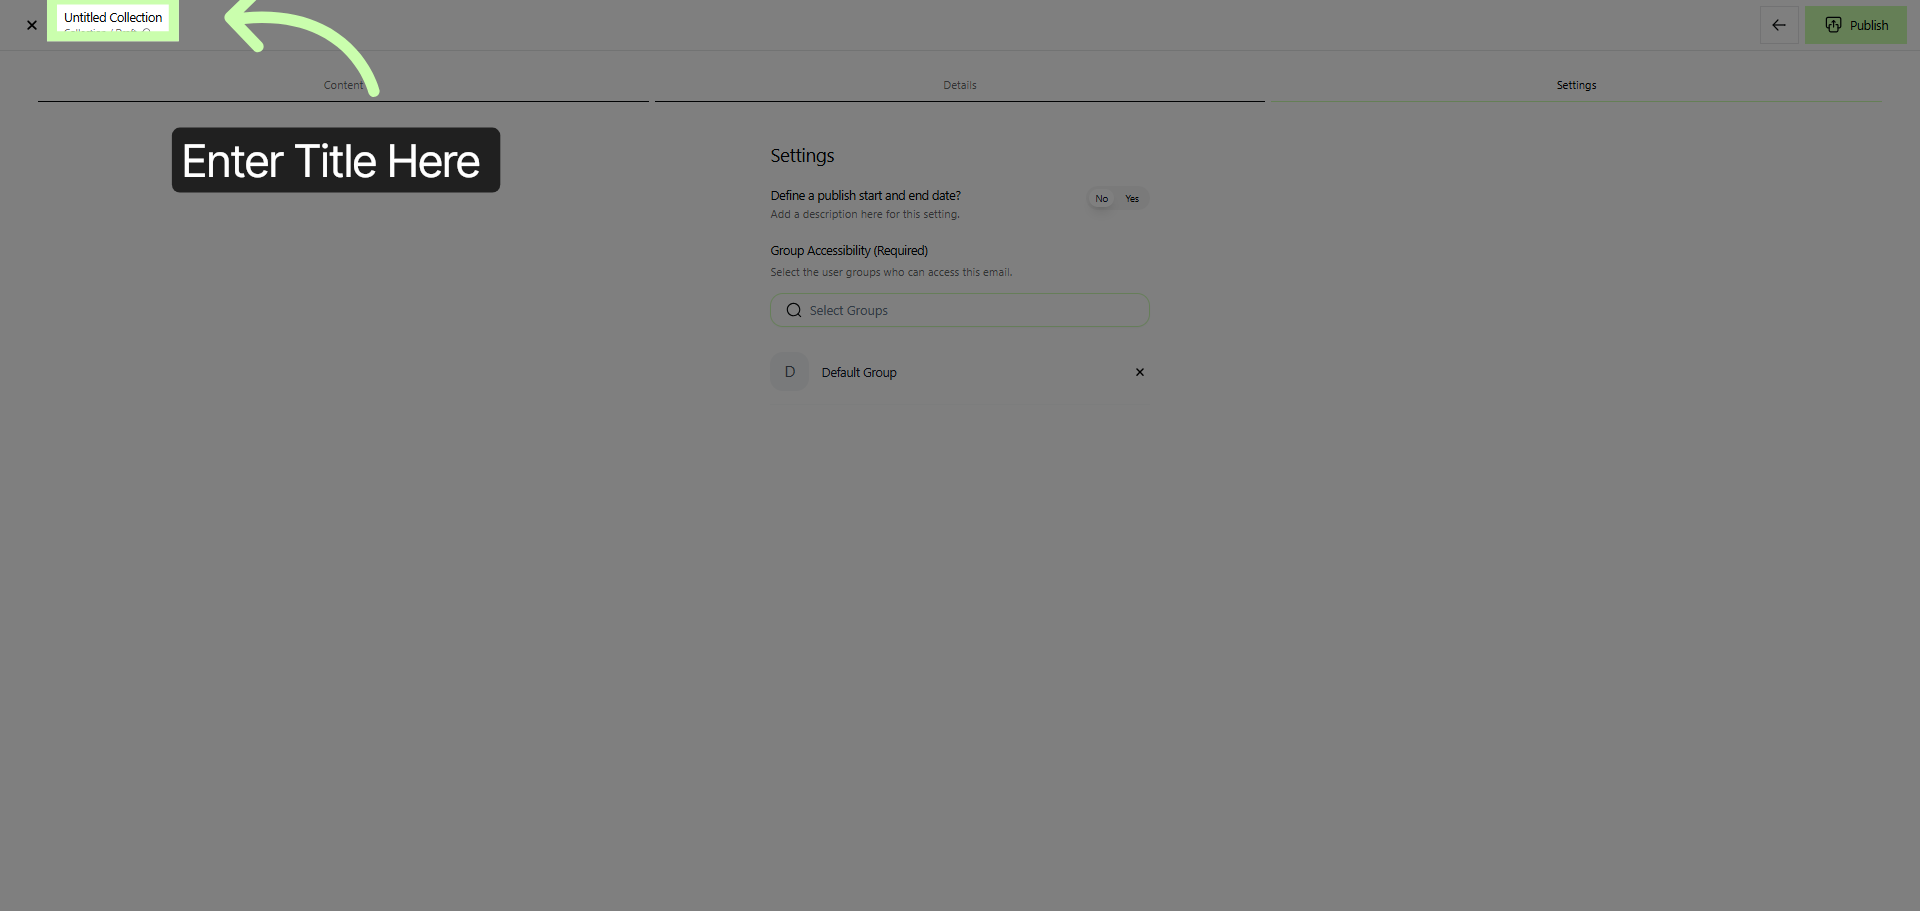
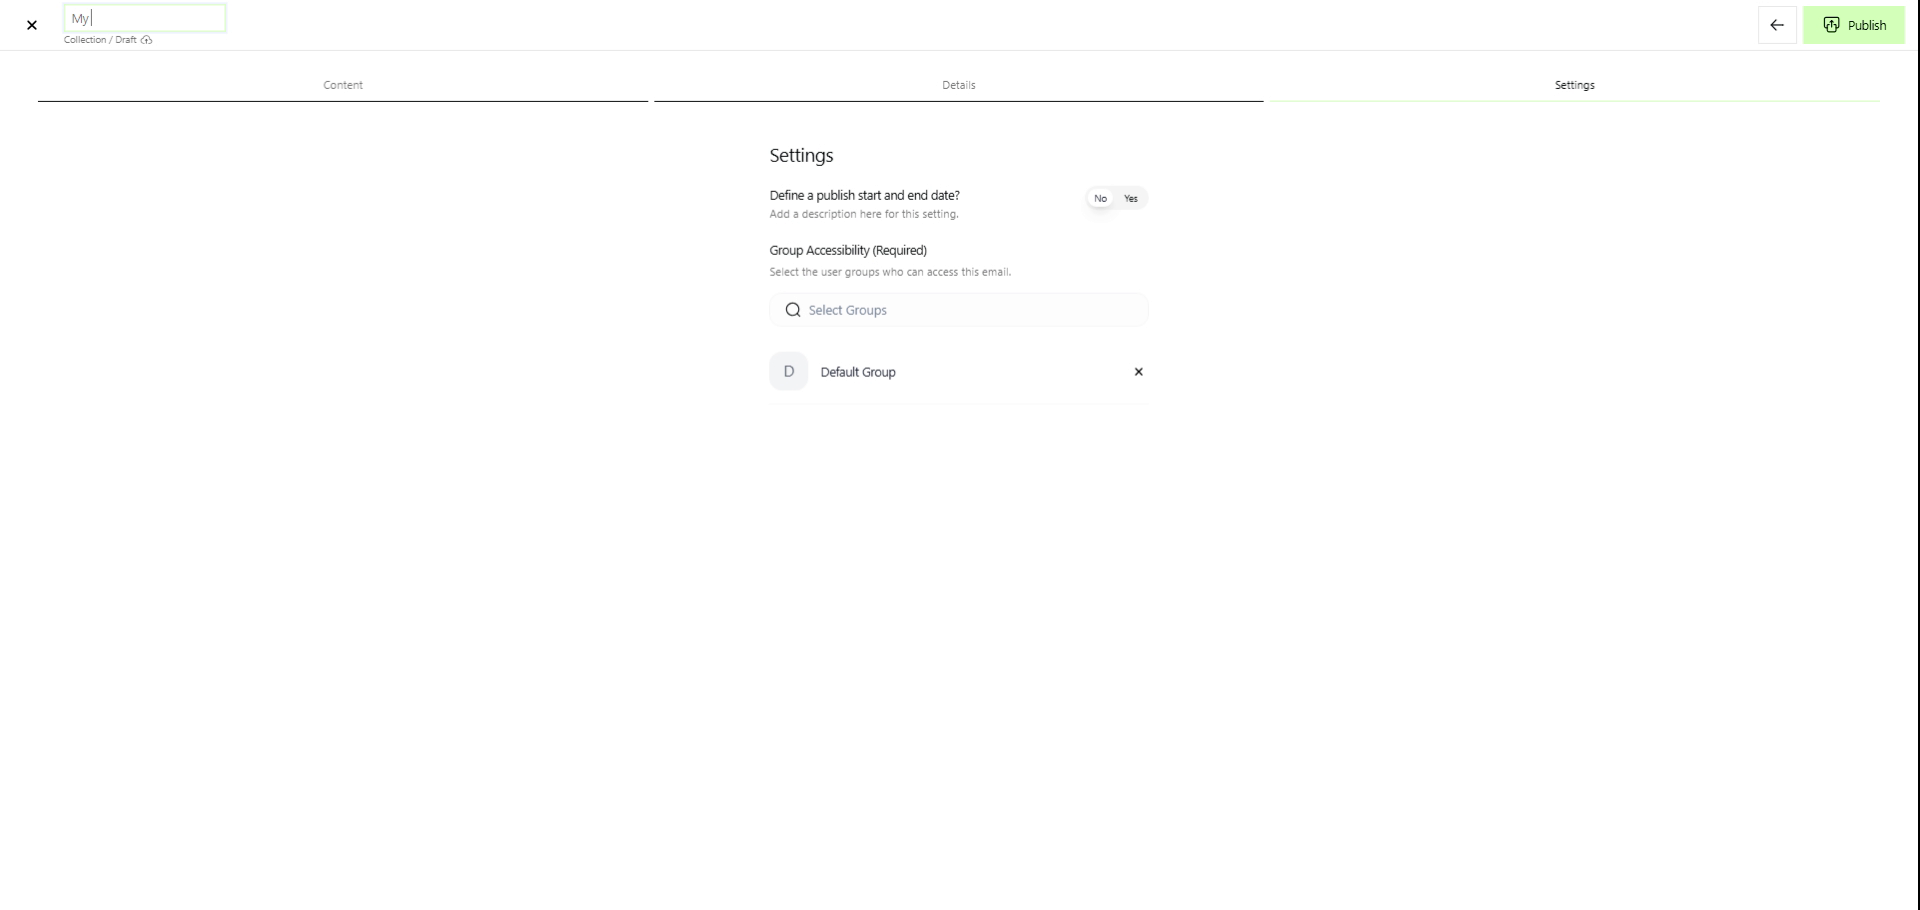
11. Rename Collection
12. Publish Collection
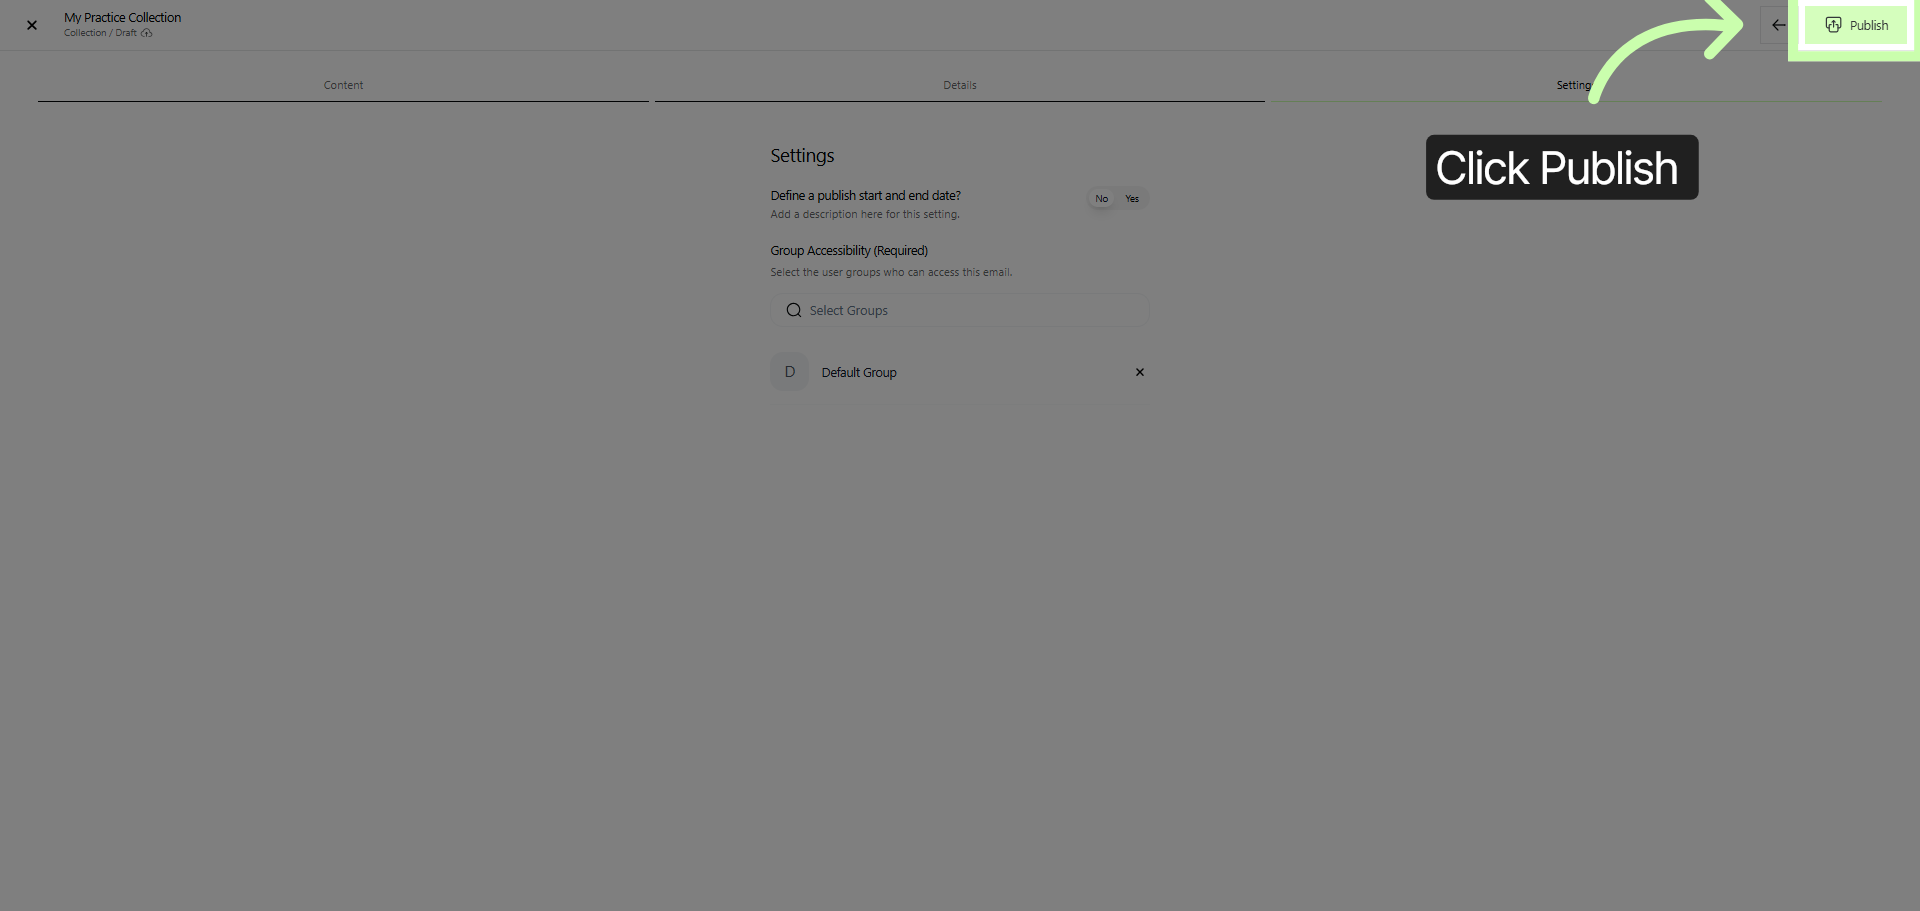
Congratulations! You have successfully created a new collection. This means that you have completed the process of gathering and organizing a set of items or data into a single, cohesive group.
Your collection is now ready to be viewed, managed, or expanded upon as needed. Well done on reaching this important milestone!