
 Managing Users - Phase 2: Adding New Users
- How to add new users within Structured AI.
- The required fields and information needed to successfully create a user.
- How user creation impacts access and permissions within the platform.
- Best practices for ensuring users are set up correctly and consistently.
|
Before you begin — open your account This is a hands-on, learning-by-doing session. Open app.structured.ai in your browser and log in to your Tenant Account so you can follow along and apply each step in real time. |
|
Phase 1
Purpose & Framework
|
Start Training ➡ |
|
Phase 2
Adding New Users
|
Current Phase ✔ |
|
Phase 3
Suspending Users
|
Start Training ➡ |
Follow Our Step-By-Step Training
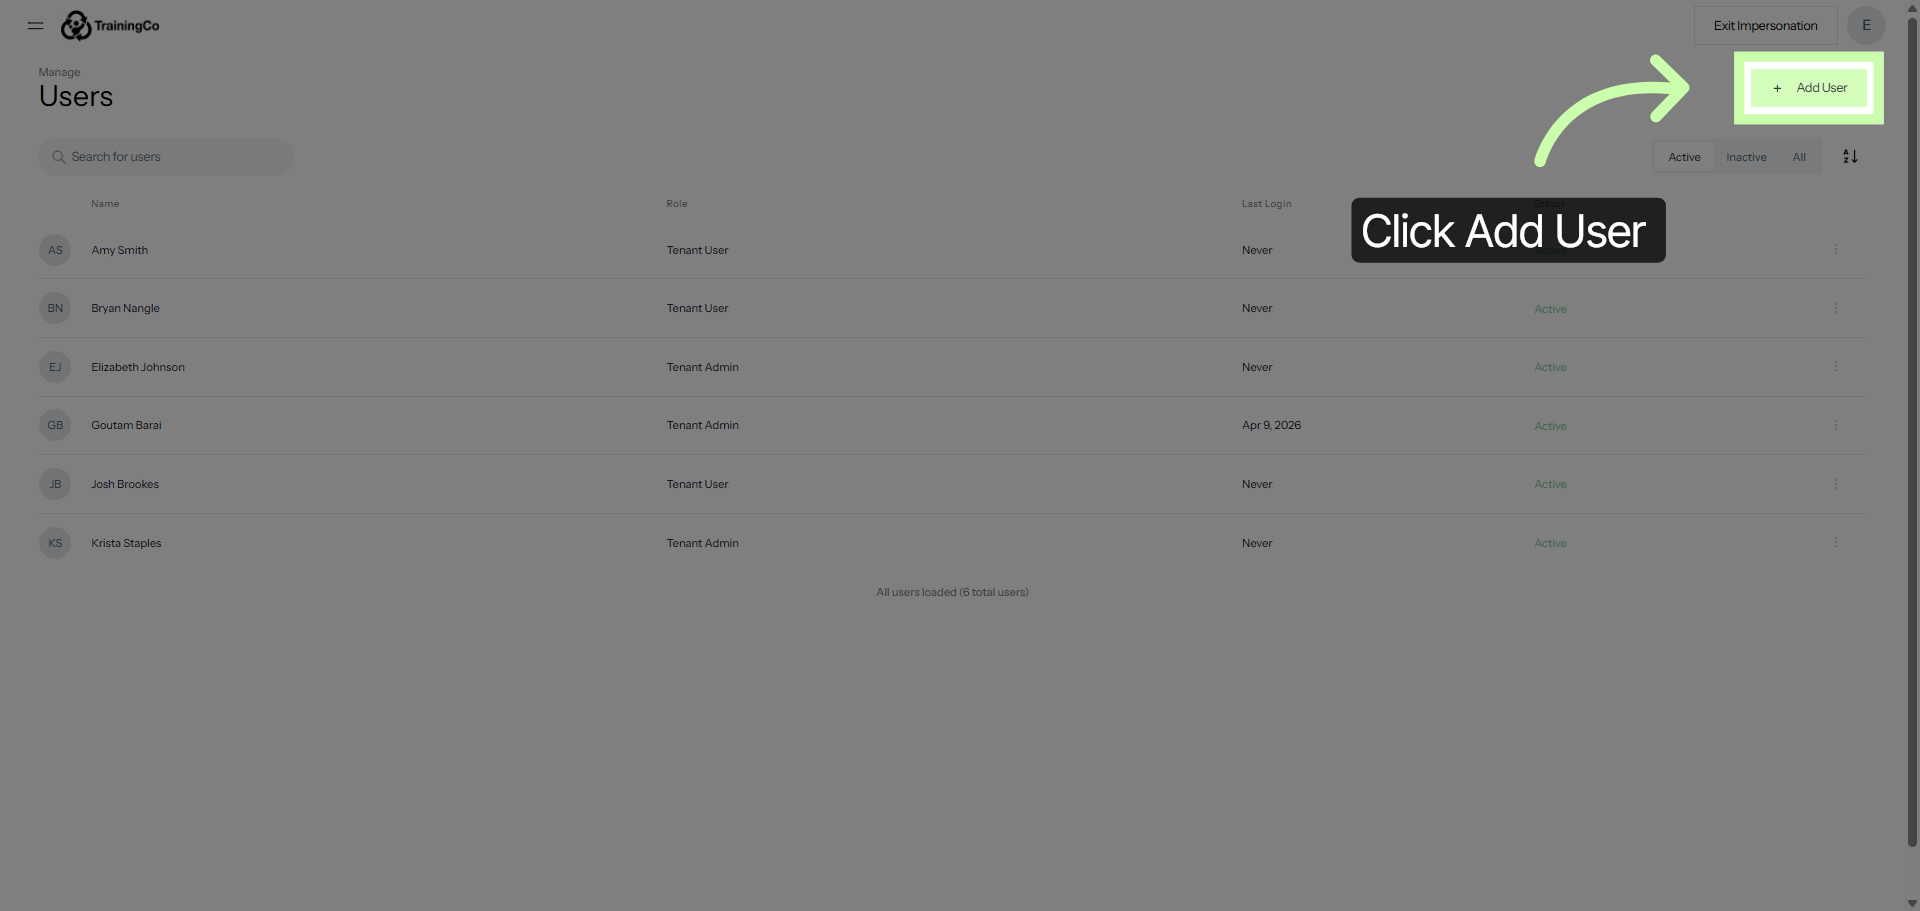
1. Open Add User Form
2. Enter First Name
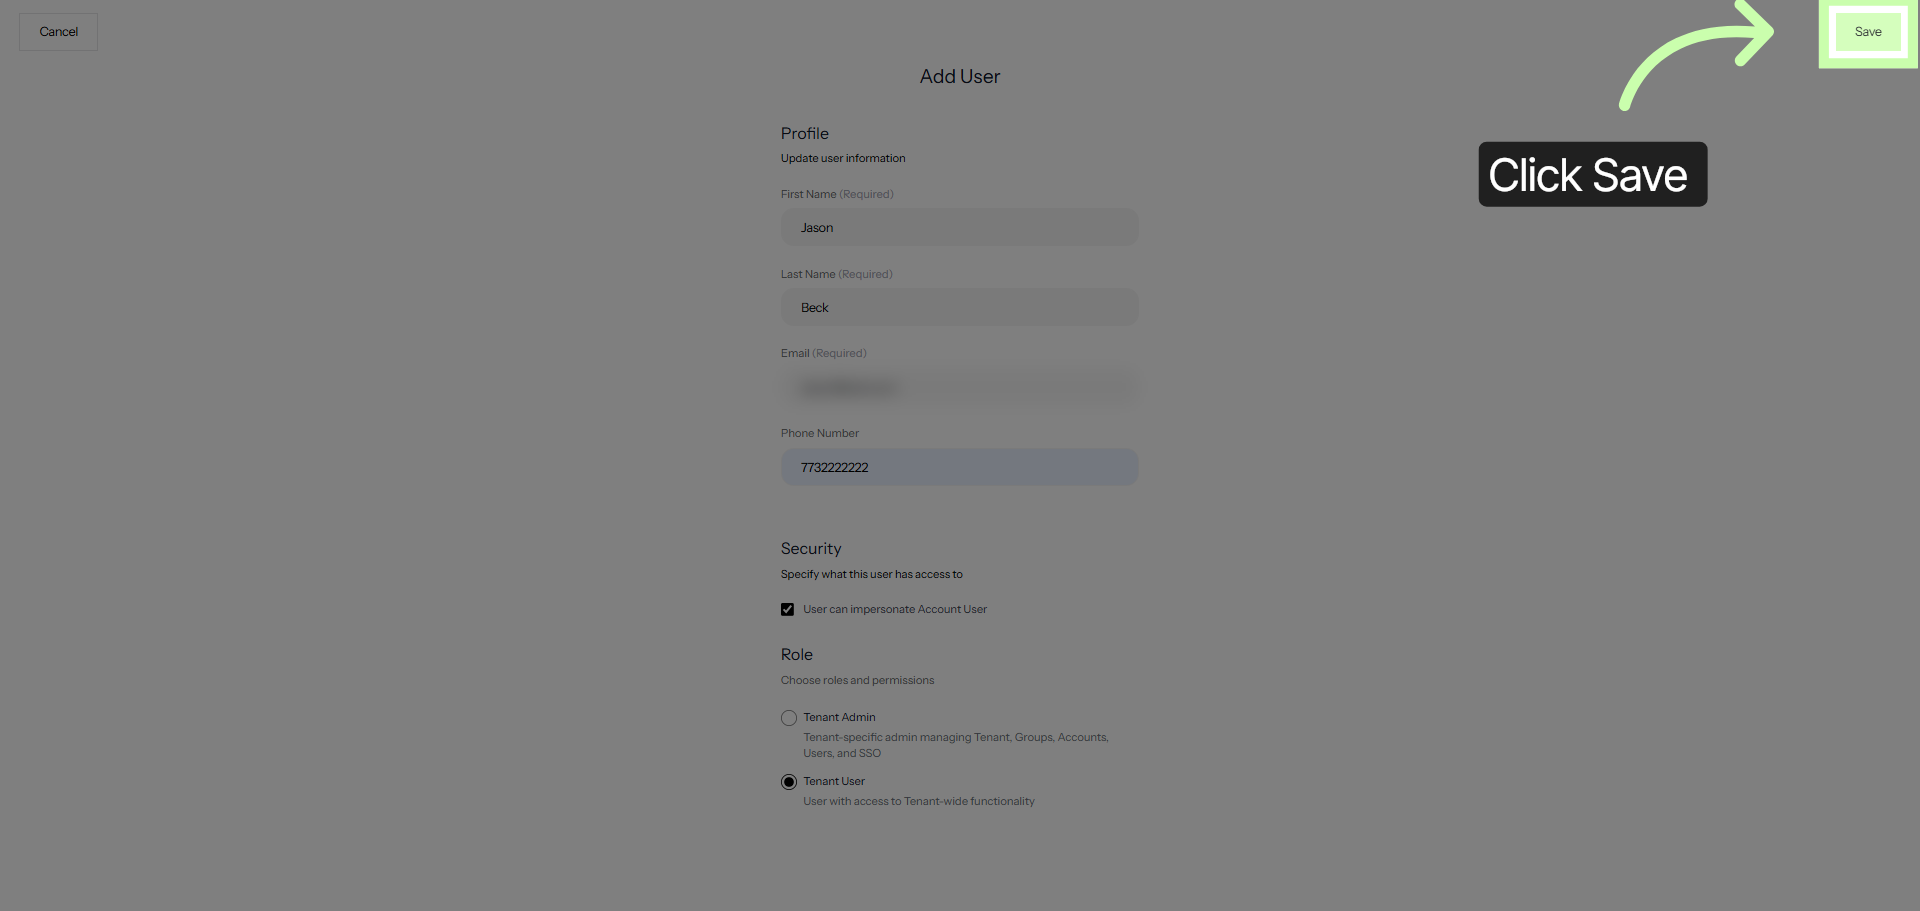
Please enter the user's first name into the field labeled "First Name."
3. Enter Last Name
Next, proceed by typing the user's last name into the designated field labeled "Last Name." This step is essential to ensure that the user's information is accurately recorded and properly organized within the system.
Make sure to enter the last name exactly as it appears on official documents to avoid any discrepancies or errors in the user's profile.
4. Enter Email Address
Please input the user's email address into the designated email field. Make sure to enter the complete and correct email address to ensure proper communication and data accuracy. Double-check for any typos or missing characters before submitting the form.
5. Enter Phone Number
Please enter the user's phone number into the designated phone number field. Make sure to input the complete and accurate number, including the area code if applicable, to ensure proper identification and communication.
6. Fill First Option
Select this option if you want to enable impersonation. By choosing this setting, you grant permission for actions to be performed on behalf of another user, allowing the system or application to operate as if it were that user.
This can be useful for administrative tasks, troubleshooting, or managing user accounts more efficiently.
7. Fill Second Option
Finally, make sure to select the appropriate role.
8. Save New User
Please click the Save button to store the newly entered user information securely. Once you have clicked Save, the system will confirm that the information has been successfully updated and the new user details are now part of the database.
The upcoming video provides a detailed demonstration on the procedures for maintaining and suspending user accounts.
The video will explain the process of suspending users, outlining when and why suspension might be necessary, as well as the impact it has on user access and system functionality.