
Estimated Time
~15 minutes
What You'll Accomplish
- This tutorial guides you through customizing your pipeline.
|
Before you begin — open your account This is a hands-on, learning-by-doing session. Open app.structured.ai in your browser and log in to your Account so you can follow along and apply each step in real time. |
 Follow Our Step-By-Step Training
1. Introduction
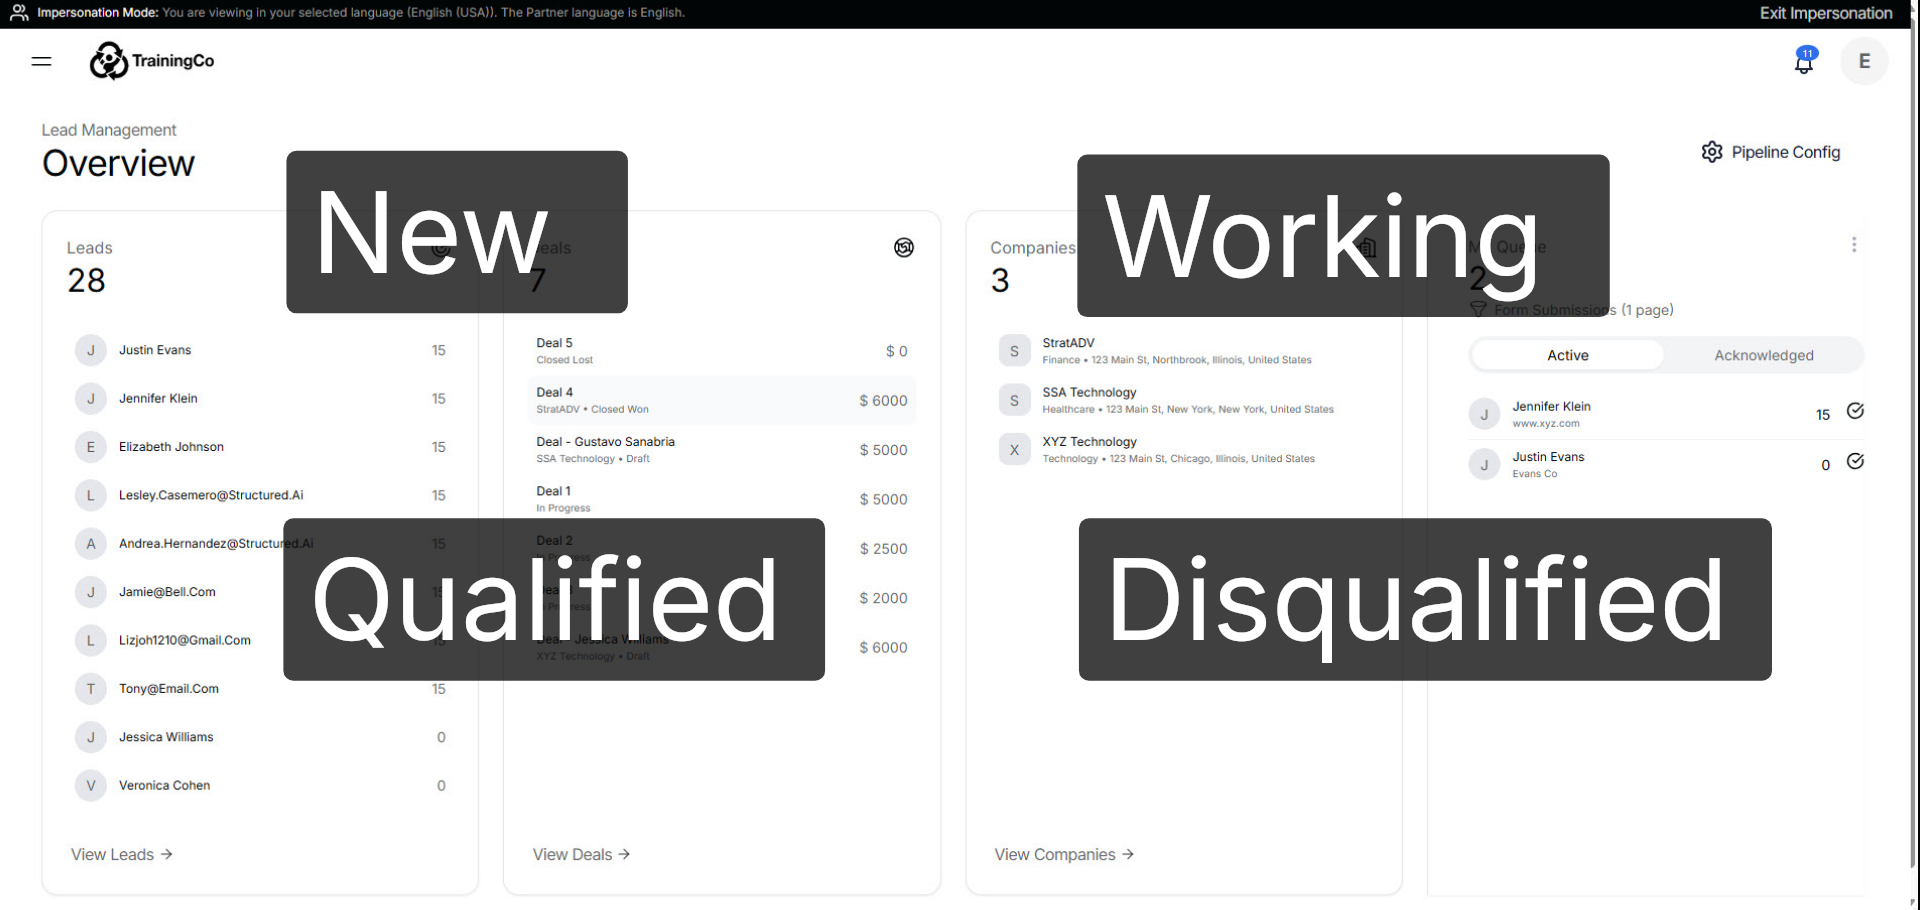
The Pipeline is the unique path your leads take from the first touch to a won deal. To keep things organized, they system uses four core stages: New, Working, Qualified, and Disqualified.
2. Open Pipeline Section
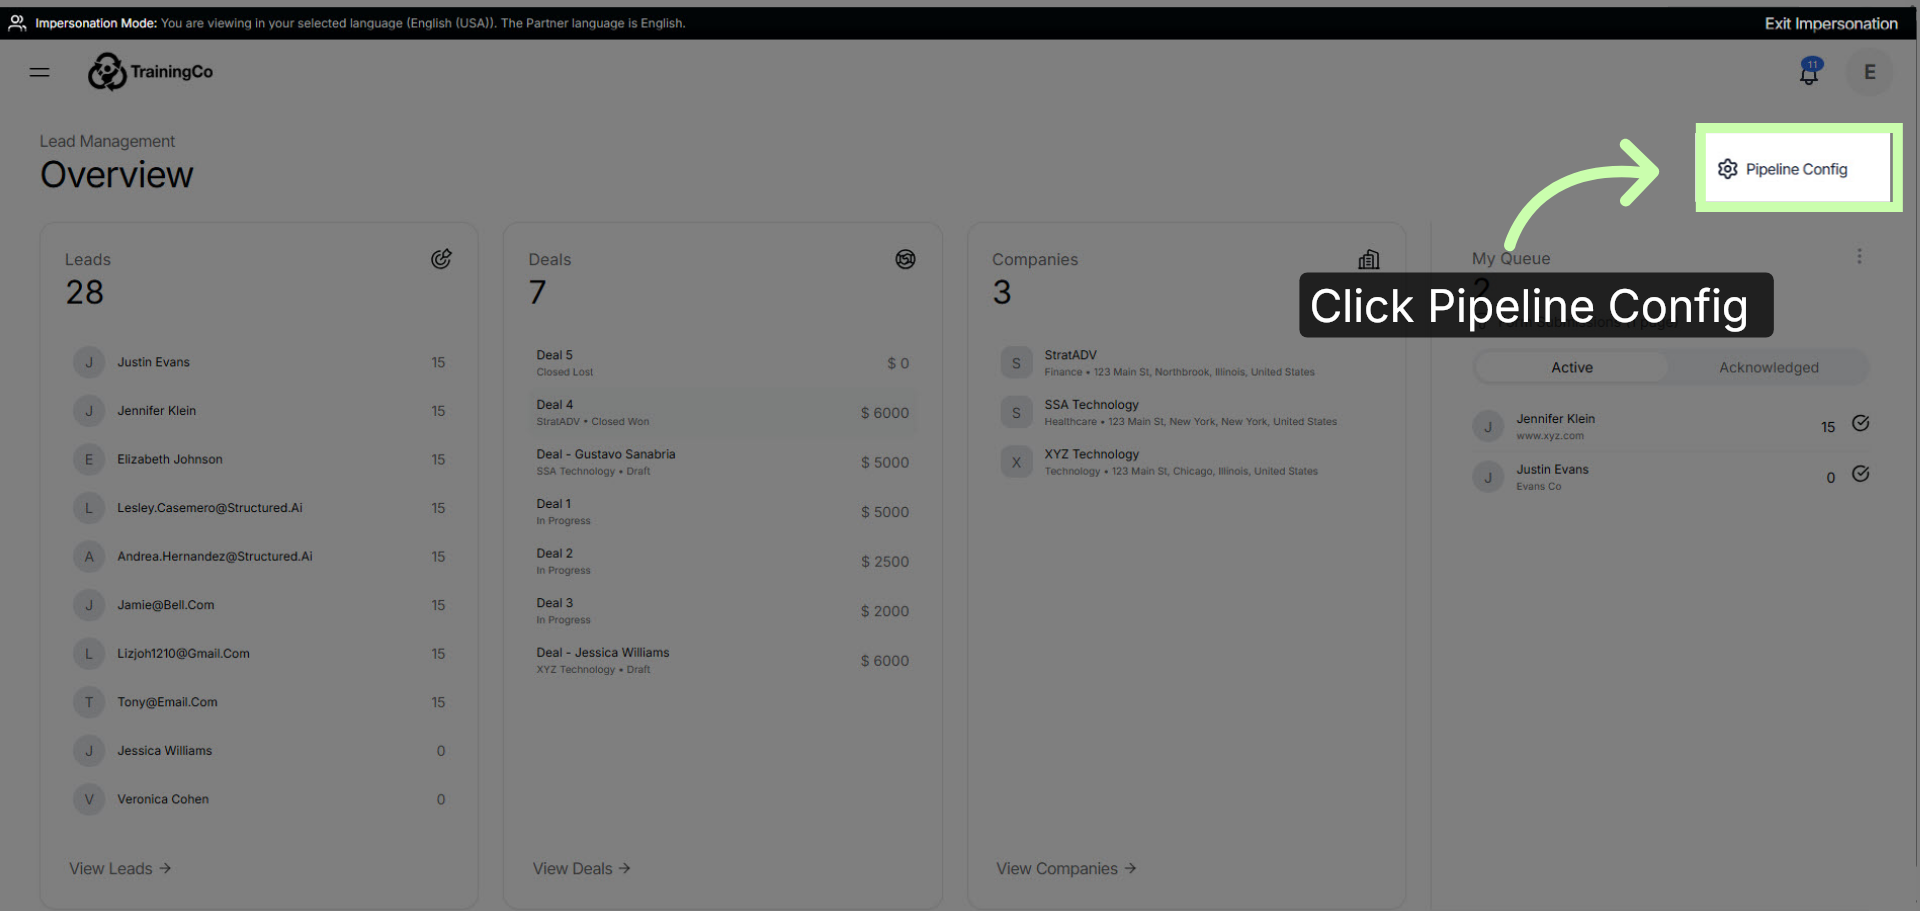
While these stages are fixed, you have the flexibility to build the statuses that live beneath them. Start by clicking Pipeline.
3. Review Default Setup
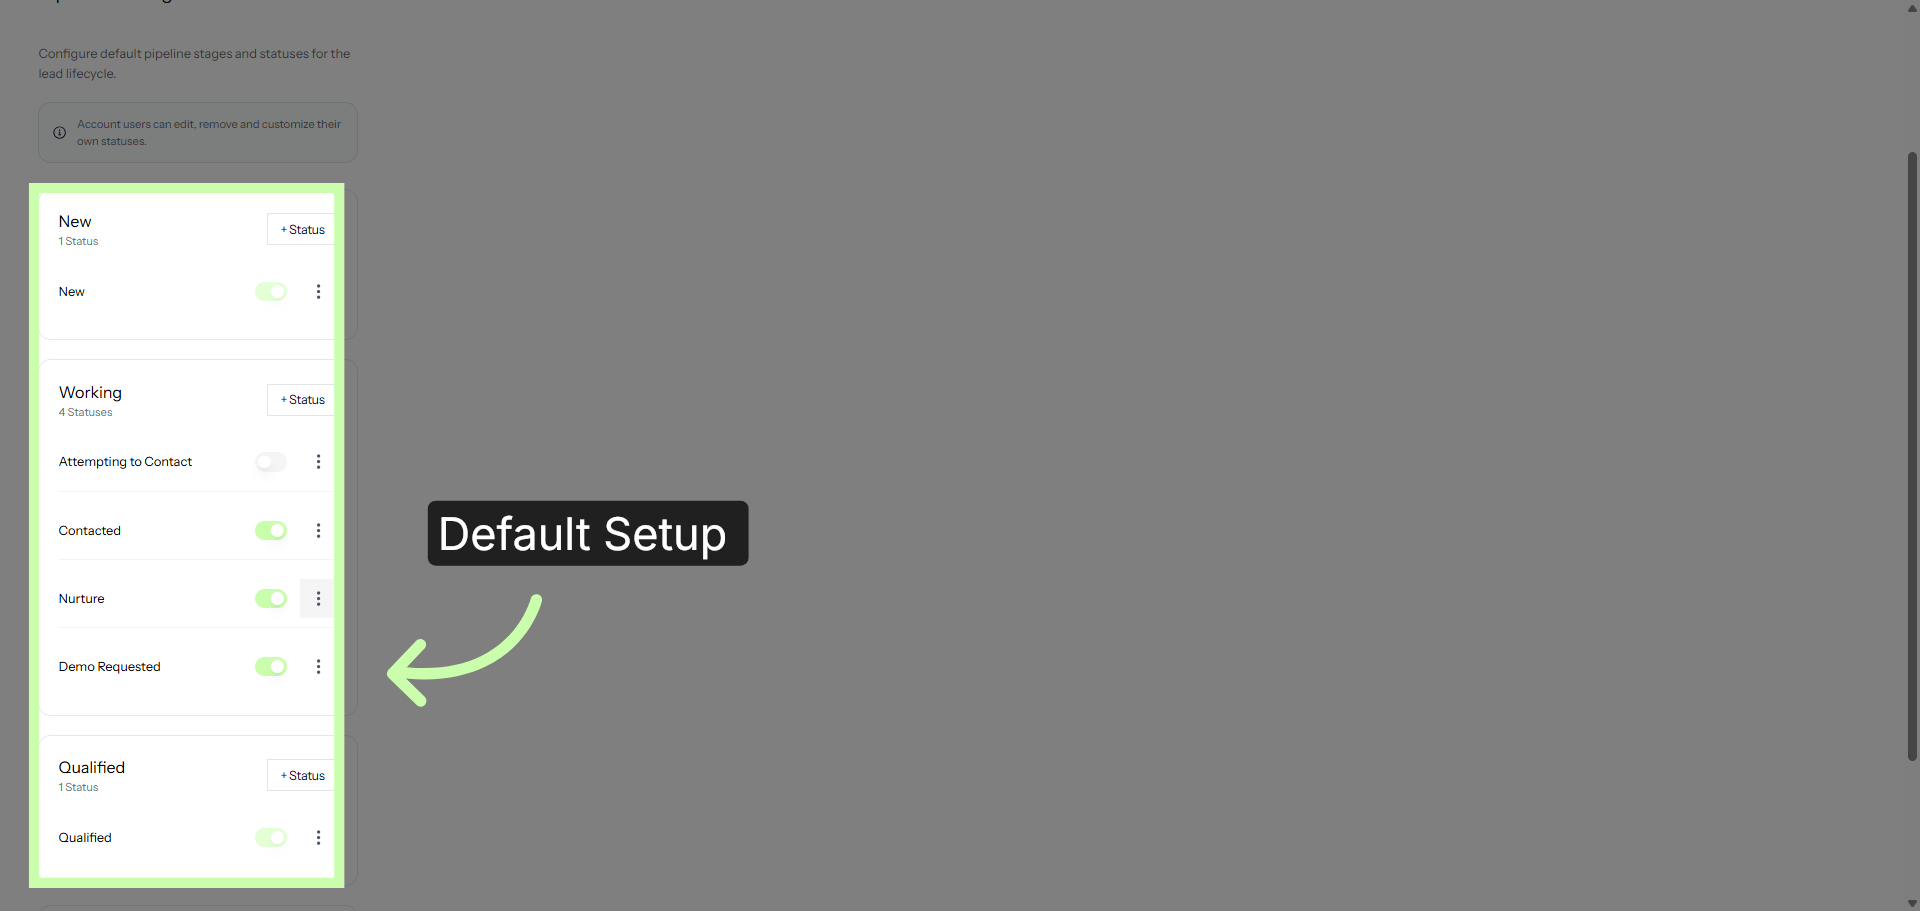
Your tenant provides a default setup, but you can rename or add statuses to match how your team actually works.
4. Click the Three Dots
You can edit a stage by selecting these three dots.

5. Click Edit
Once there, you will be clicking the Edit option.

6. Rename Status
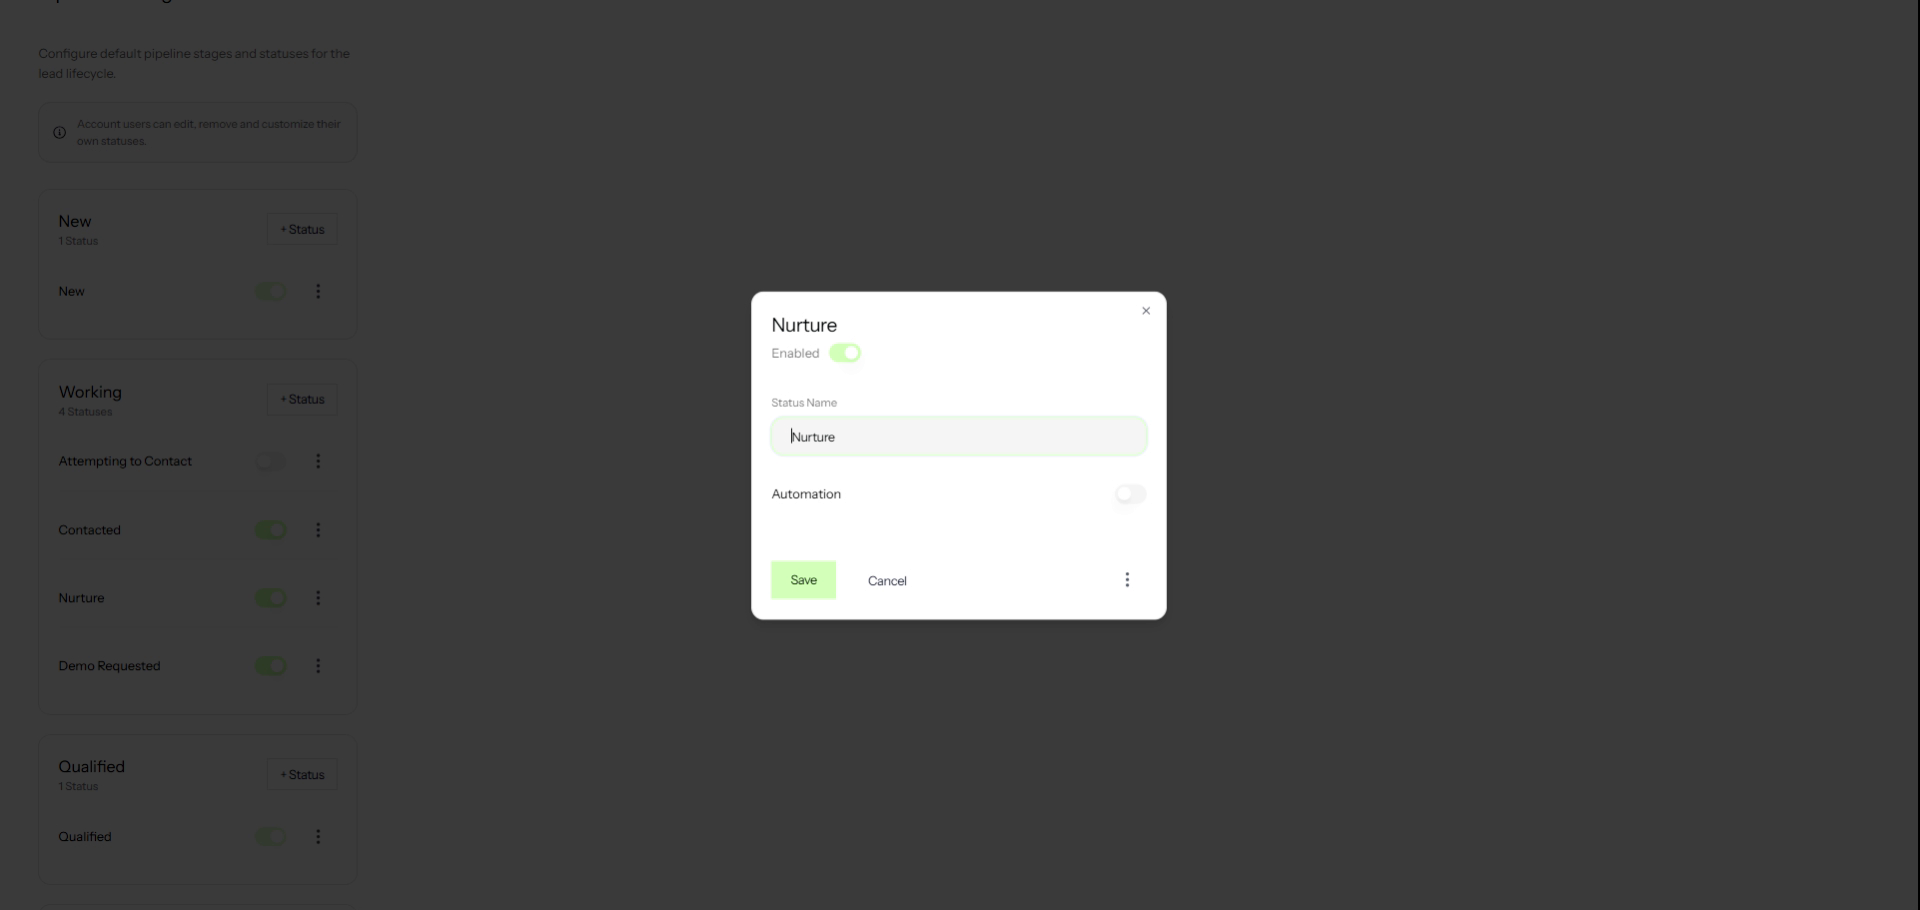
In this example, I'll change "Nurture" to "Long-Term Nurture".
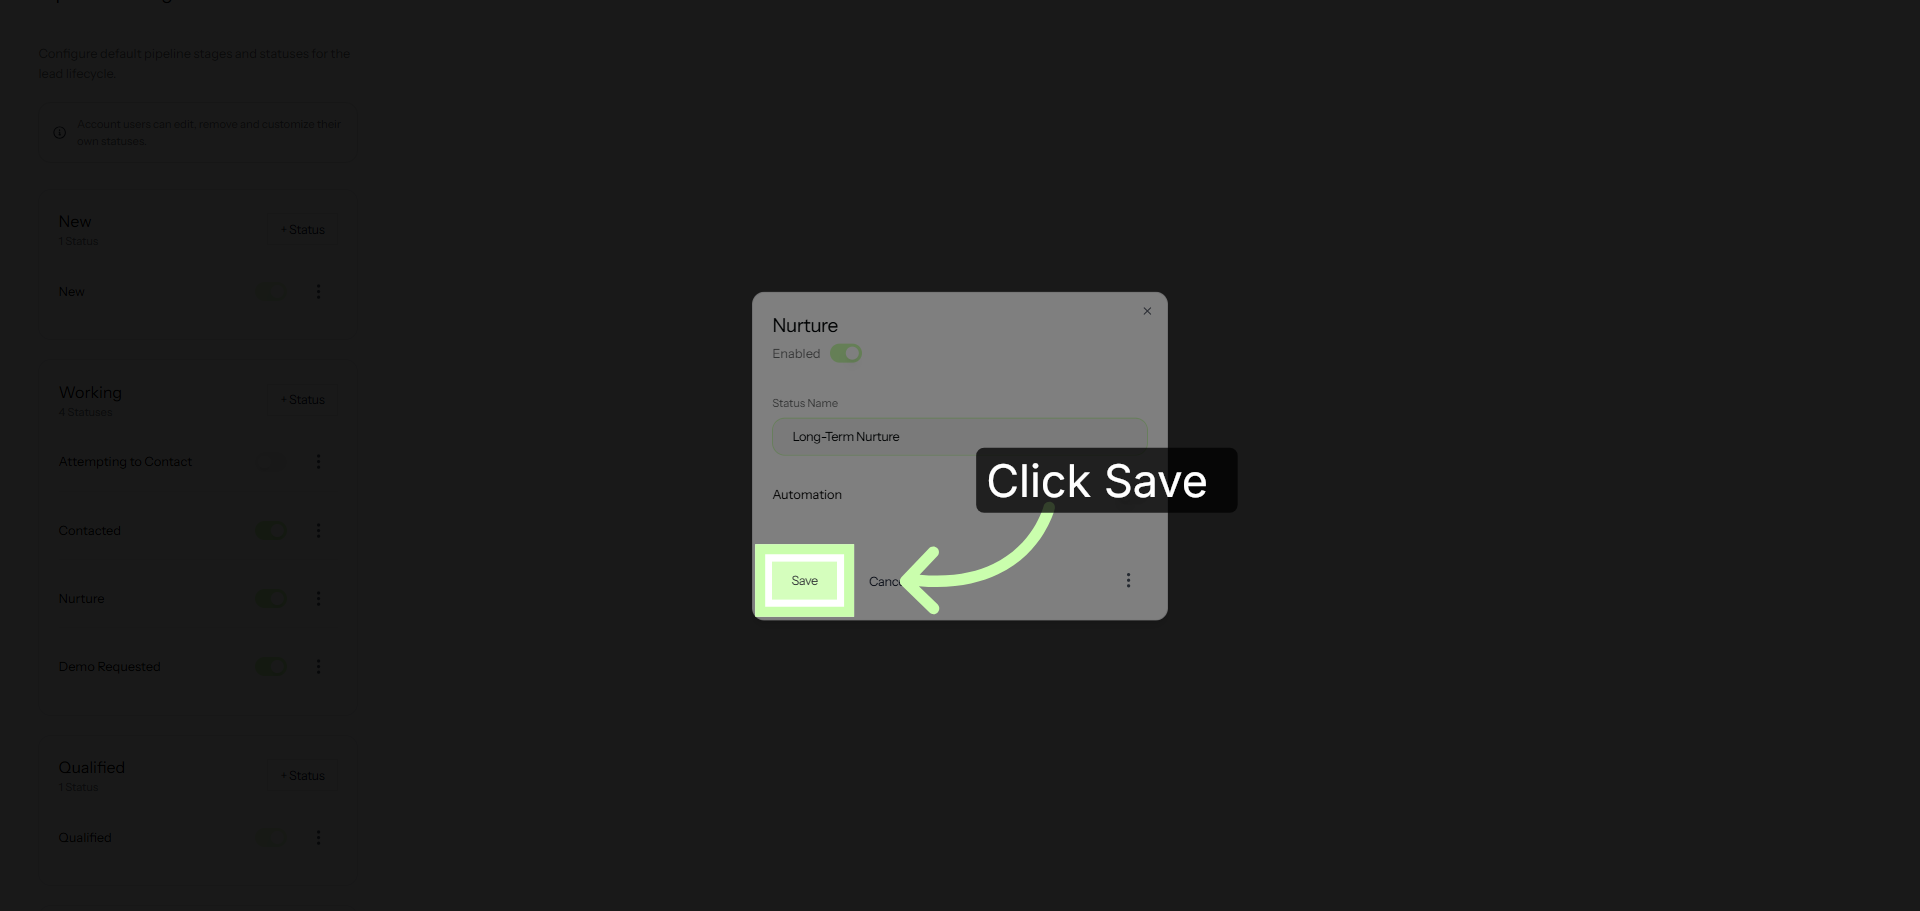
7. Click Save
Click Save to apply the changes.
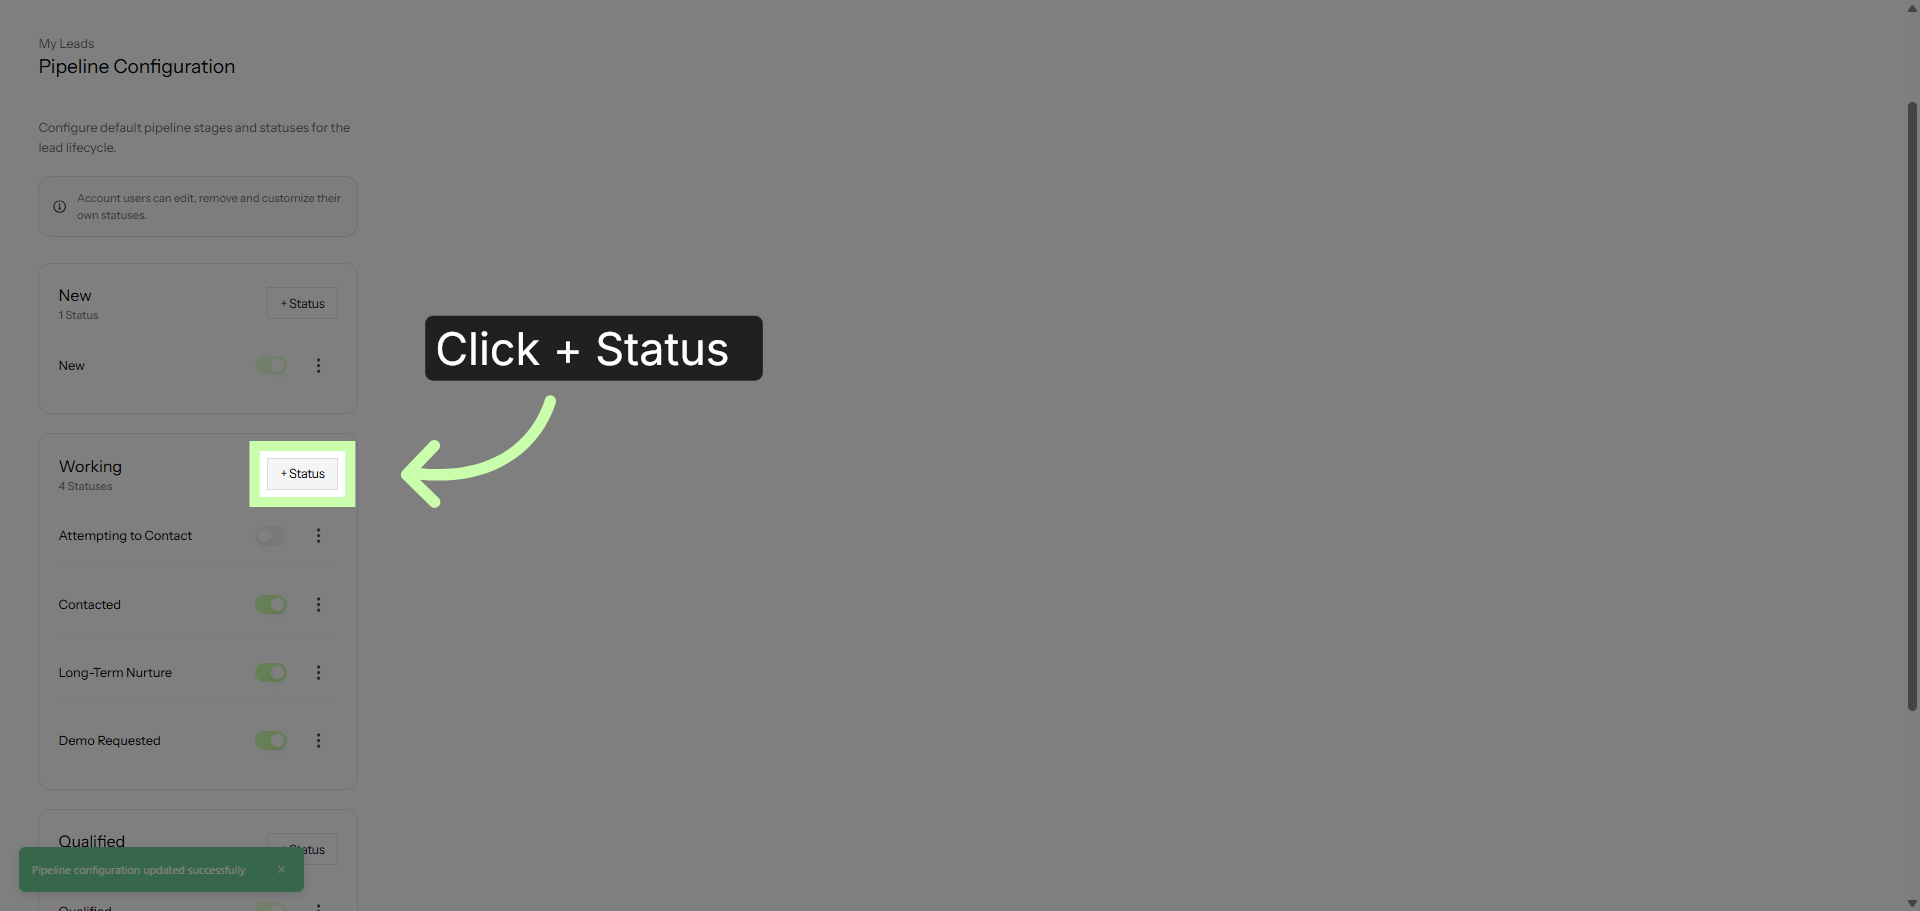
8. Add New Status
You can also add a new lead status. First, click the status button.
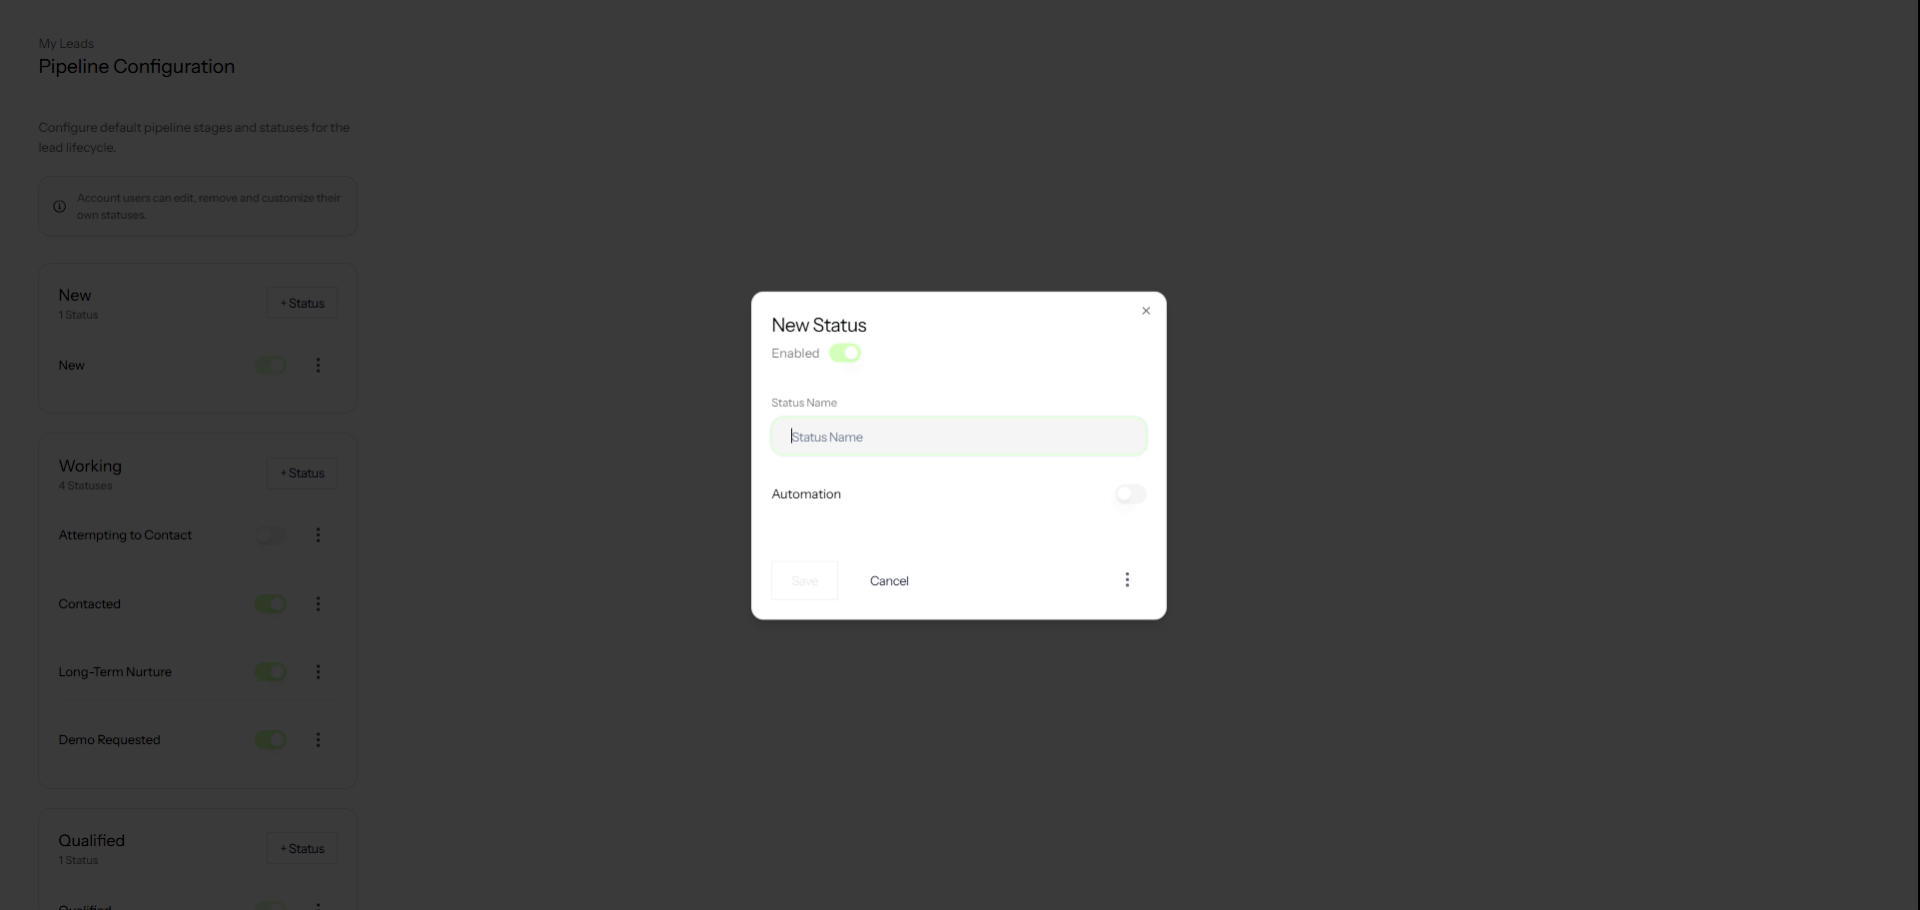
9. Name New Status
In this example, I'll enter "Technical Discovery".
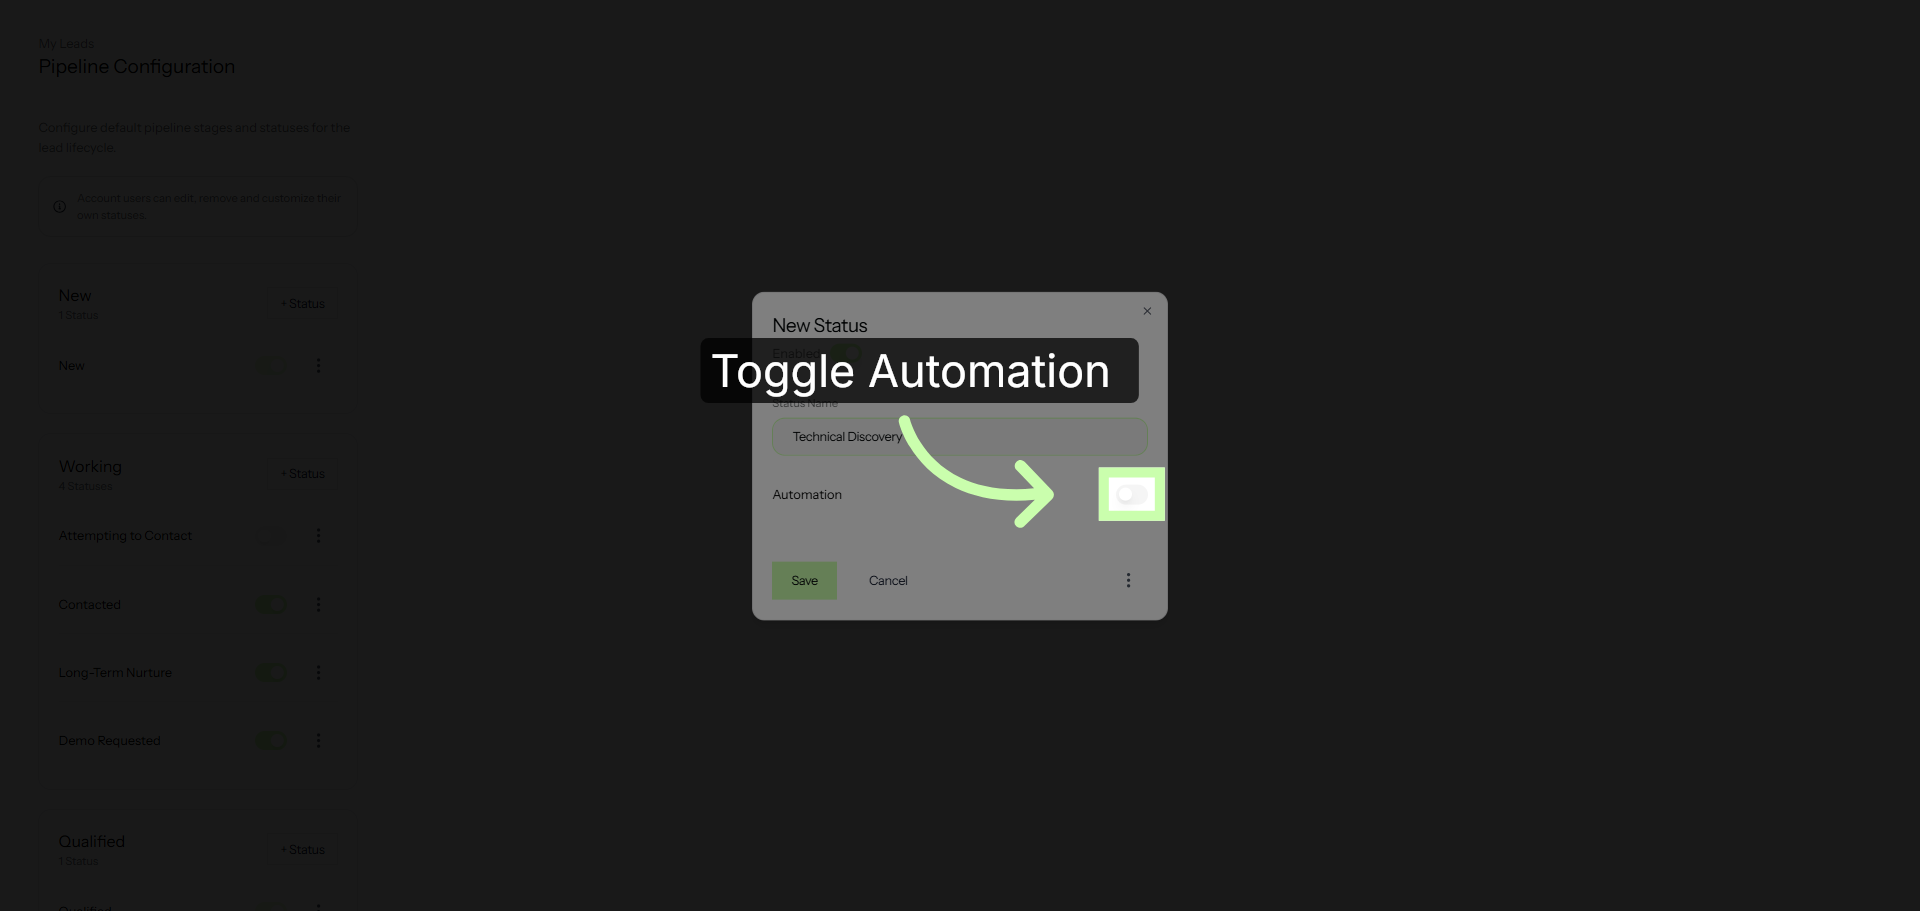
10. Set Automation
You can also set up automations to move leads through these statuses automatically based on their activity
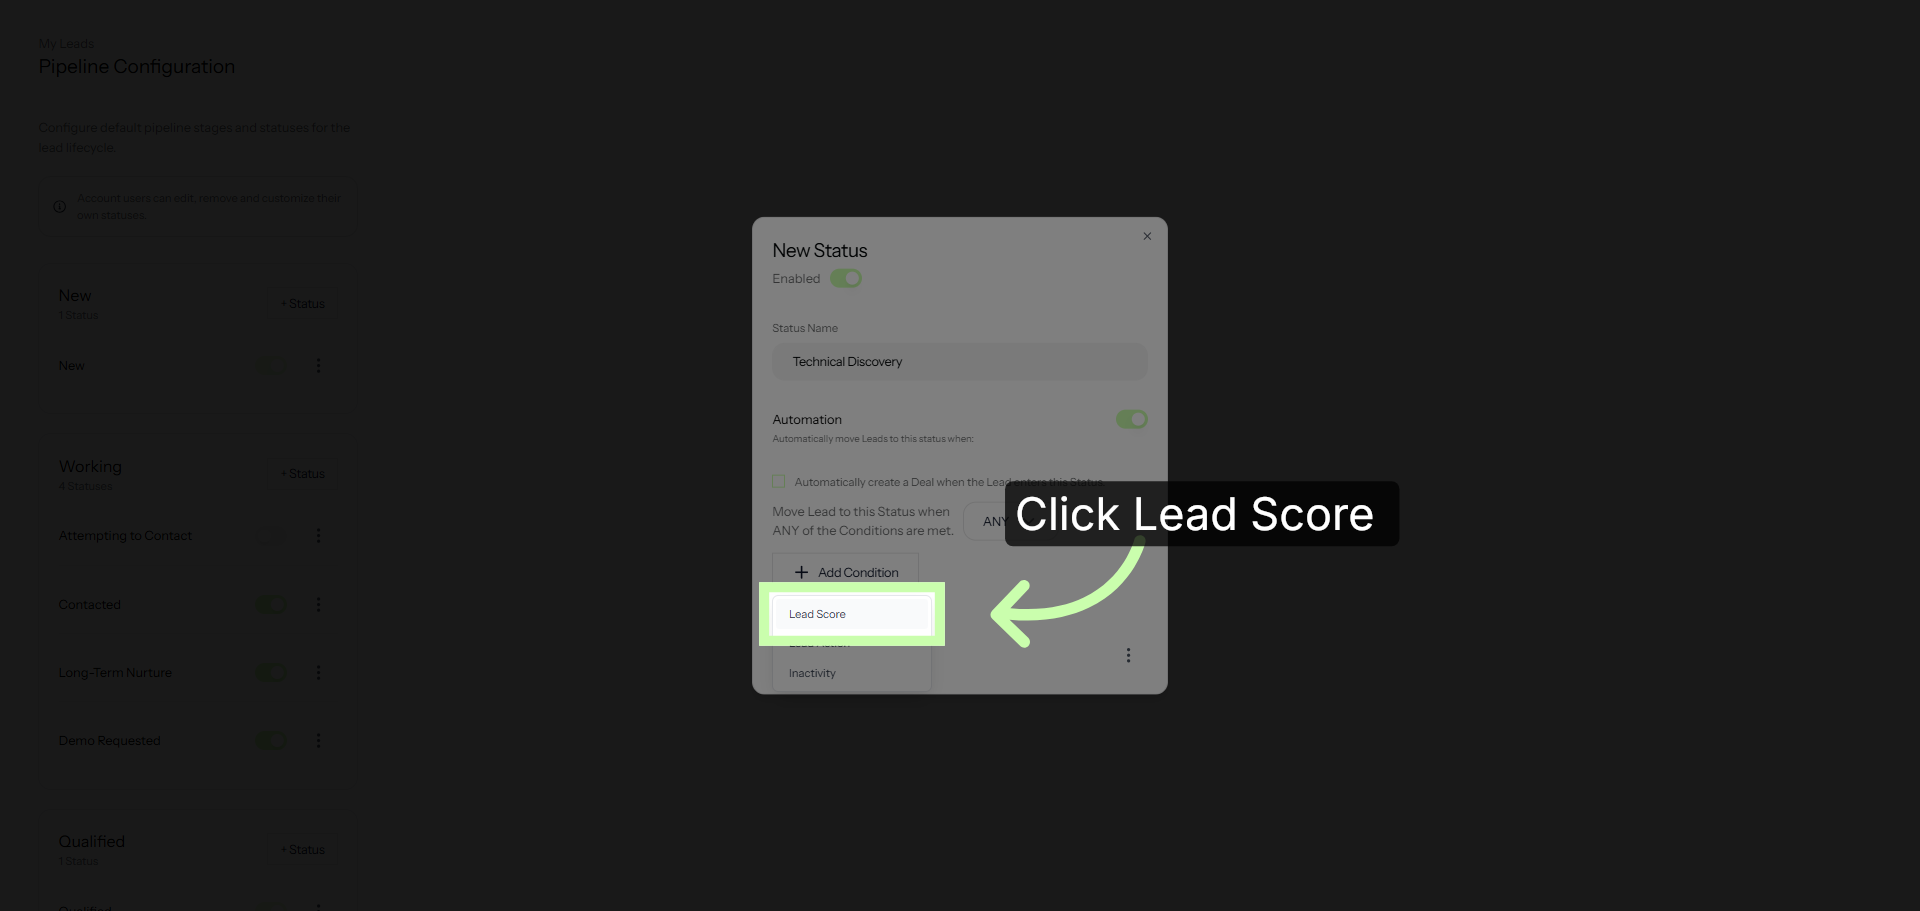
11. Access Lead Score Settings
In this example I'll choose Lead score.
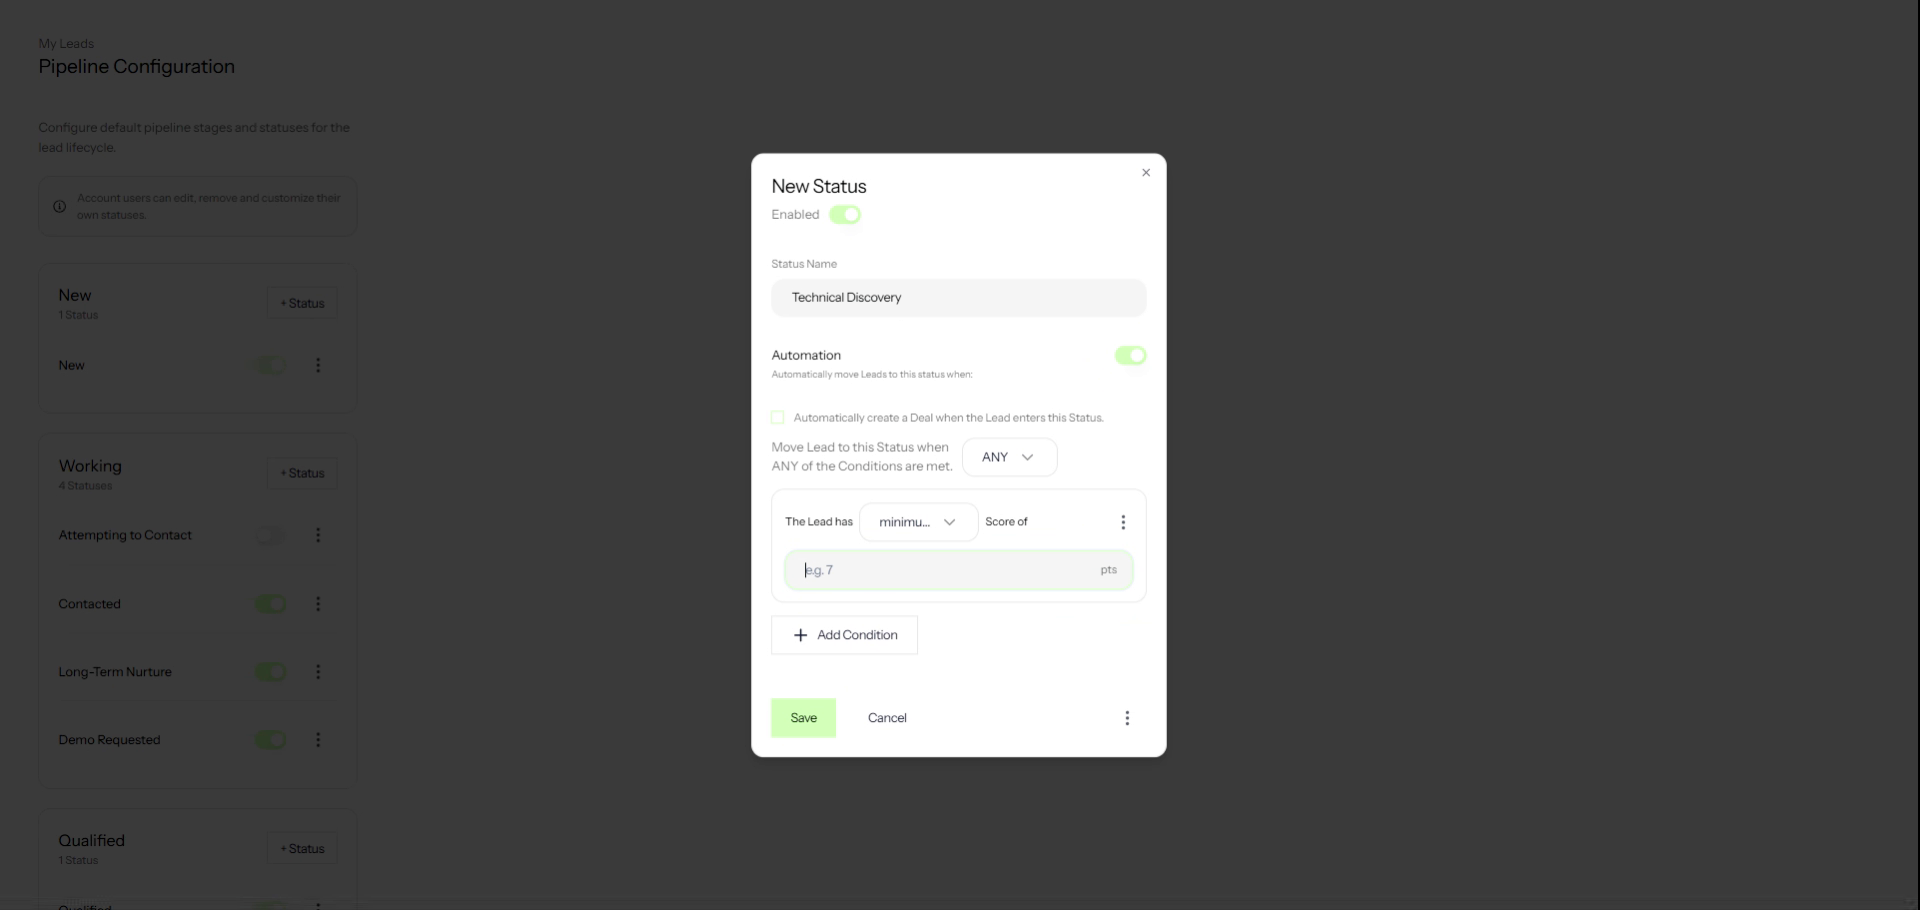
12. Choose a Value
Let's enter a value of 10.
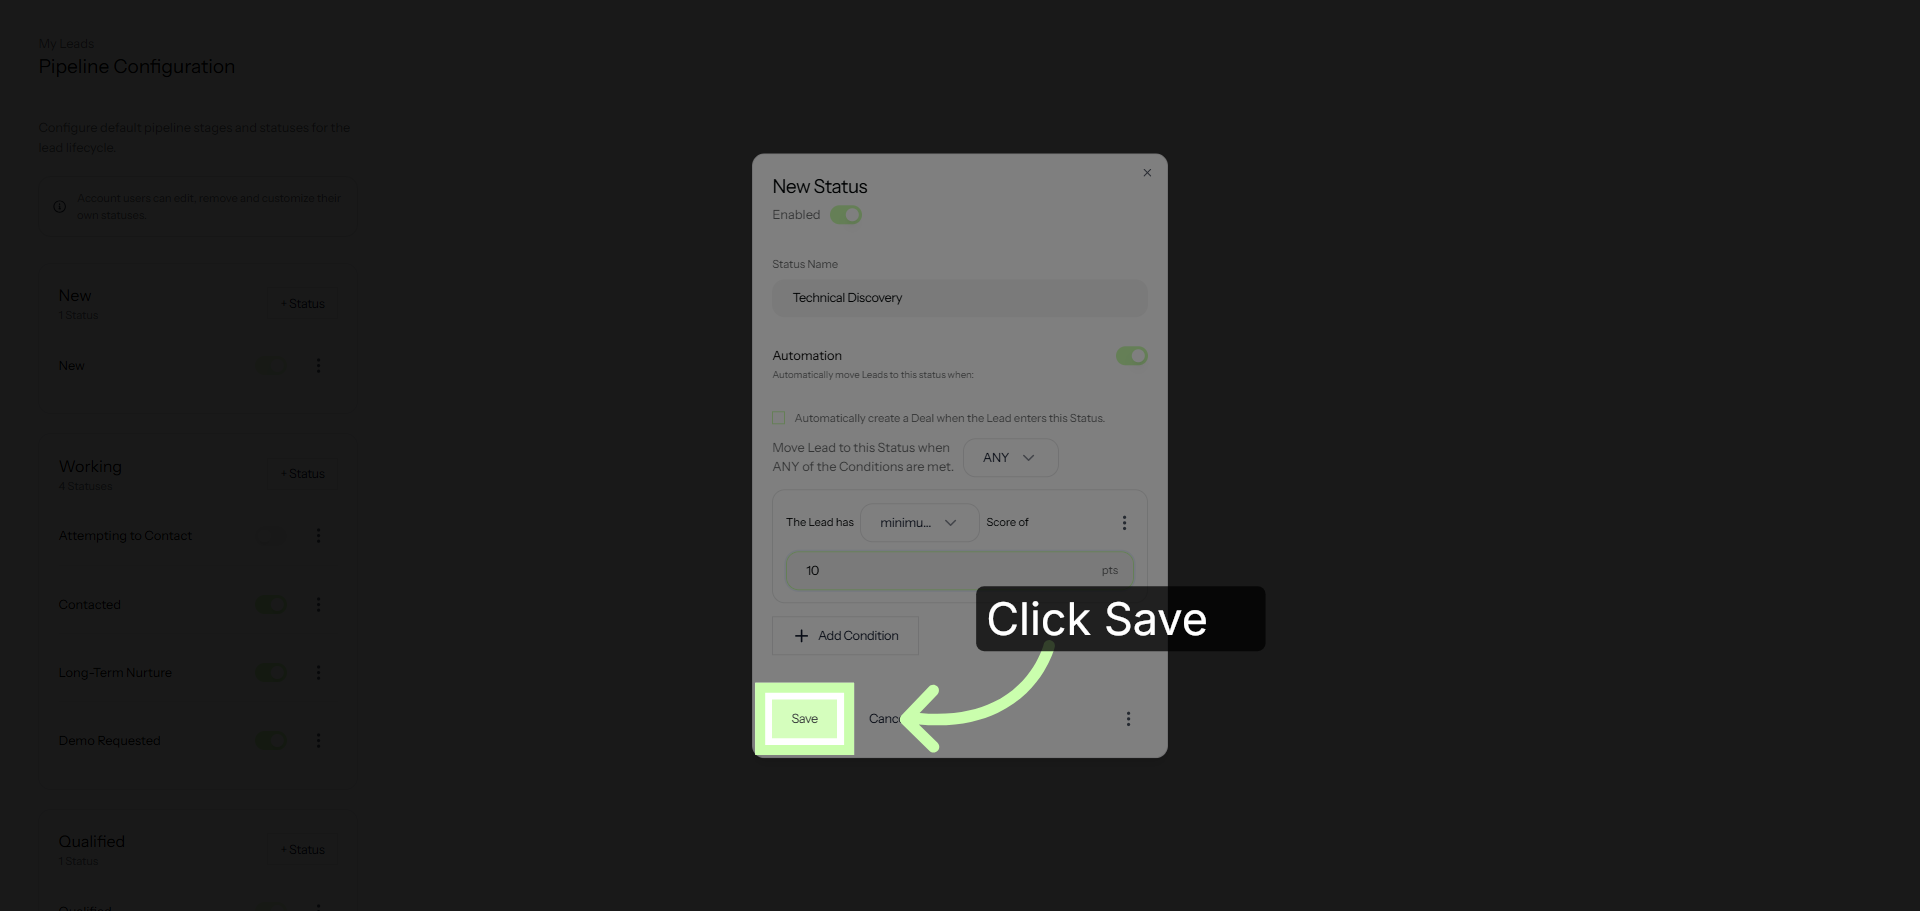
13. Save Lead Score Changes
Click Save to apply.
Once you’ve tailored the flow to your business, click save to make this the new default for your entire team. Next, learn how to manage individual leads.
You've Completed this Training - Move to the Next Training →