
Estimated Time
~15 minutes
What You'll Accomplish
- This tutorial guides you through customizing email content.
|
Before you begin — open your account This is a hands-on, learning-by-doing session. Open app.structured.ai in your browser and log in to your Account so you can follow along and apply each step in real time. |
 Follow Our Step-By-Step Training
1. Introduction
Customizing your email content is the most effective way to cut through the noise and build immediate trust with your audience
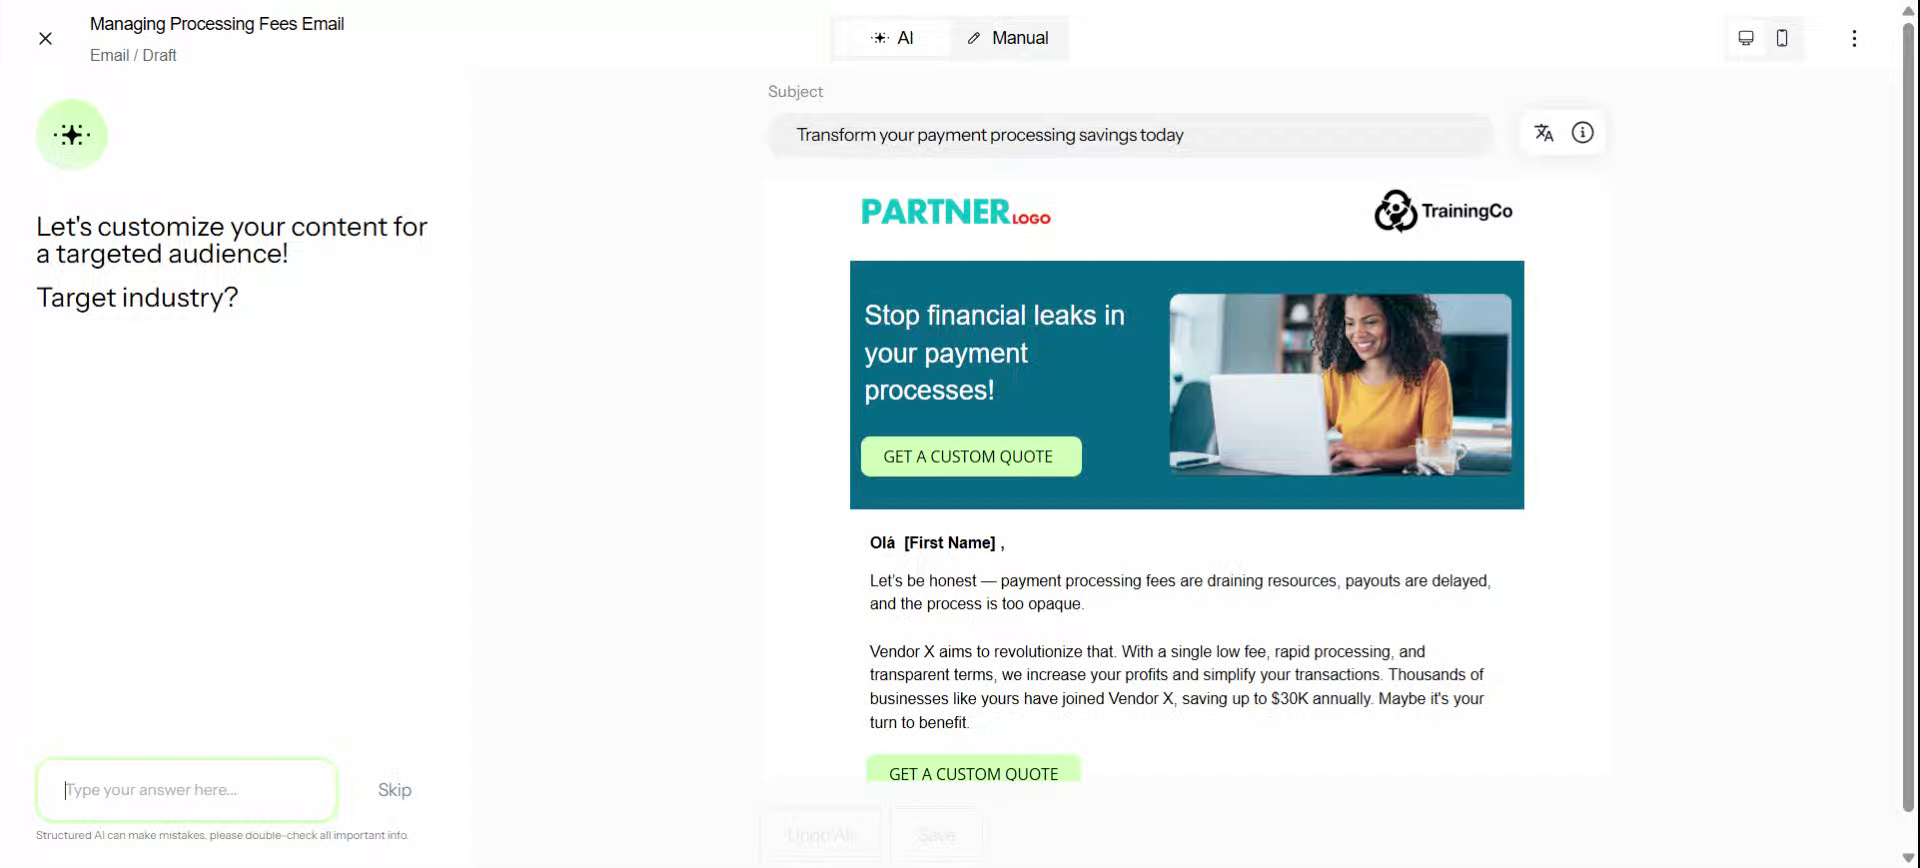
2. Select Manual Editing Mode
To start, from the workspace, click the Manual Tab.
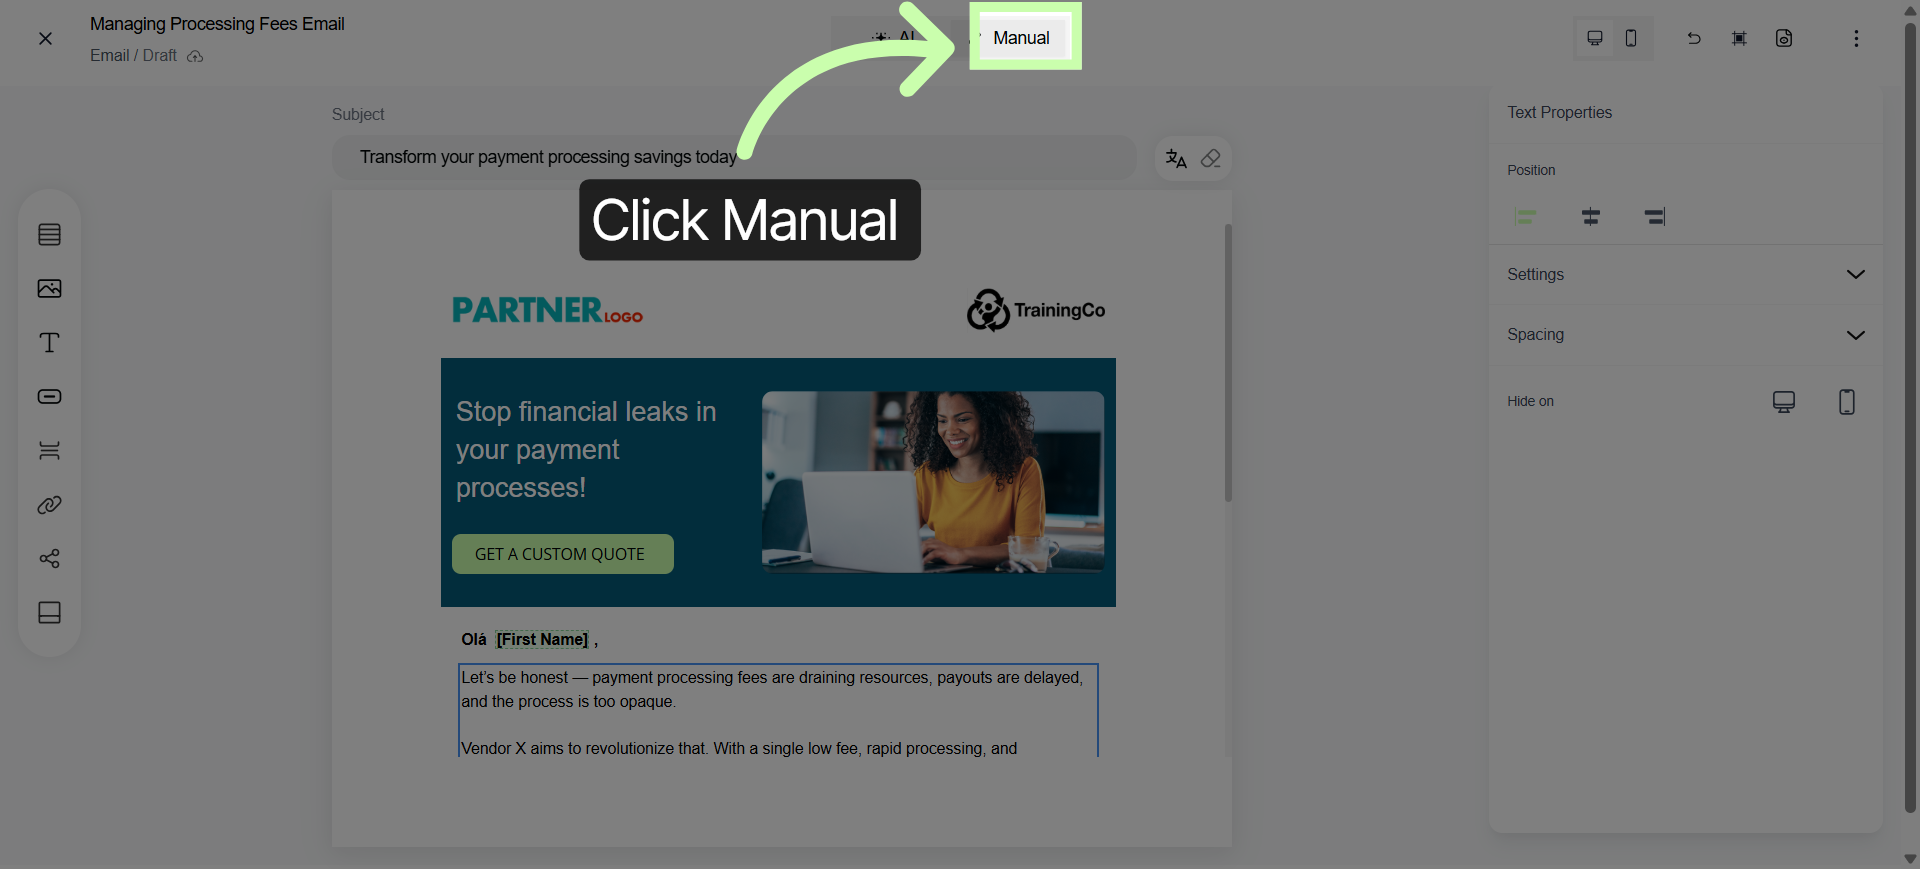
3. Add your Own Content
Then, on the canvas, click inside any box to add your own value statements or local proof points.
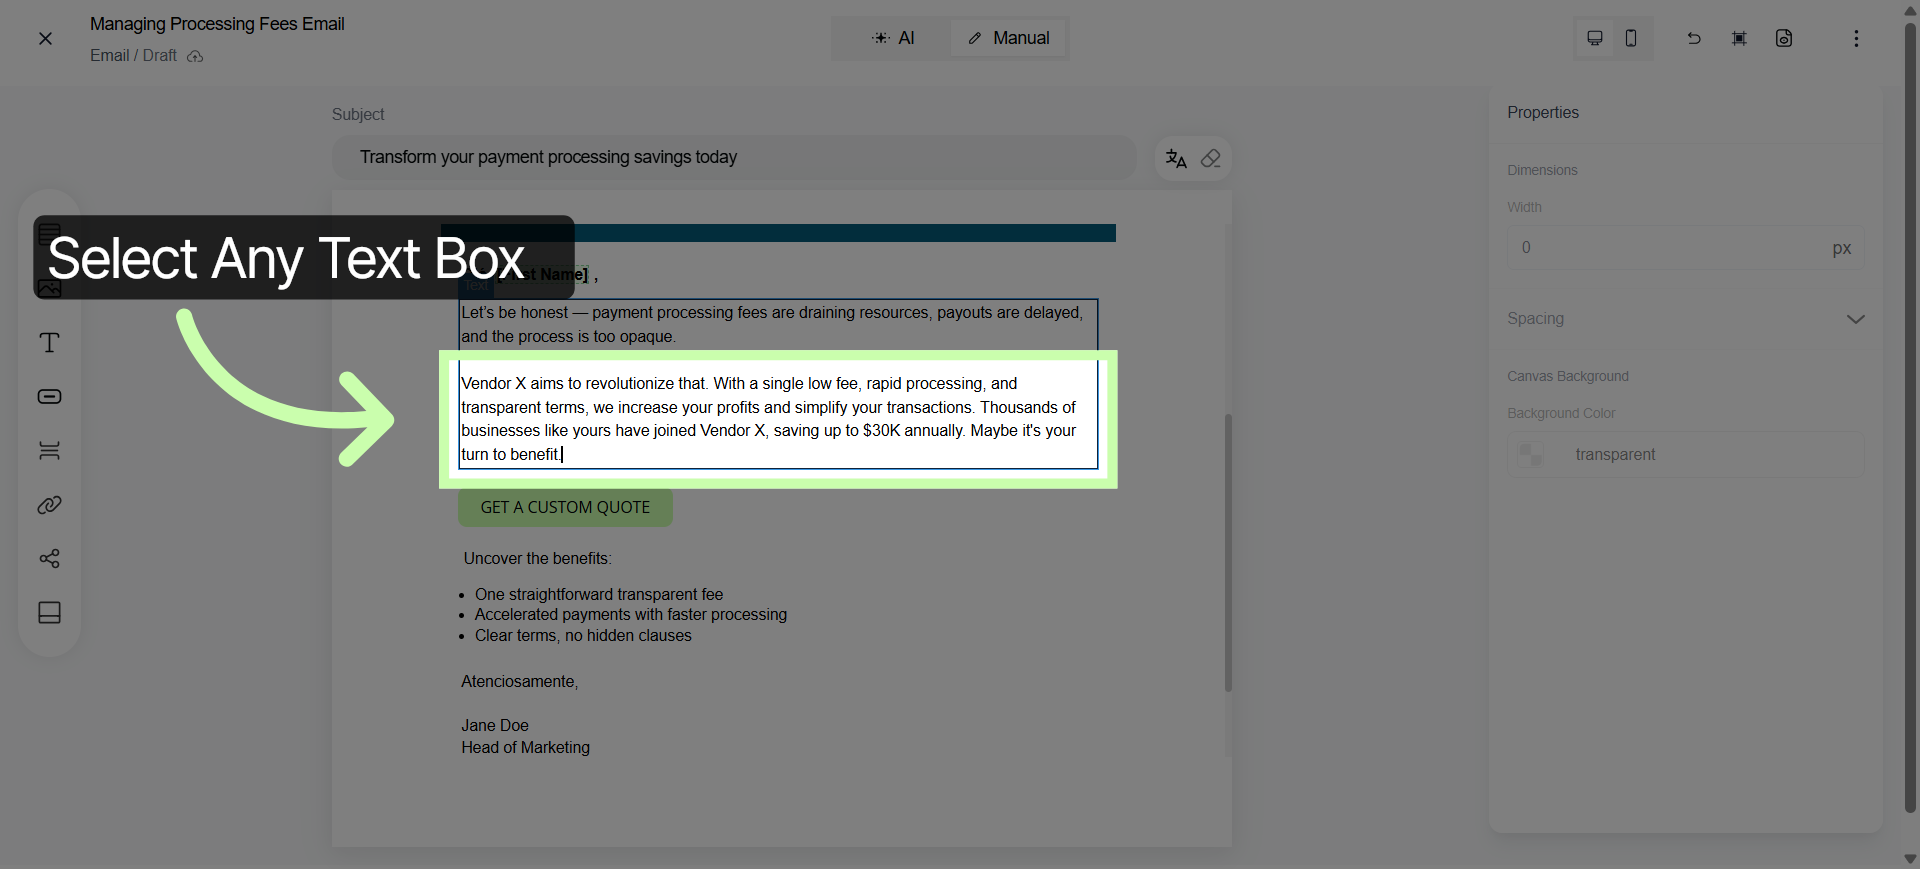
4. Enter Local Partner Support Text
In this example, I'll add As your local partner, we provide the hands-on support and customized implementation you need to get the most out of Vendor X’s solution
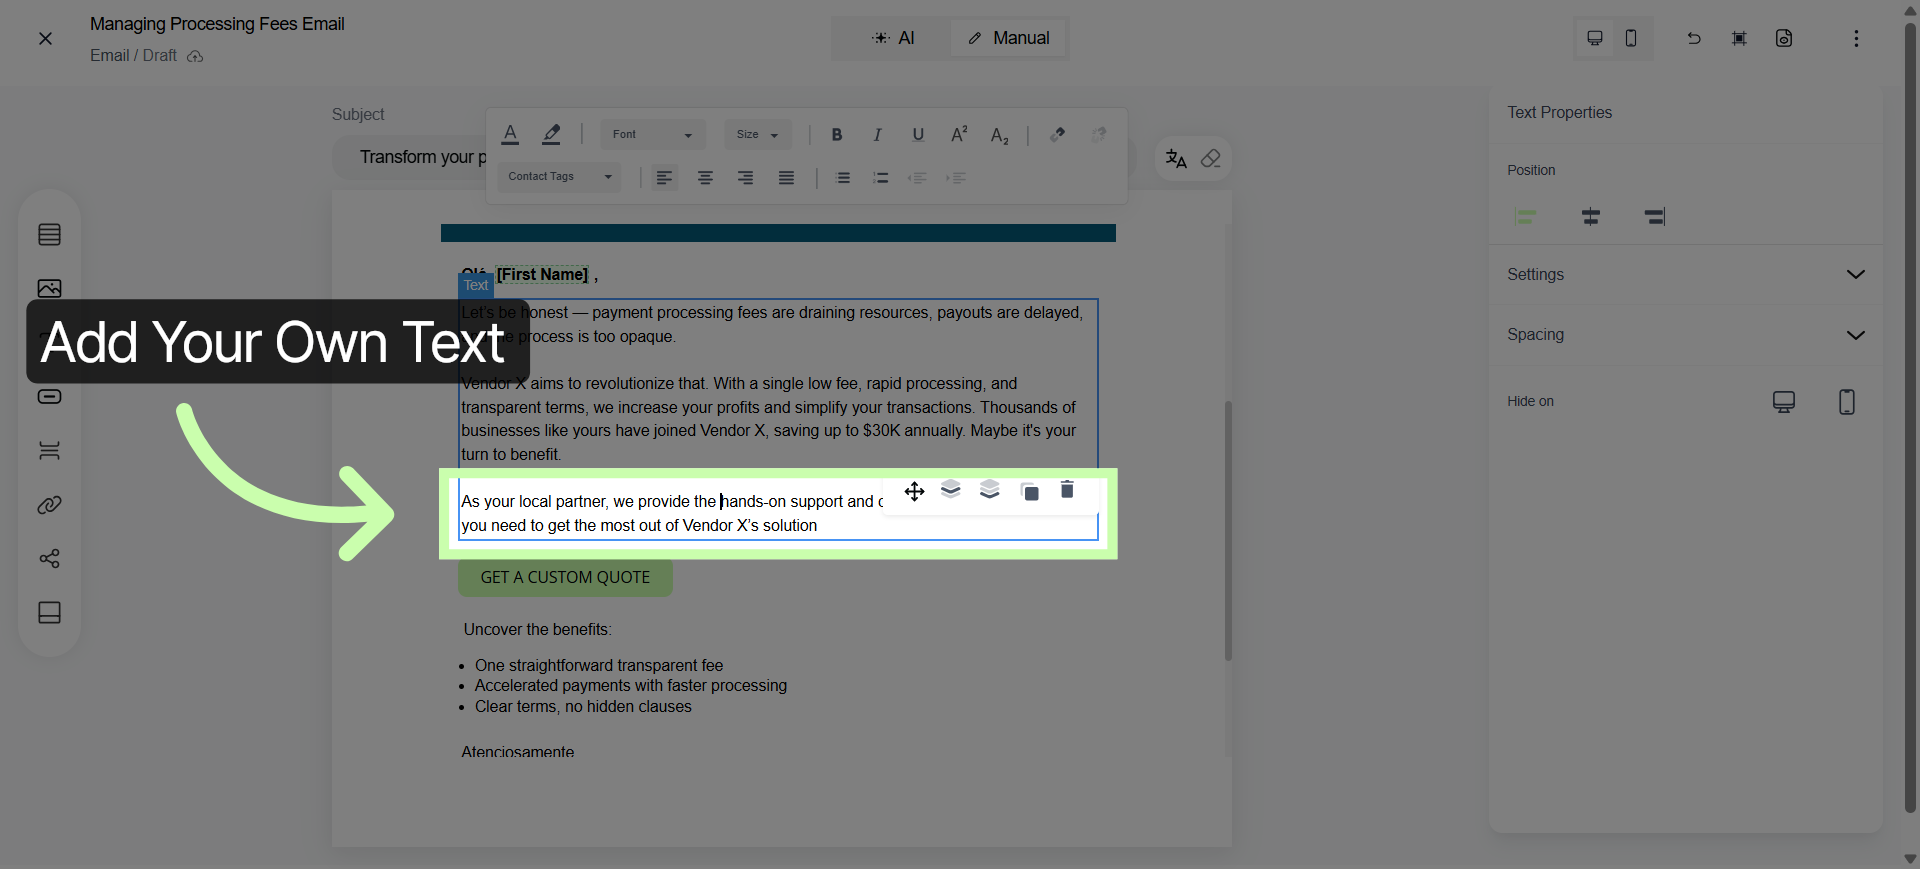
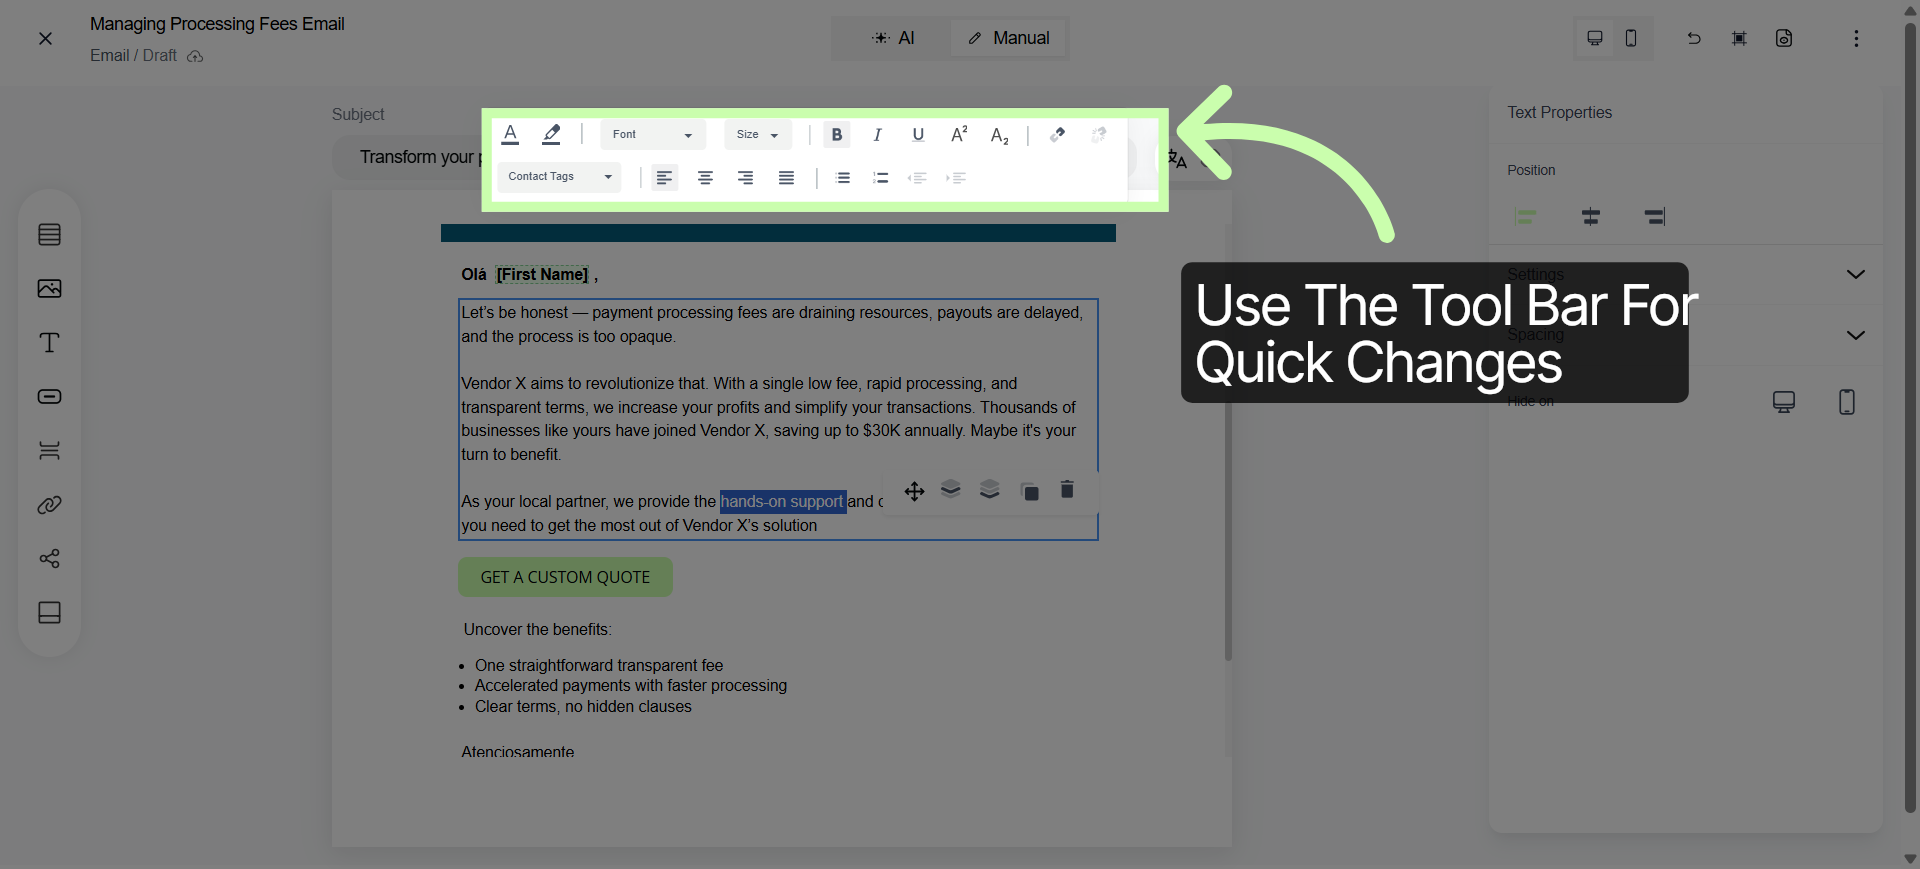
5. Use the Toolbar for Quick Changes
Use the Toolbar for quick changes—like bolding key phrases or adding hyperlinks.
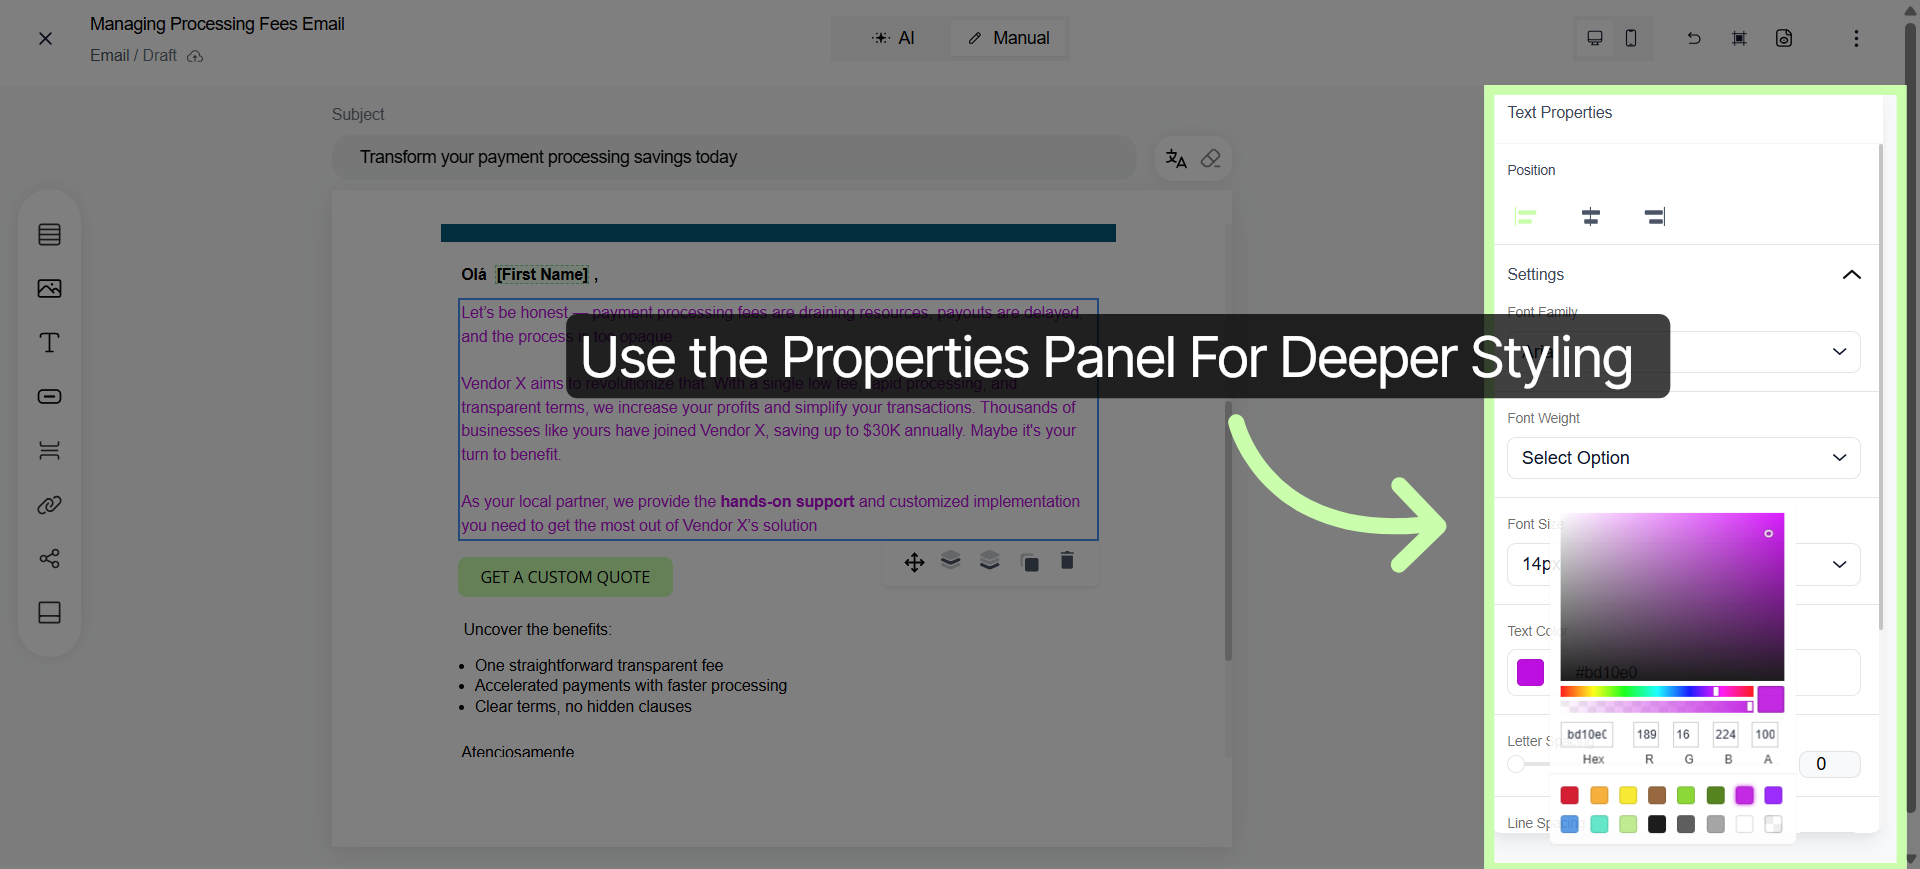
6. Use the Properties Panel for Deeper Styling
For deeper styling, use the Properties Panel to update the entire text box, including brand colors and fonts.
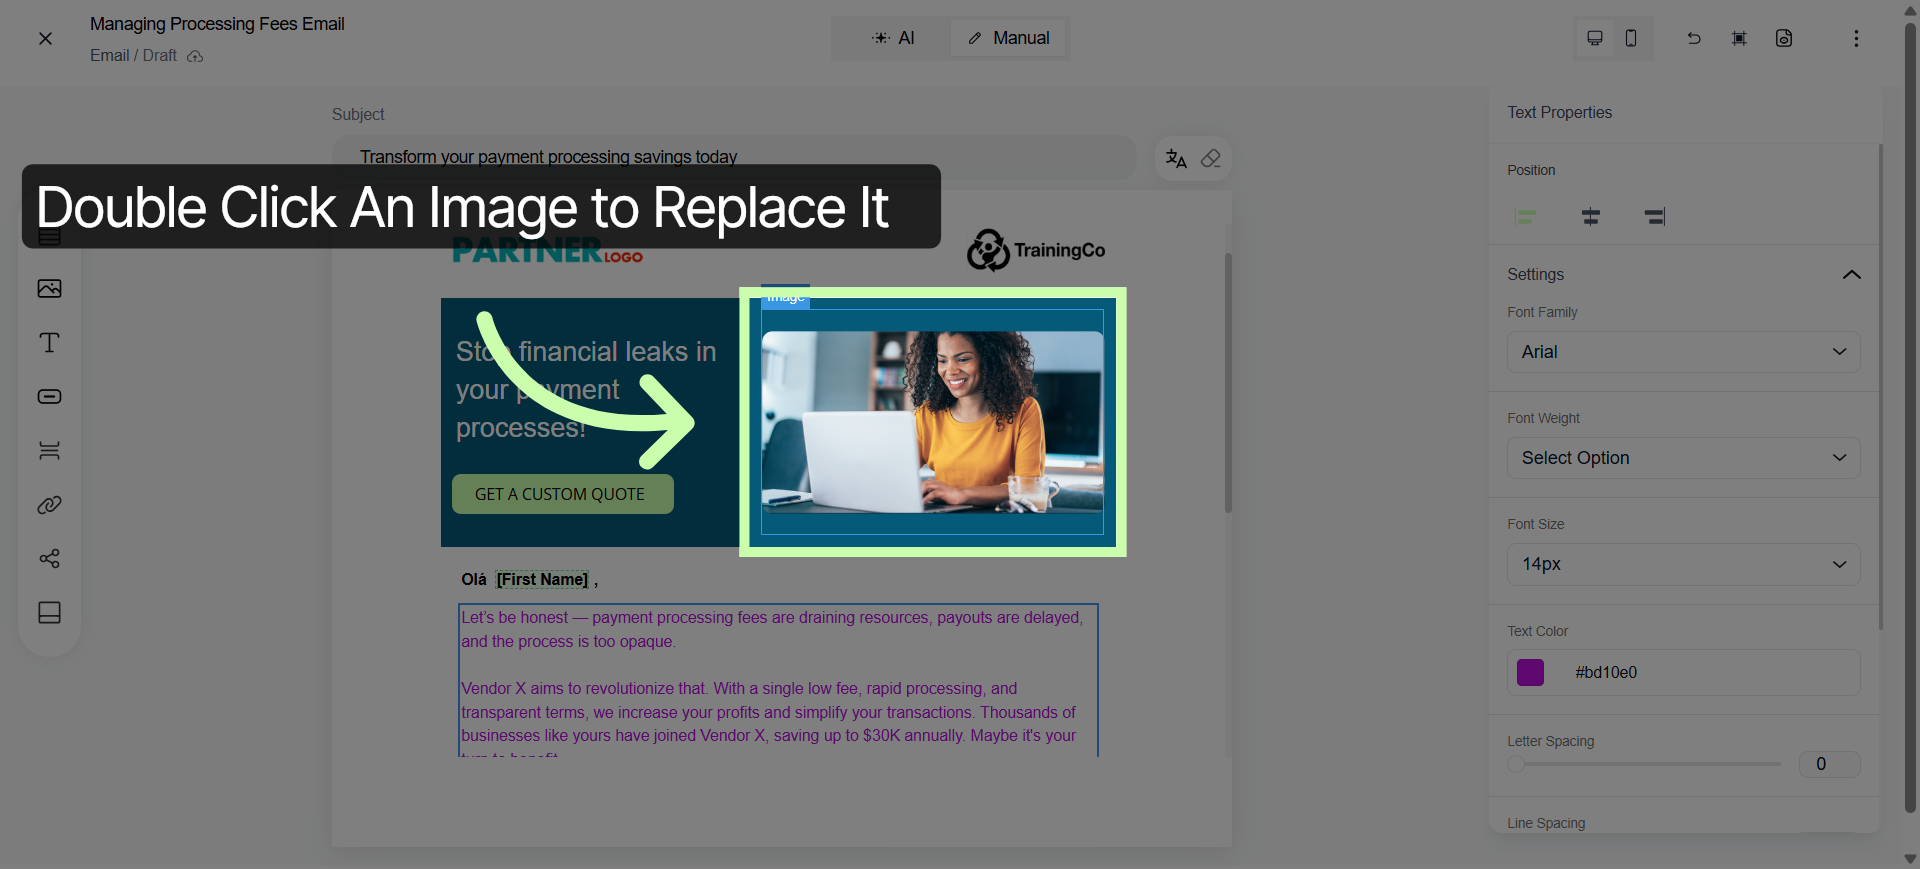
7. Replace an Image
Need a visual boost? Double click an image.
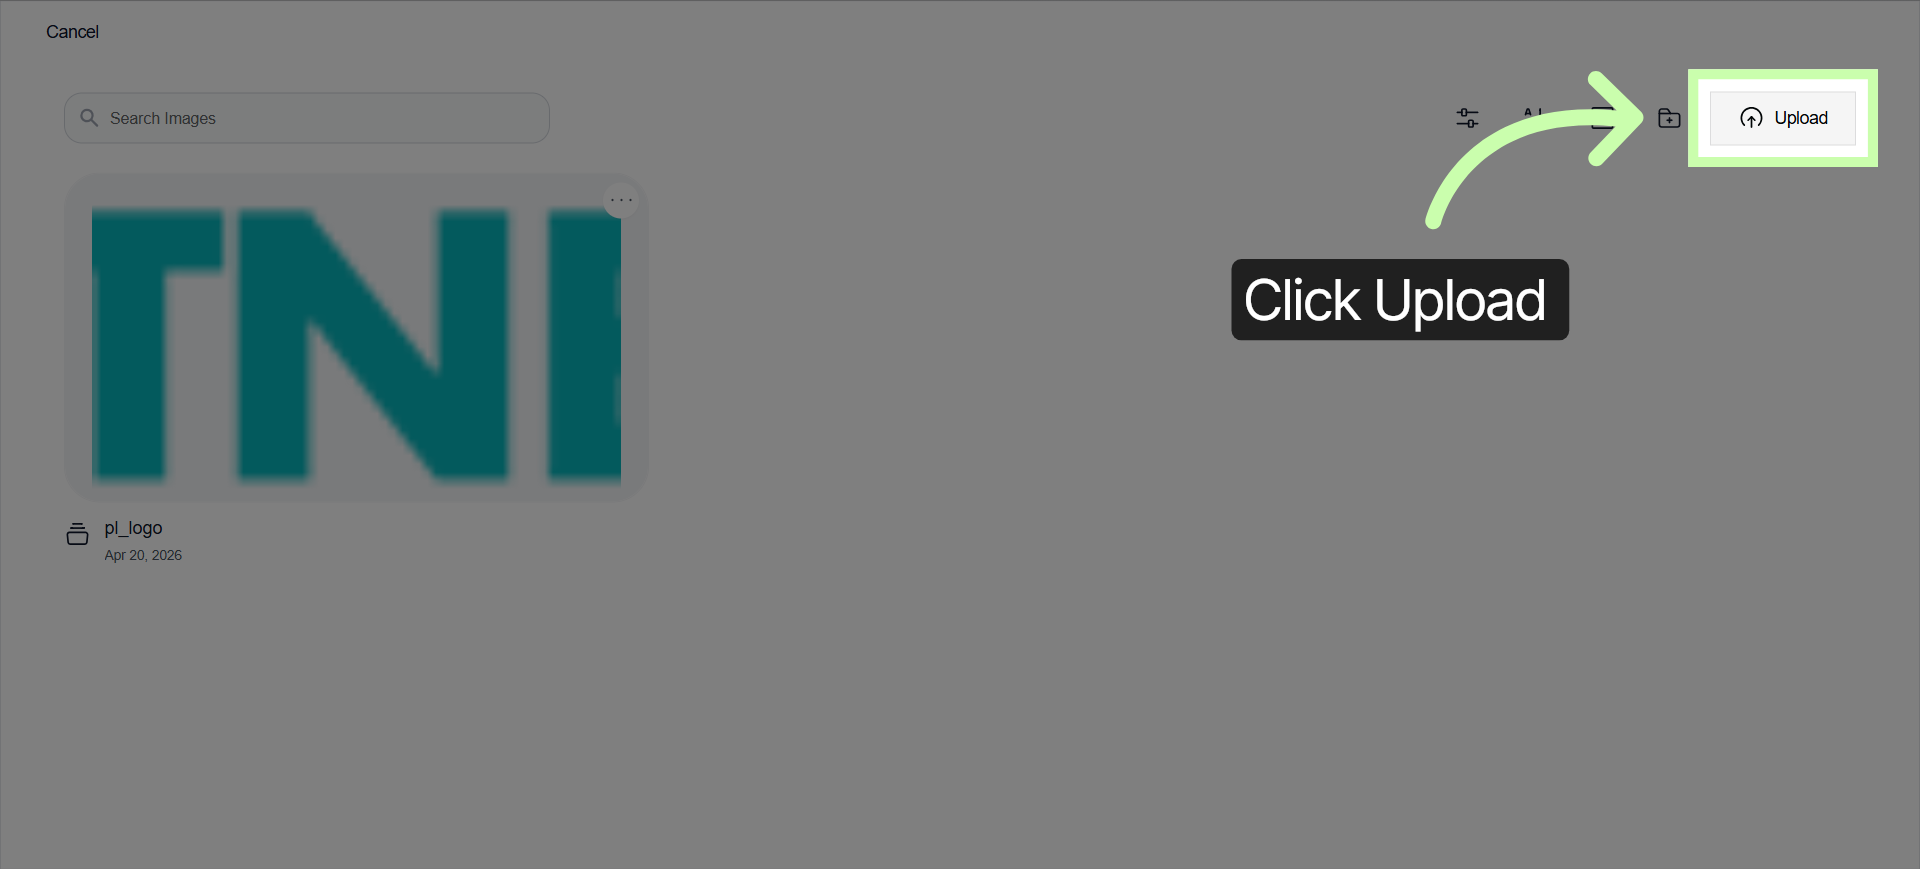
8. Click Upload
Click upload to bring in an image from your hard drive.
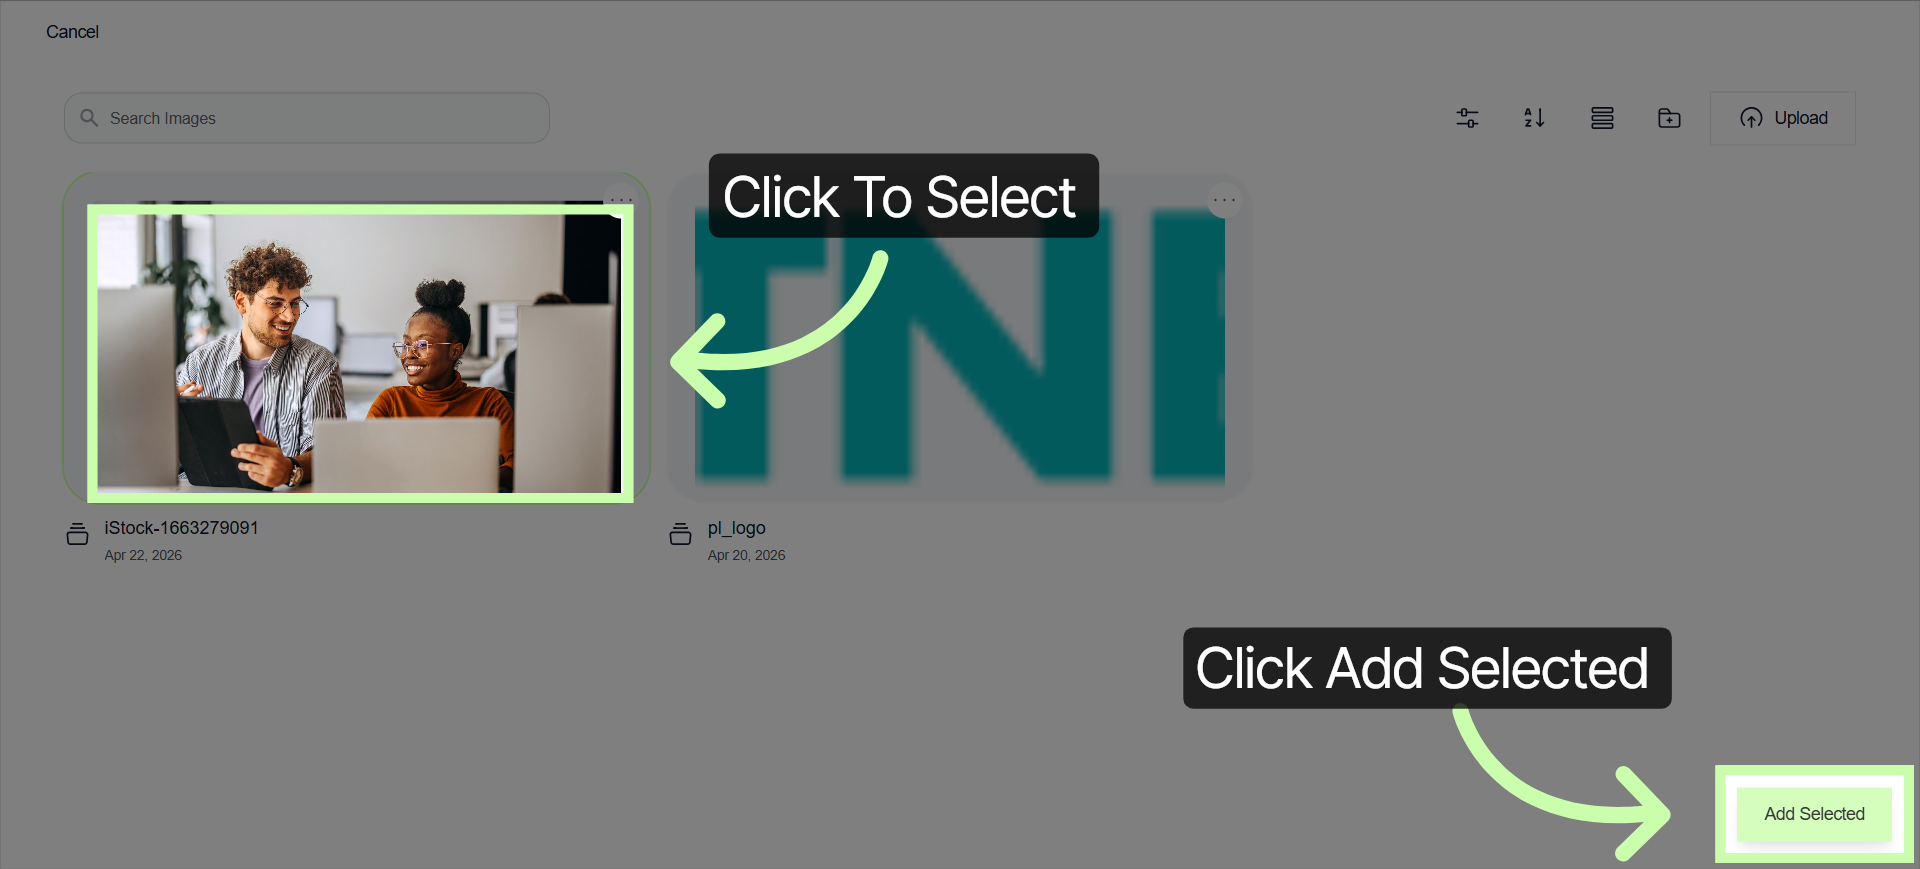
9. Add Selected Image
Click to select it and choose Add Selected.
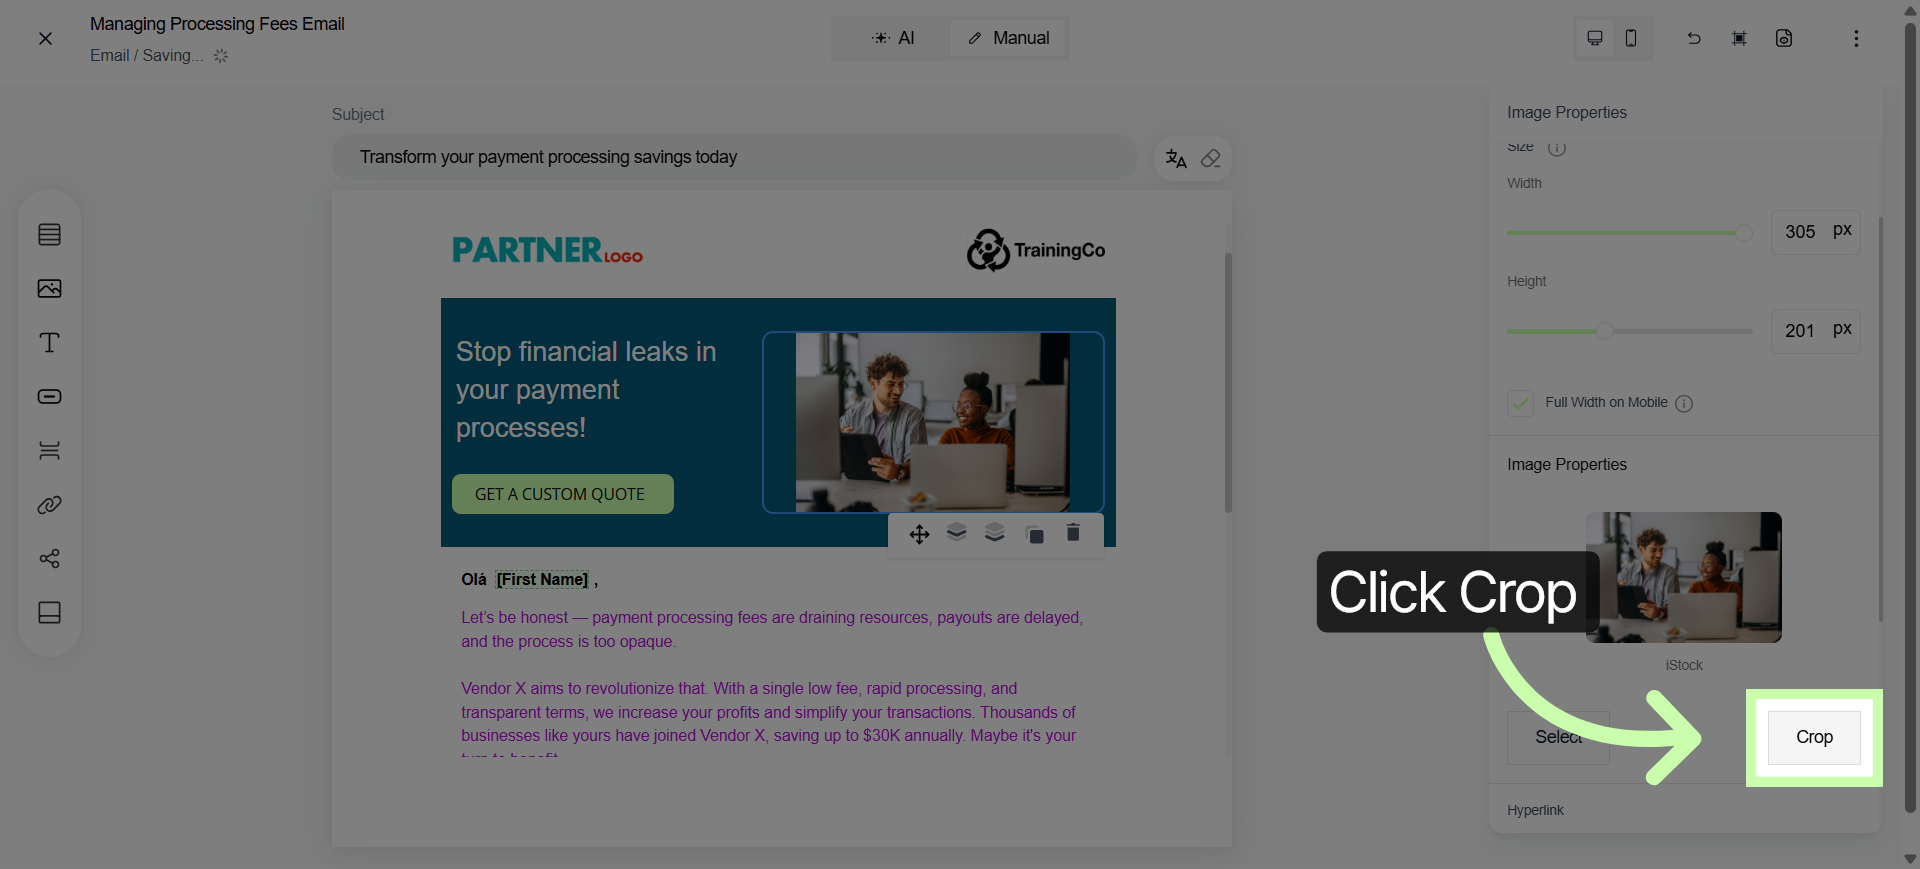
10. Open Crop Tool
You can then use the Properties Panel to resize, crop, or style your images and buttons in seconds.
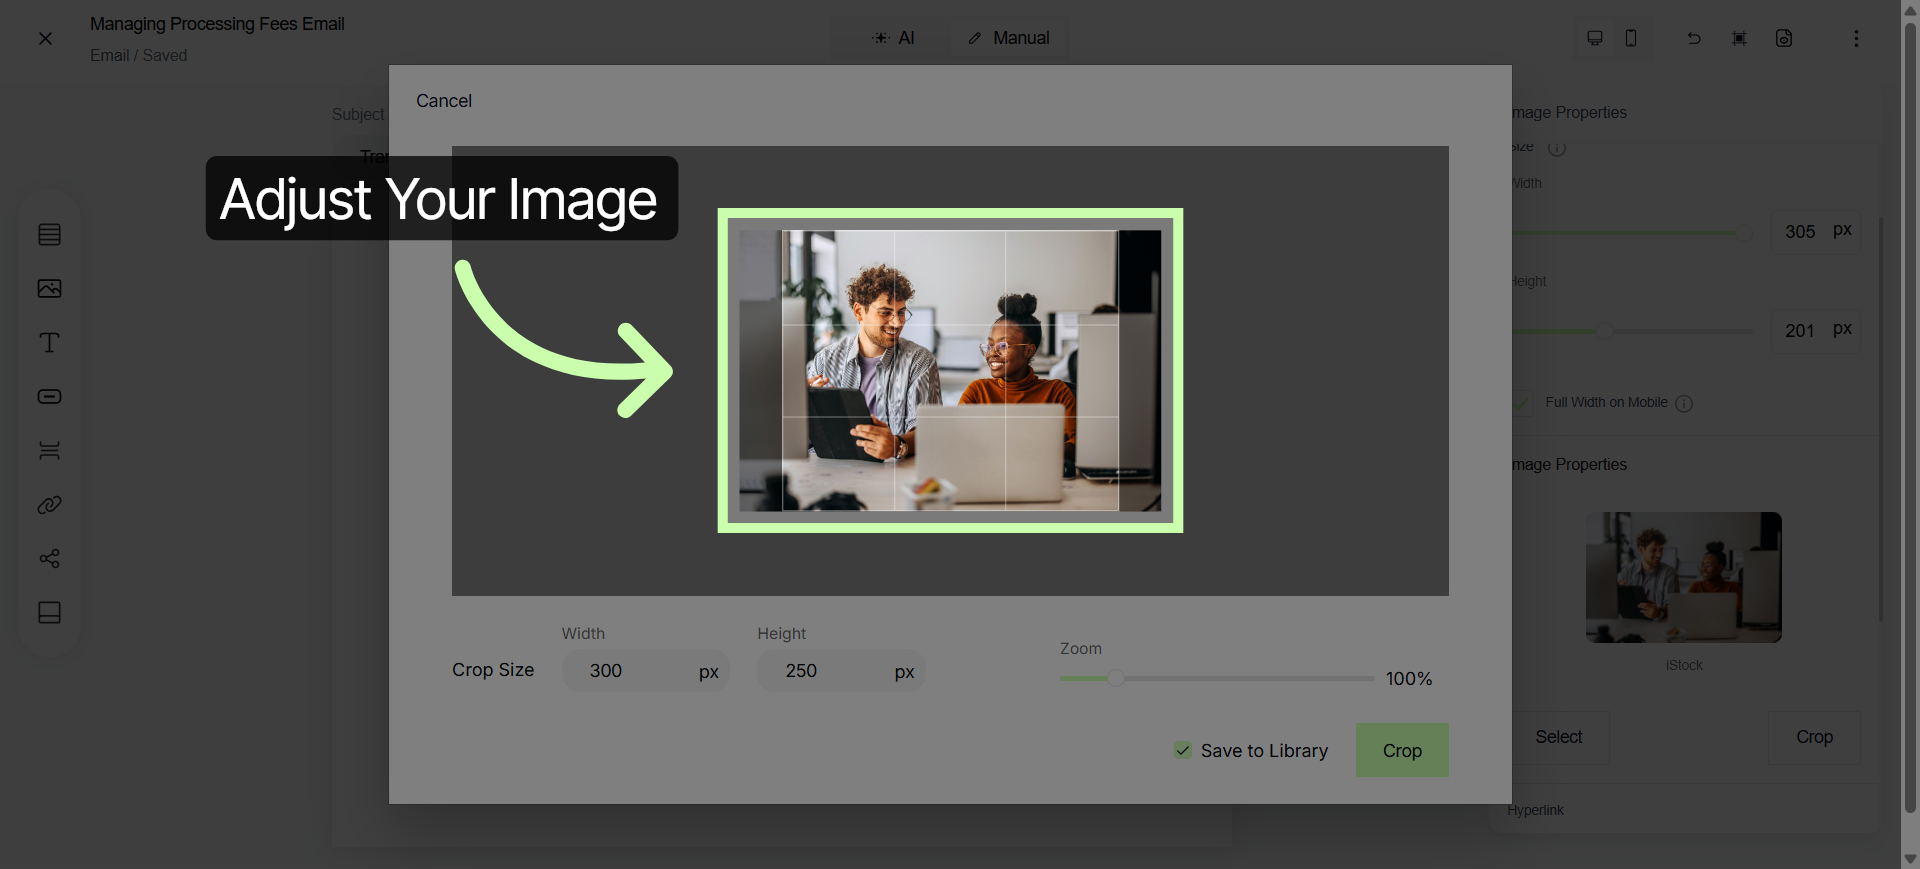
11. Interact with Crop Tool
Slide your image to focus on what's most important, eliminating the need to prepare outside the platform
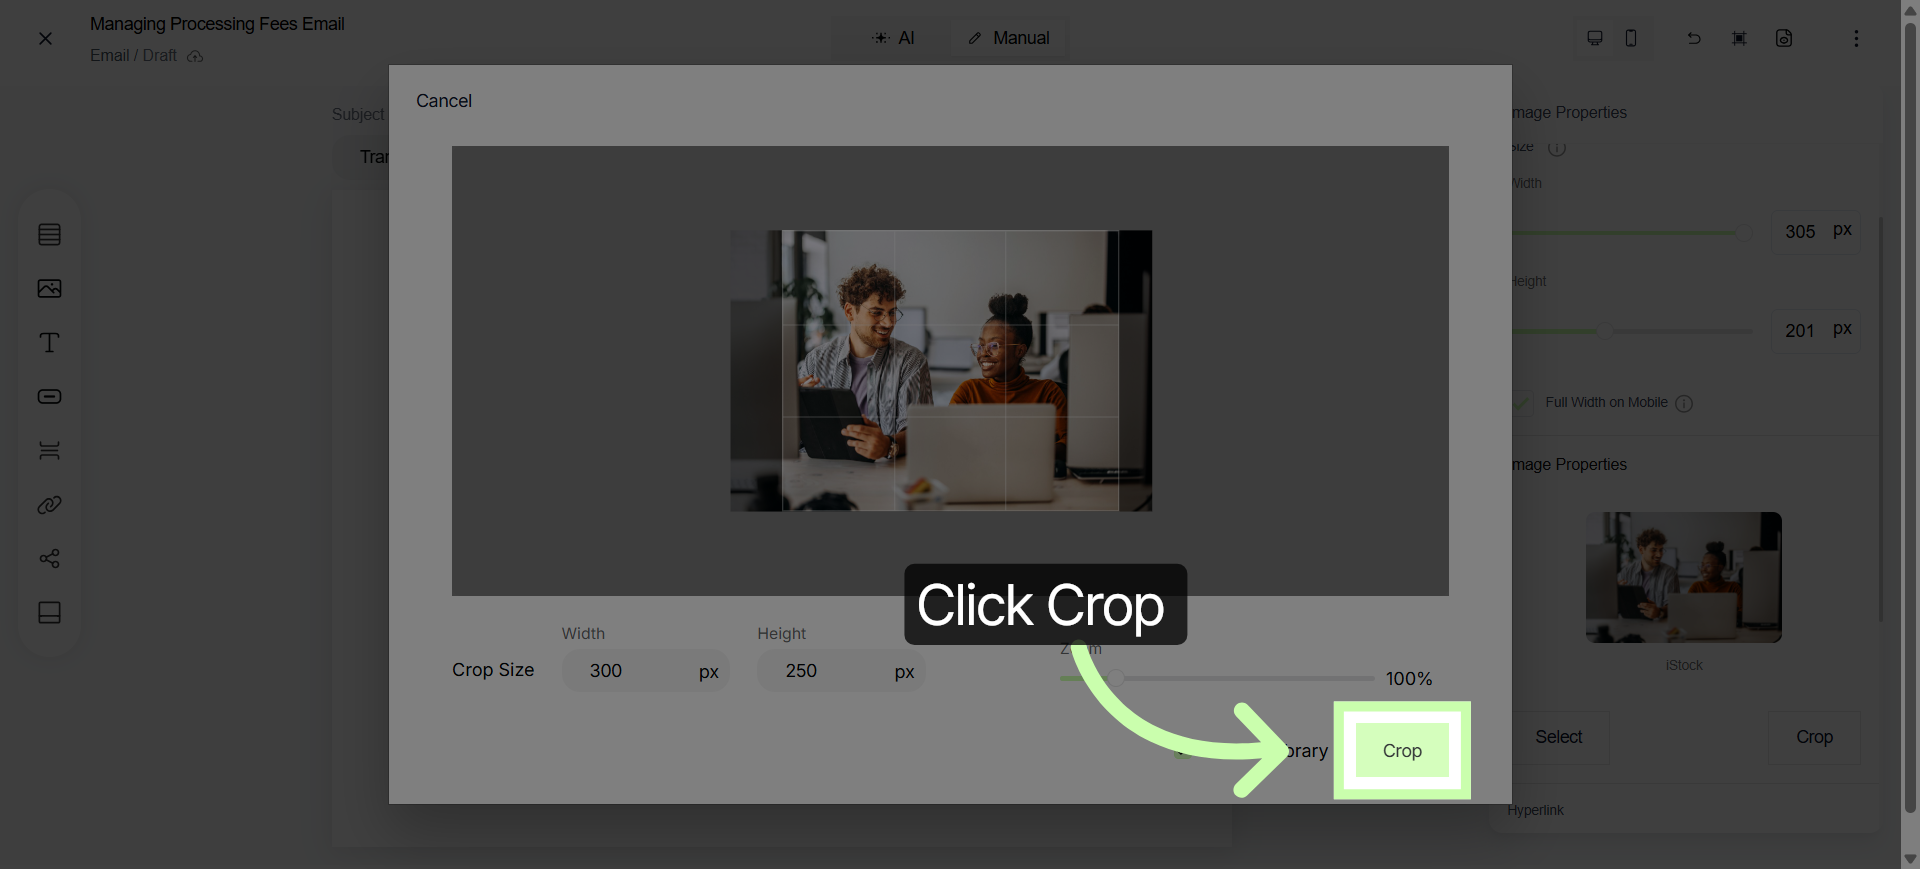
12. Apply Image Crop
Click Crop again to apply the cropping changes to the image in your email.
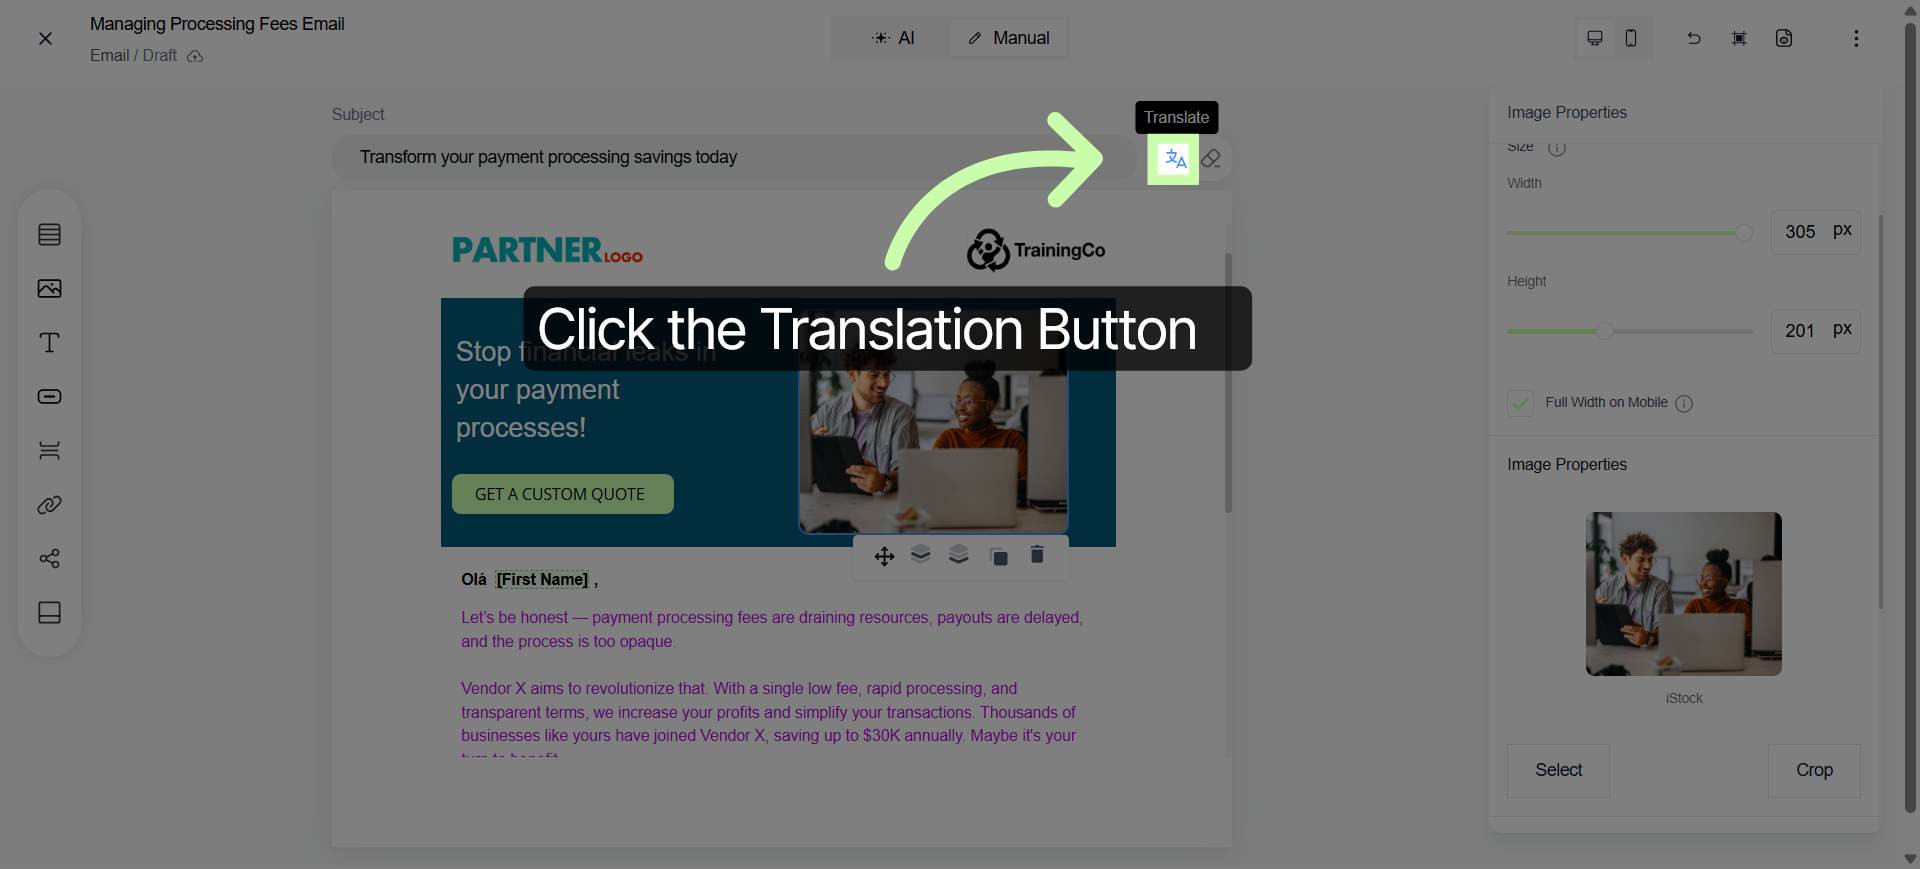
13. Access Language Selection
To reach a broader audience, use the Translate button on the toolbar.
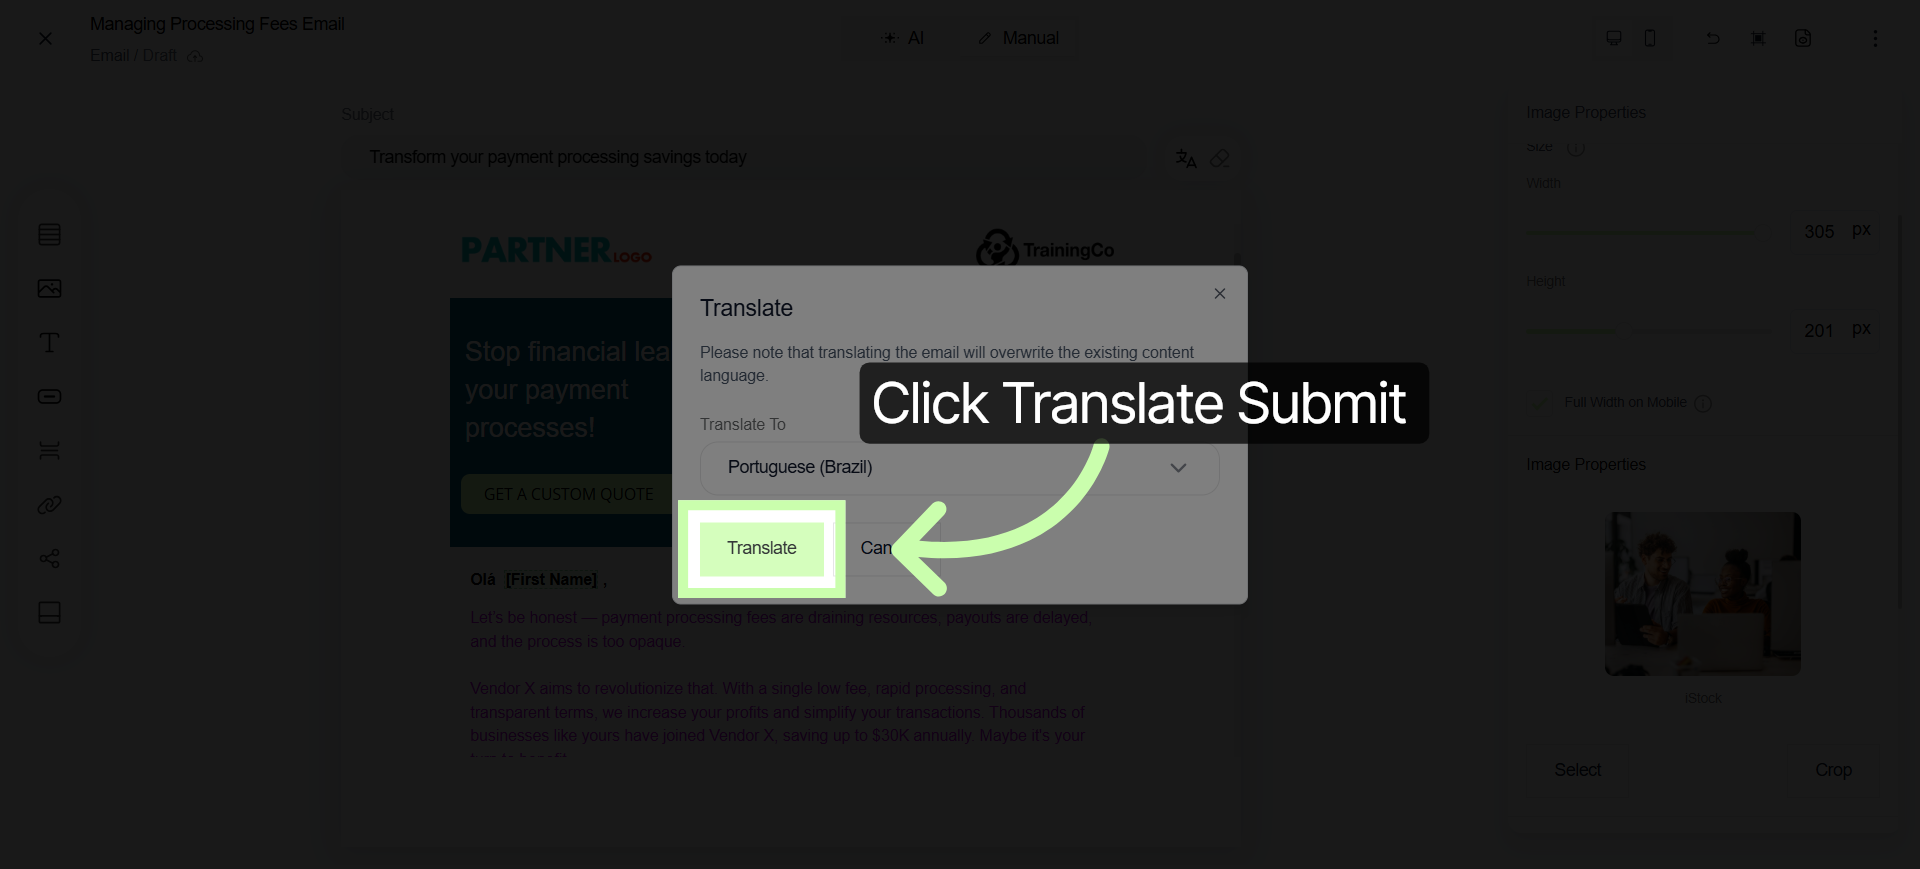
14. Translate Submit Button
Click Translate.
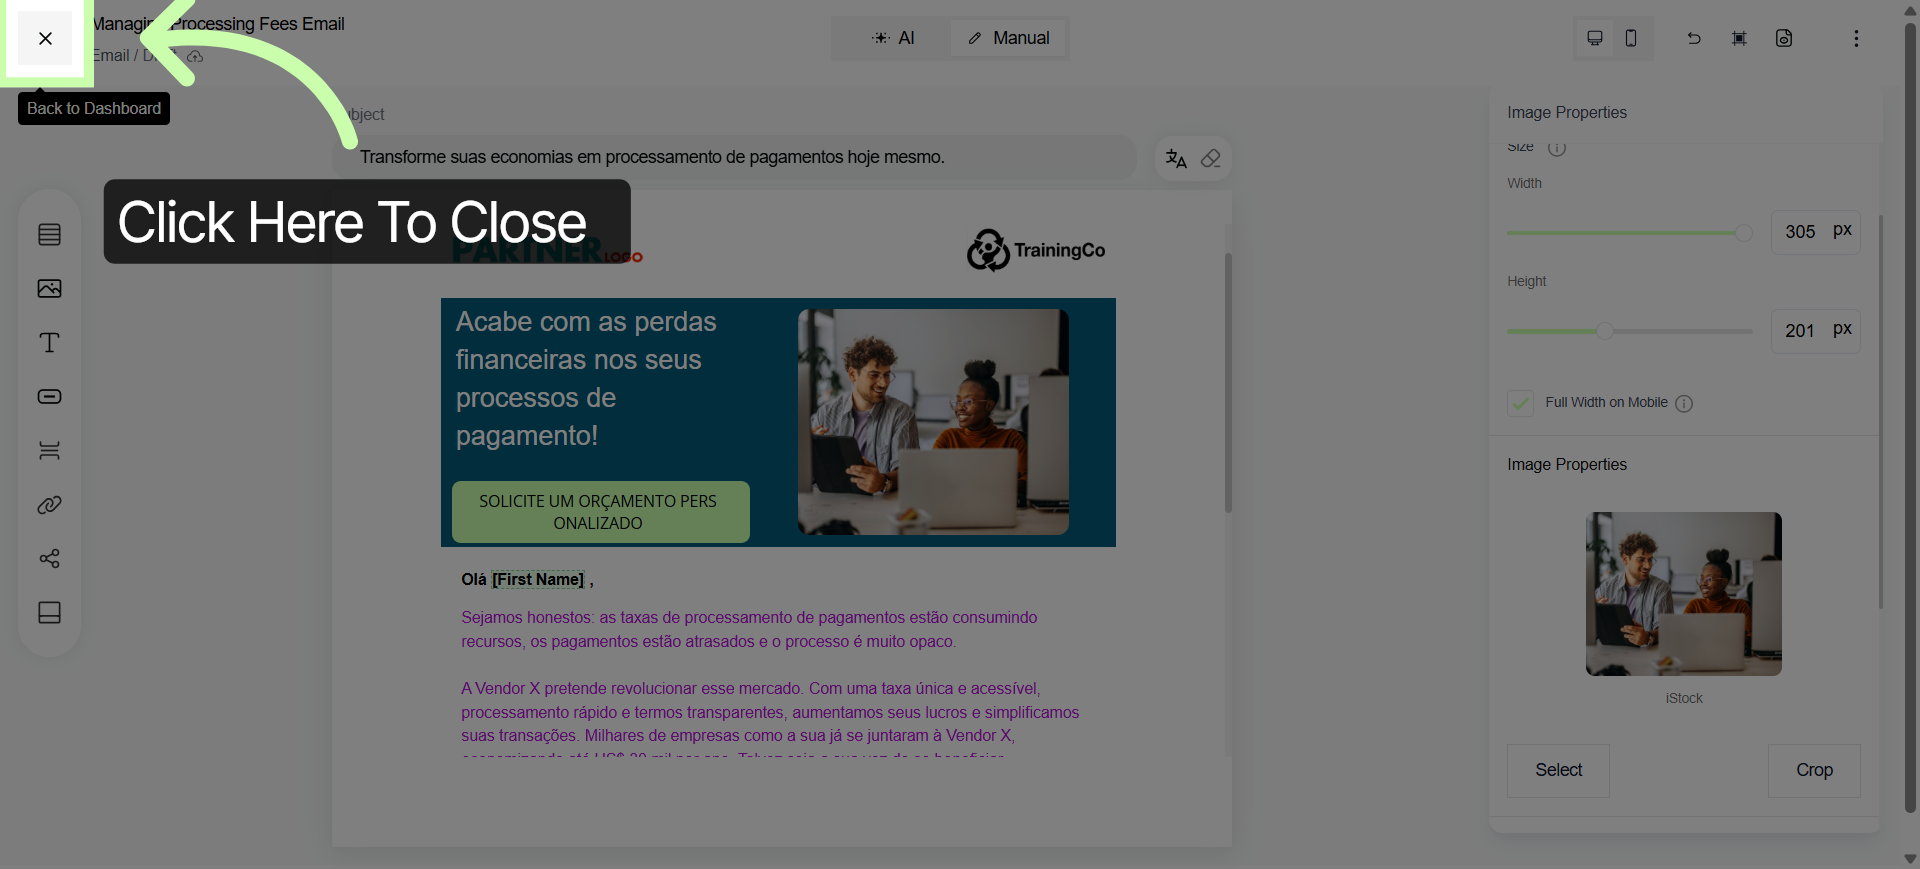
15. Close and Return
Click Close and return to Dashboard to exit the editor.
Customization is simple, flexible, and built to make your content stand out. Next learn how to customize other assets within the Customizing Content Series.
You've Completed this Training - Move to the Next Training →